Step-by-step tutorial
Step 1
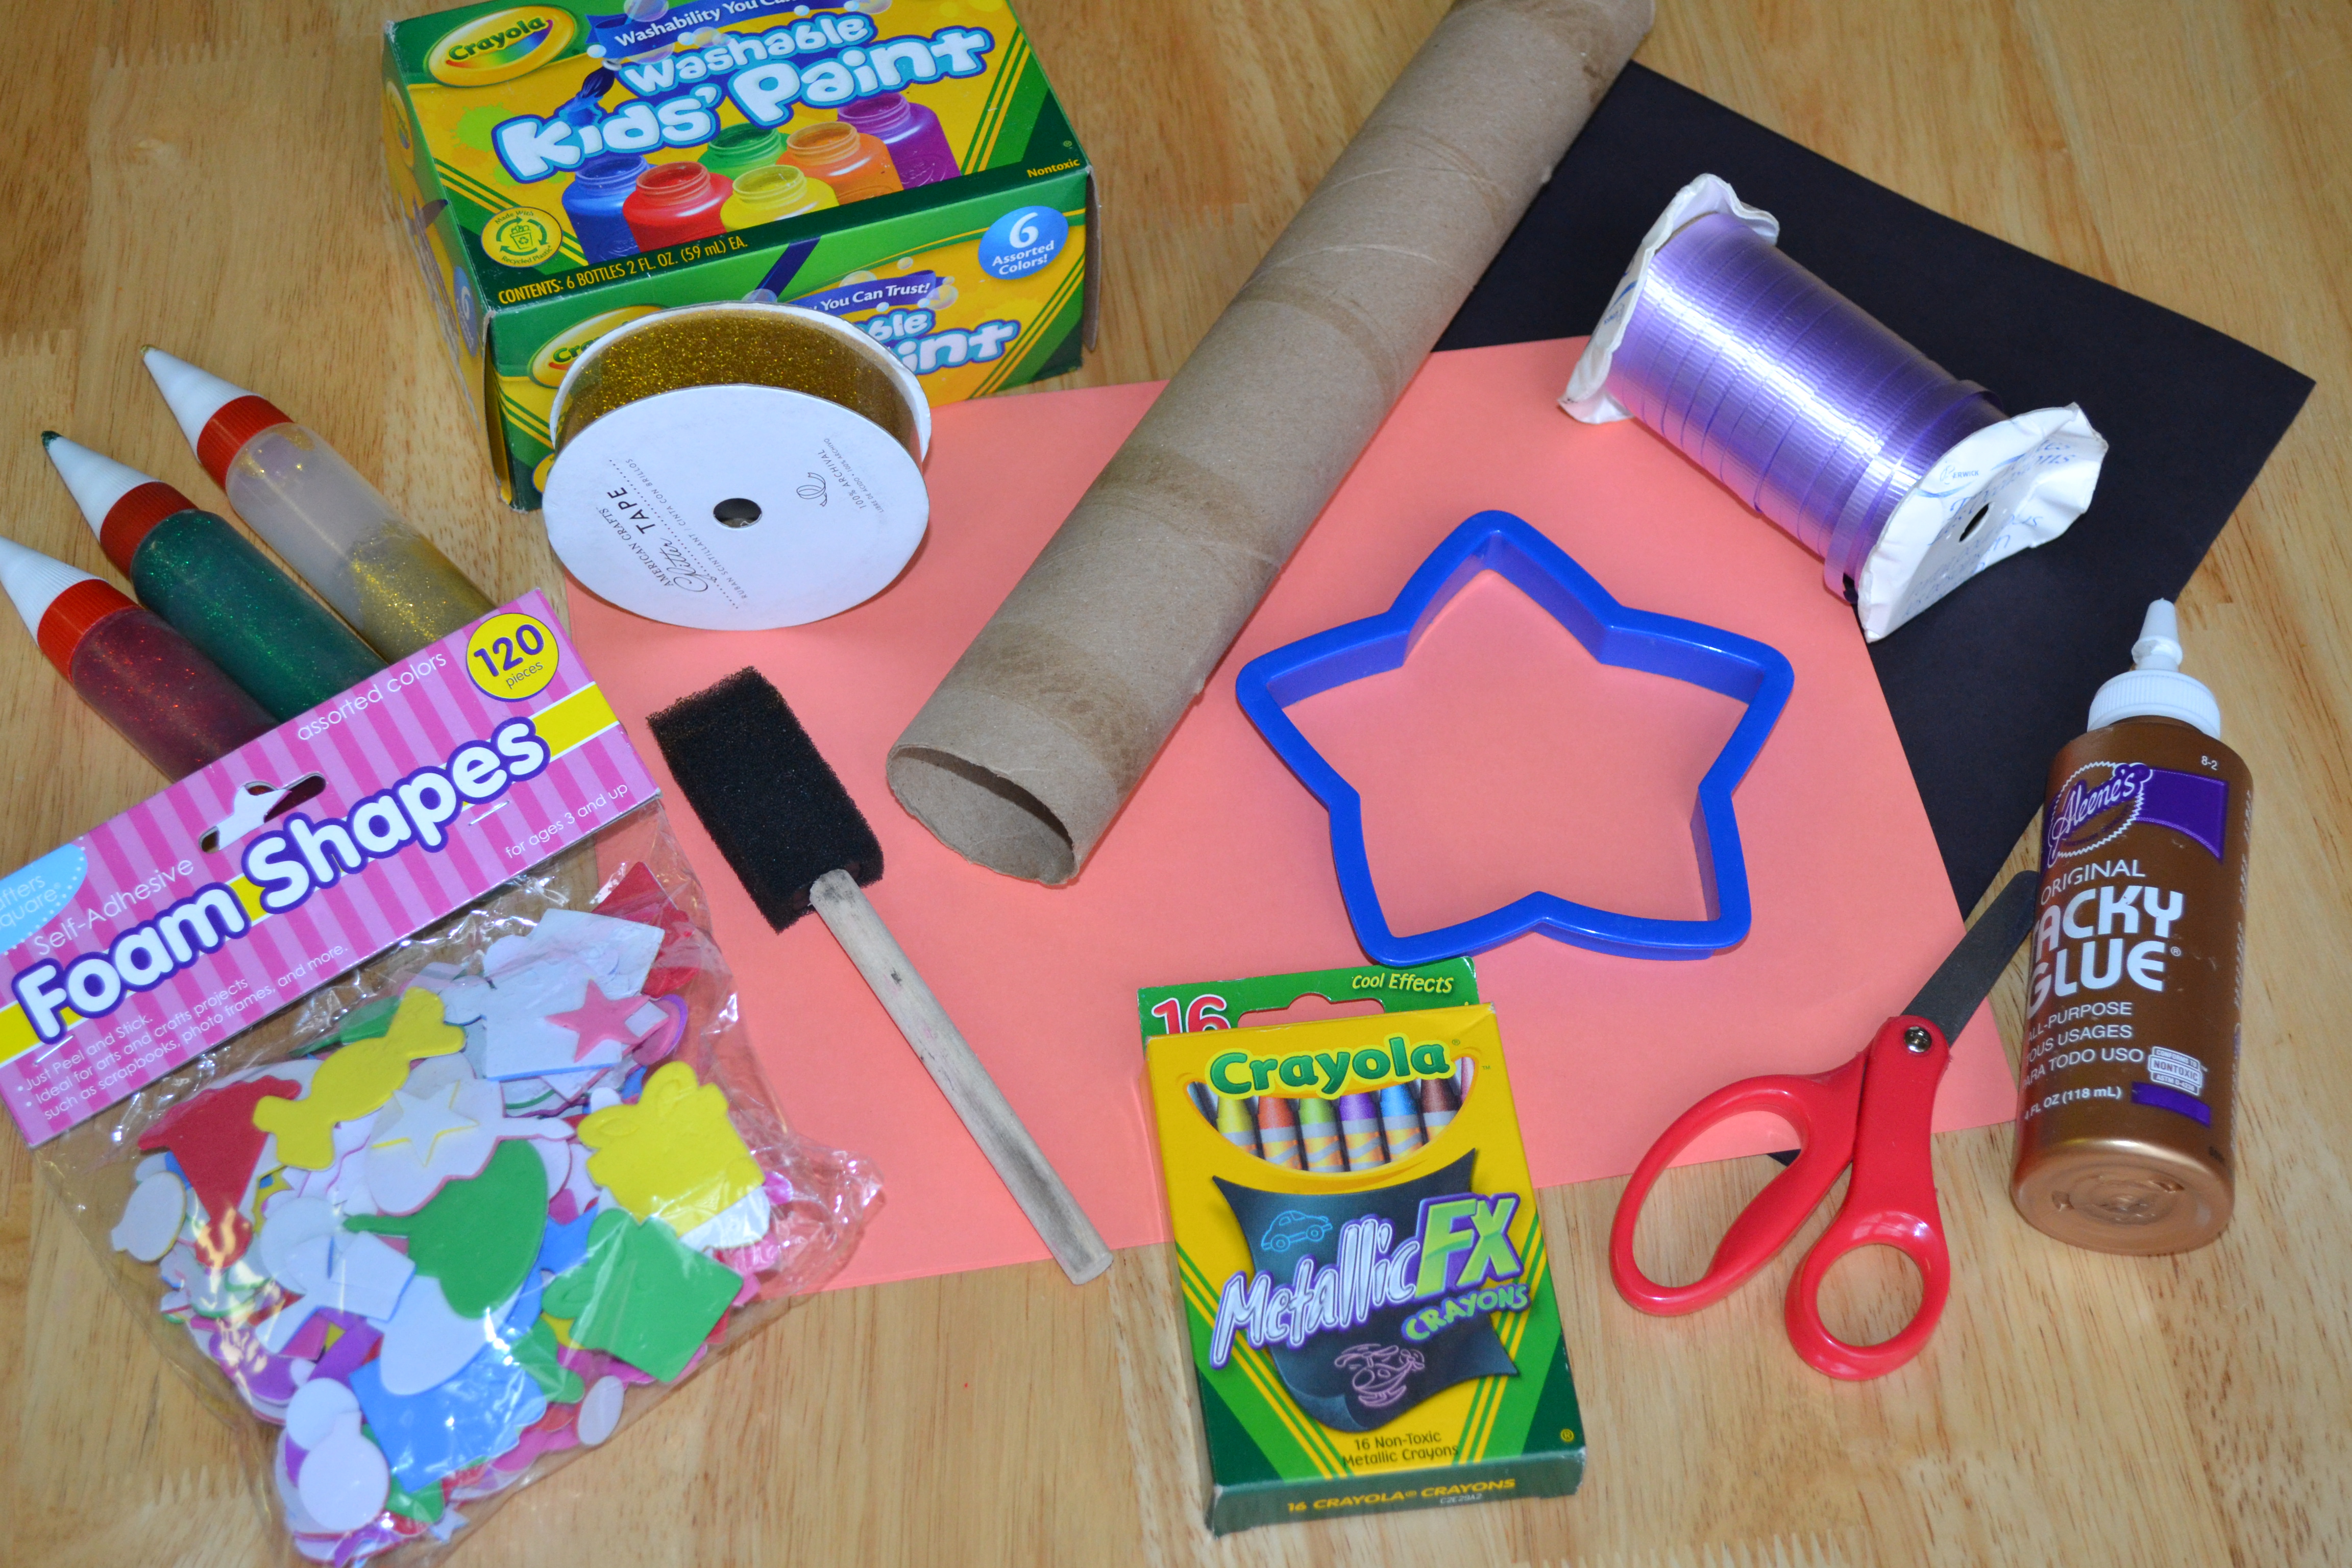
Gather all materials. We pulled out our craft box and planned to use all sorts of new materials, from foam shapes to glitter crayons and glitter tape. The only materials really necessary are a paper towel roll, scissors, glue, and paper, but anything else you add will make your project more fun!

Step 2
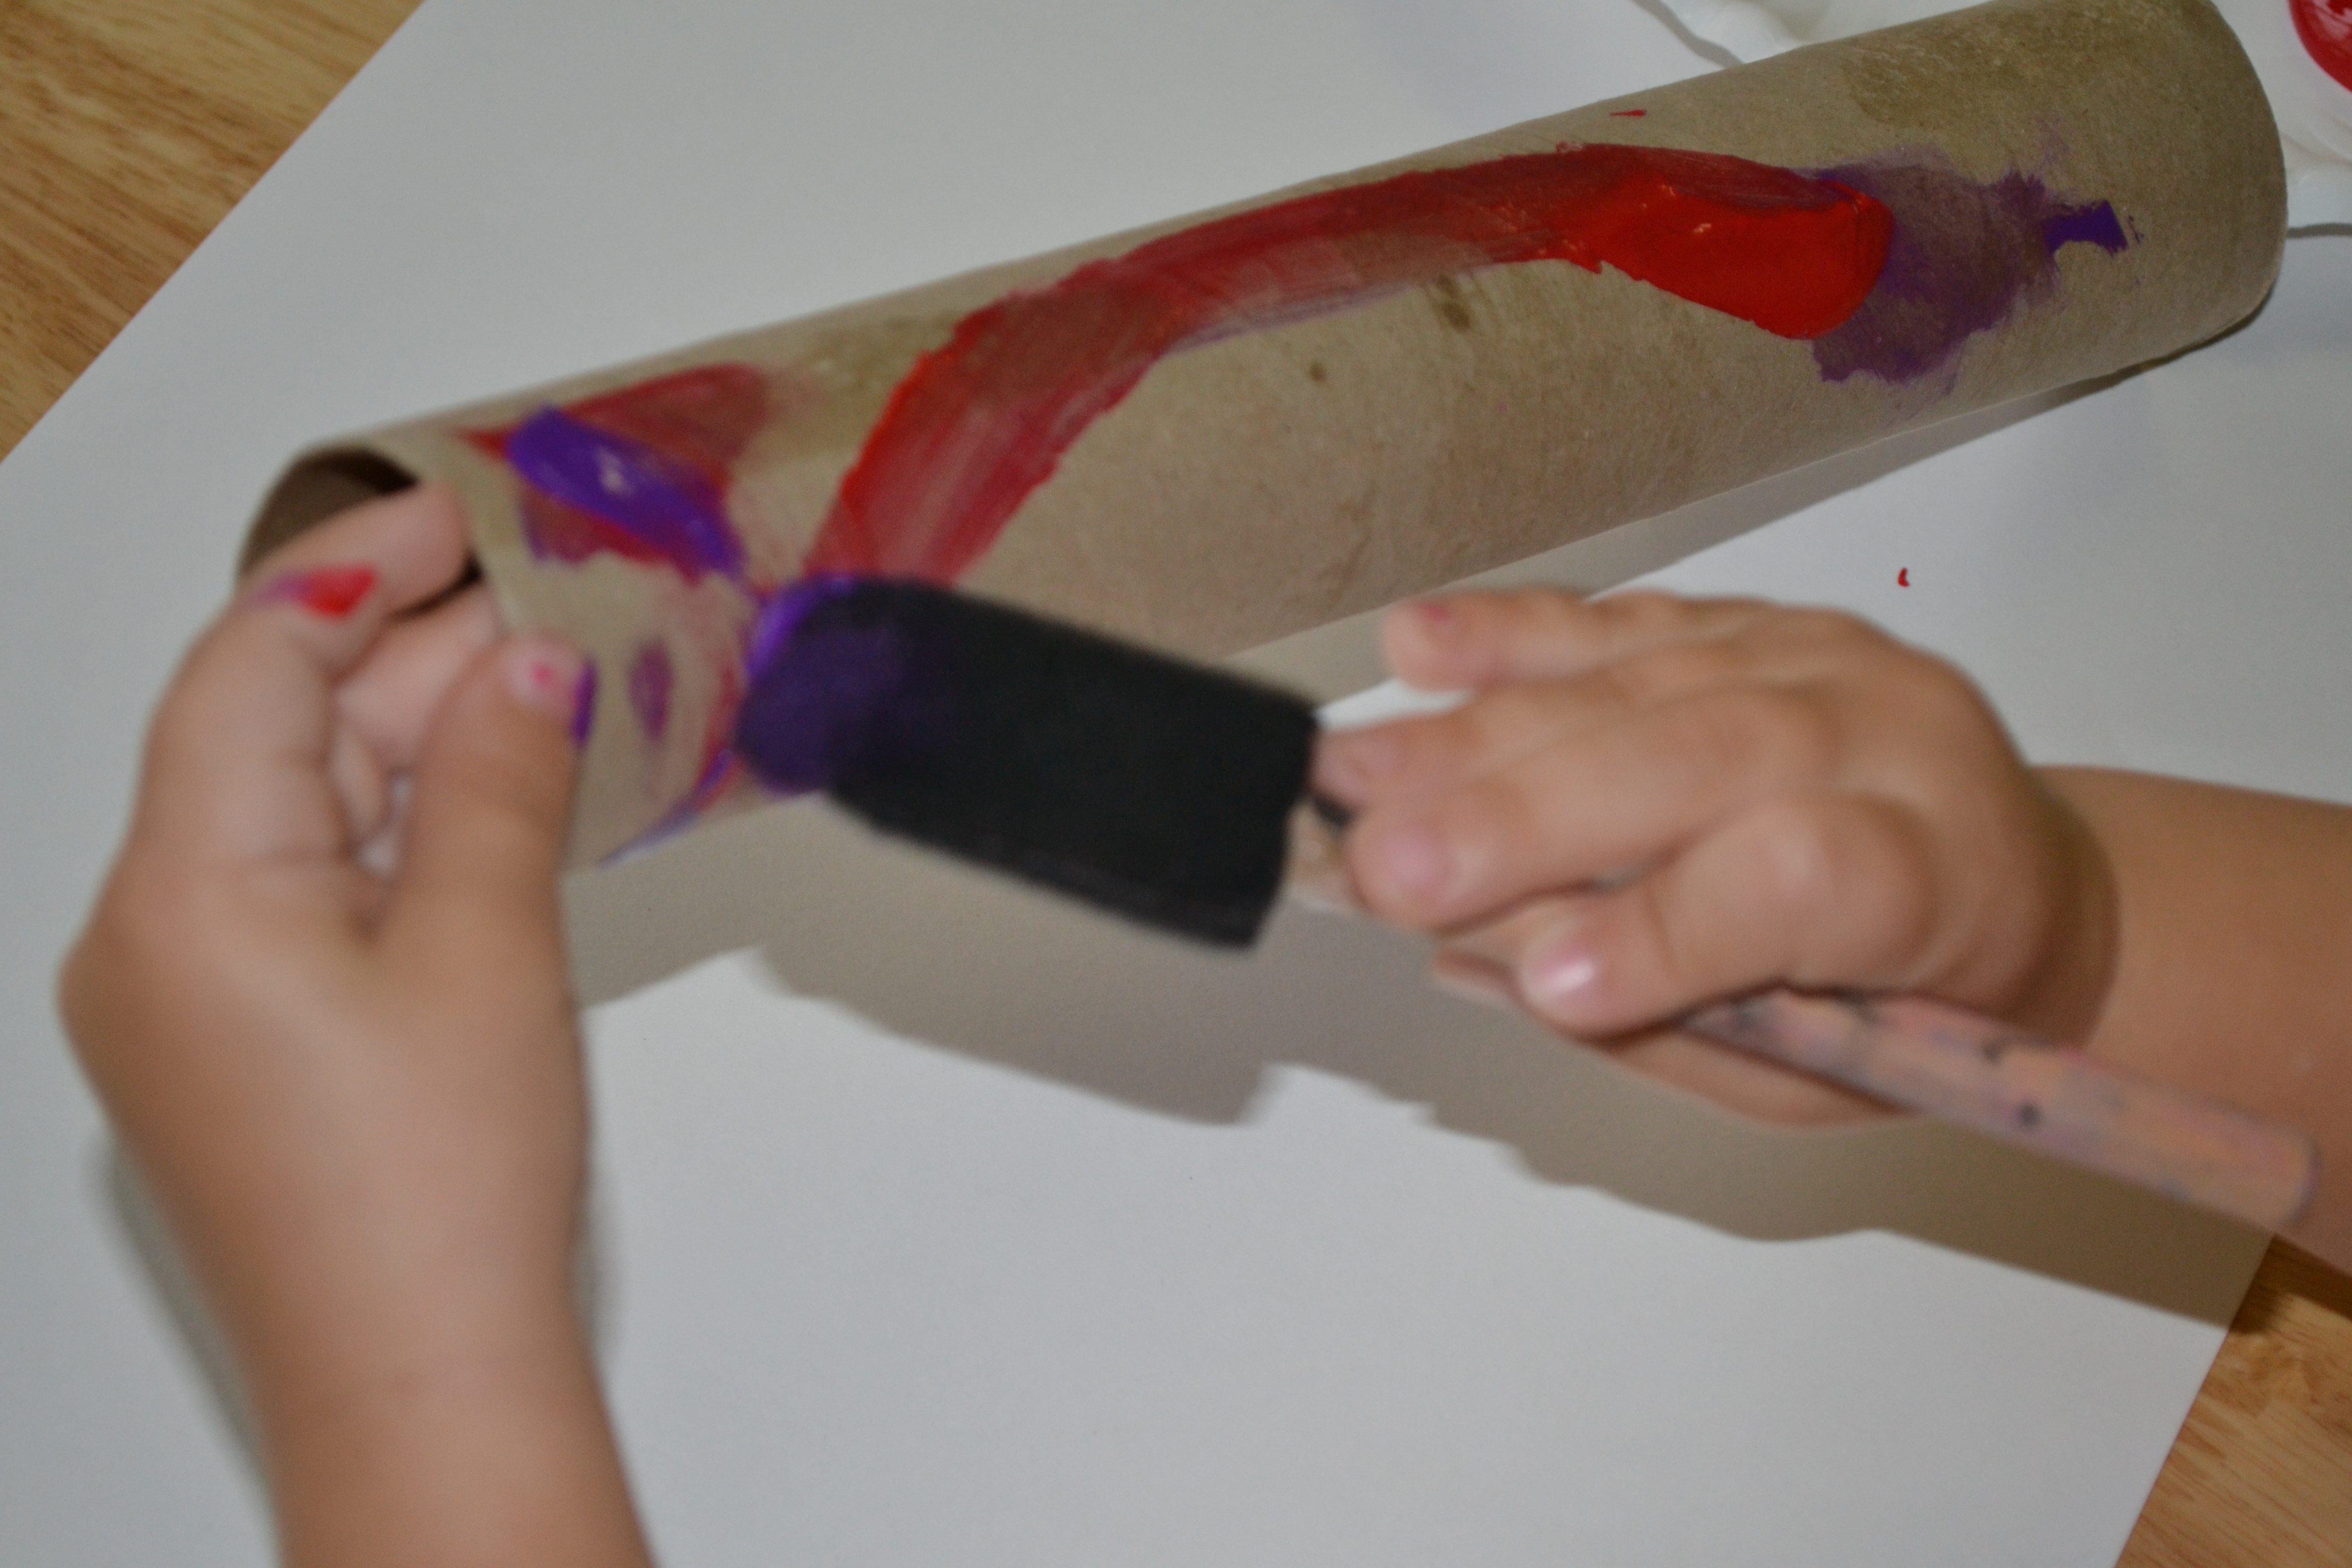
First, the kids used a sponge brush to paint their paper towel roll. We put the rolls on a large sheet of construction paper to try and contain the mess. We also put our paint on paper plates for easy clean up.
Step 3
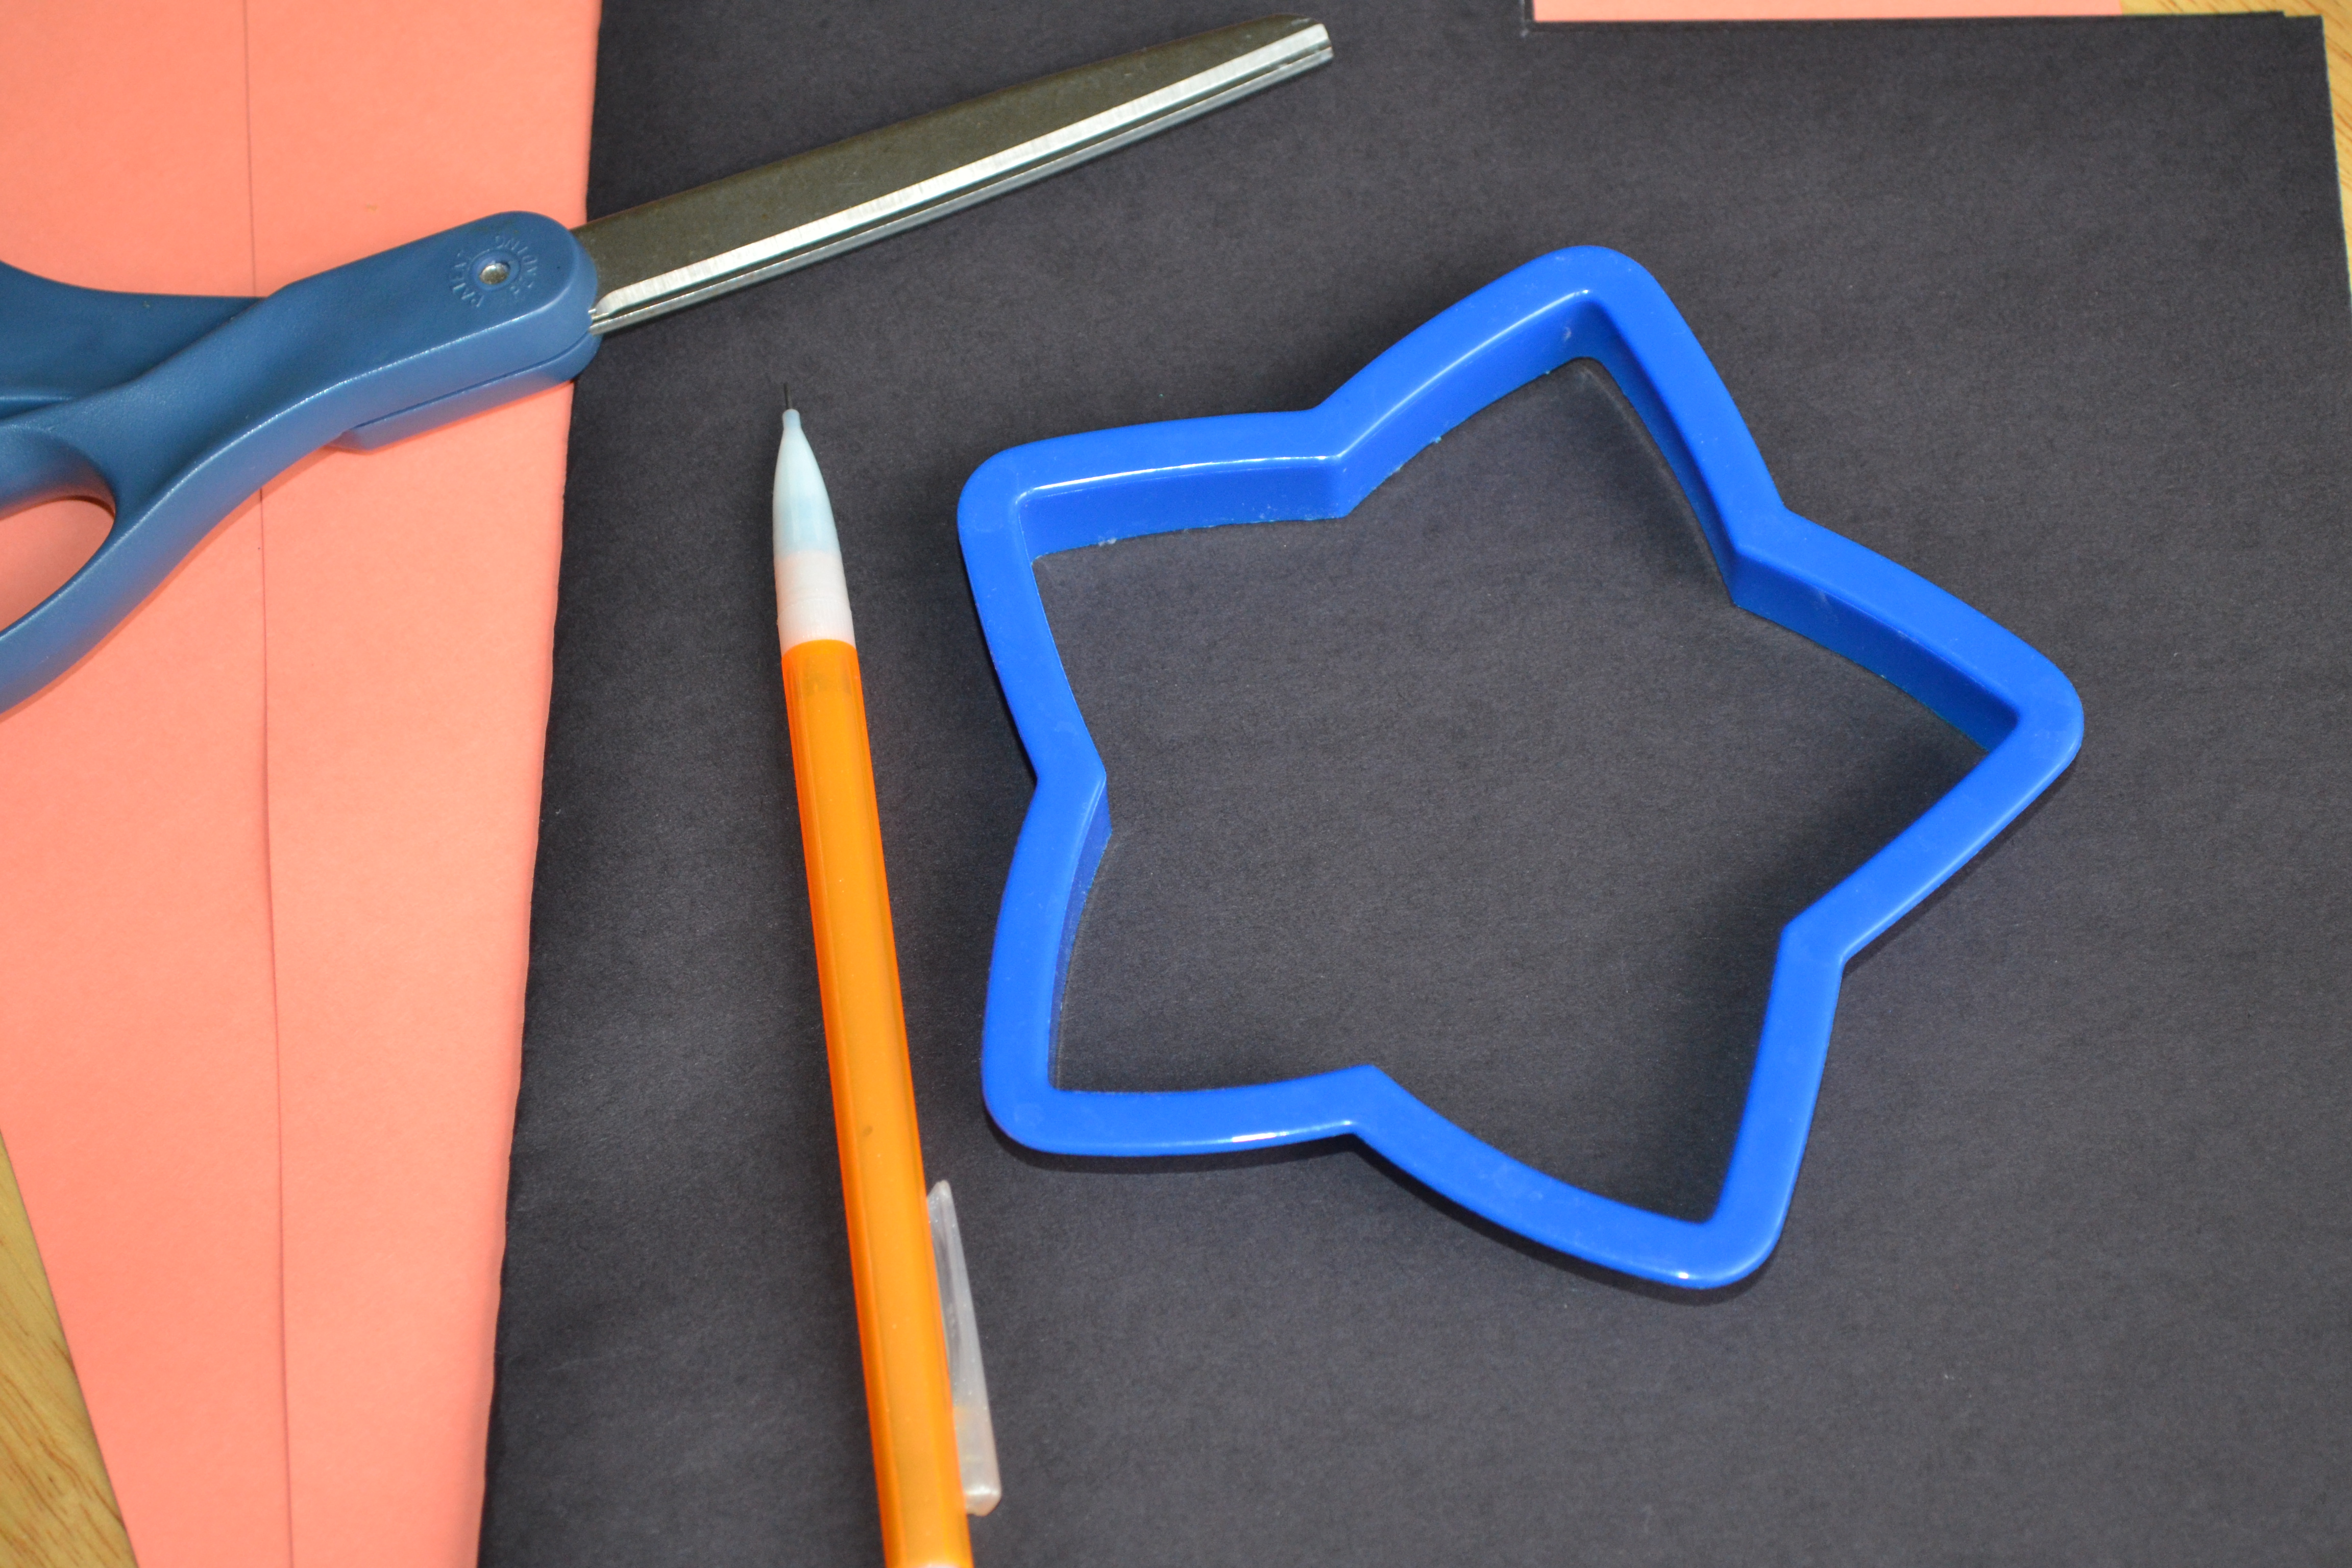
While the rolls dried, we used a cookie cutter to trace star shapes on card stock. My older kids did this step on their own, and I helped my younger ones with this part. We used black construction paper because we really wanted to try out our new glitter crayons.
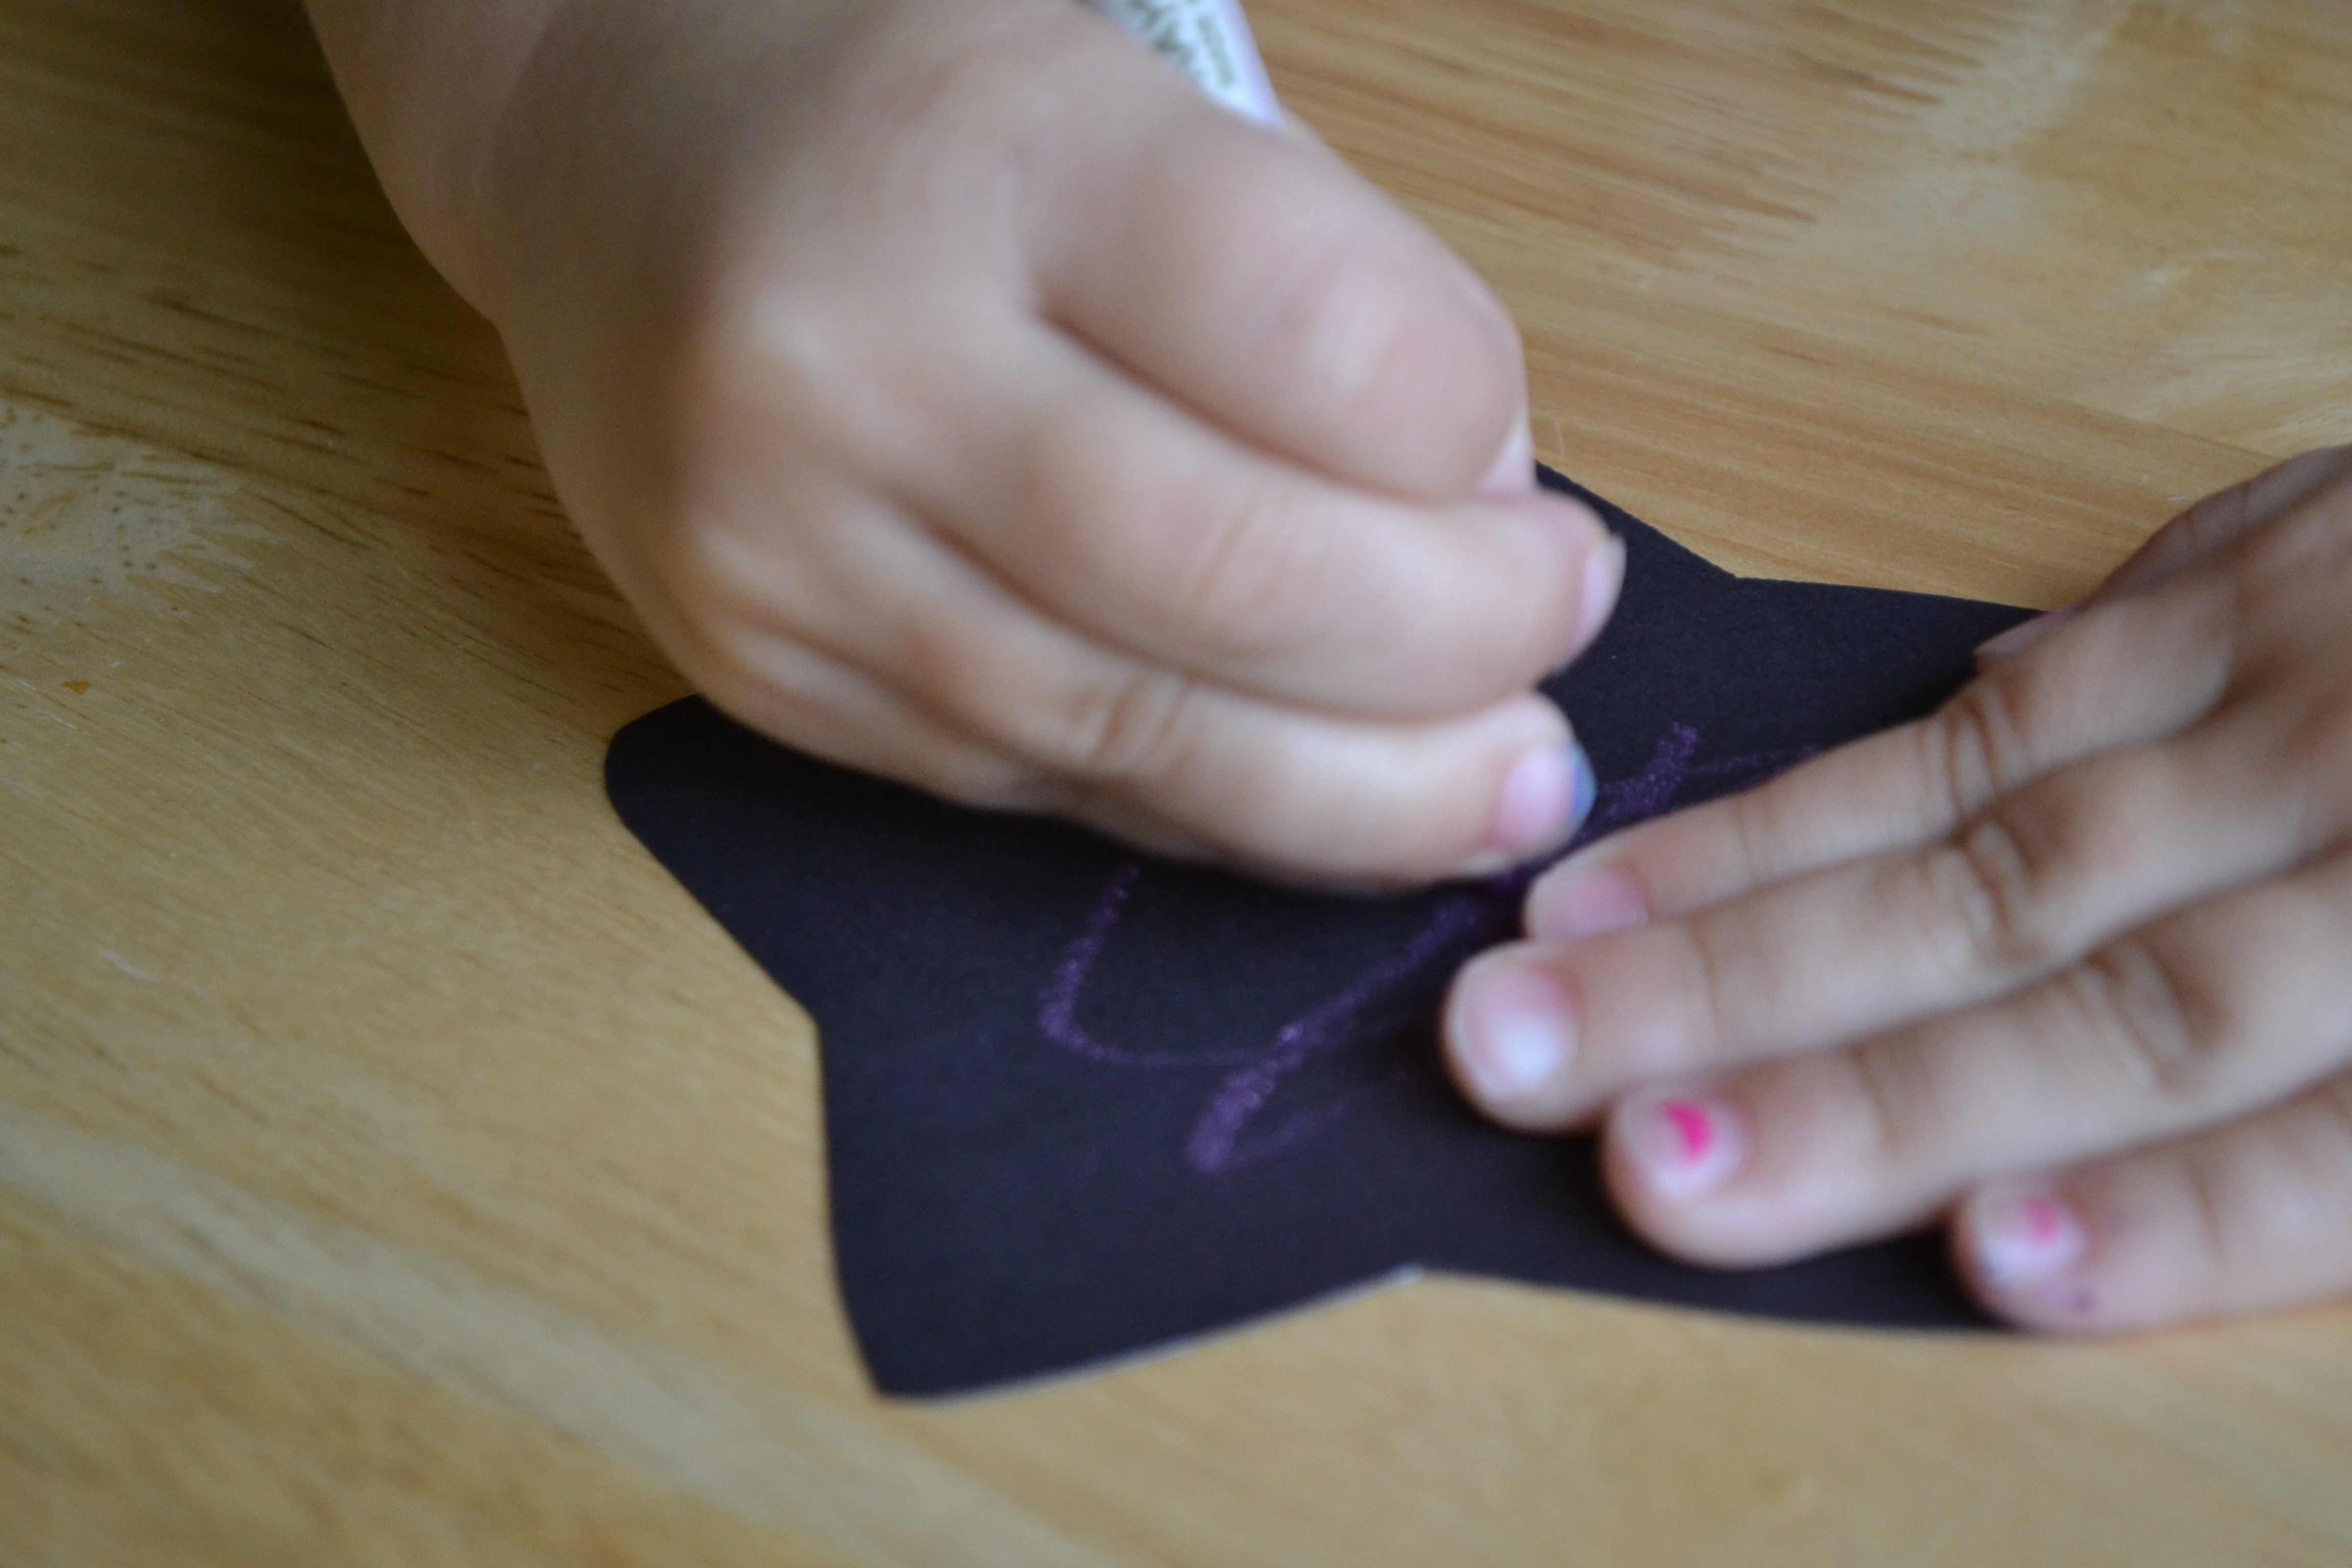
Step 4
The kids decorated their black stars with the glitter crayons. I was hoping that they would show up better, but the kids were so tickled with them.
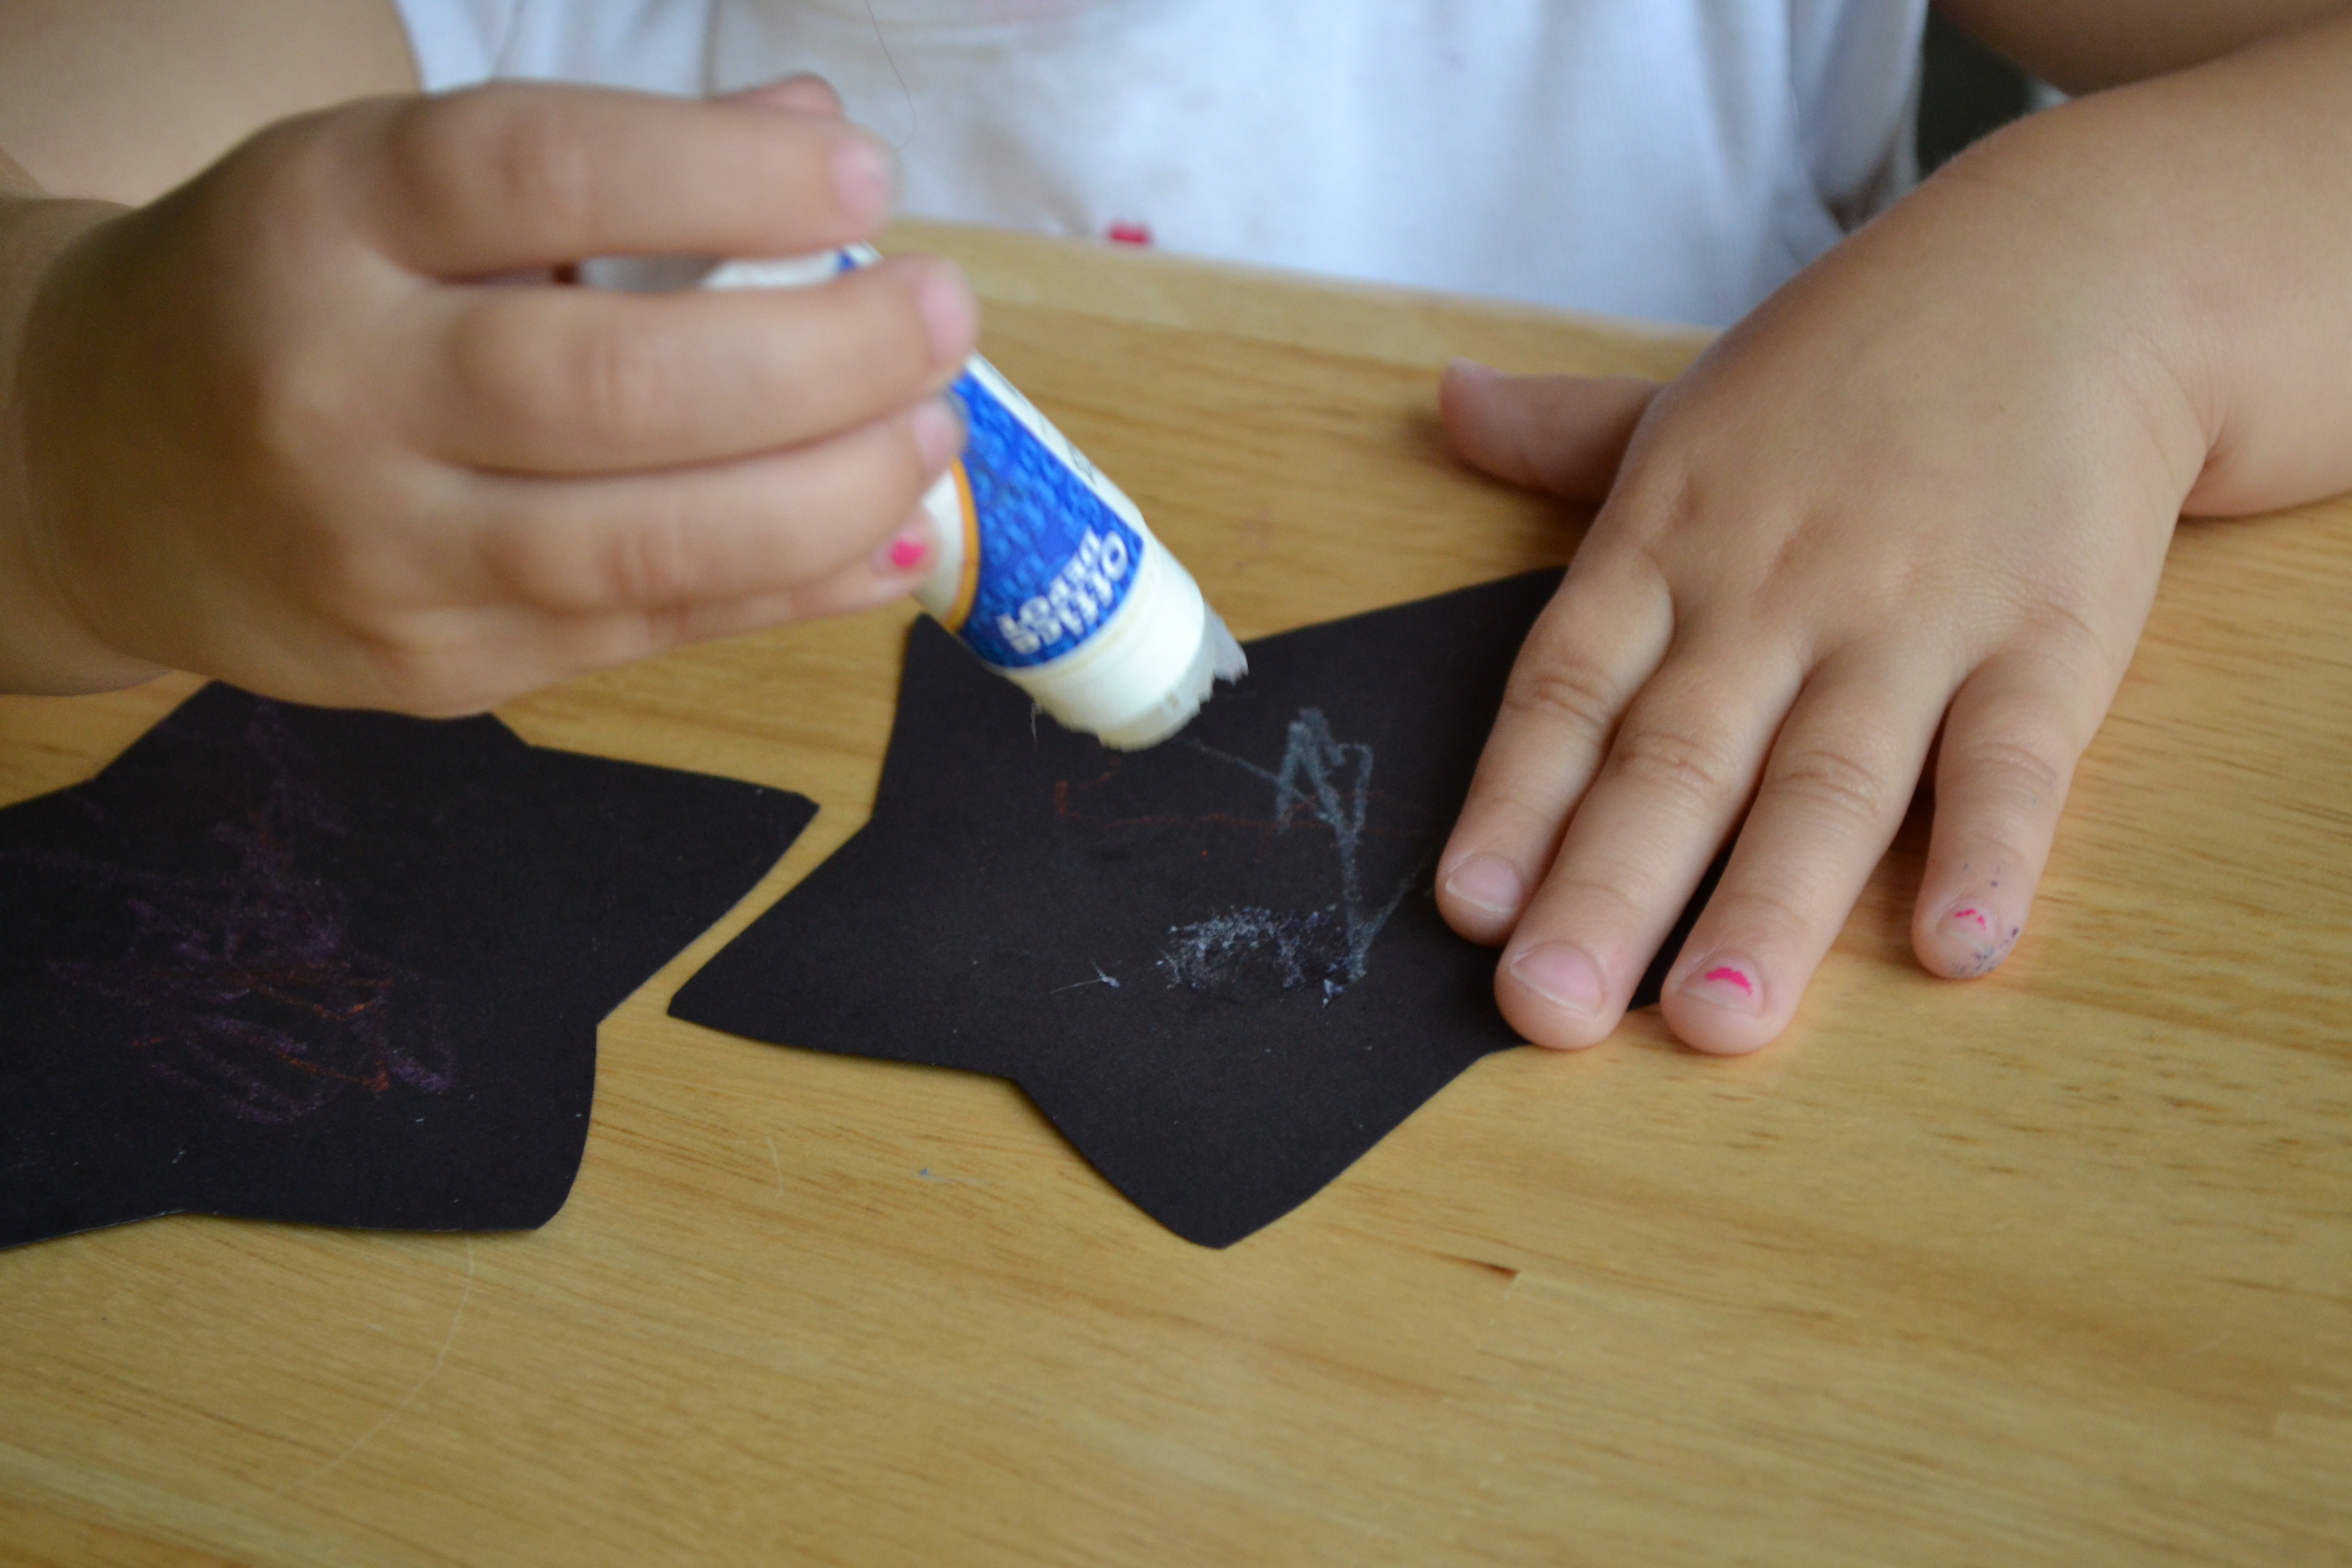
Step 5
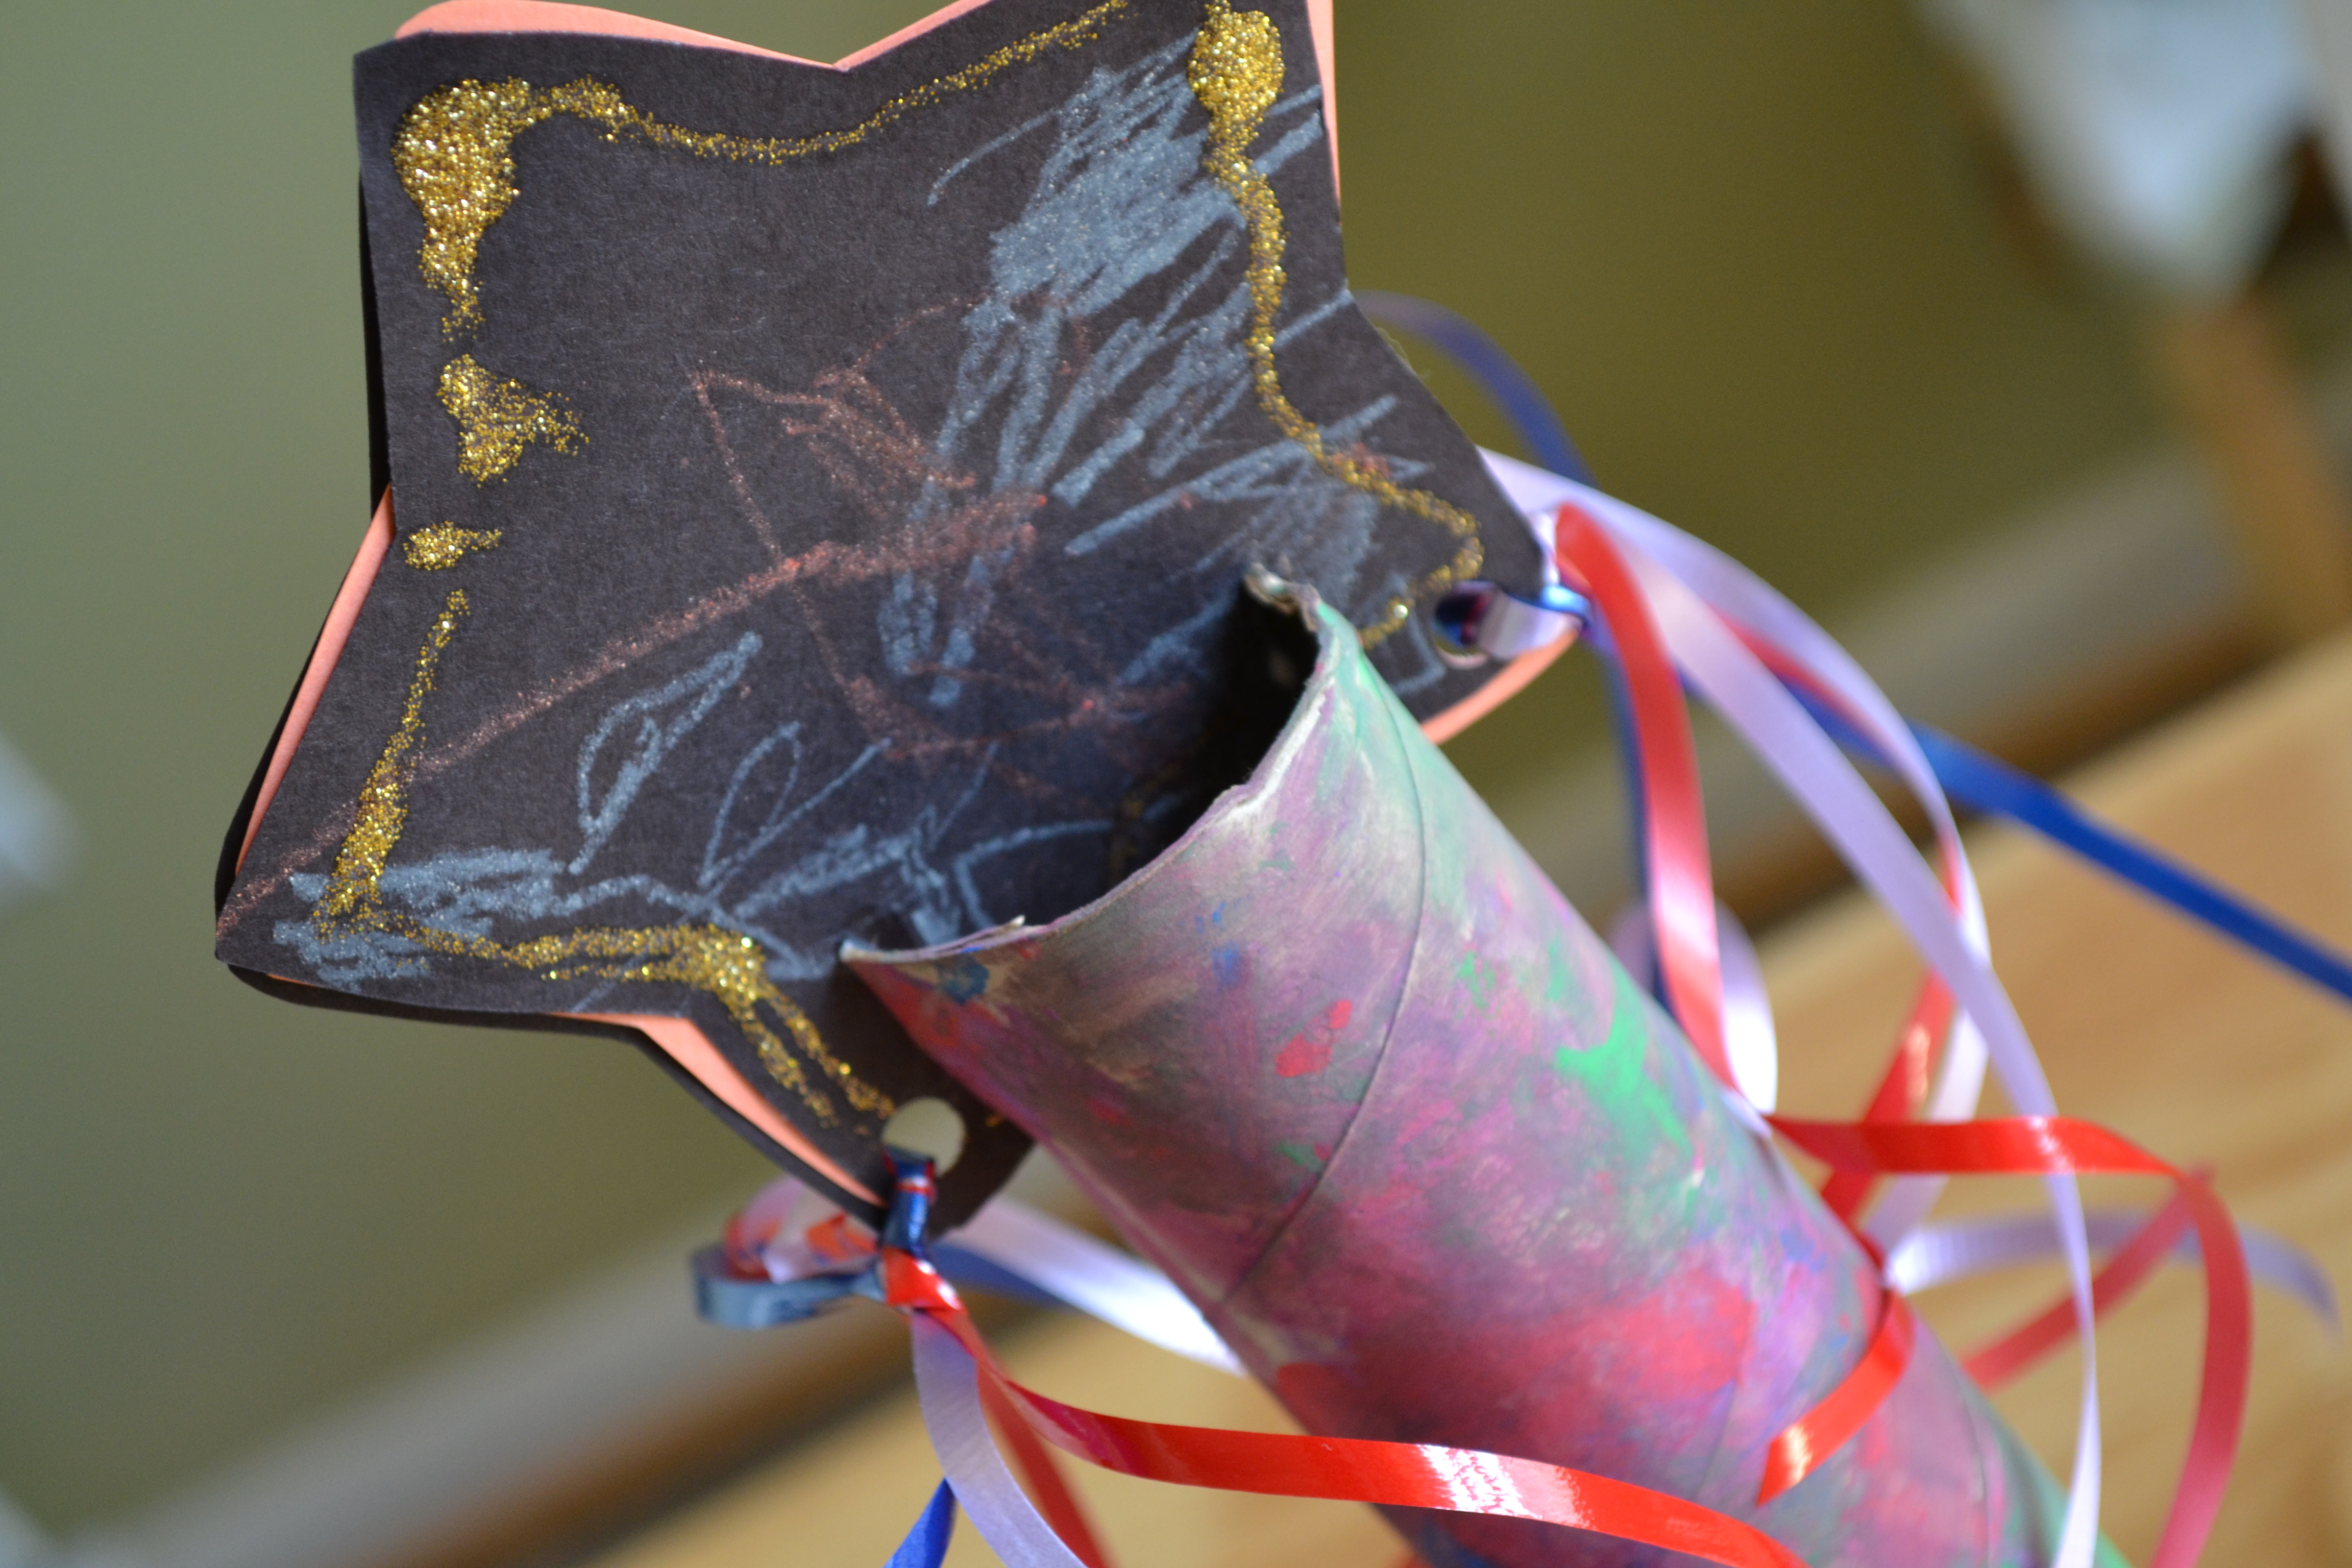
Then the kids glued their black stars on each side of the card stock star. This added some extra color to the tops of our wands and made the stars more durable. I wanted the kids to be able to play with them without worrying about them ripping or getting torn up too easily.
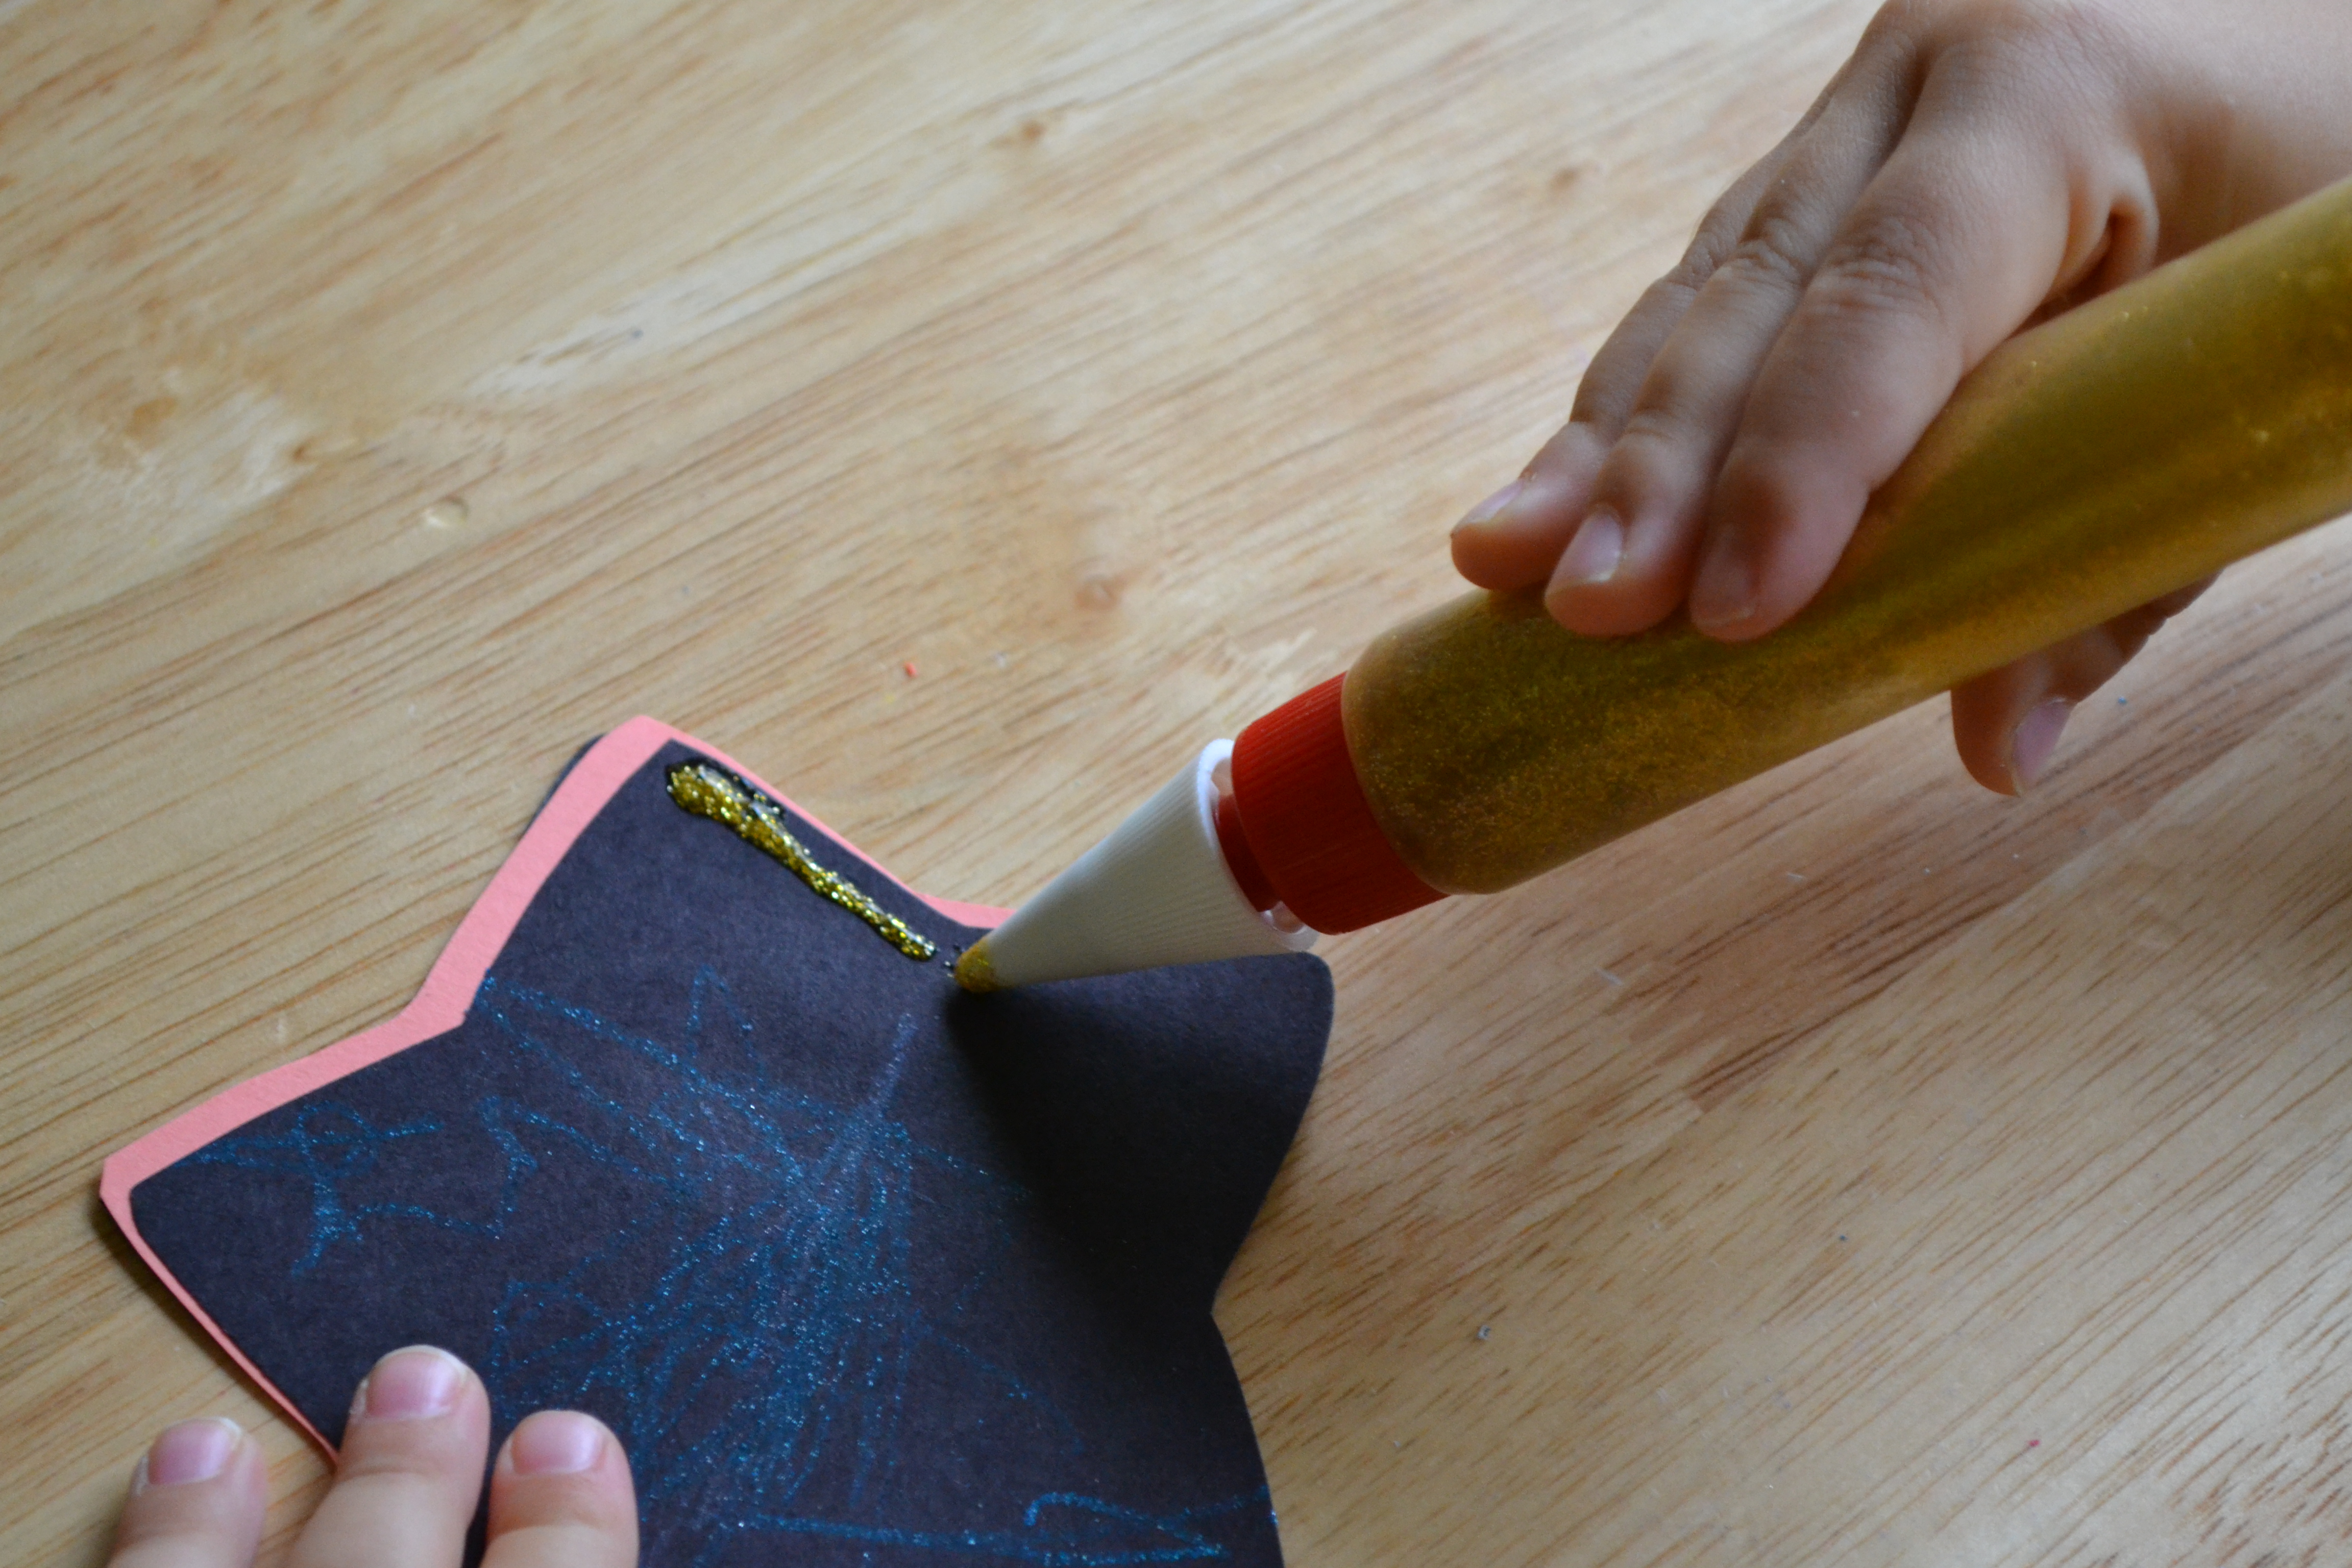
Step 6
My little girl decided that her stars needed more sparkle, so we used the glitter glue to outline and decorate the stars. Then we let everything dry.
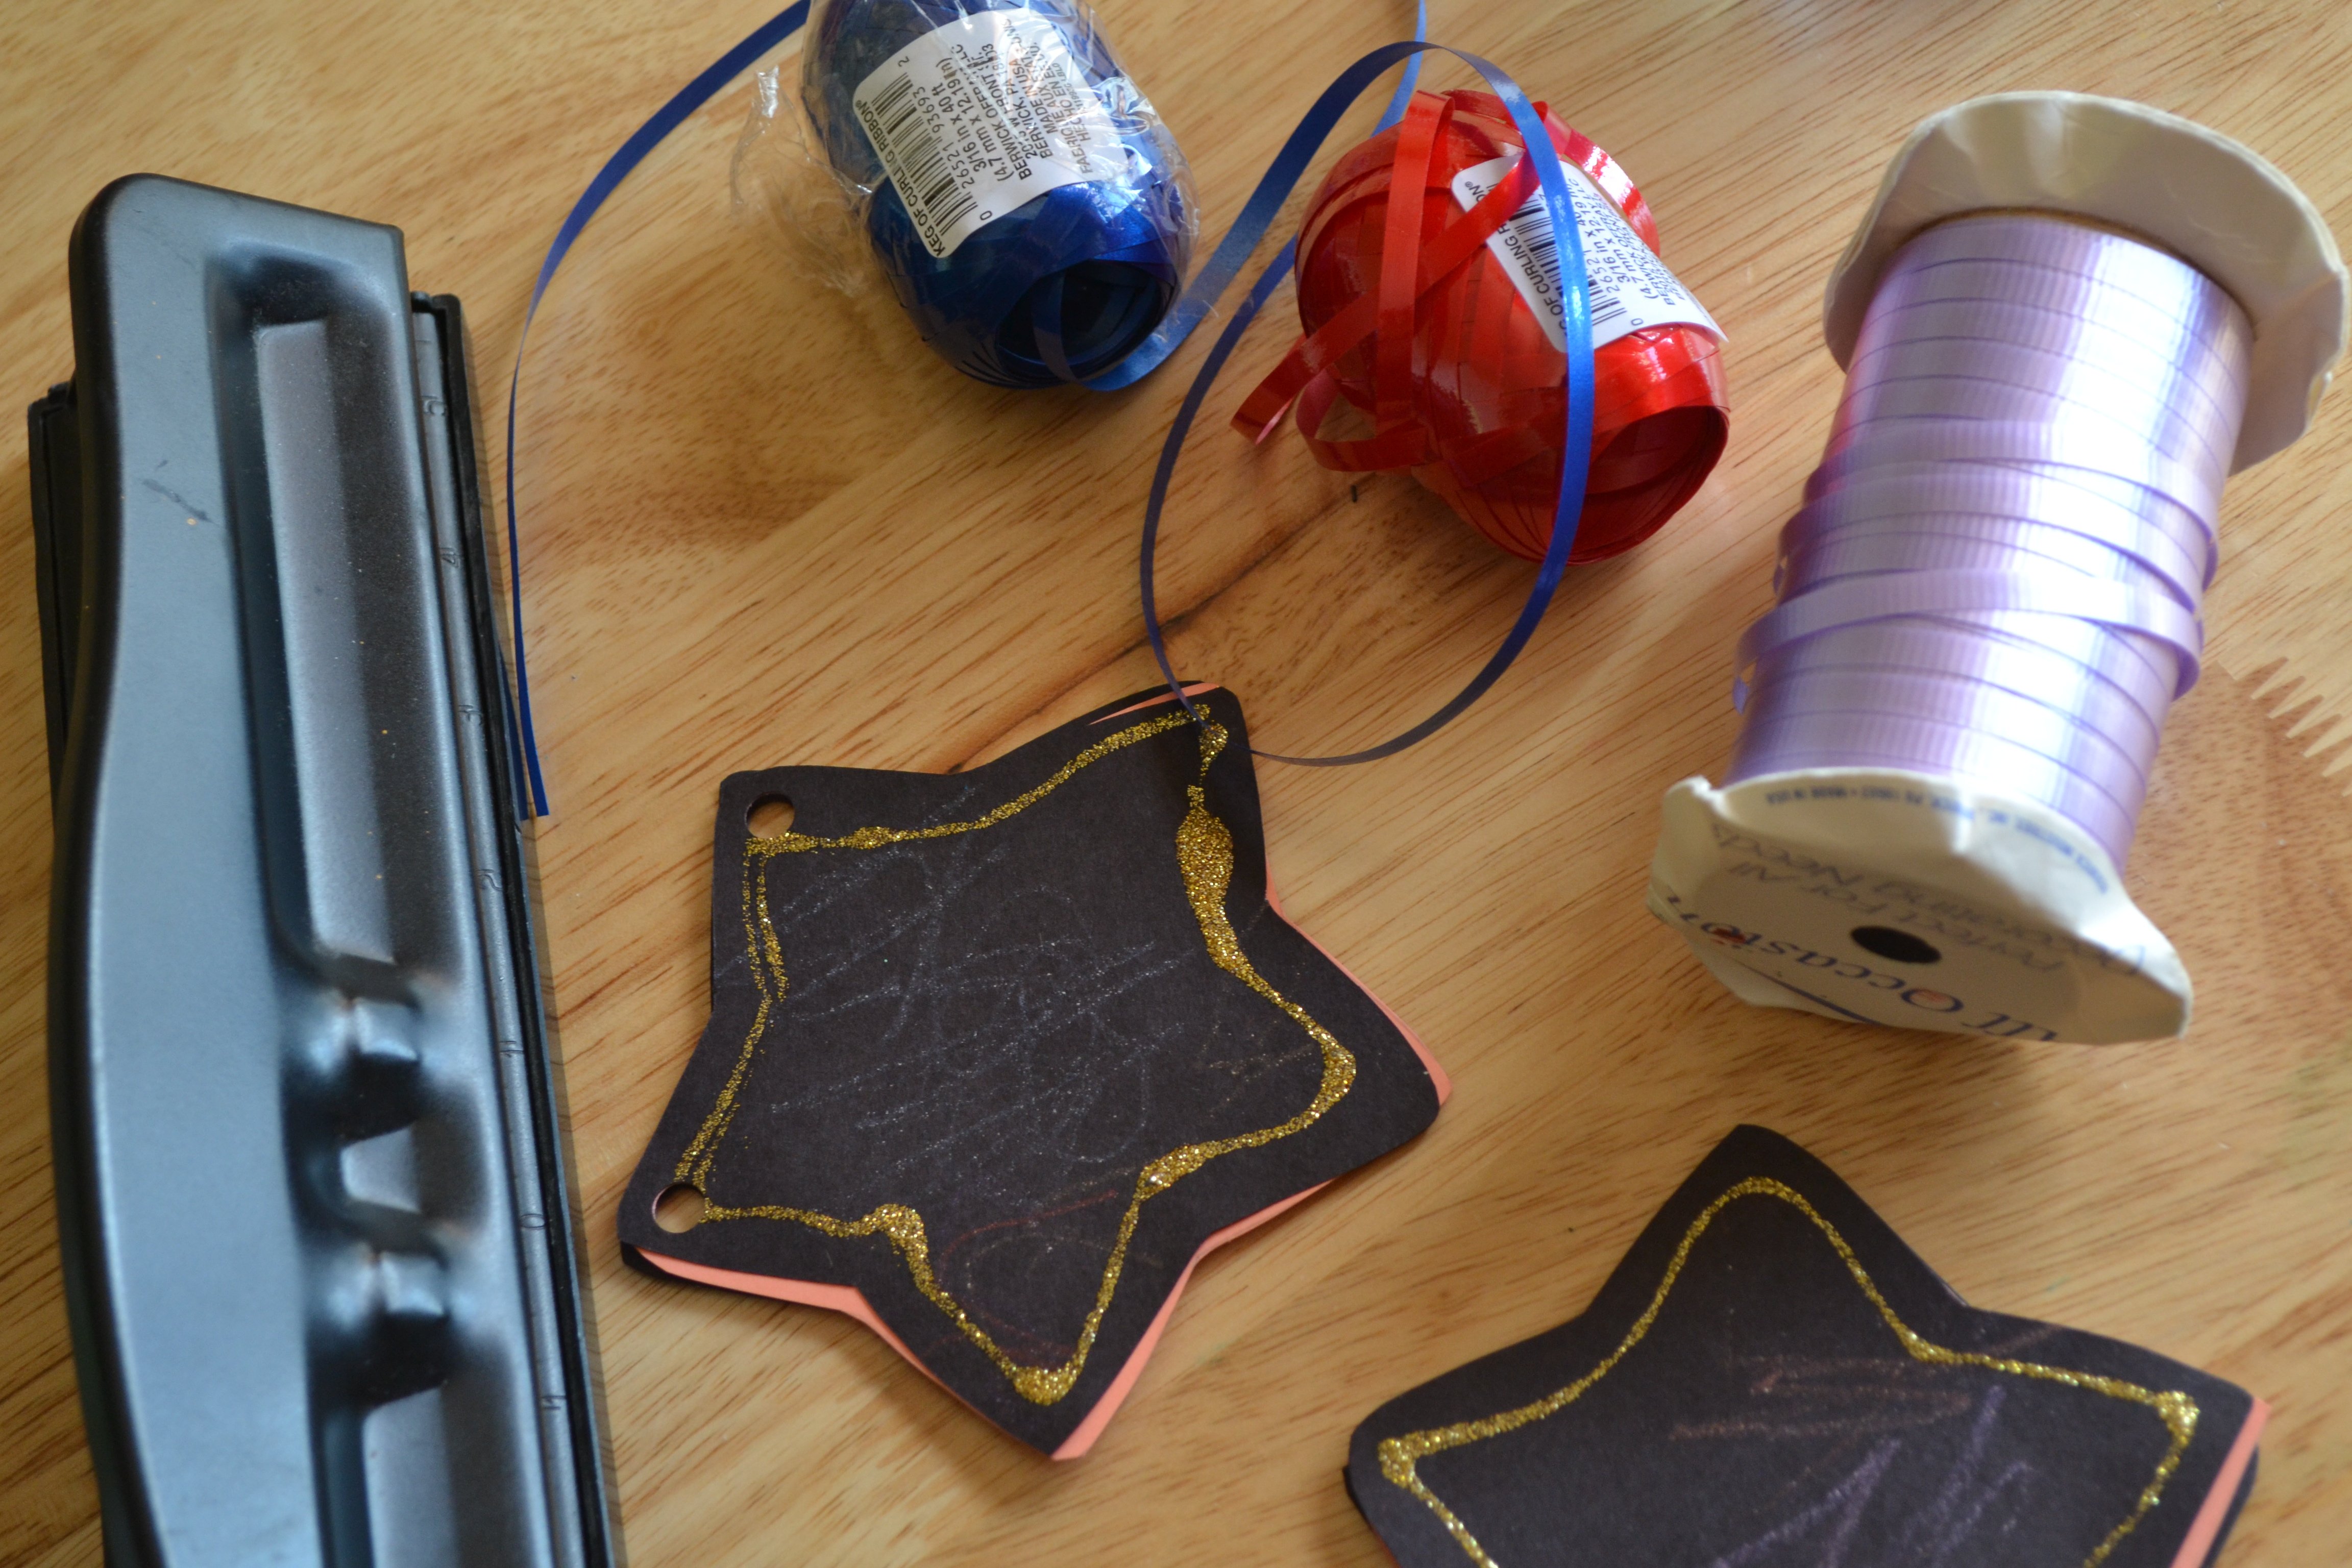
Step 7
After they dried, we used the hole punch to make two holes in the bottom of the stars for the ribbons.
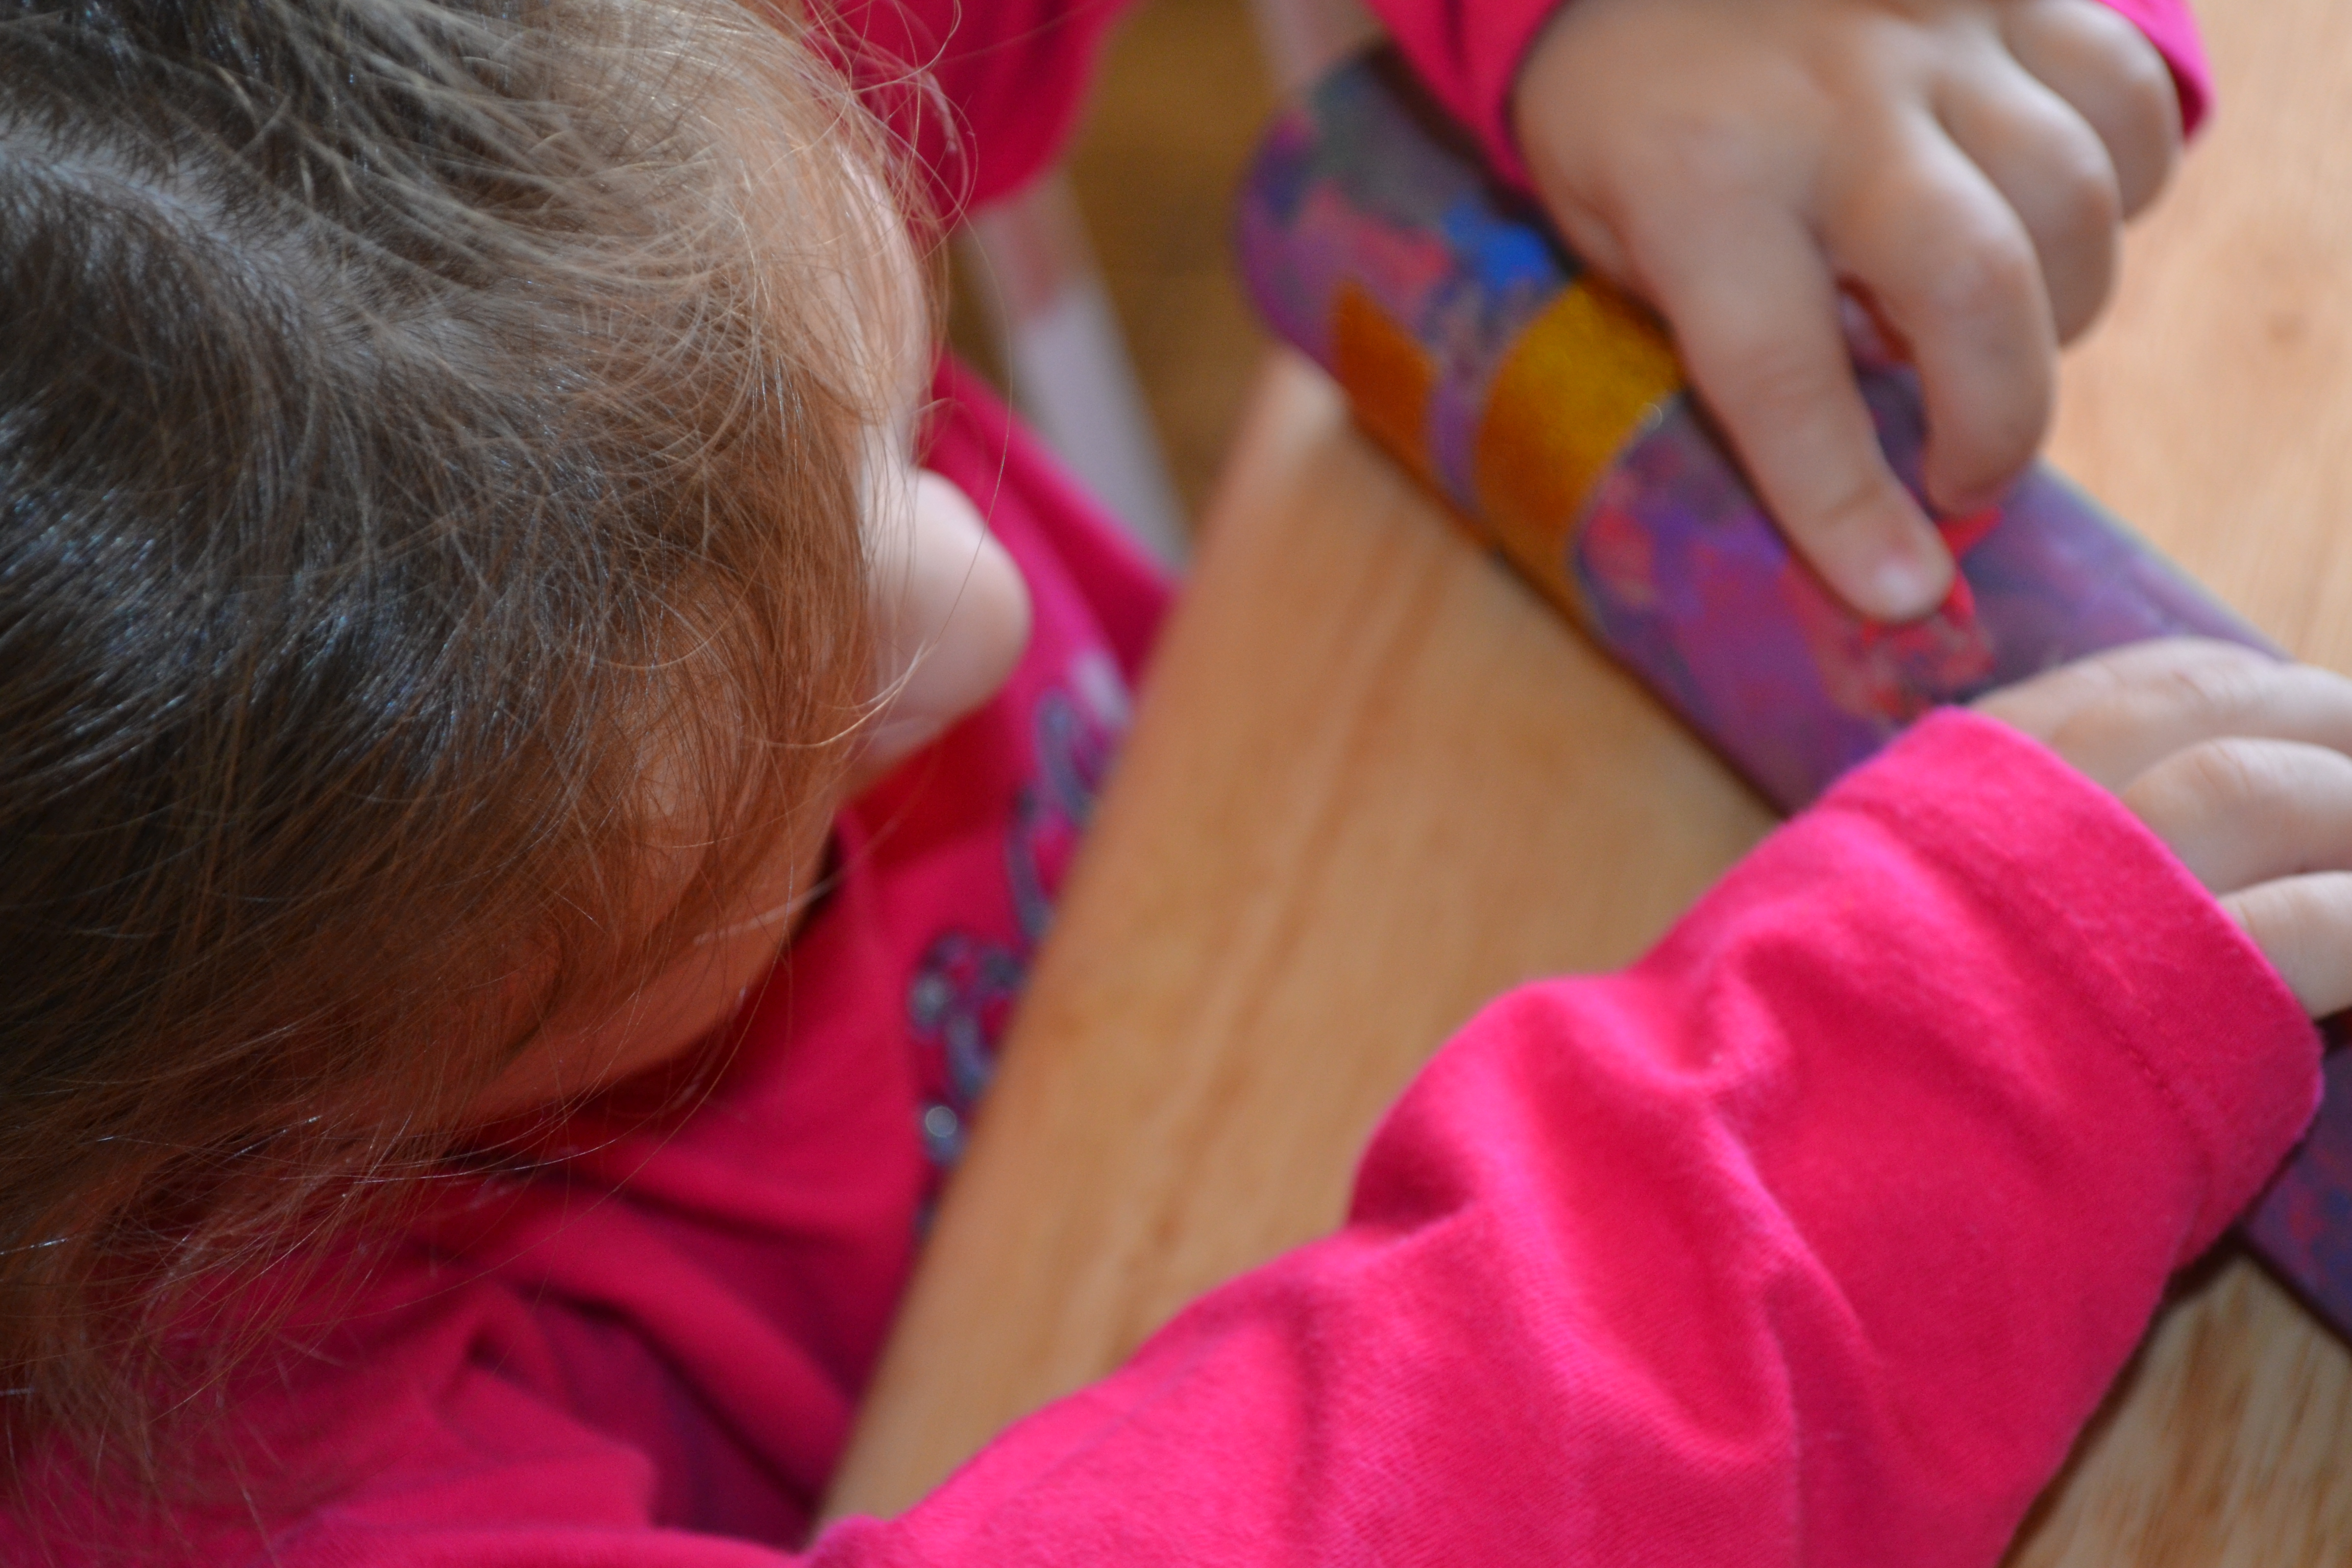
Step 8
Then the kids decorated their tubes with glitter tape and foam shapes to add extra pizzazz!
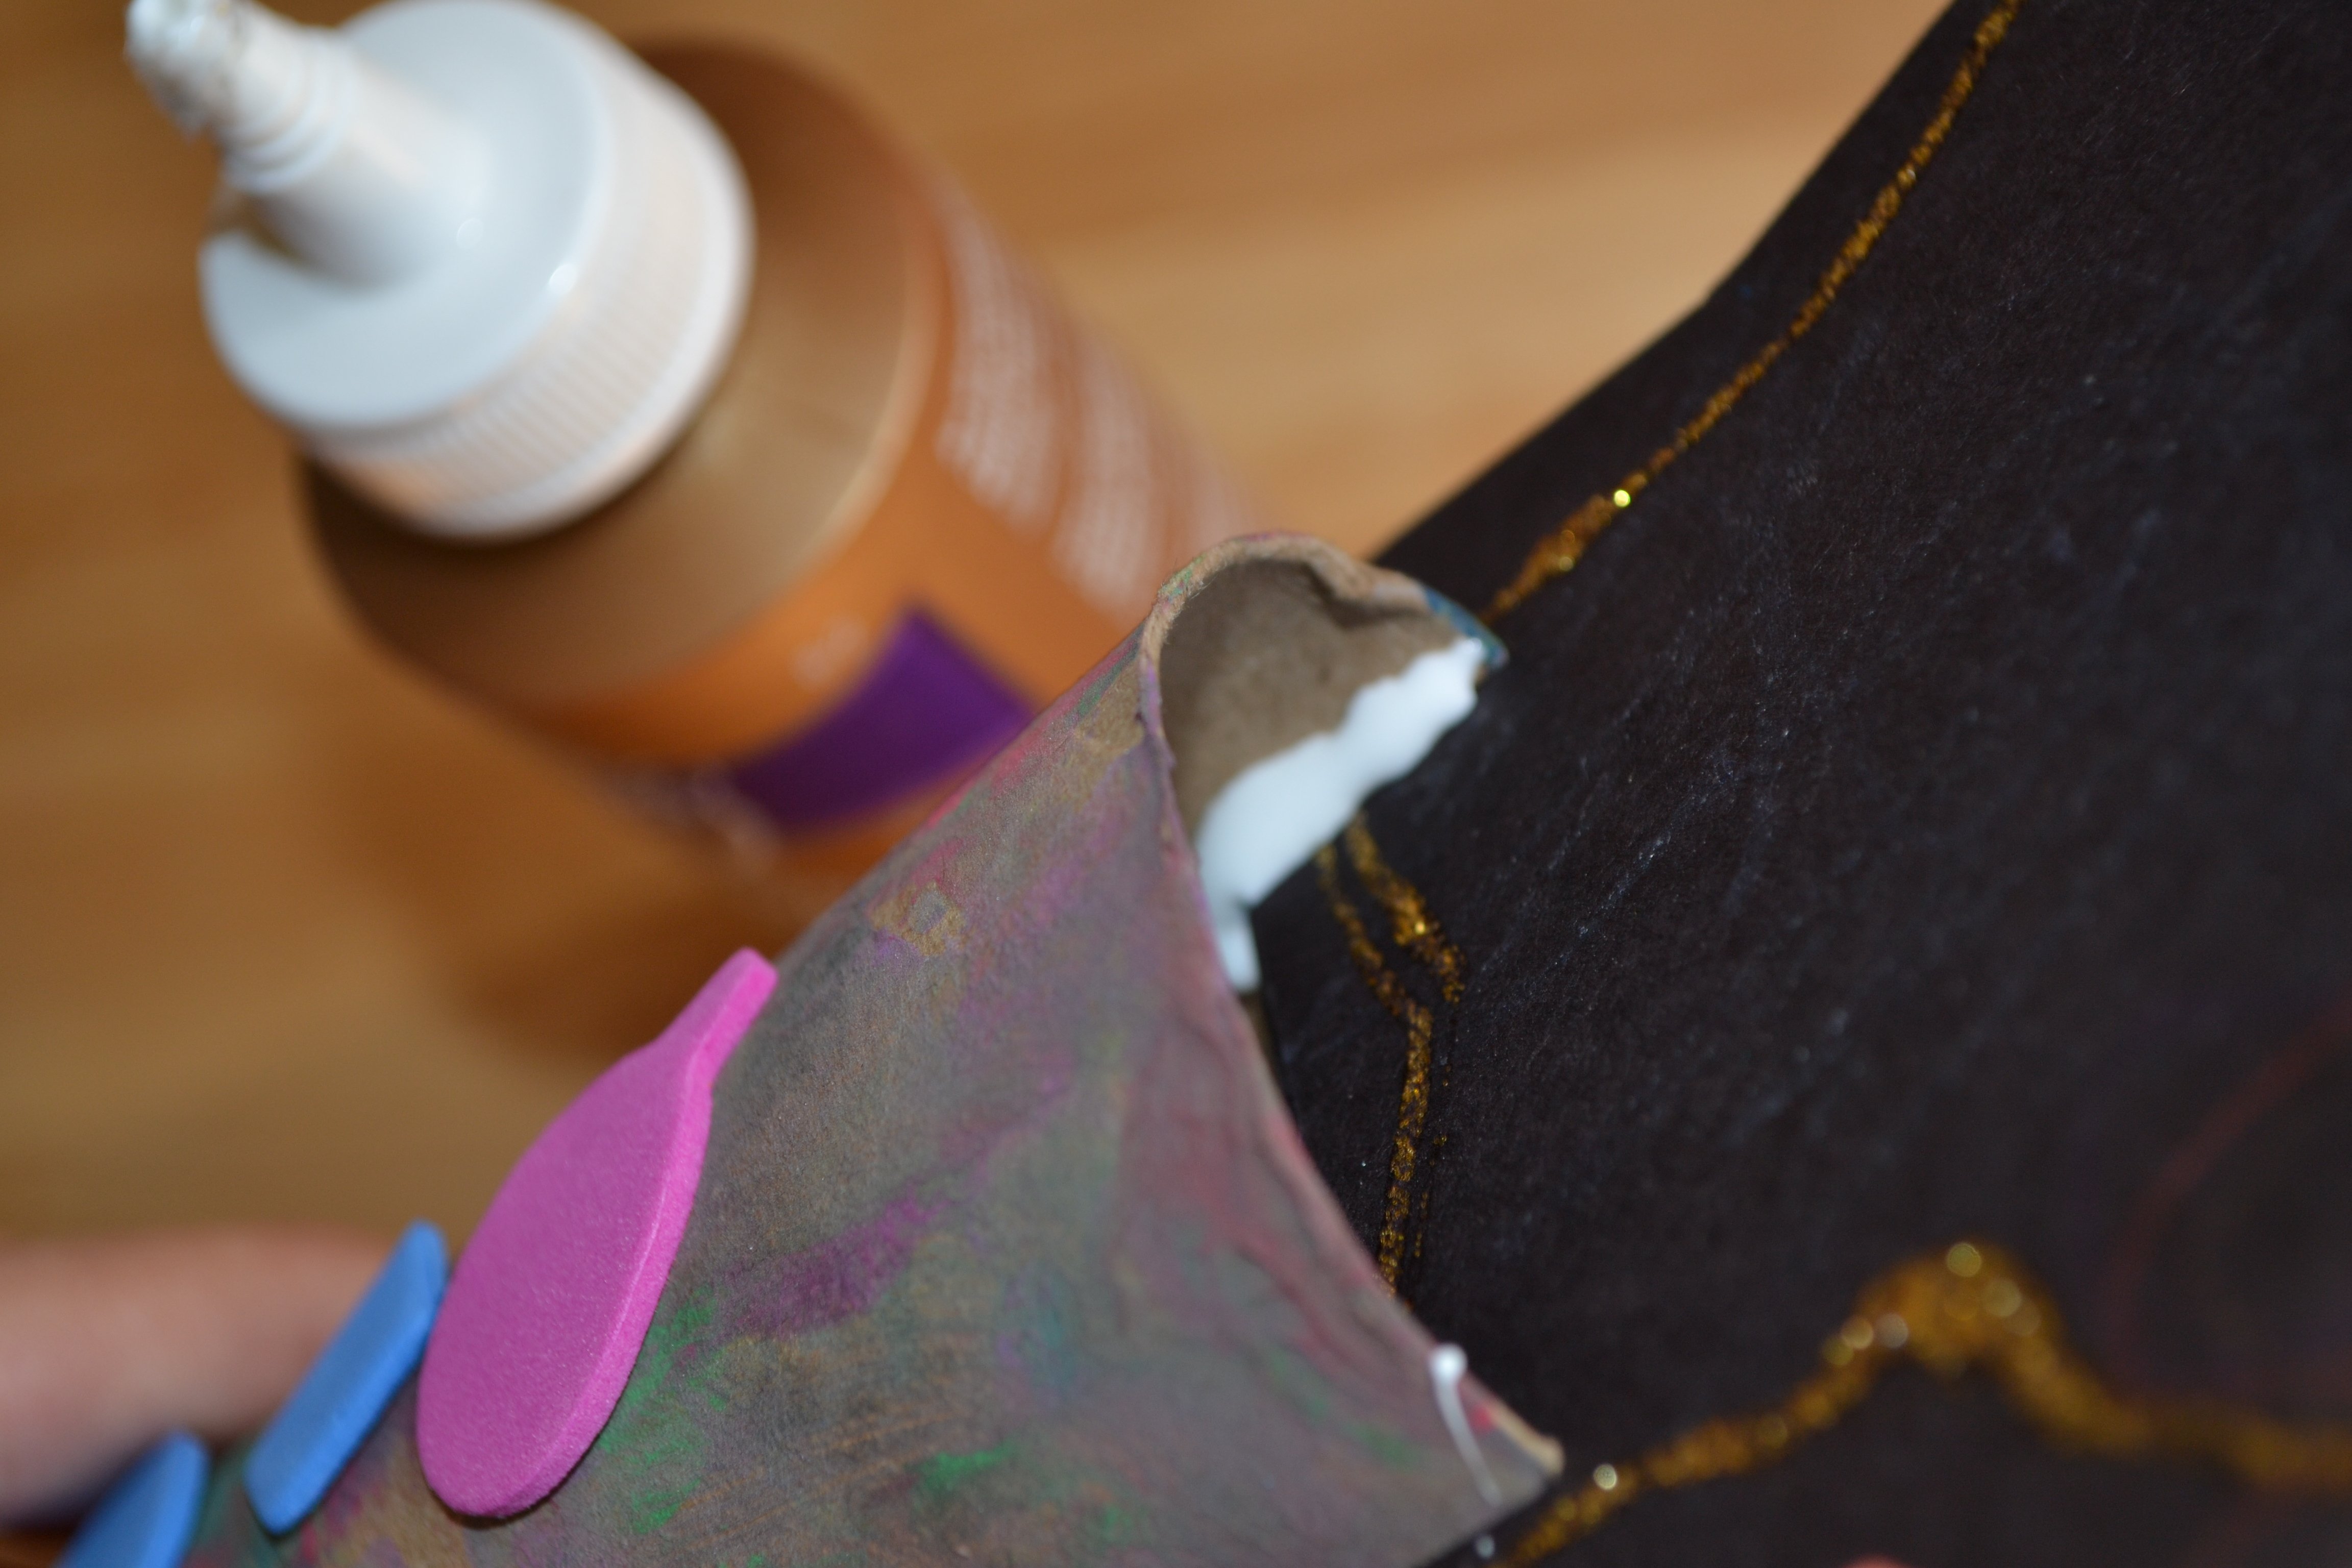
Step 9
I cut two slits on each side of the roll so we could slide our stars in and then we lined them with glue on the inside of the roll. The glue wasn't really necessary for the stars to stay in place, but since my little ones tend to get excited with their play, I wanted to make them as strong as possible.
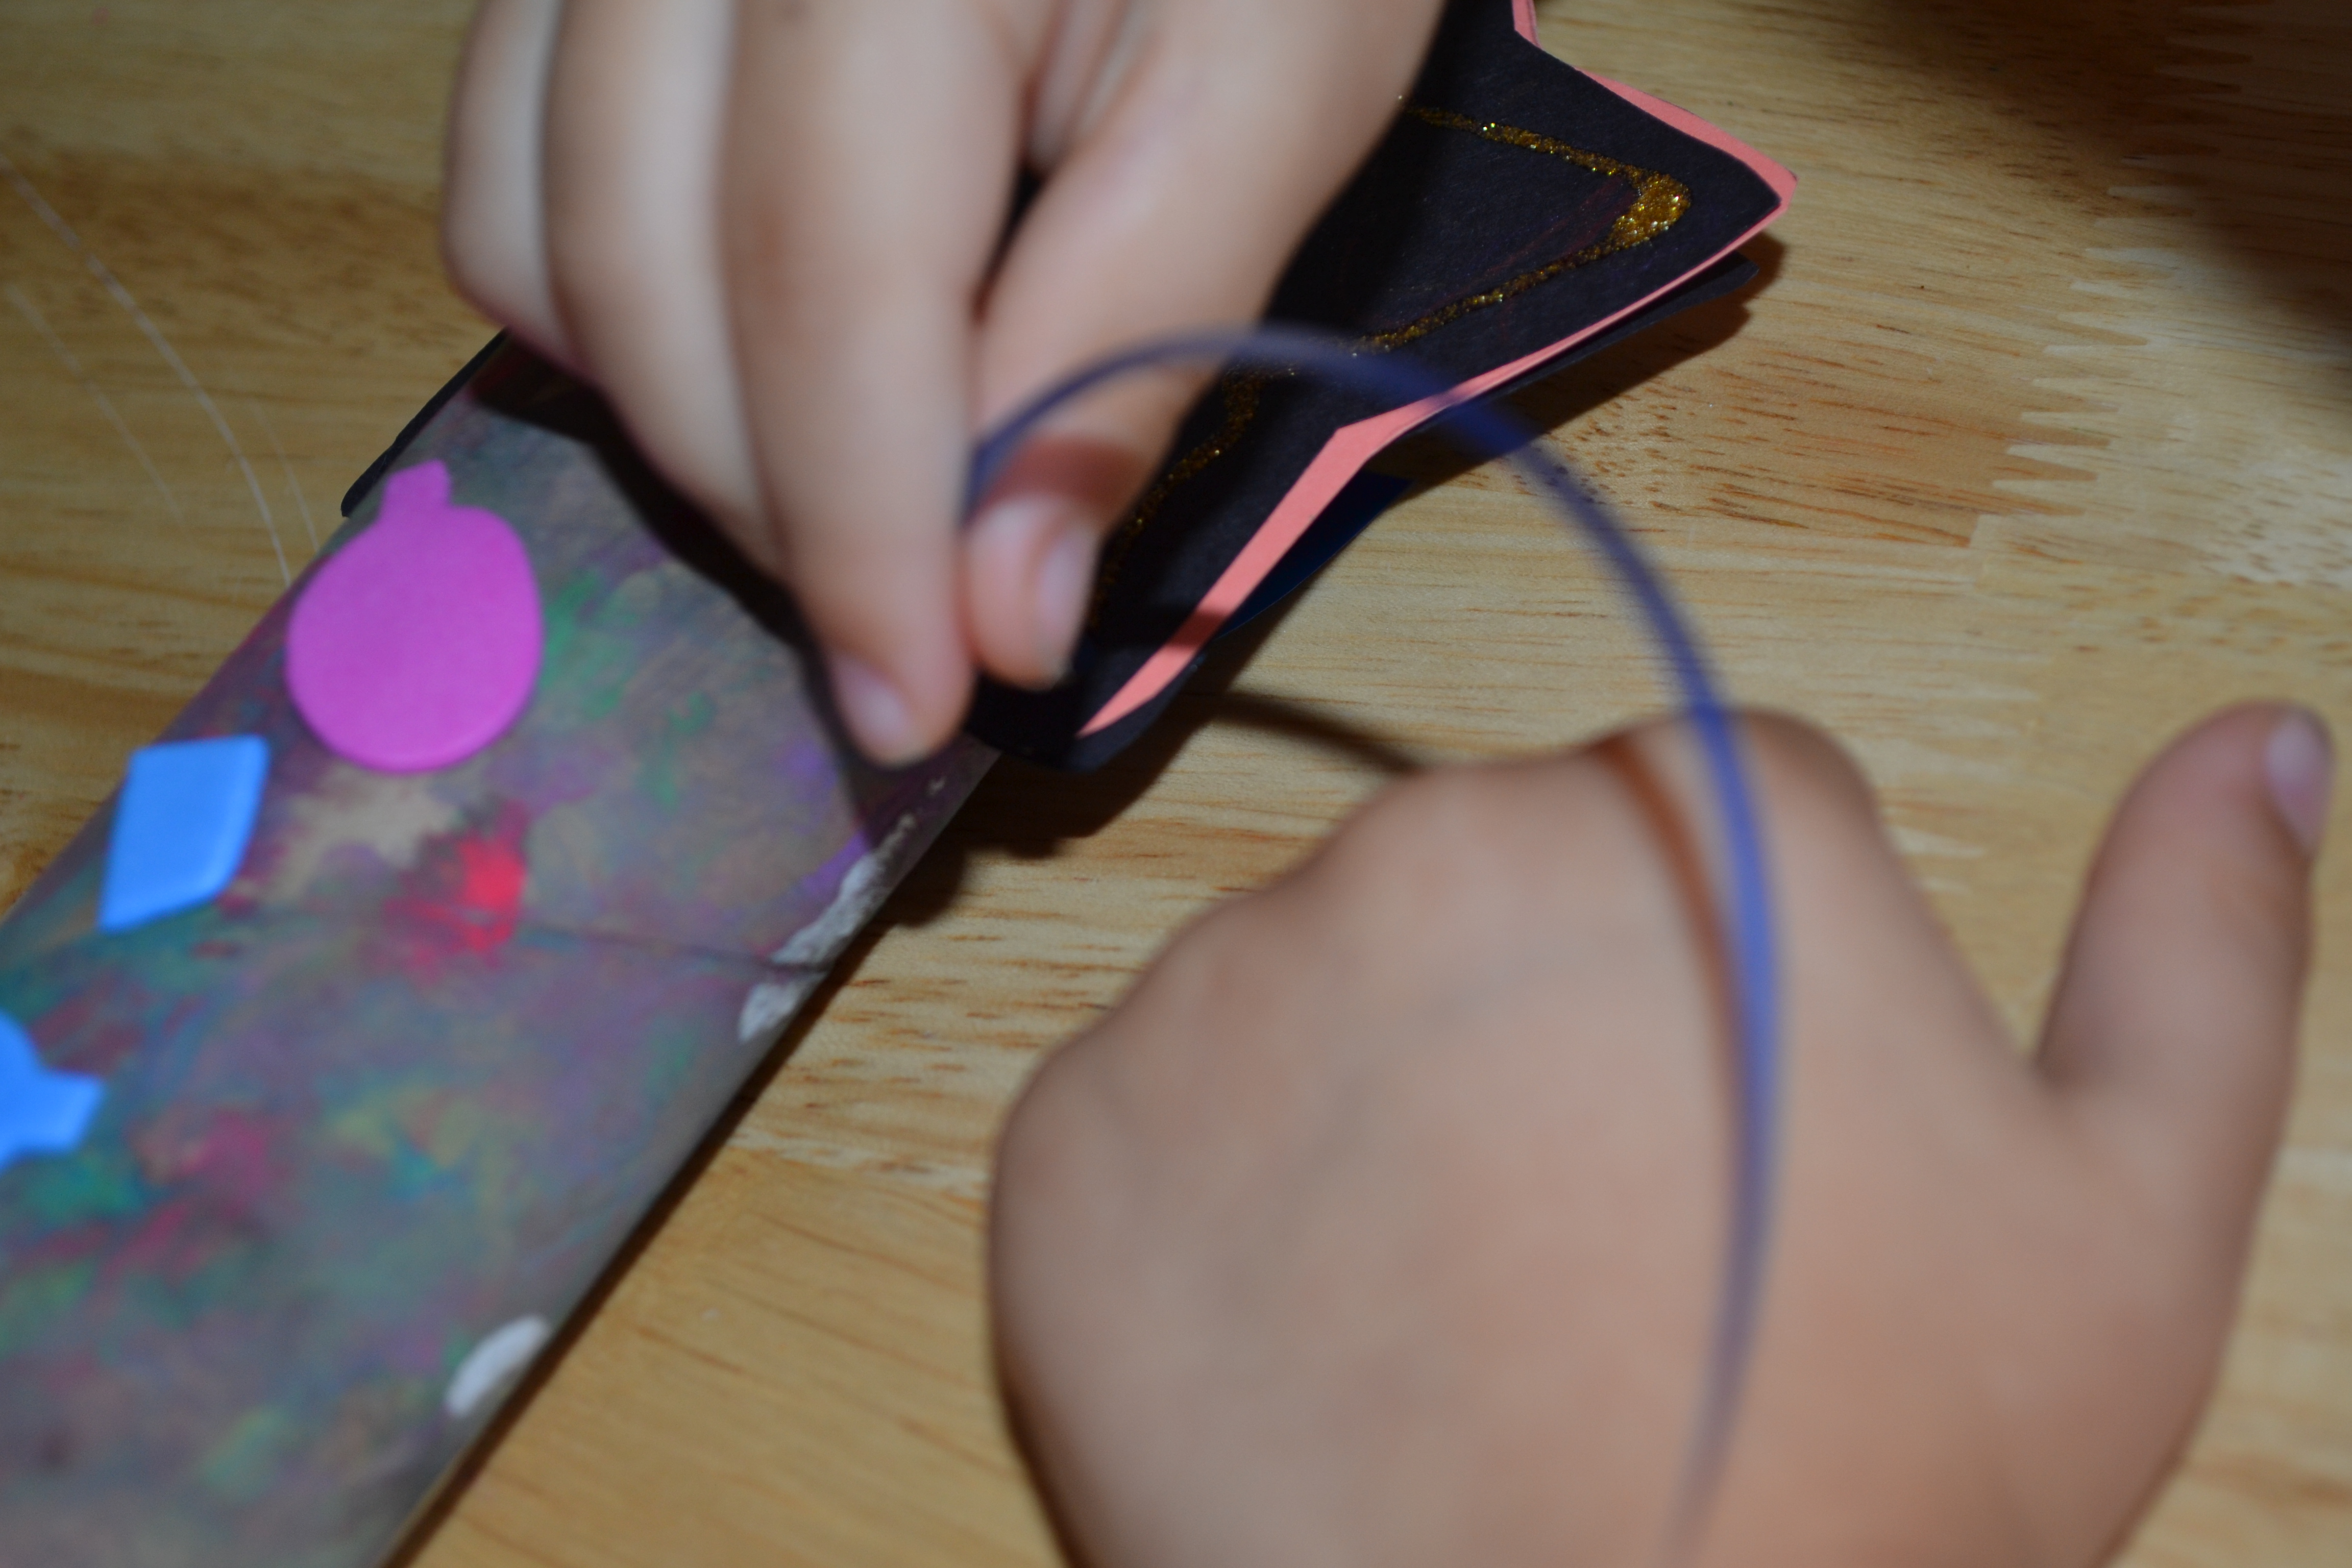
Step 10
We cut out different colored ribbons and the kids threaded them through the holes in the bottom of the stars. Once we tied them in place, the kids were ready to go!
Done!
They spent the rest of the day using their wands to put on magic shows and play Fairy Godmother! I love being able to spark imagination with a few simple craft supplies!


