Step-by-step tutorial
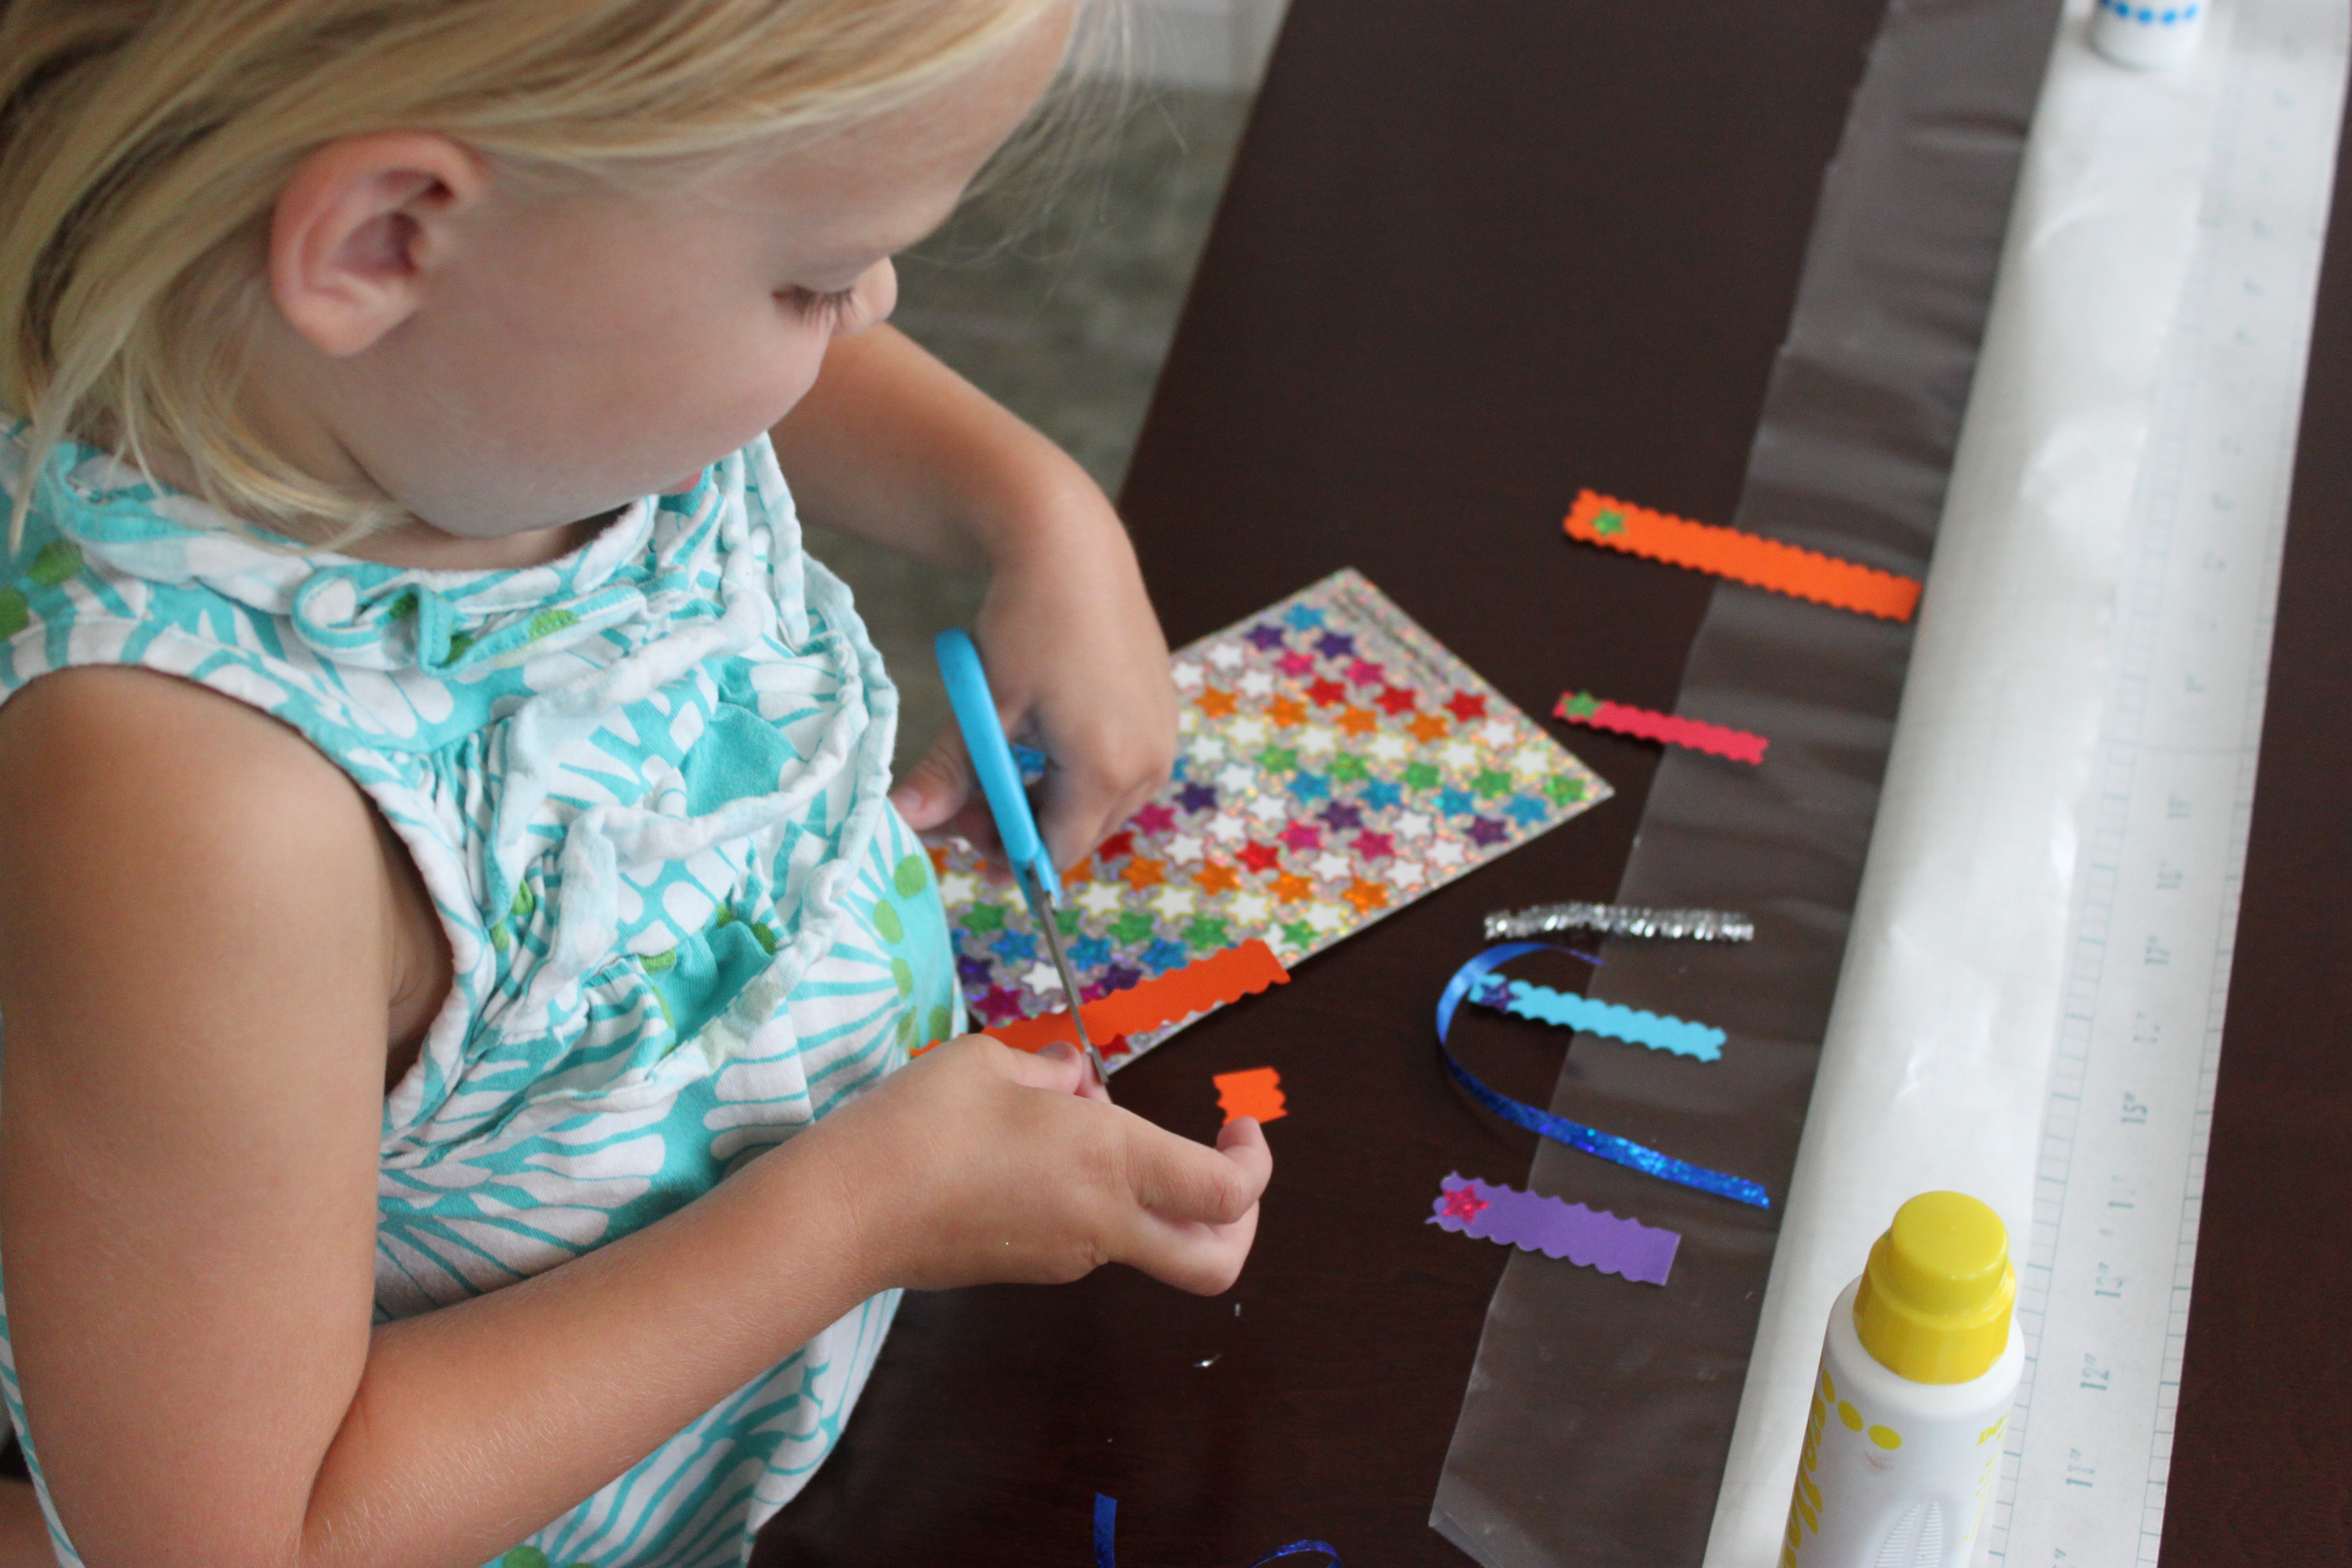
Step 1
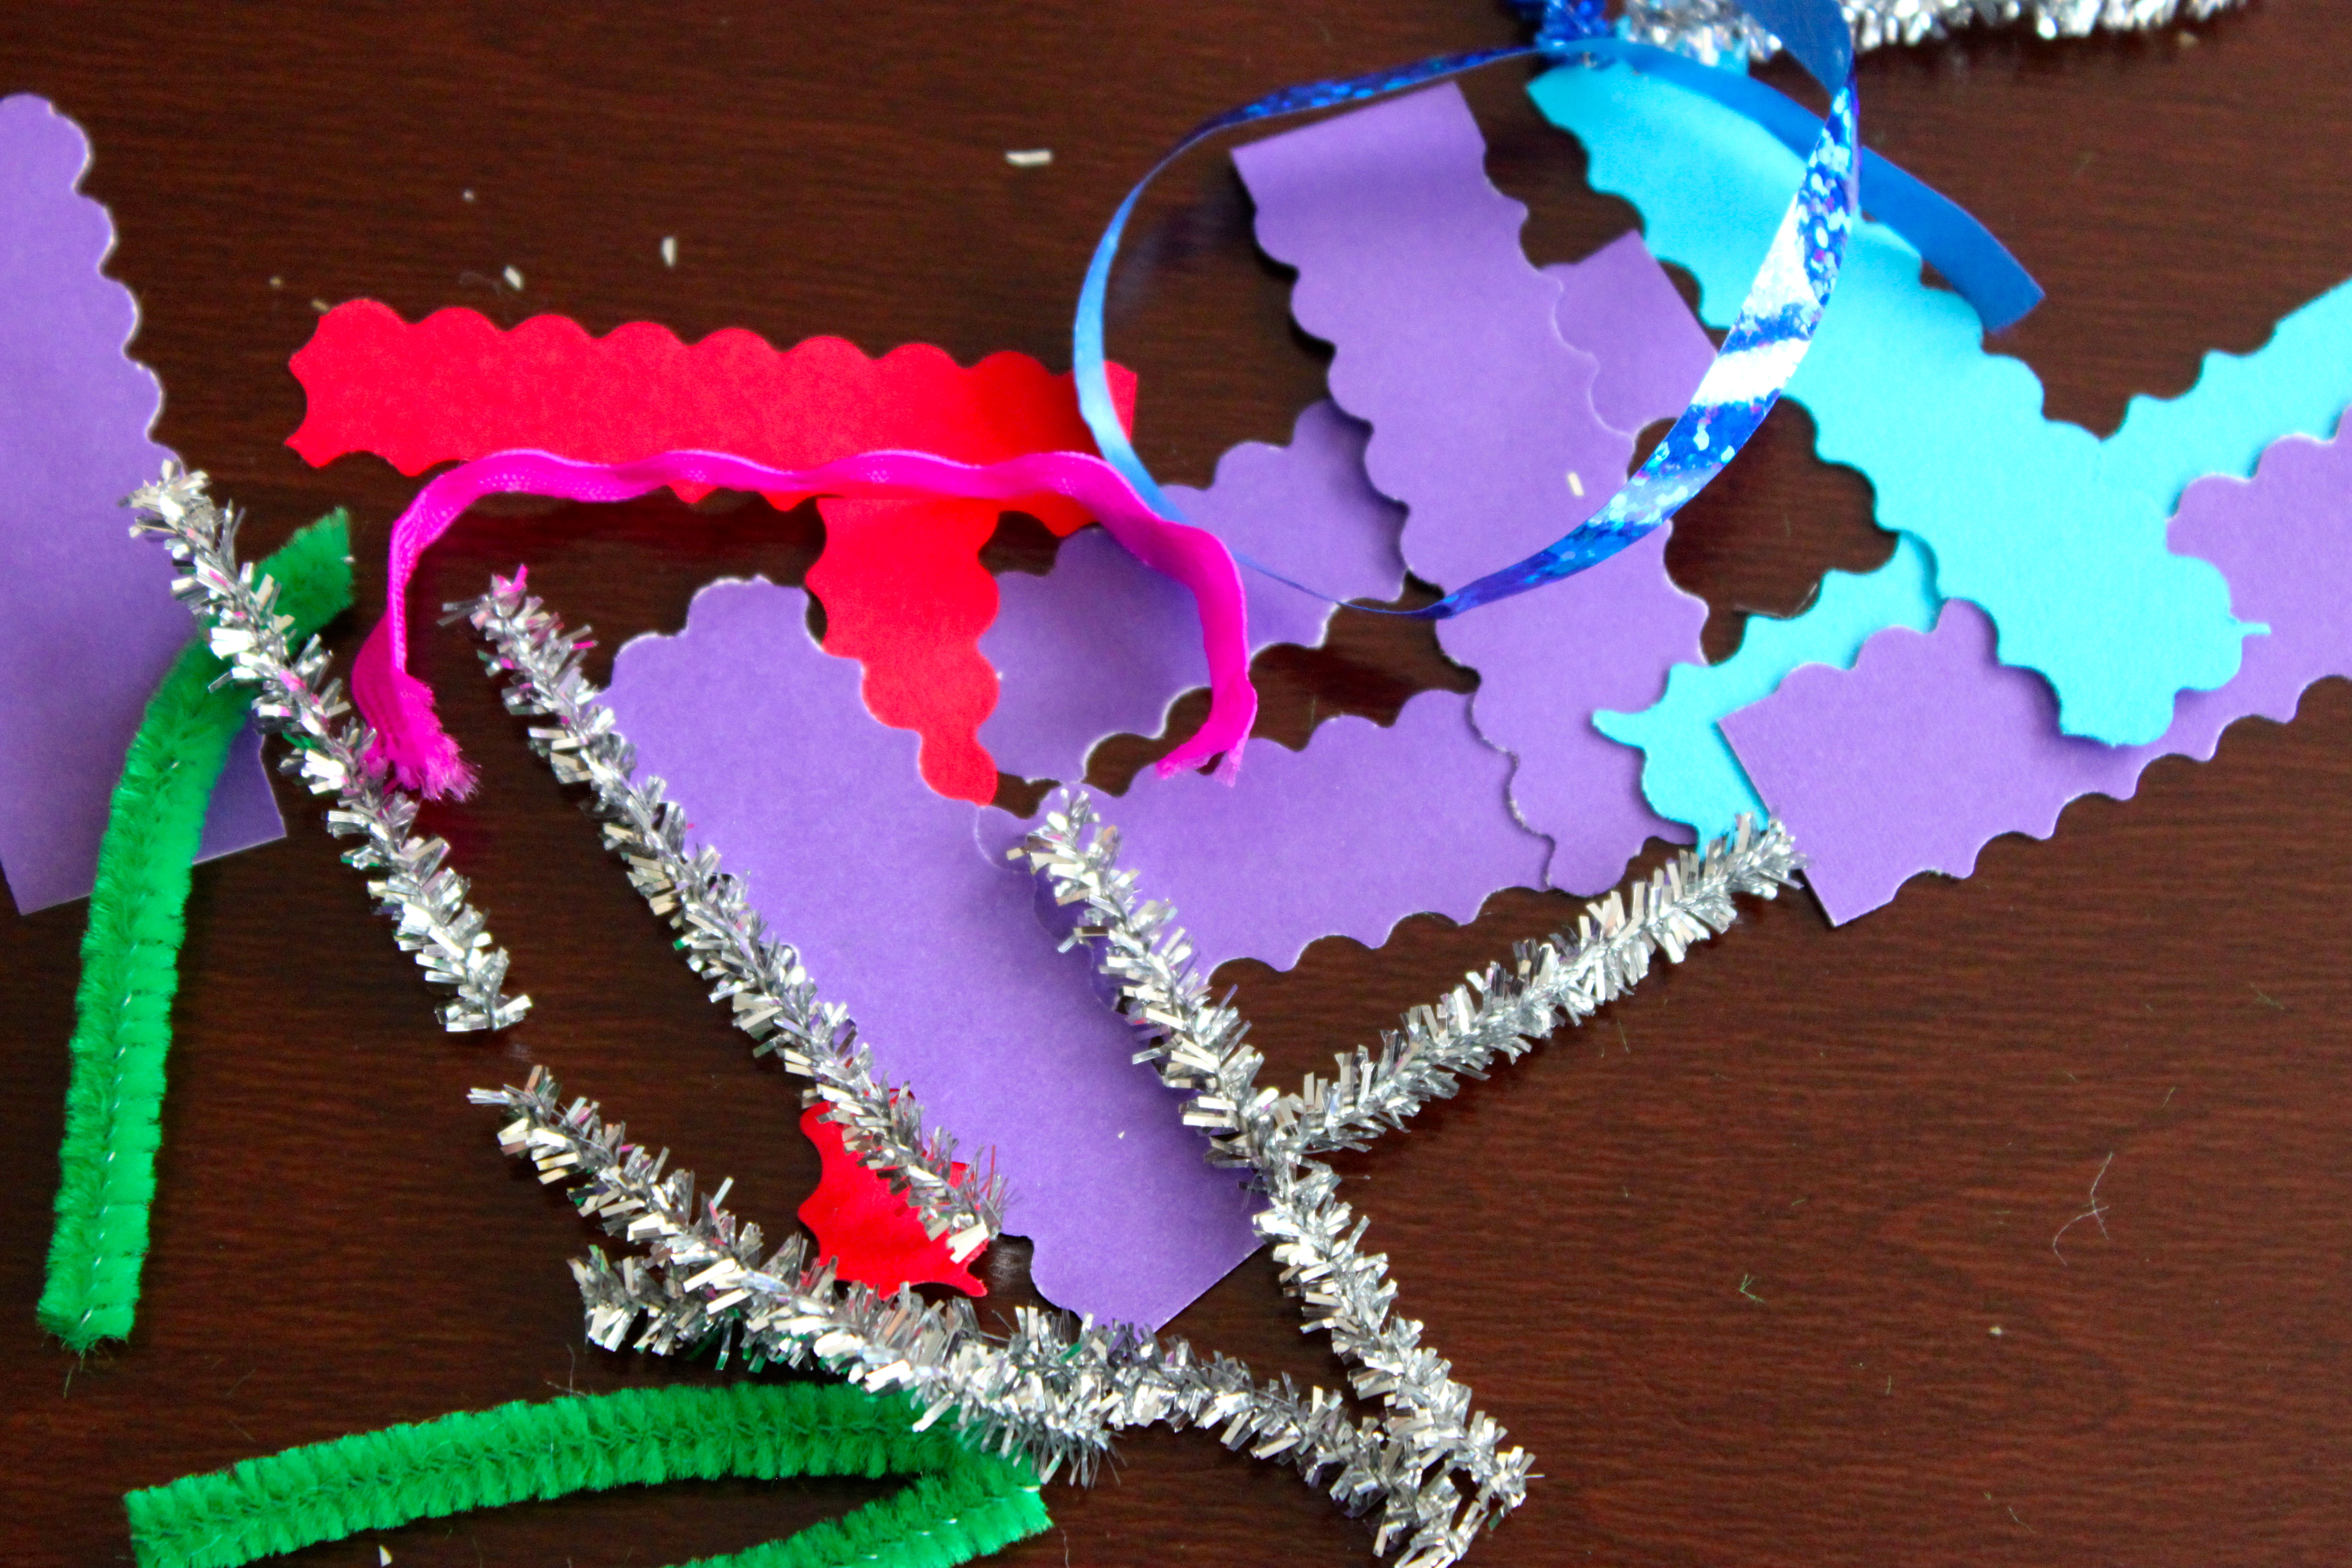
Have your child help you collect pieces of paper, ribbon, fabric, stickers, etc. to decorate the crowns.

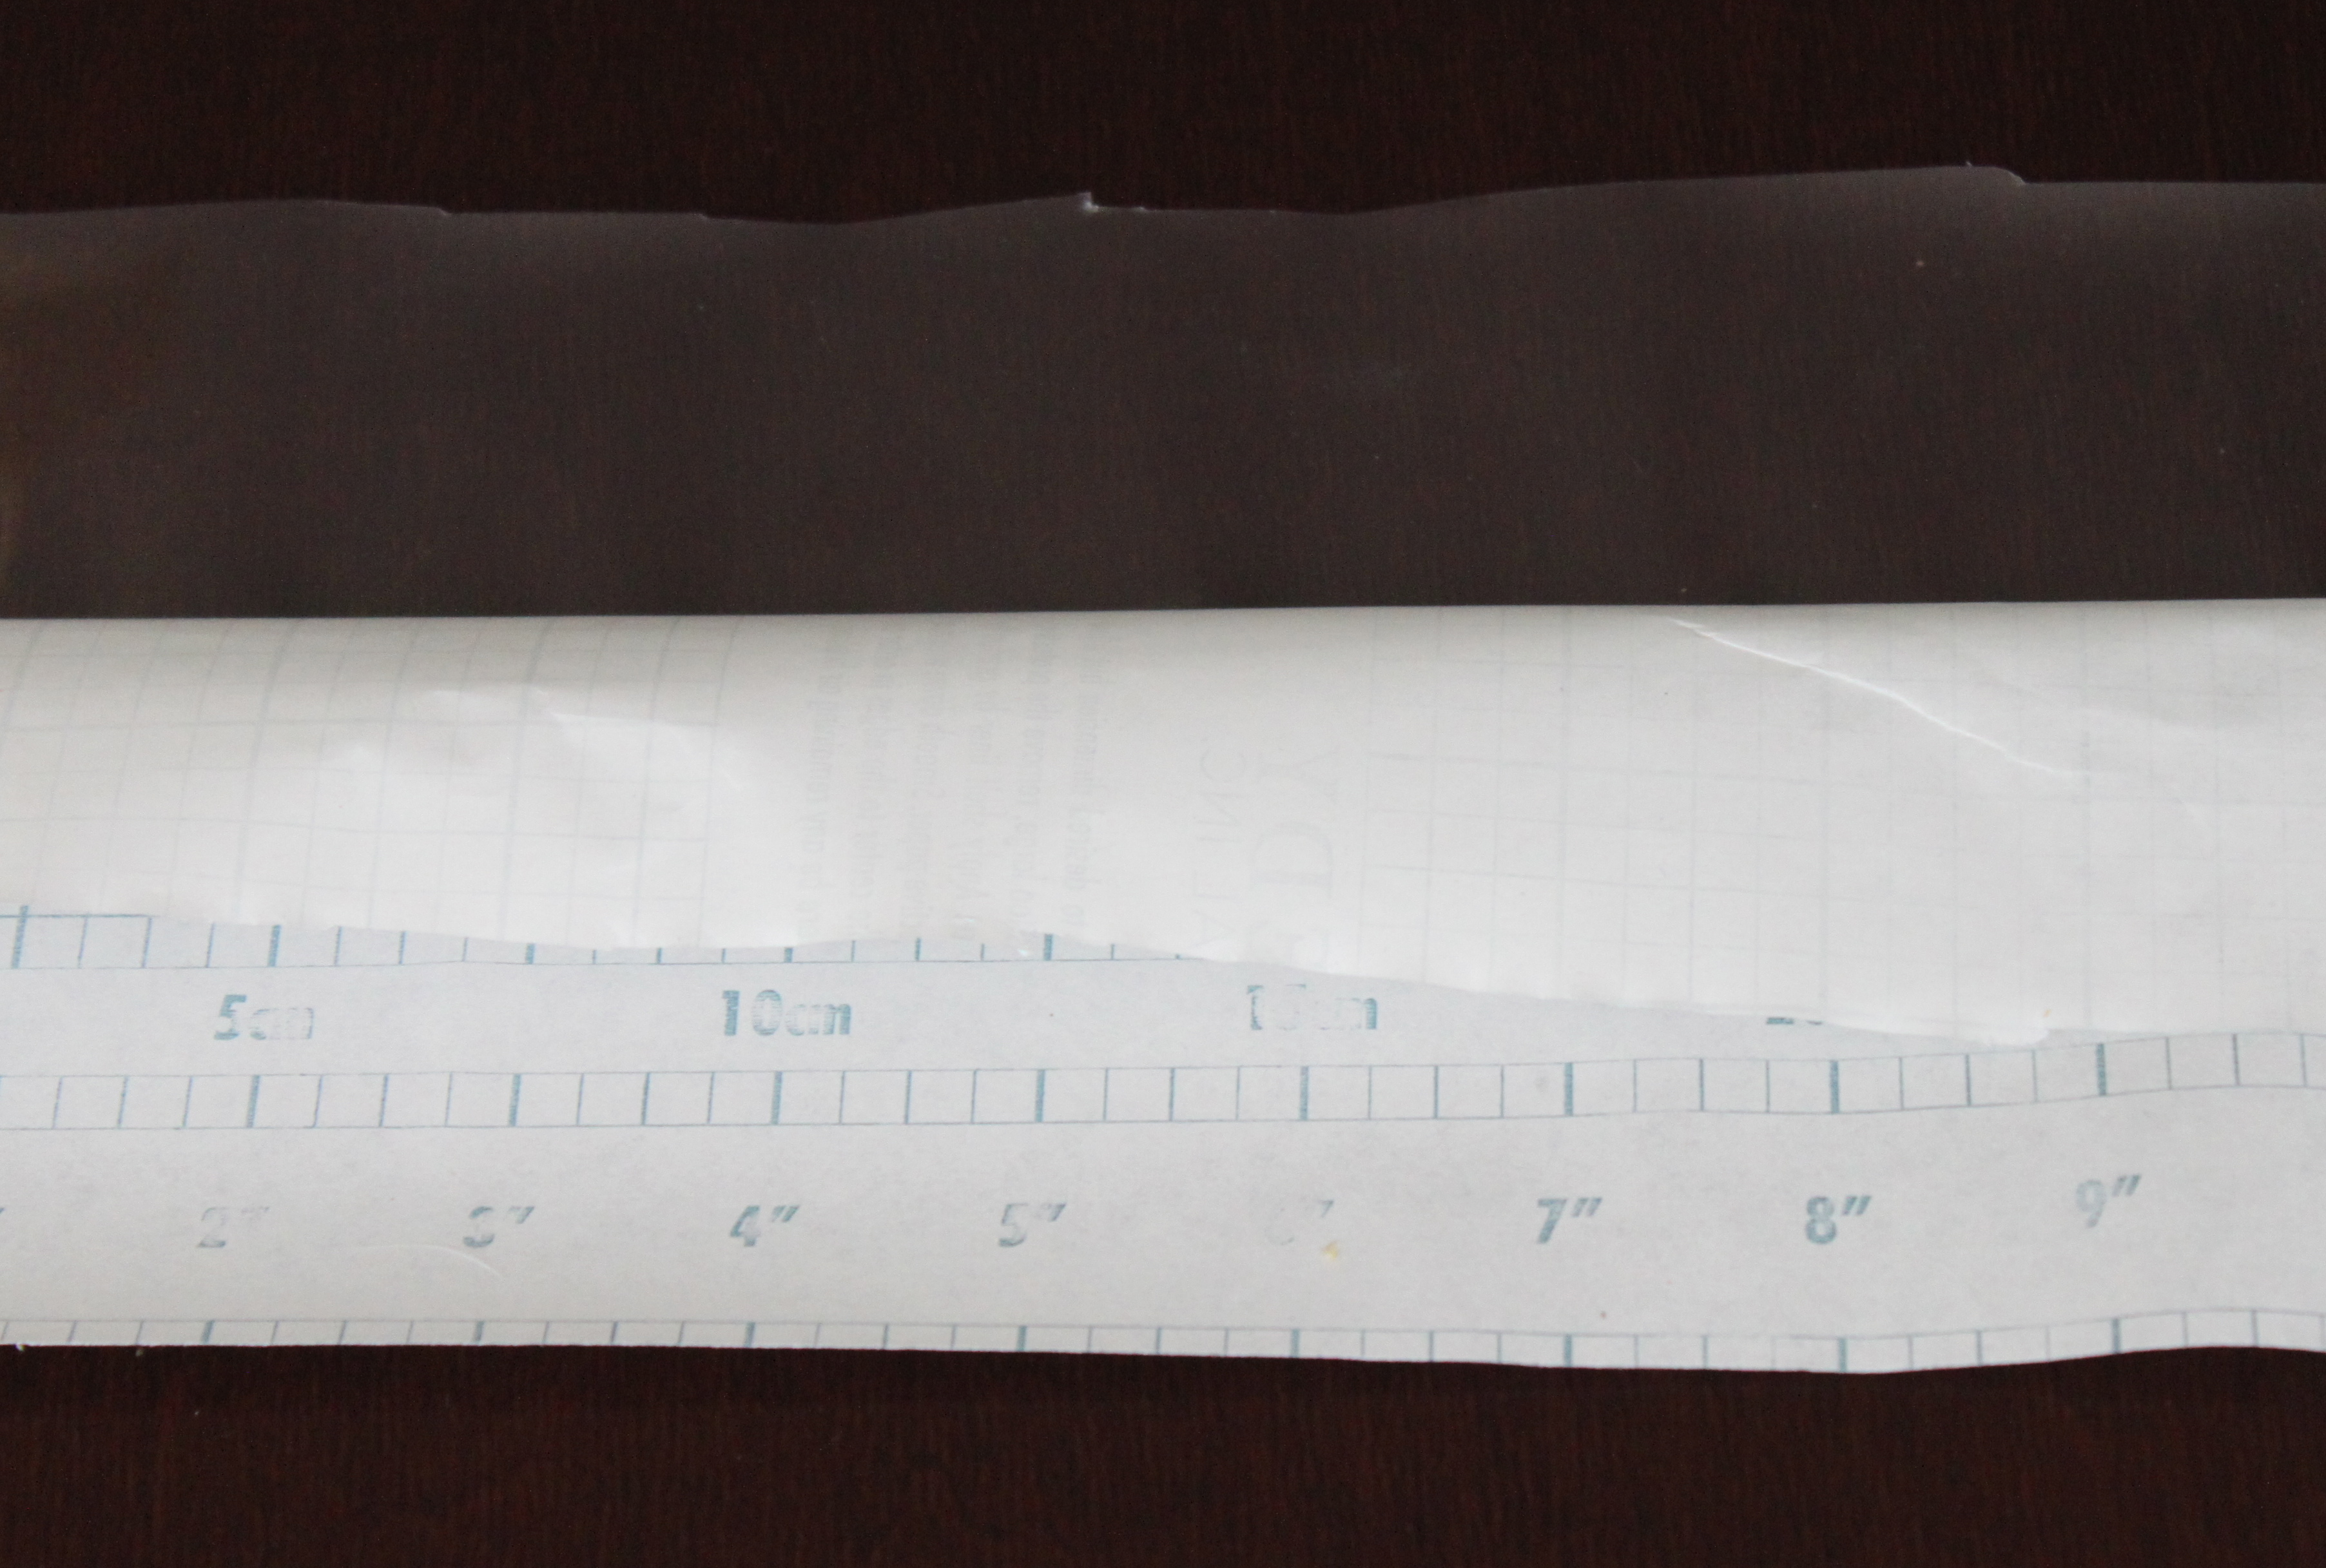
Step 2
Cut a piece of contact paper that will fit around your child's head and is about 4-6 inches in width. Put it on the table and peel the paper back on half of it to reveal 2-3 inches of the sticky contact paper. If your using packaging tape cut a piece that will fit around your child's head and place it sticky side up on your work surface.
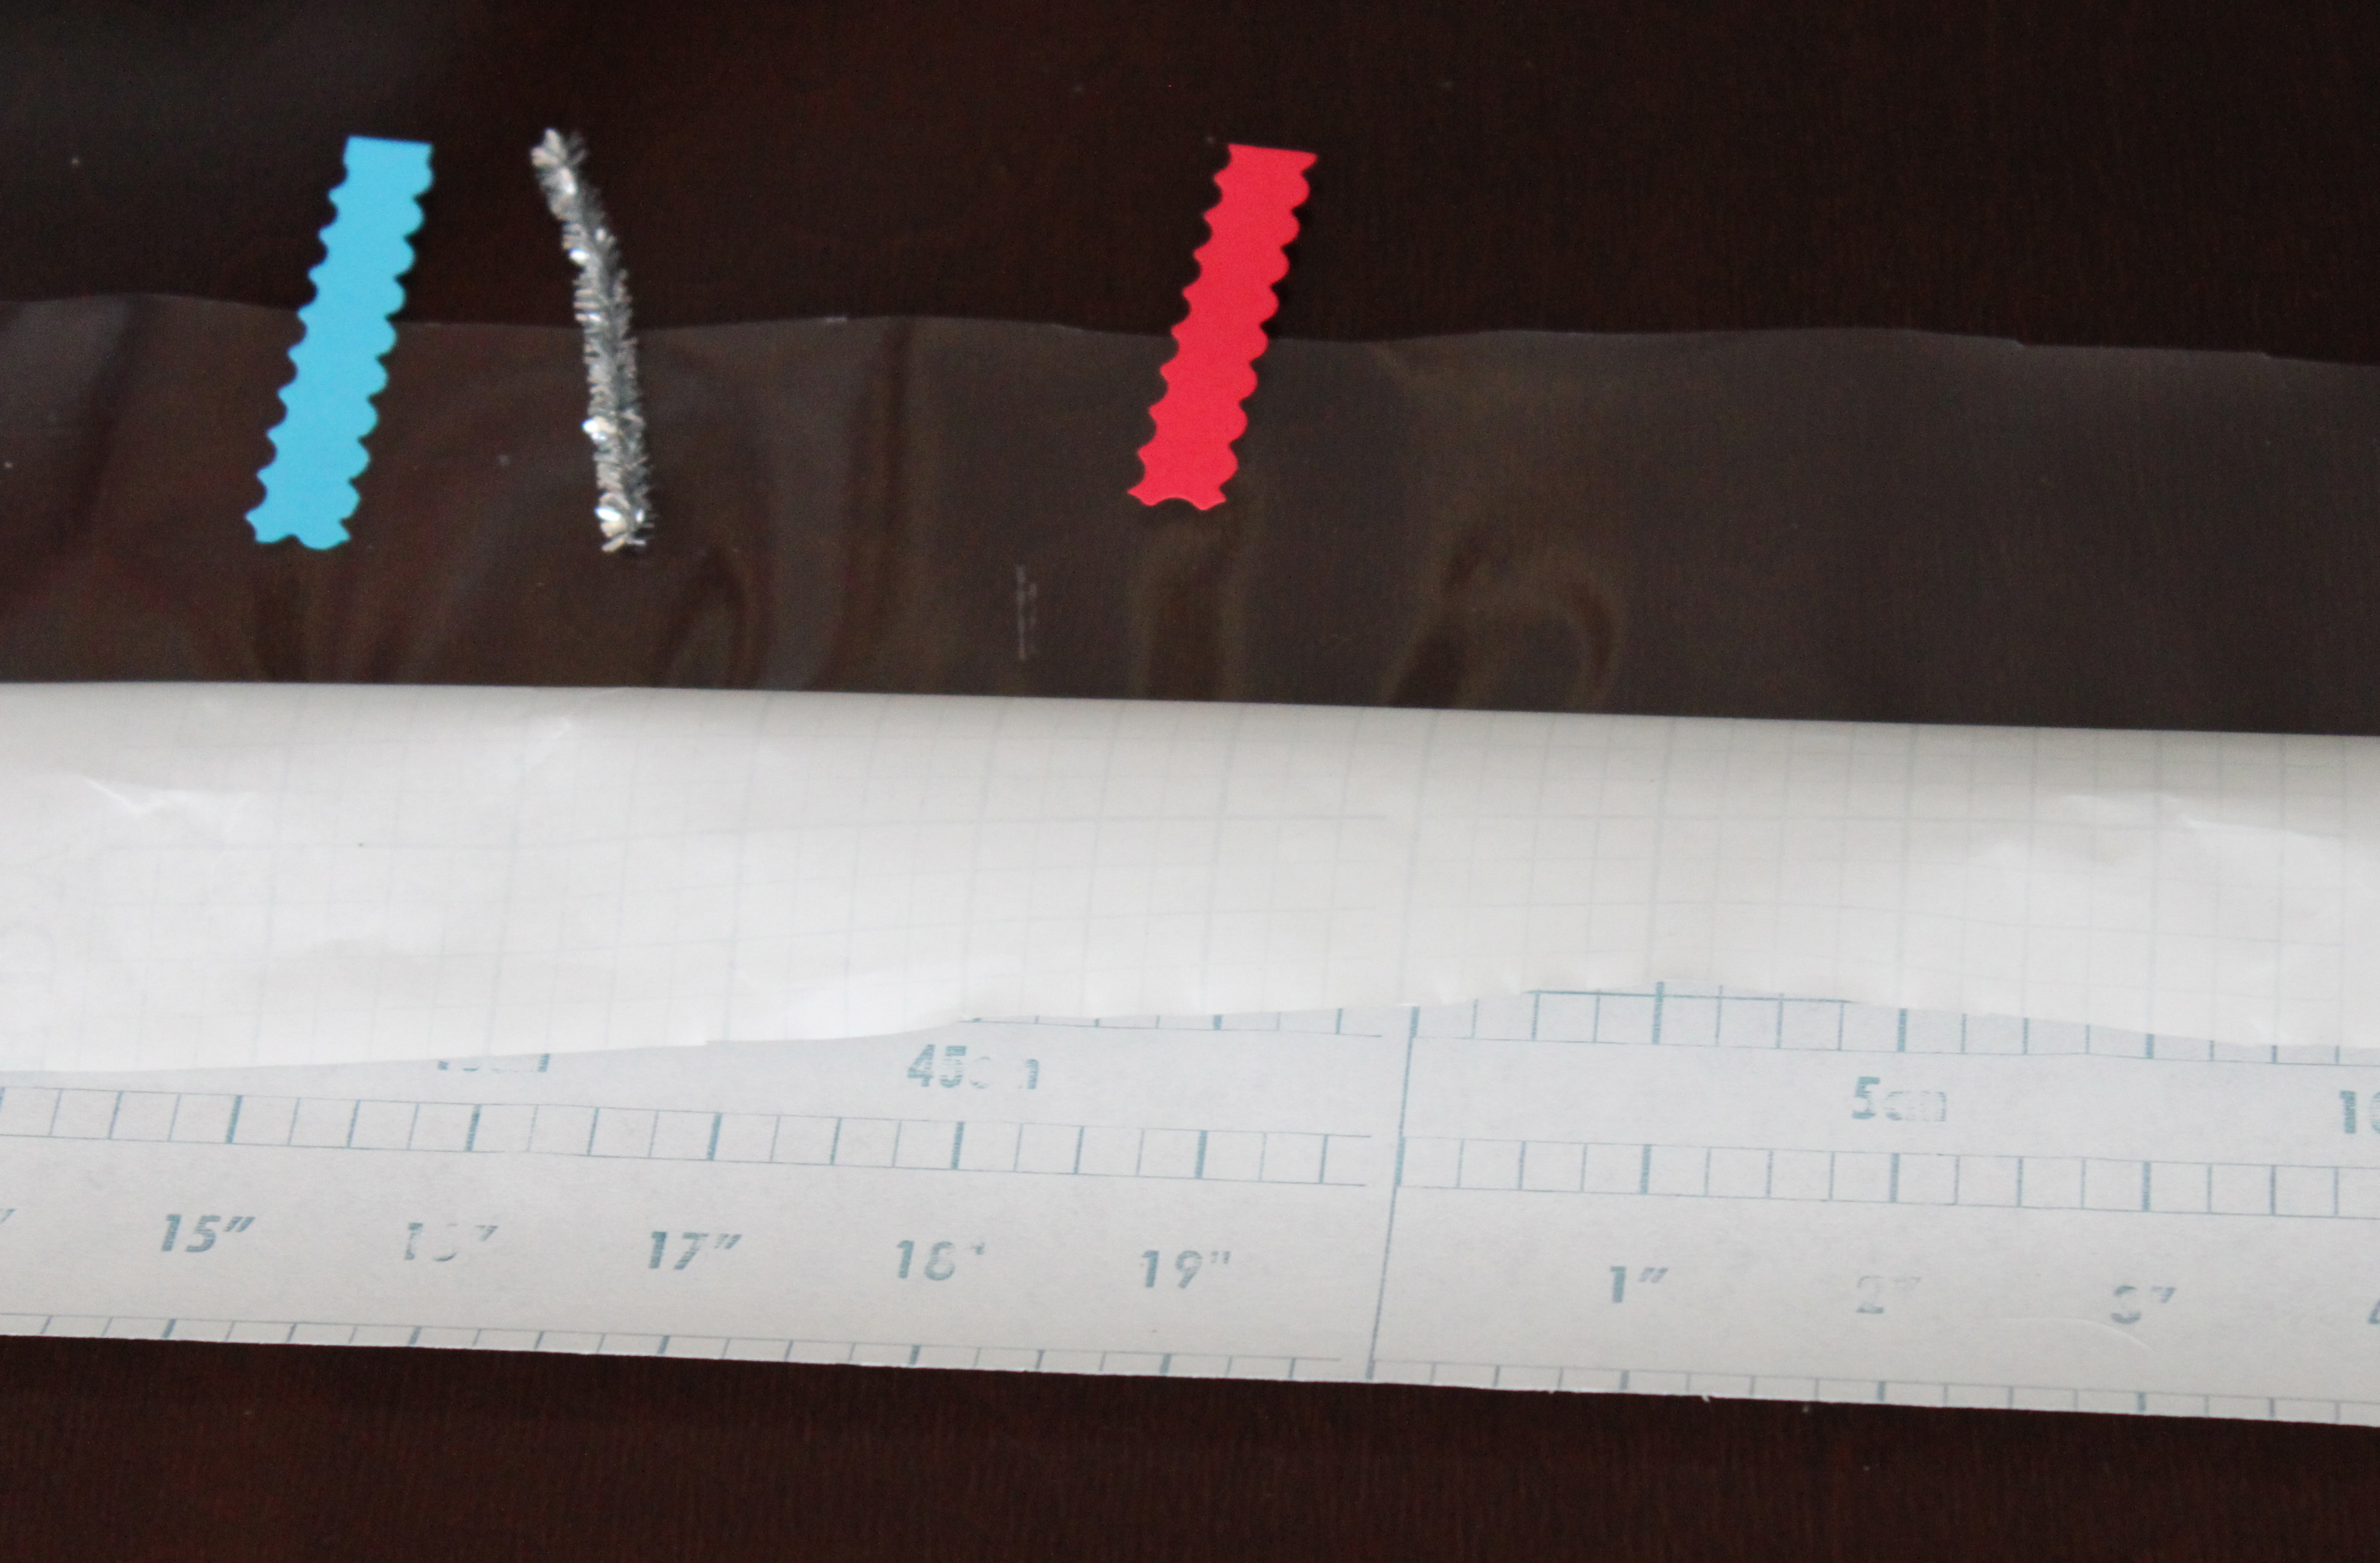
Step 3
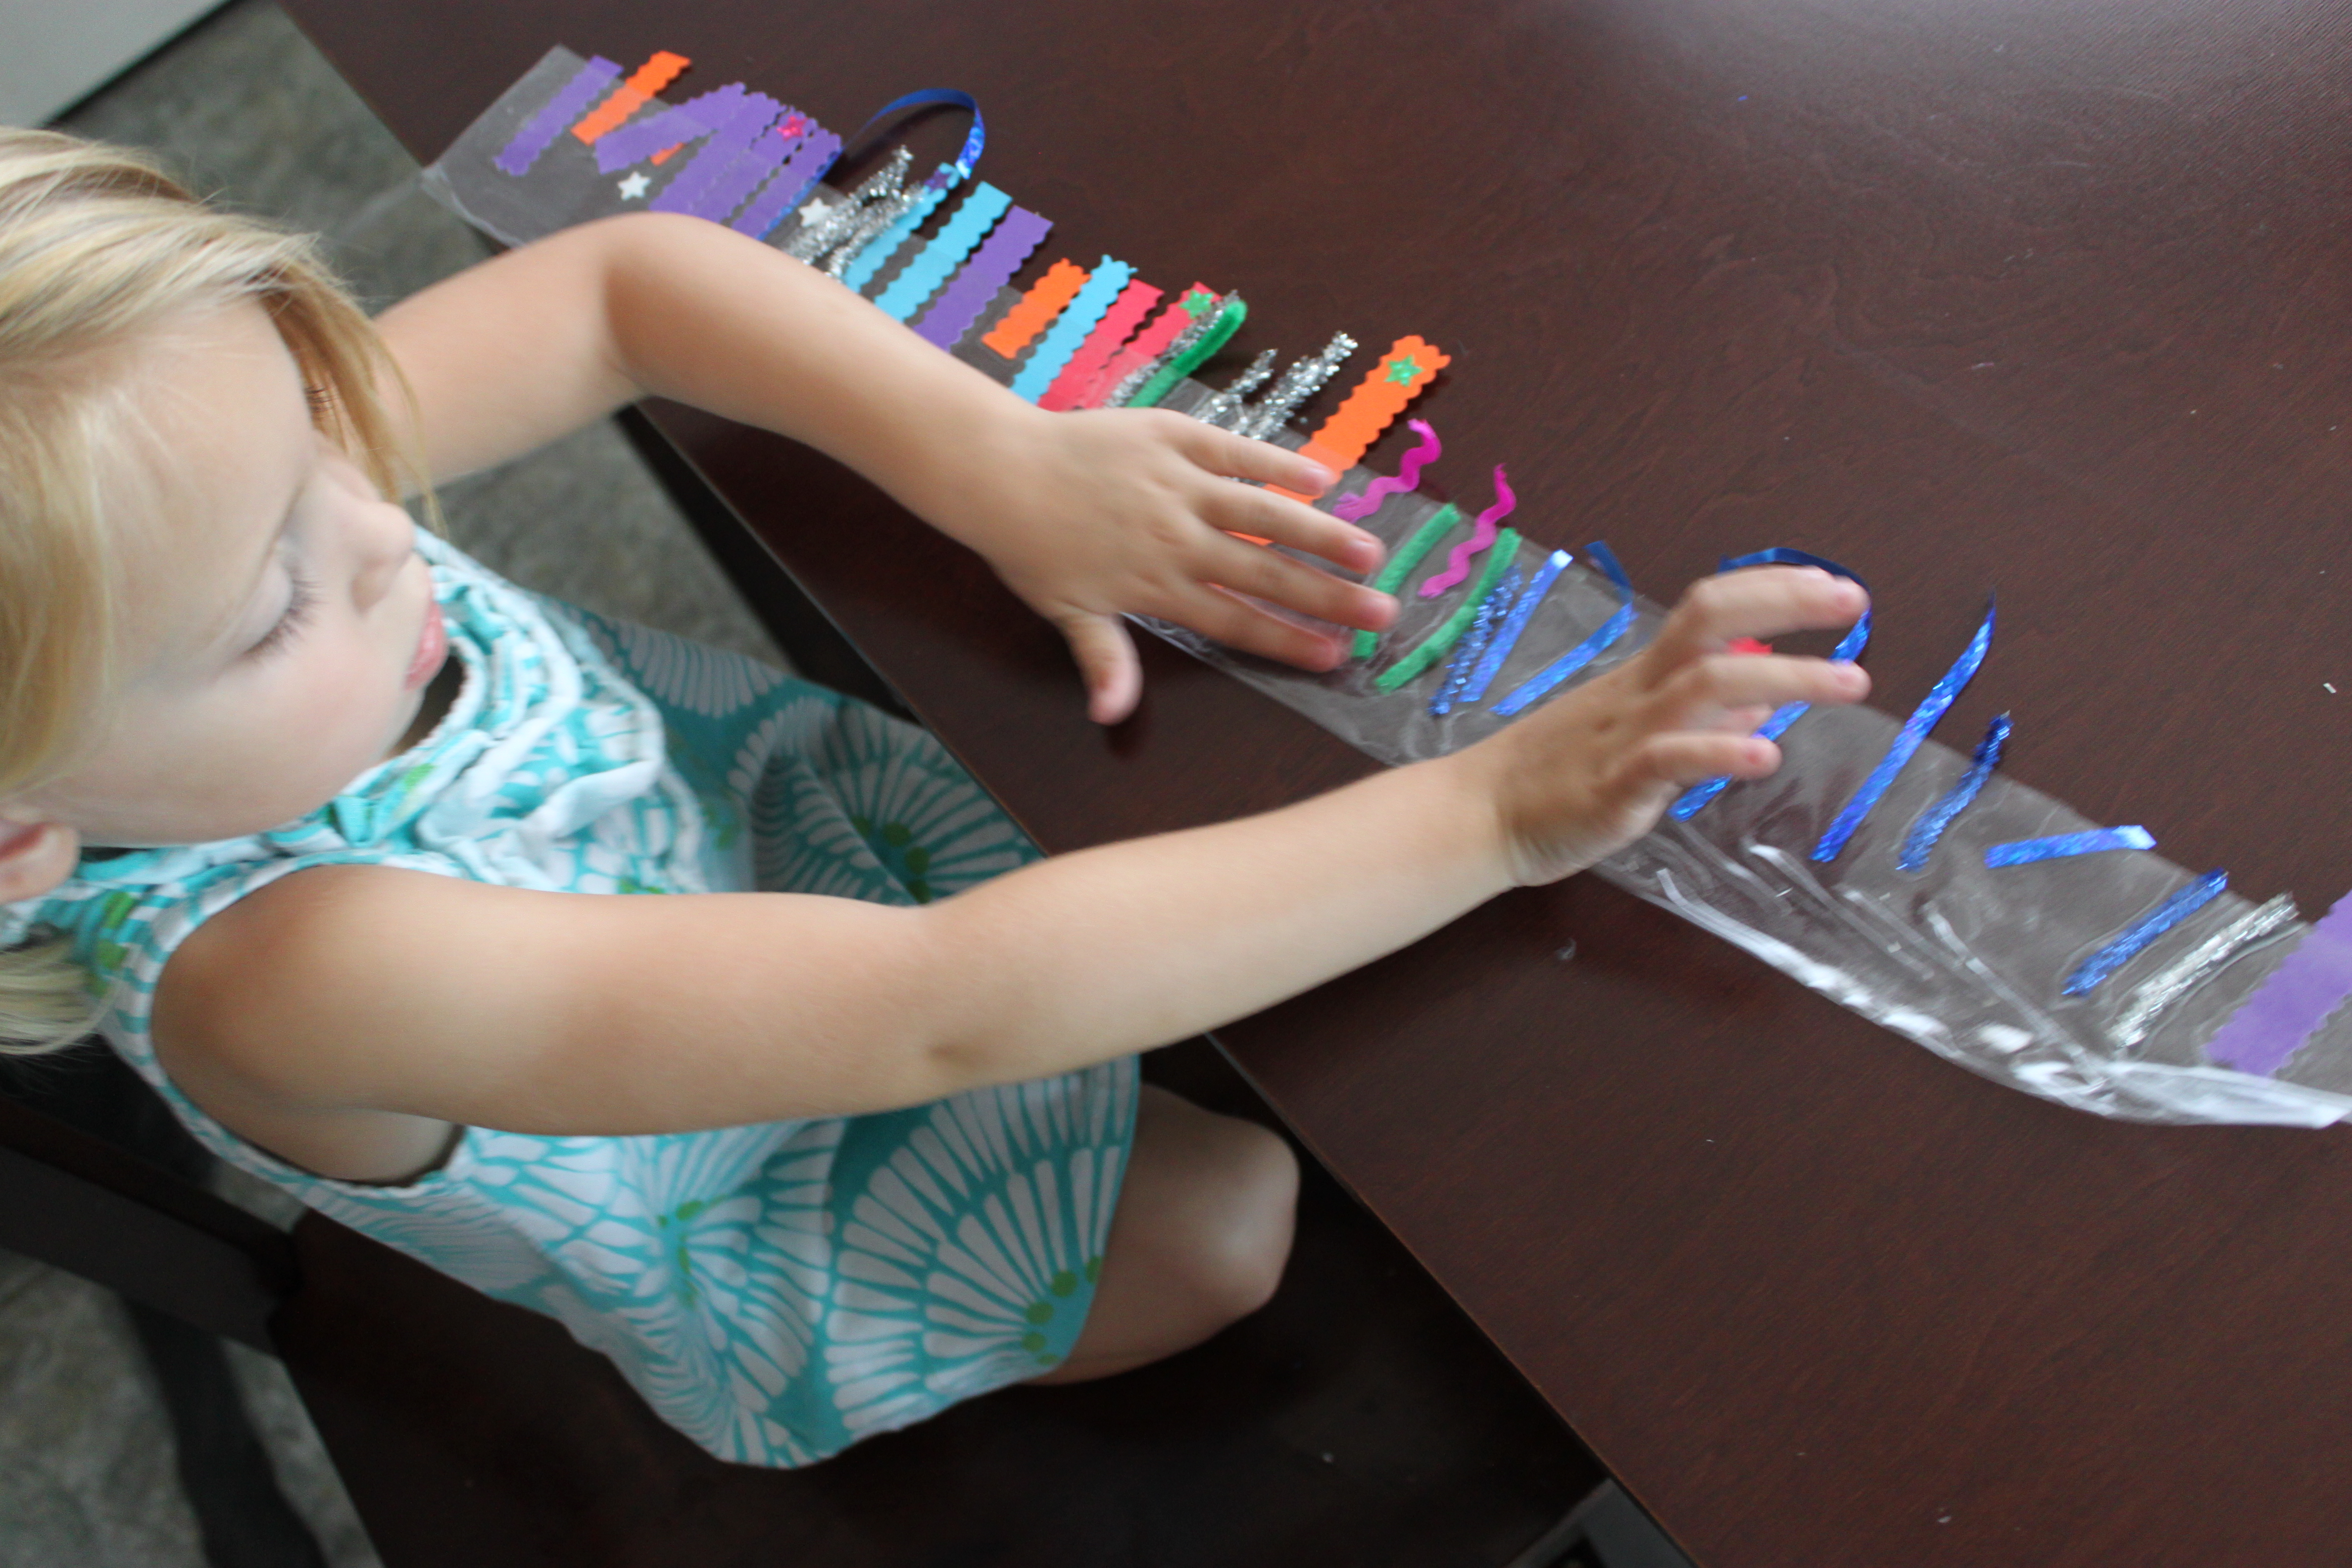
Place the pieces of ribbon, paper, etc. onto the sticky contact paper. Try to make sure they are sticking halfway off of the contact paper.
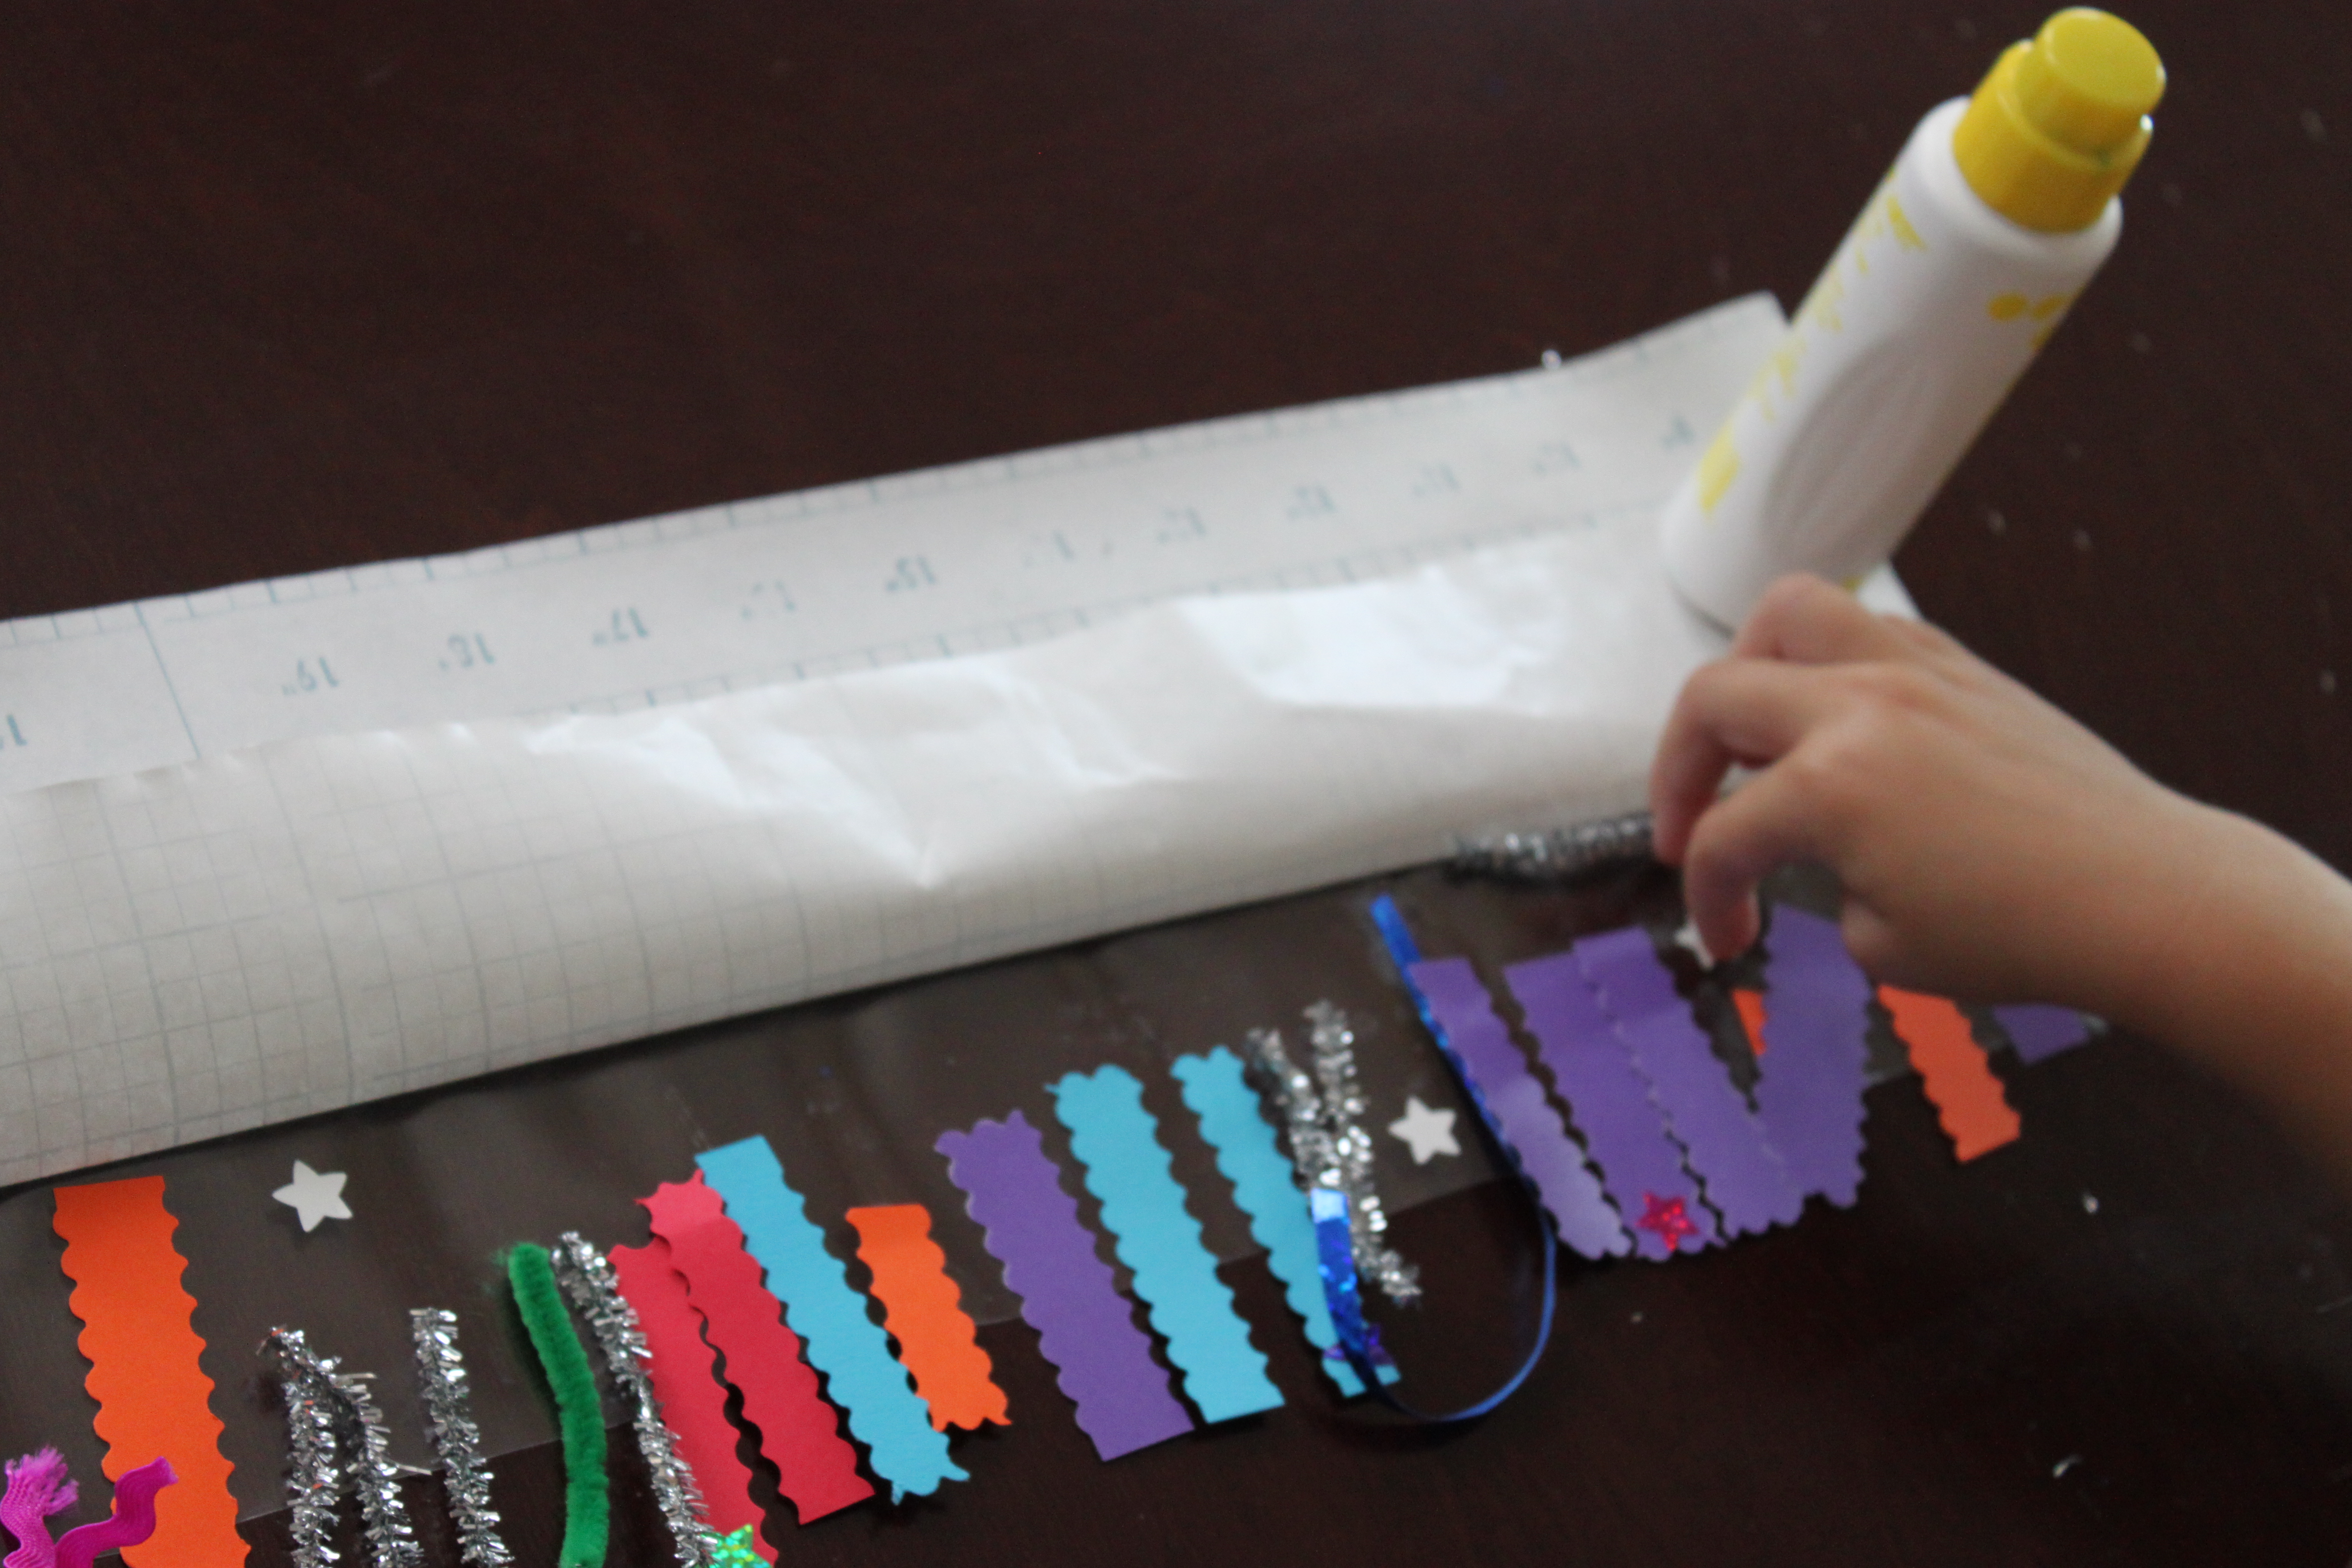
Step 4
Arrange all of your items and get creative! Put stickers on the ends of the paper and you can also put stickers in empty spots of the contact paper.
Step 5
When it is arranged how you want it, peel back the rest of the contact paper and fold it in half.
Step 6
Press with your fingers to seal the items in the contact paper.
Step 7
Tape the crown together with a piece of clear packaging tape.
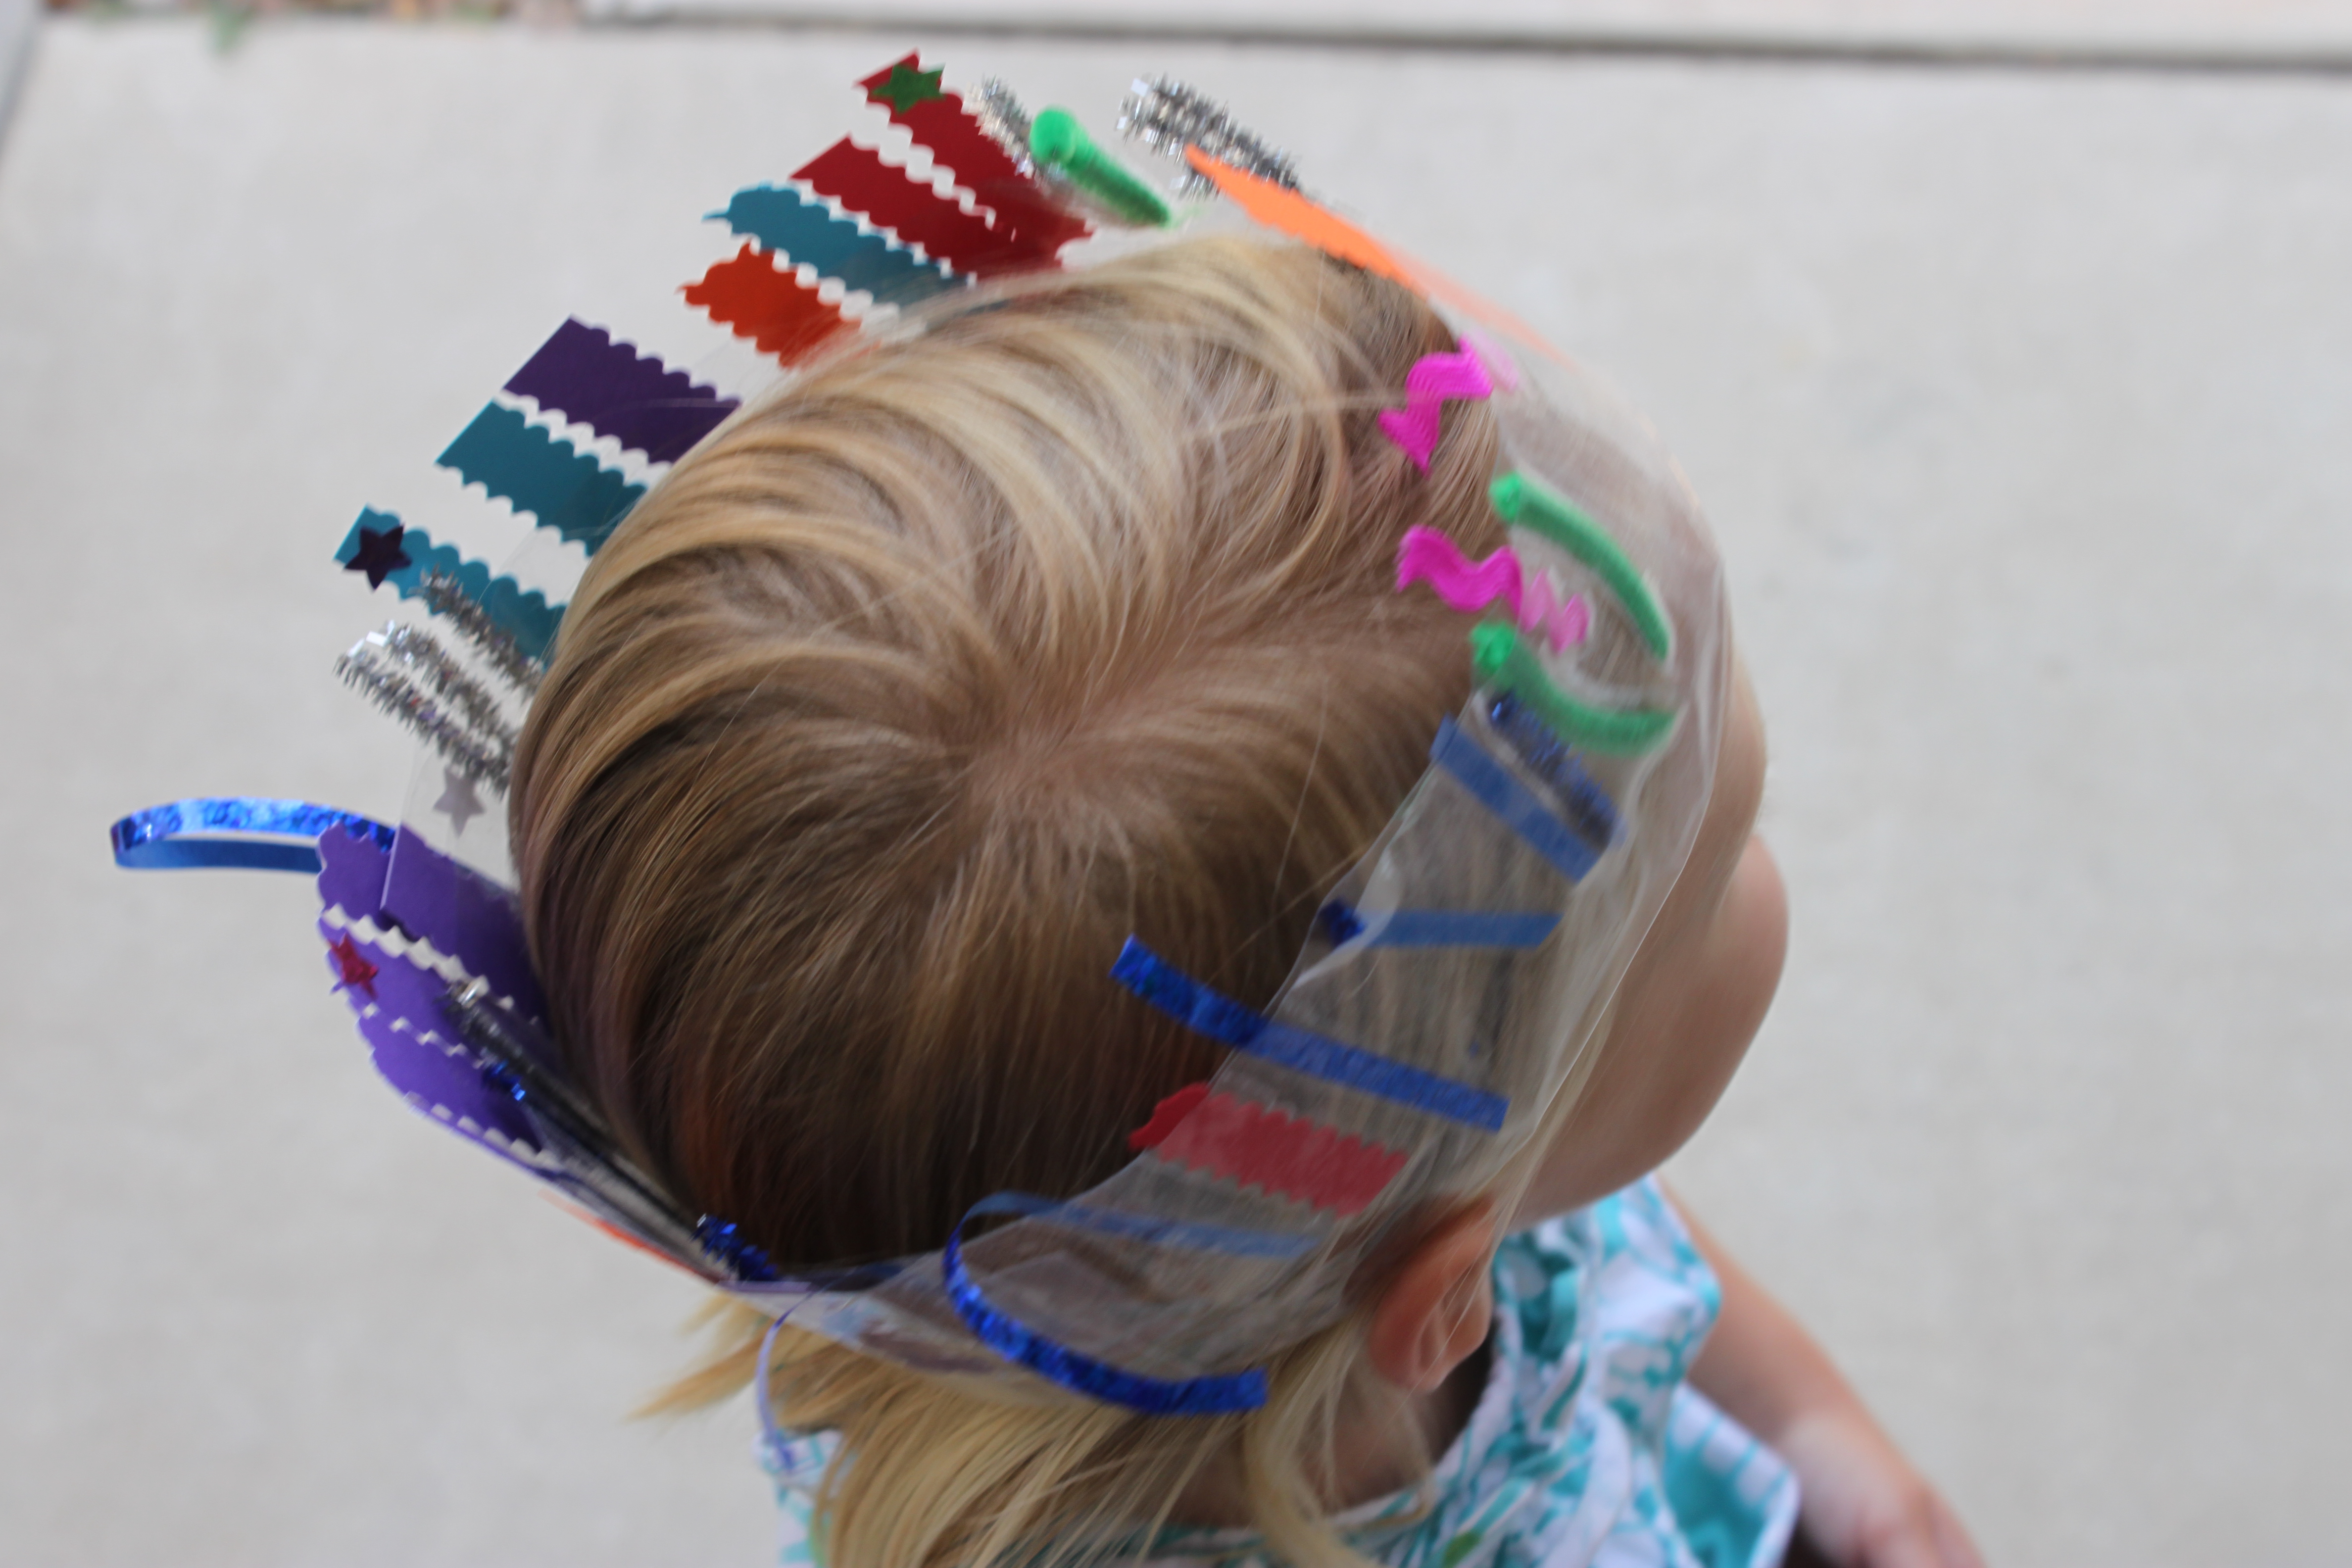
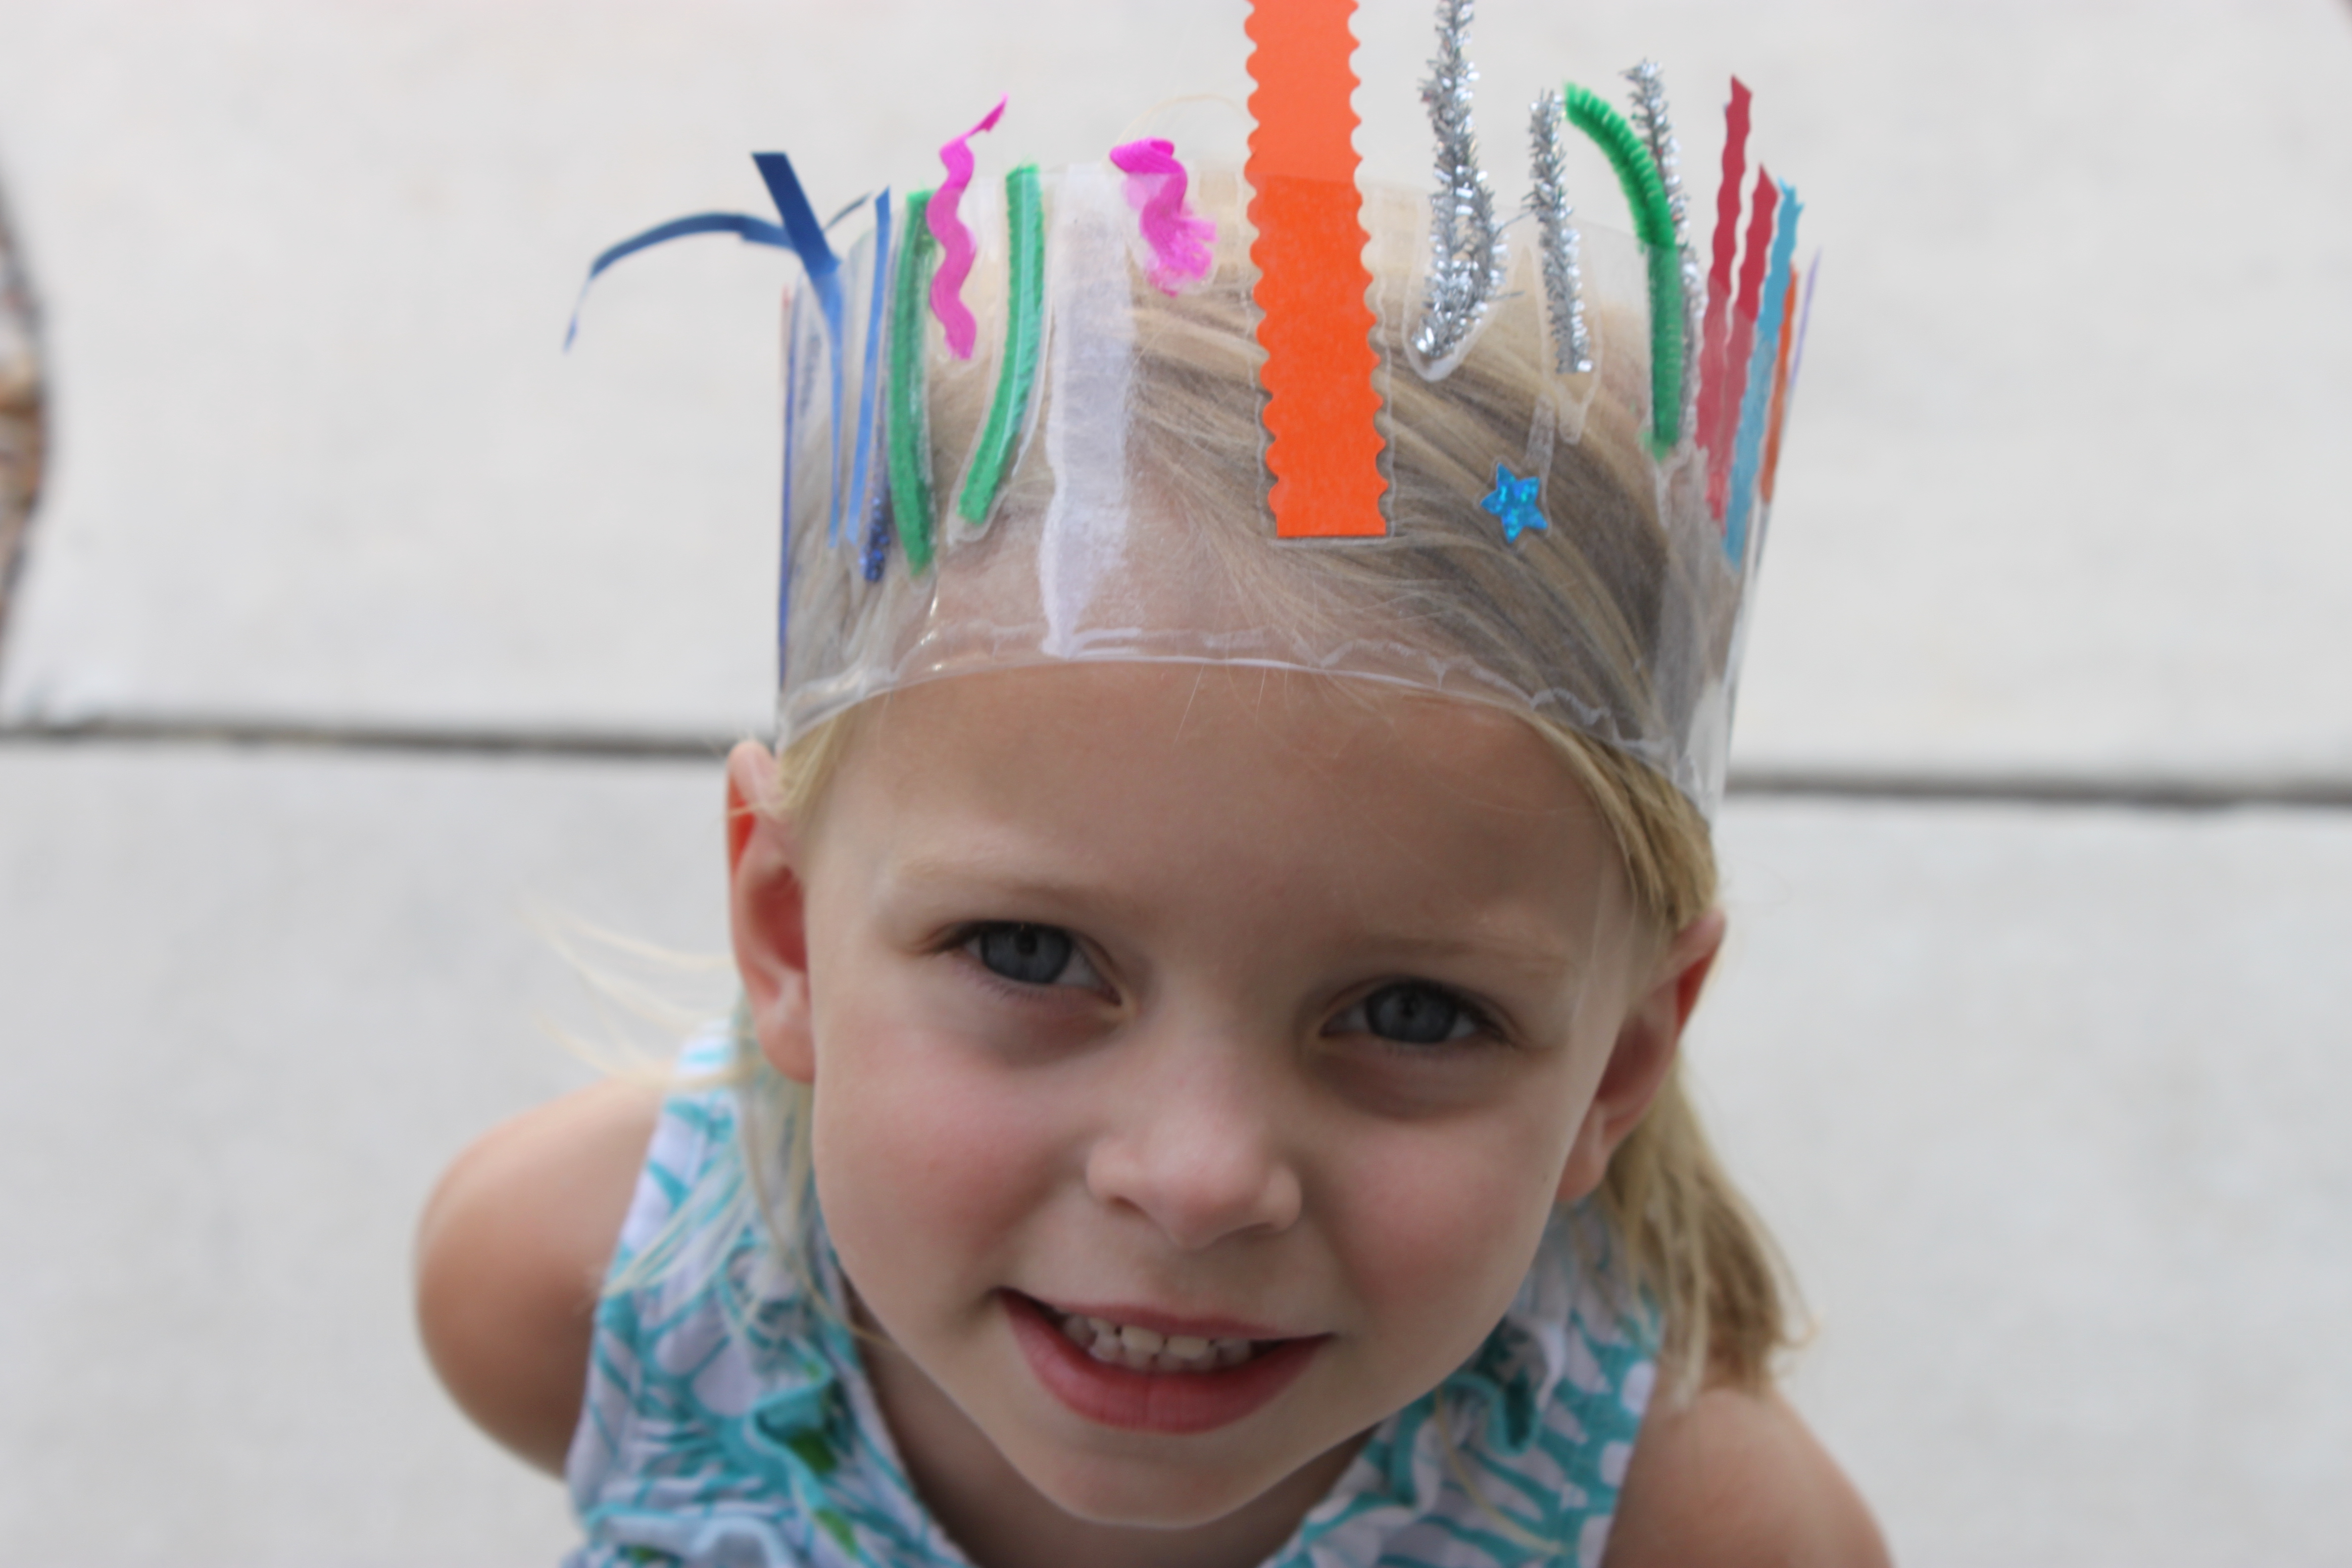
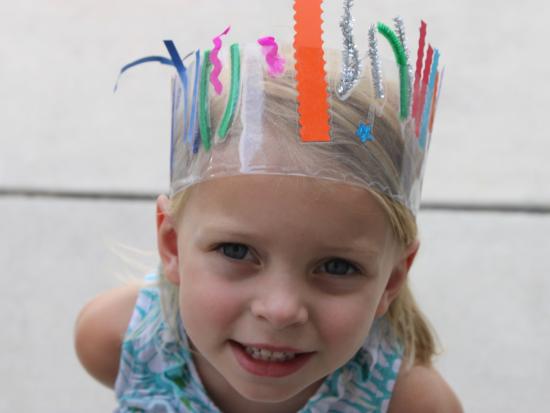
Final result!
Enjoy being princess or prince for the day!