Step-by-step tutorial
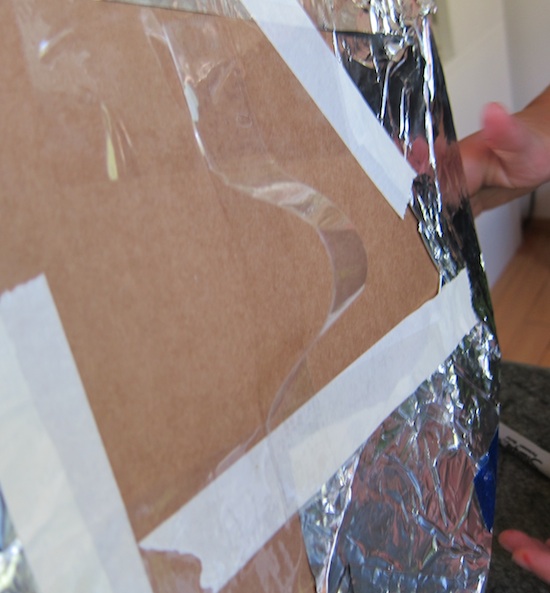
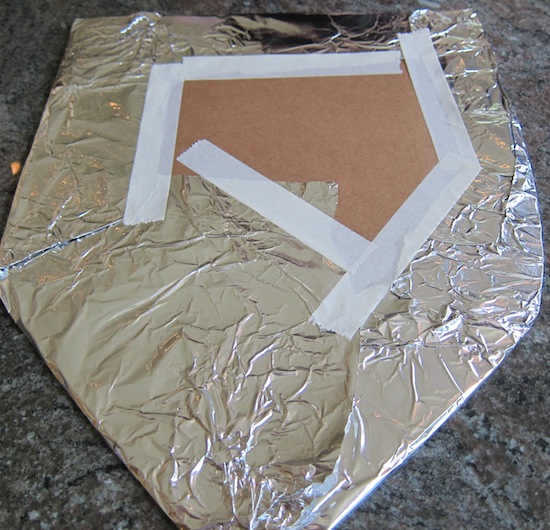
Step 1
Before you get started, cover the shield with aluminum foil and secure on the back with tape

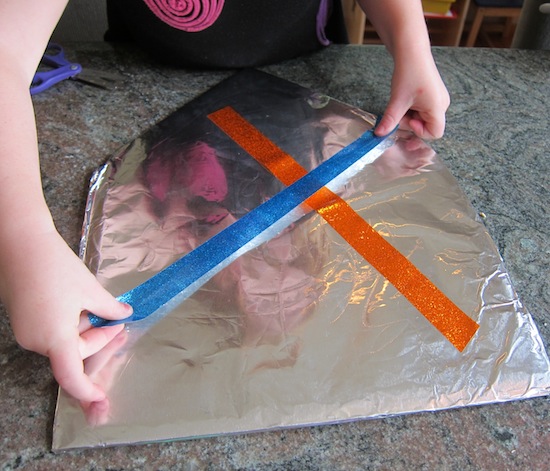
Step 2
Then it's pretty much up to your knights-in-waiting to design their coats of arms. Lady S was happy to create designs using the super-cool glitter tape (you can get similar at any craft store).
Step 3
And then she colored in the "fields" of the shield with the Sharpies and added some special designs.

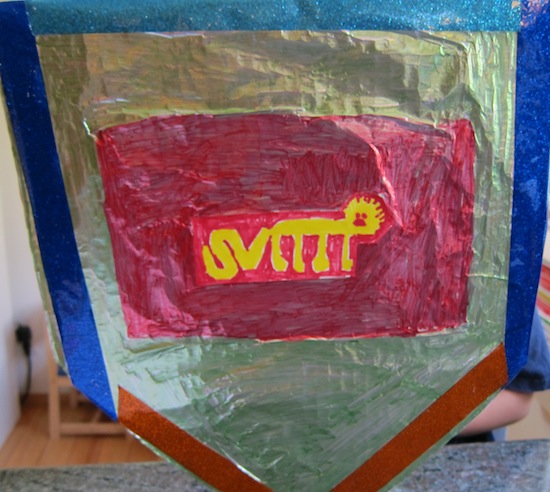
Step 4
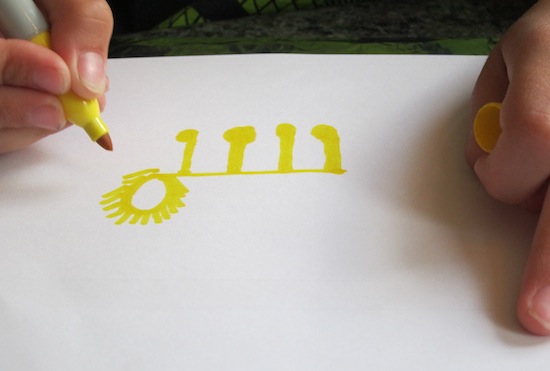
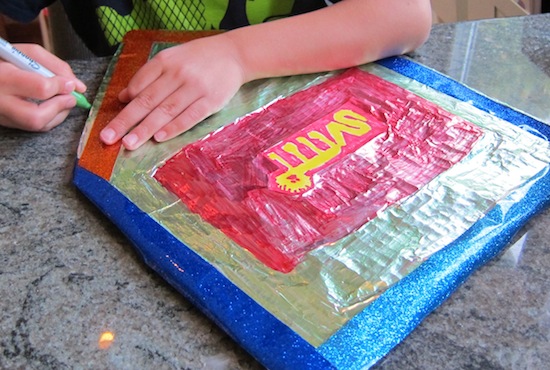
We also talked about how sometimes knights had images on their shields-- to represent things like strength, or spee,d or courage. Sir H decided a lion was appropriate for his coat of arms. He drew it on a piece of paper, which we then taped to the shield.
Step 5
He decided the colorful tape was a good addition, too, so created a border for his shield with that. You could use duct tape (have you seen the crazy fun duct tape you can get at craft stores these days??) or colored masking tape, too.
Done!
As the finale, we added a handle to the back. We took a length of packing tape (duct tape would have been better, but this was what we had) and folded it in half cross-wise (i.e., the adhesive part onto itself), to form the handle. Then I taped each end to the shield. Now my knights are ready for any adventure!