Step-by-step tutorial
Step 1
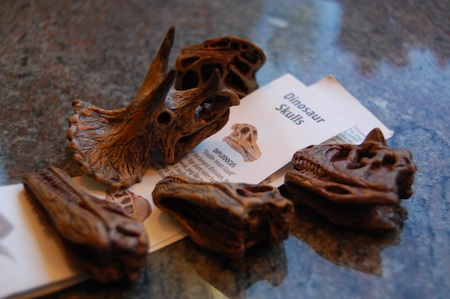
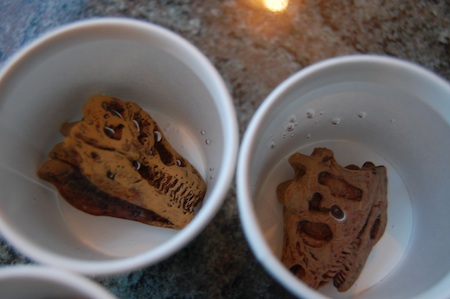
To get us set up, I filled Dixie cups with water and dropped the dinosaur skulls in. Two of them I stuck right into the freezer; the other two I tried filling first with a bit of water (1/4" or so), freezing for 30 minutes, and then adding the dino skulls and more water--so we'd have a thicker layer of ice on top of the skulls. To be honest, it didn't seem to make a huge difference in the outcome, so I'd say you could go either way.

Step 2
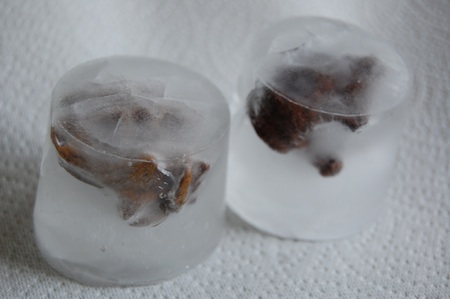
After 24 hours in the freezer, we popped them right out of the Dixie Cups. I placed them on top of a paper towel on a baking sheet to contain the melting ice.
Step 3
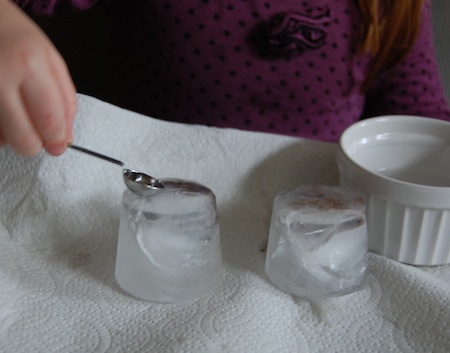
My daughter and I discussed what tools a paleontologist would use to excavate fossils from ice. We decided on a (kid) knife, metal spoon, a pumpkin carver, and hot water. She started out using a straw to drop the water on the ice (a pipette or water dropper would be even better, if you have one)...
Step 4
...but decided that was too slow, so we started spooning on. to speed things up a bit.

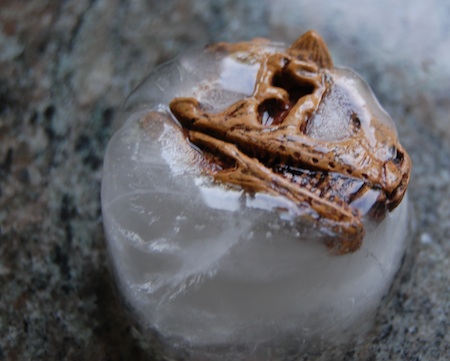
Step 5
After 10 minutes or so, we started to see some results! She was very excited to see the fossils starting to emerge...
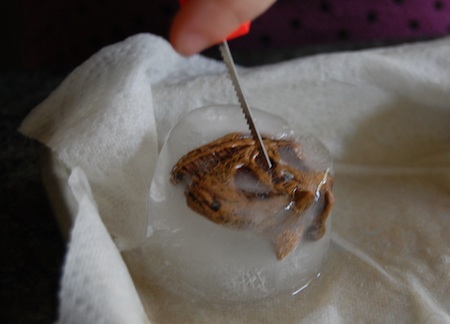
Step 6
At this point, my daughter decided it was time to move to the Big Gun, so she grabbed the little pumpkin carving tool left over from Halloween (I watched her to make sure she was good to handle this on her own.)

Done!
She continued until she had almost completely freed the fossil from the ice. She was so proud of her paleontology skills!