Step-by-step tutorial
Step 1
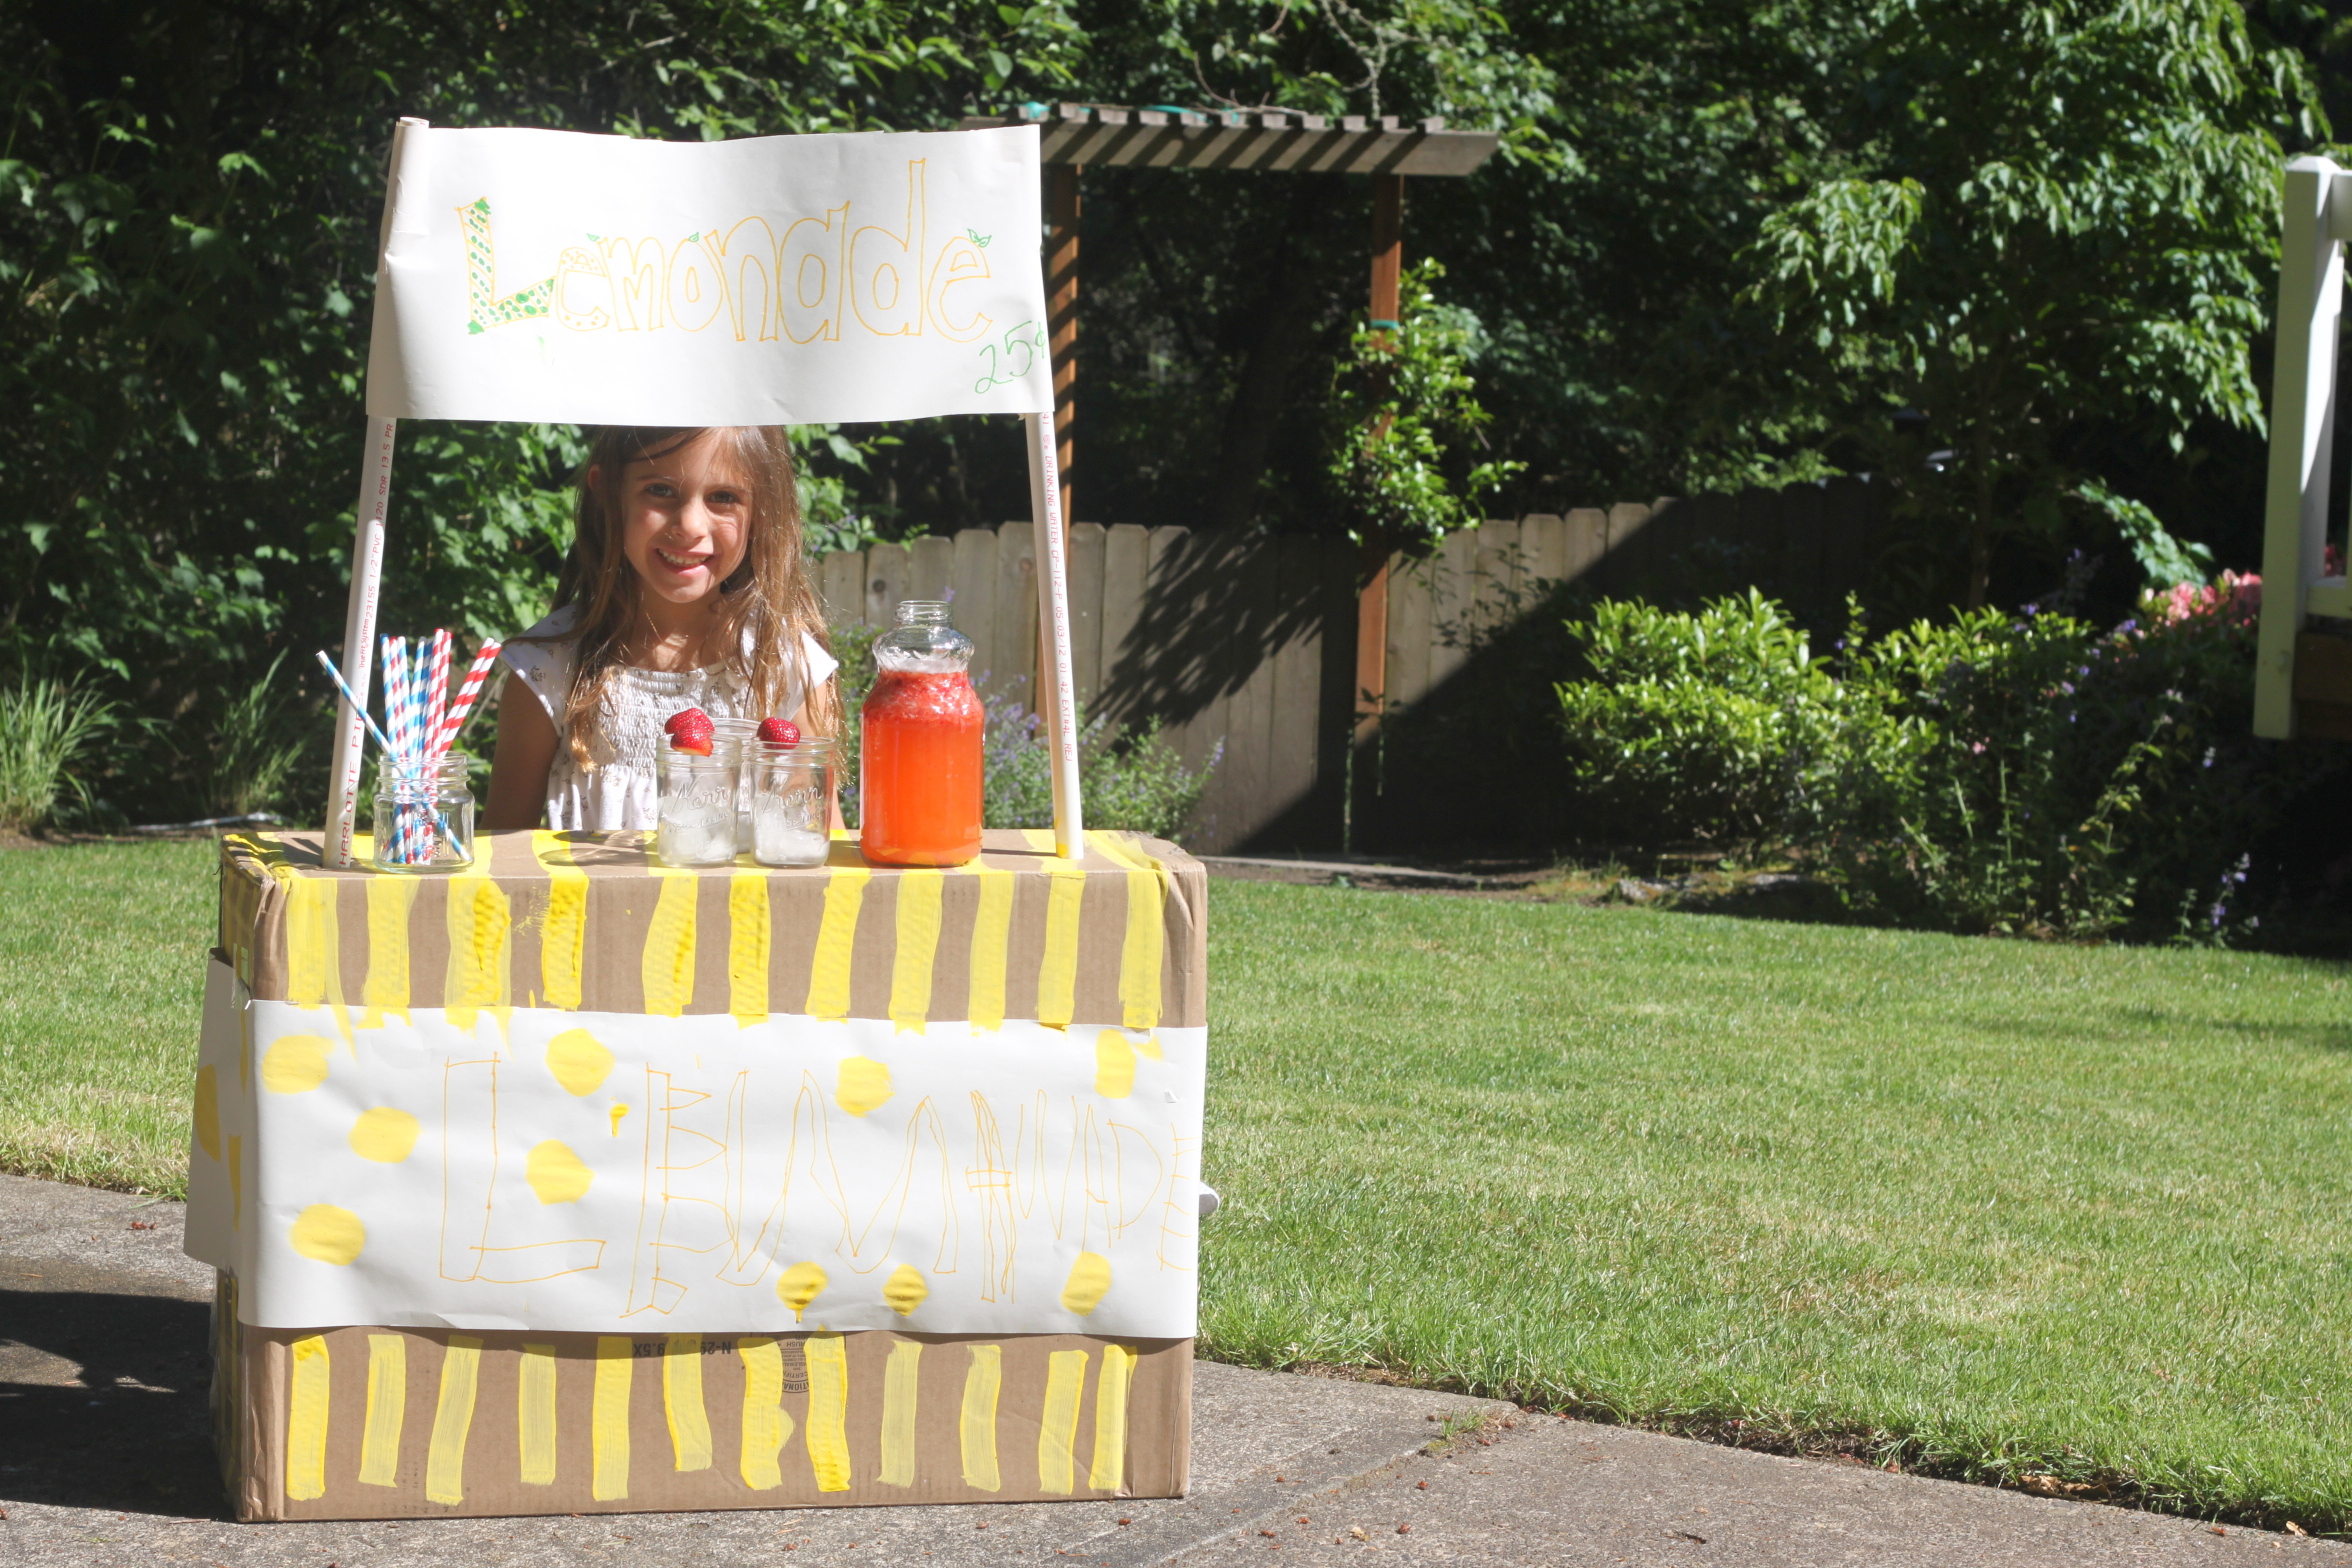
You can make just about anything with a large box. Today it was a lemonade stand, to make the absolute best day for a pretty great five-year-old.

Step 2
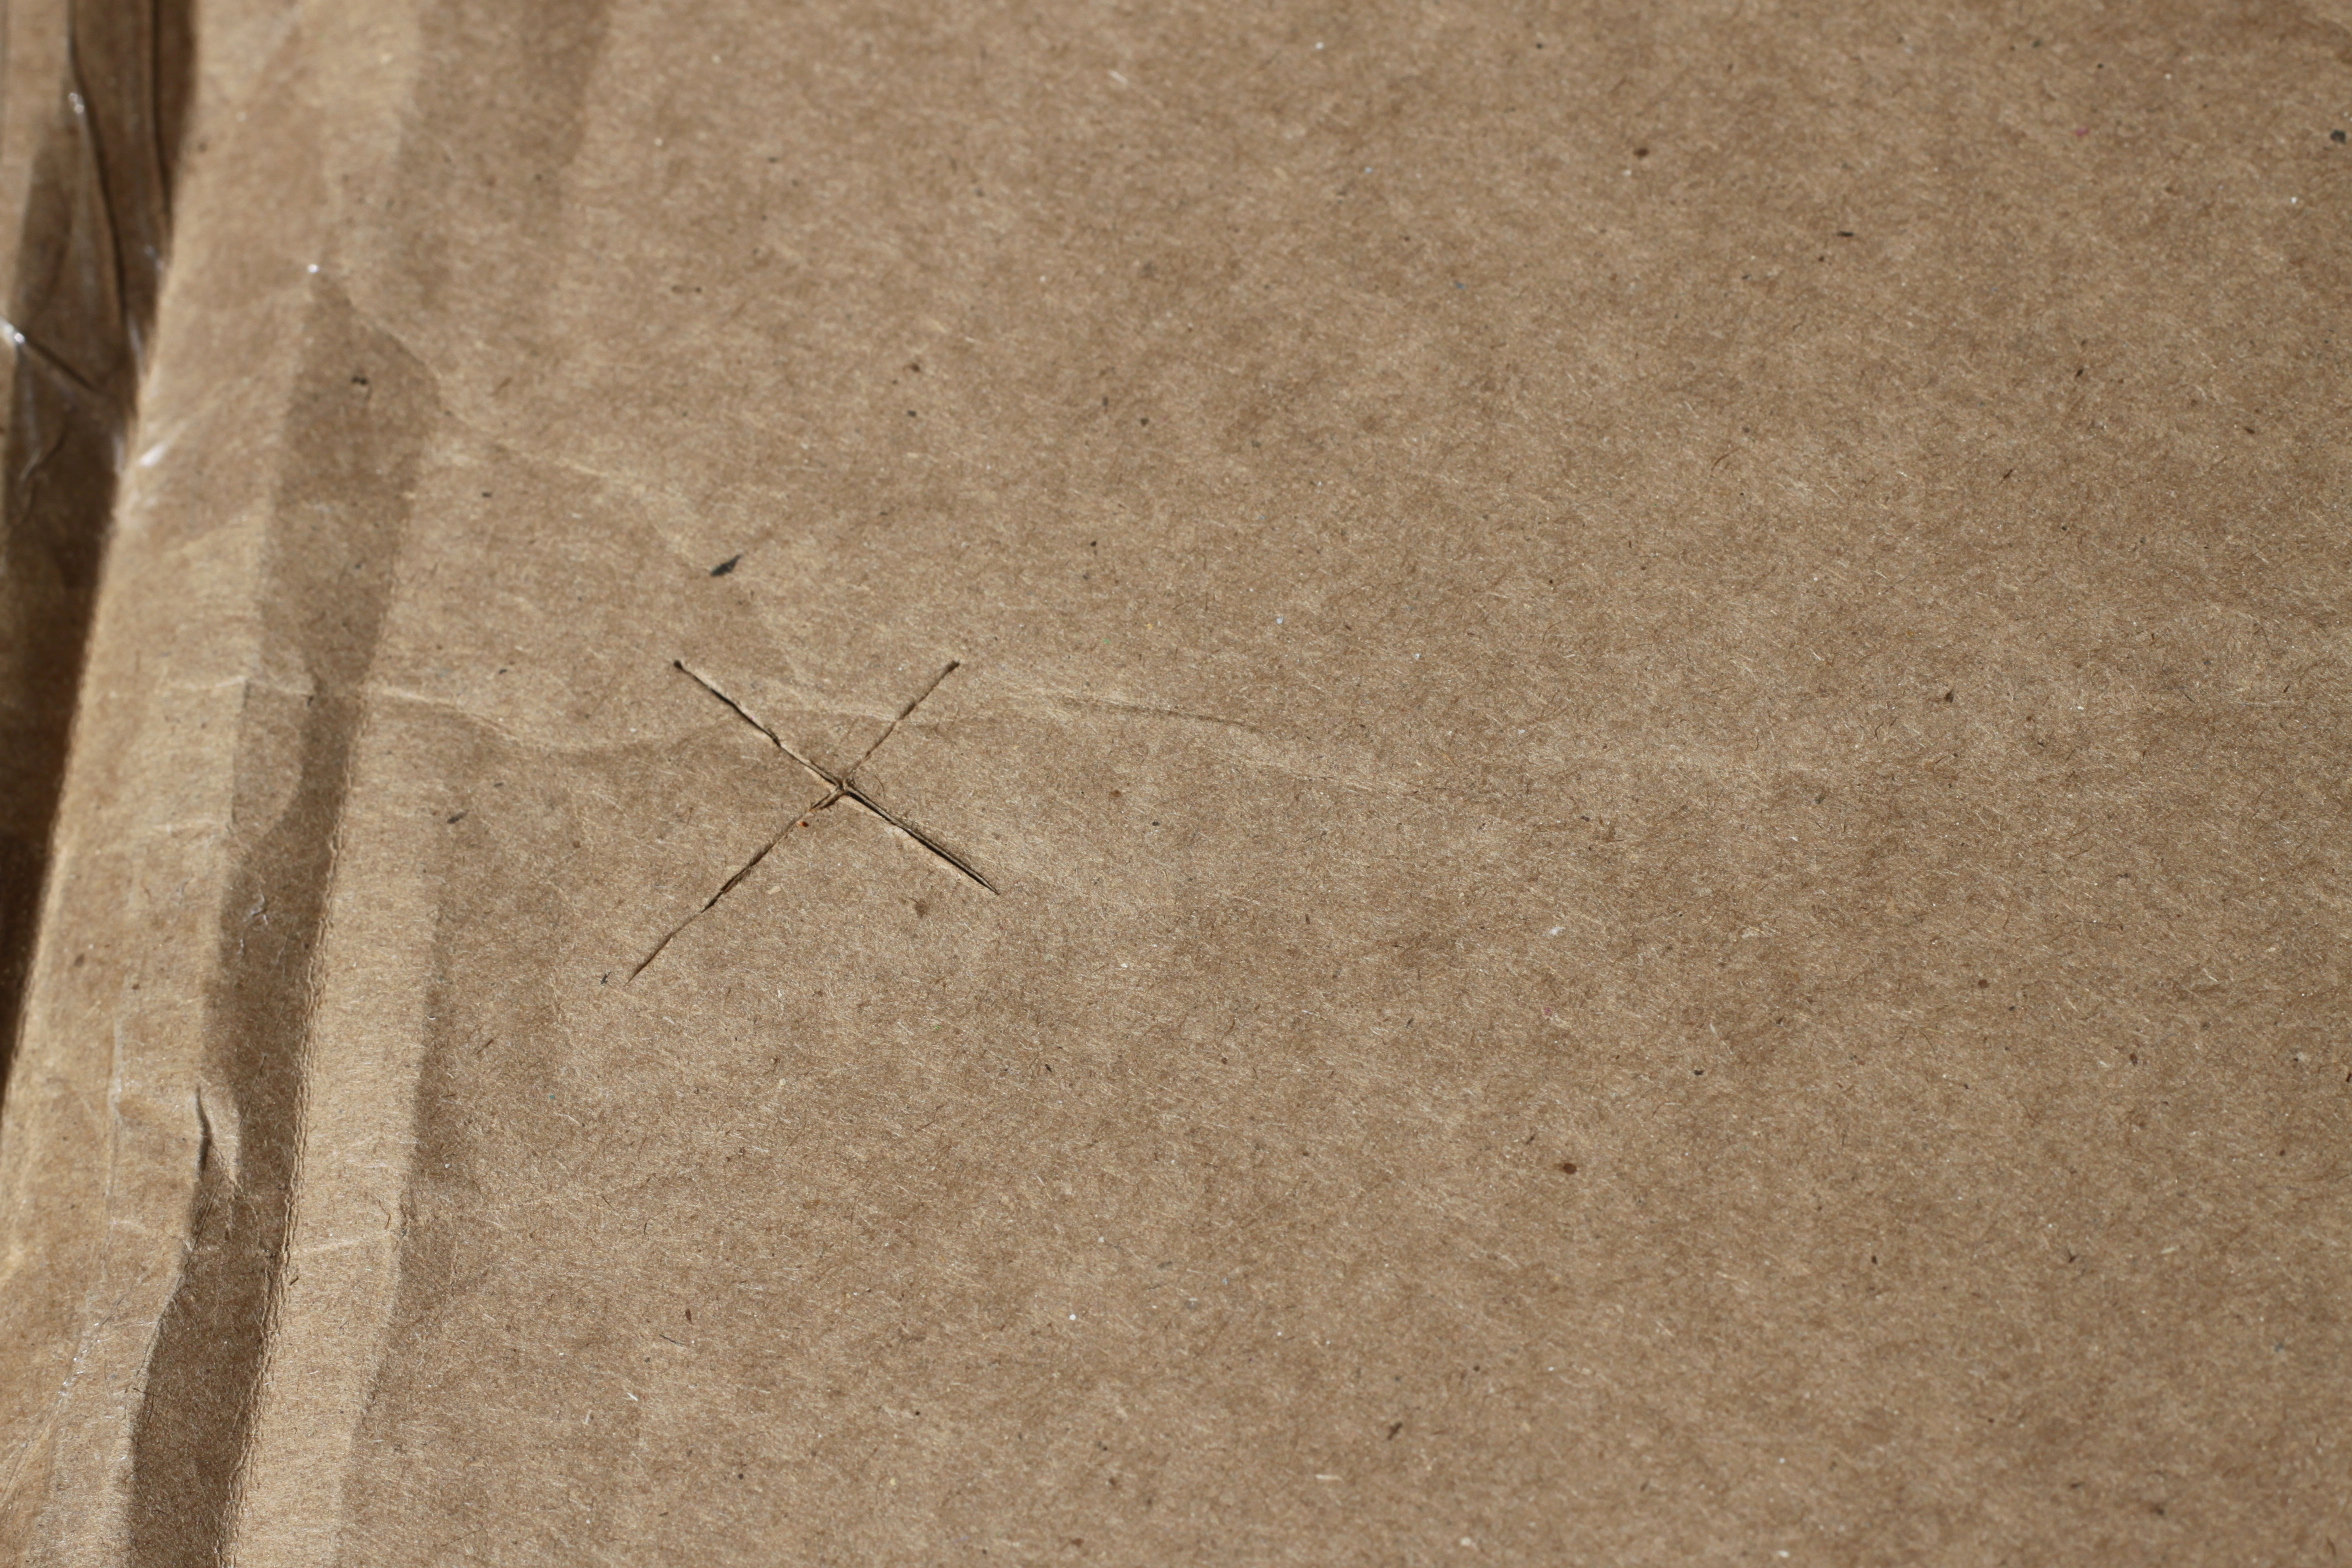
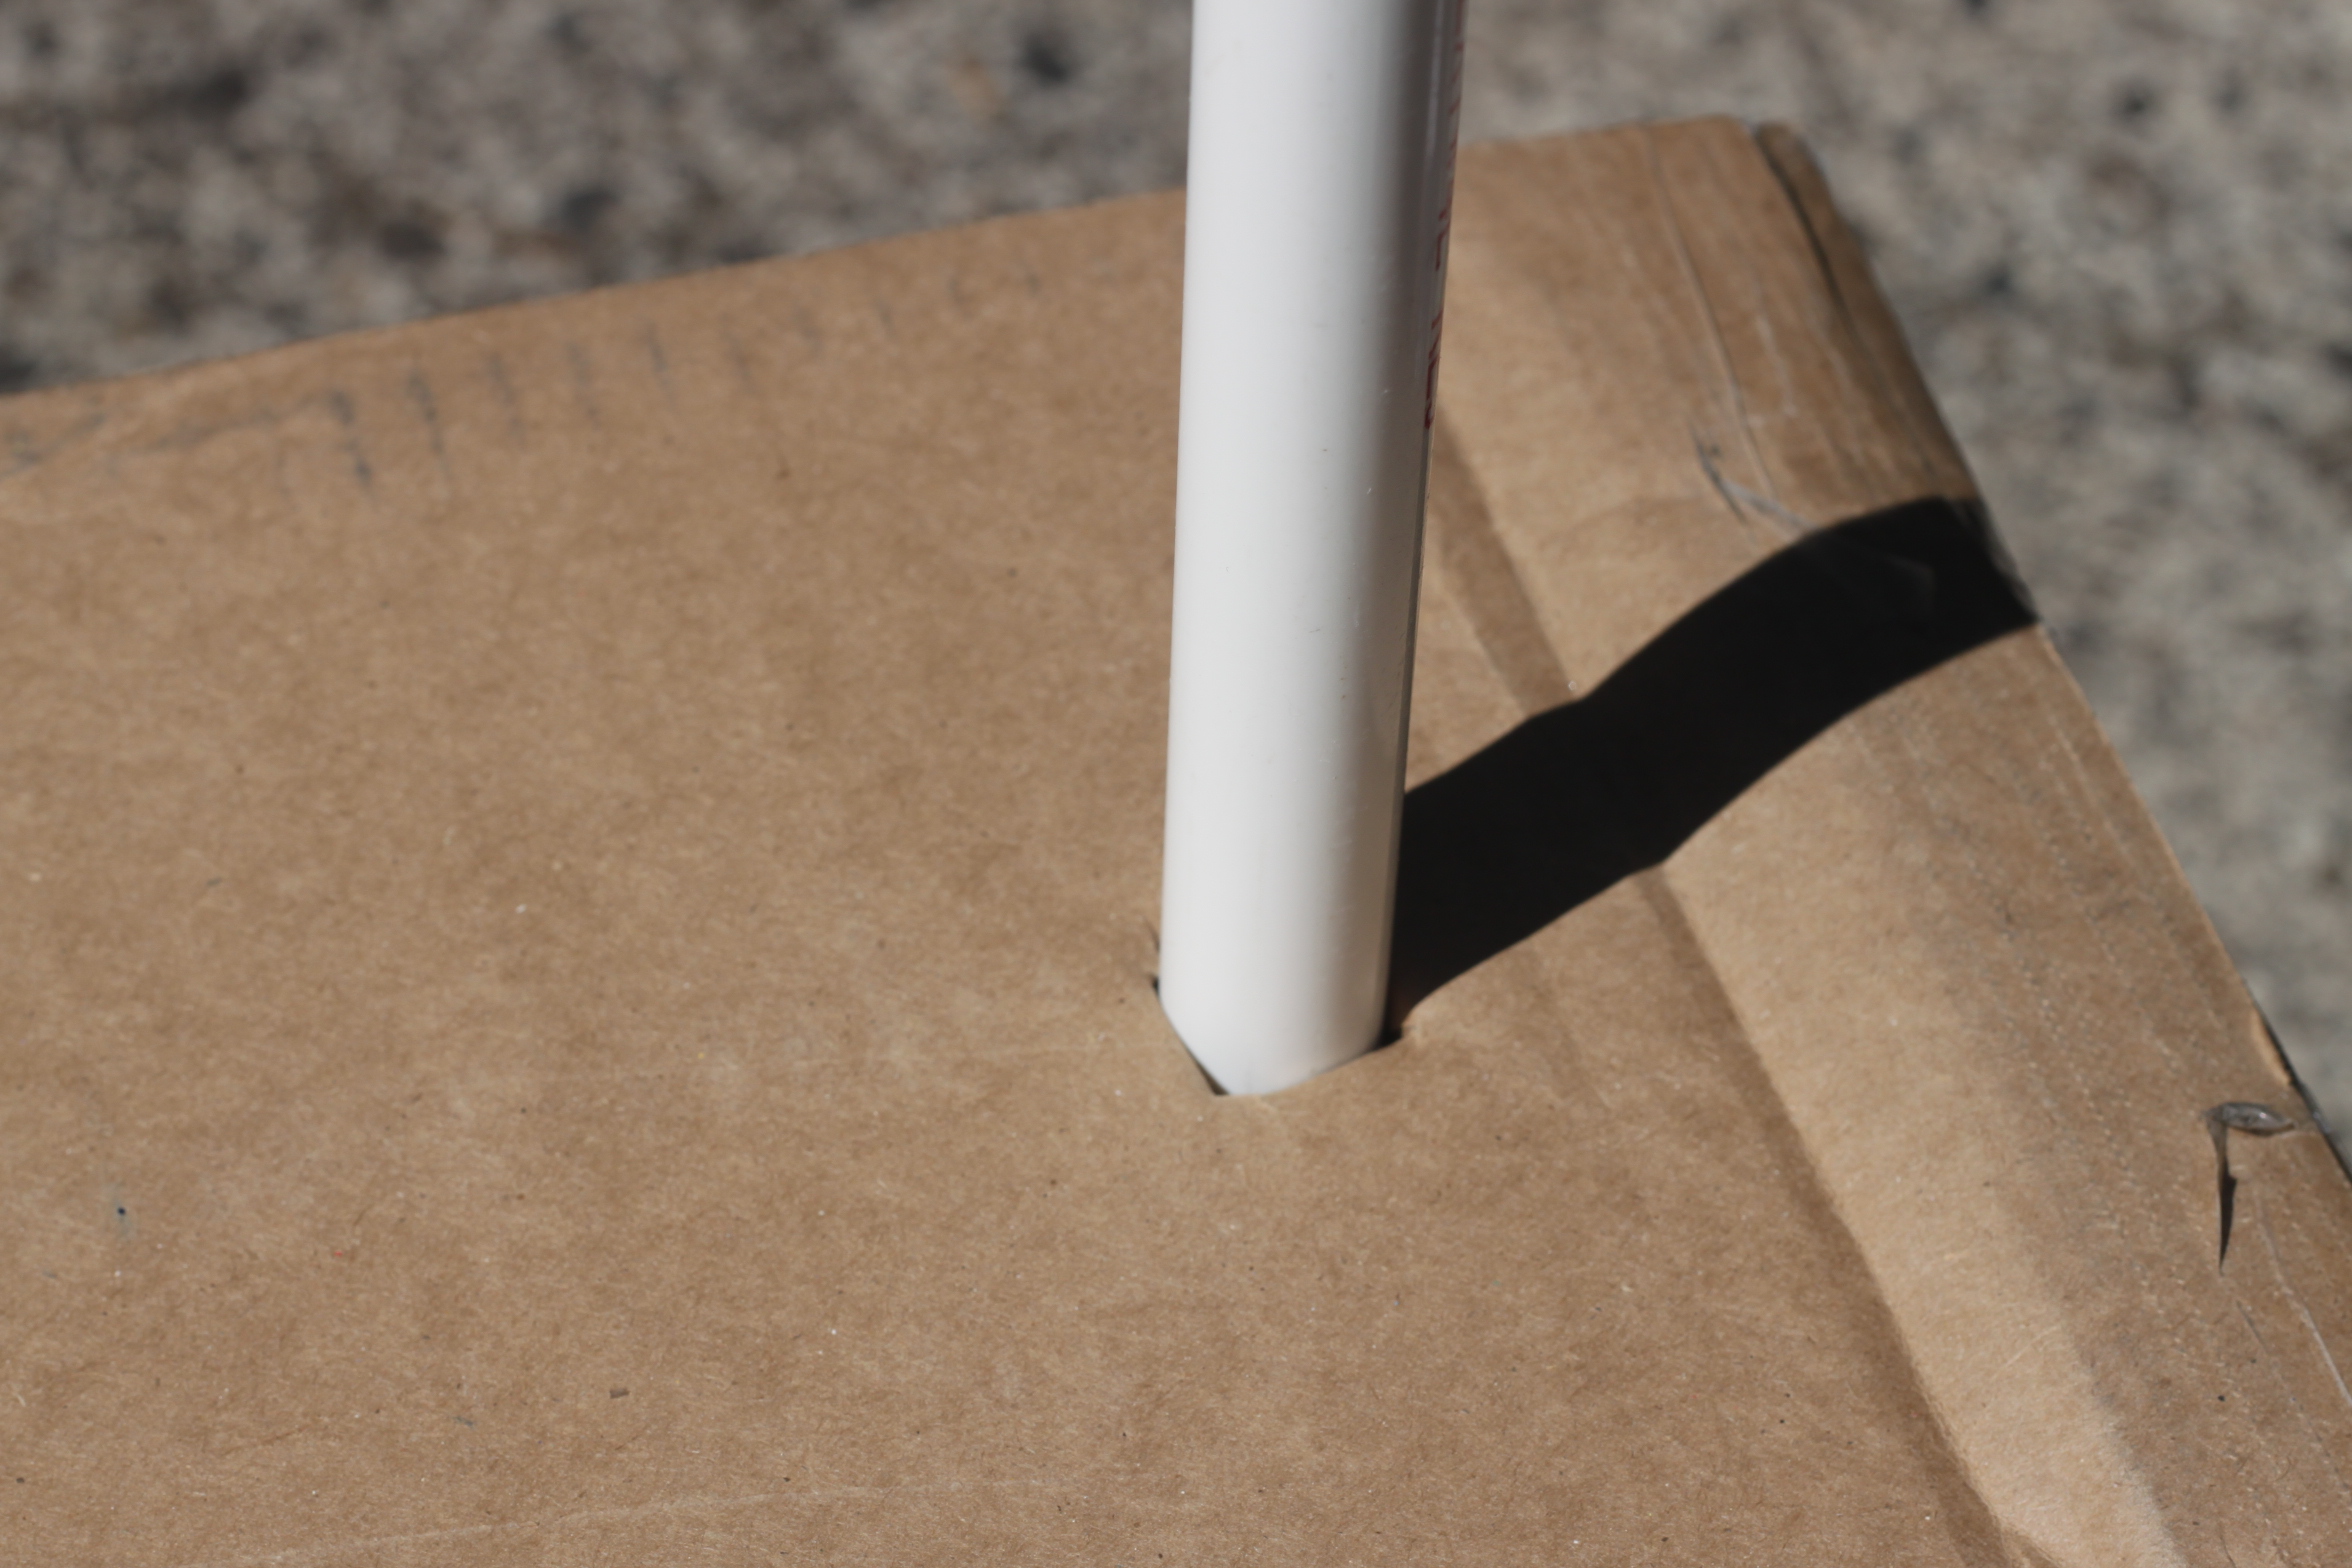
First, I cut two x's where I wanted the PVC pipe to go, one on each side of the top of the box. I used the x-acto knife for this. This is a grown-up only step.
Step 3
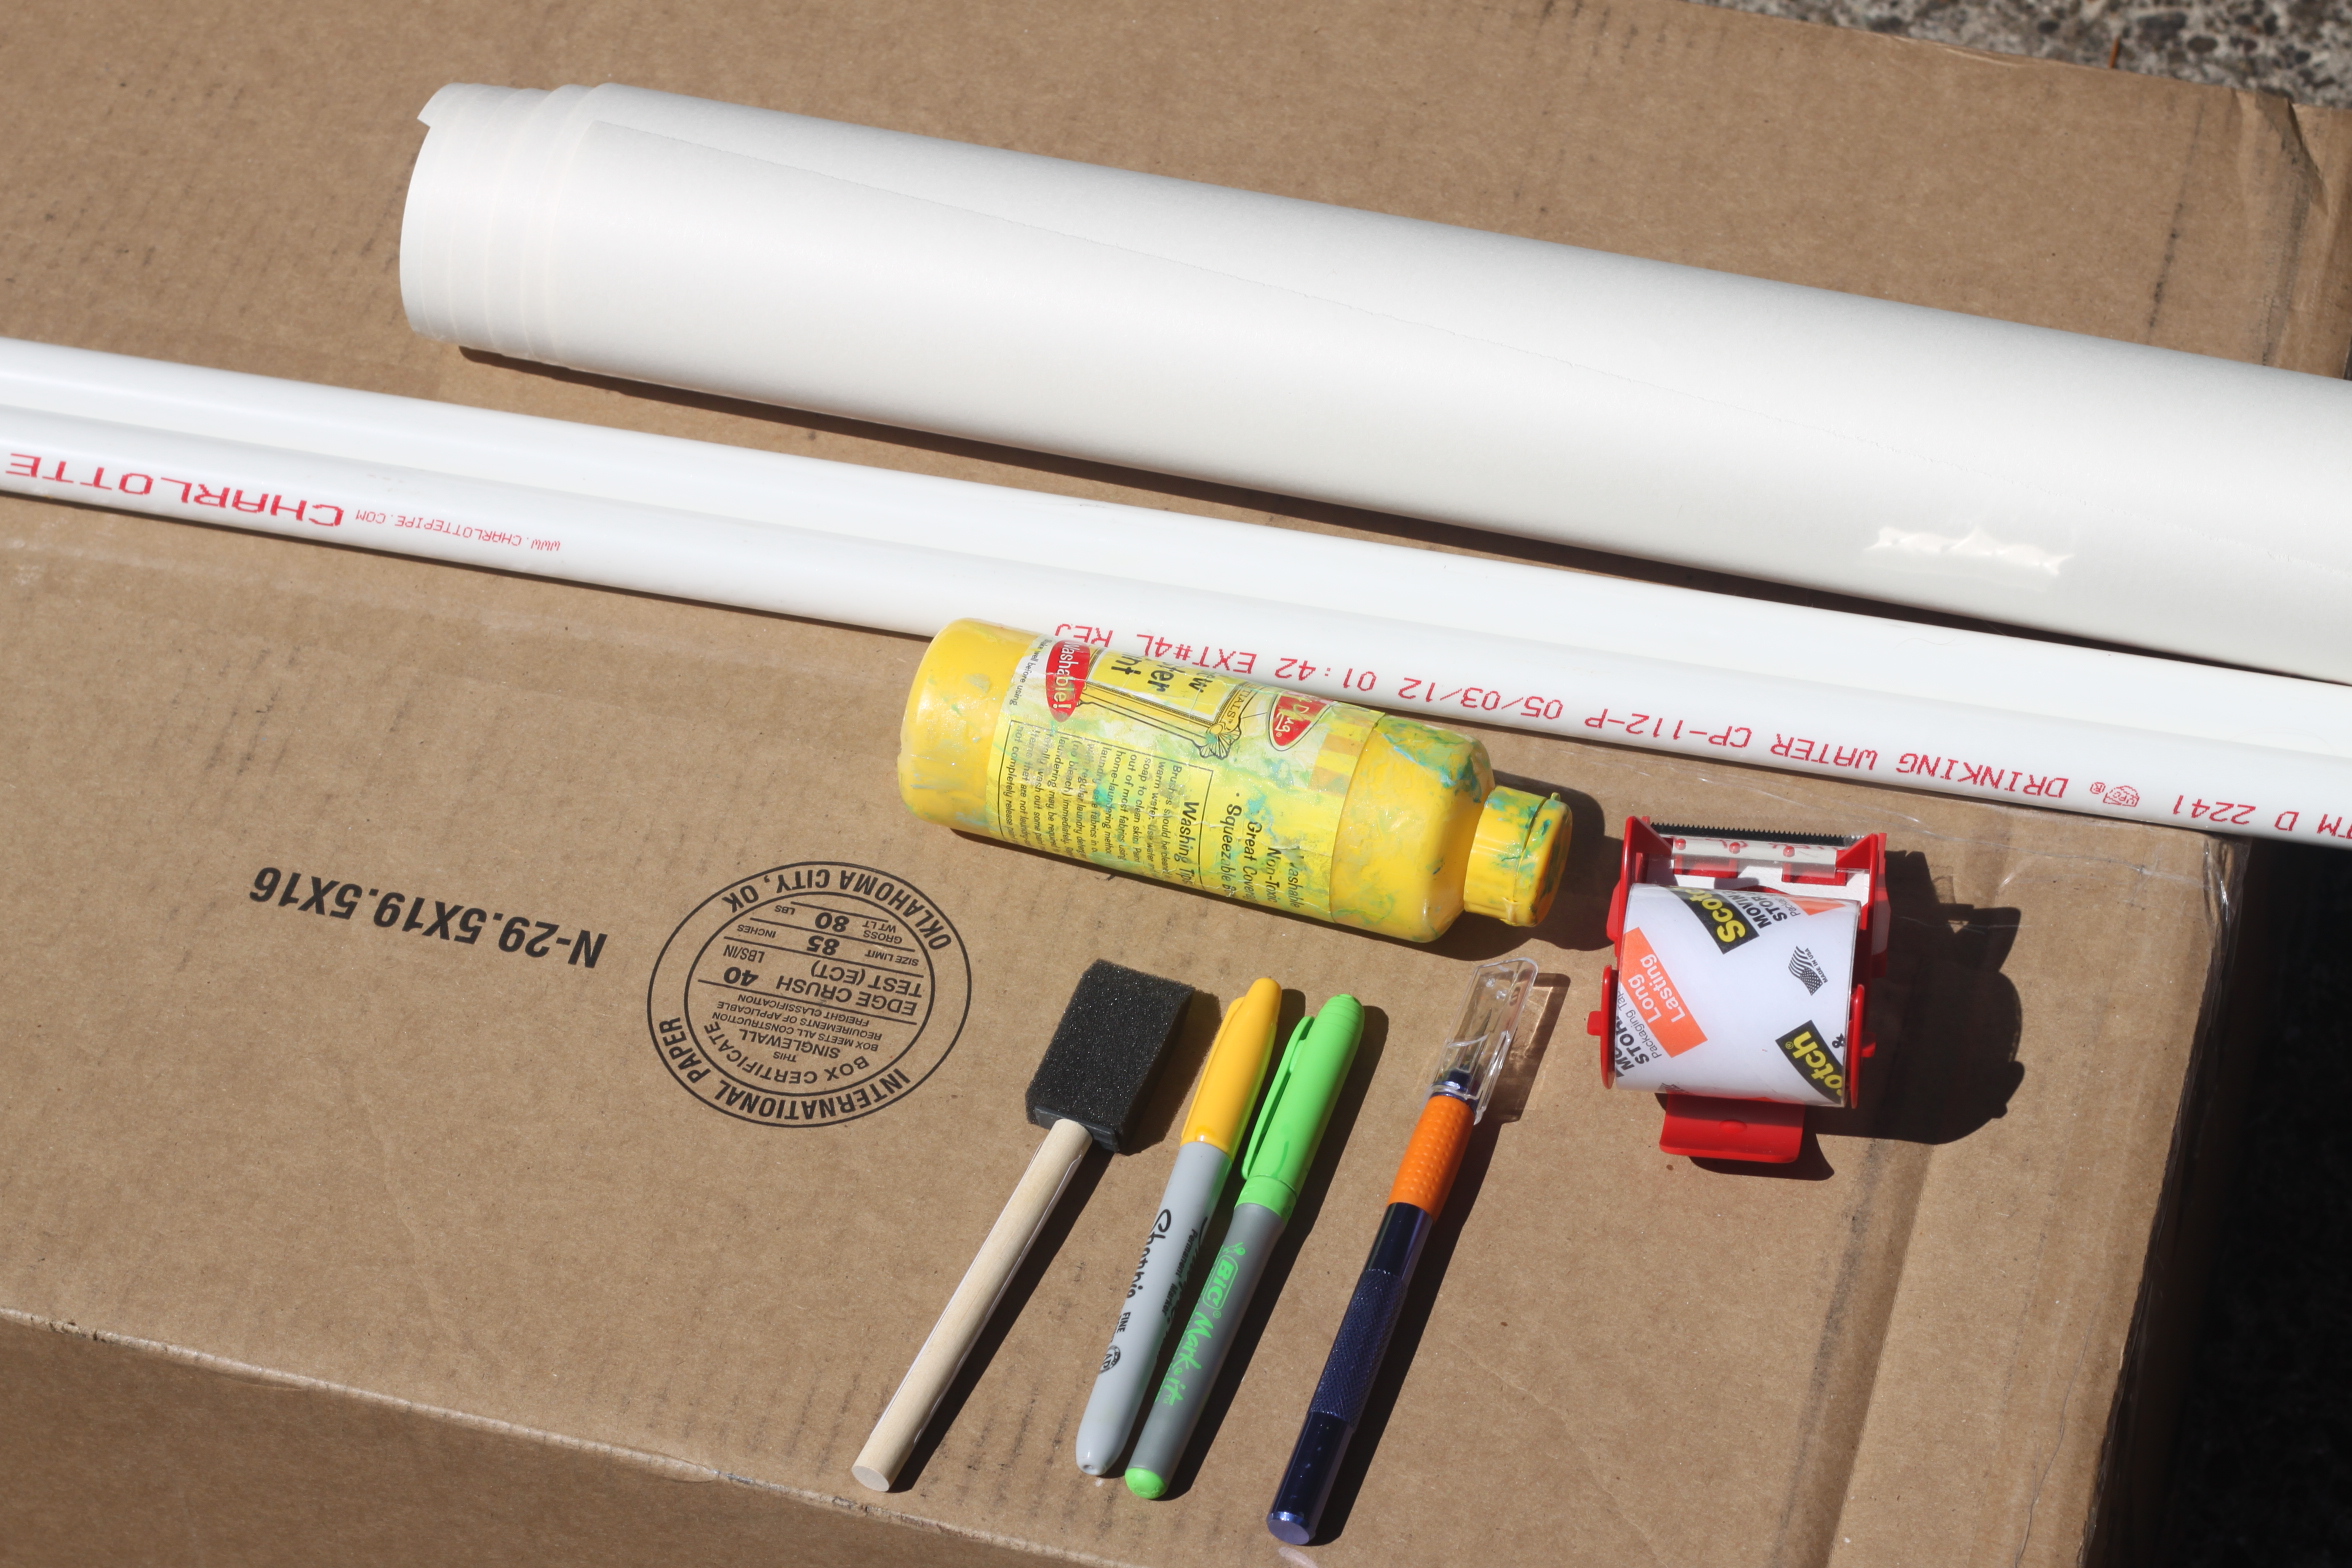
I got a large PVC pipe and had the guys at Home Depot cut it in half for me. I think they were about 4 feet each. PVC pipe is very inexpensive and useful for all kinds of fort building as well as lemonade stands!
Step 4
We measured a piece of easel paper to fit around the front of the box and then cut it in half lengthwise. We used one half to wrap around the box and the other half for the top portion of the stand.
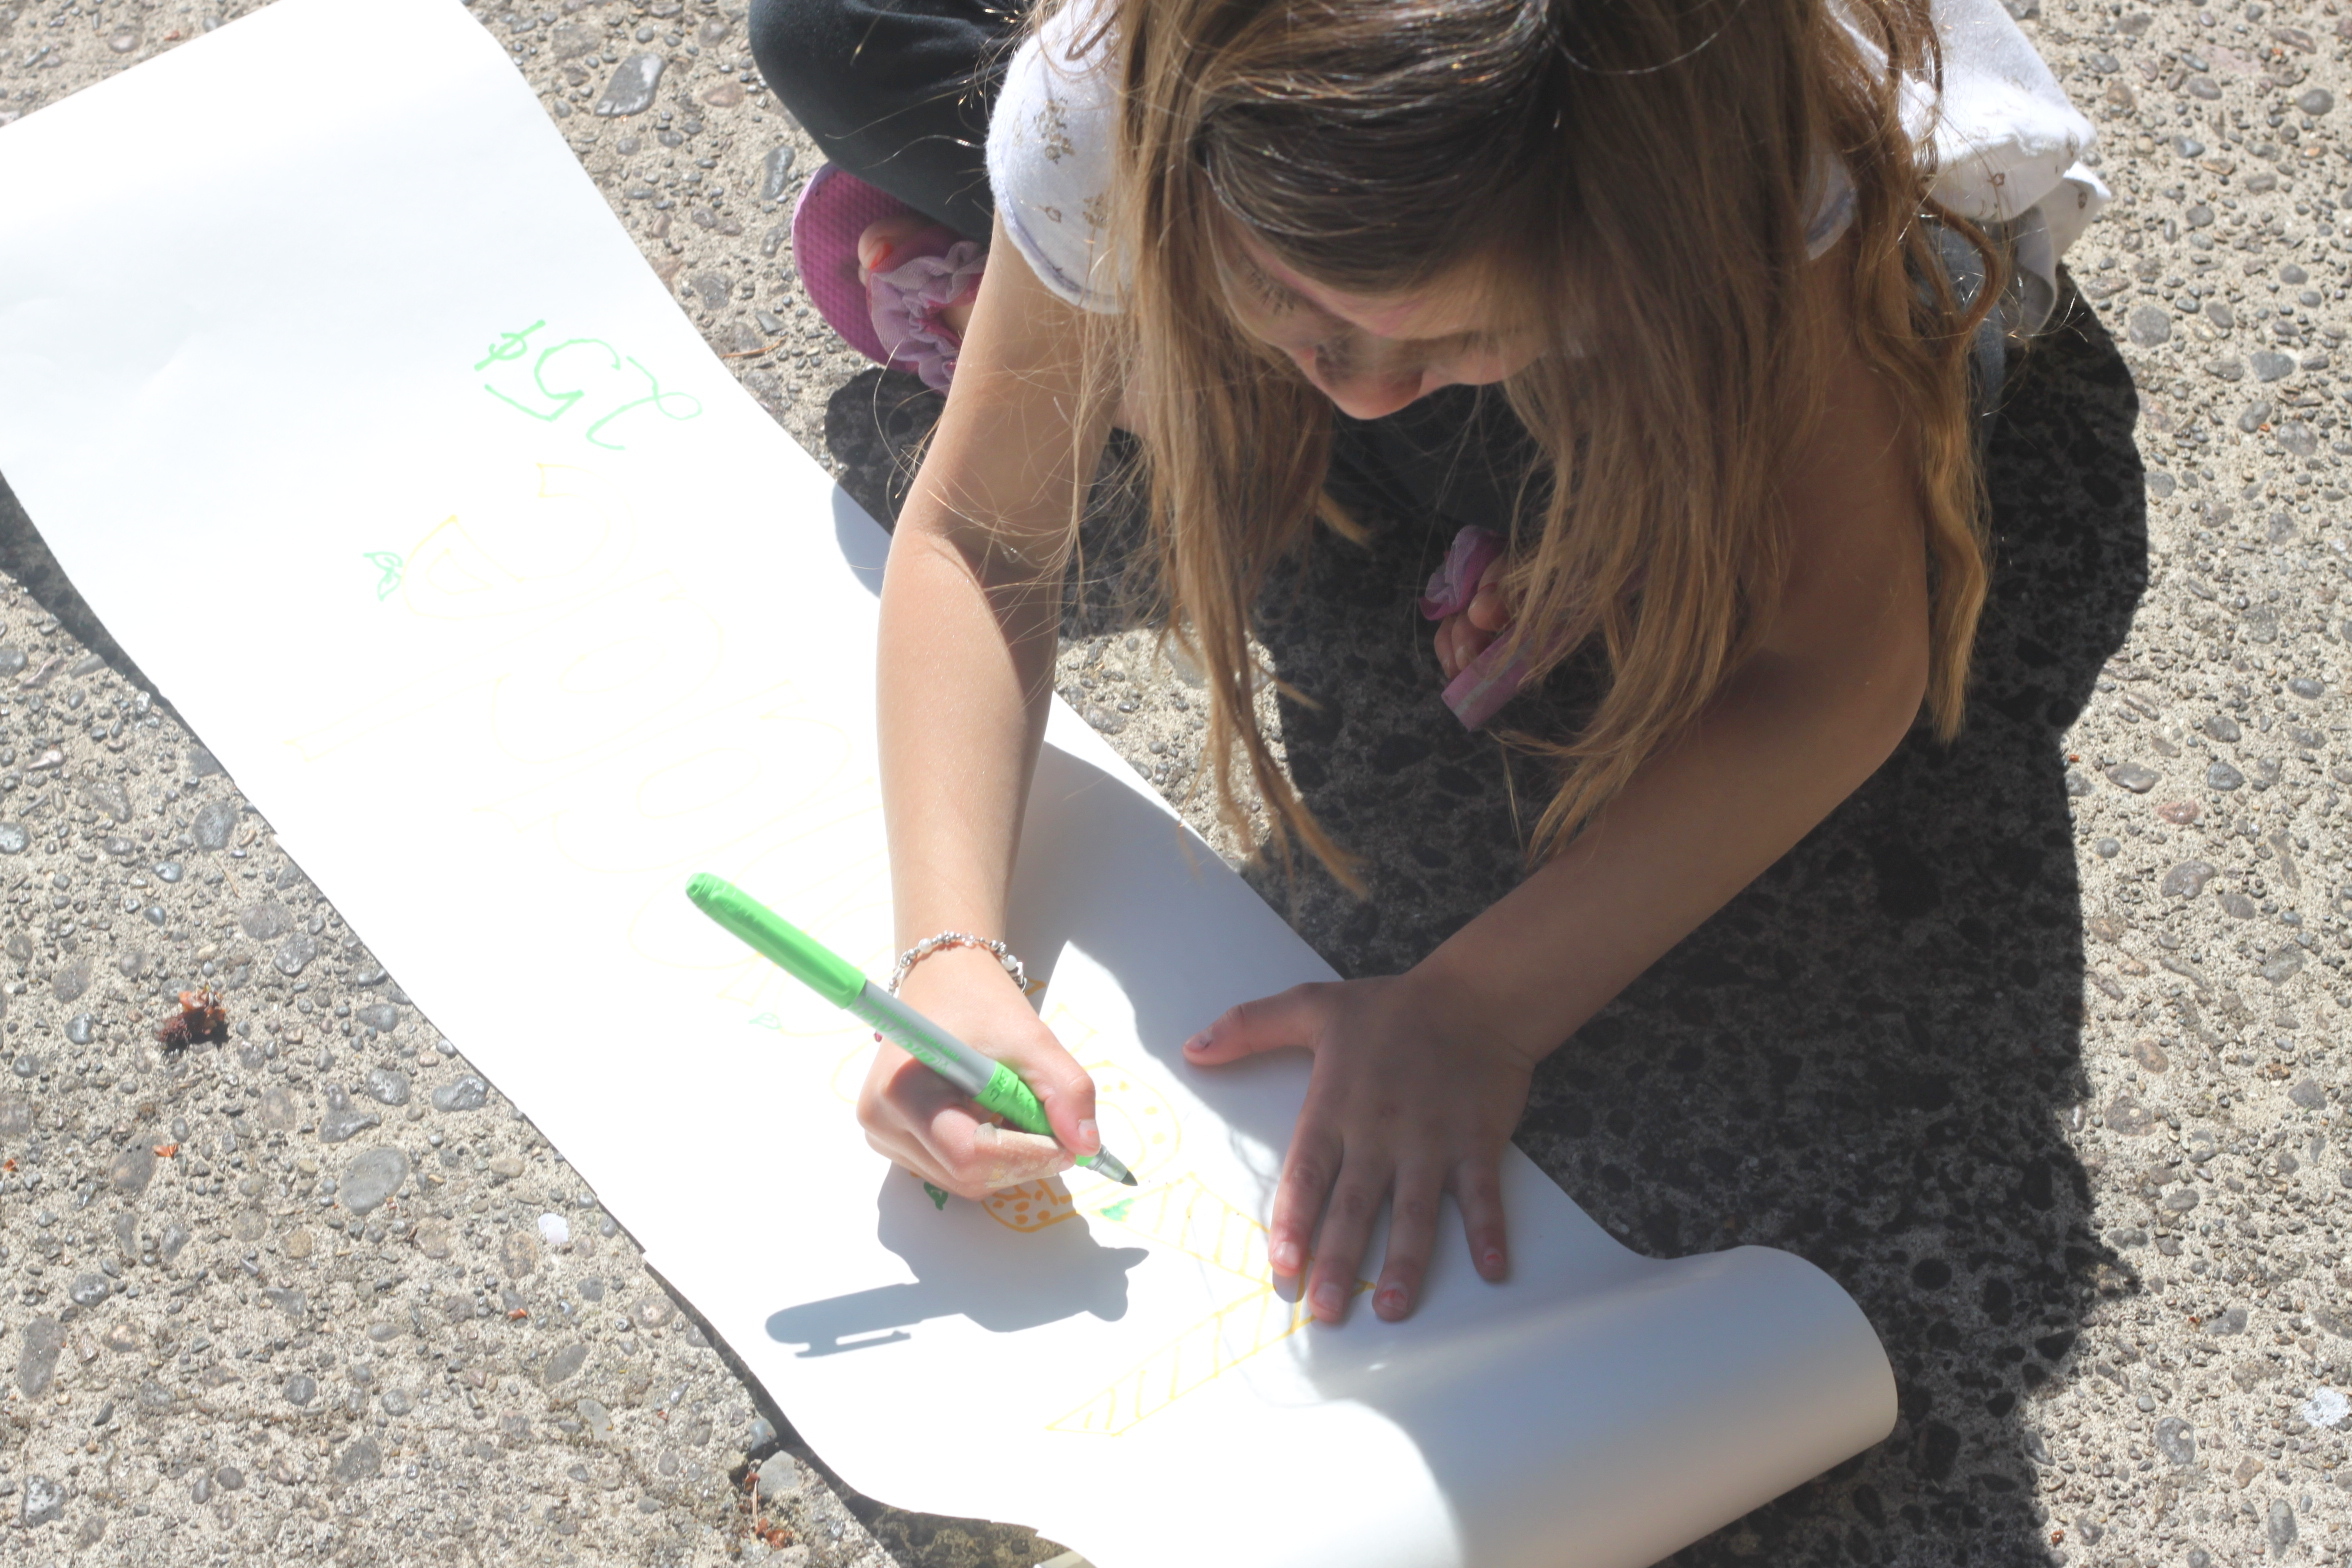
Step 5
I attached both with strong tape and the kids used paint and markers to decorate.

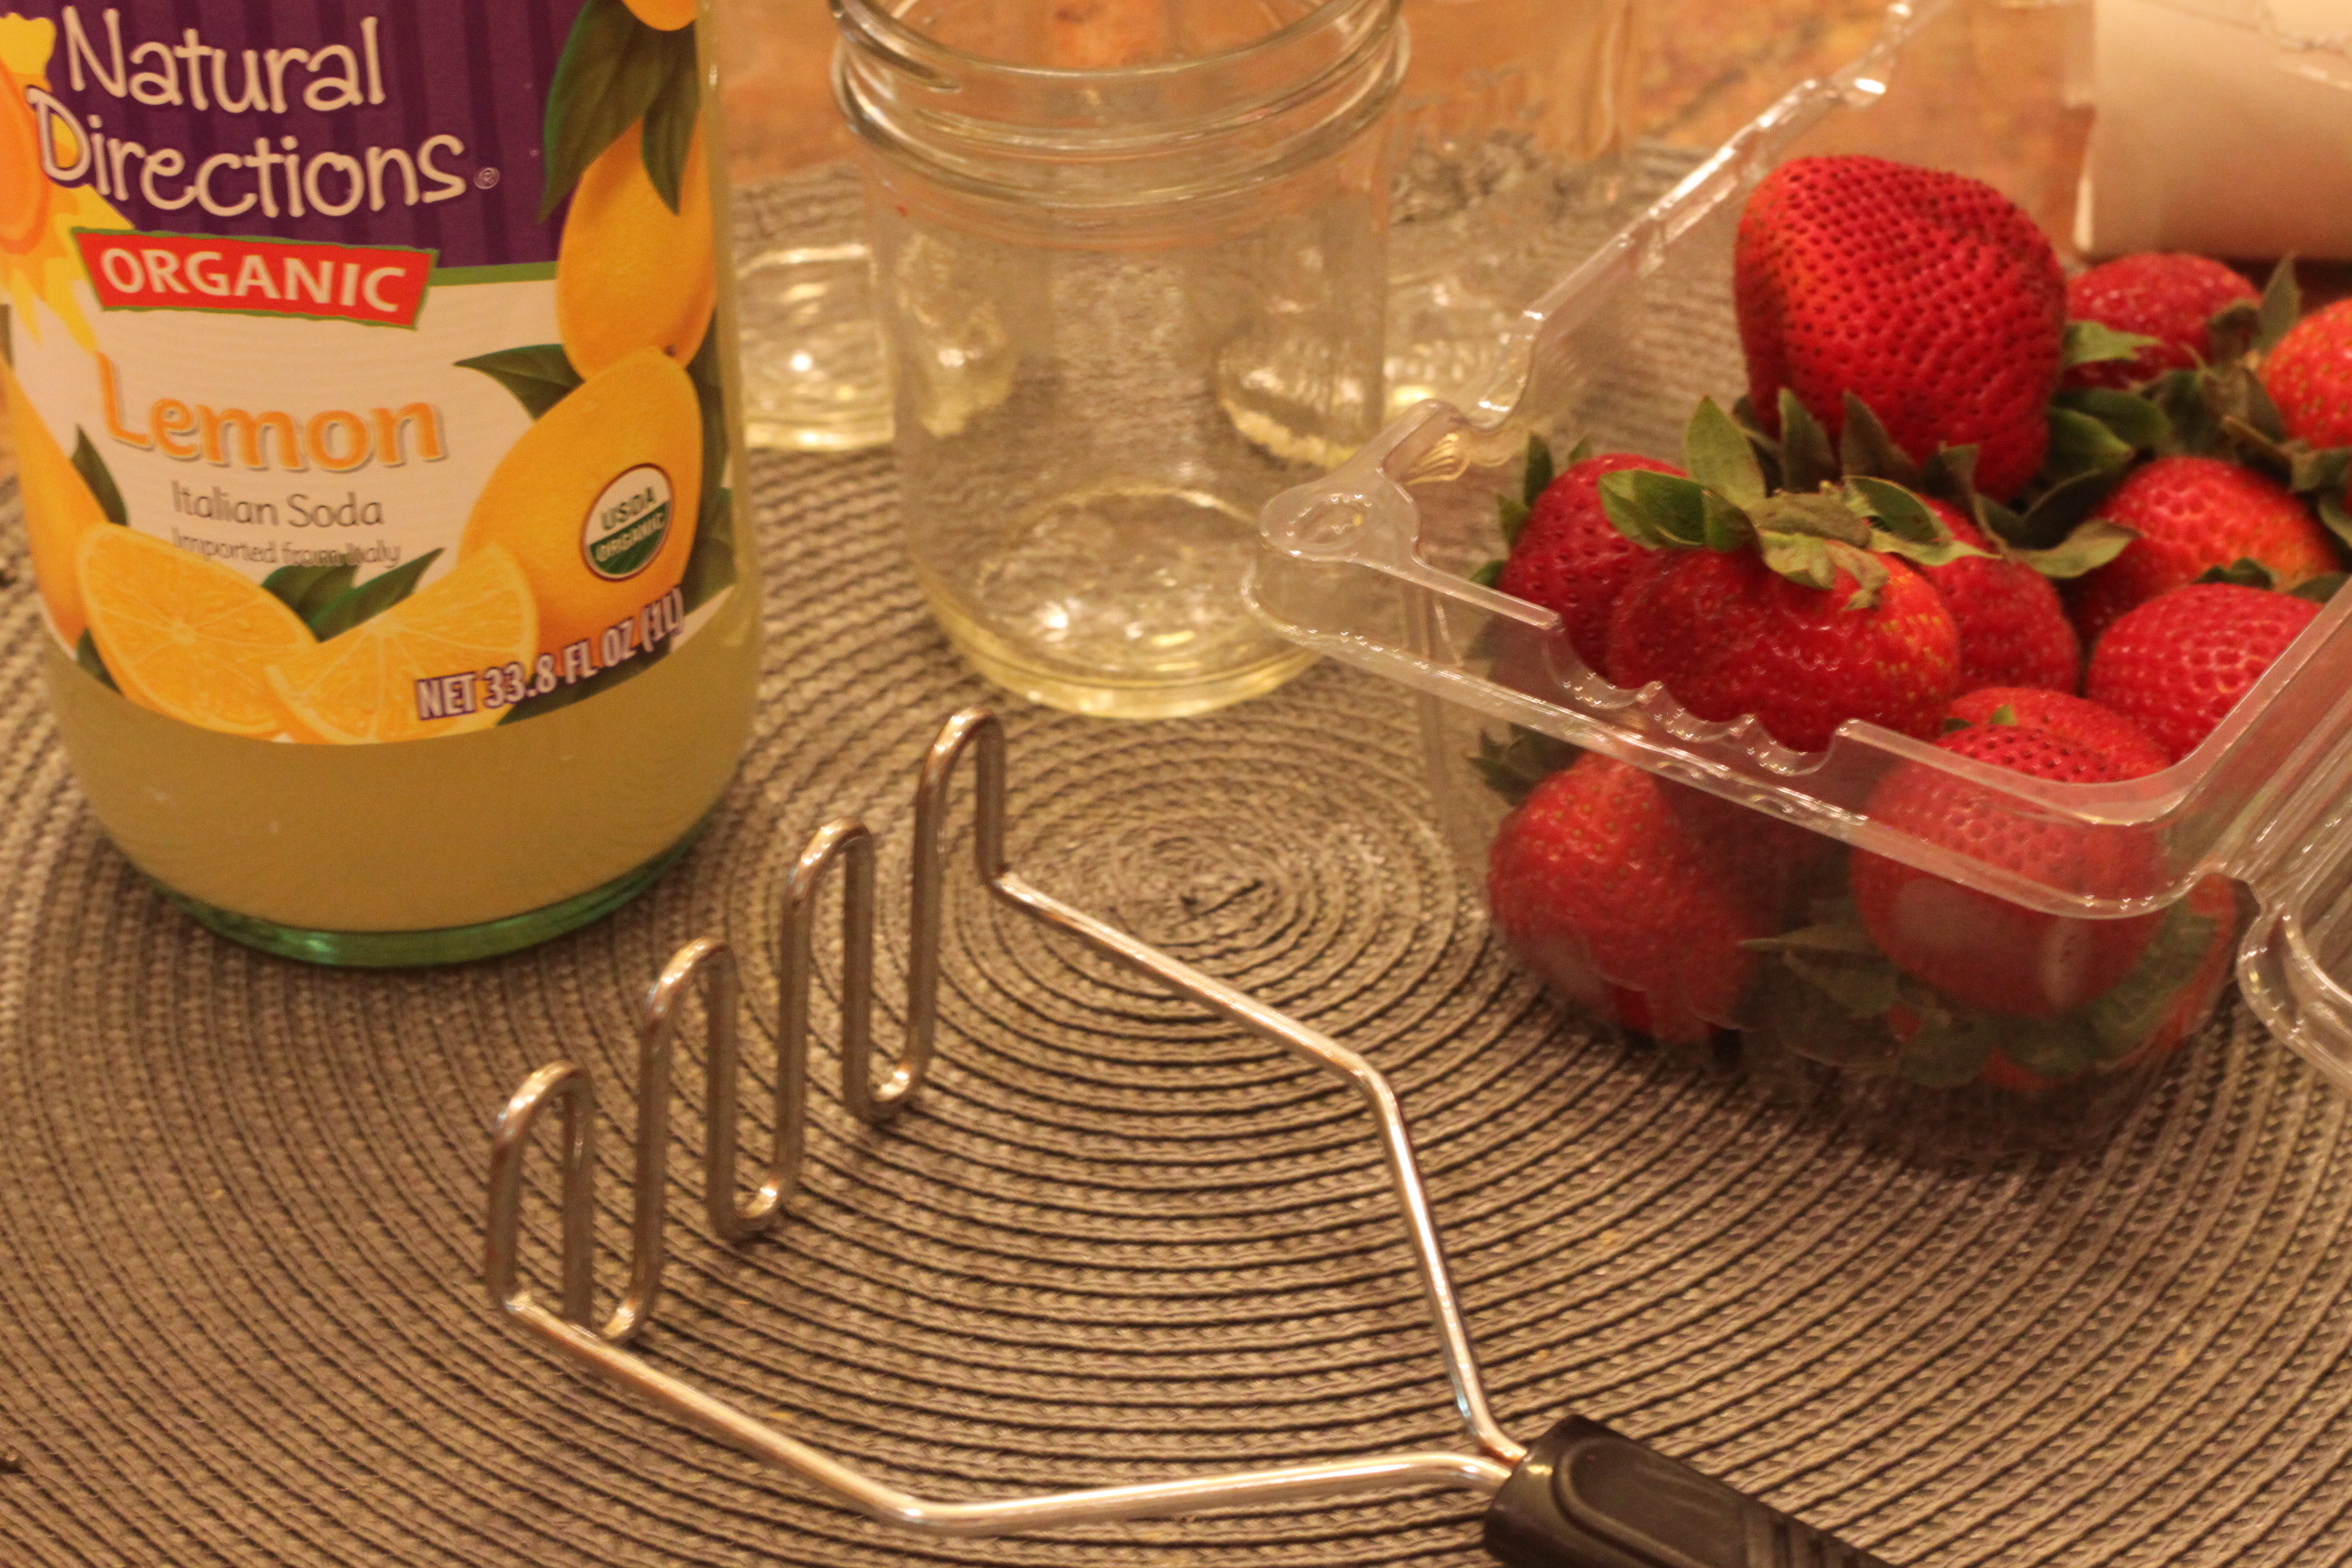
Step 6
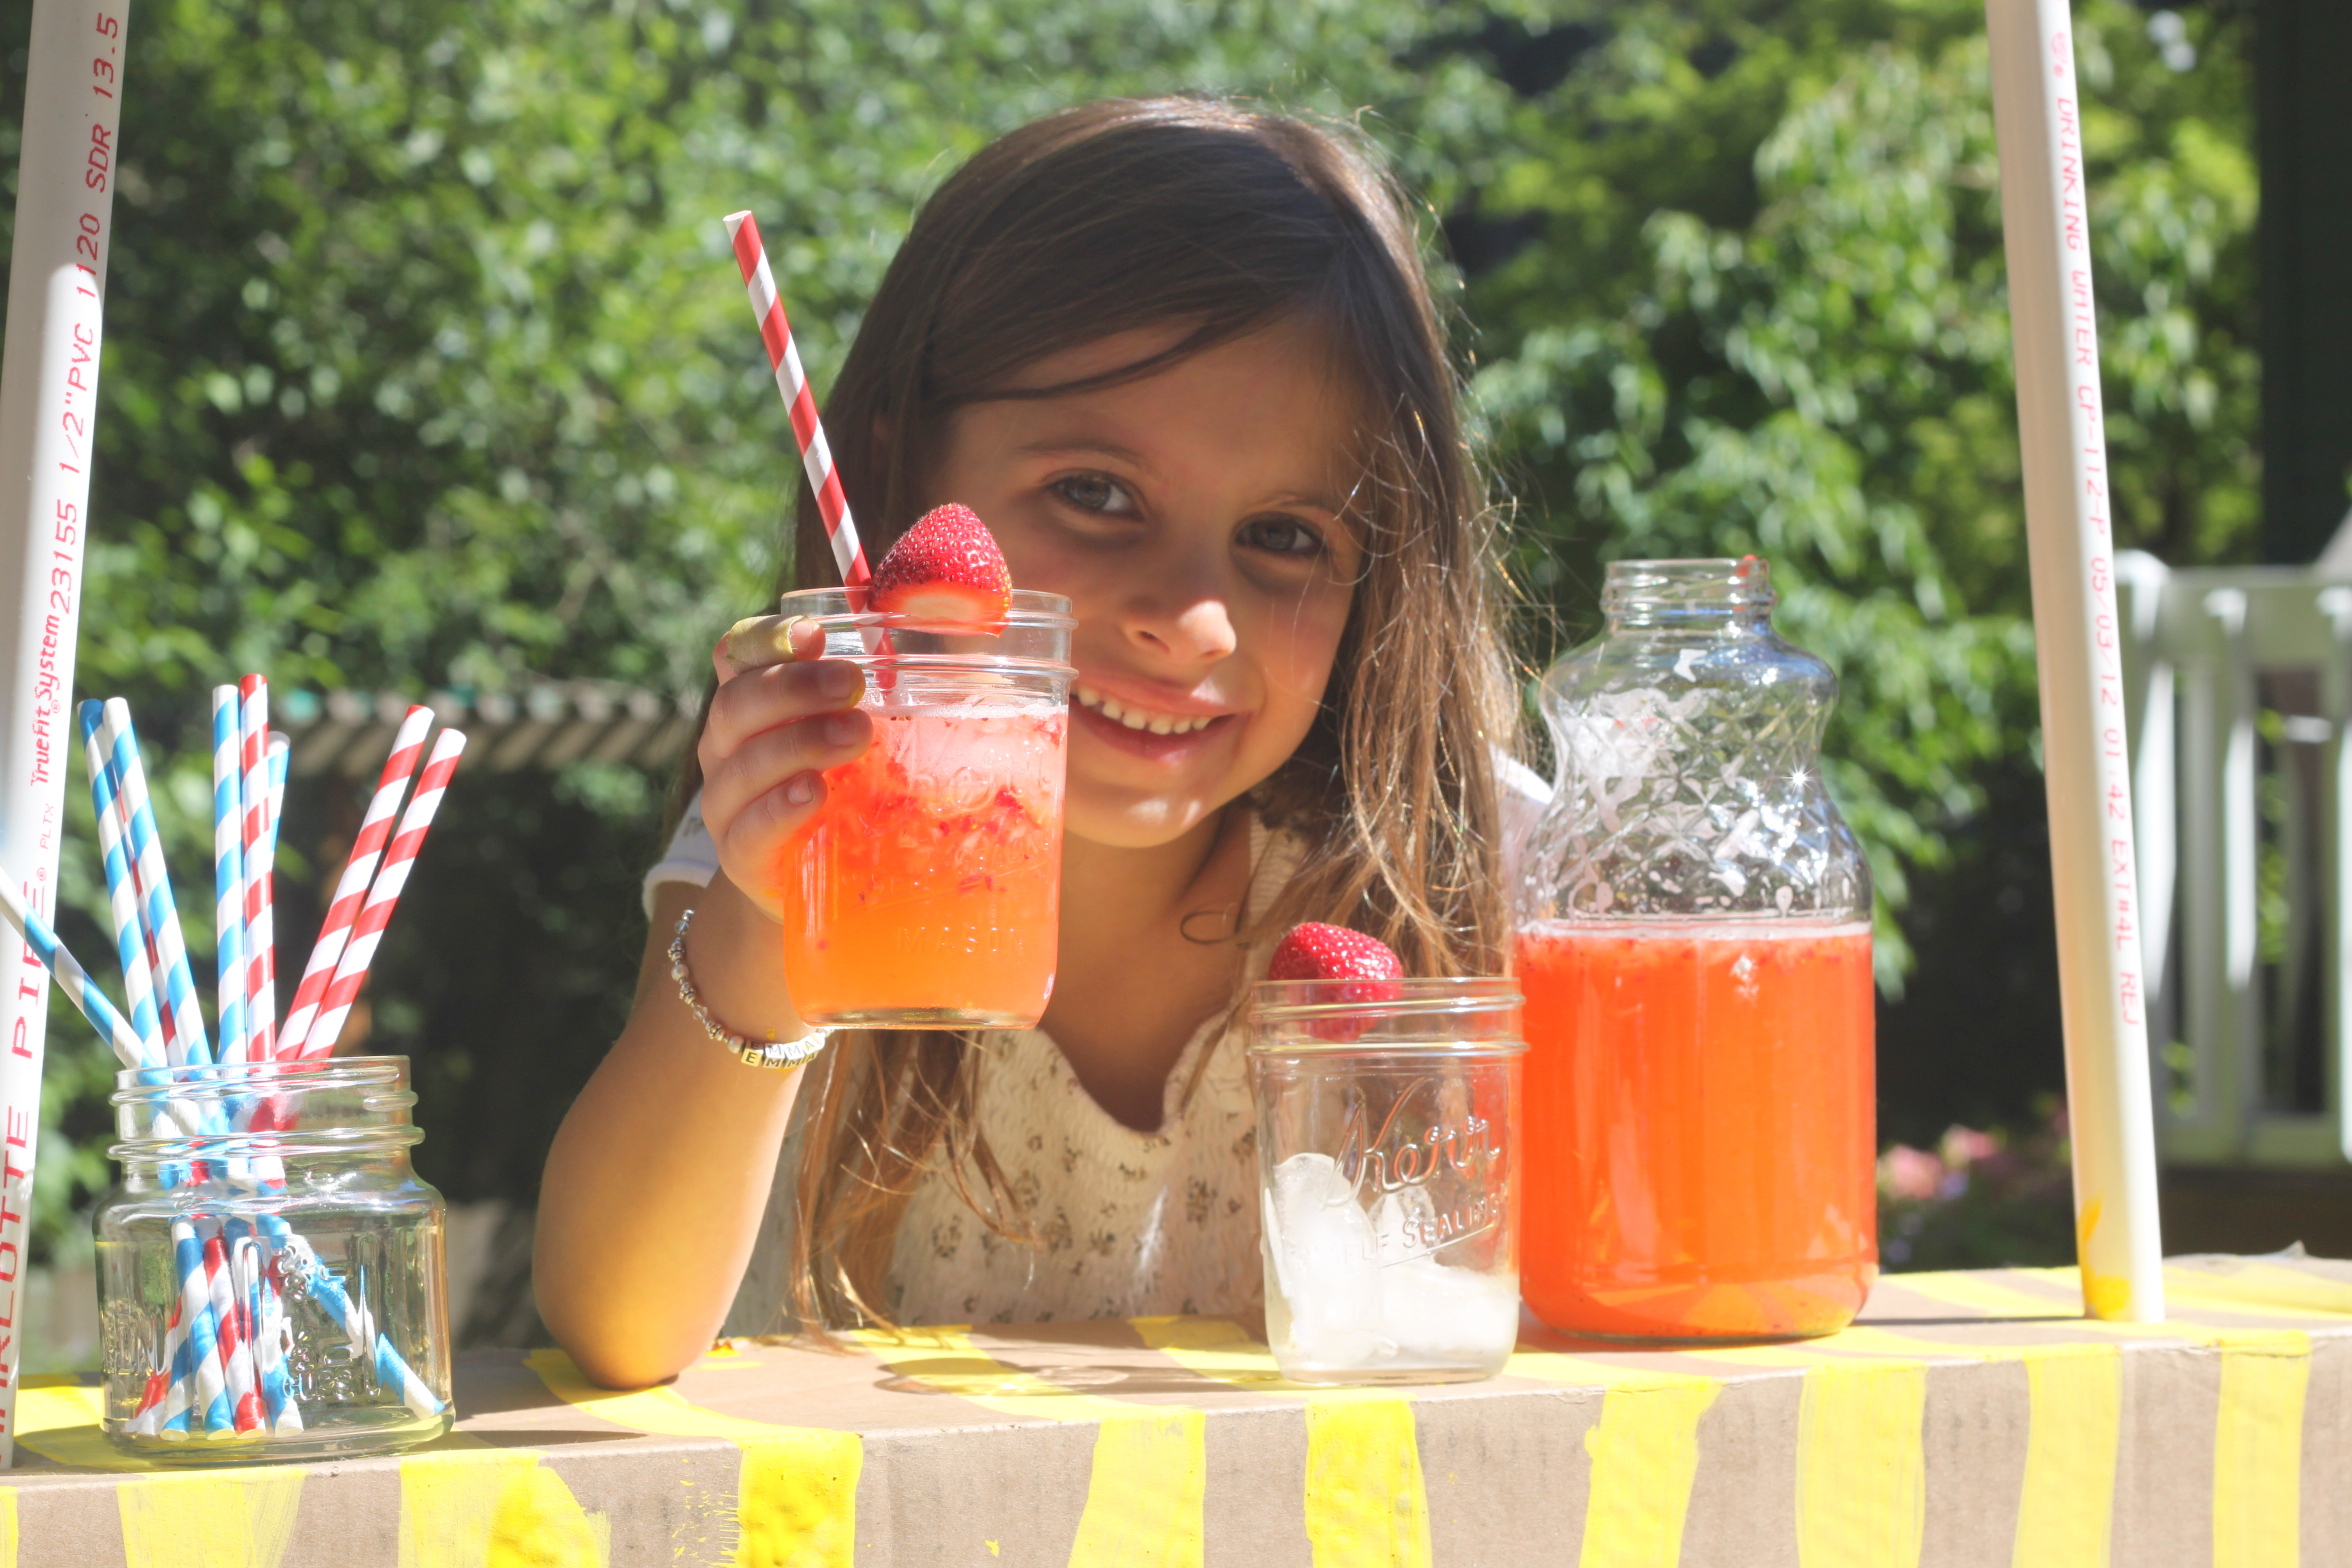
While our paint was drying it was time to make some semi-homemade strawberry lemonade.
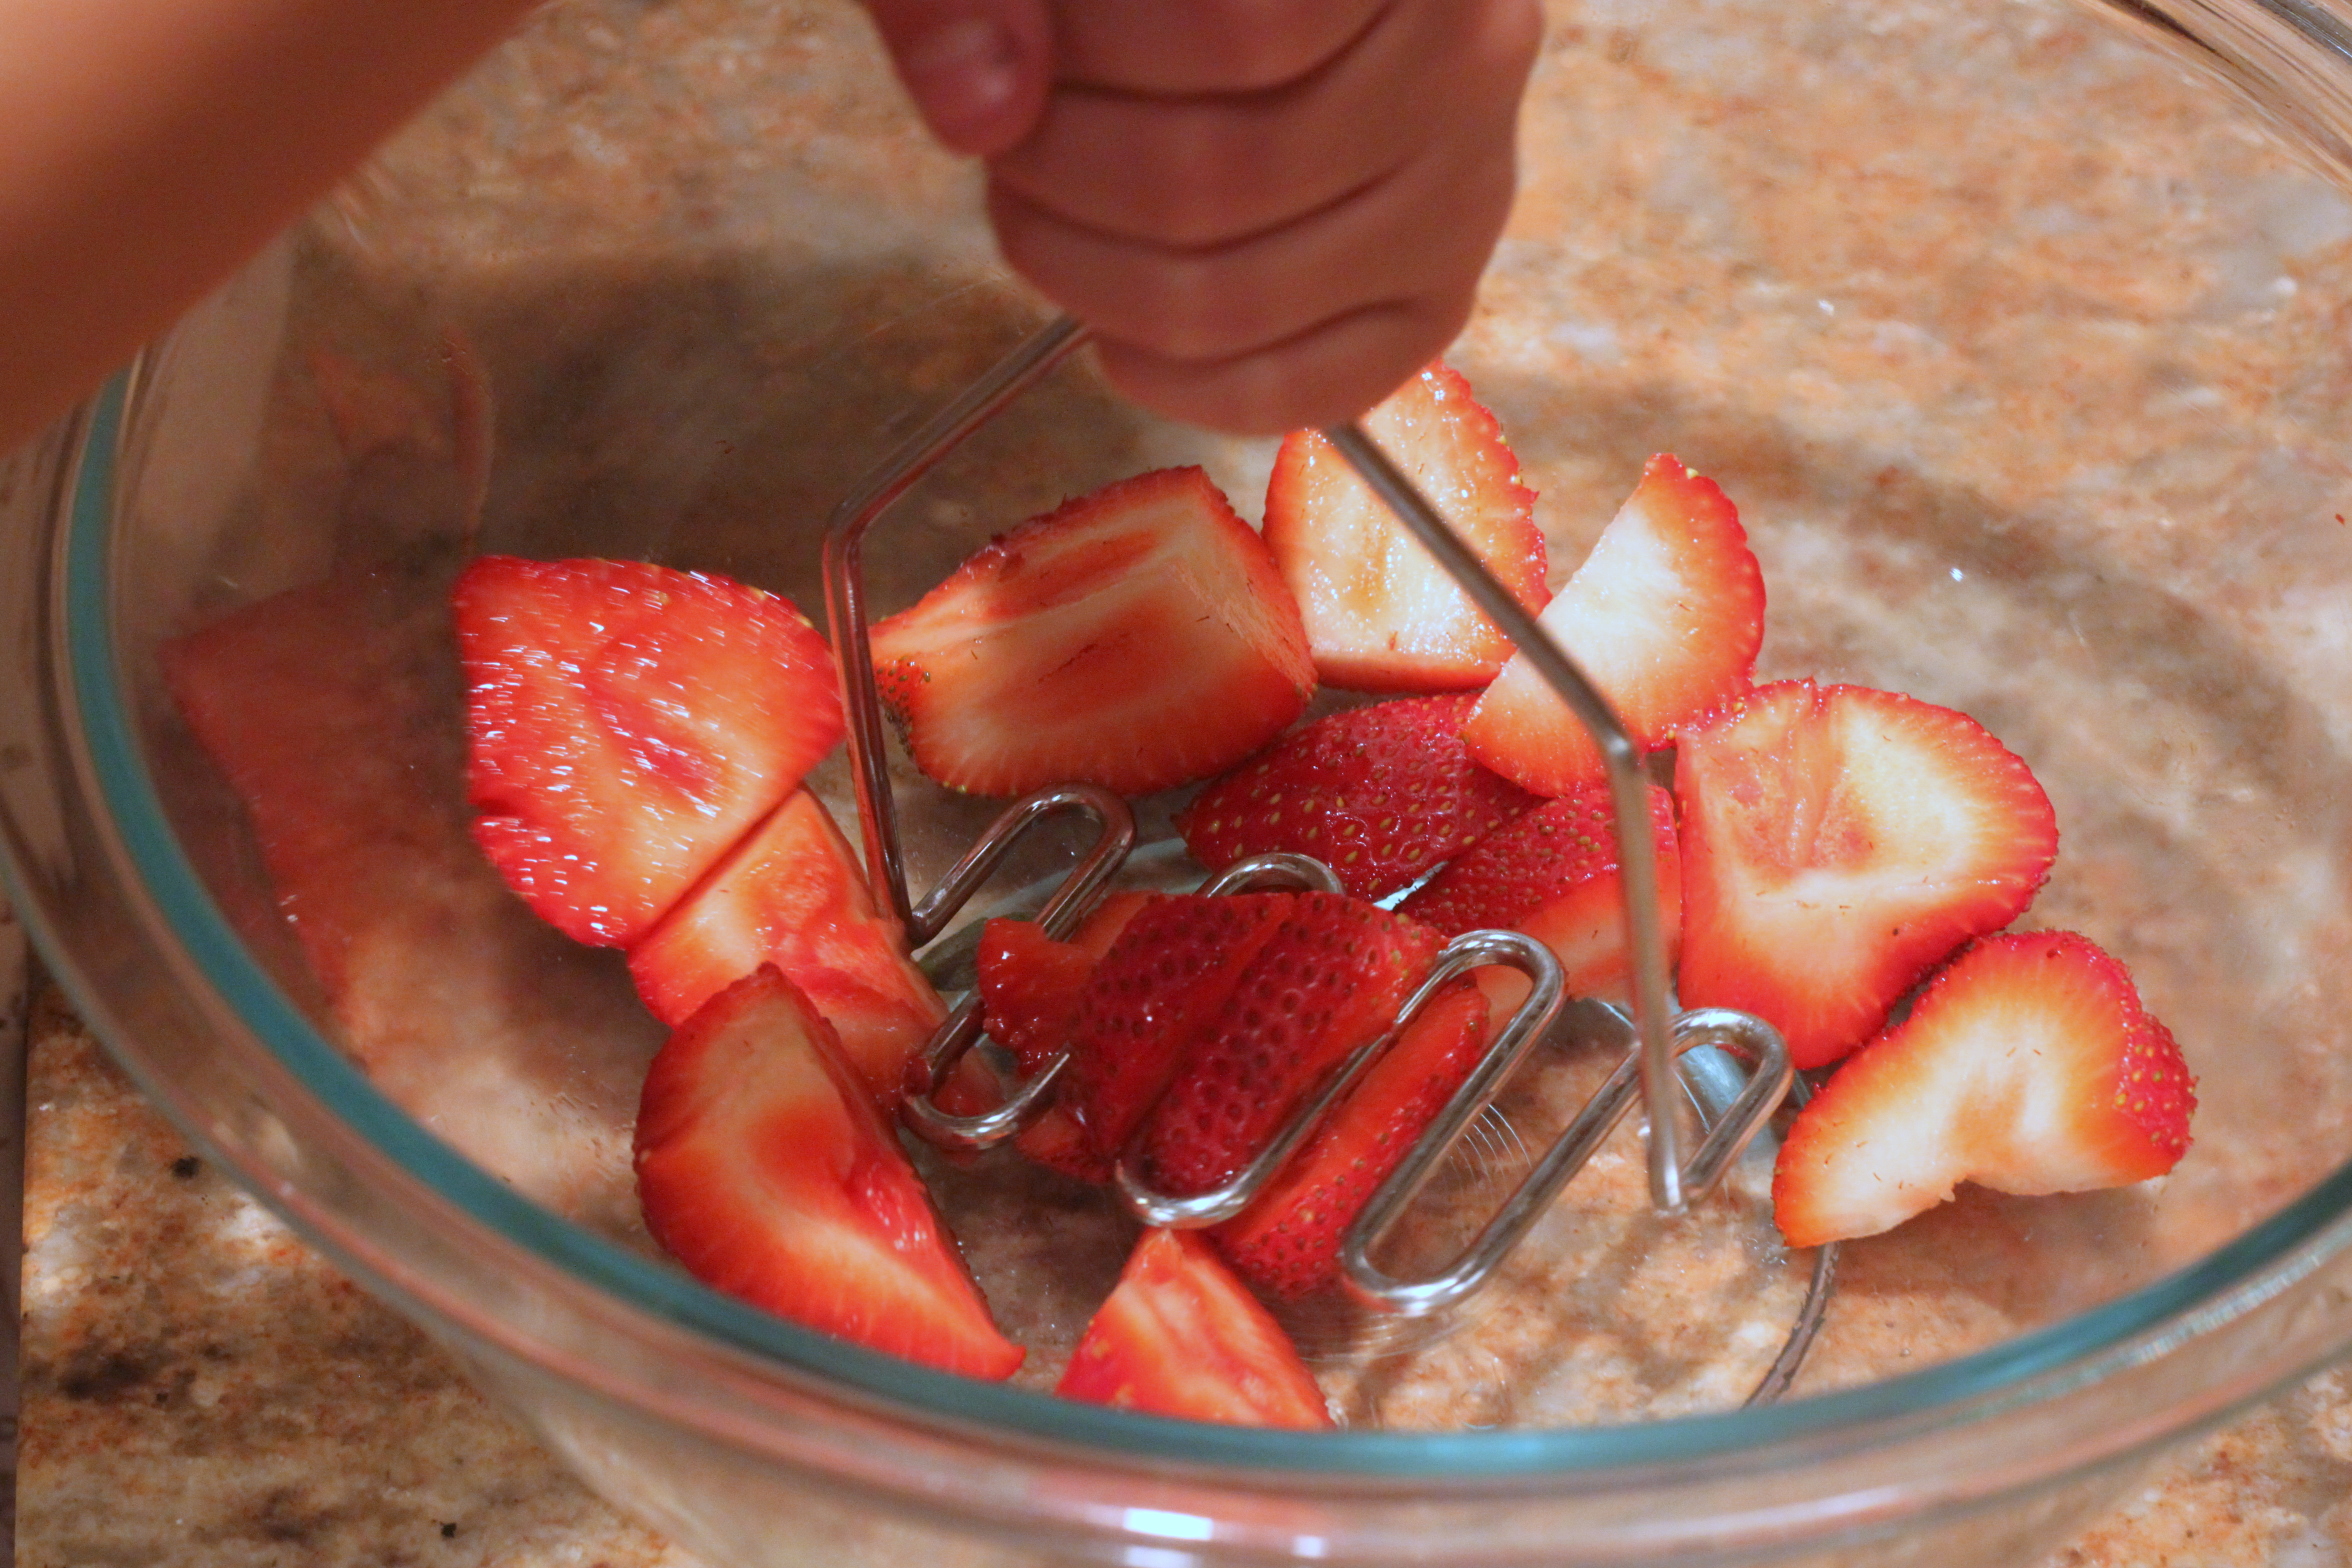
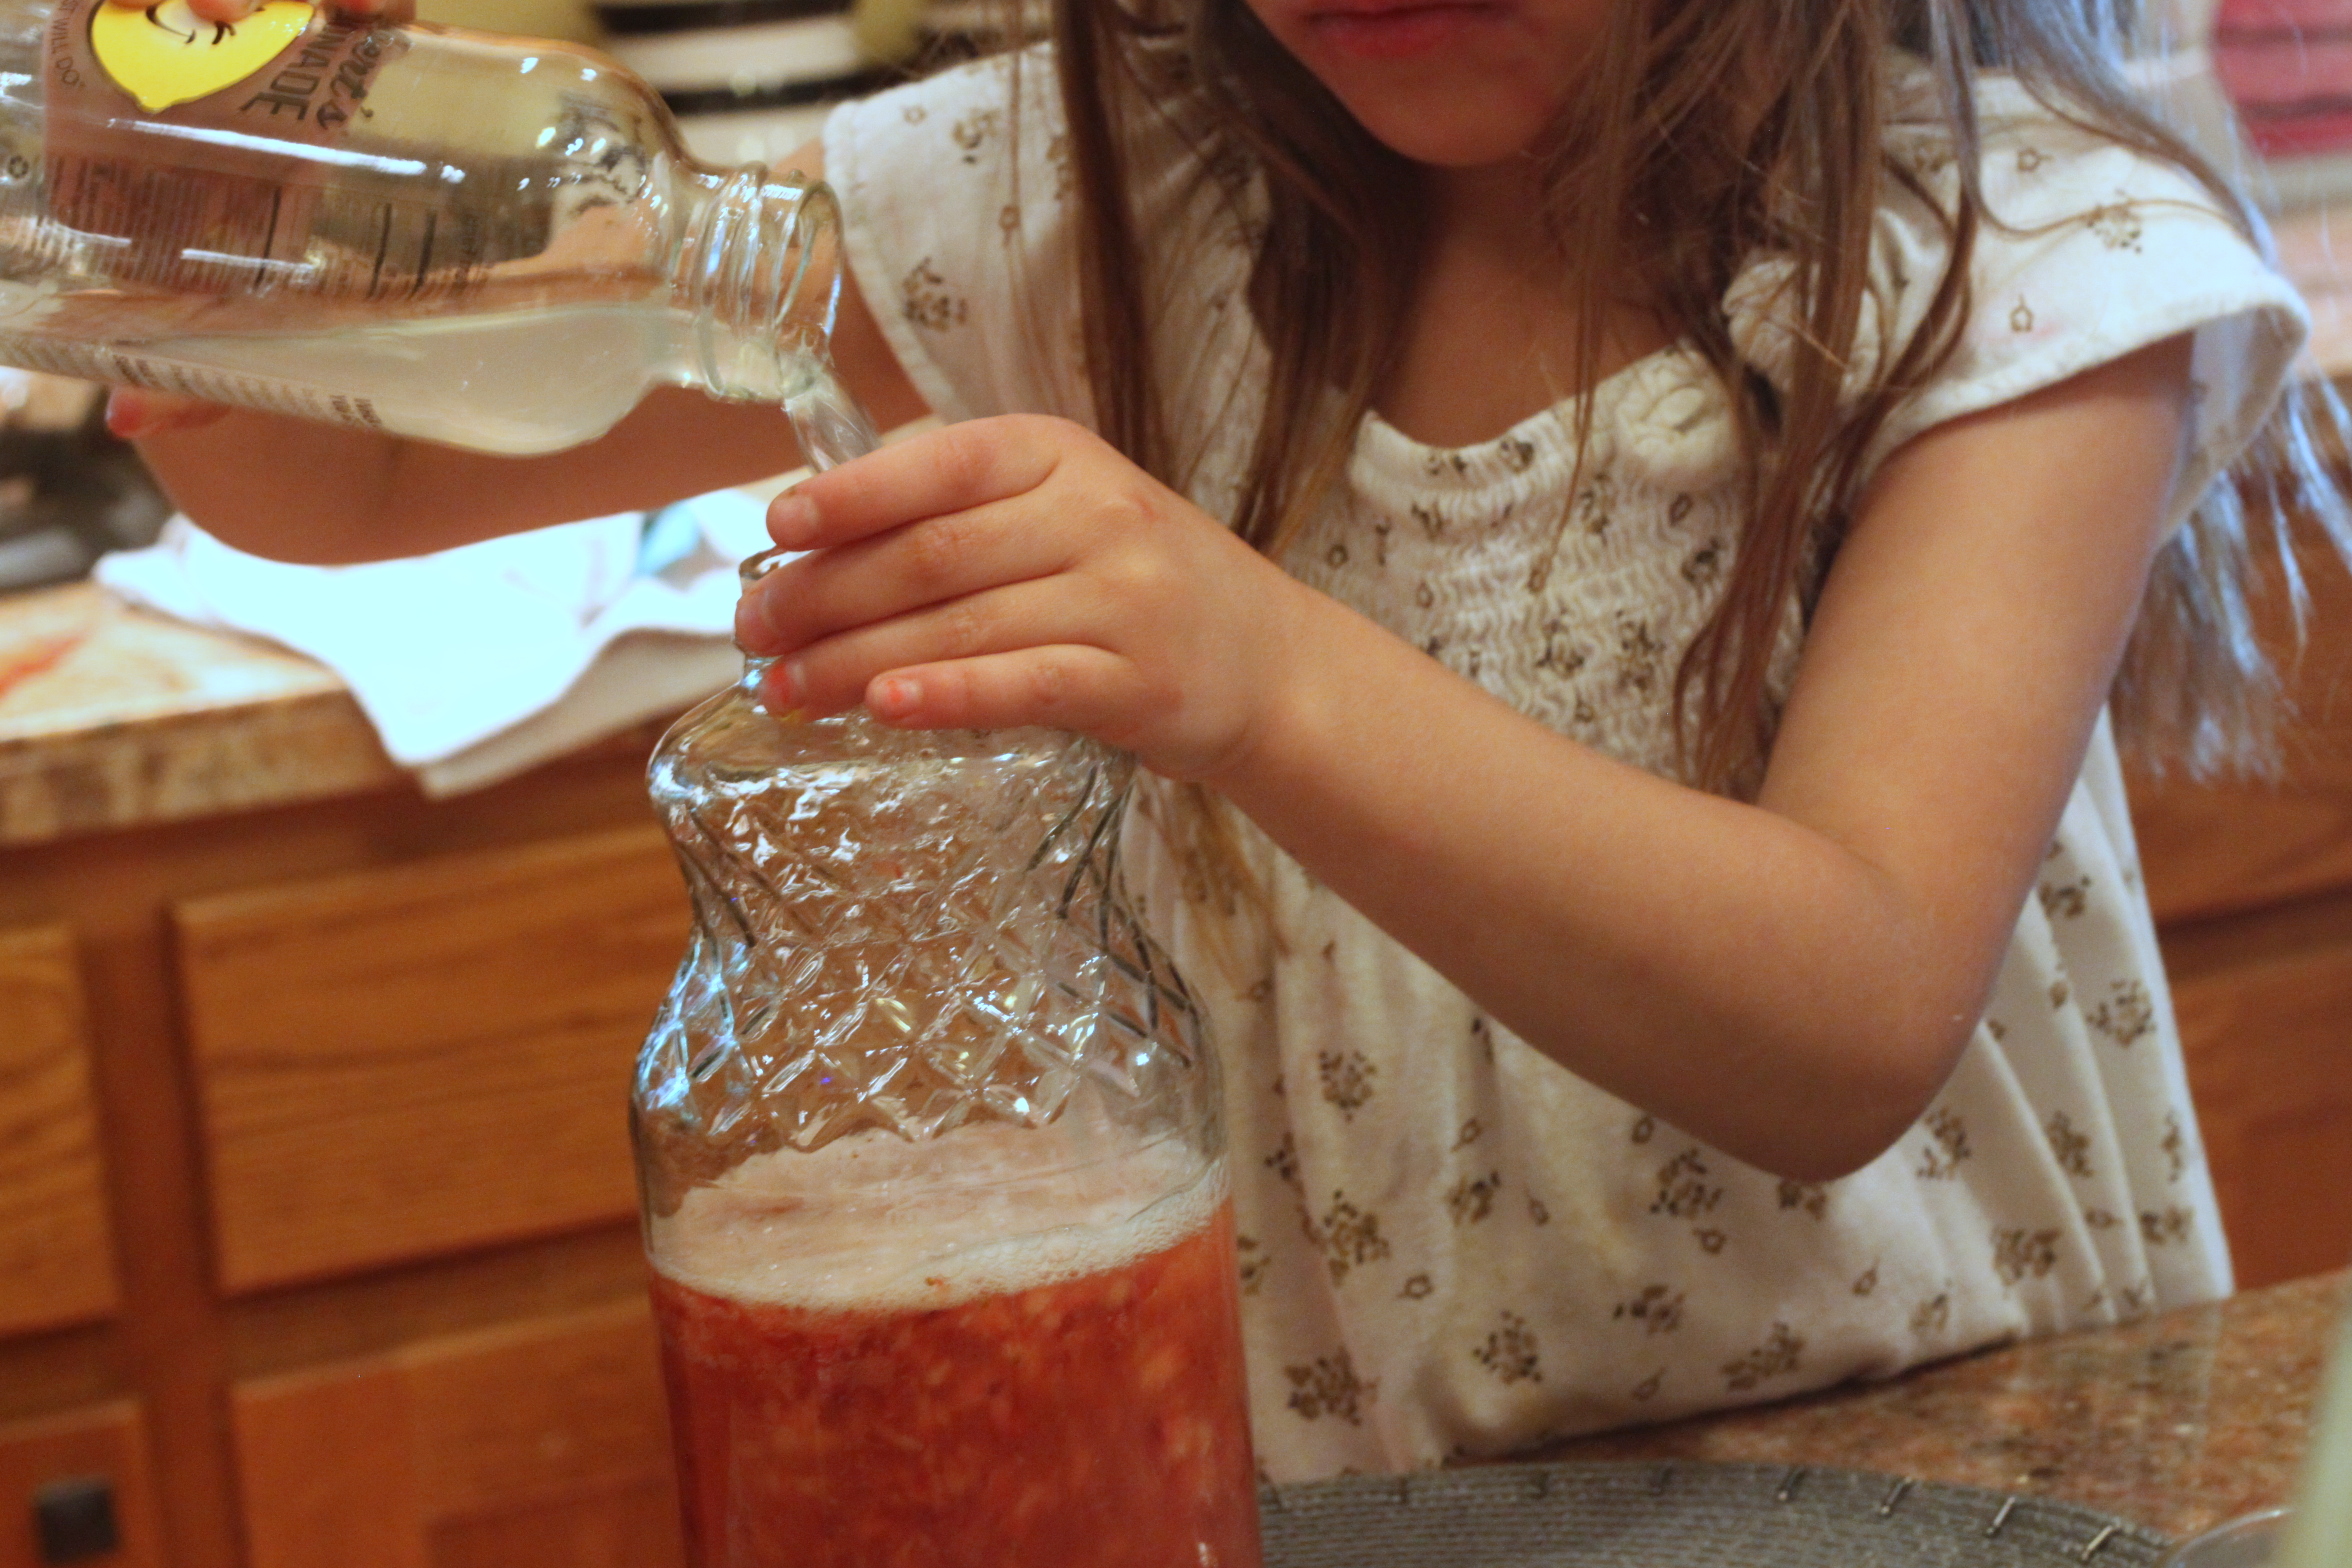
Step 7
The kids loved mashing up some strawberries.
Step 8
We added the strawberries to a pitcher and poured some fancy sparkling lemonade right on top. That was it!
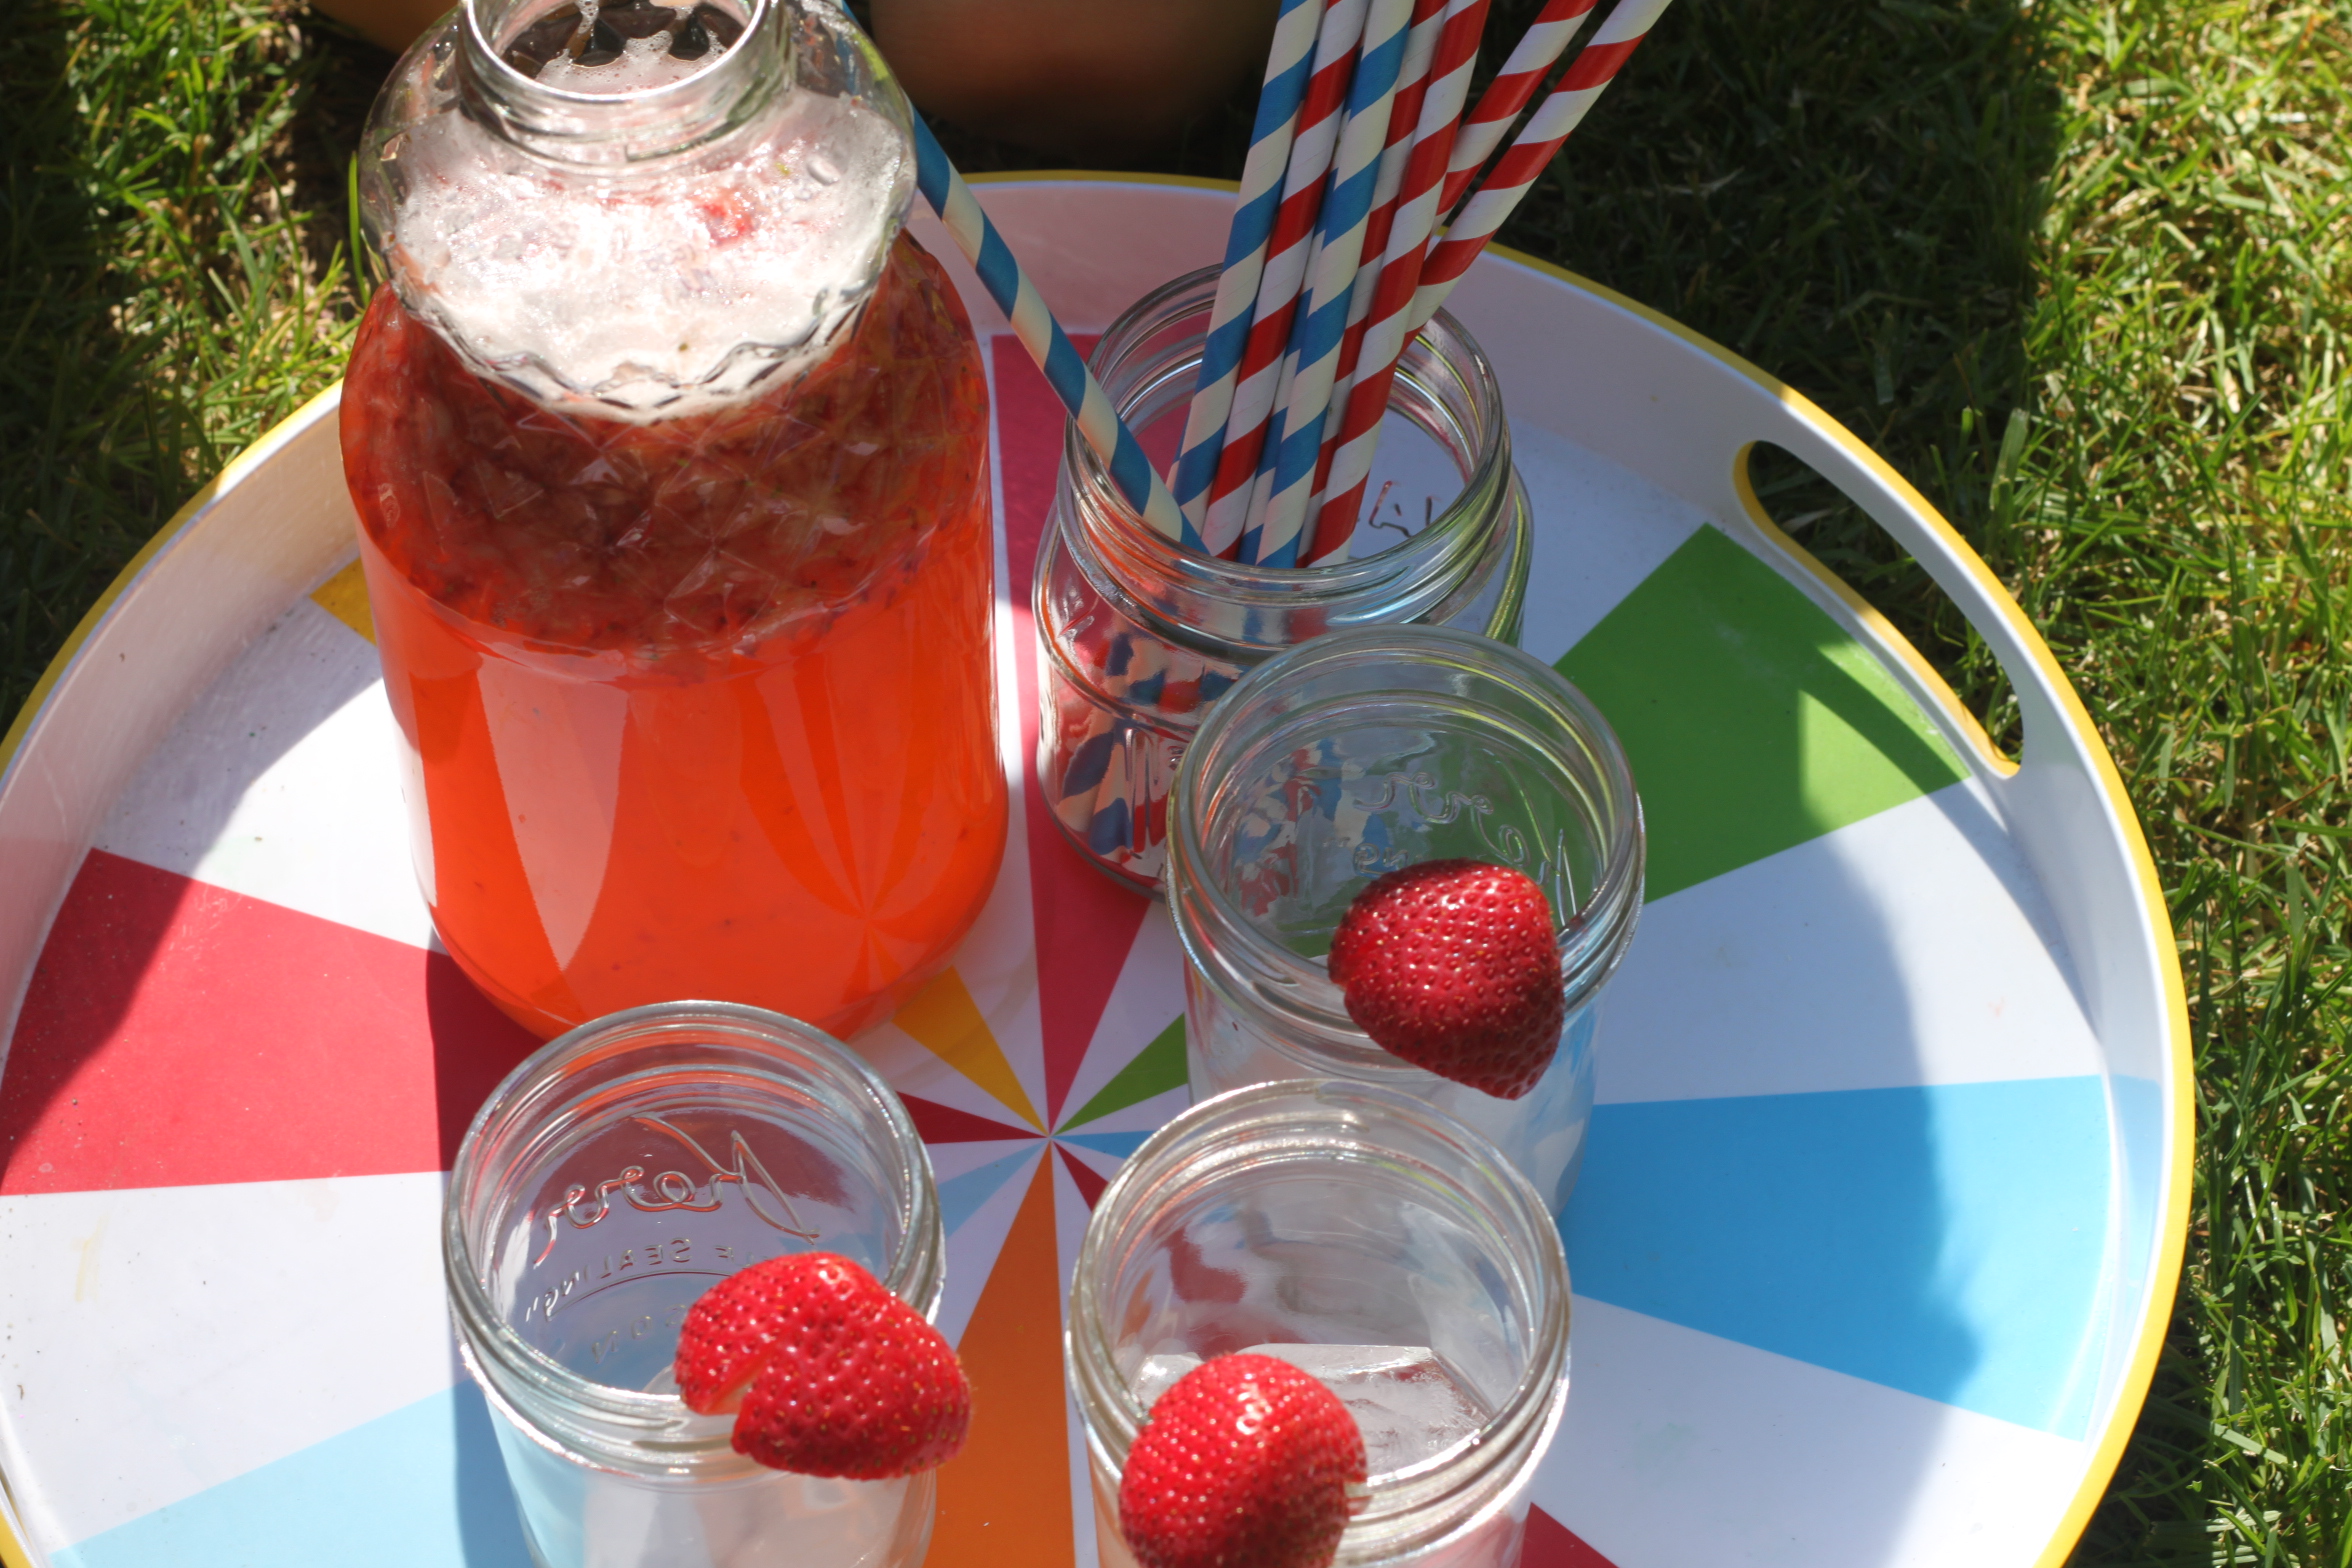
Step 9
My fancy daughter insisted on strawberry slices for the tops of the glasses.
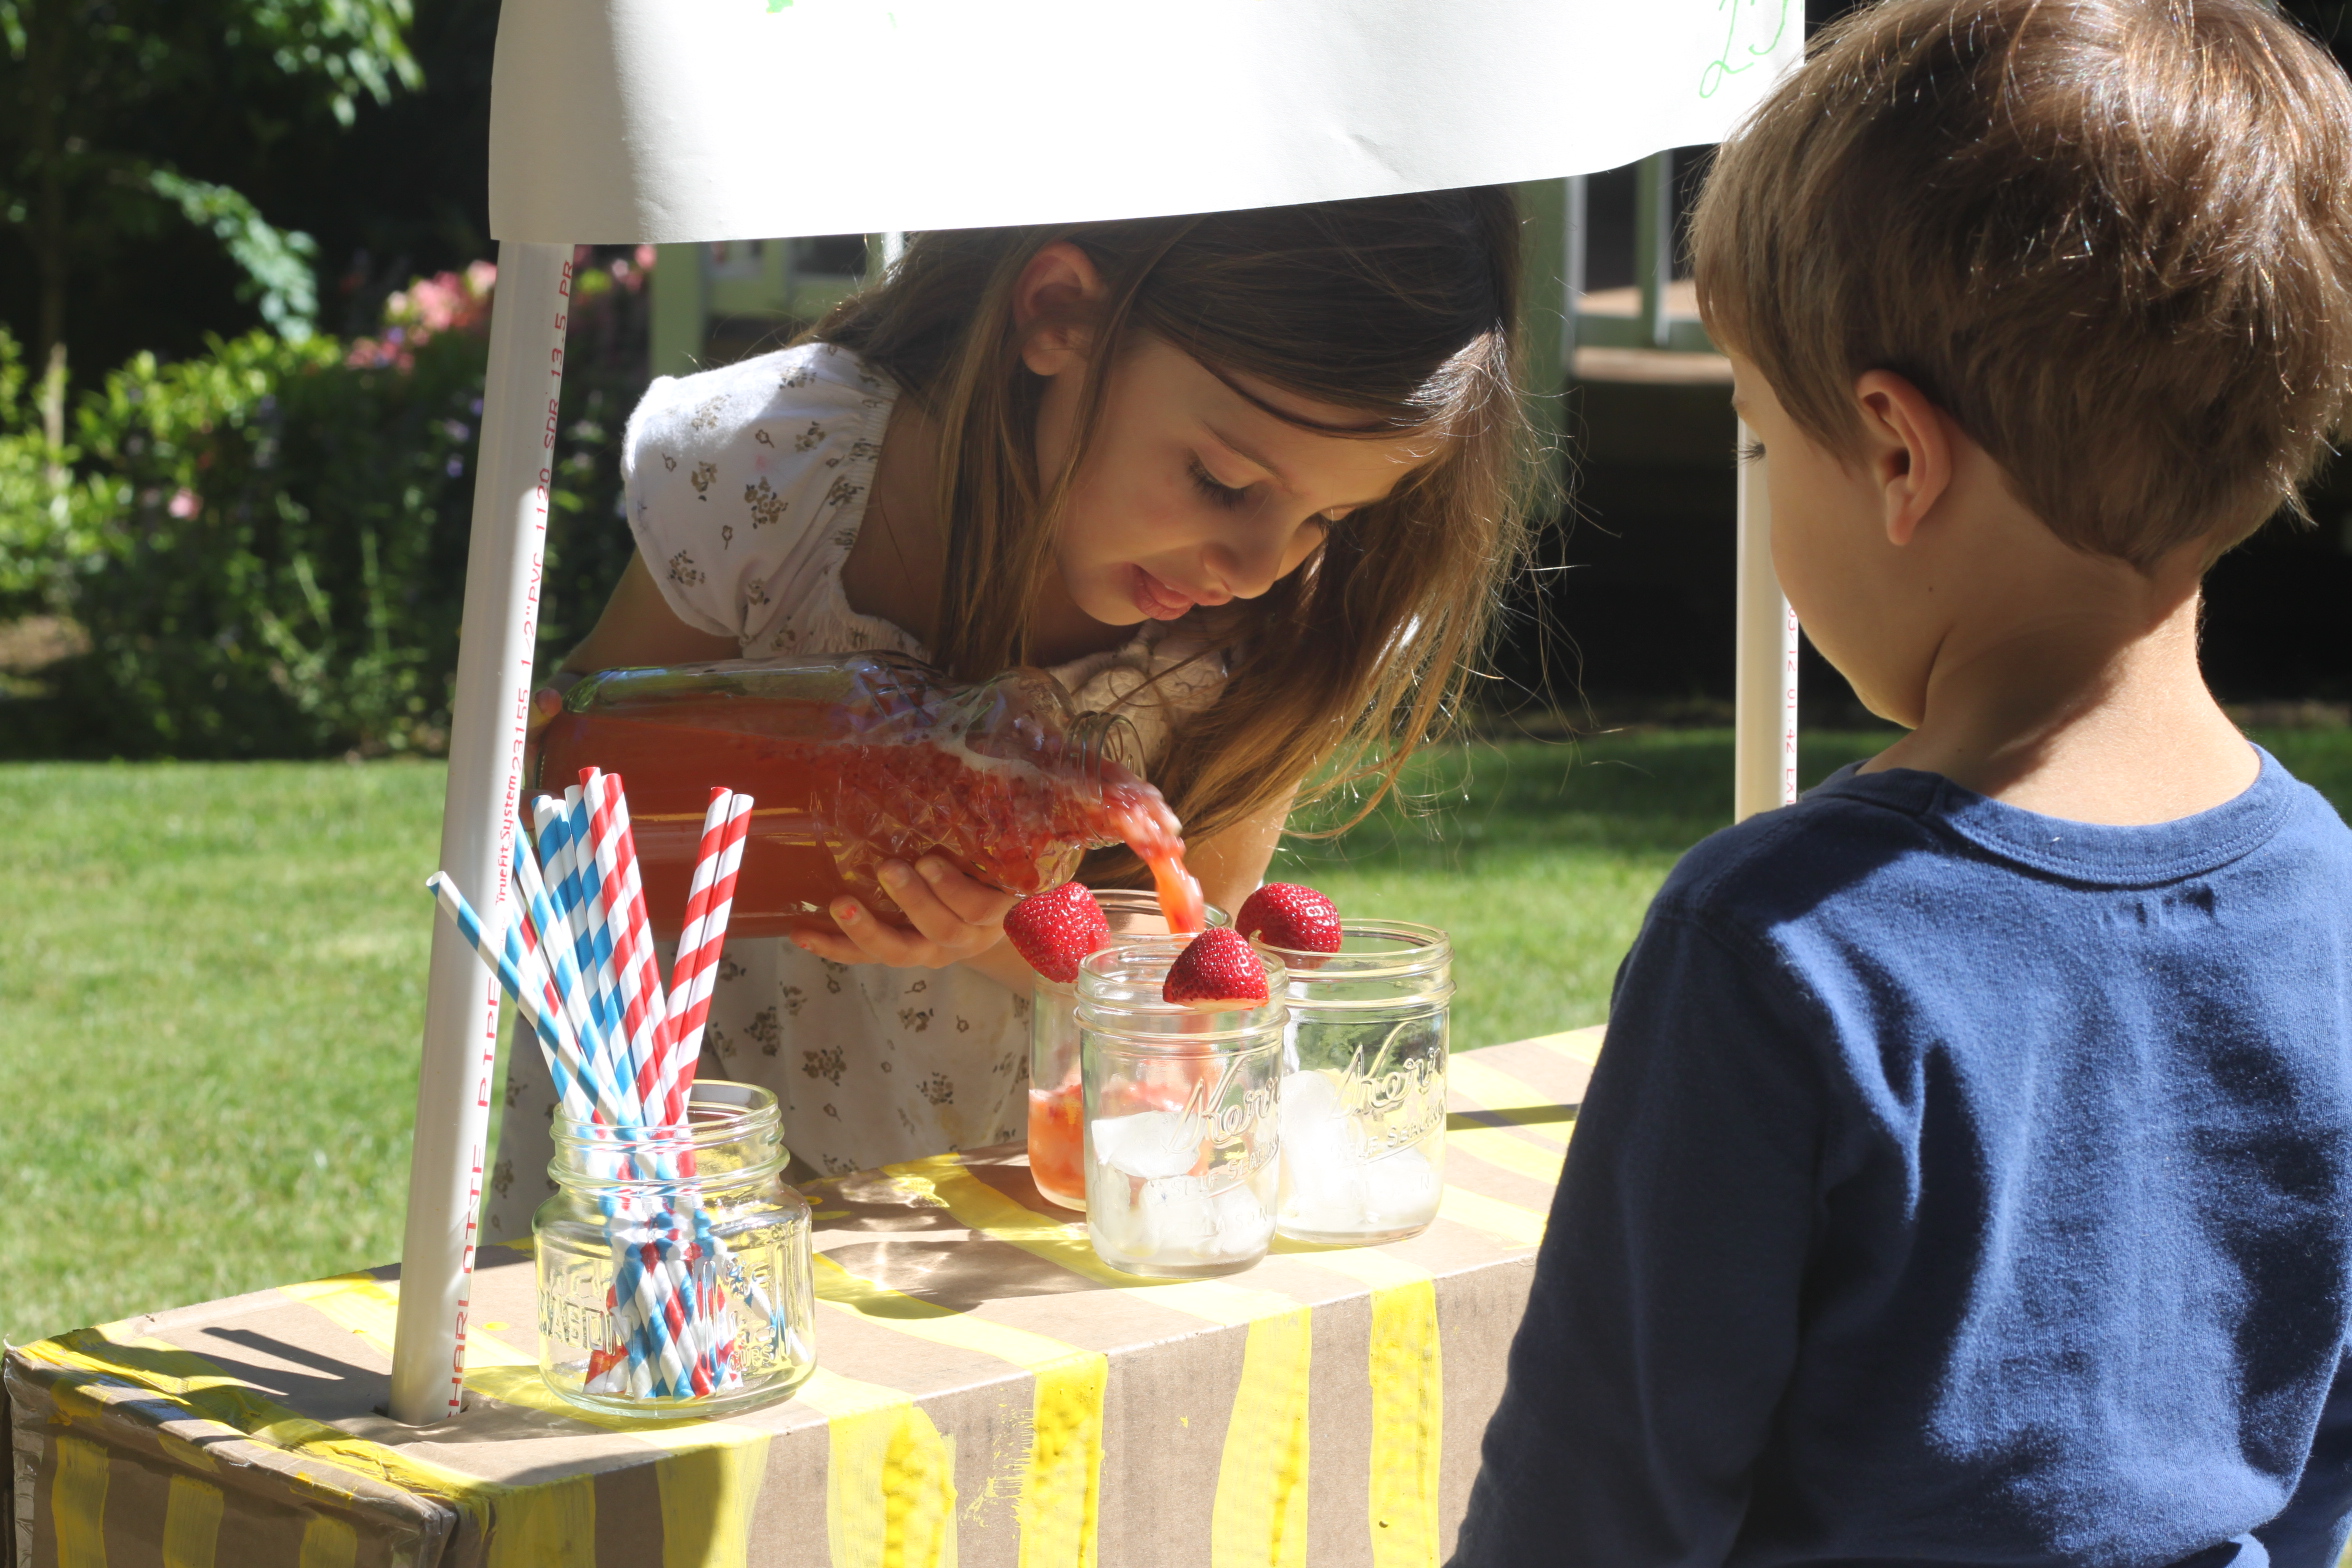
Step 10
Time to start selling! Well, we just pretended to sell on this day since it was a week day afternoon and most of our neighbors weren't home yet, but it was good practice and a lot of fun.
Done!
She was pretty happy with our little DIY stand. The lemonade was a bonus, too. So good! After we finished with it outside, we moved our lemonade stand to the play room and have used it for all sorts of pretend play.