Step-by-step tutorial
Step 1
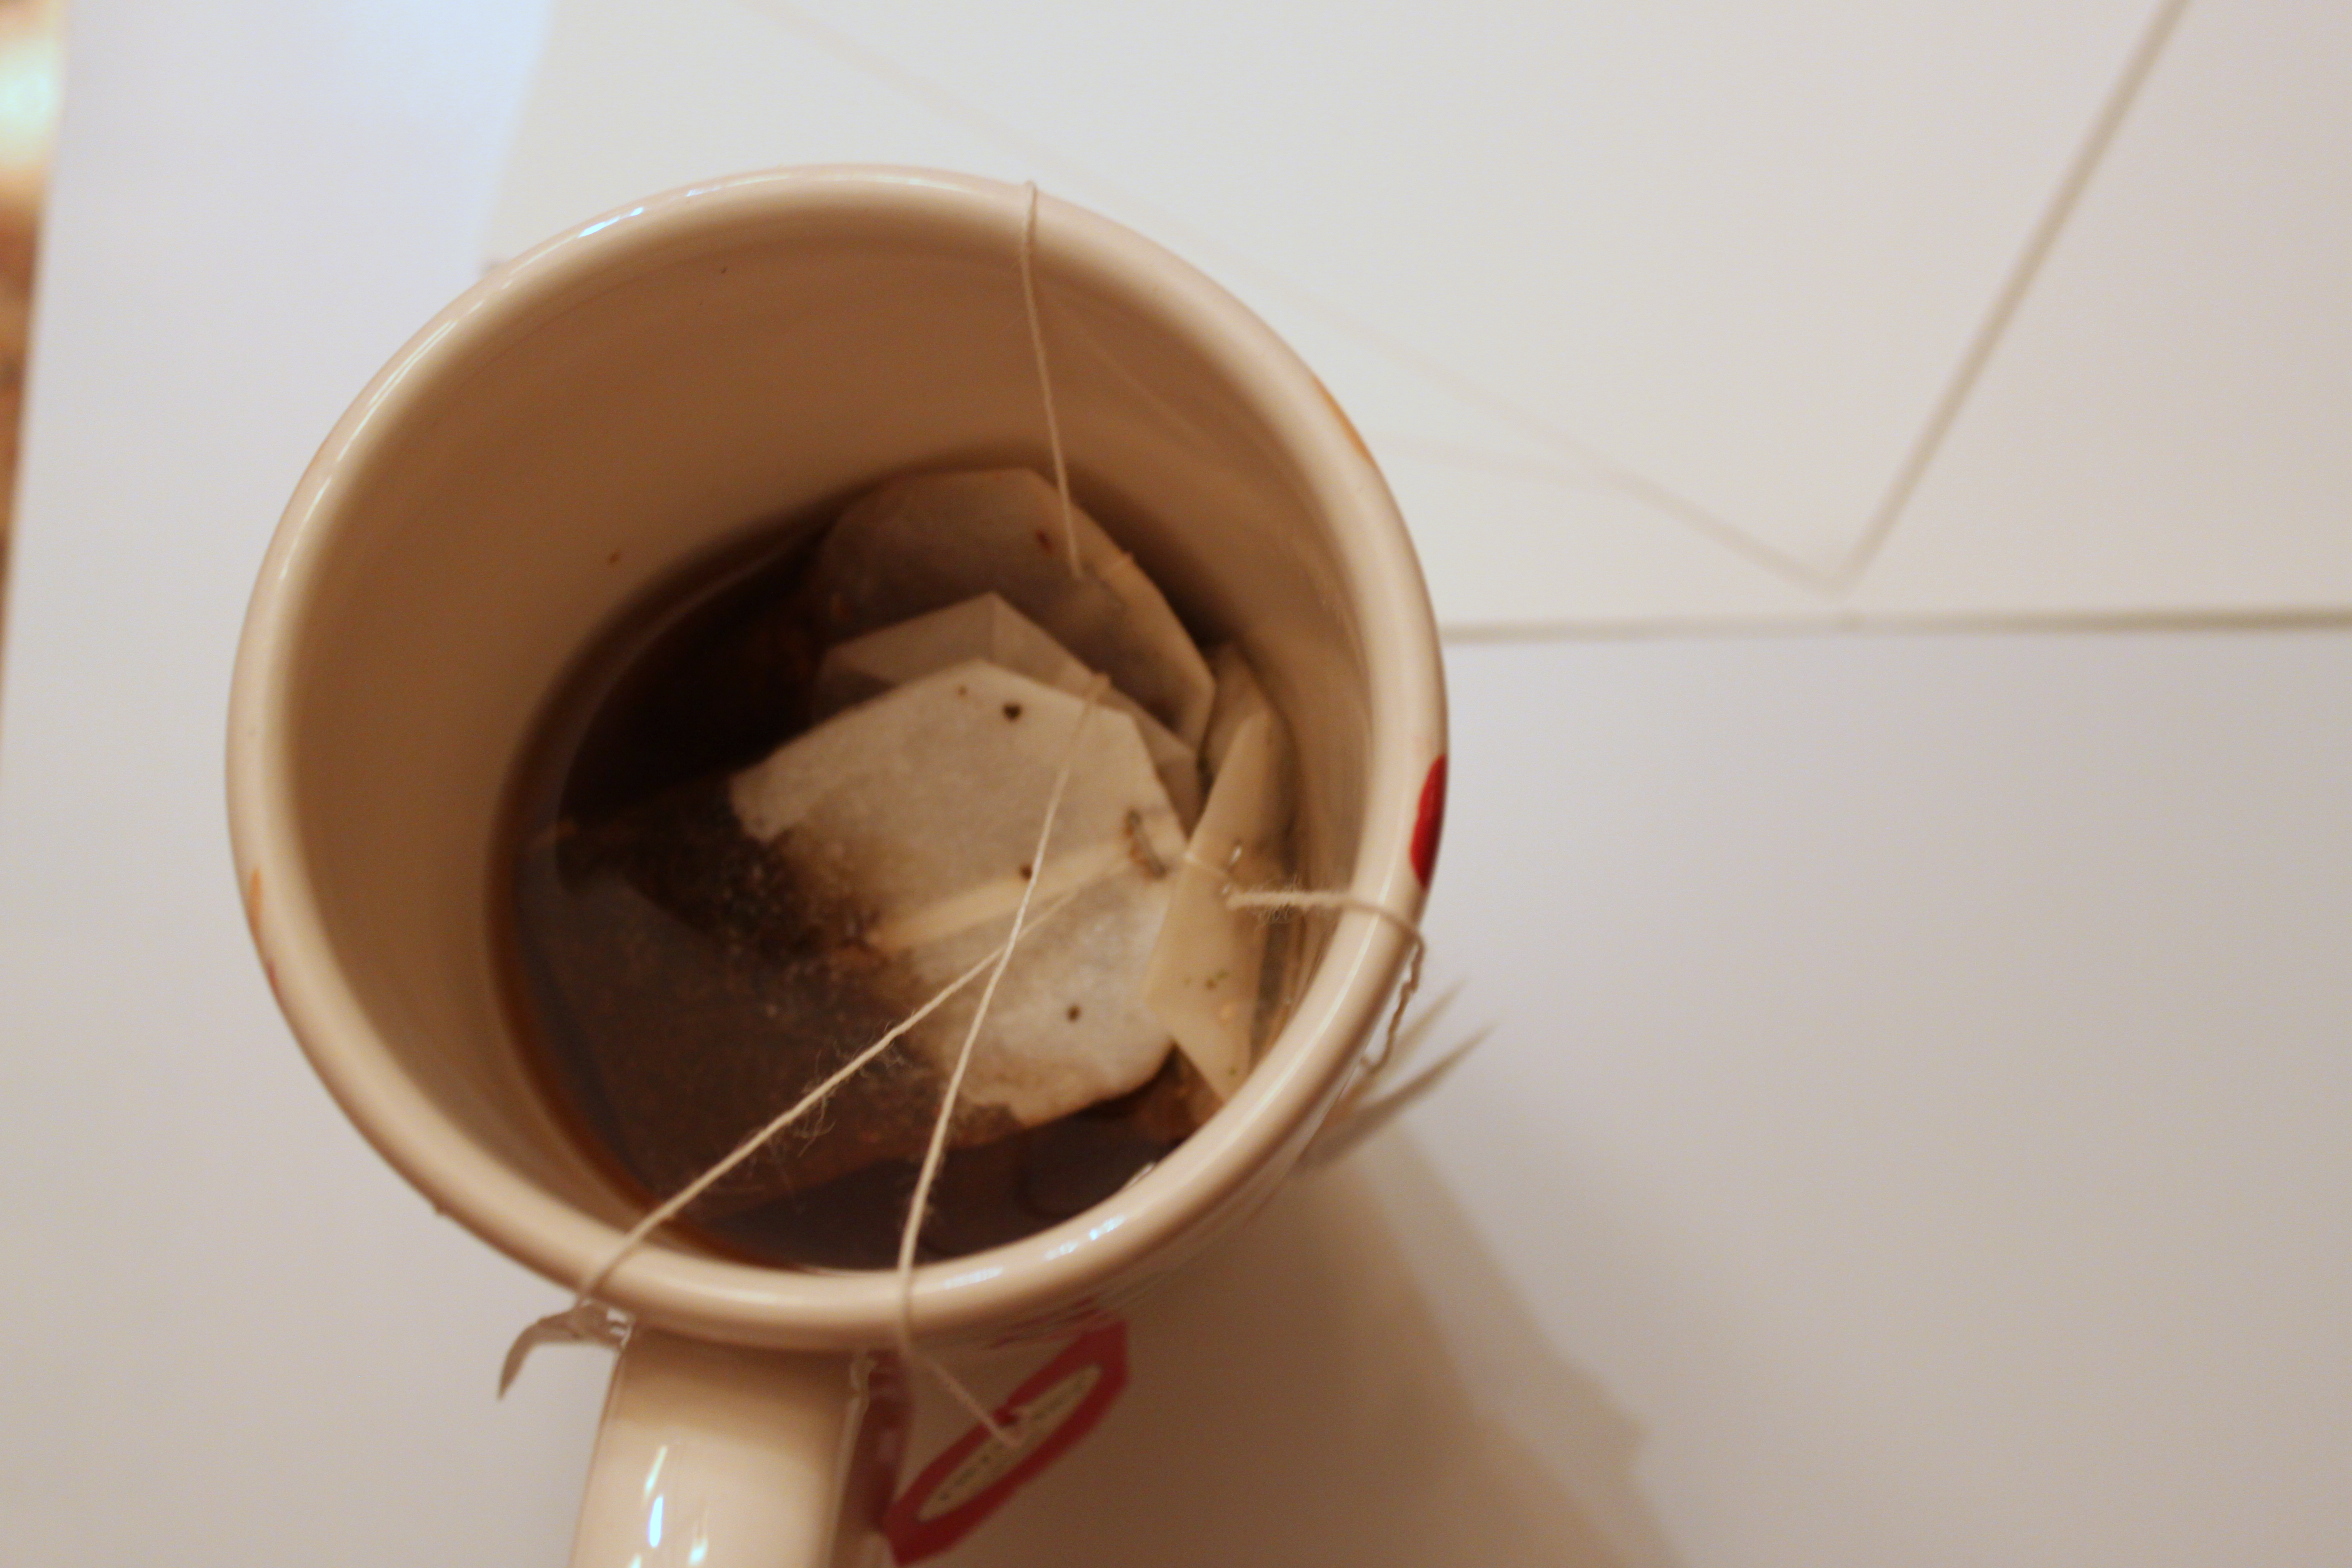
I went through our tea stash to find a few different kinds for the kids to experiment with. I placed the tea bags in some hot water while I gathered some thick paper and the children!

Step 2
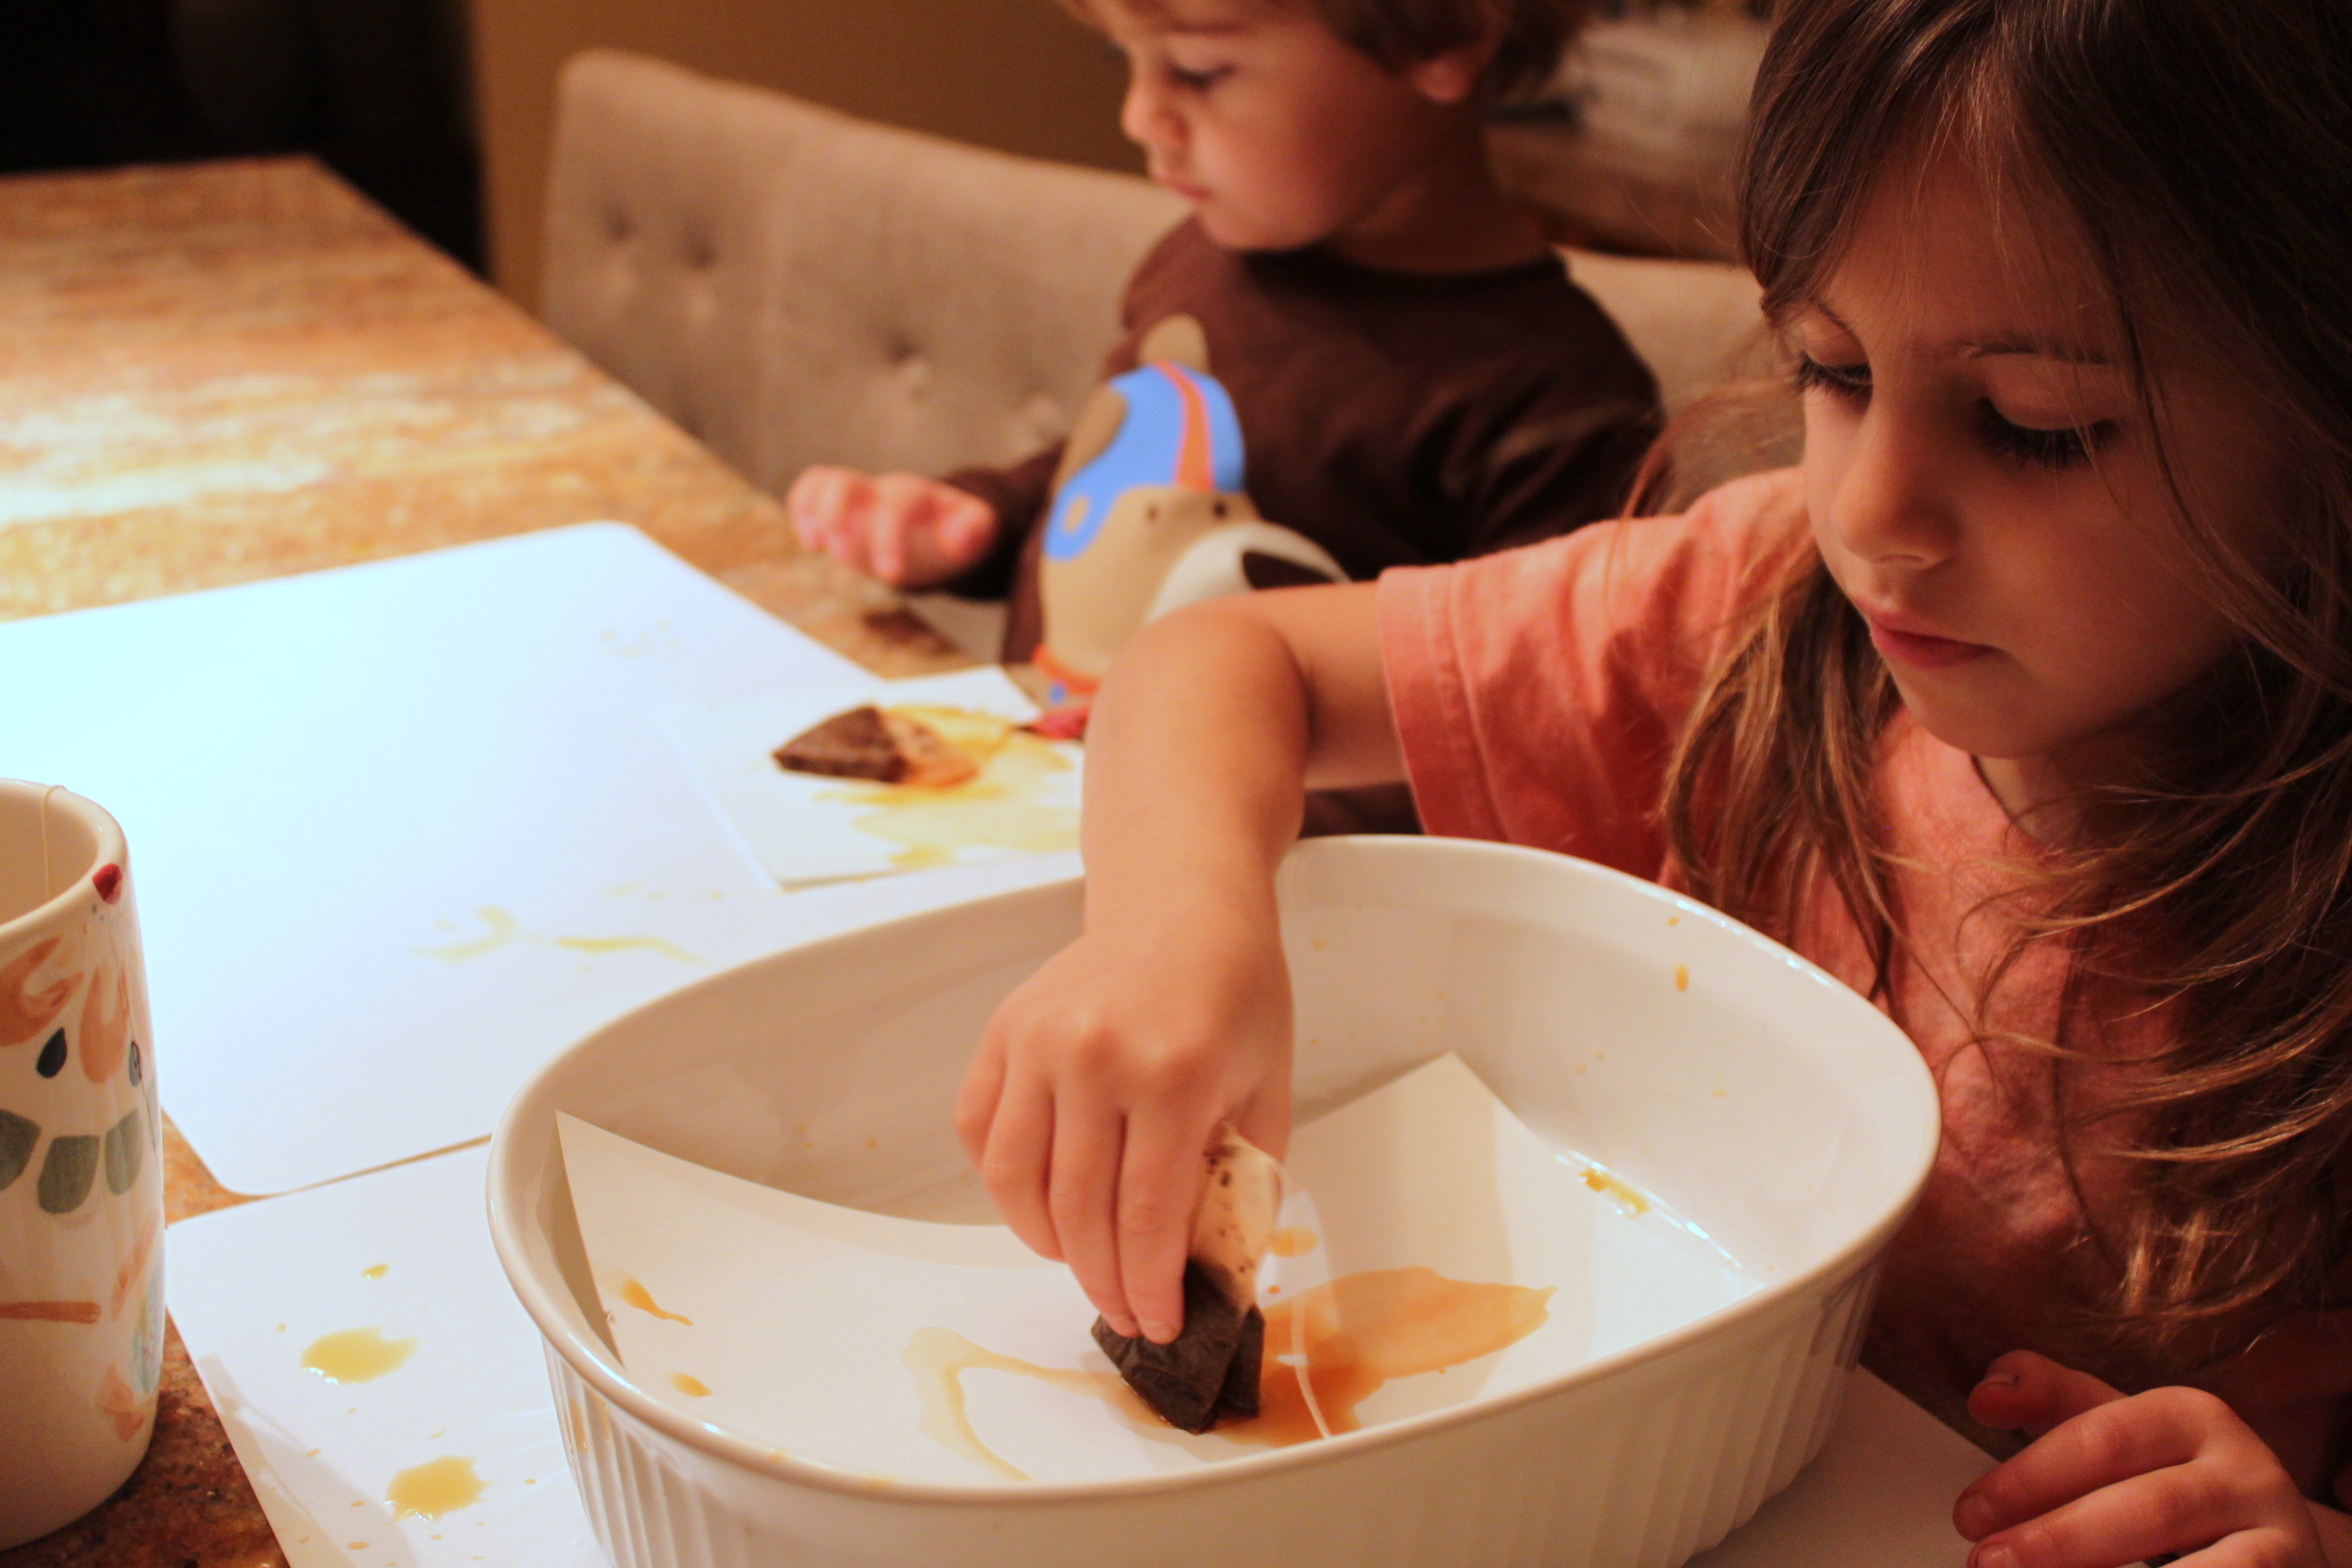
Once the tea cooled down a bit, I let the kids choose their tea bags and they began to drip the tea over the paper and press the bags on the paper.
Step 3
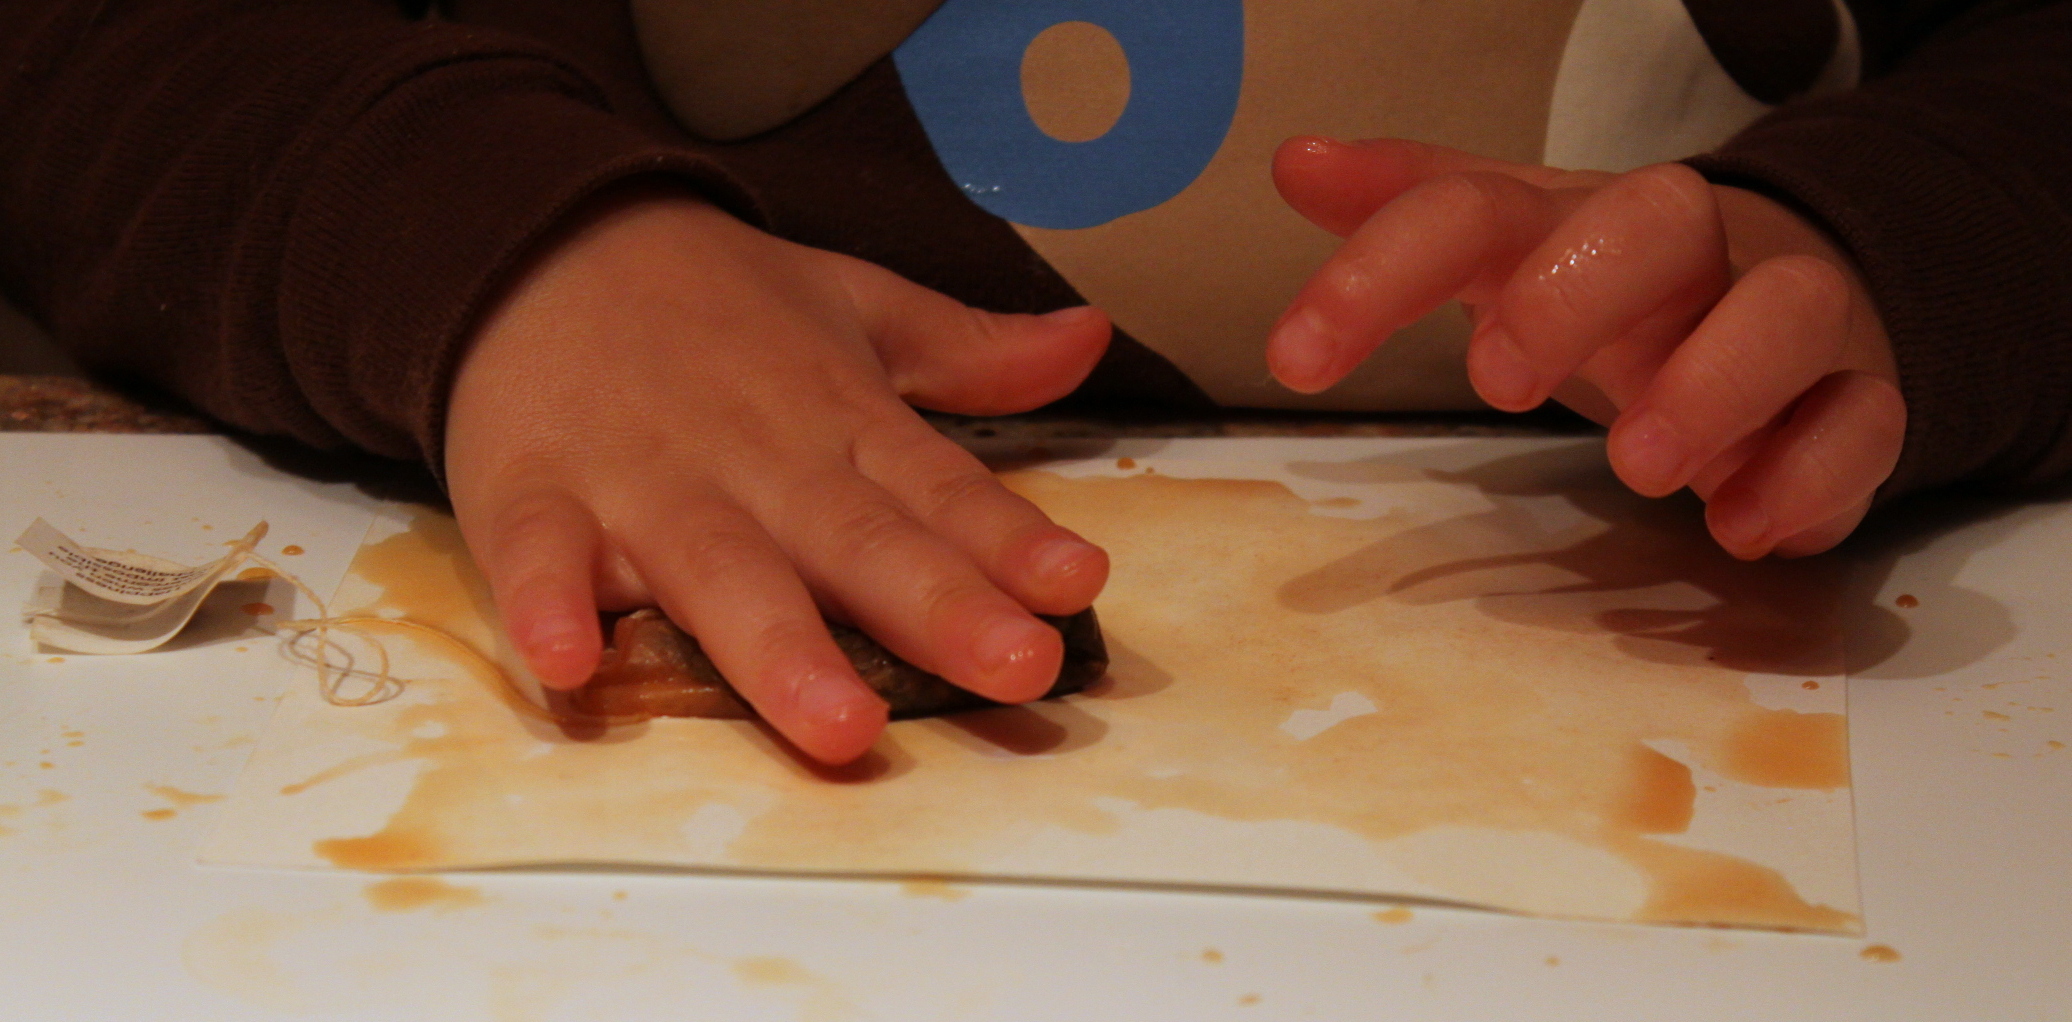
My two-year-old really enjoyed exploring this new texture and new way of making color on paper.
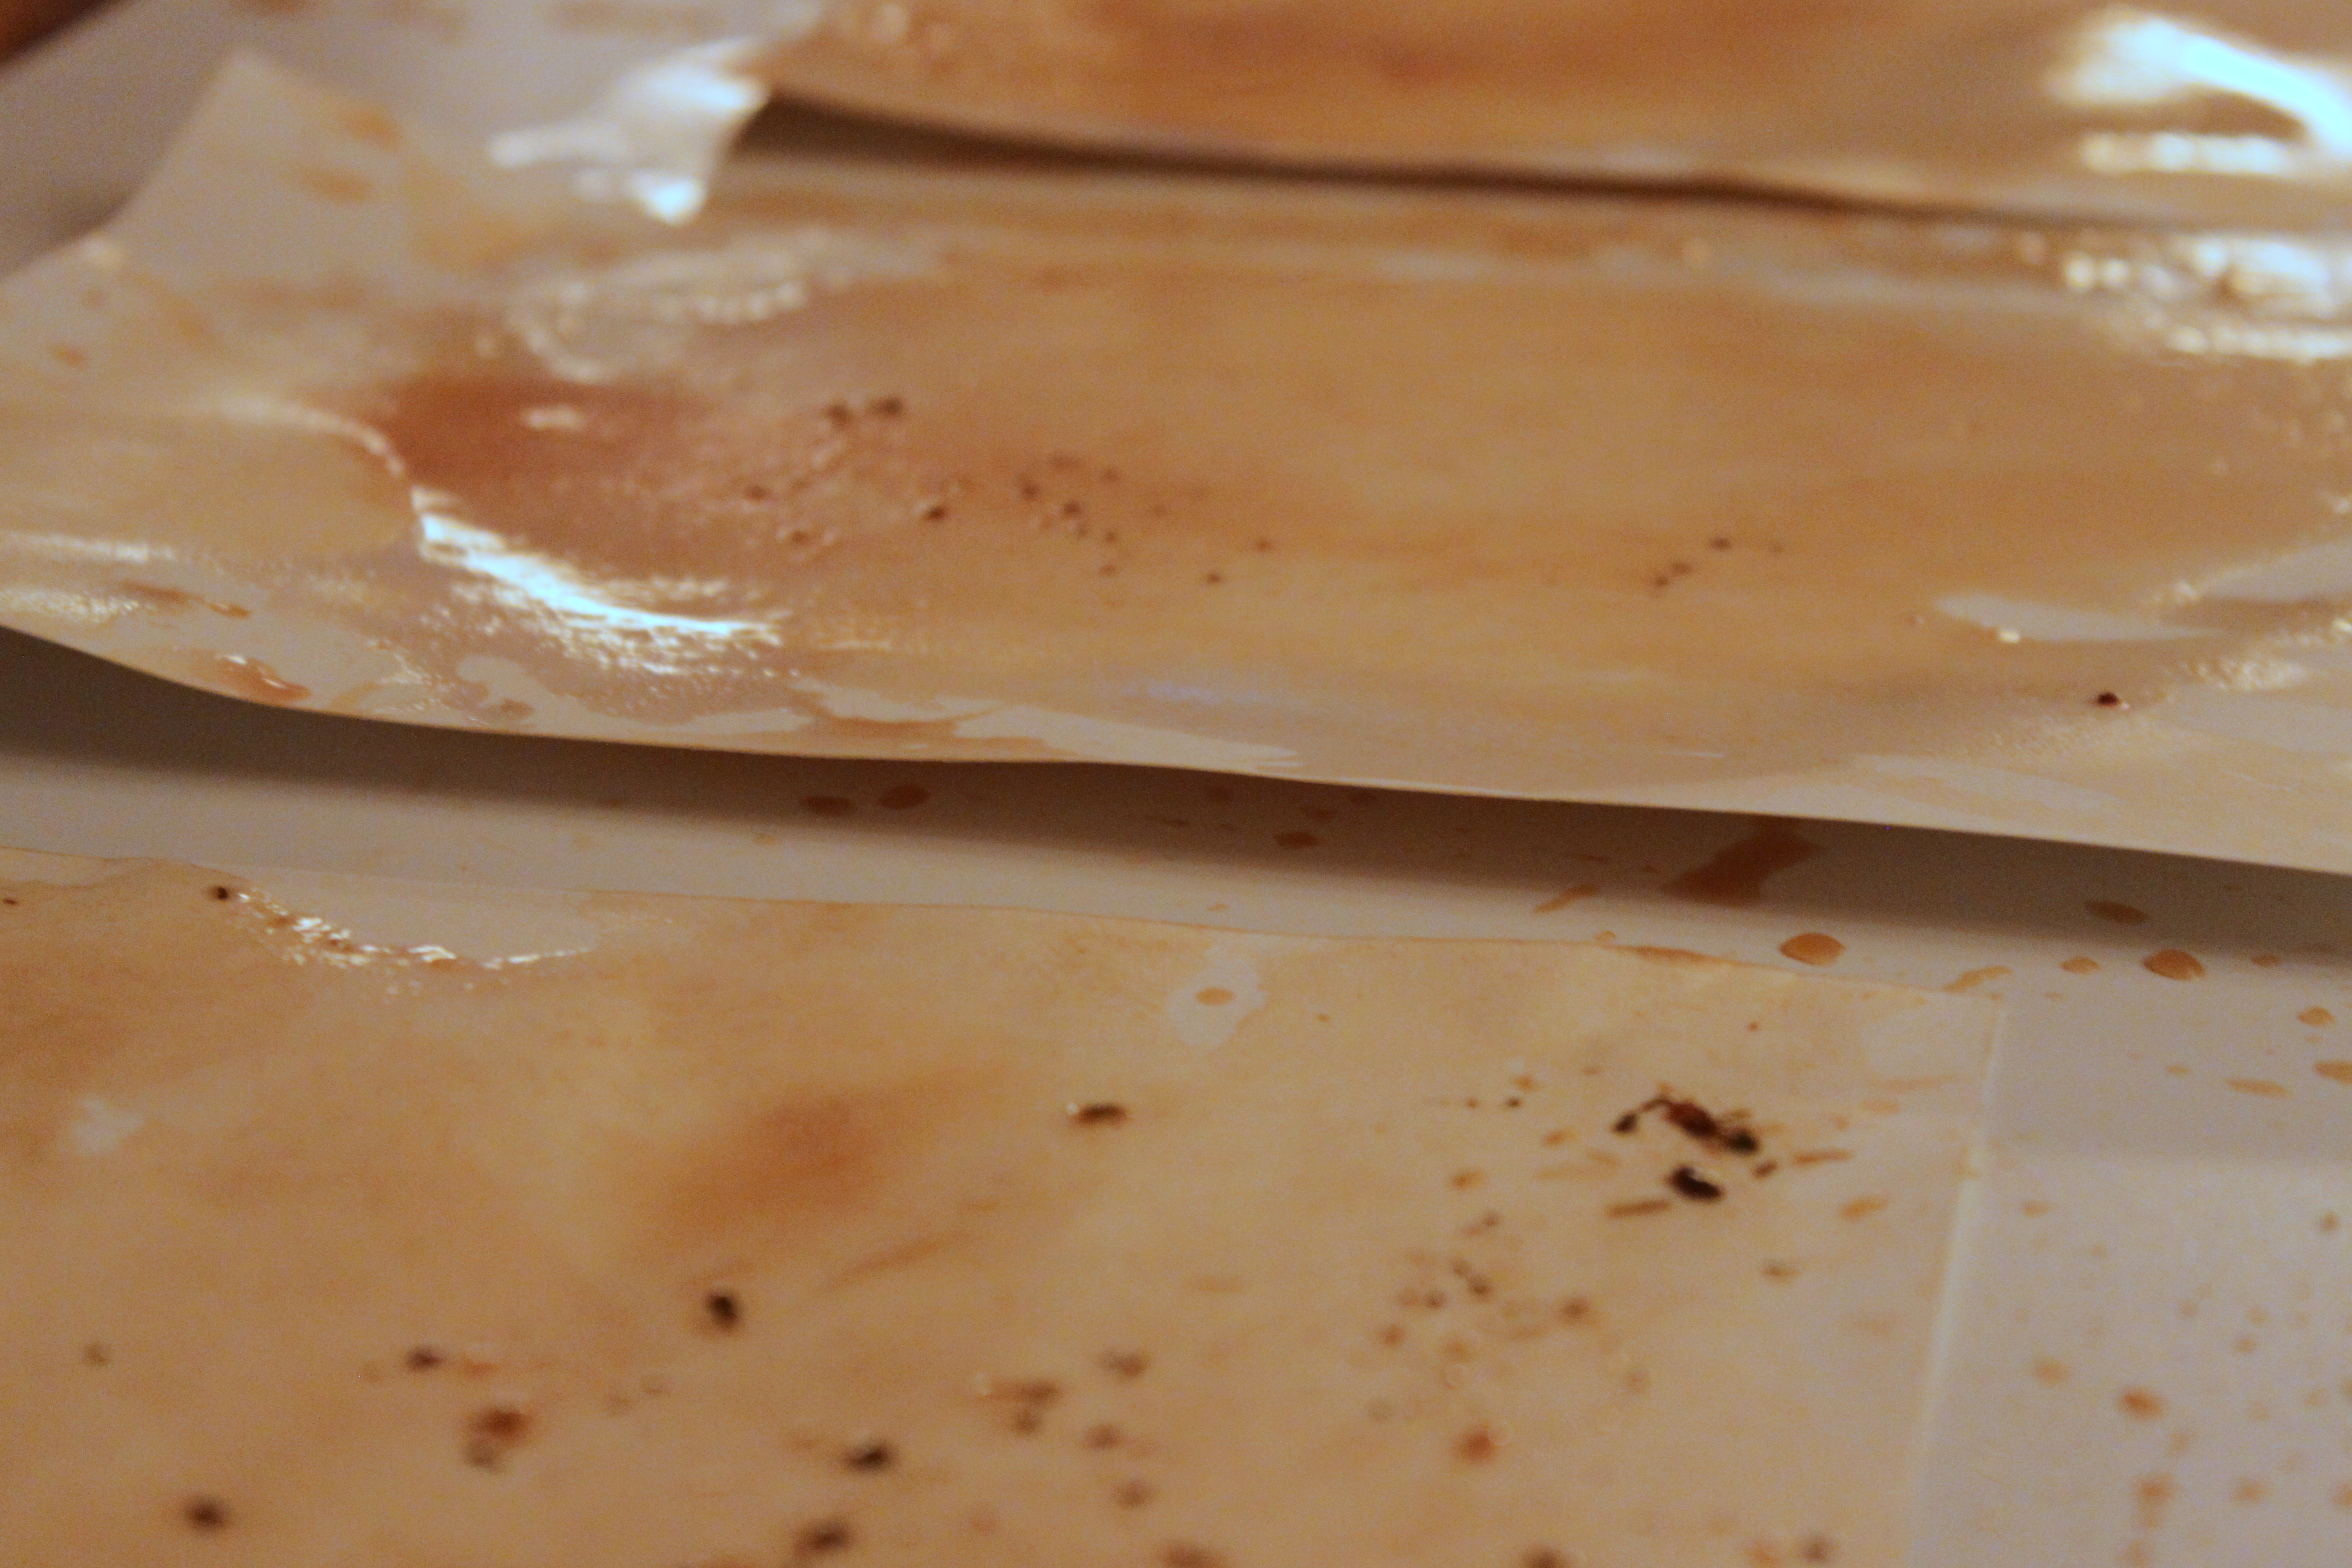
Step 4
We had a bag break (yep, my two-year-old's doing) and it added a great speckled look to the paper. We set all the paper outside to dry.
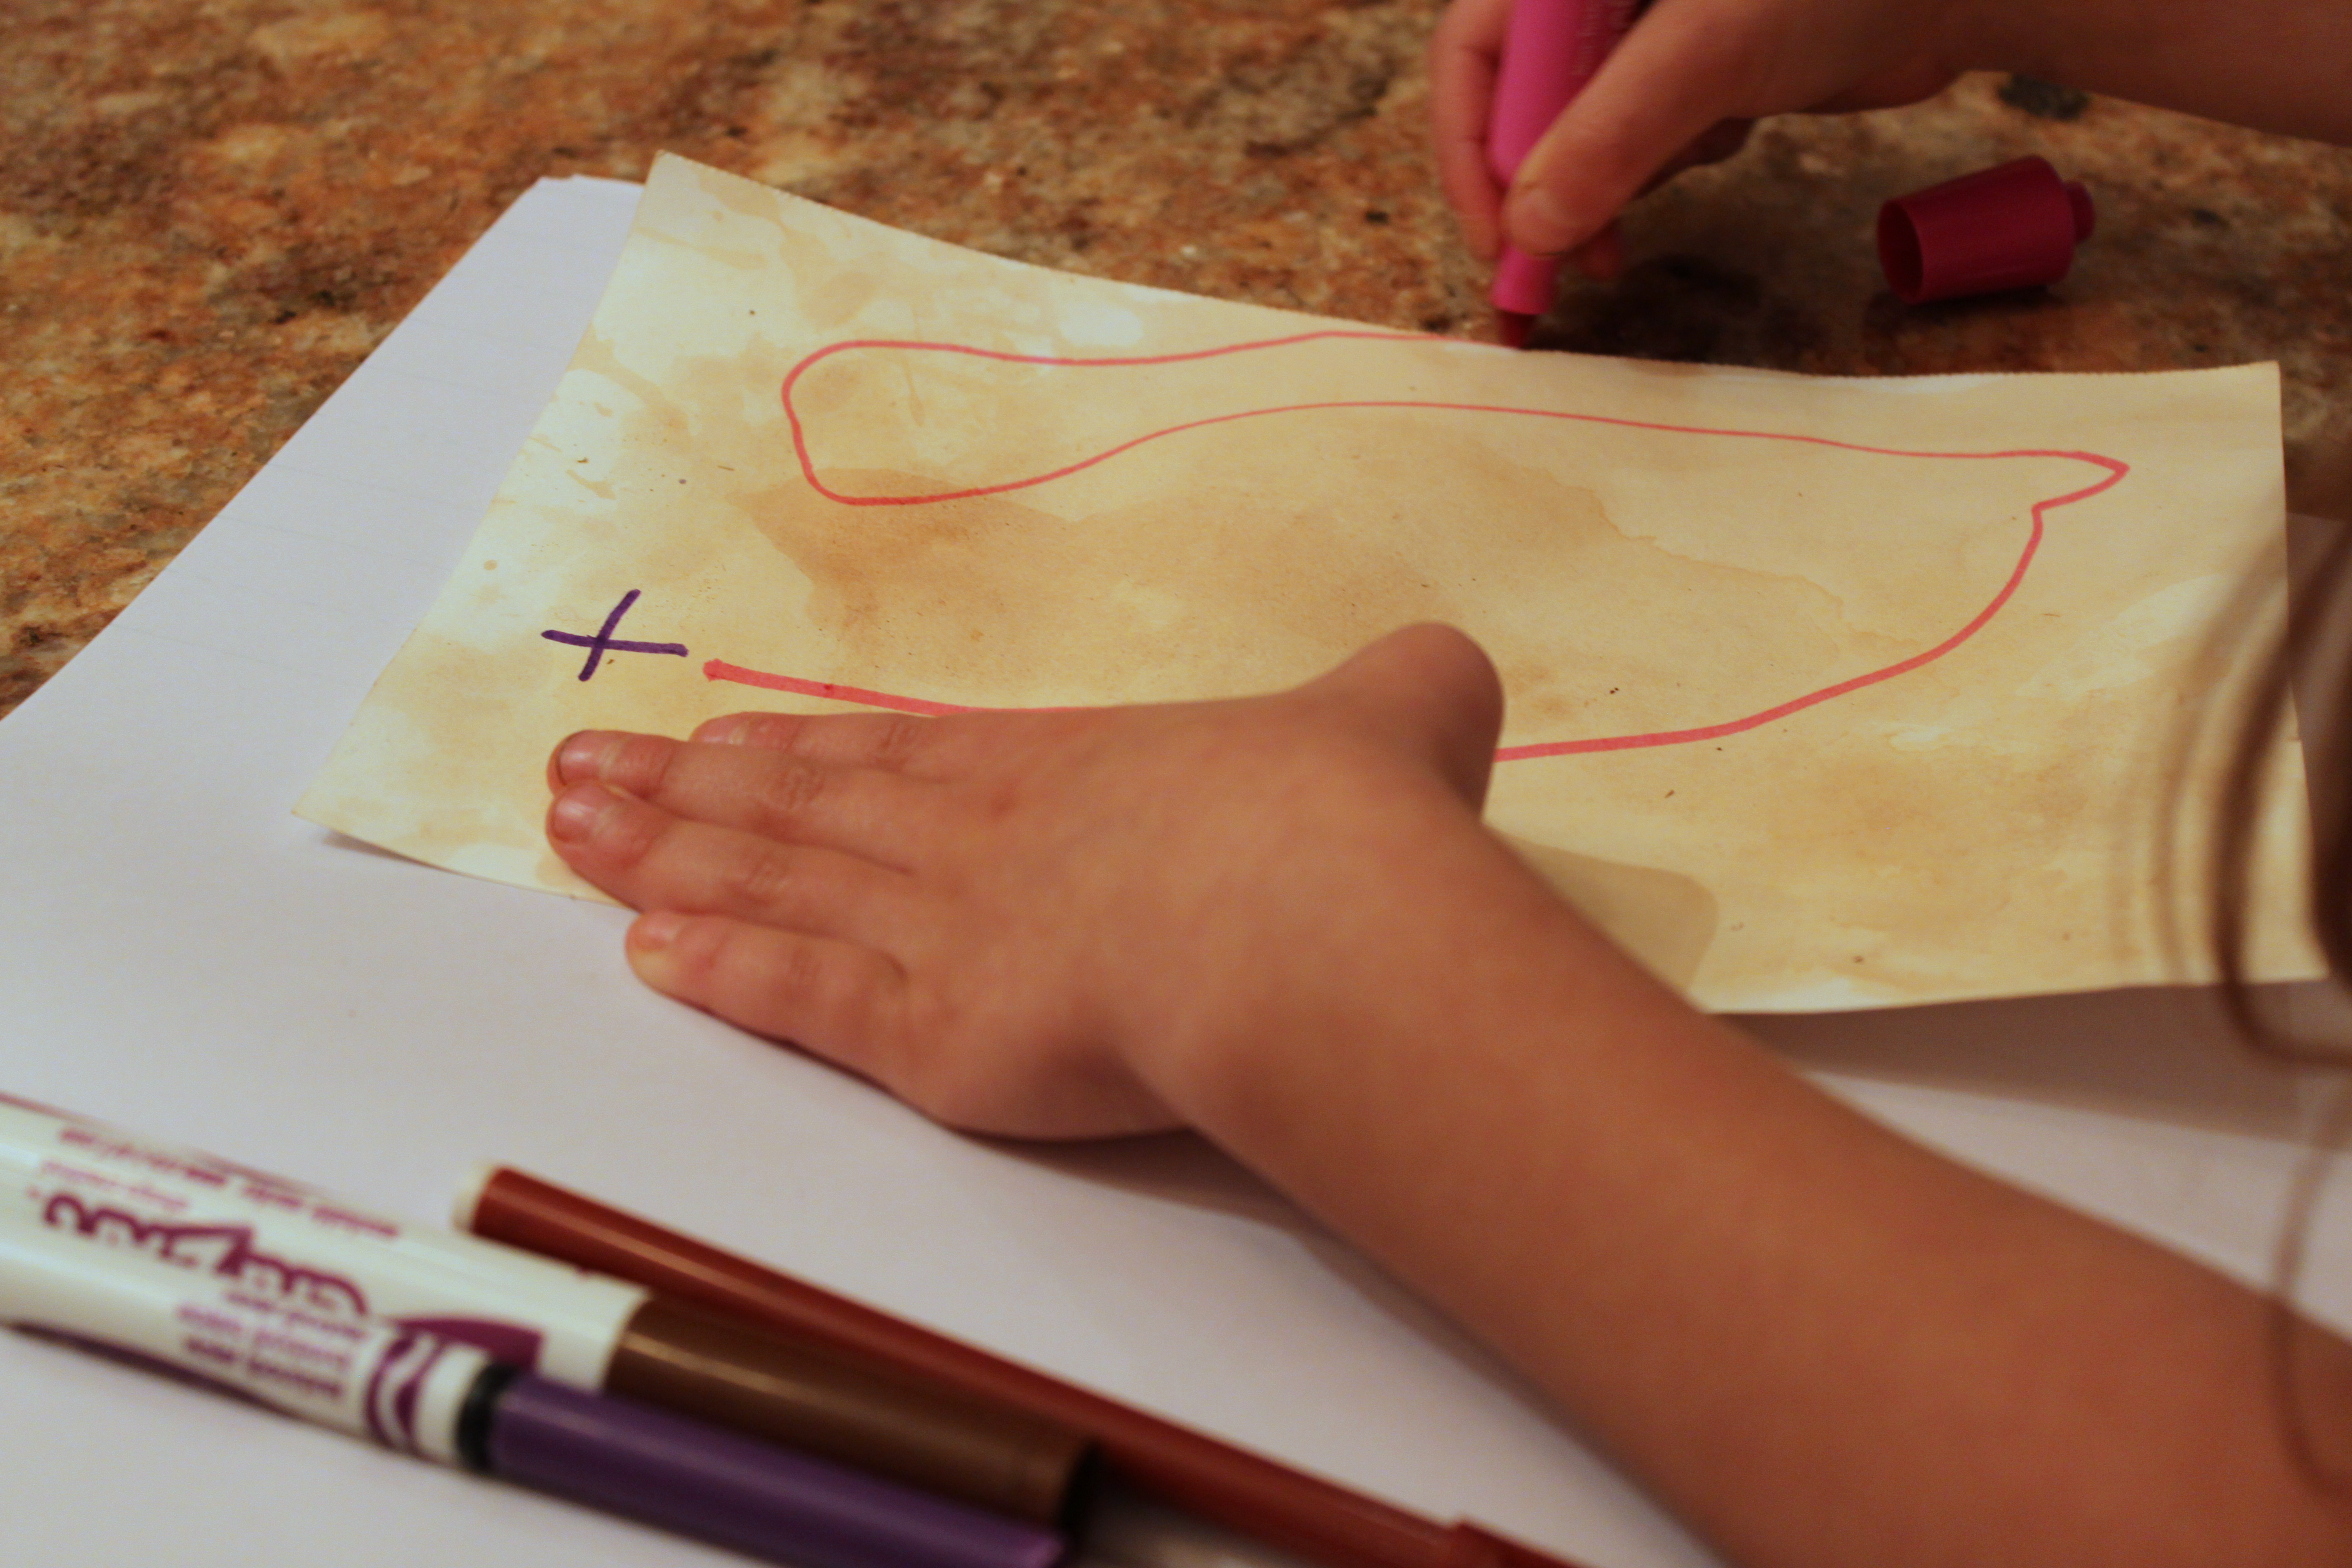
Step 5
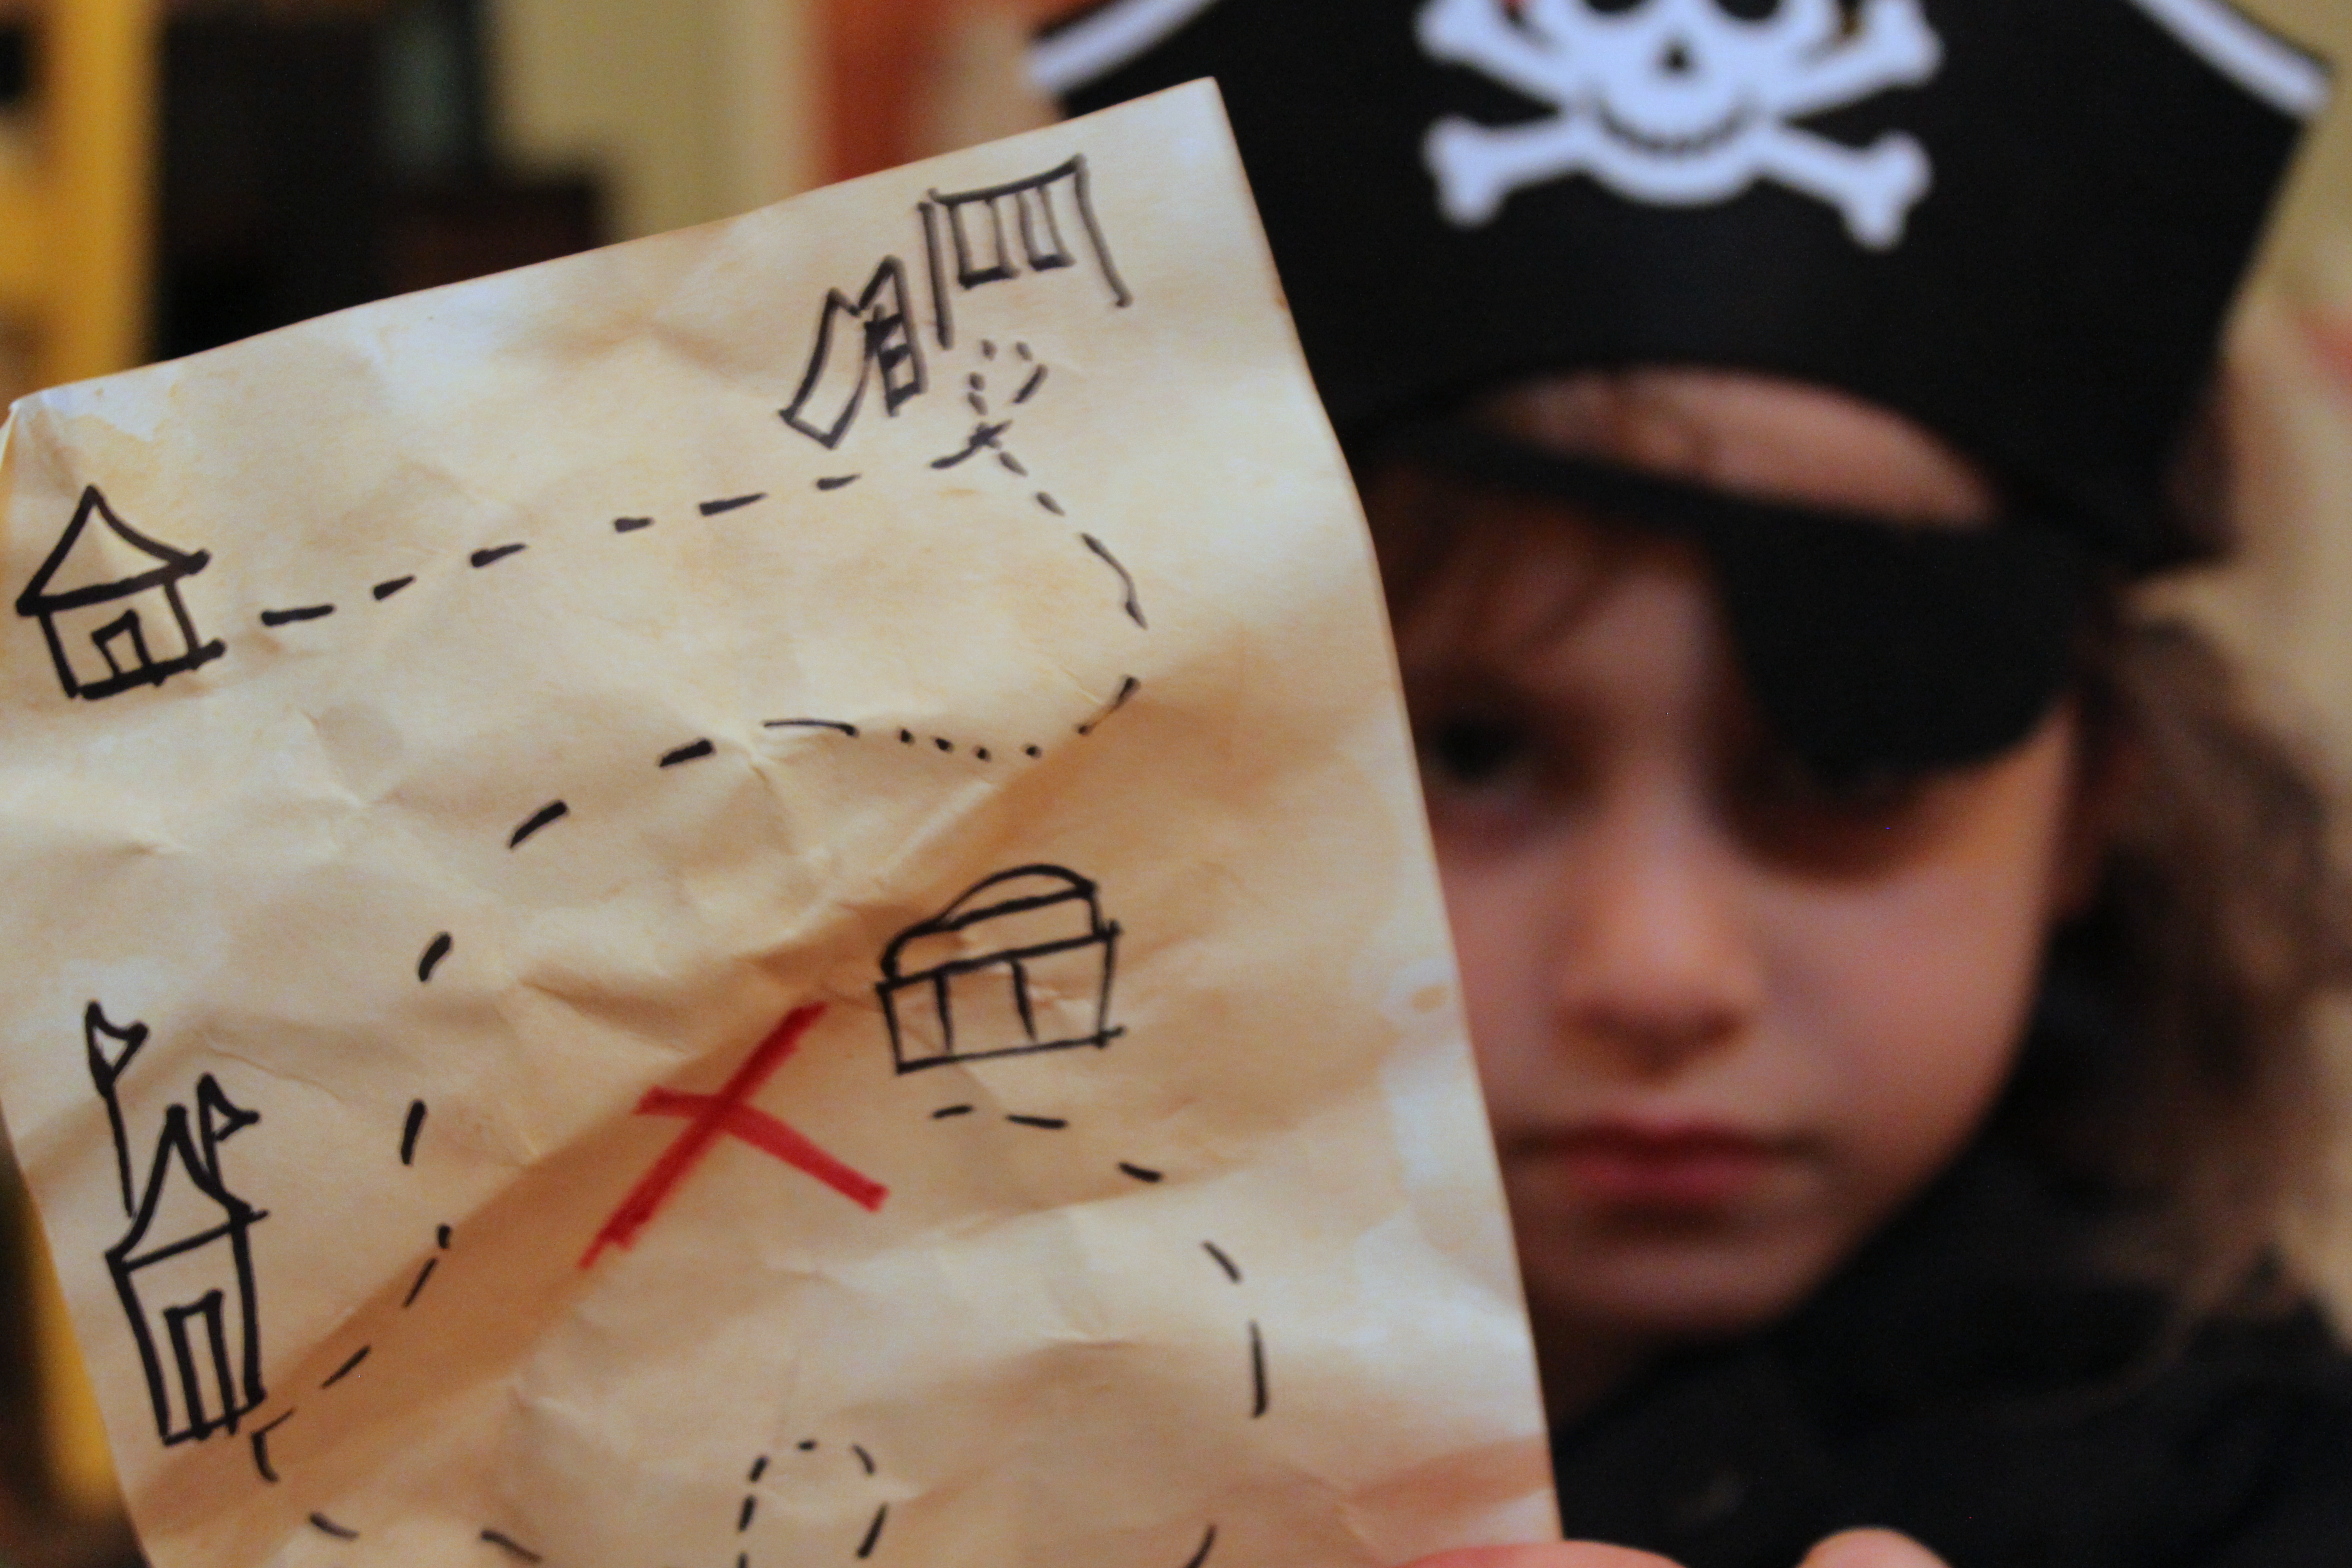
Once dry my five-year-old new exactly what she was going to do with her paper...a pirate's map, of course! She drew a fun map and crinkled up the paper to create that authentic treasure map look...
Done!
This went from a morning craft to an afternoon of imaginative play that lasted well into the evening.