Step-by-step tutorial
Step 1
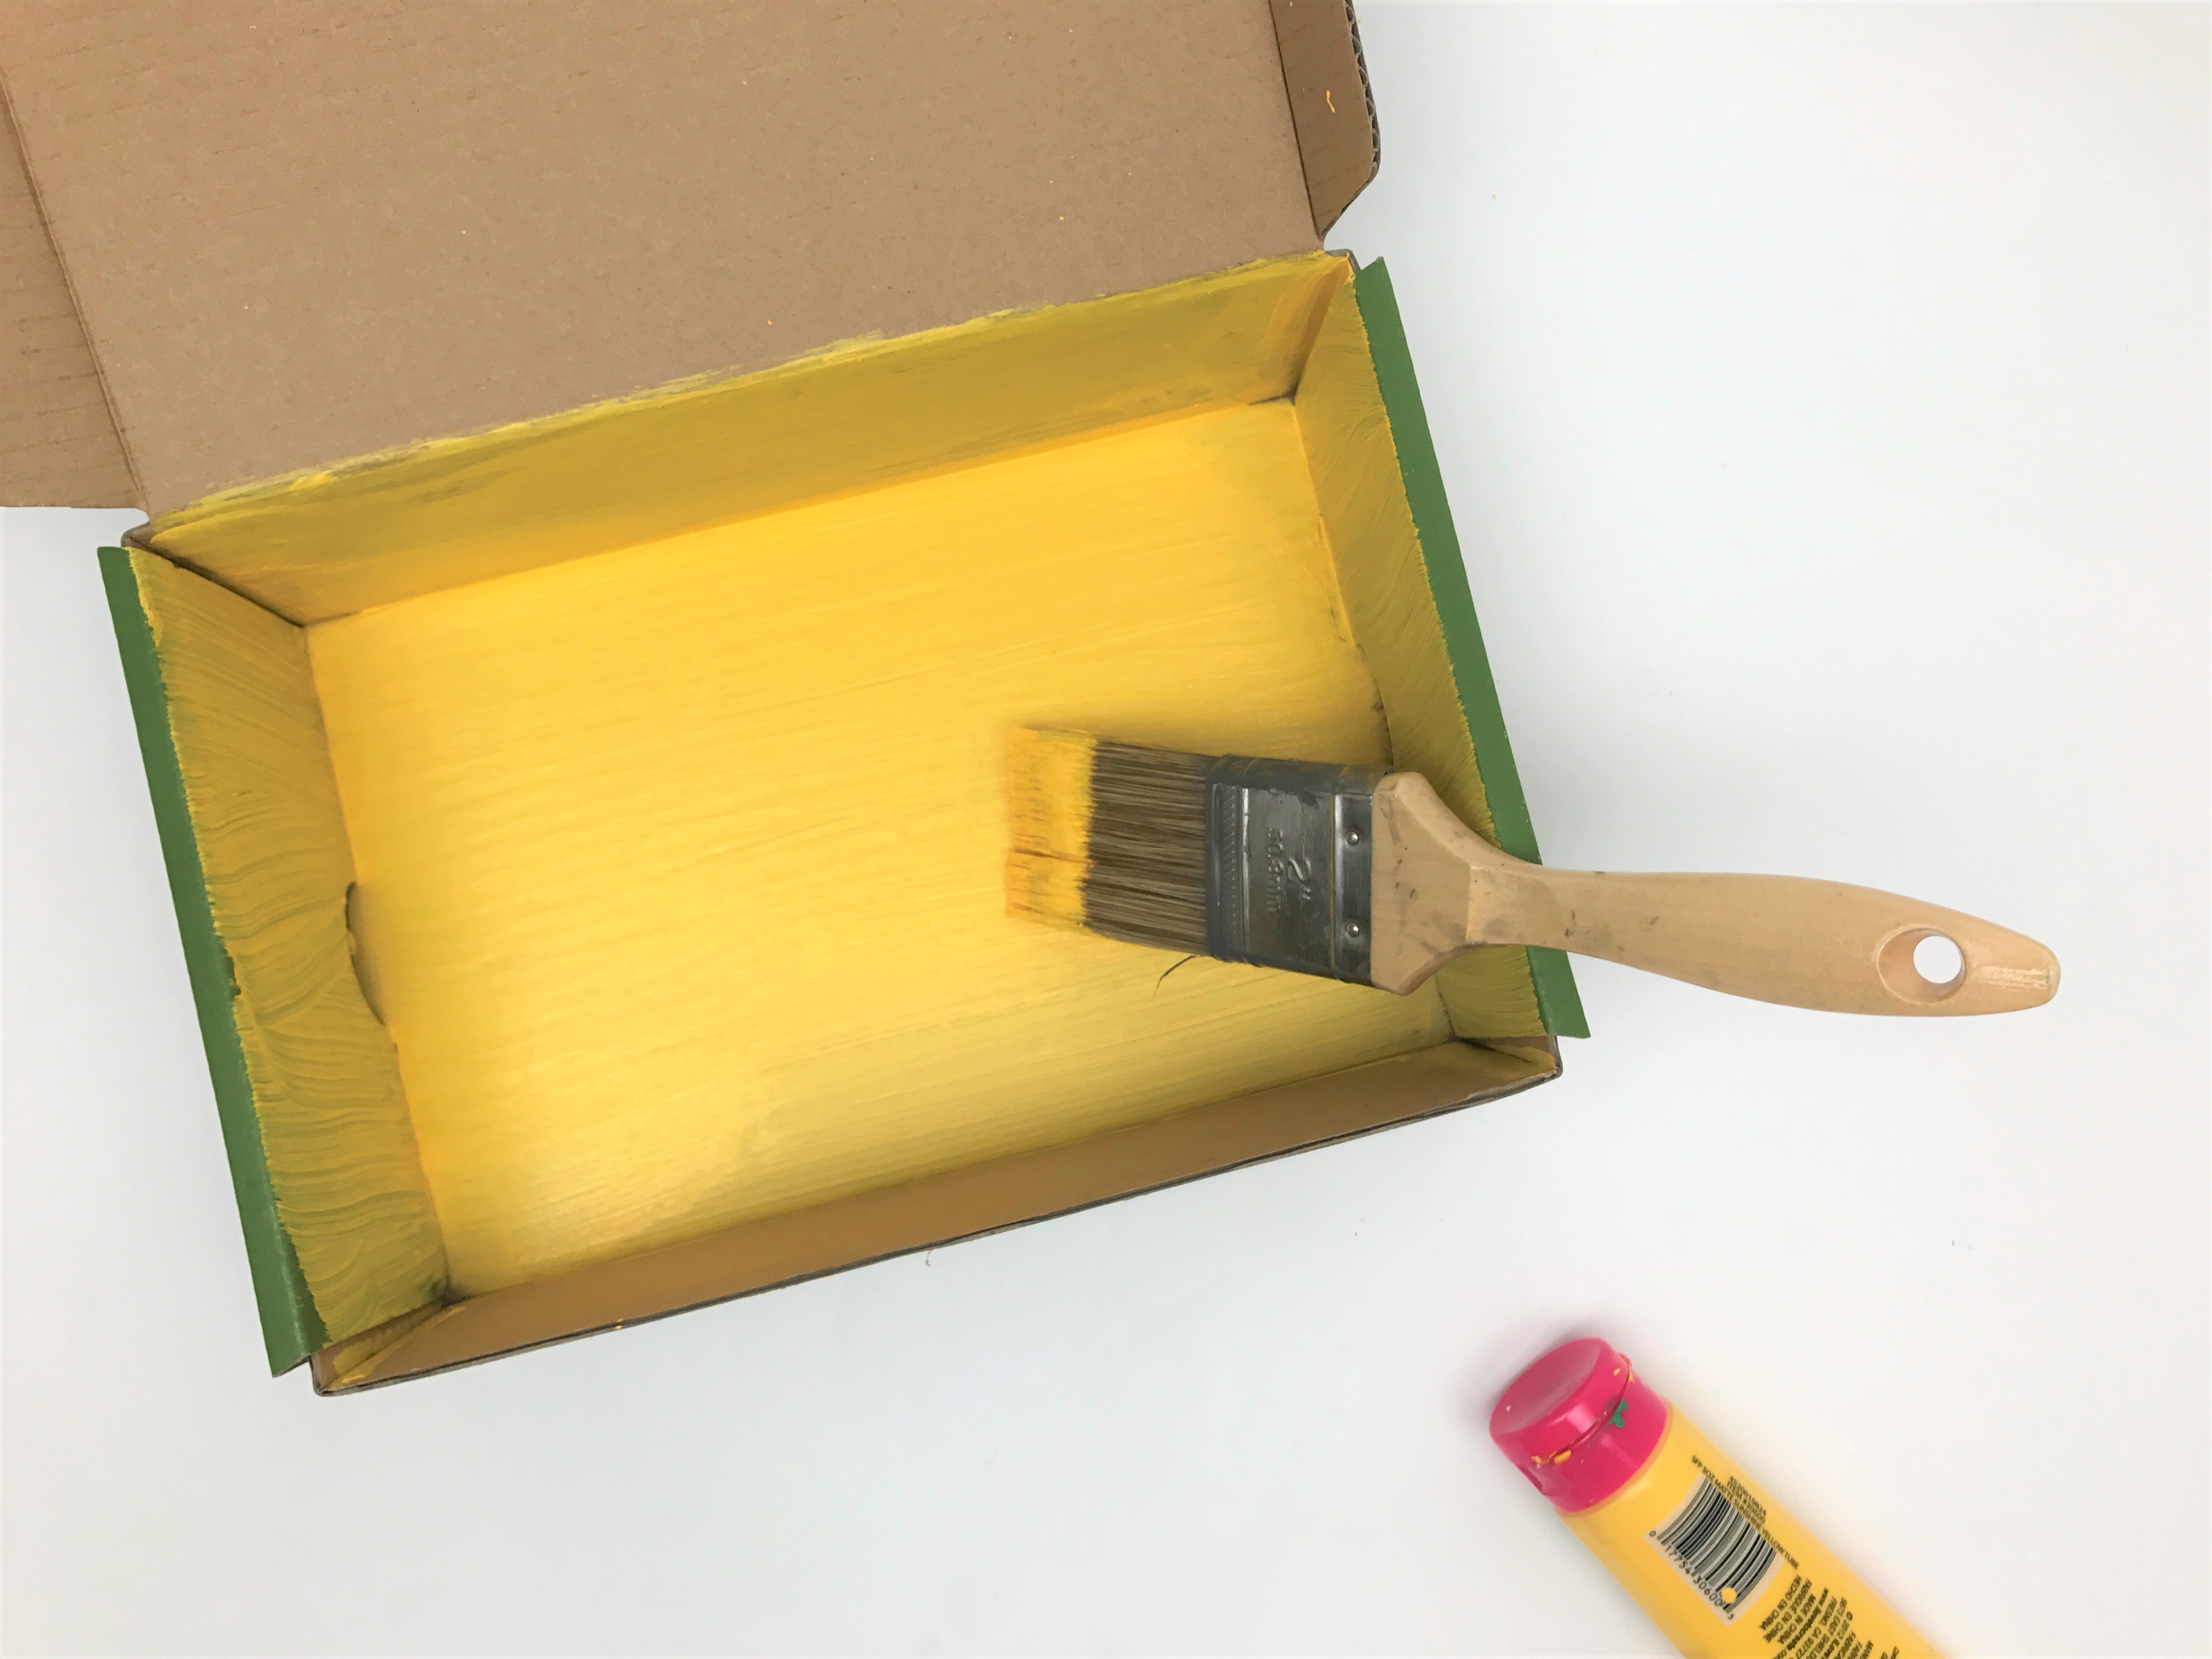
Open your crate and paint the bottom and inner sides with a bright and fun color acrylic paint. Wait for the paint to dry.

Step 2
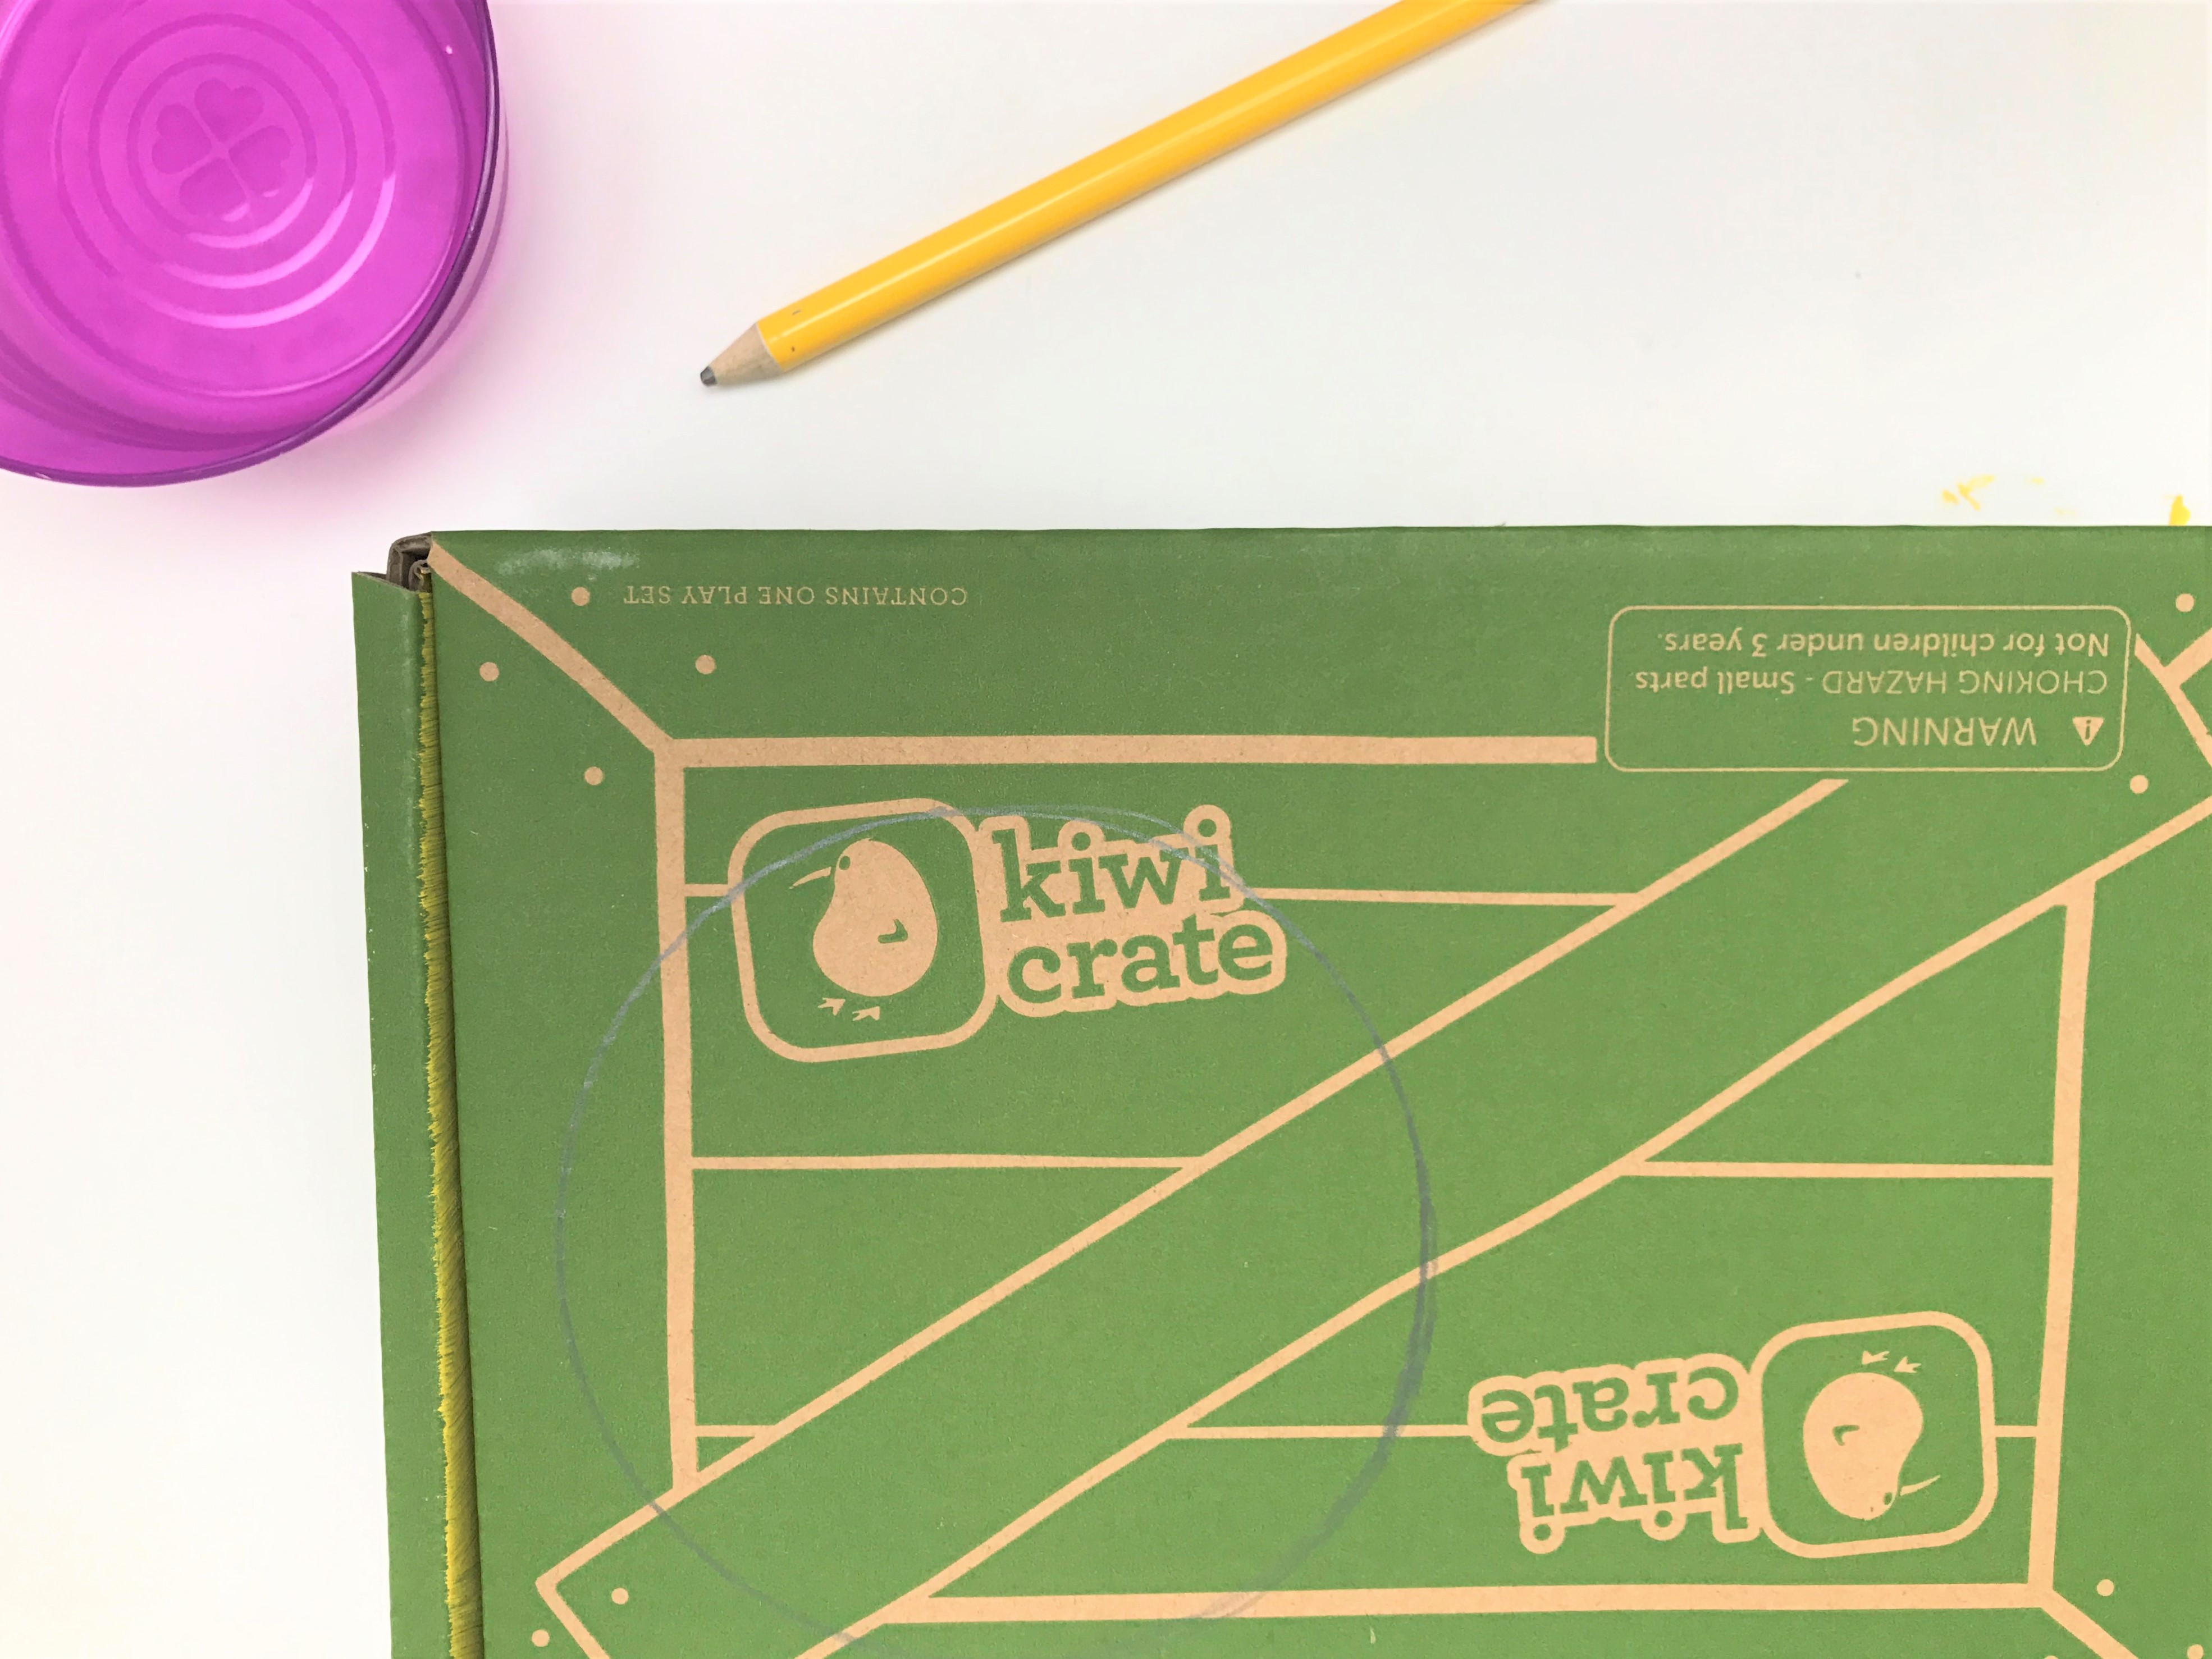
Close the box and find a round shape to trace for the main sound hole of the guitar. We used a medium sized bowl, but a wide drinking glass or a CD would work too. Close your crate and lay the round item on top of the lid so it's centered width-wise on the crate, but closer to one end. Trace the edge with a pen or pencil.
Step 3
Using a craft knife, make the initial cut into the traced line. Always make sure to cut away from you! Continue cutting along the traced line around the entire circle.
If needed, have a parent help with this step.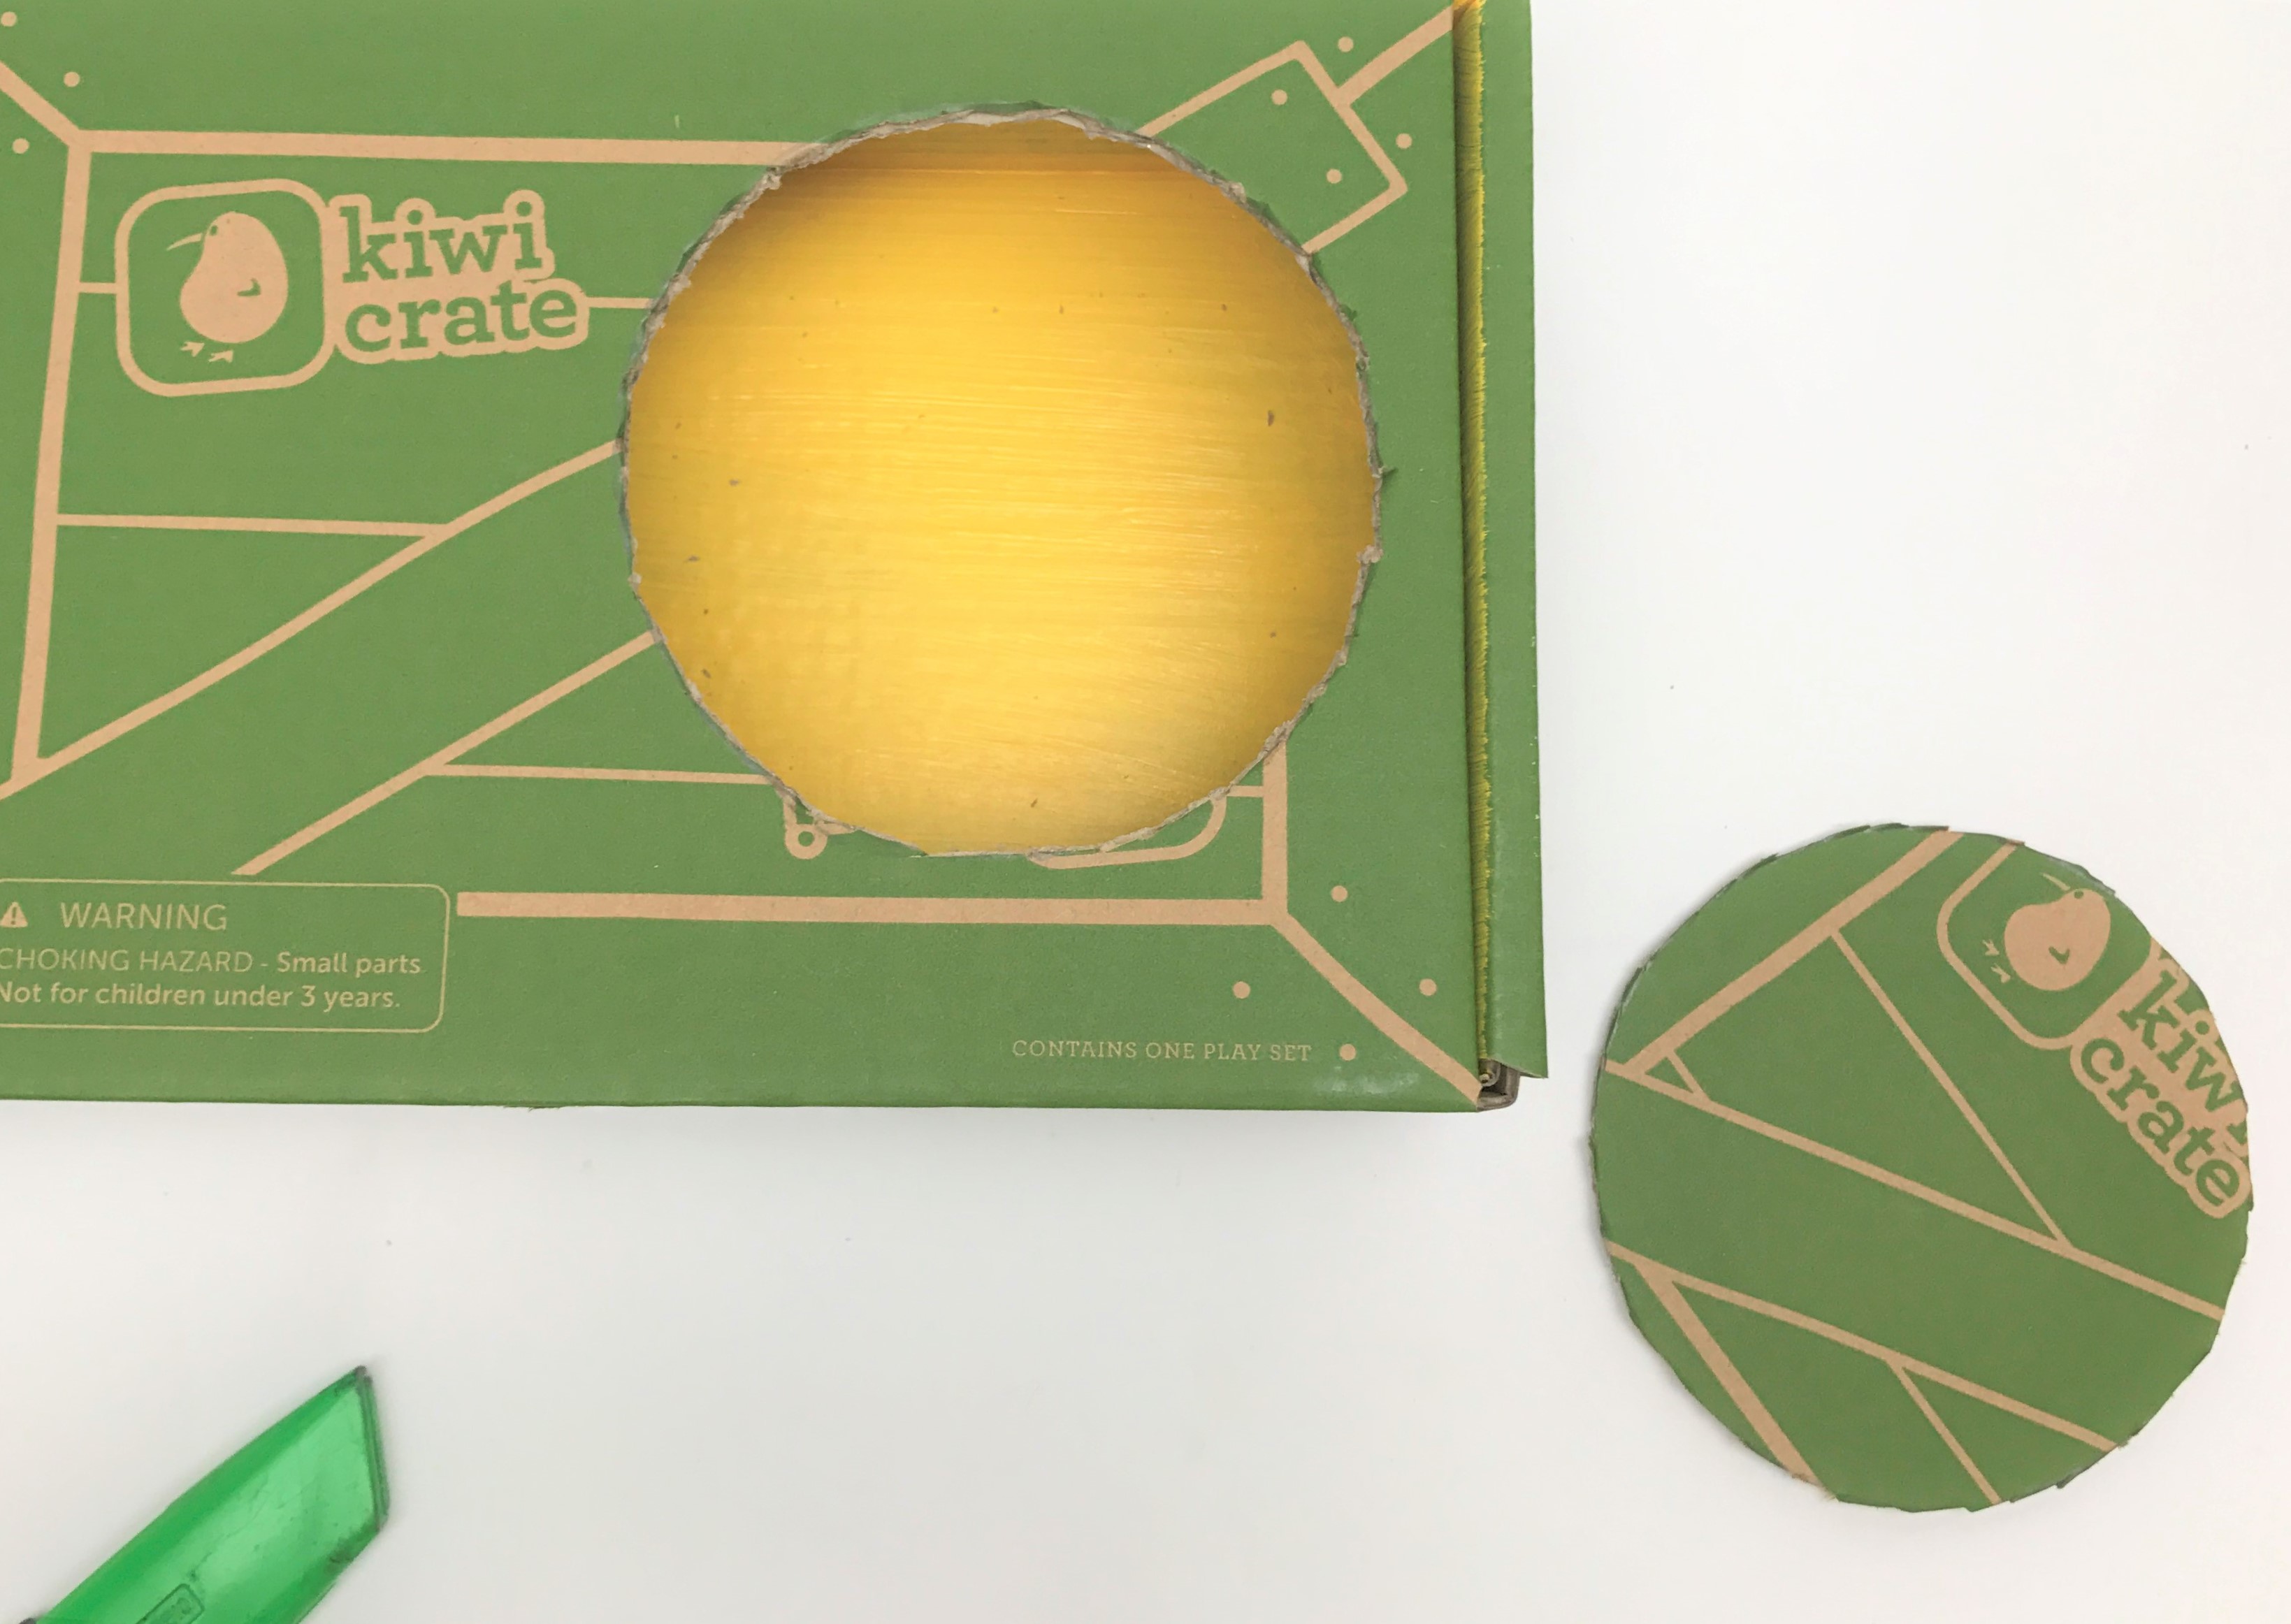
Step 4
Now turn your crate and look at the side panel of the box near the big hole. Place your craft tube on the center of the top panel and trace it.
With a parent's help, carefully cut out the traced circle.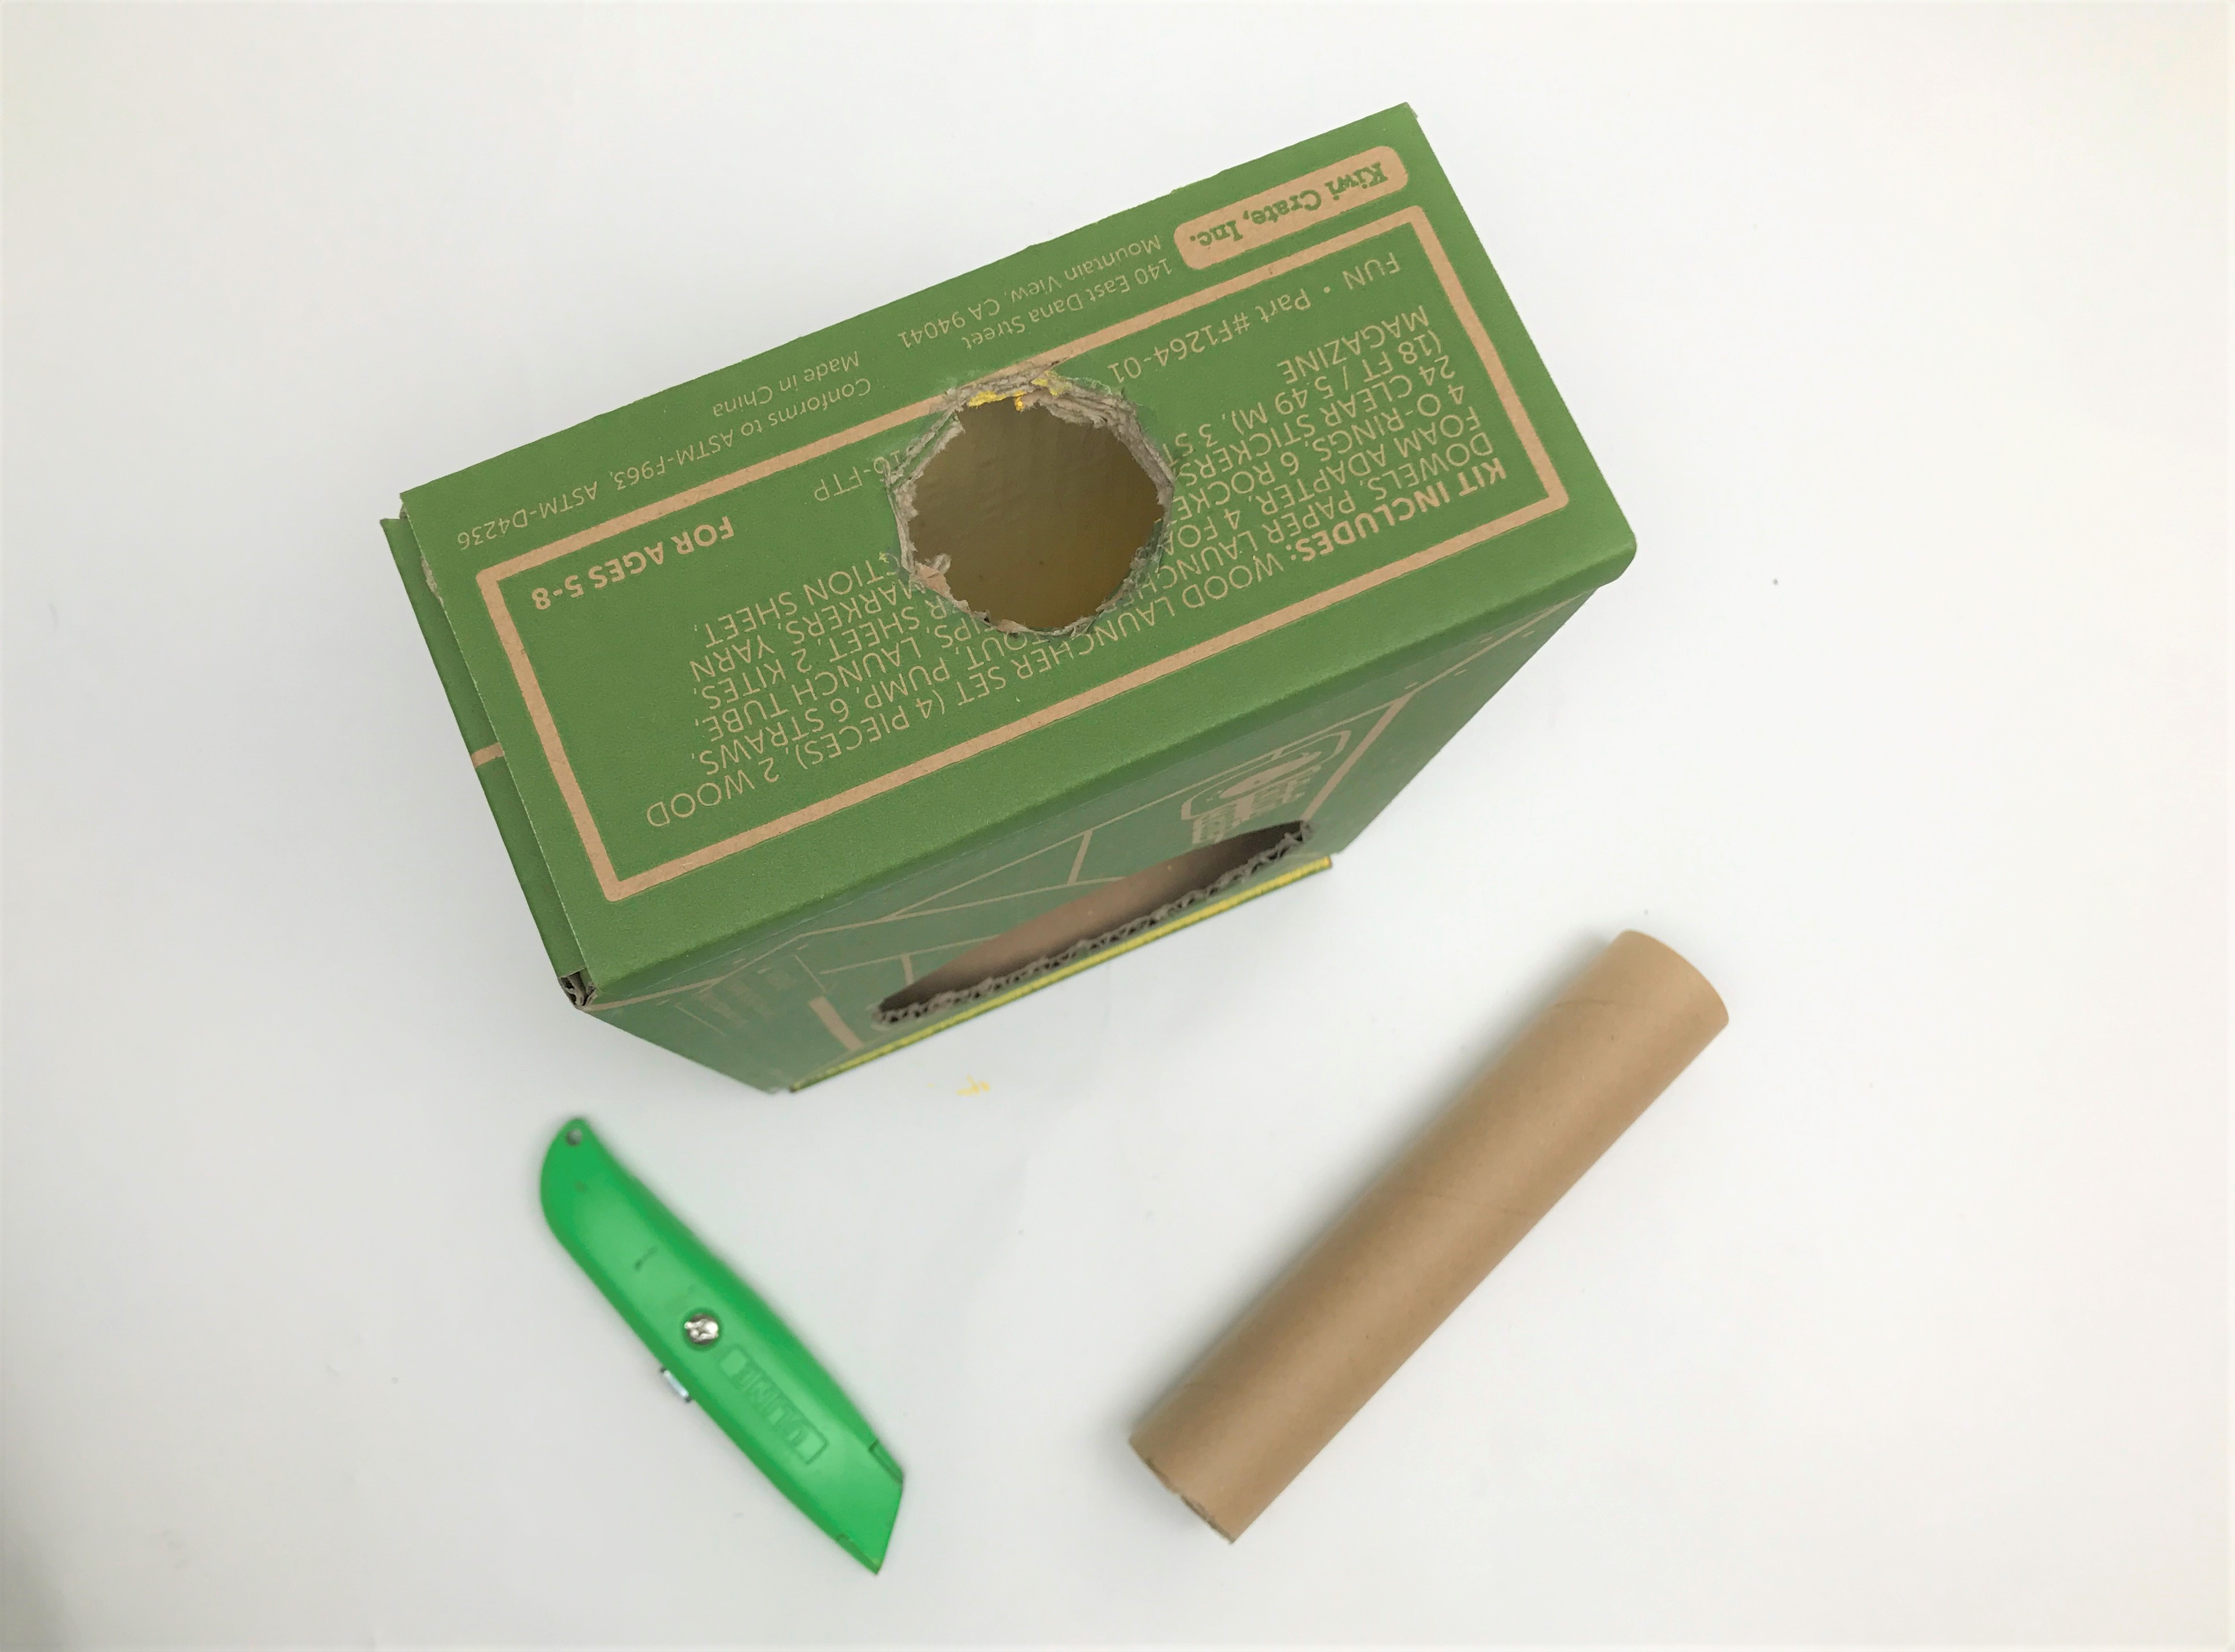
Step 5
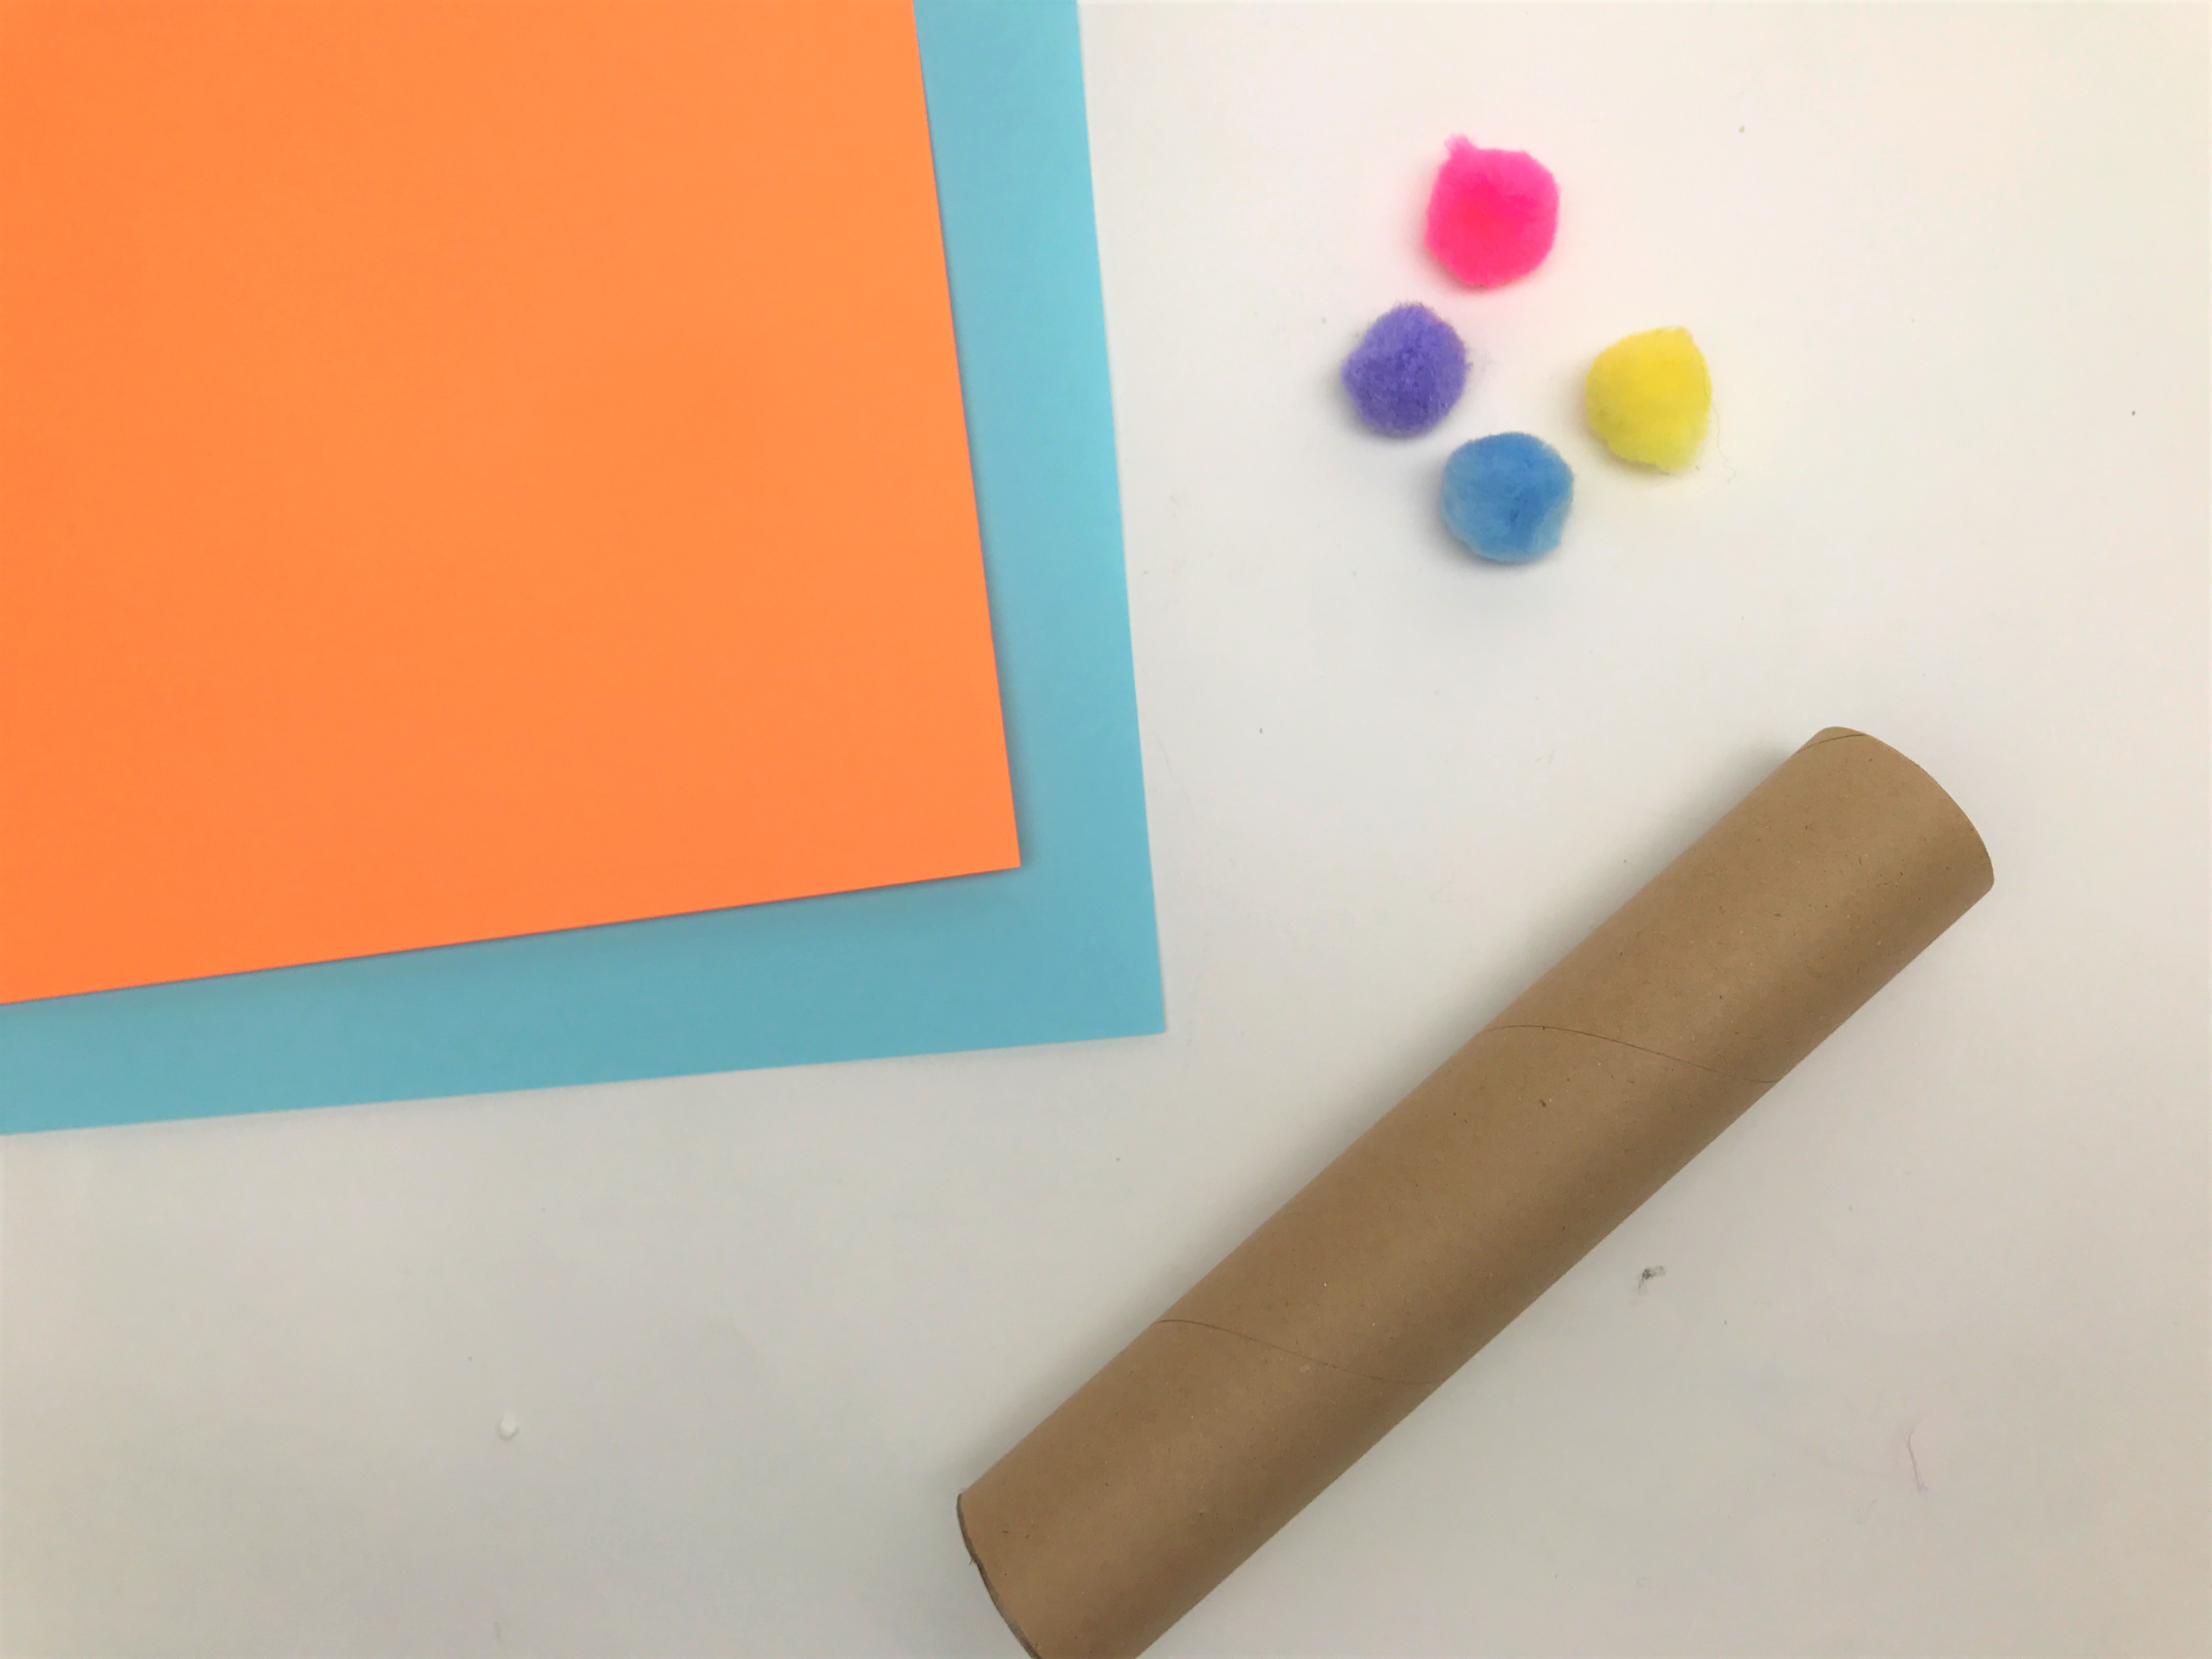
The craft tube will serve as the neck of the guitar. Decorate it and get creative! We wrapped bright paper around the neck and also added pom poms to represent the tuning pegs of the guitar. If you like, you could also decorate it with paint or washi tape.
Step 6
Insert the craft tube into the smaller hole along the side of the box.
If necessary, add some hot glue to the sides of the hole to keep the neck in place.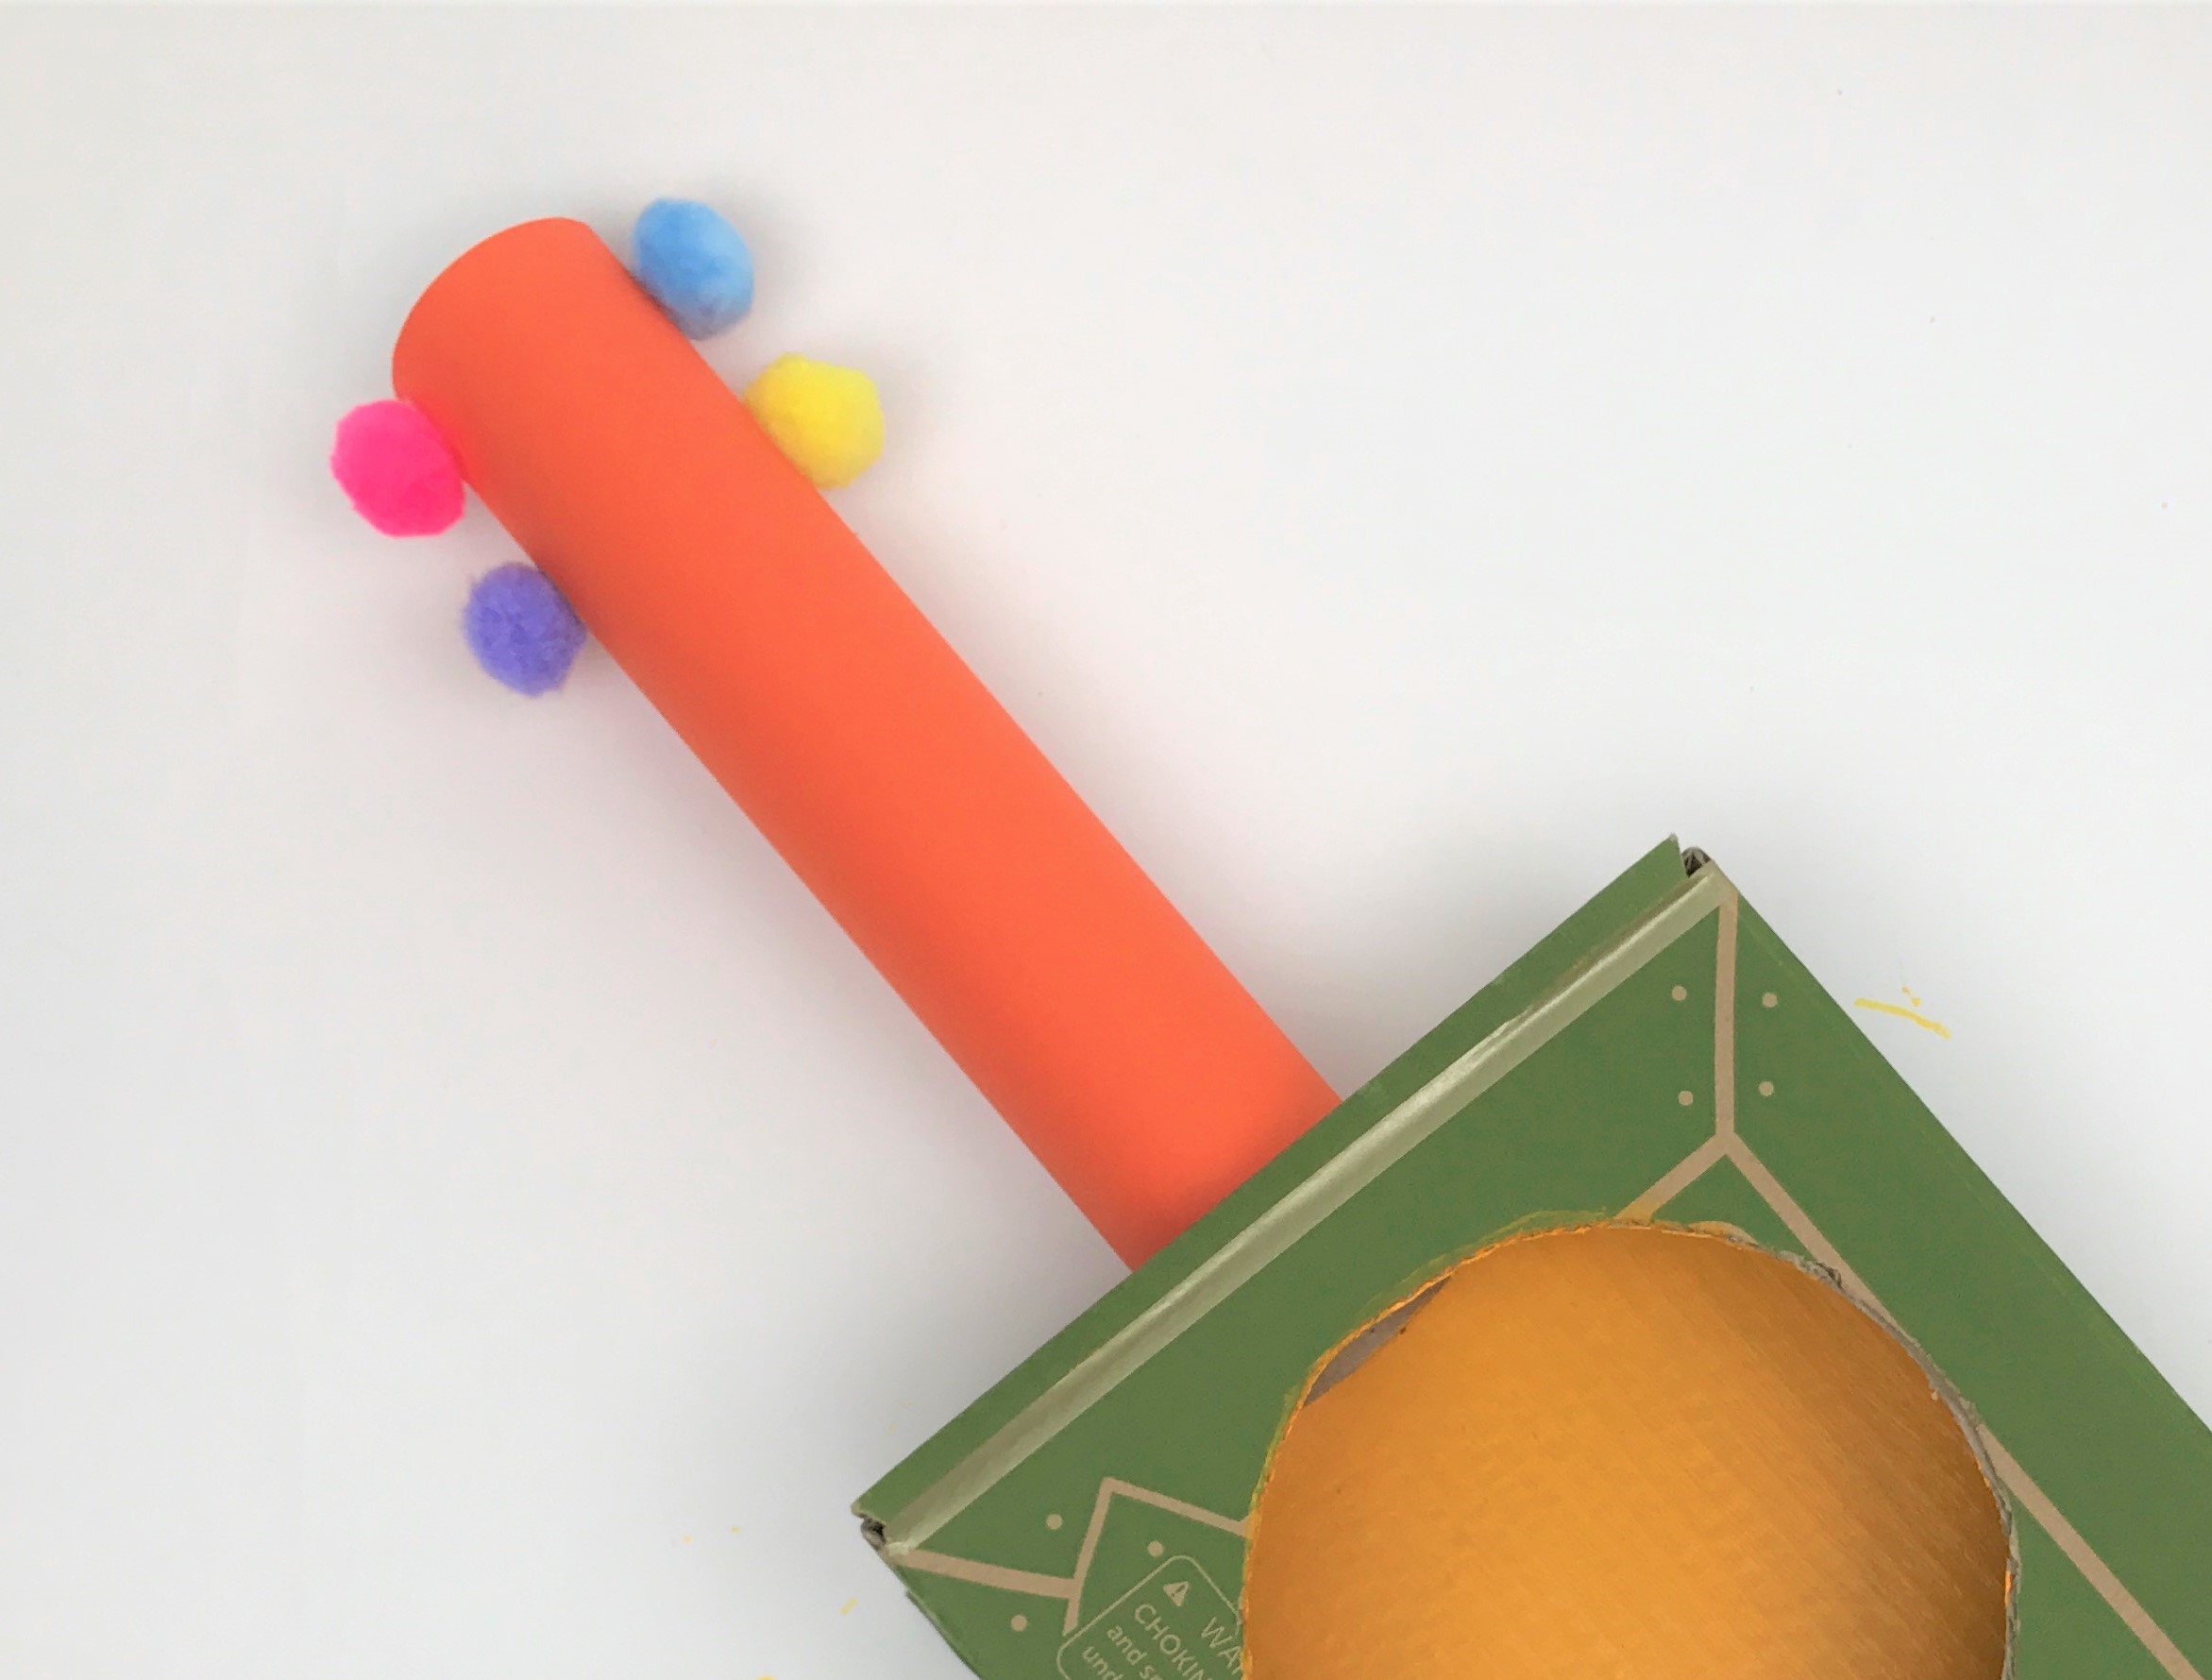
Step 7
Fold a piece of cardstock paper a few times over, like an accordion. Glue the folded paper below the large hole, on the opposite end of the guitar neck. This will serve as the bridge for your guitar, lifting the rubber bands off the crate.
Step 8
Loop four long rubber bands (2 on each side of the craft tube) around the crate.
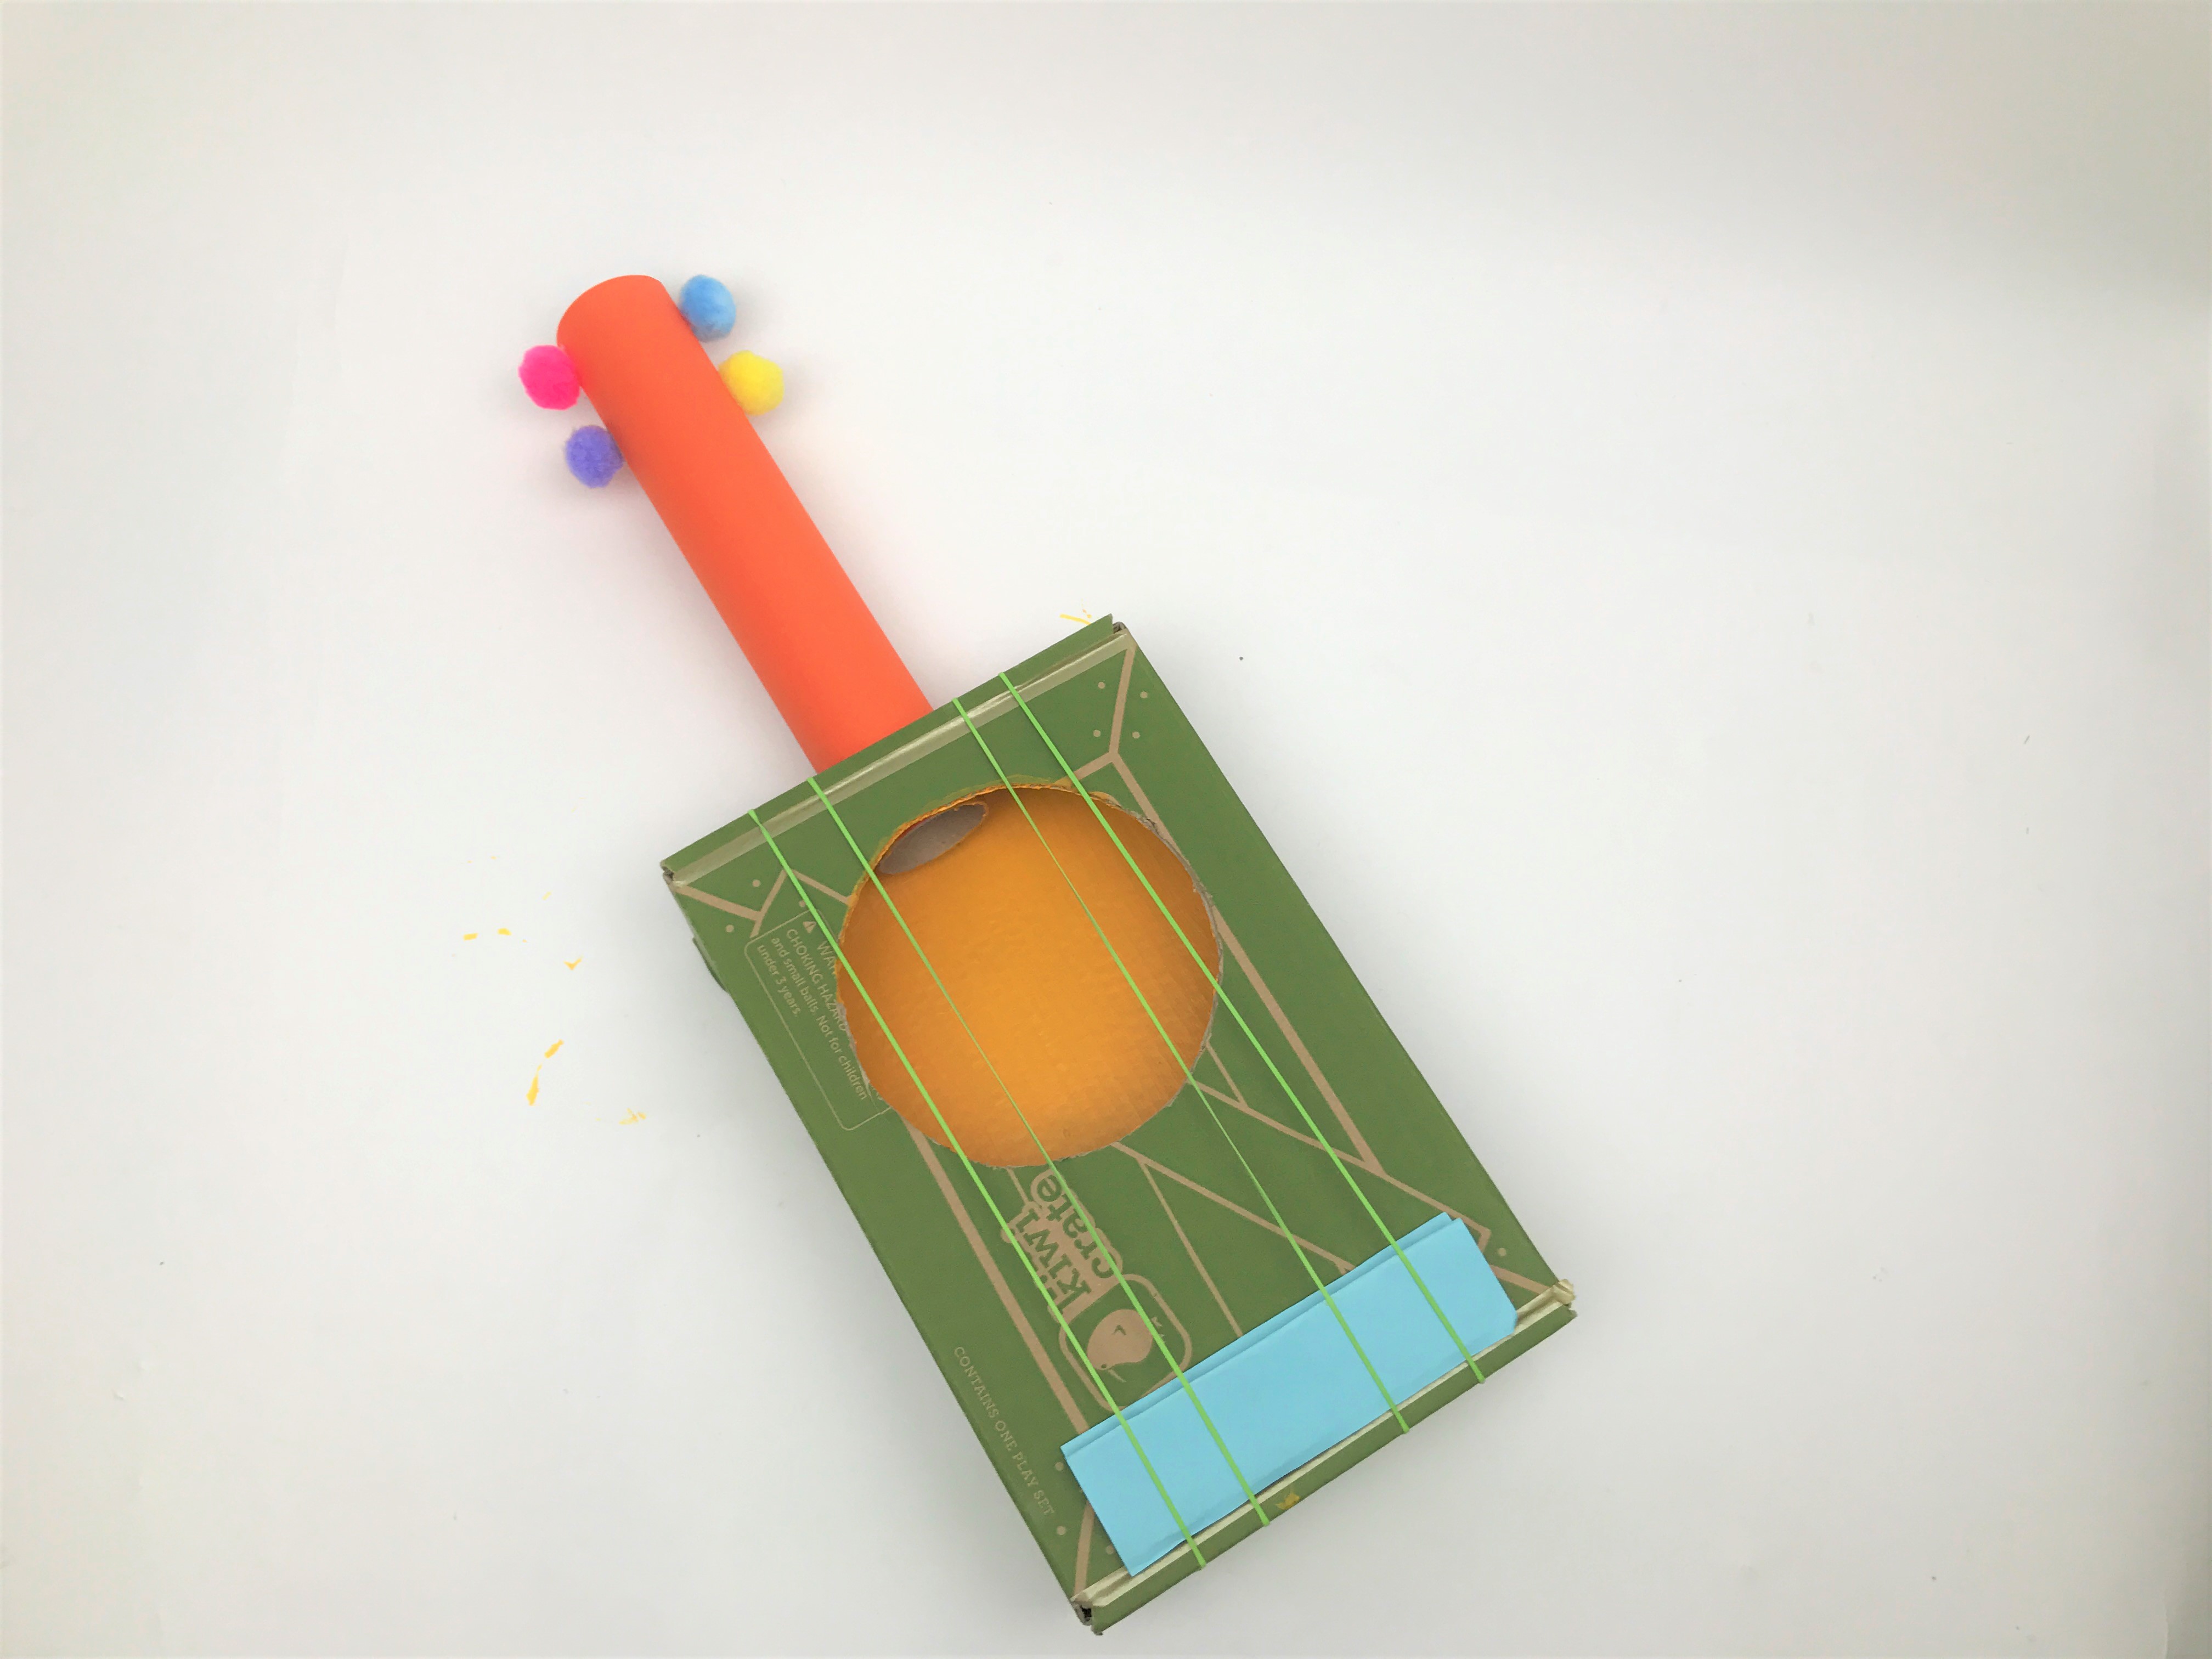
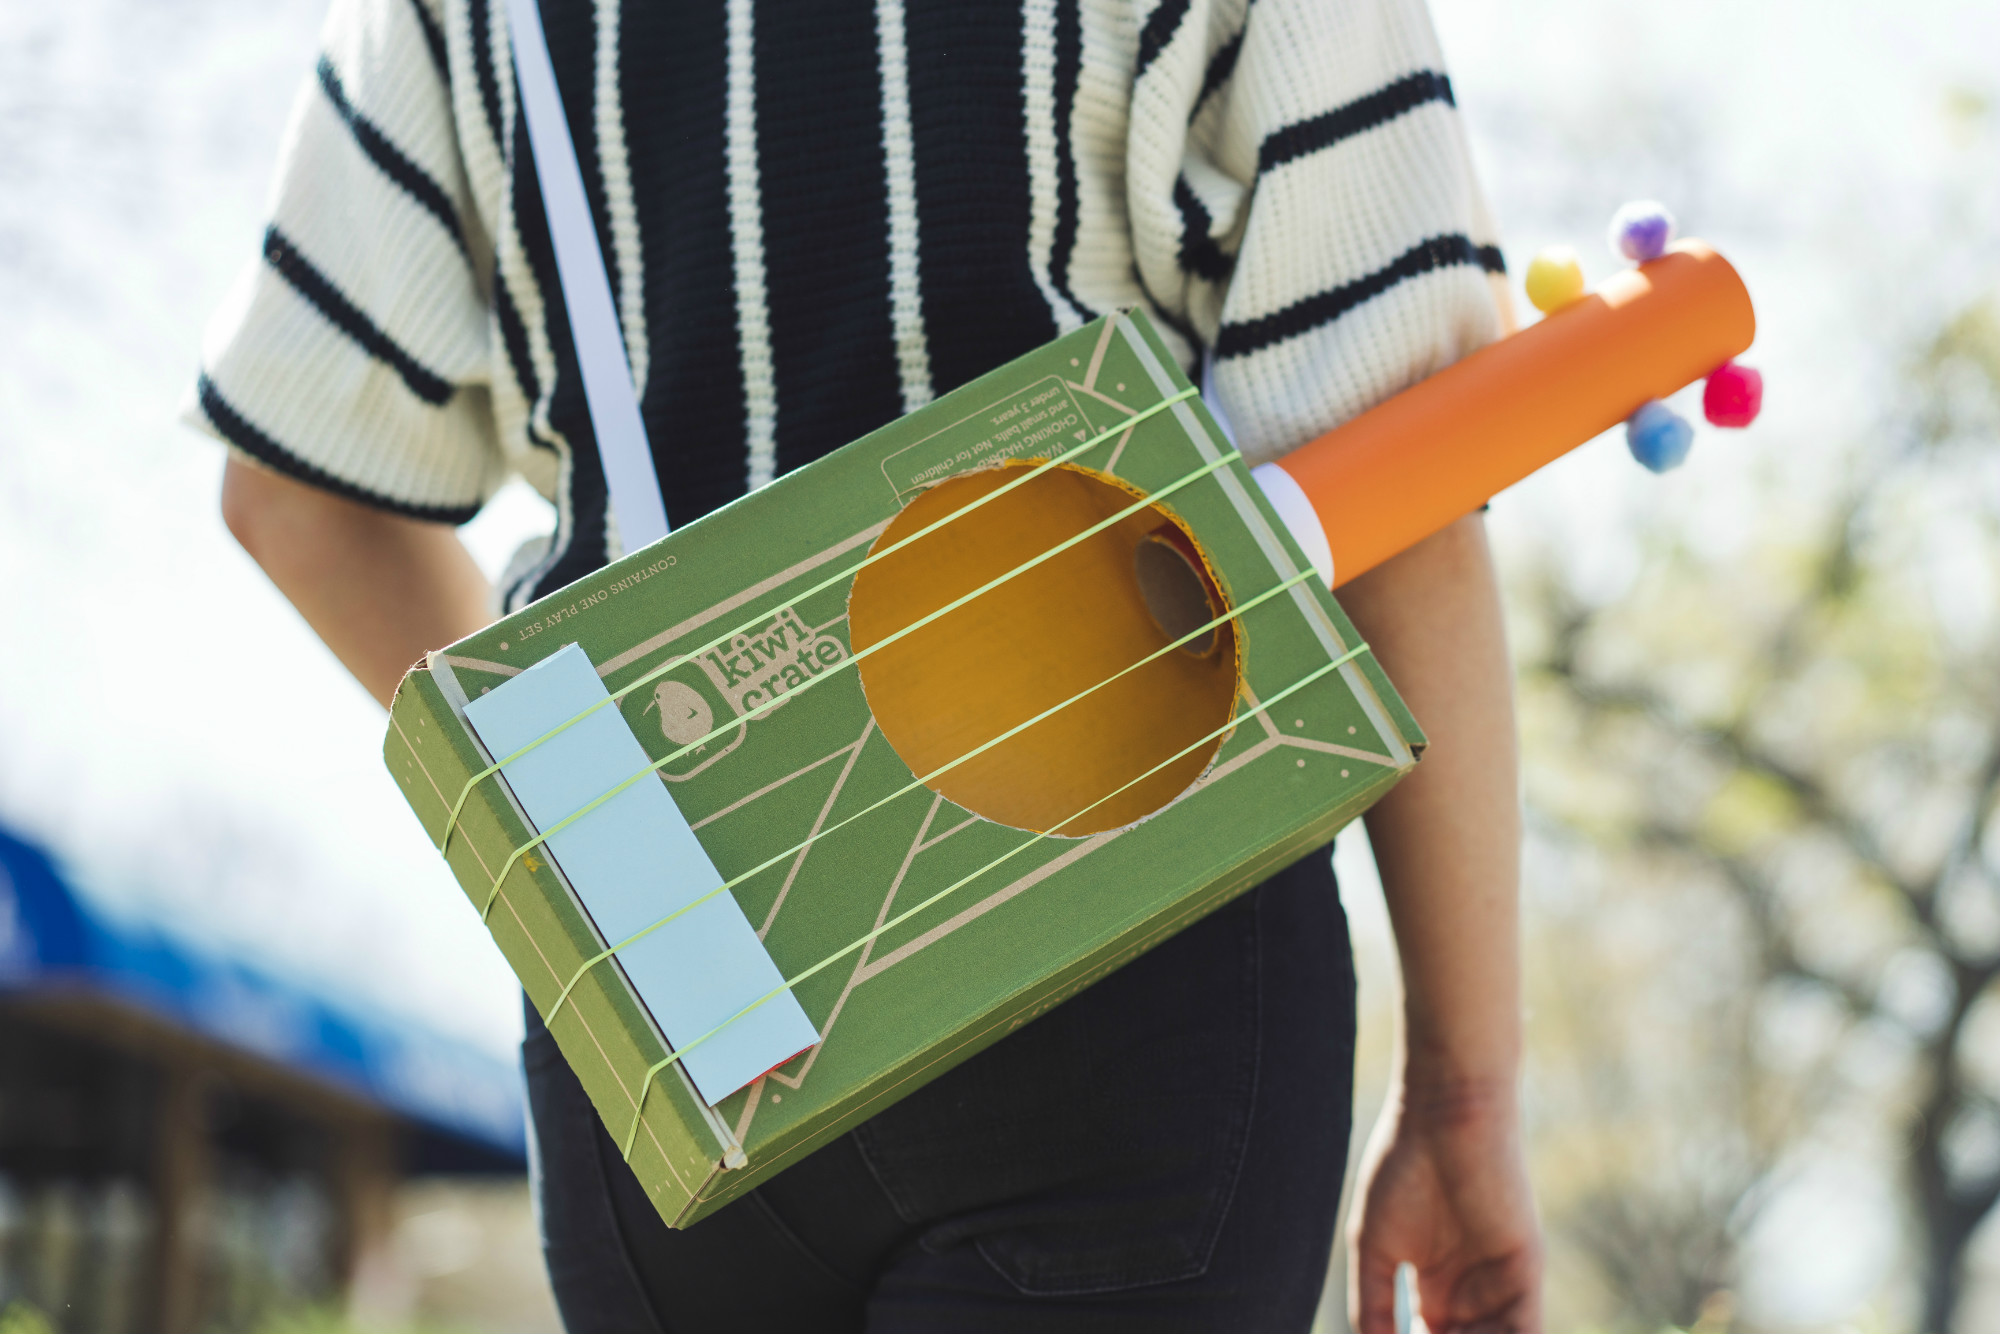
Done!
Strum the DIY guitar! We found that adding different thicknesses and sizes of rubber bands to create different tones! We also tied a ribbon to our guitar to represent a guitar strap.


