Step-by-step tutorial
Step 1
Gather your materials! Measure out 1 cup of clear glue, ¼ cup of water, ½ tsp of baking soda, and 2 tbsp of contact solution.


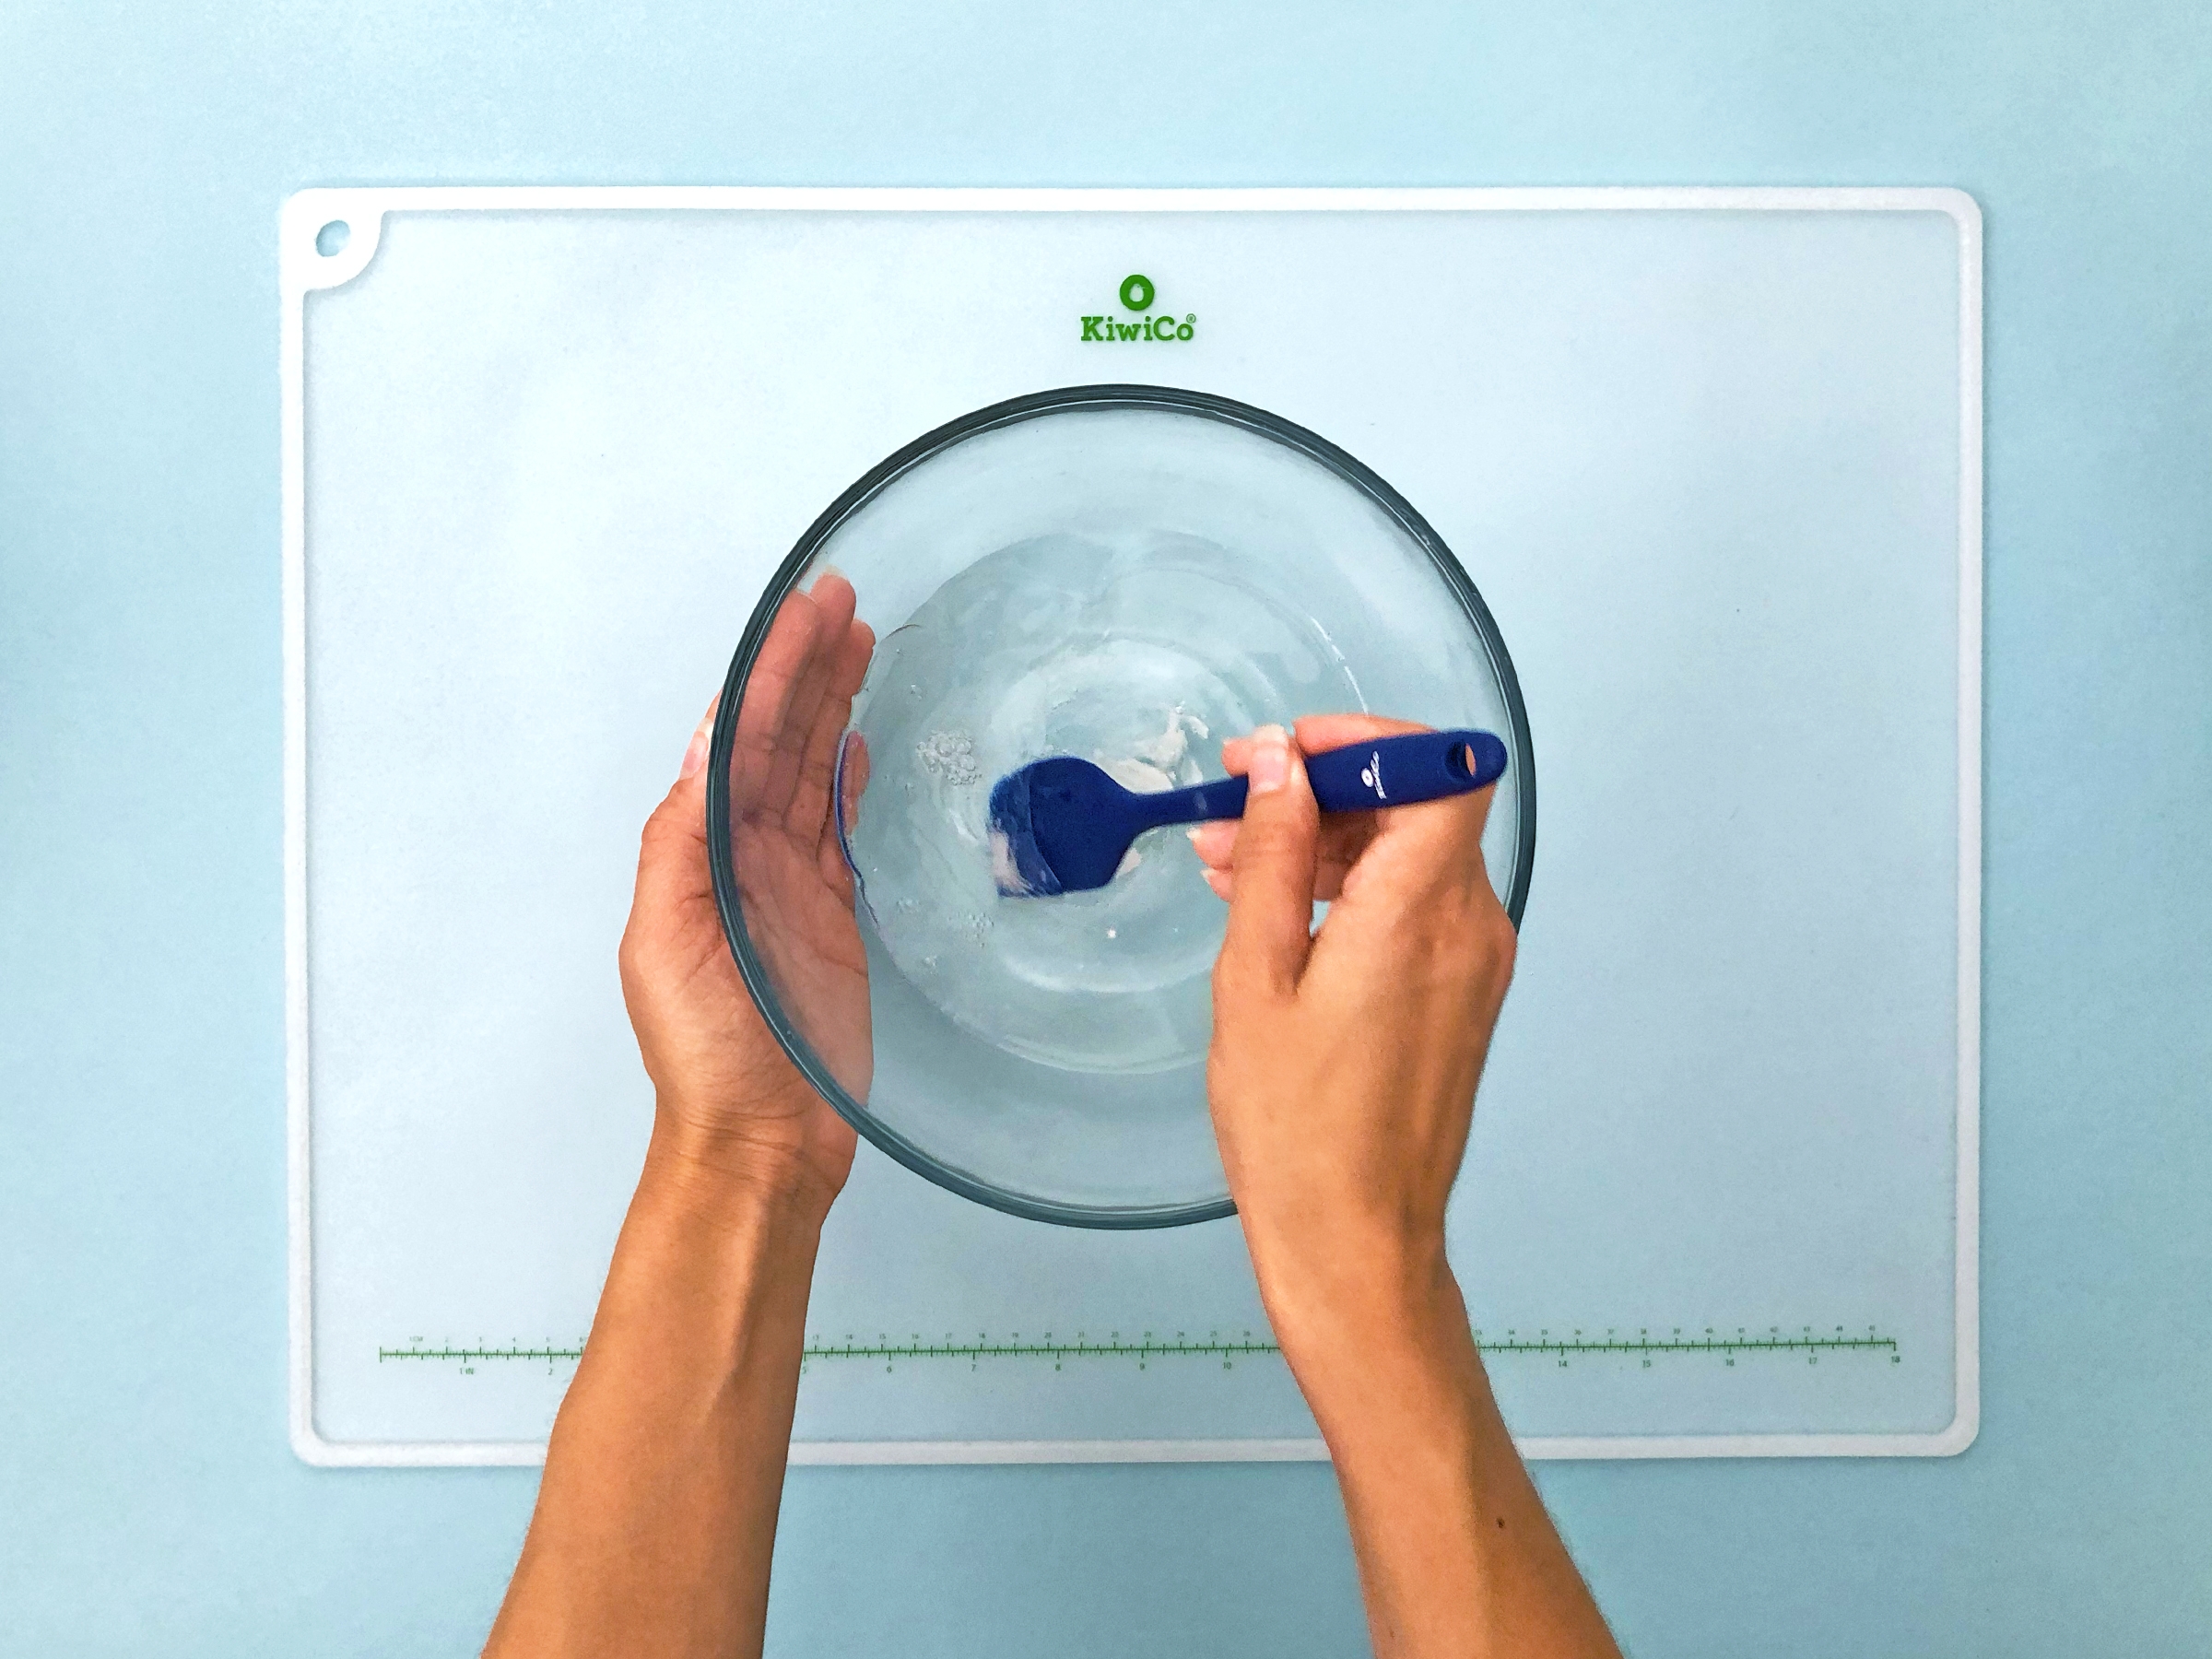
Step 2
Pour 1 cup clear glue, ¼ cup water, and ½ tsp baking soda into the bowl. Mix it up!
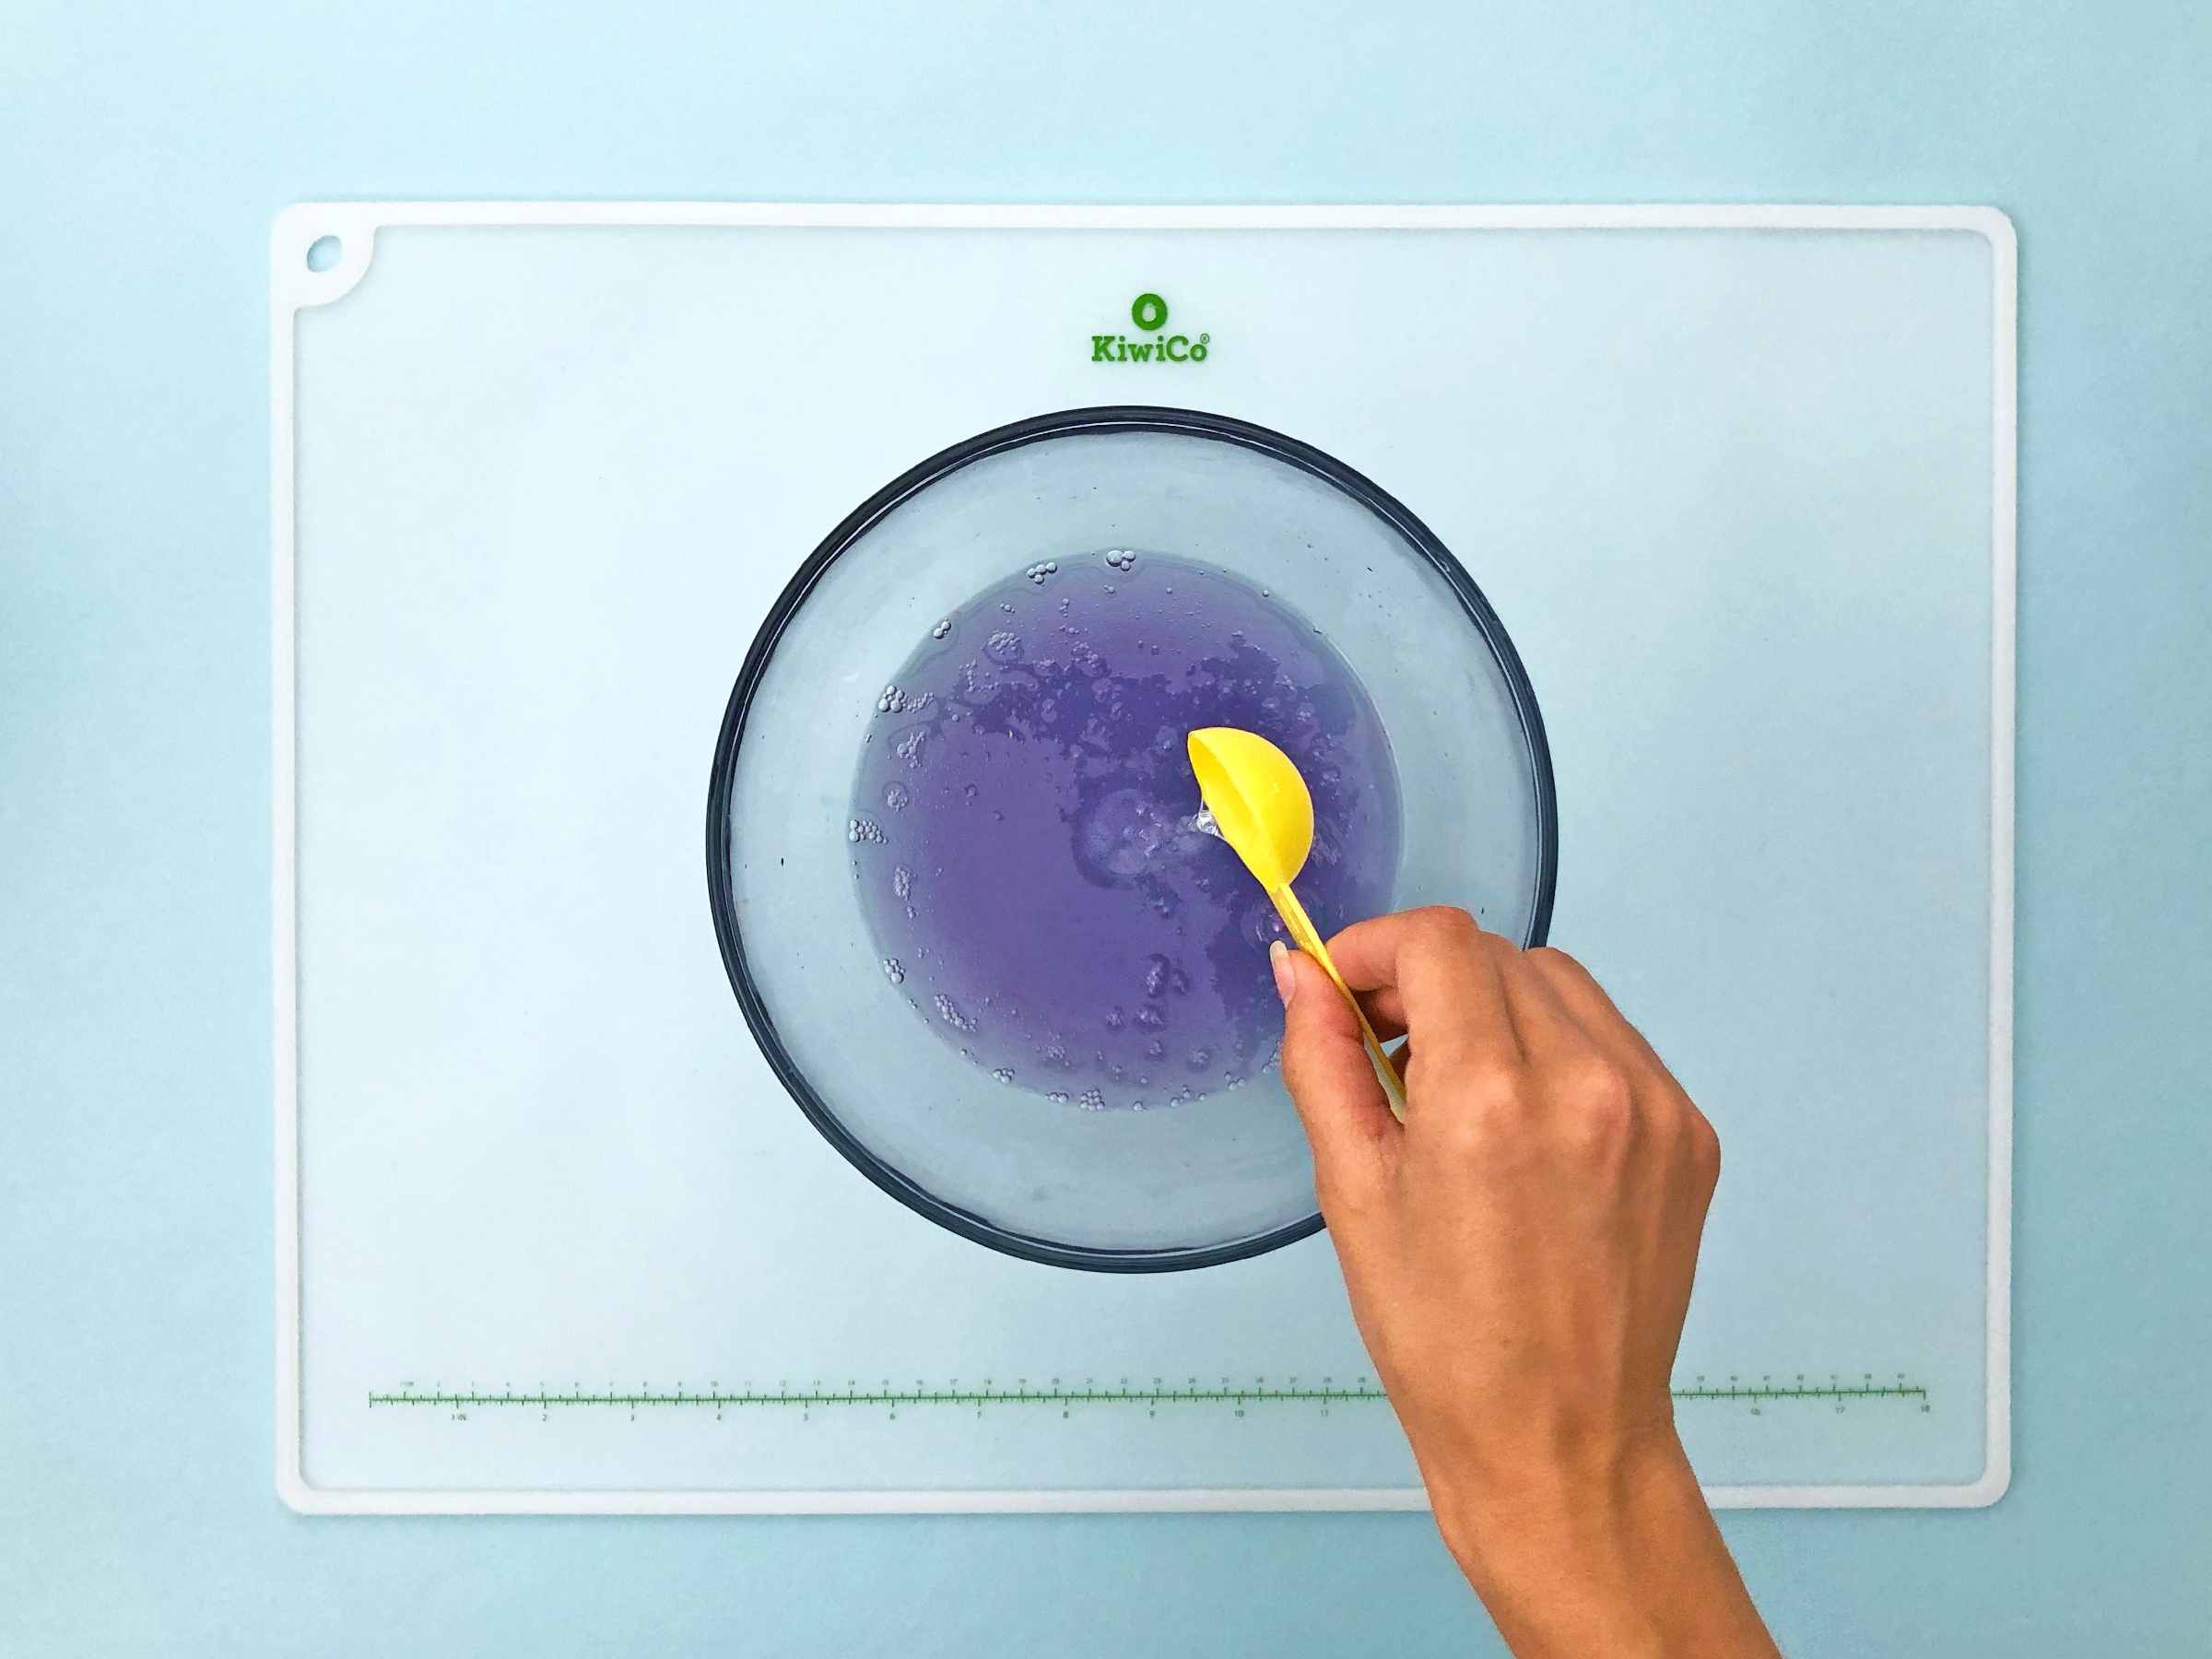
Step 3
Add 1-2 drops of liquid color into the bowl. Mix it up!

Step 4
Add 2 tbsp of contact solution. Mix until the slime begins to thicken.
Step 5
Use your hands to knead the slime until it becomes firm. Add a little more contact solution if it’s super sticky.

Tip
More contact solution = less sticky and firmer slime!
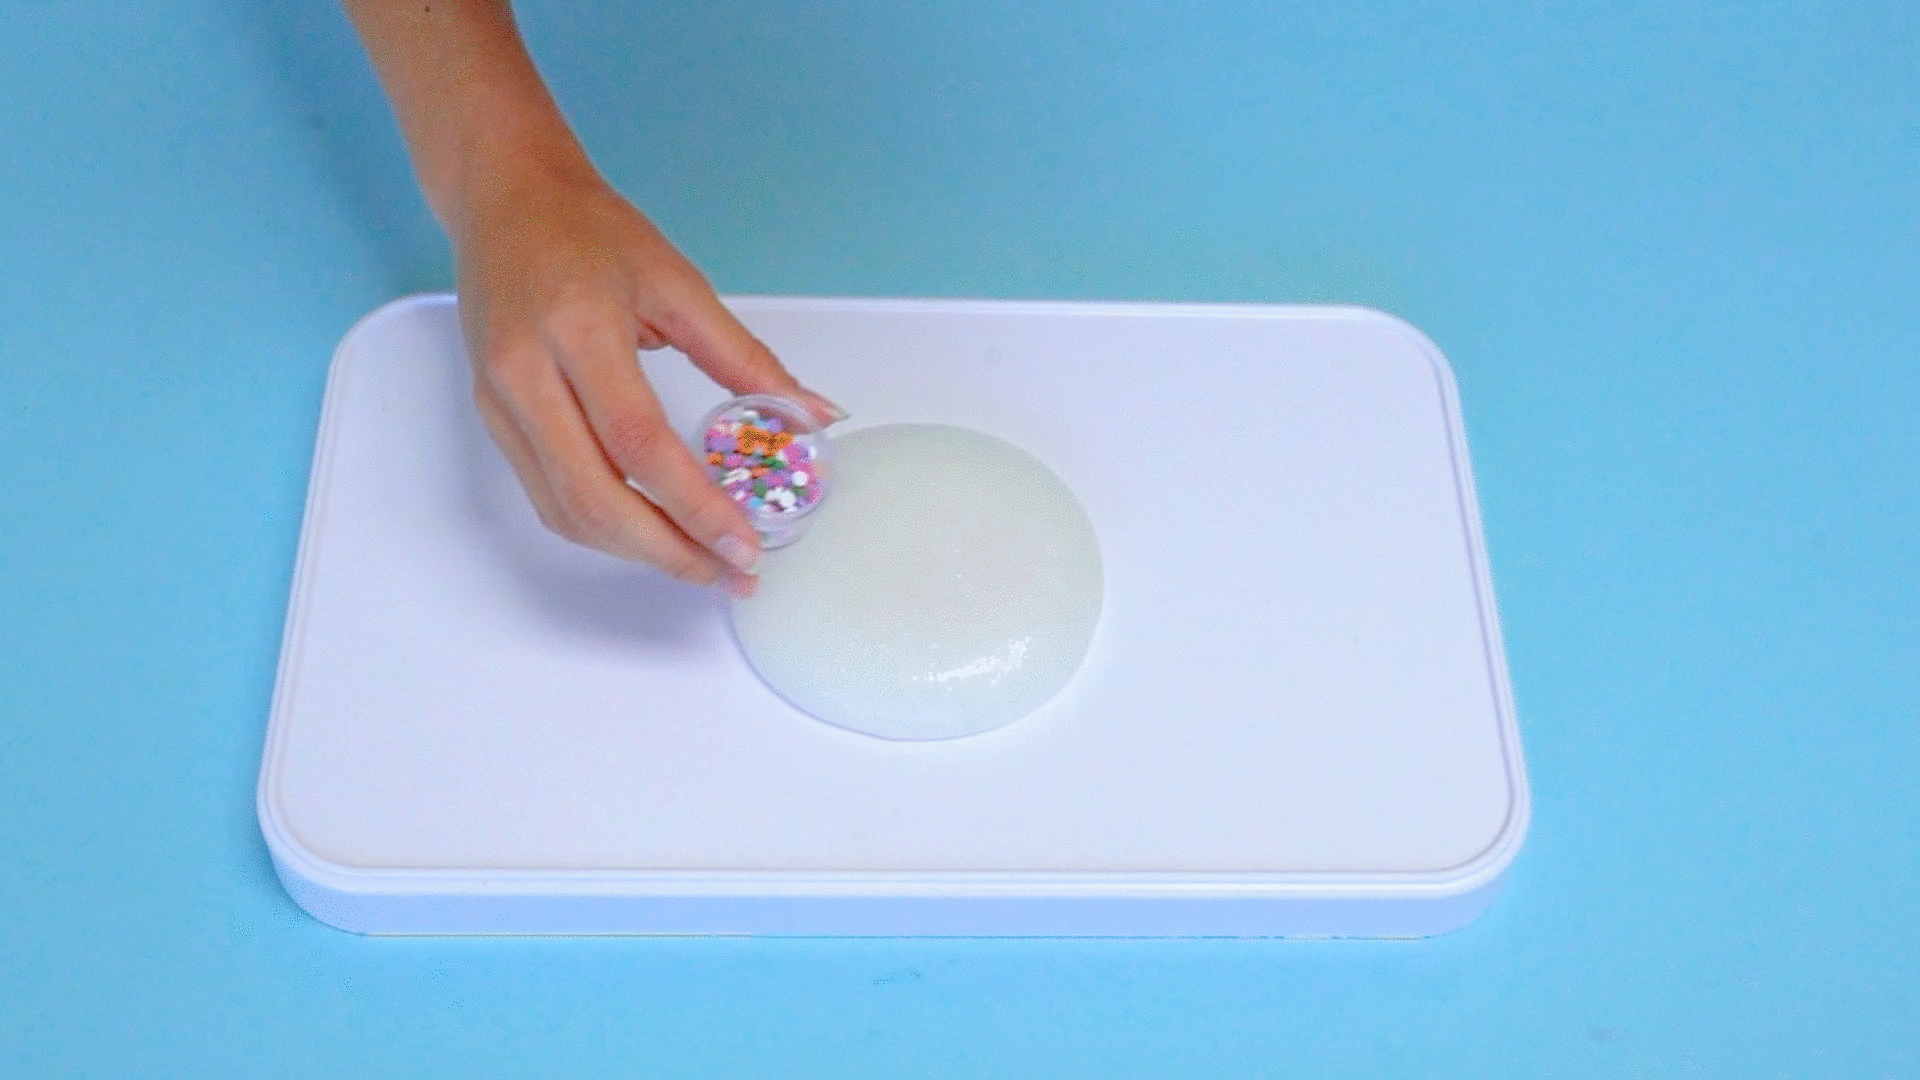
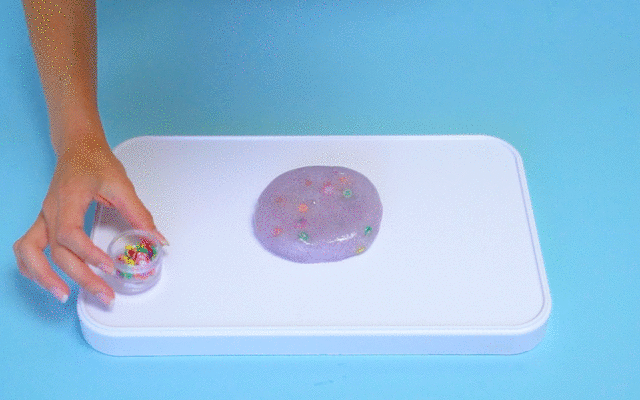
Step 6
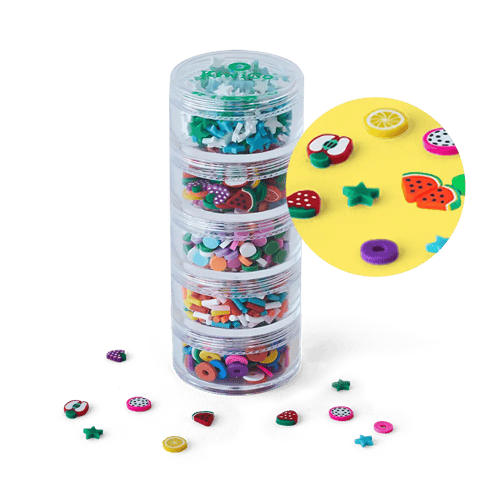
Experiment with your slime! Add clay confetti for a fun textural element, or check out this video to learn how to blow slime bubbles. Challenge a sibling or a friend to see who can blow the biggest bubble!
Learn more

Slime is non-Newtonian fluid, which means that it defies the laws of classical physics. How cool is that?! Slime starts with a polymer base, which in our case is glue. A “polymer” is a chemistry term for a substance that’s made of many little chains of molecules– “poly” means “many”, and “mer” means part in Greek. These chains easily slide past each other, which allows polymers to stretch and deform really easily. But when we add our activator, contact solution, it causes a chemical reaction that links some of these polymer chains together. These extra linkages between the chemical chains in the glue make the mixture stiffer. However, these cross-linkages break and deform easily, which is why slime feels more solid than glue, but is still super stretchy.
Common activators for slime recipes are contact solution, powdered laundry detergent, and Borax. All of these contain boric acid which causes the chemical reaction!
Fun fact: snails make their own slime to help them move, climb, and protect them from the sun!