Step-by-step tutorial
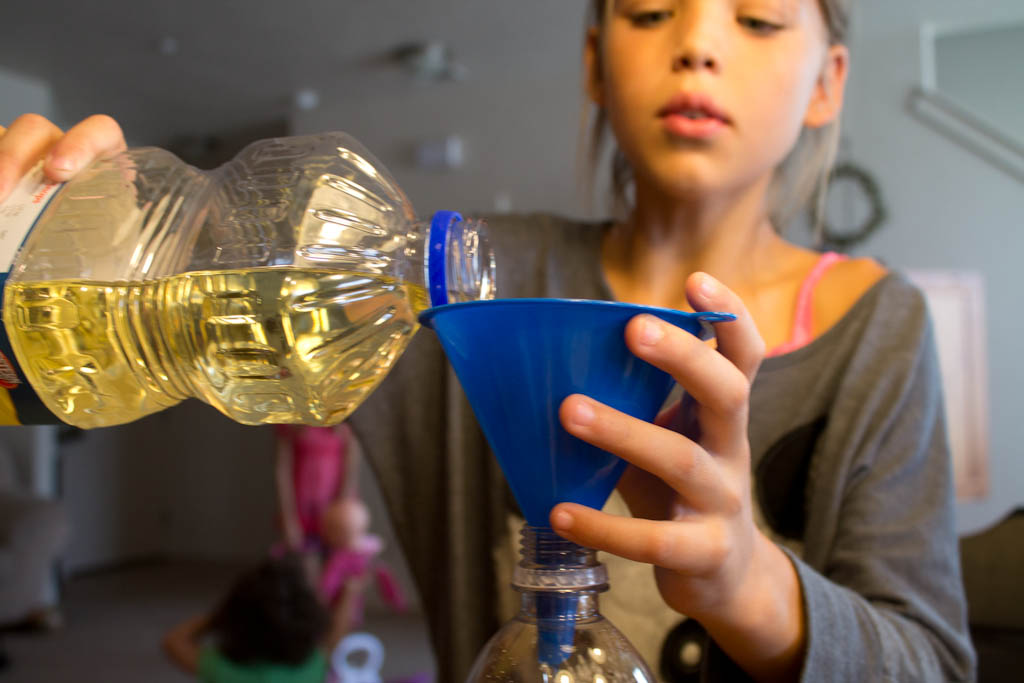
Step 1
Have your child fill 3/4 of the bottle with vegetable oil.

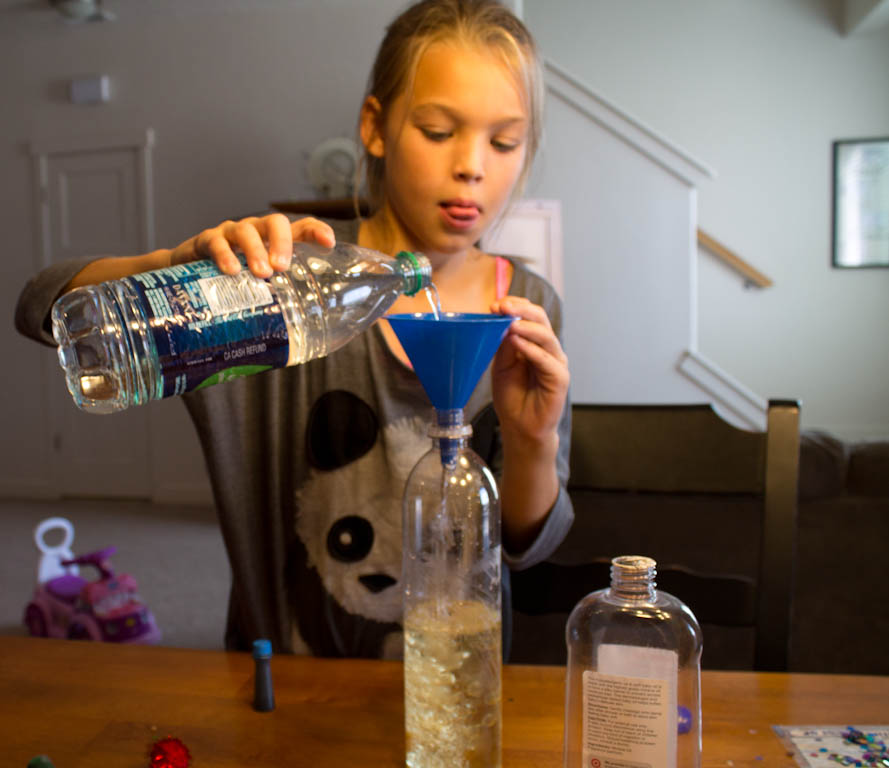
Step 2
Fill the rest of the bottle with water, leaving about an inch from the top.
Step 3
Now add your food coloring, adding about 10 drops.
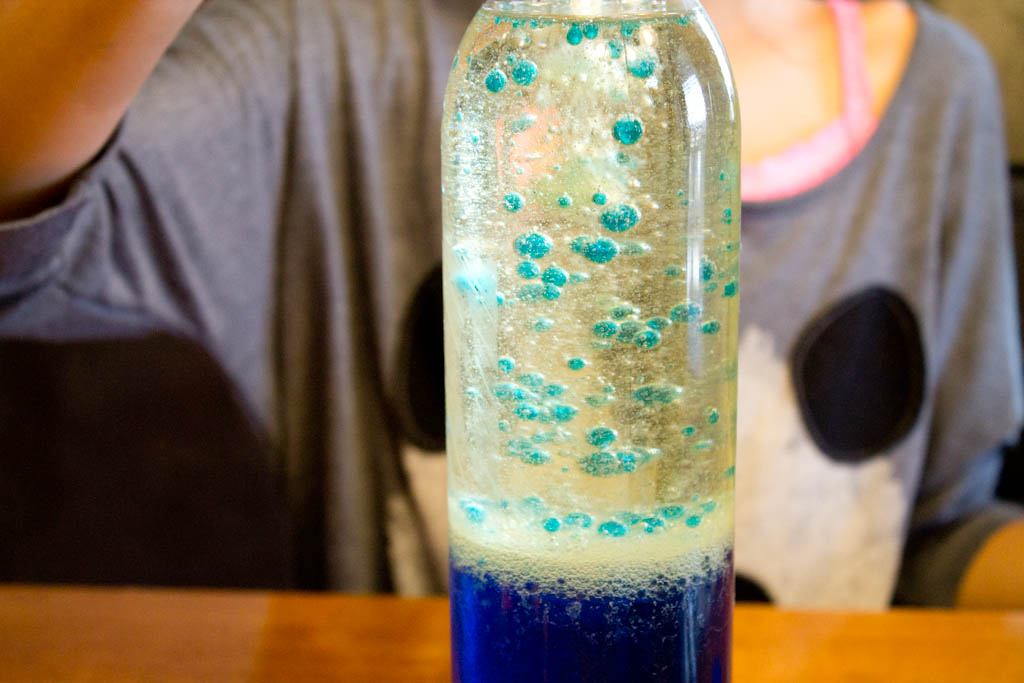
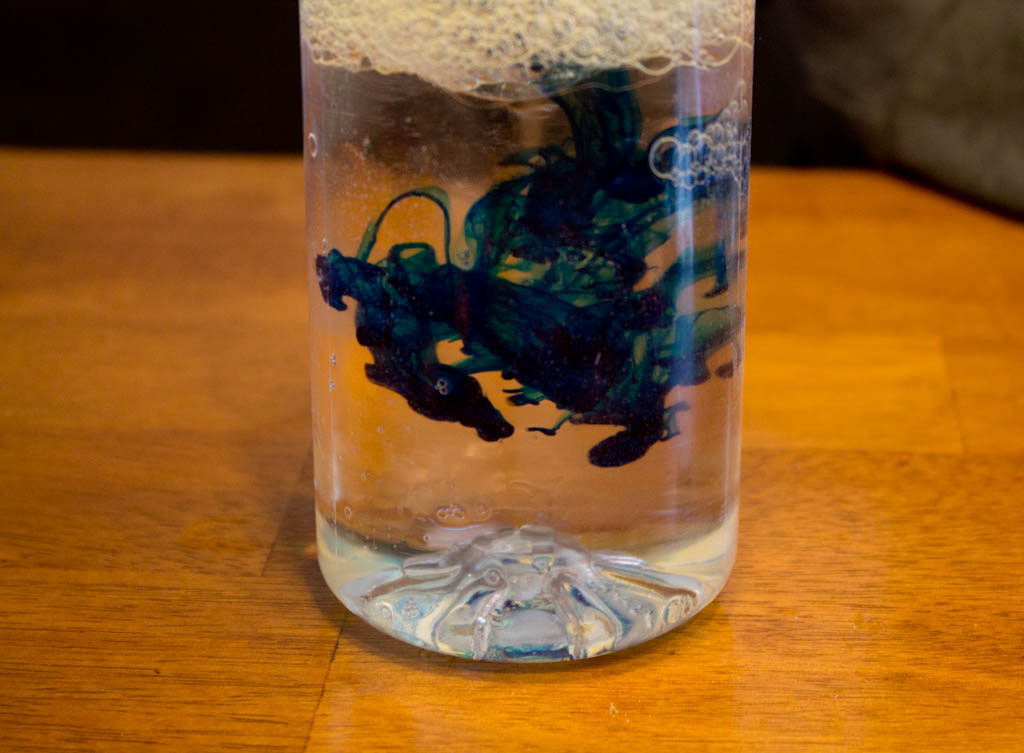
Step 4
My kids loved this part because of the way the food coloring stayed in droplet form while it moved through the oil and only mixed when it hit the water at the bottom. You may want to let the mixture settle a little before moving on because there are a lot of bubbles in it.
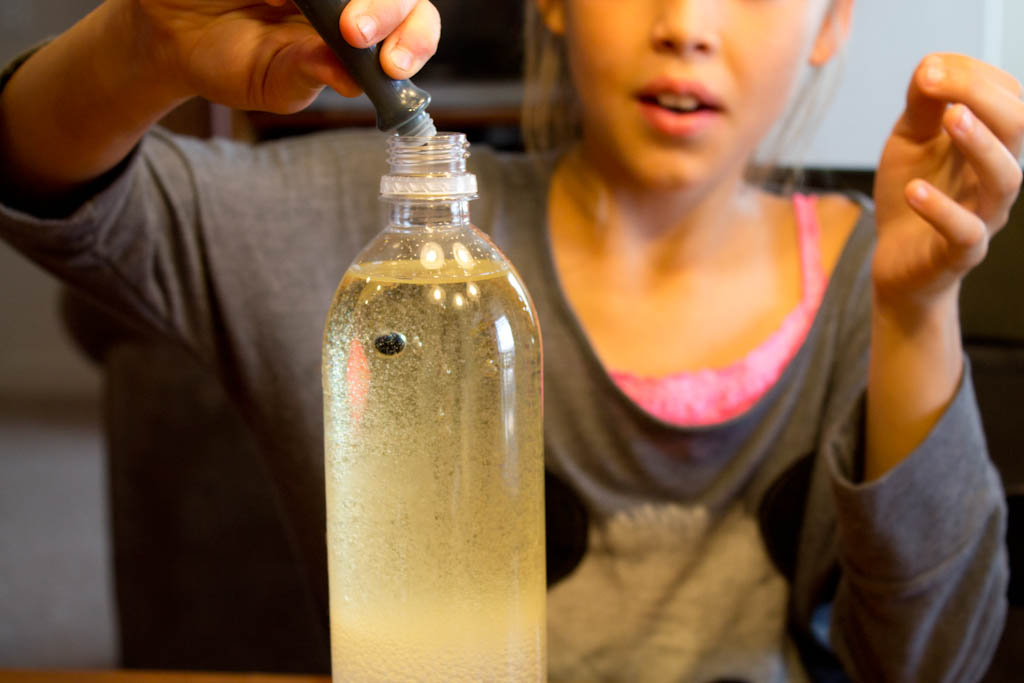
Step 5
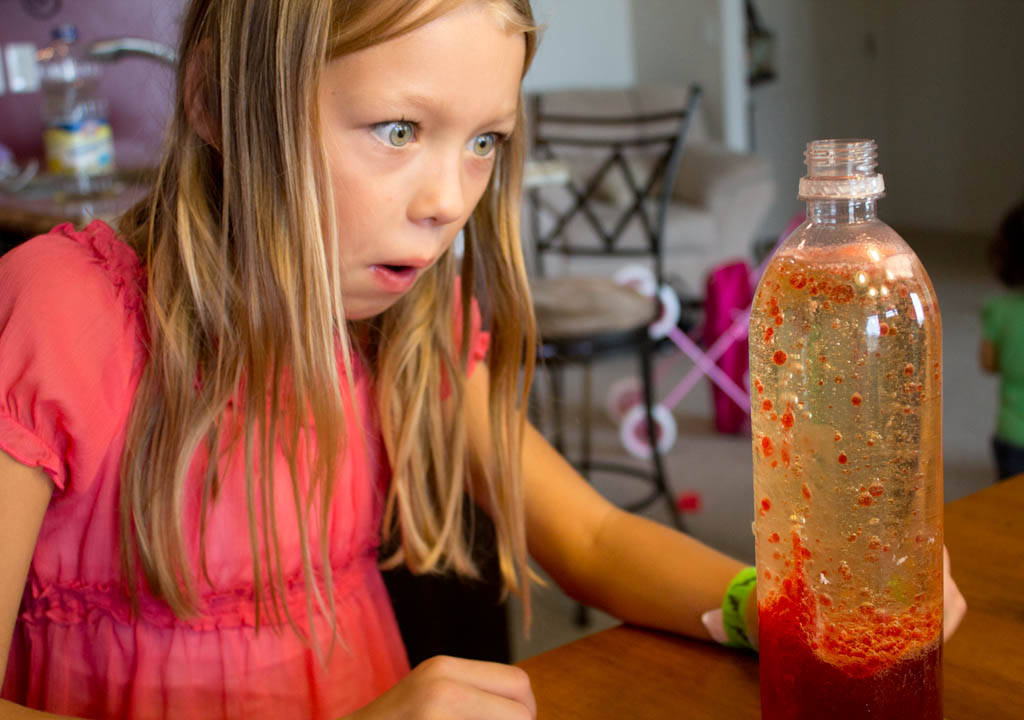
Now break up your alka seltzer tablet into several pieces (about 4) and have your child drop them into the solution one at a time and observe the effect! (You don't want them to put them in all at once.) Now repeat with the other bottles, using different colored food coloring.

Done!
My kids were fascinated by their DIY "lava lamps." They said, "this is so awesome!" again and again--high praise indeed!