Step-by-step tutorial
Step 1
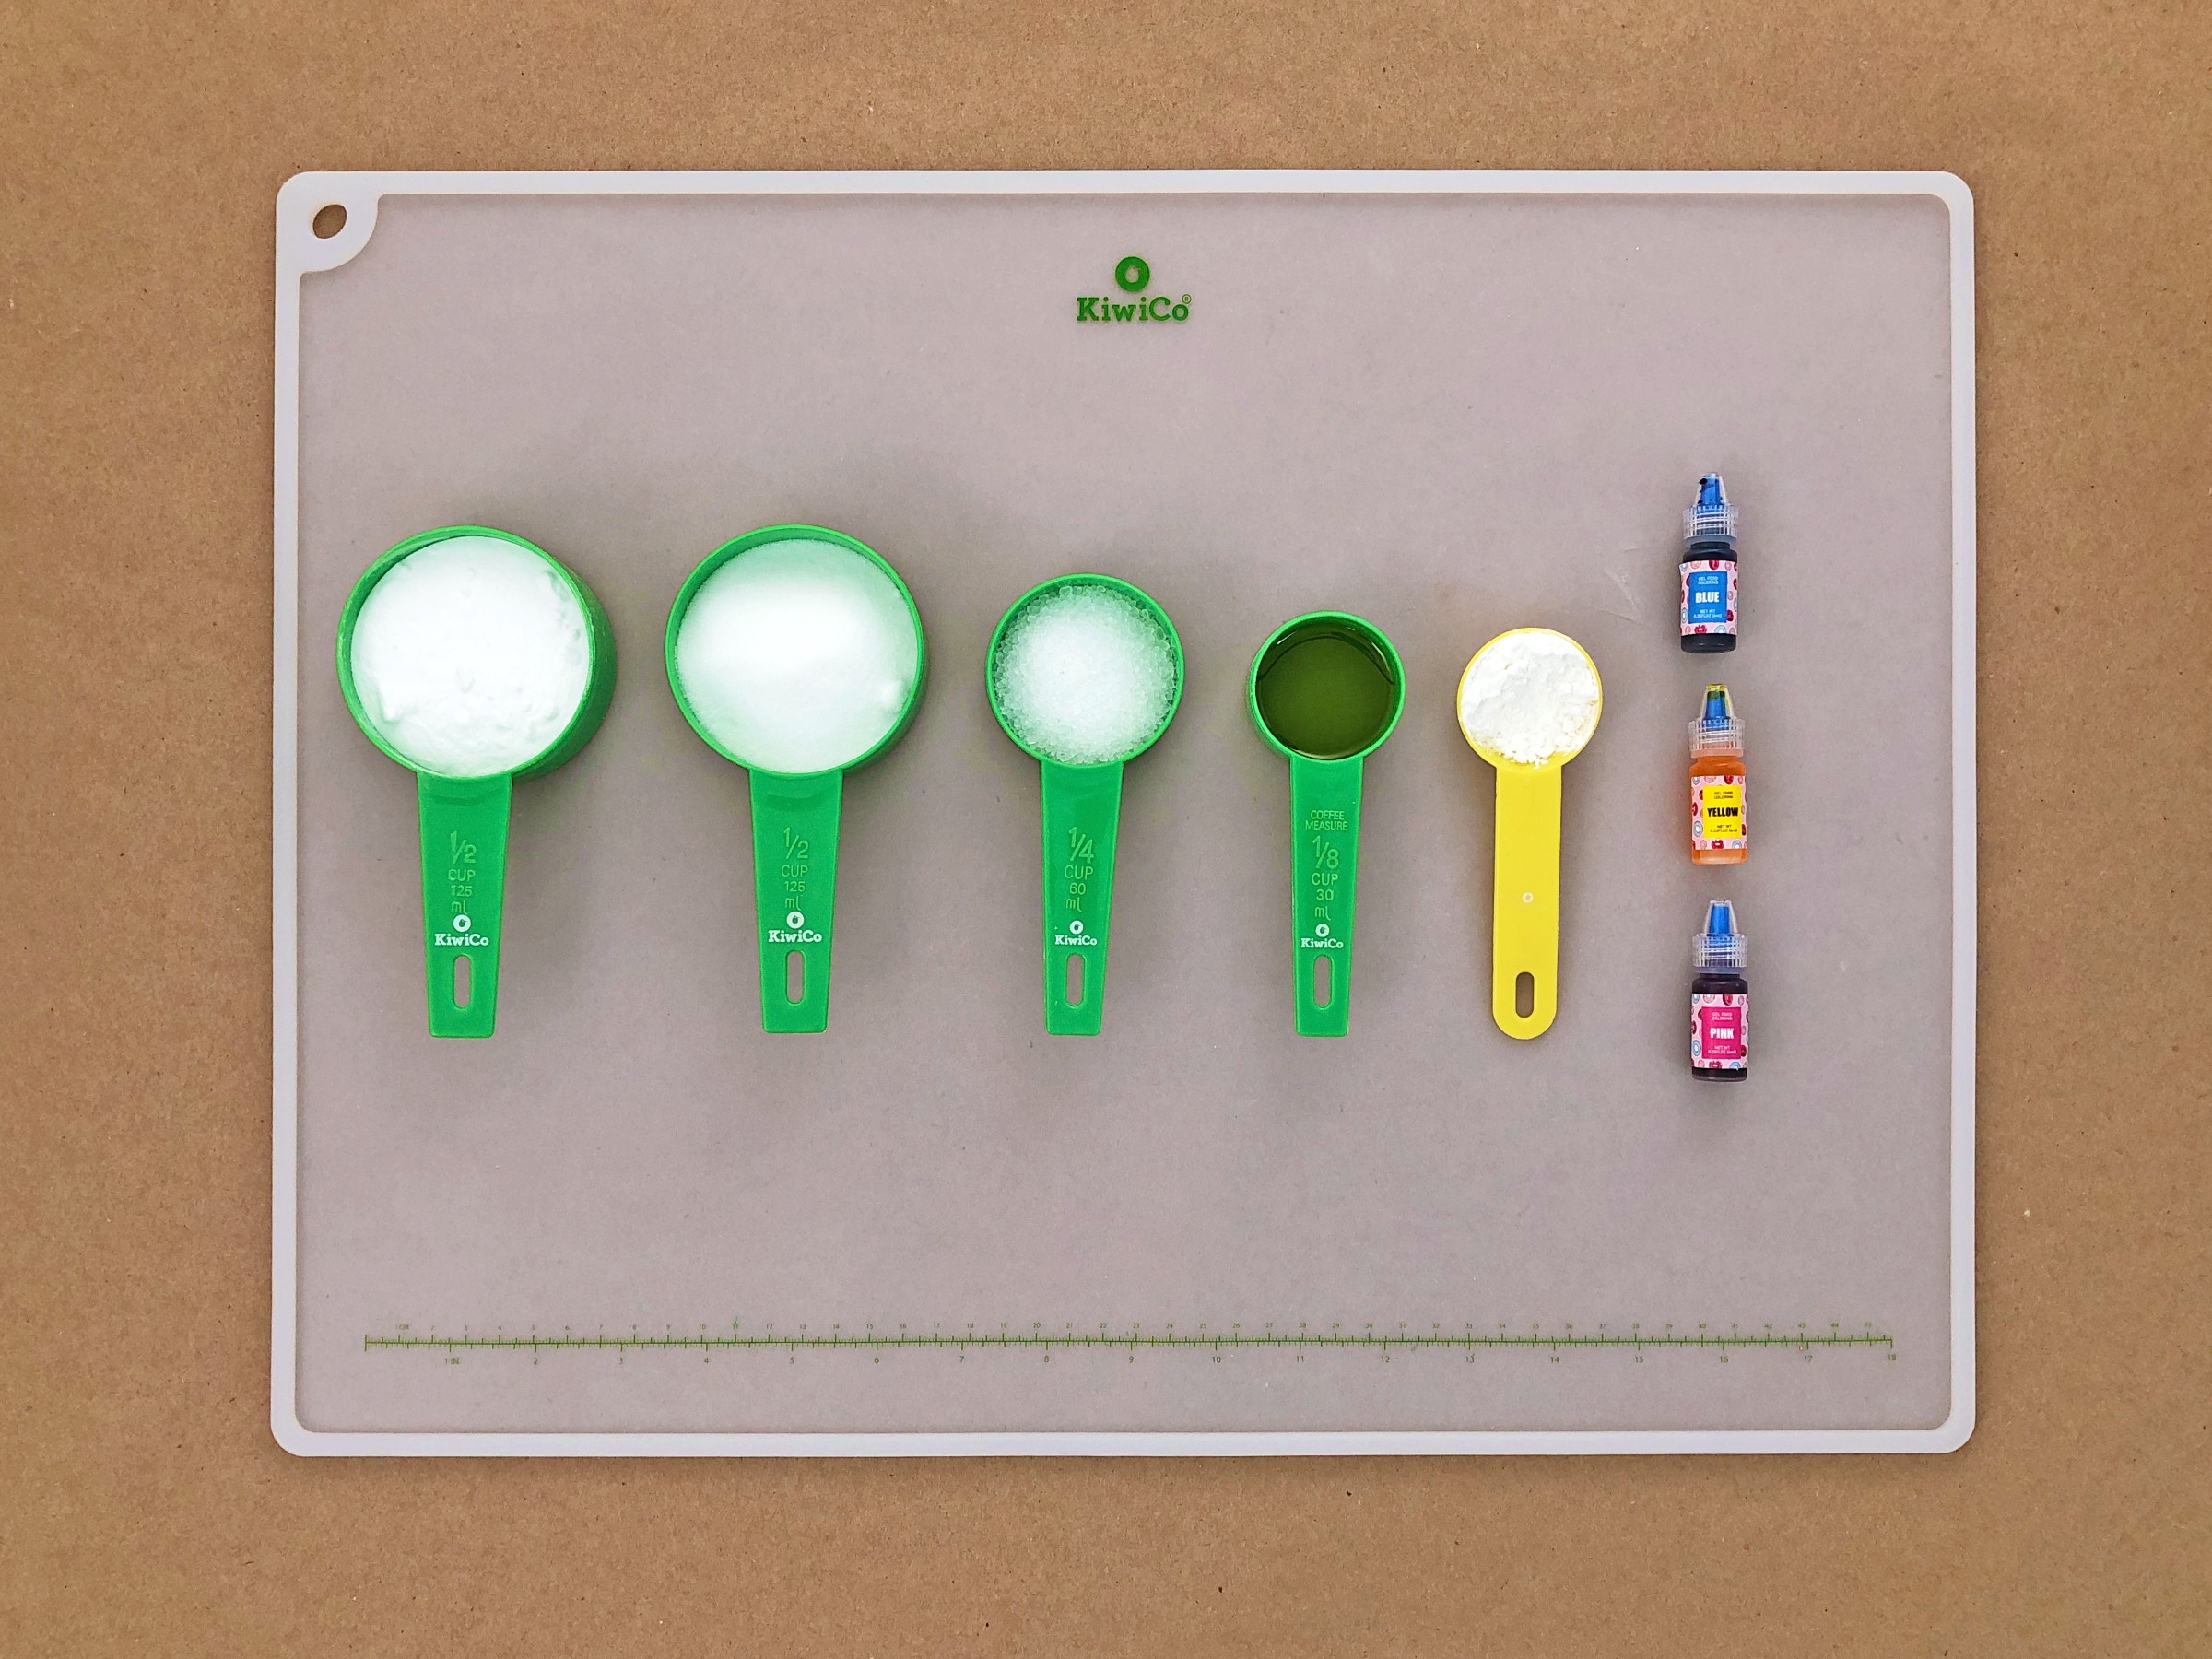
Gather your materials. You’ll need: ½ cup baking soda, ½ cup citric acid, 1 tbsp cornstarch, 2 tbsp epsom salt, 2 tbsp olive oil, and liquid colors.

Step 2
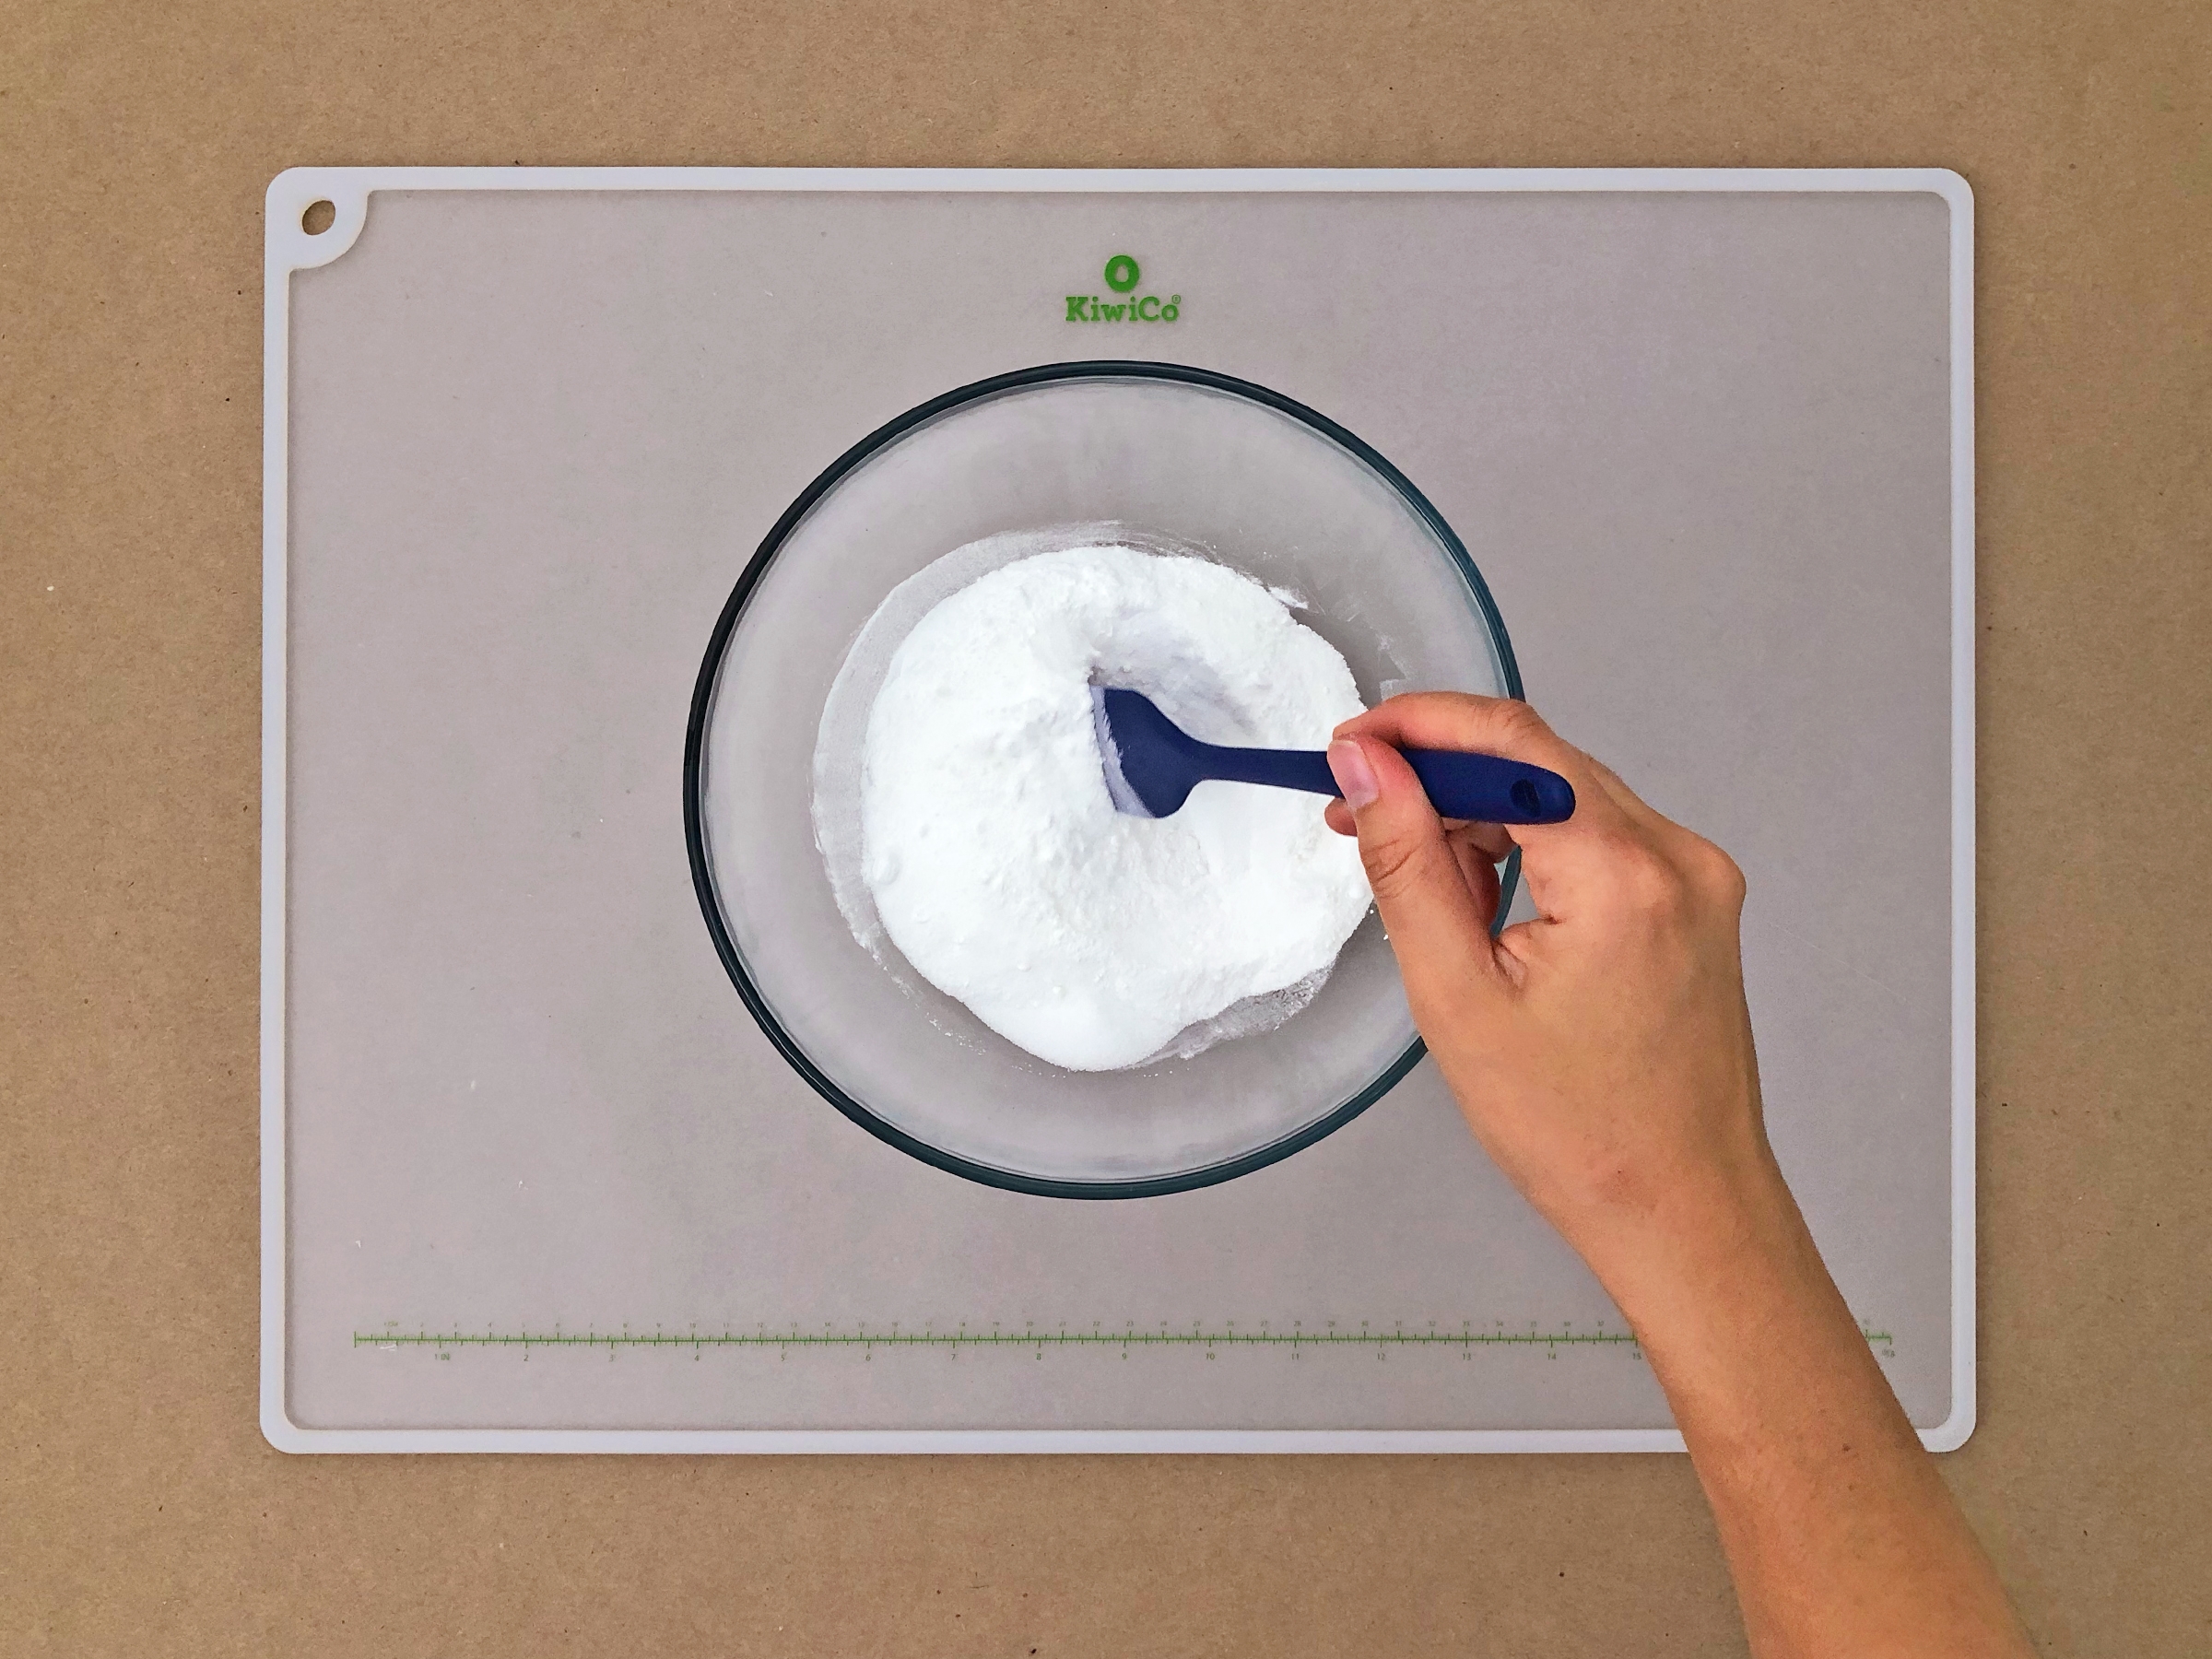
Thoroughly mix the dry ingredients together: ½ cup baking soda, ½ cup citric acid, 1 tbsp cornstarch, and 2 tbsp epsom salt.
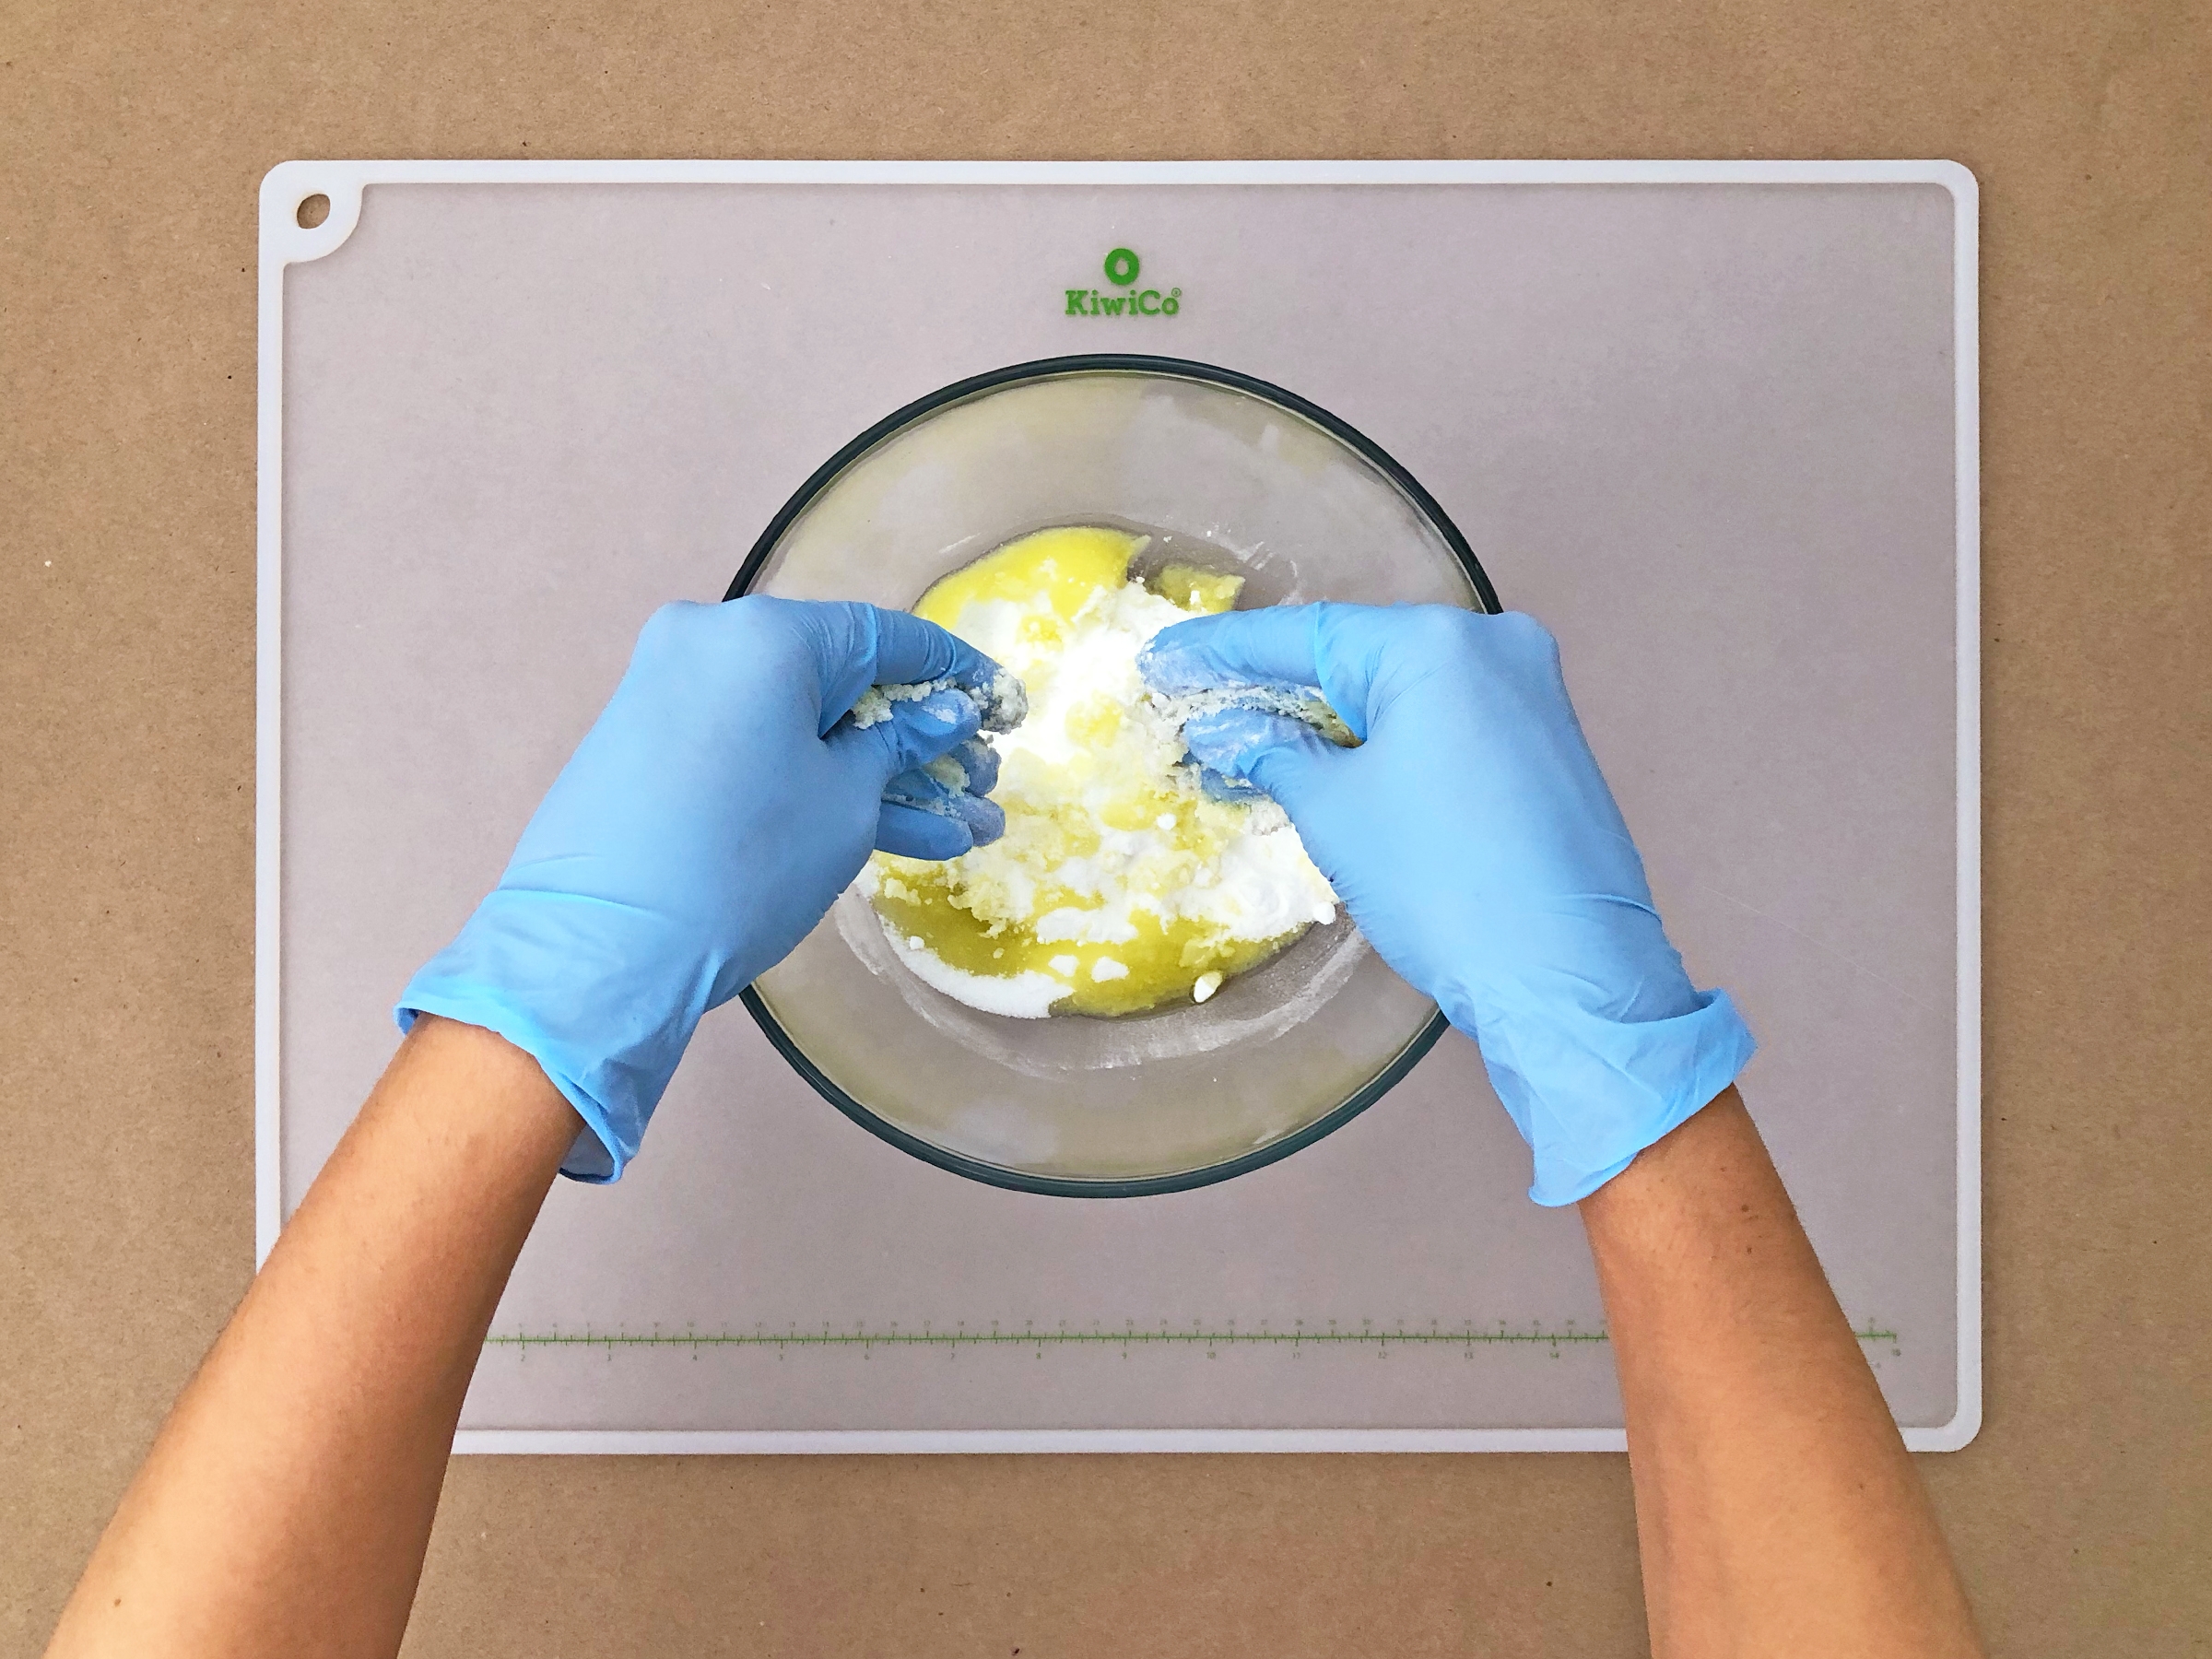
Step 3
Drizzle 2 tbsp of oil into the bowl. Put on latex gloves on and work the oil into the dry ingredients. It will look lumpy at first, but keep mixing until it has an even and sandy texture.
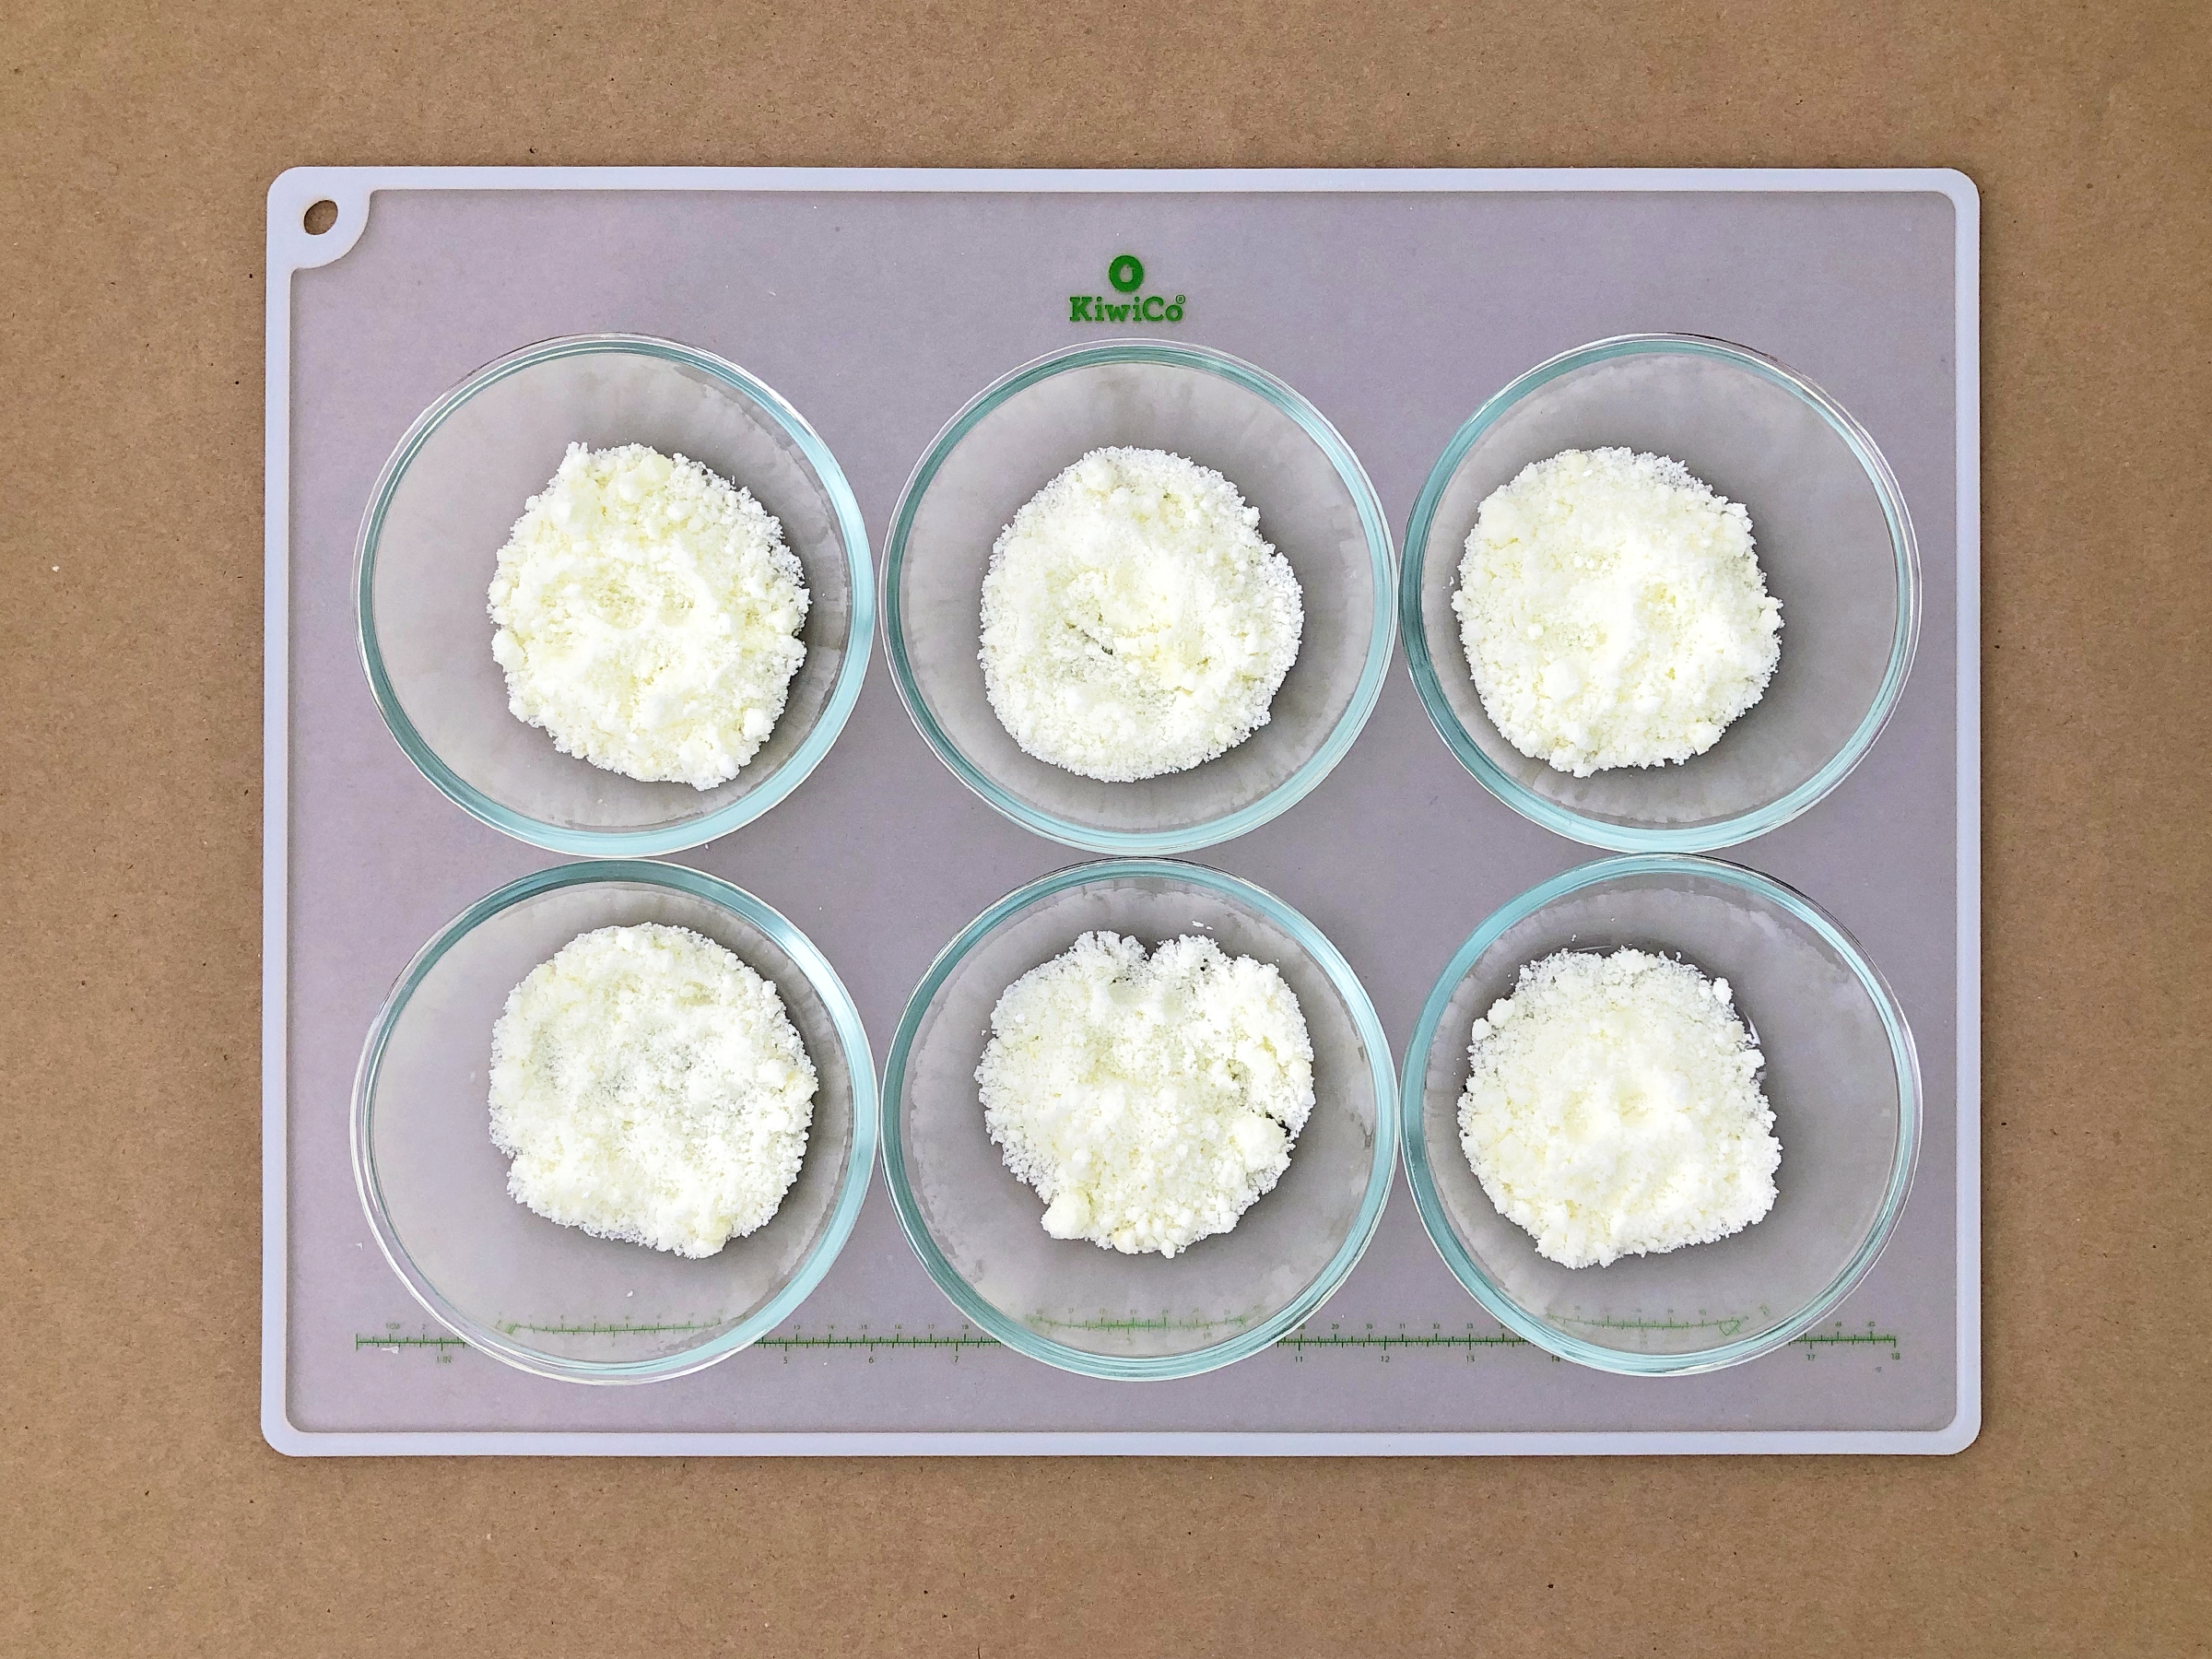
Step 4
Divide the mixture evenly into 6 bowls. There will be about a ¼ cup in each bowl.
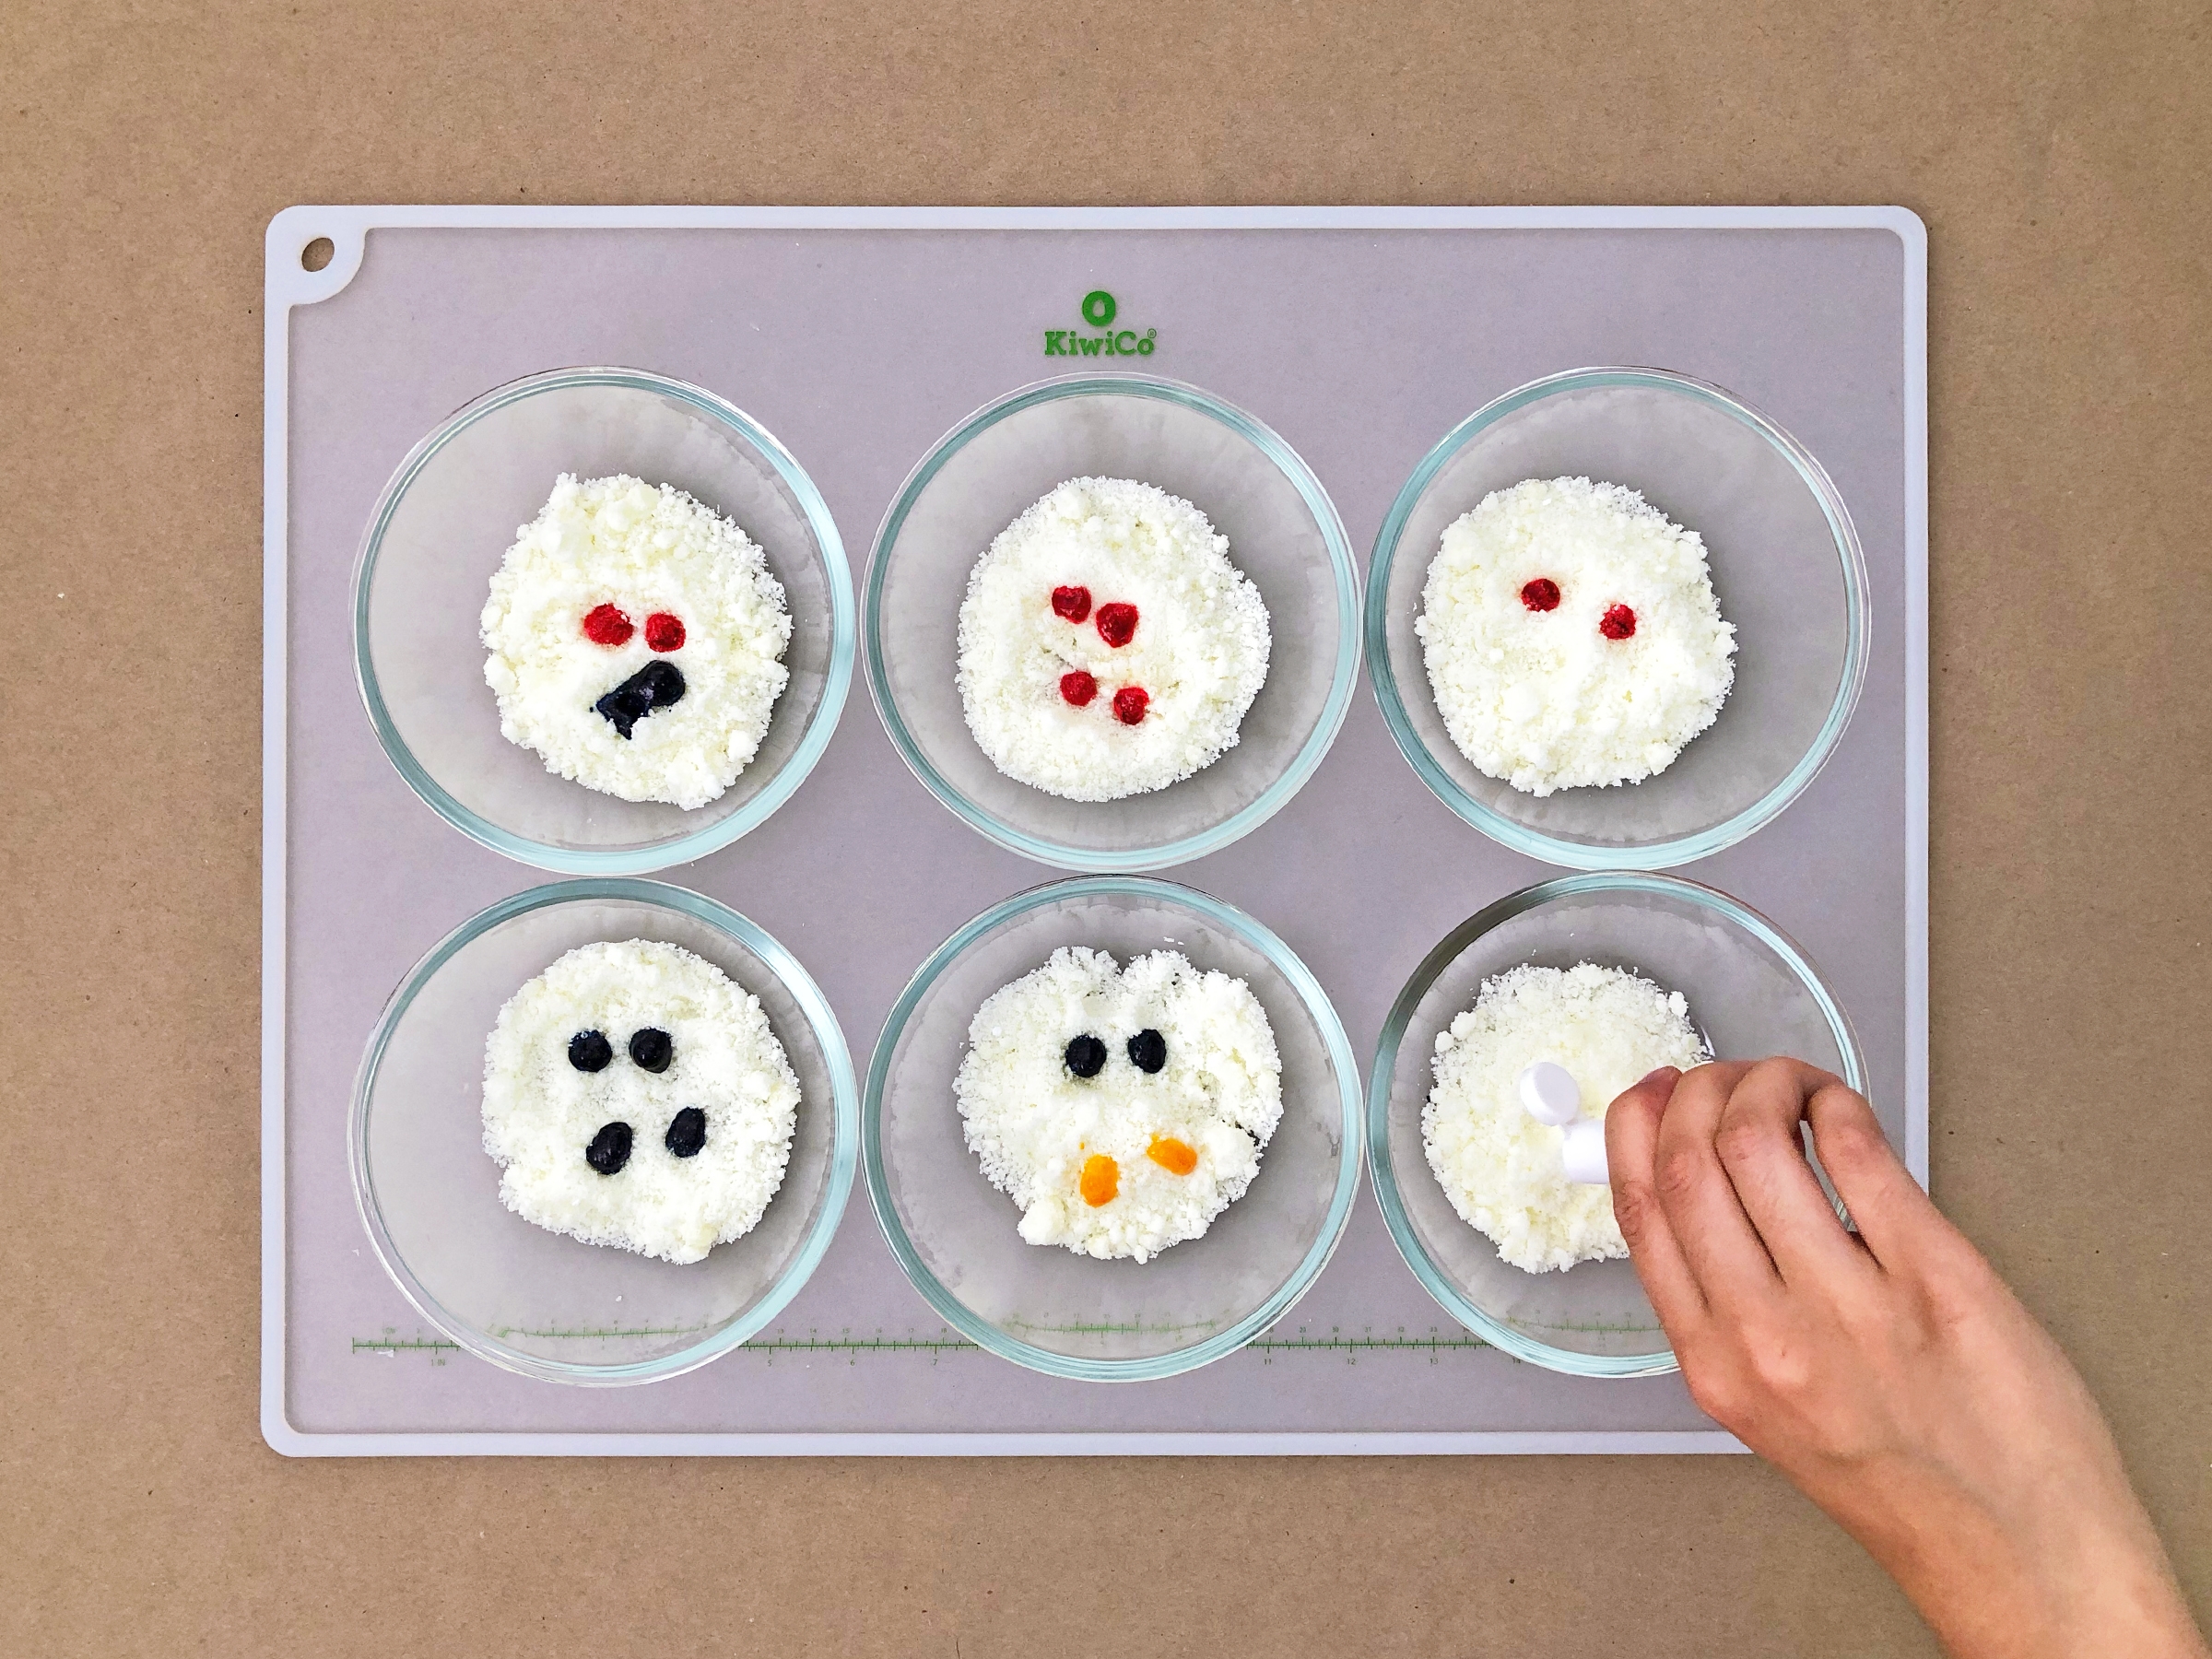
Step 5
To each bowl, add the following food coloring:
- Bowl 1: 4 drops pink/red
- Bowl 2: 2 drops pink/red, 2 drops yellow
- Bowl 3: 4 drops yellow
- Bowl 4: 2 drops yellow, 2 drops blue
- Bowl 5: 4 drops blue
- Bowl 6: 2 drops blue, 2 drops pink/red
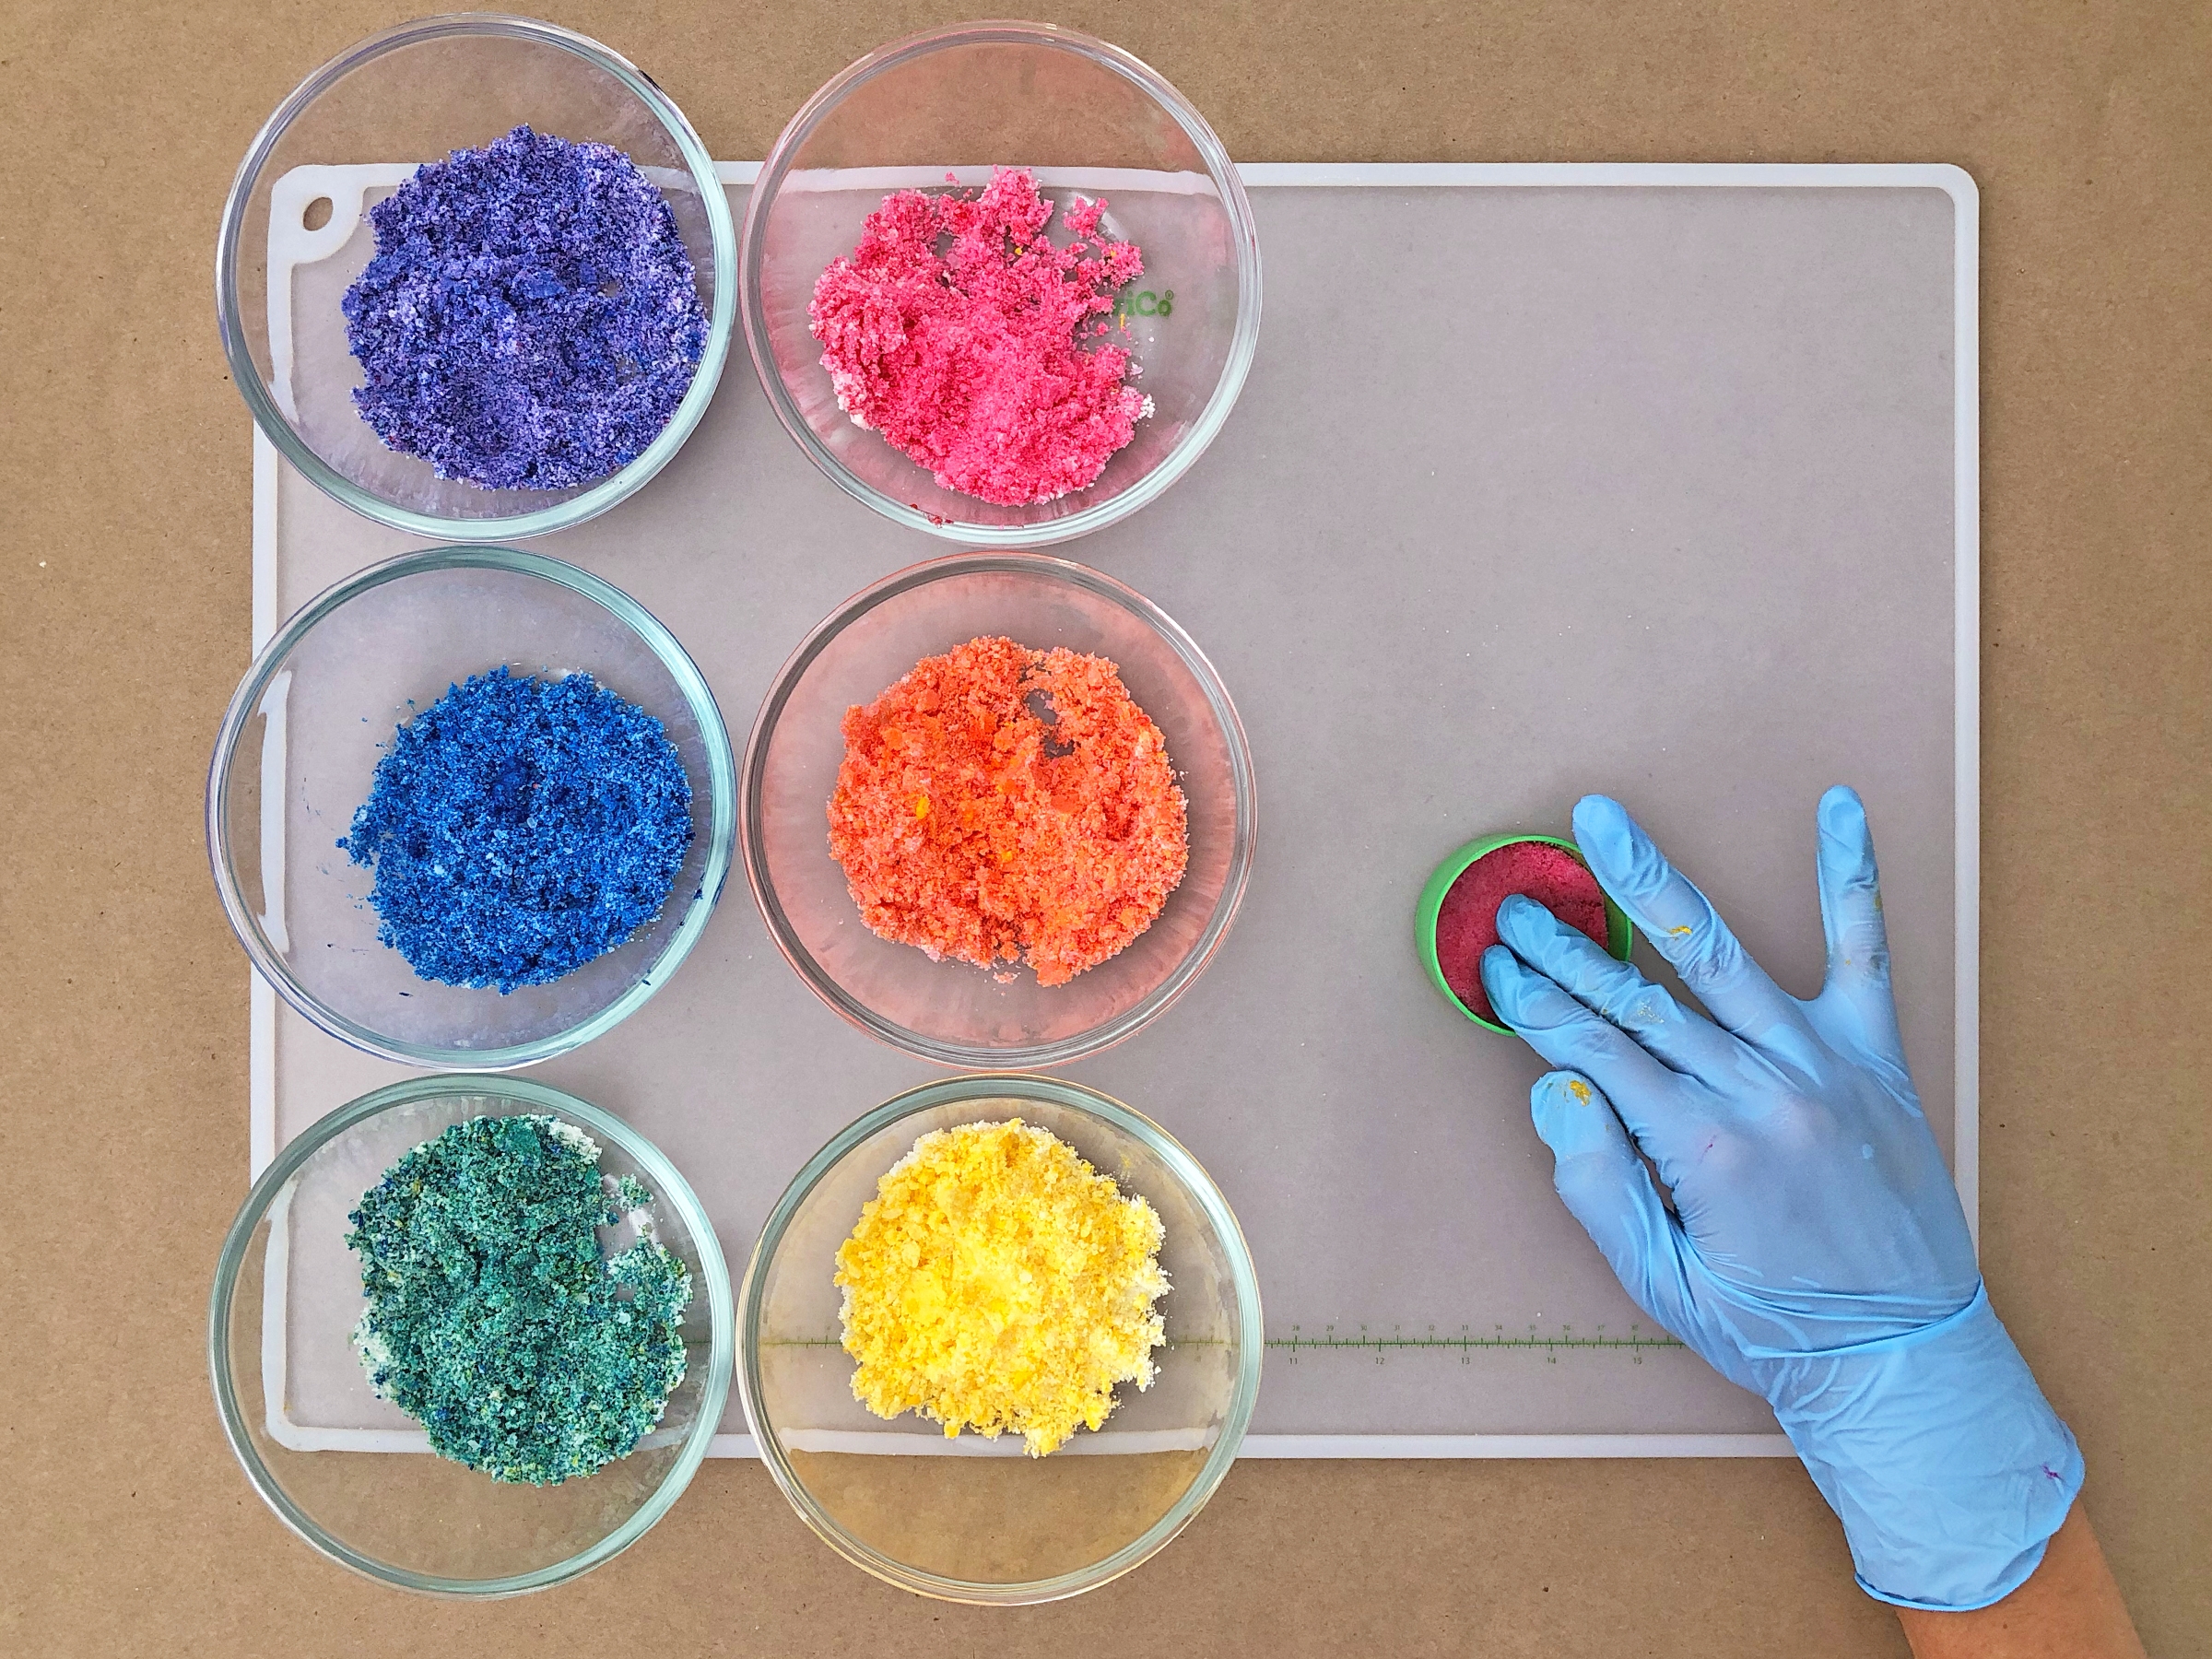
Step 6
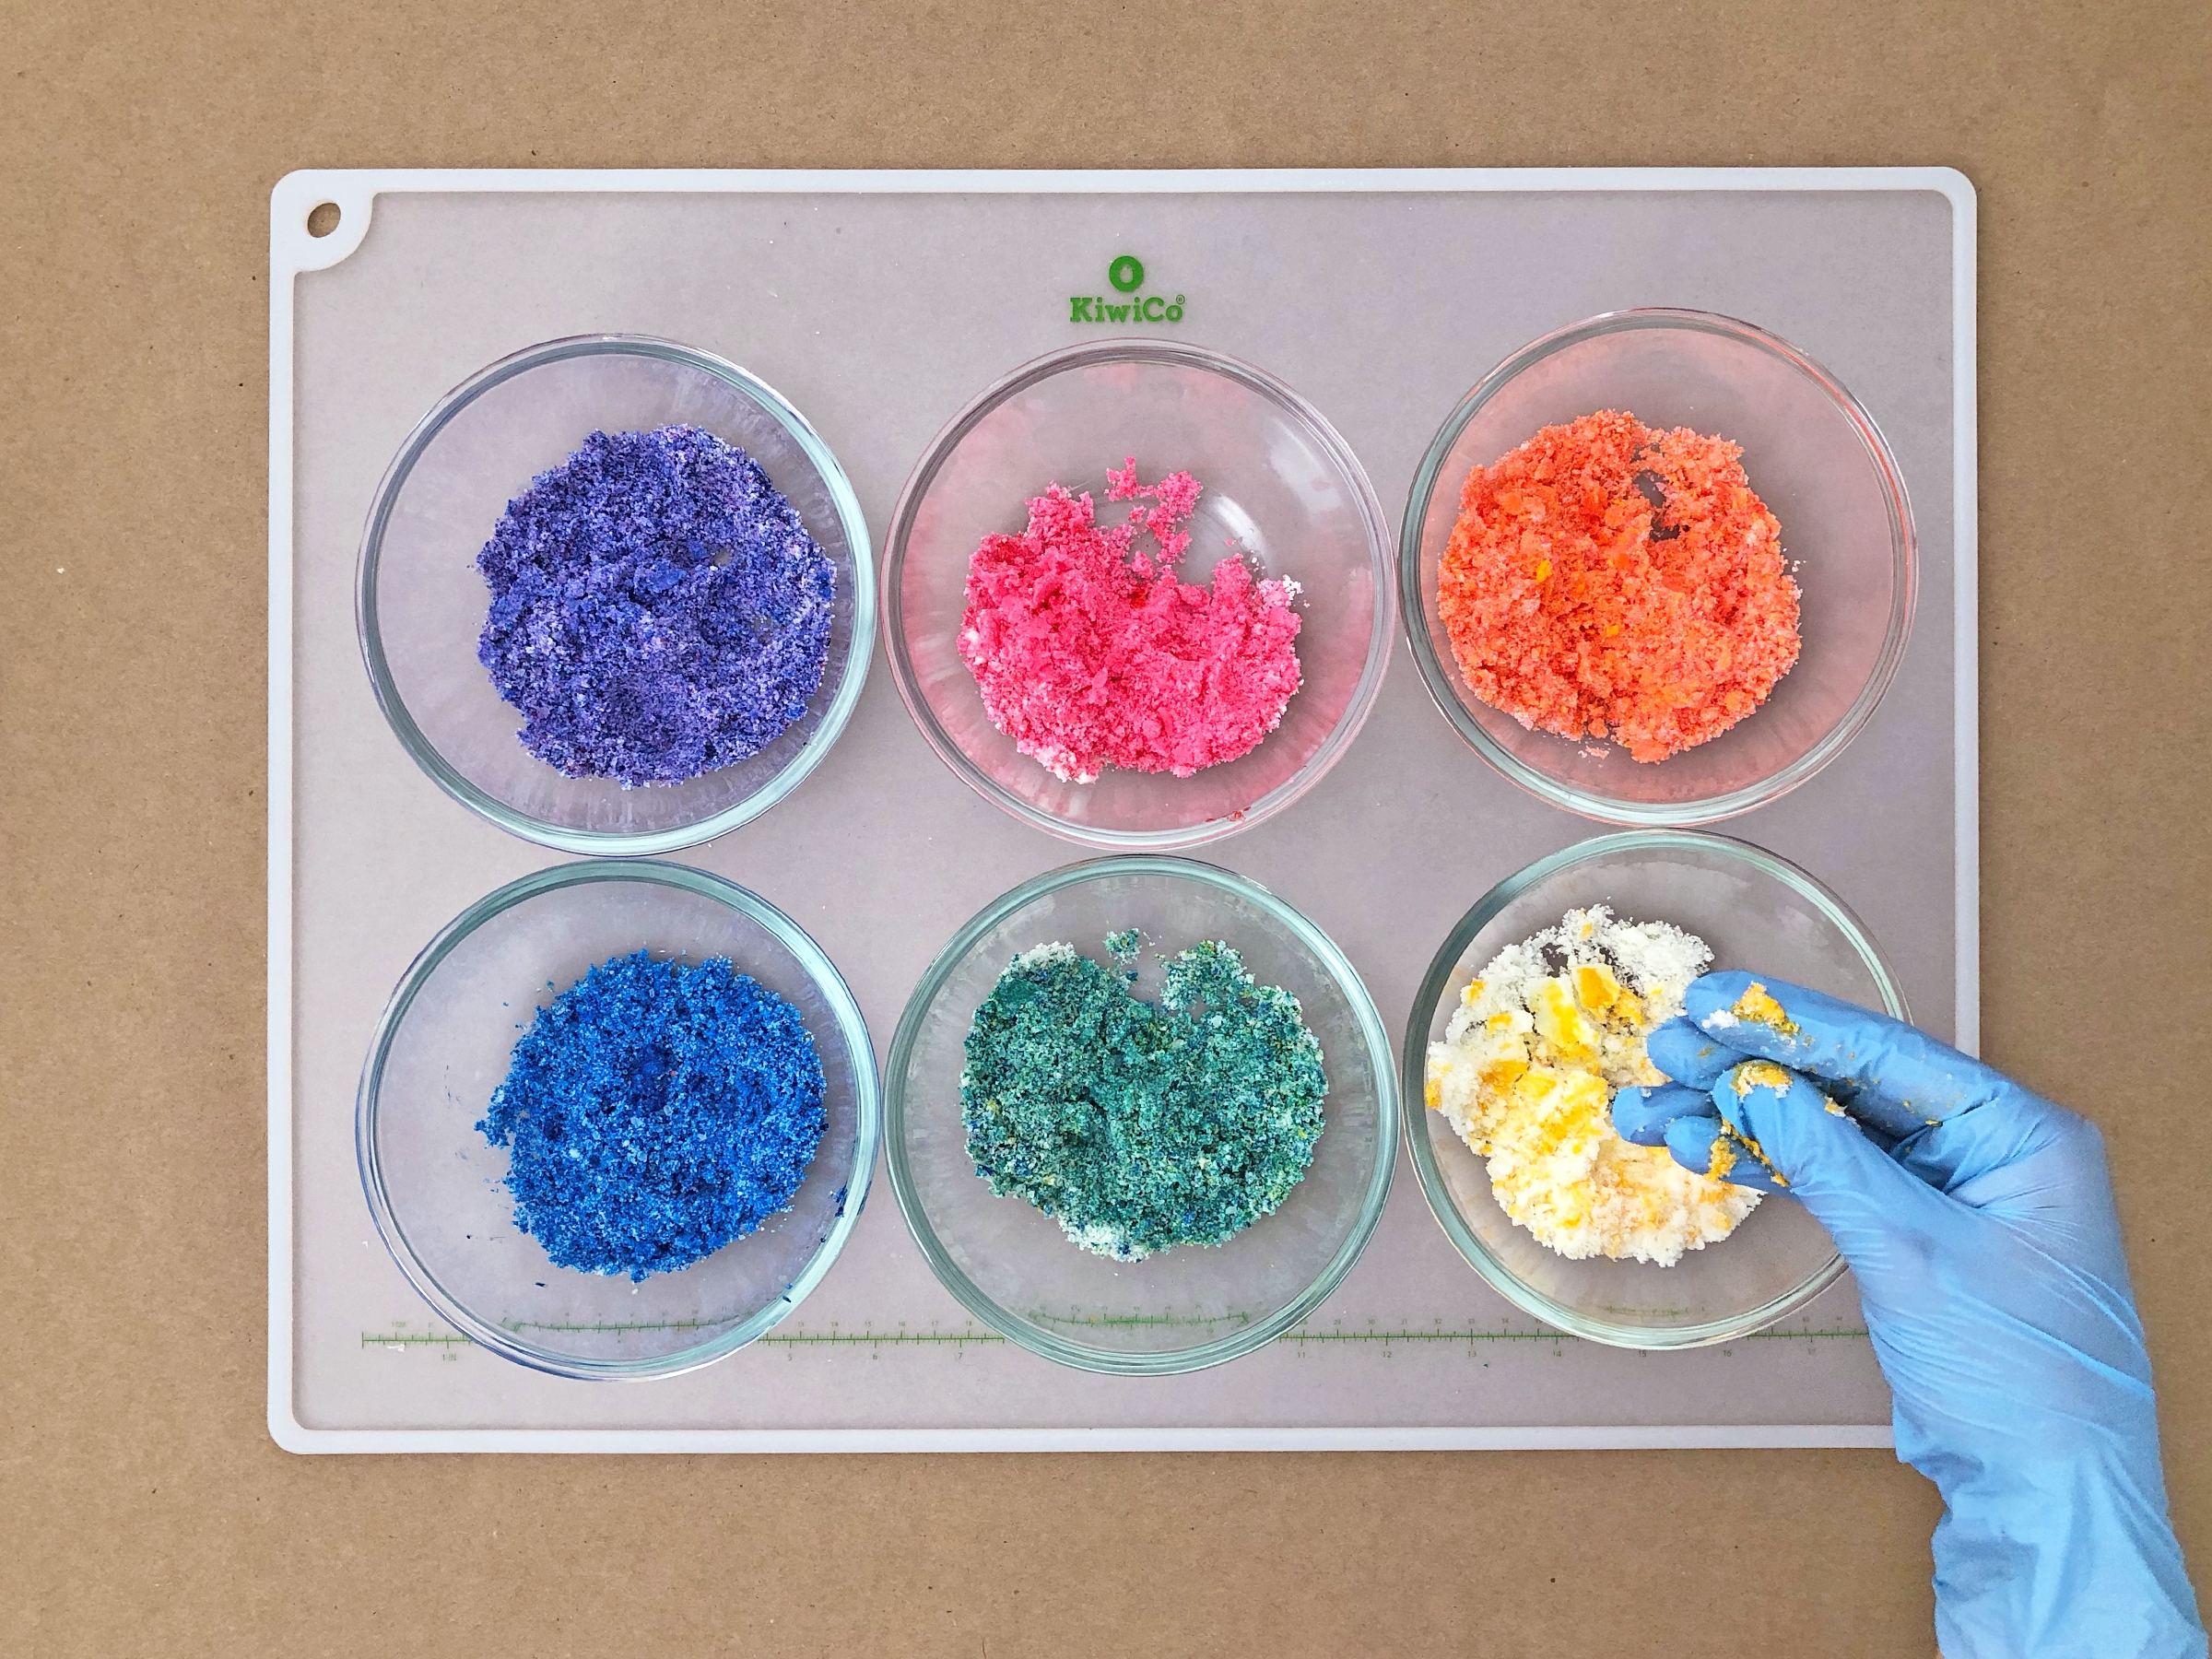
Use your gloved hands to mix the colors in. Add another drop or two of liquid colors if you want to adjust the appearance, but don’t add too much or the water in the liquid colors will set off the bath bomb reaction! If your glove gets a lot of liquid color on it, switch to a new glove before mixing your next color to keep the colors separated.
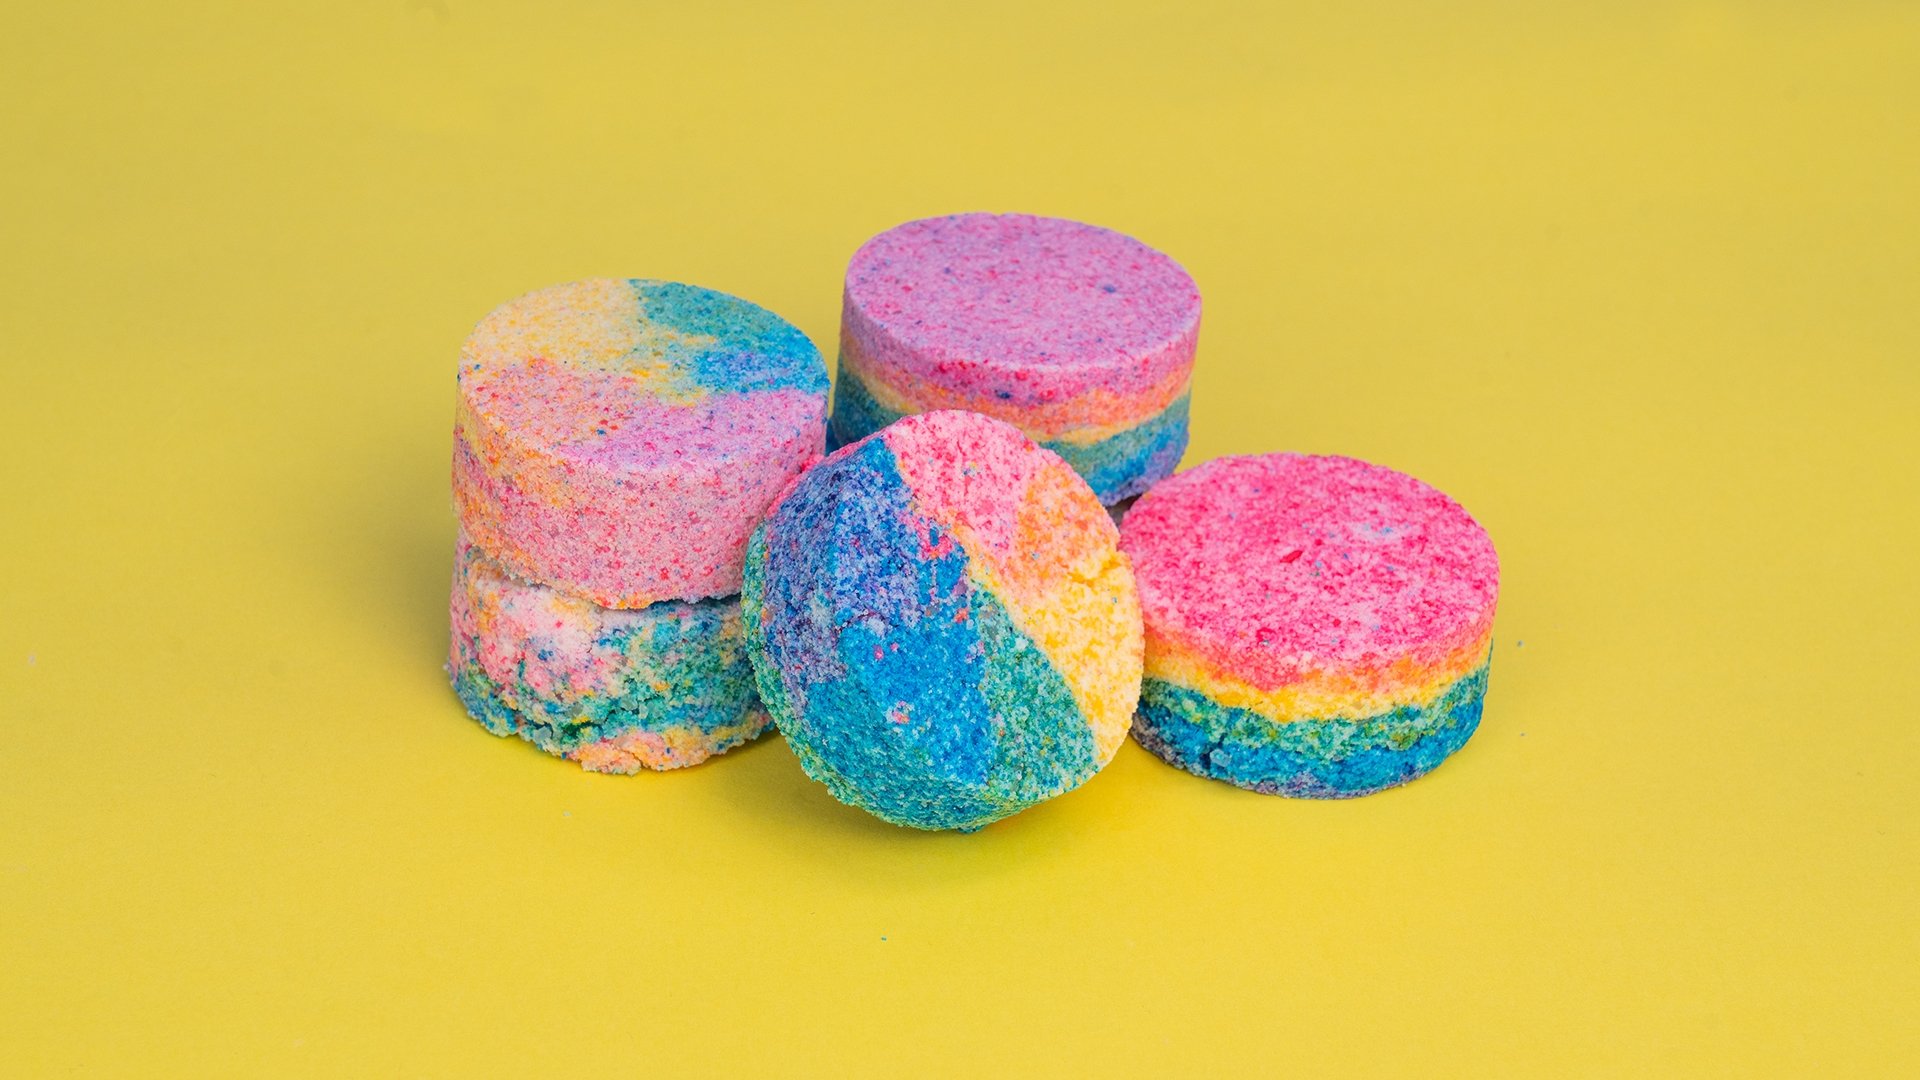
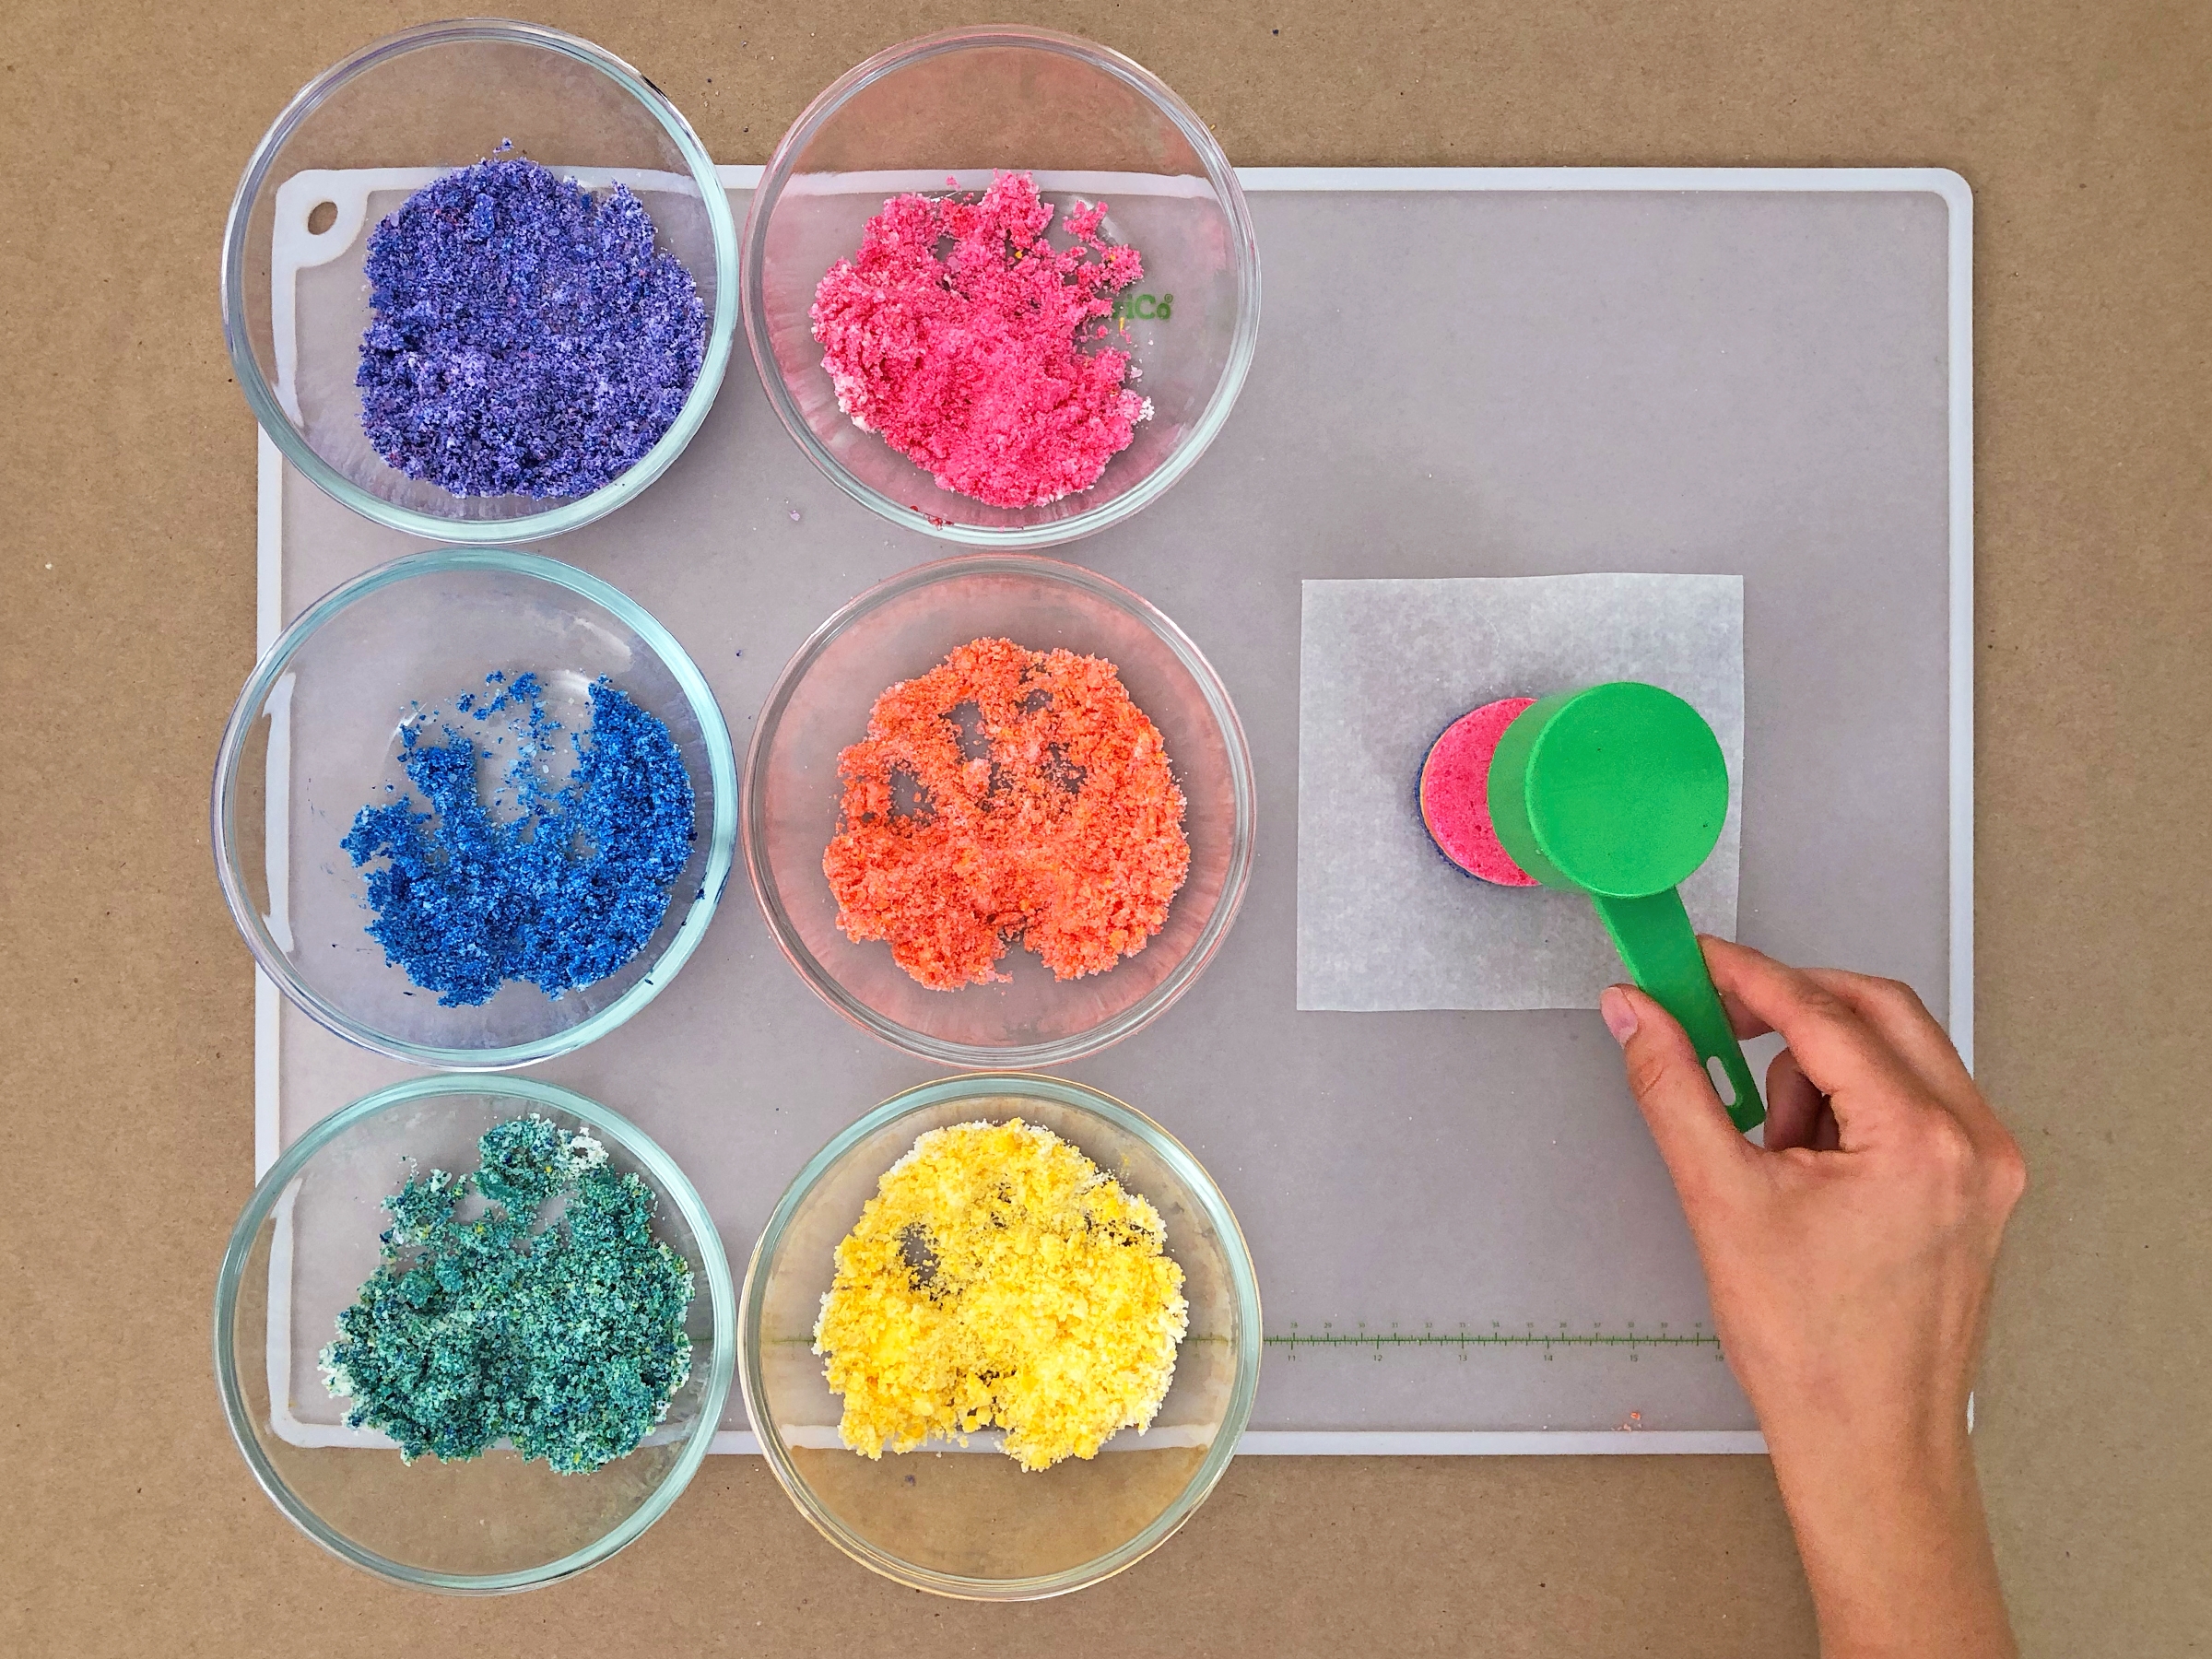
Step 7
Press some of each color into a ¼ cup measuring cup. You can sprinkle in all of the colors and then compact it for a more speckled look, or press each color individually, one on top of the other, for a more stripey, layered look.
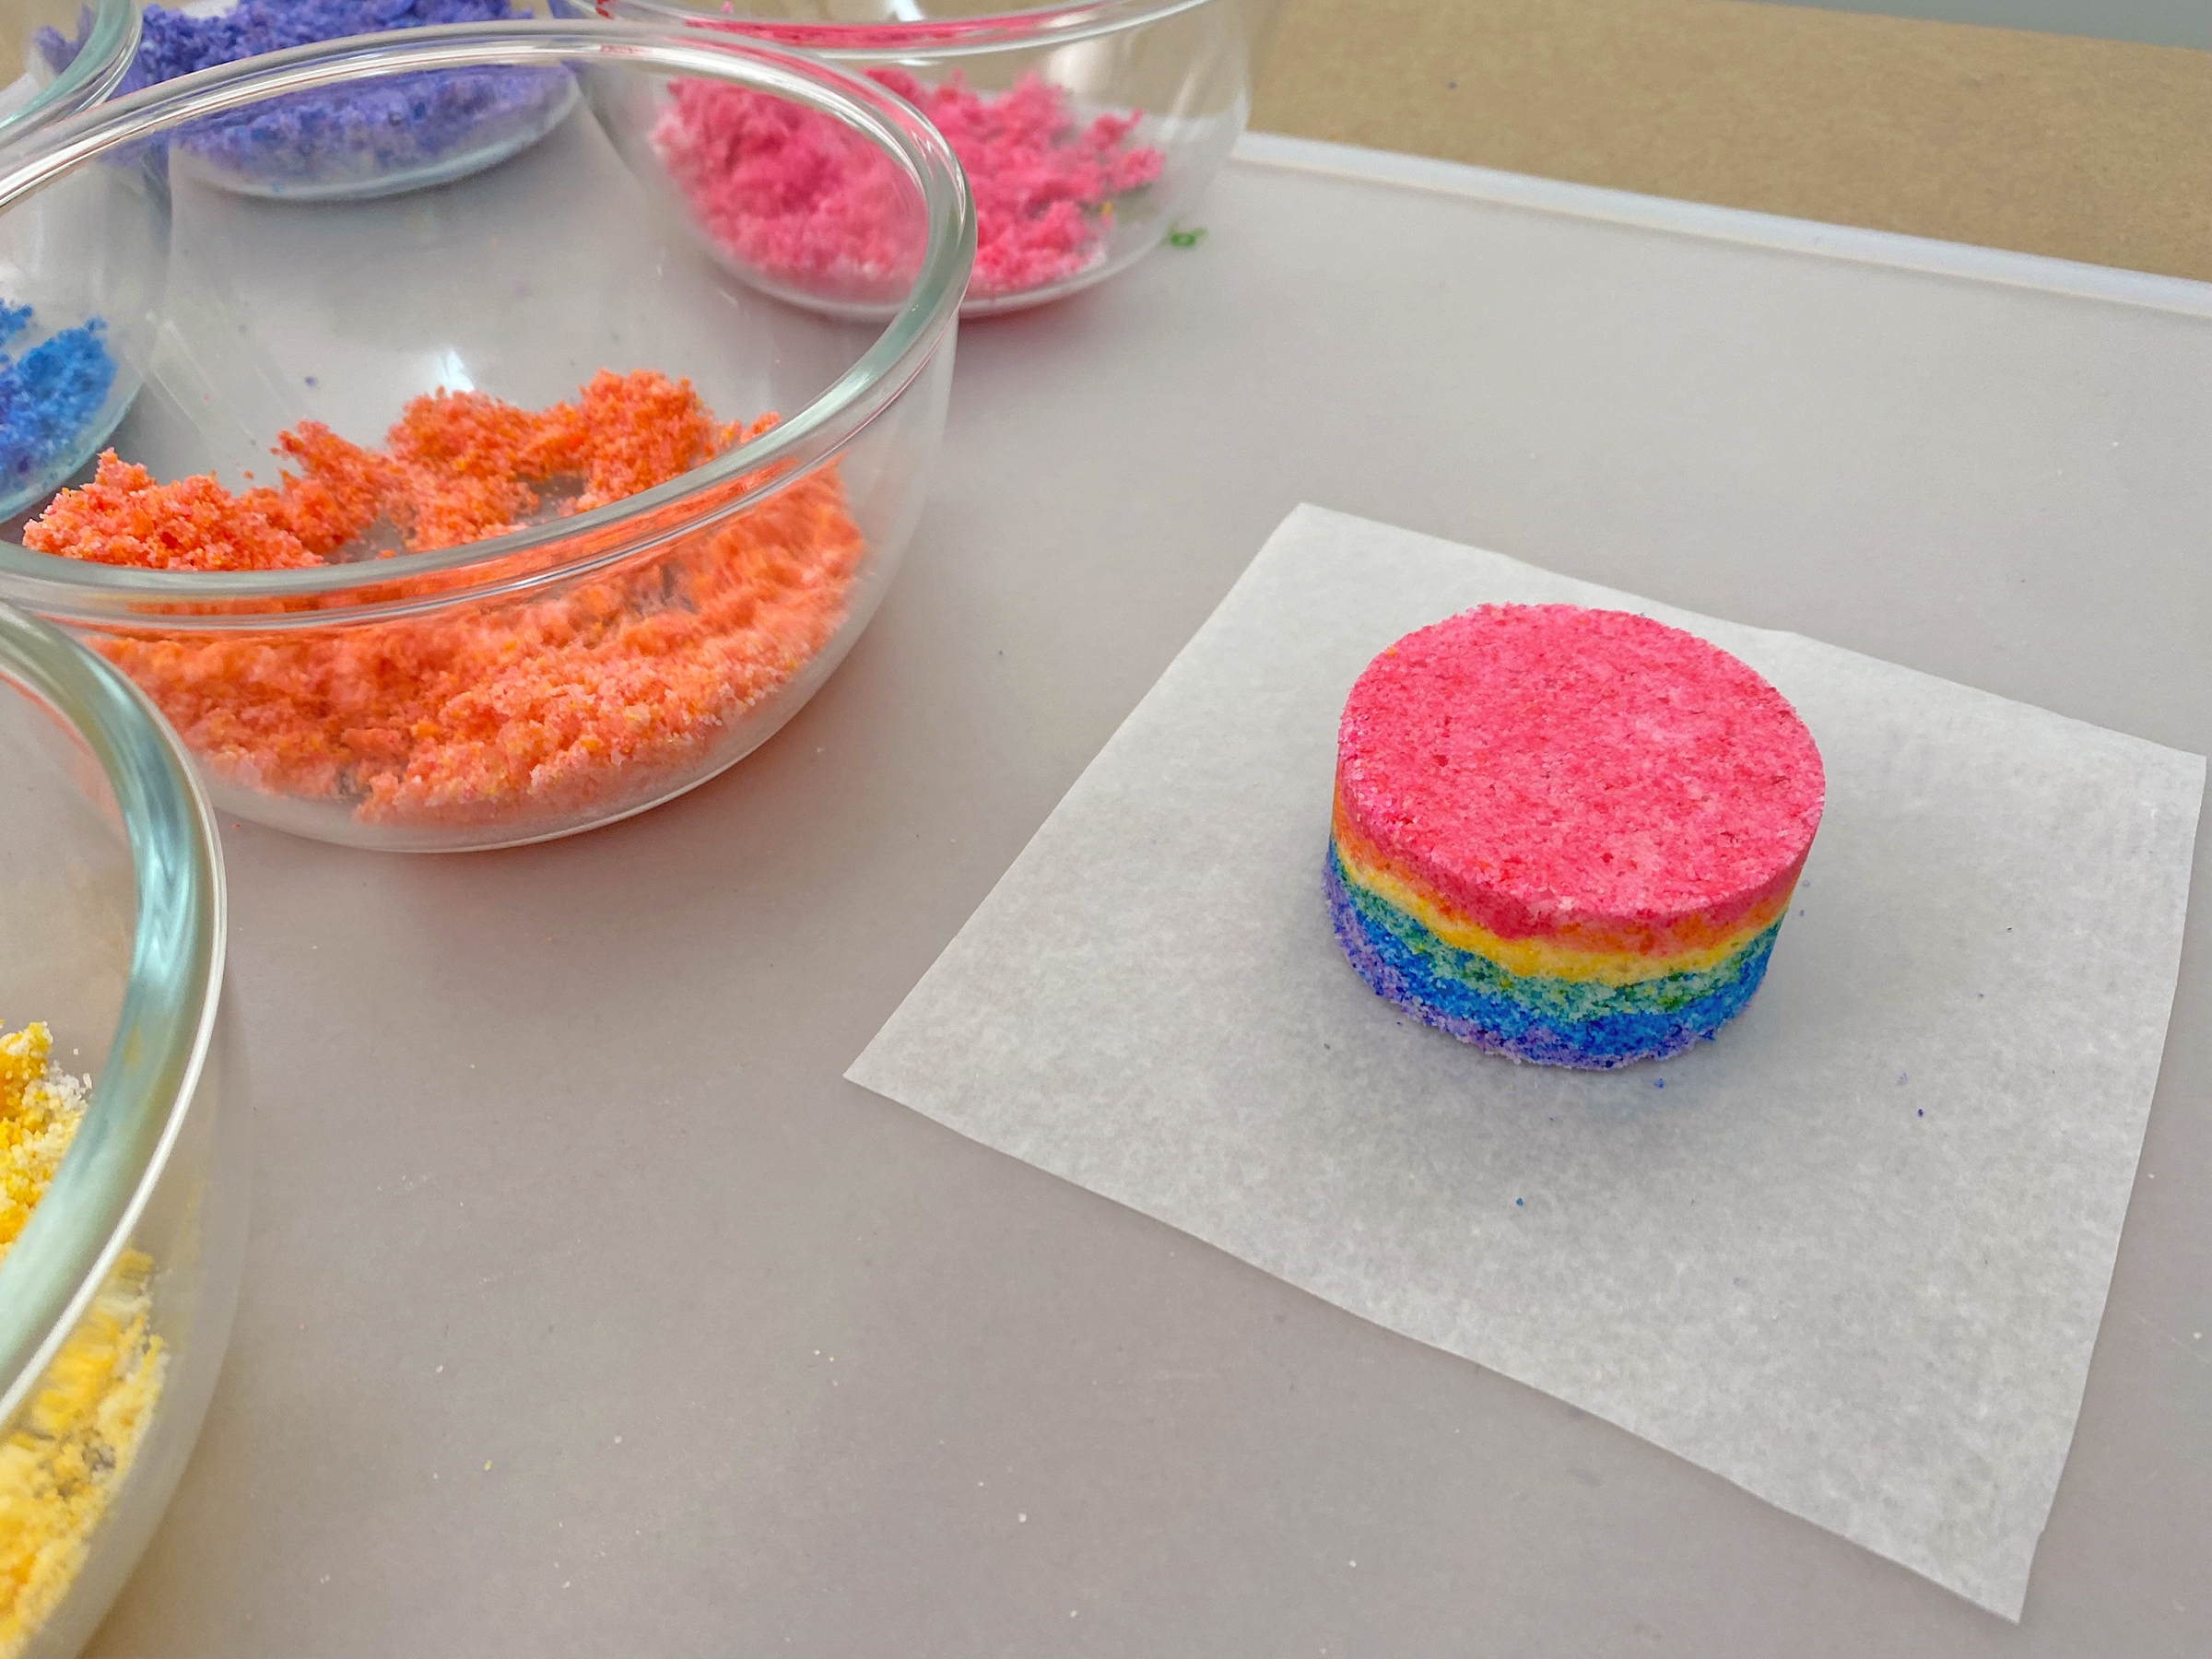
Step 8
In one swift motion, flip the cup over onto your drying surface lined with wax/parchment paper. You may need to tap or squeeze the measuring cup to un-mold the bath bomb.
Step 9
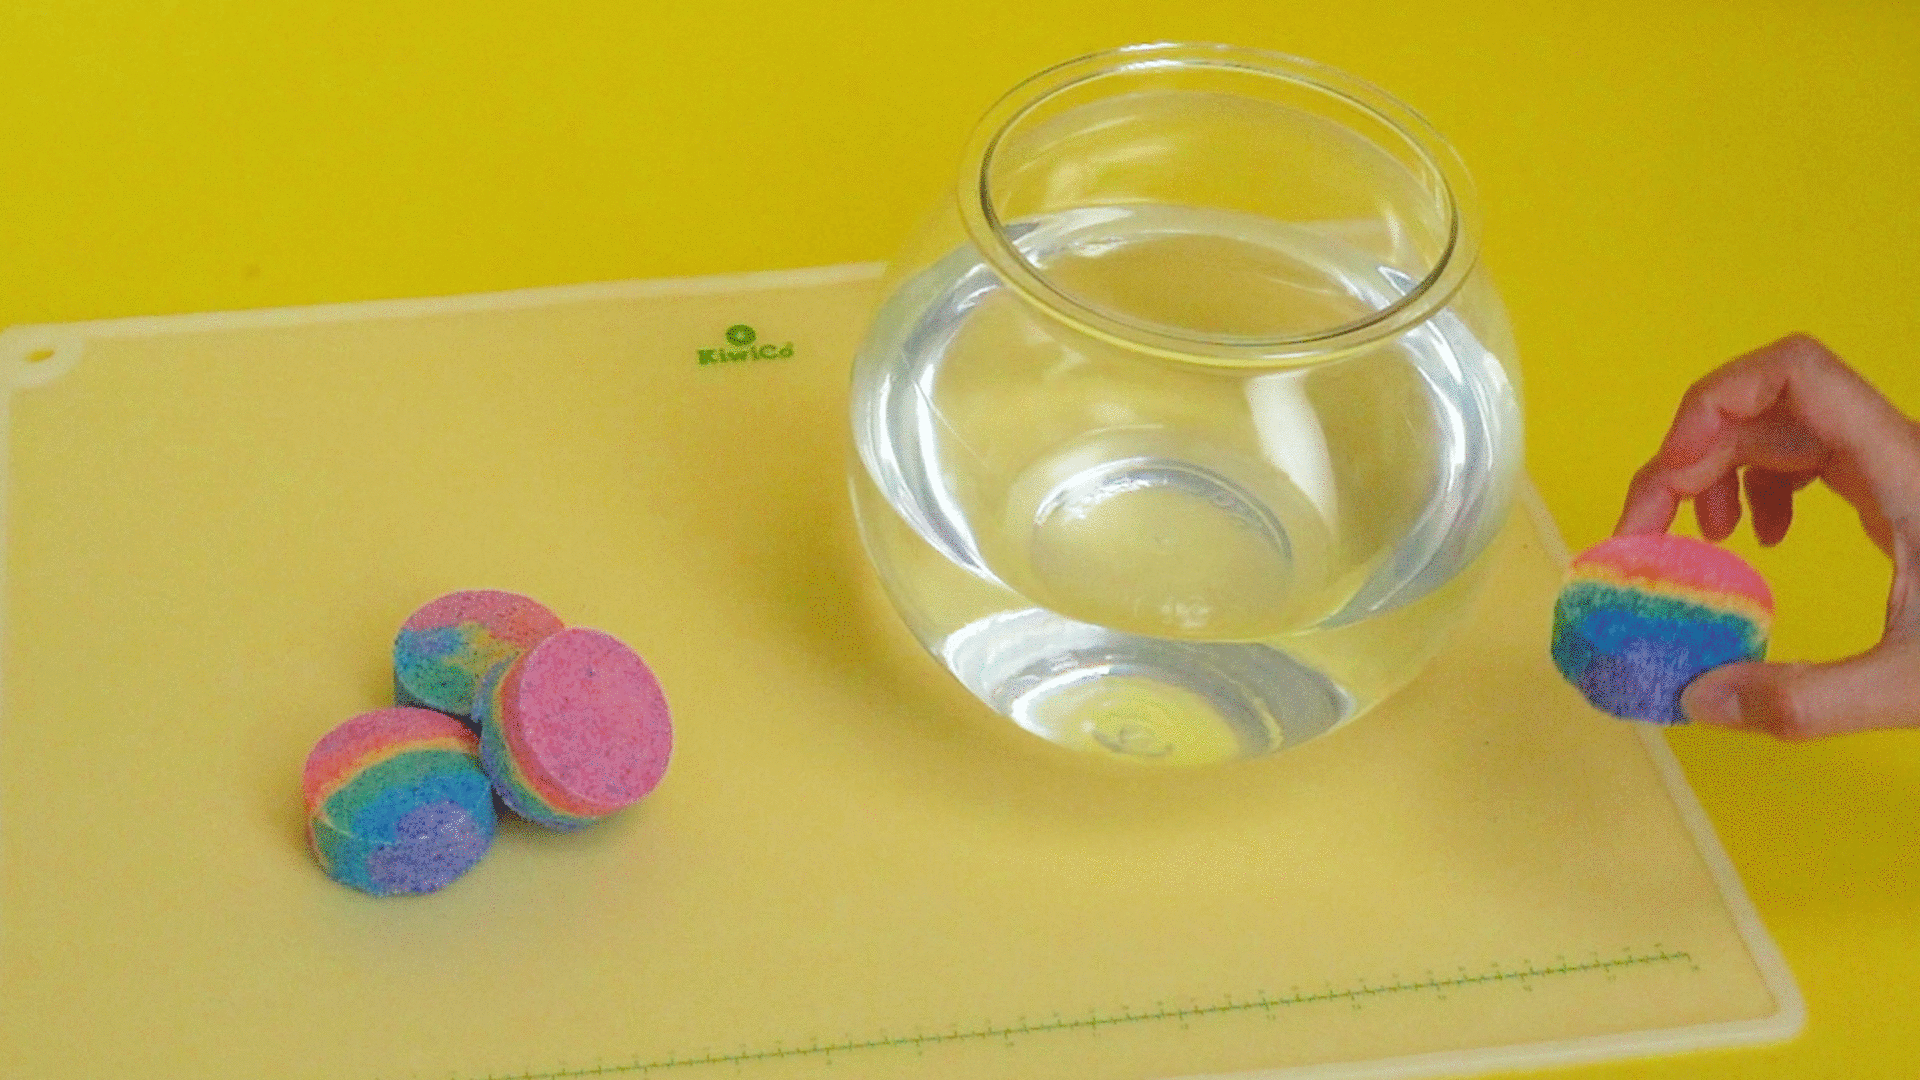
Let the bath bombs dry overnight.
Done!