Step-by-step tutorial
Step 1
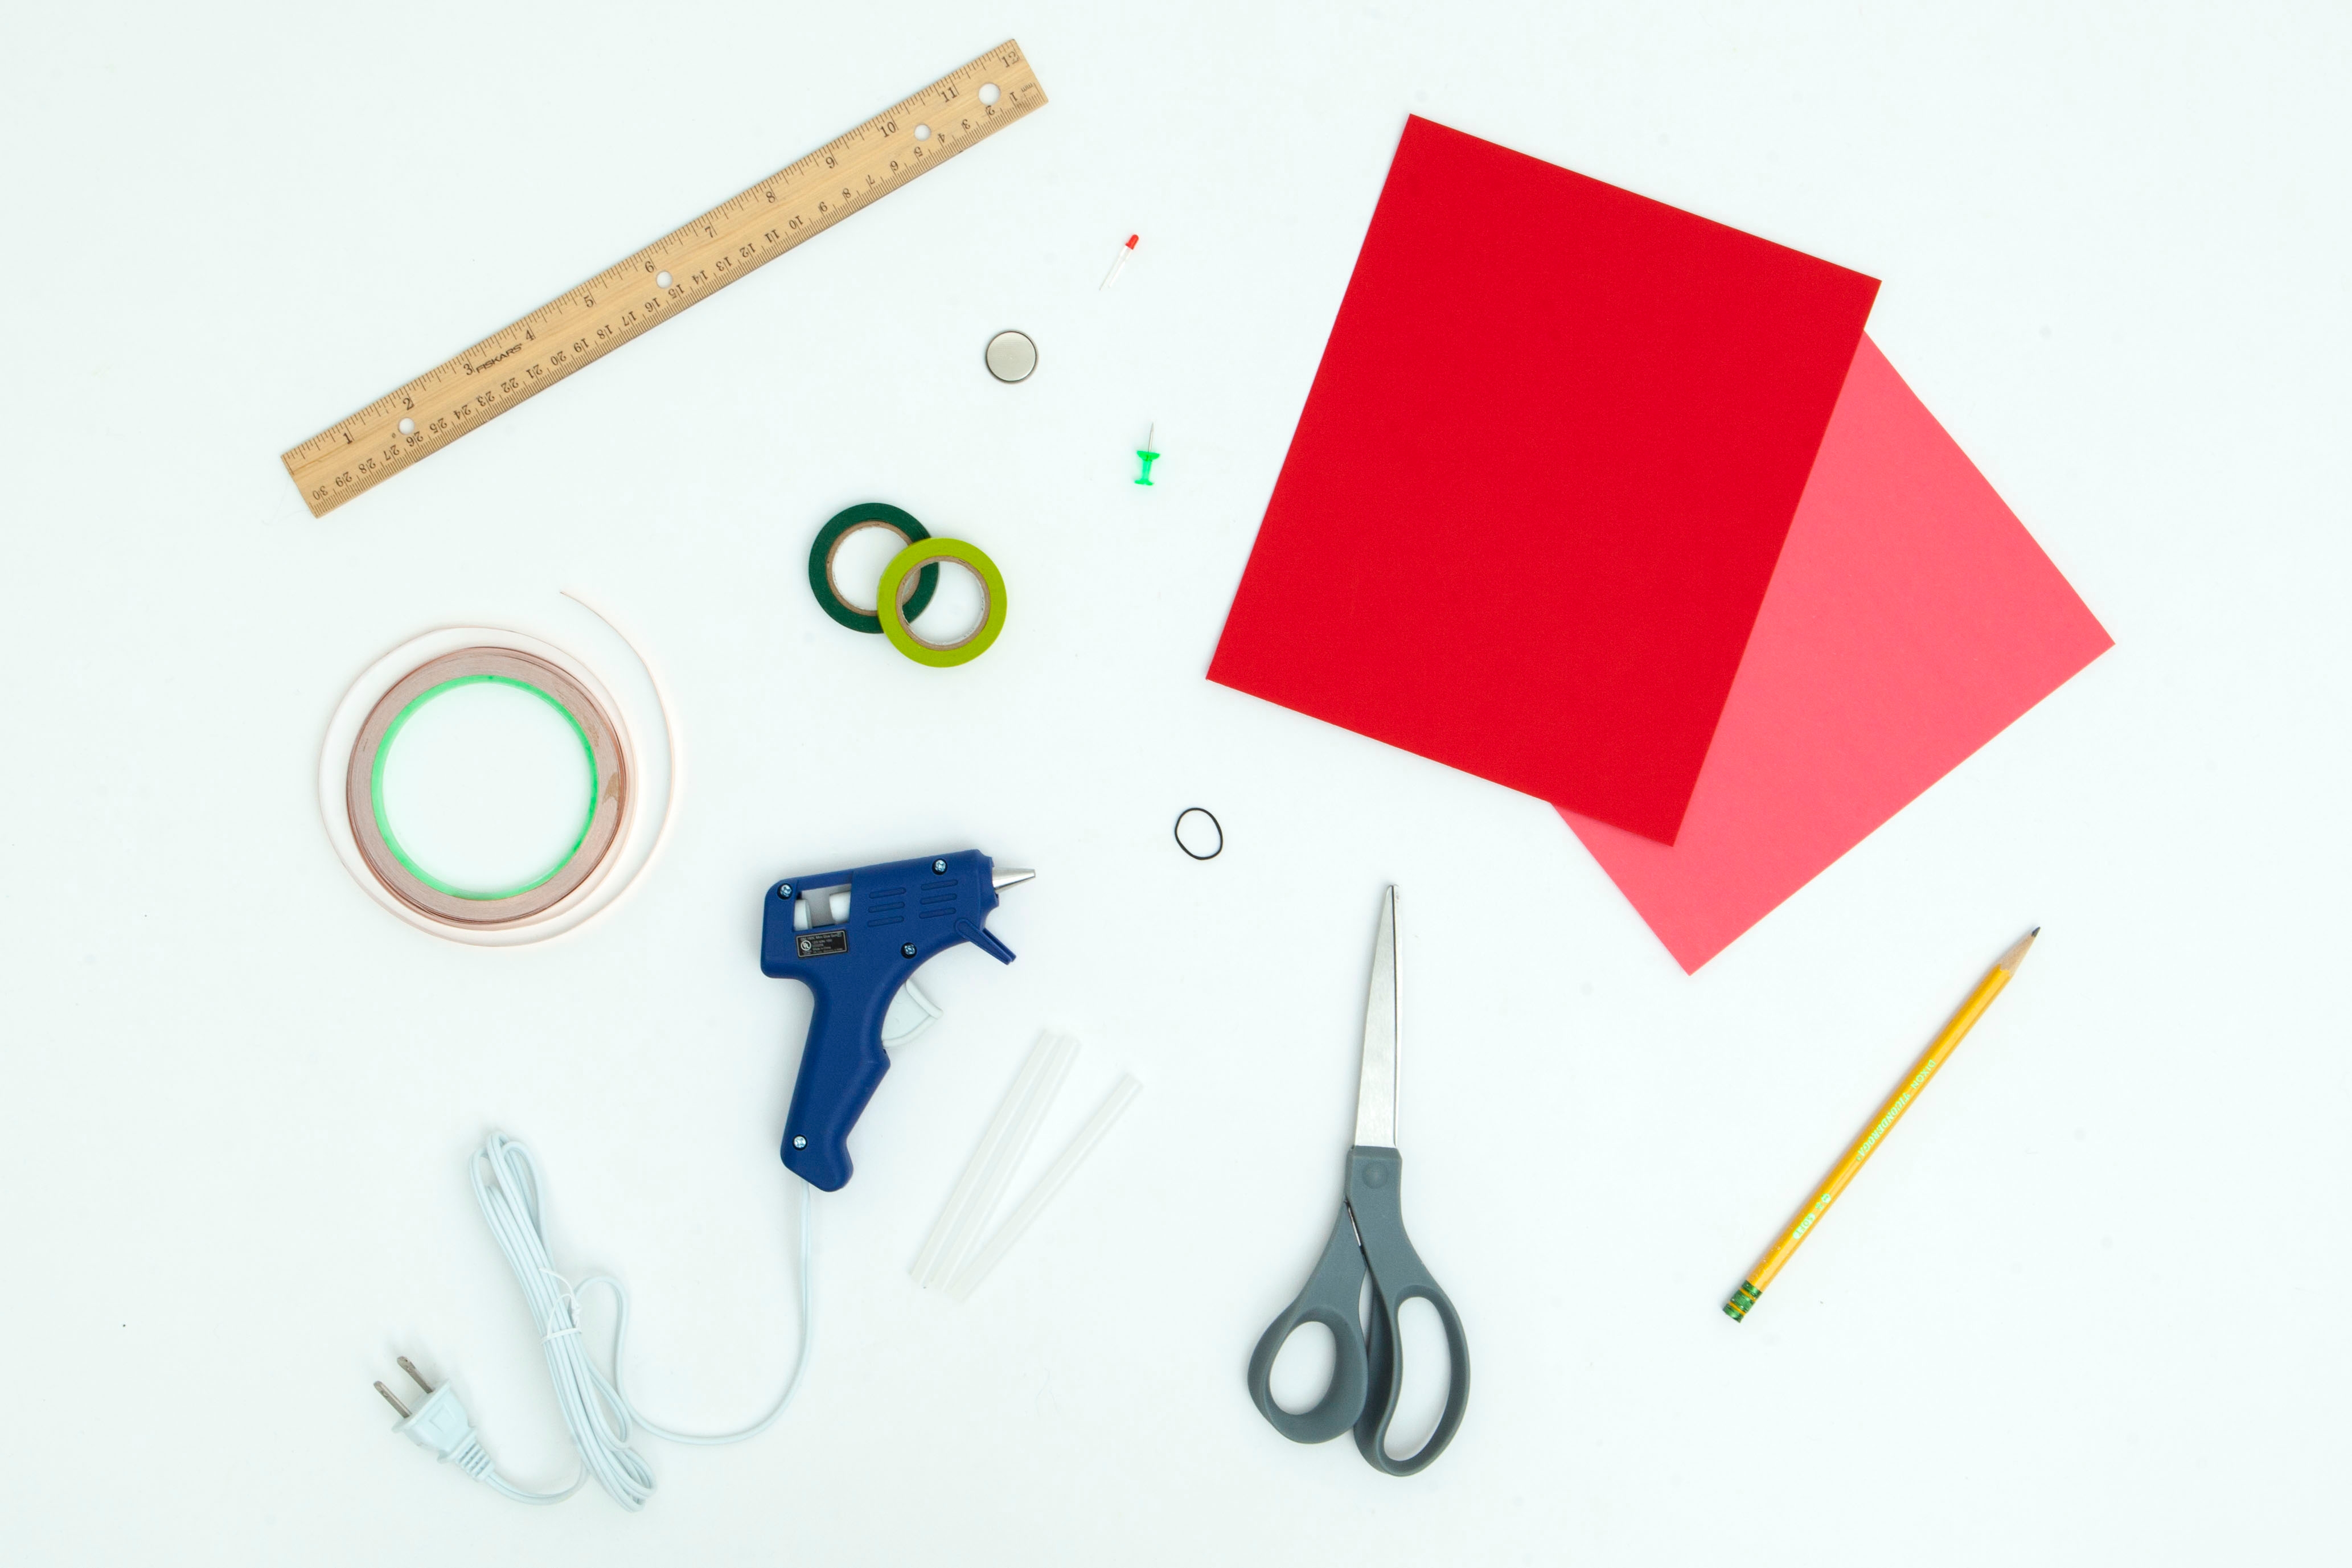
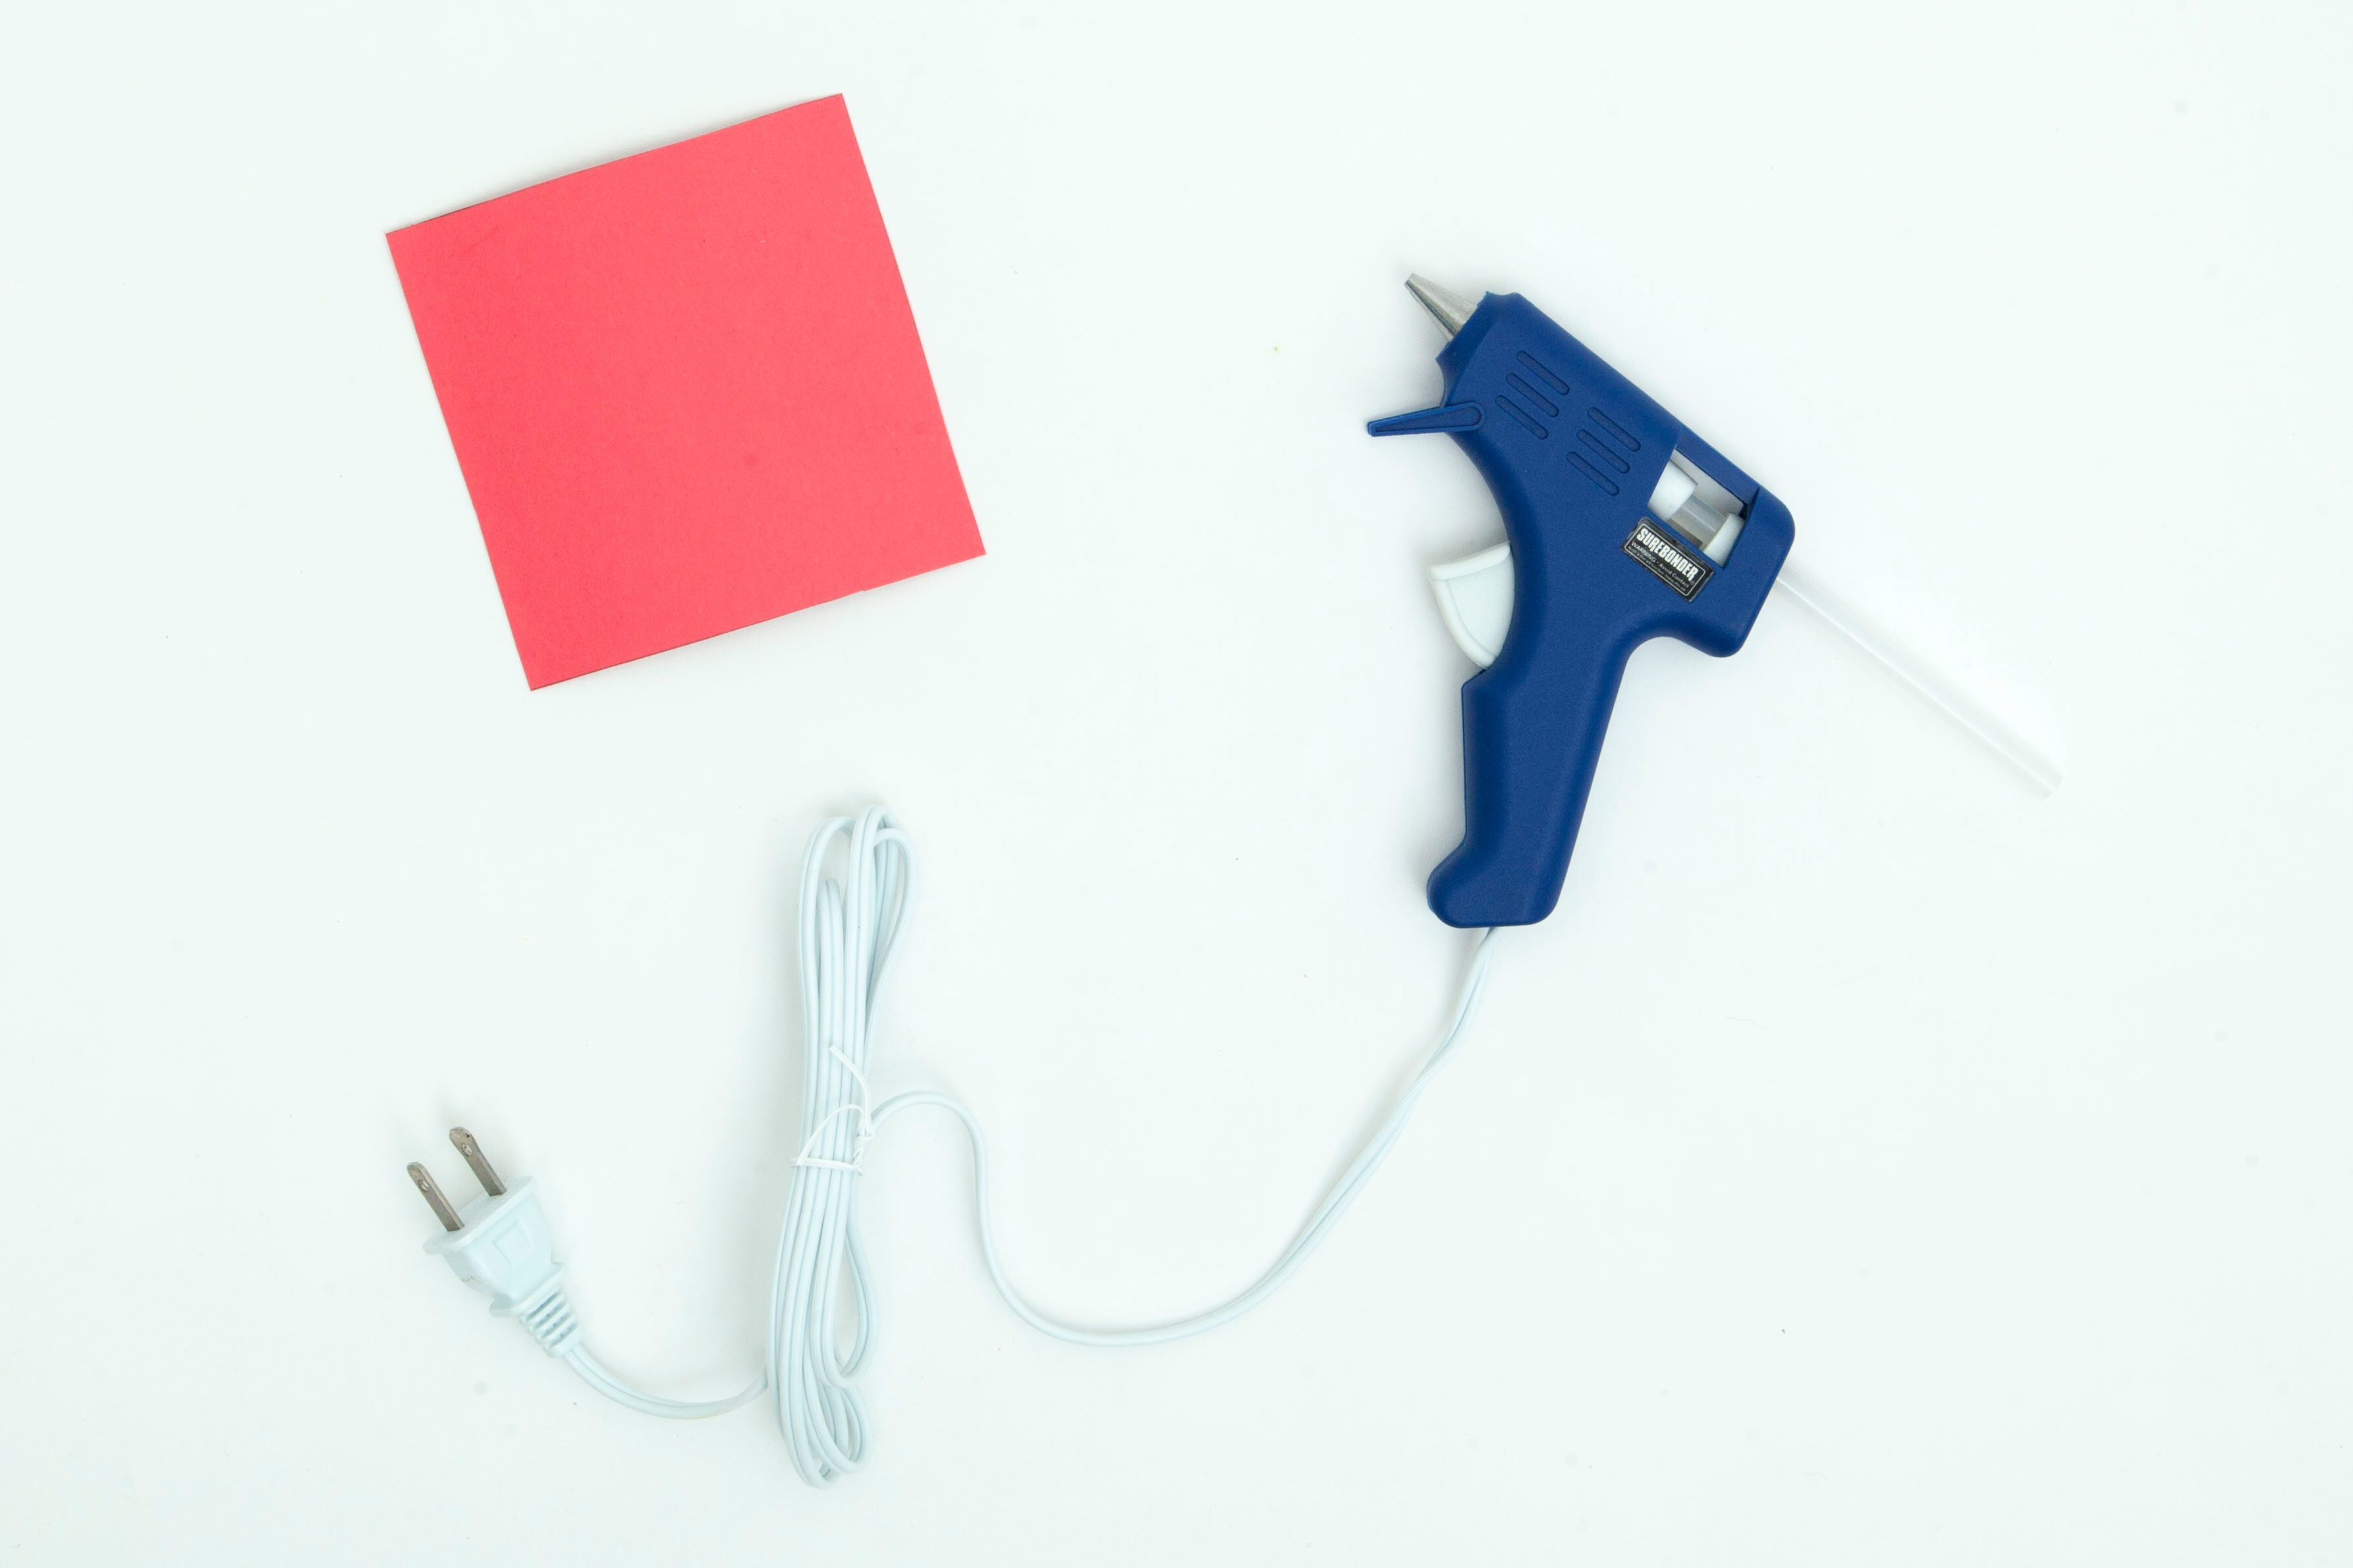
Gather your materials!

Step 2
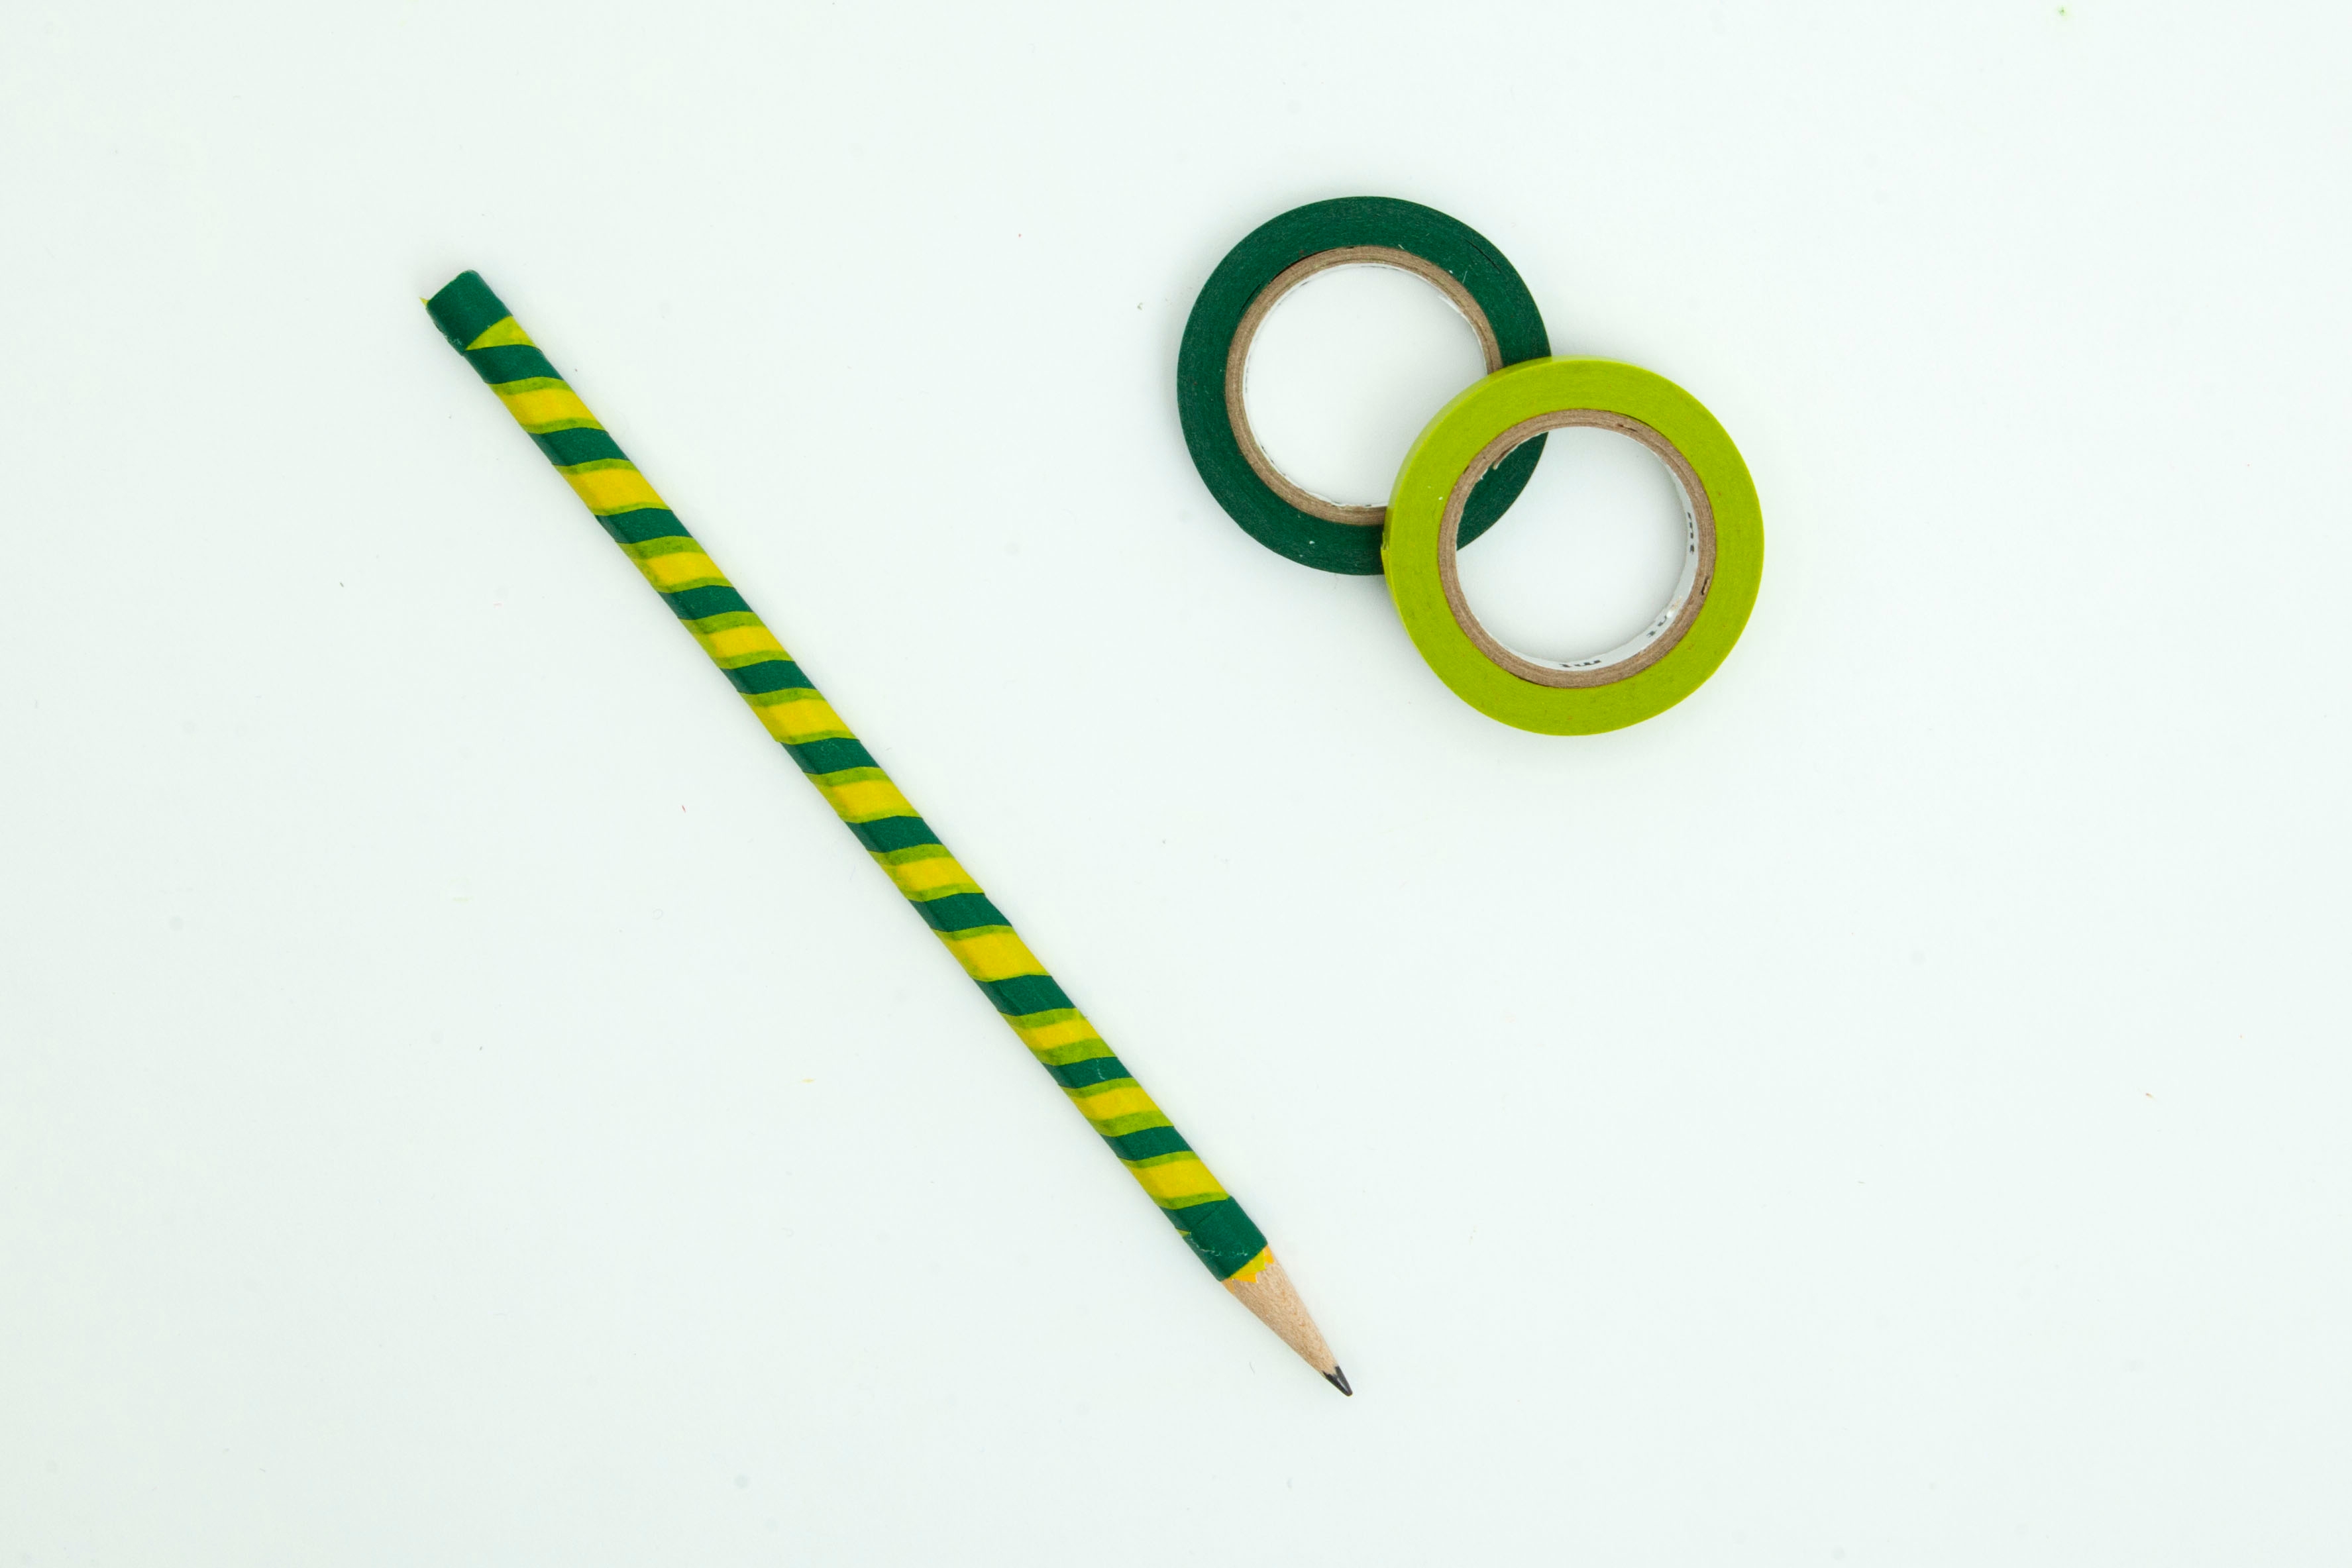
Wrap the pencil in green tape. We wrapped our pencil in two shades of green.
Step 3
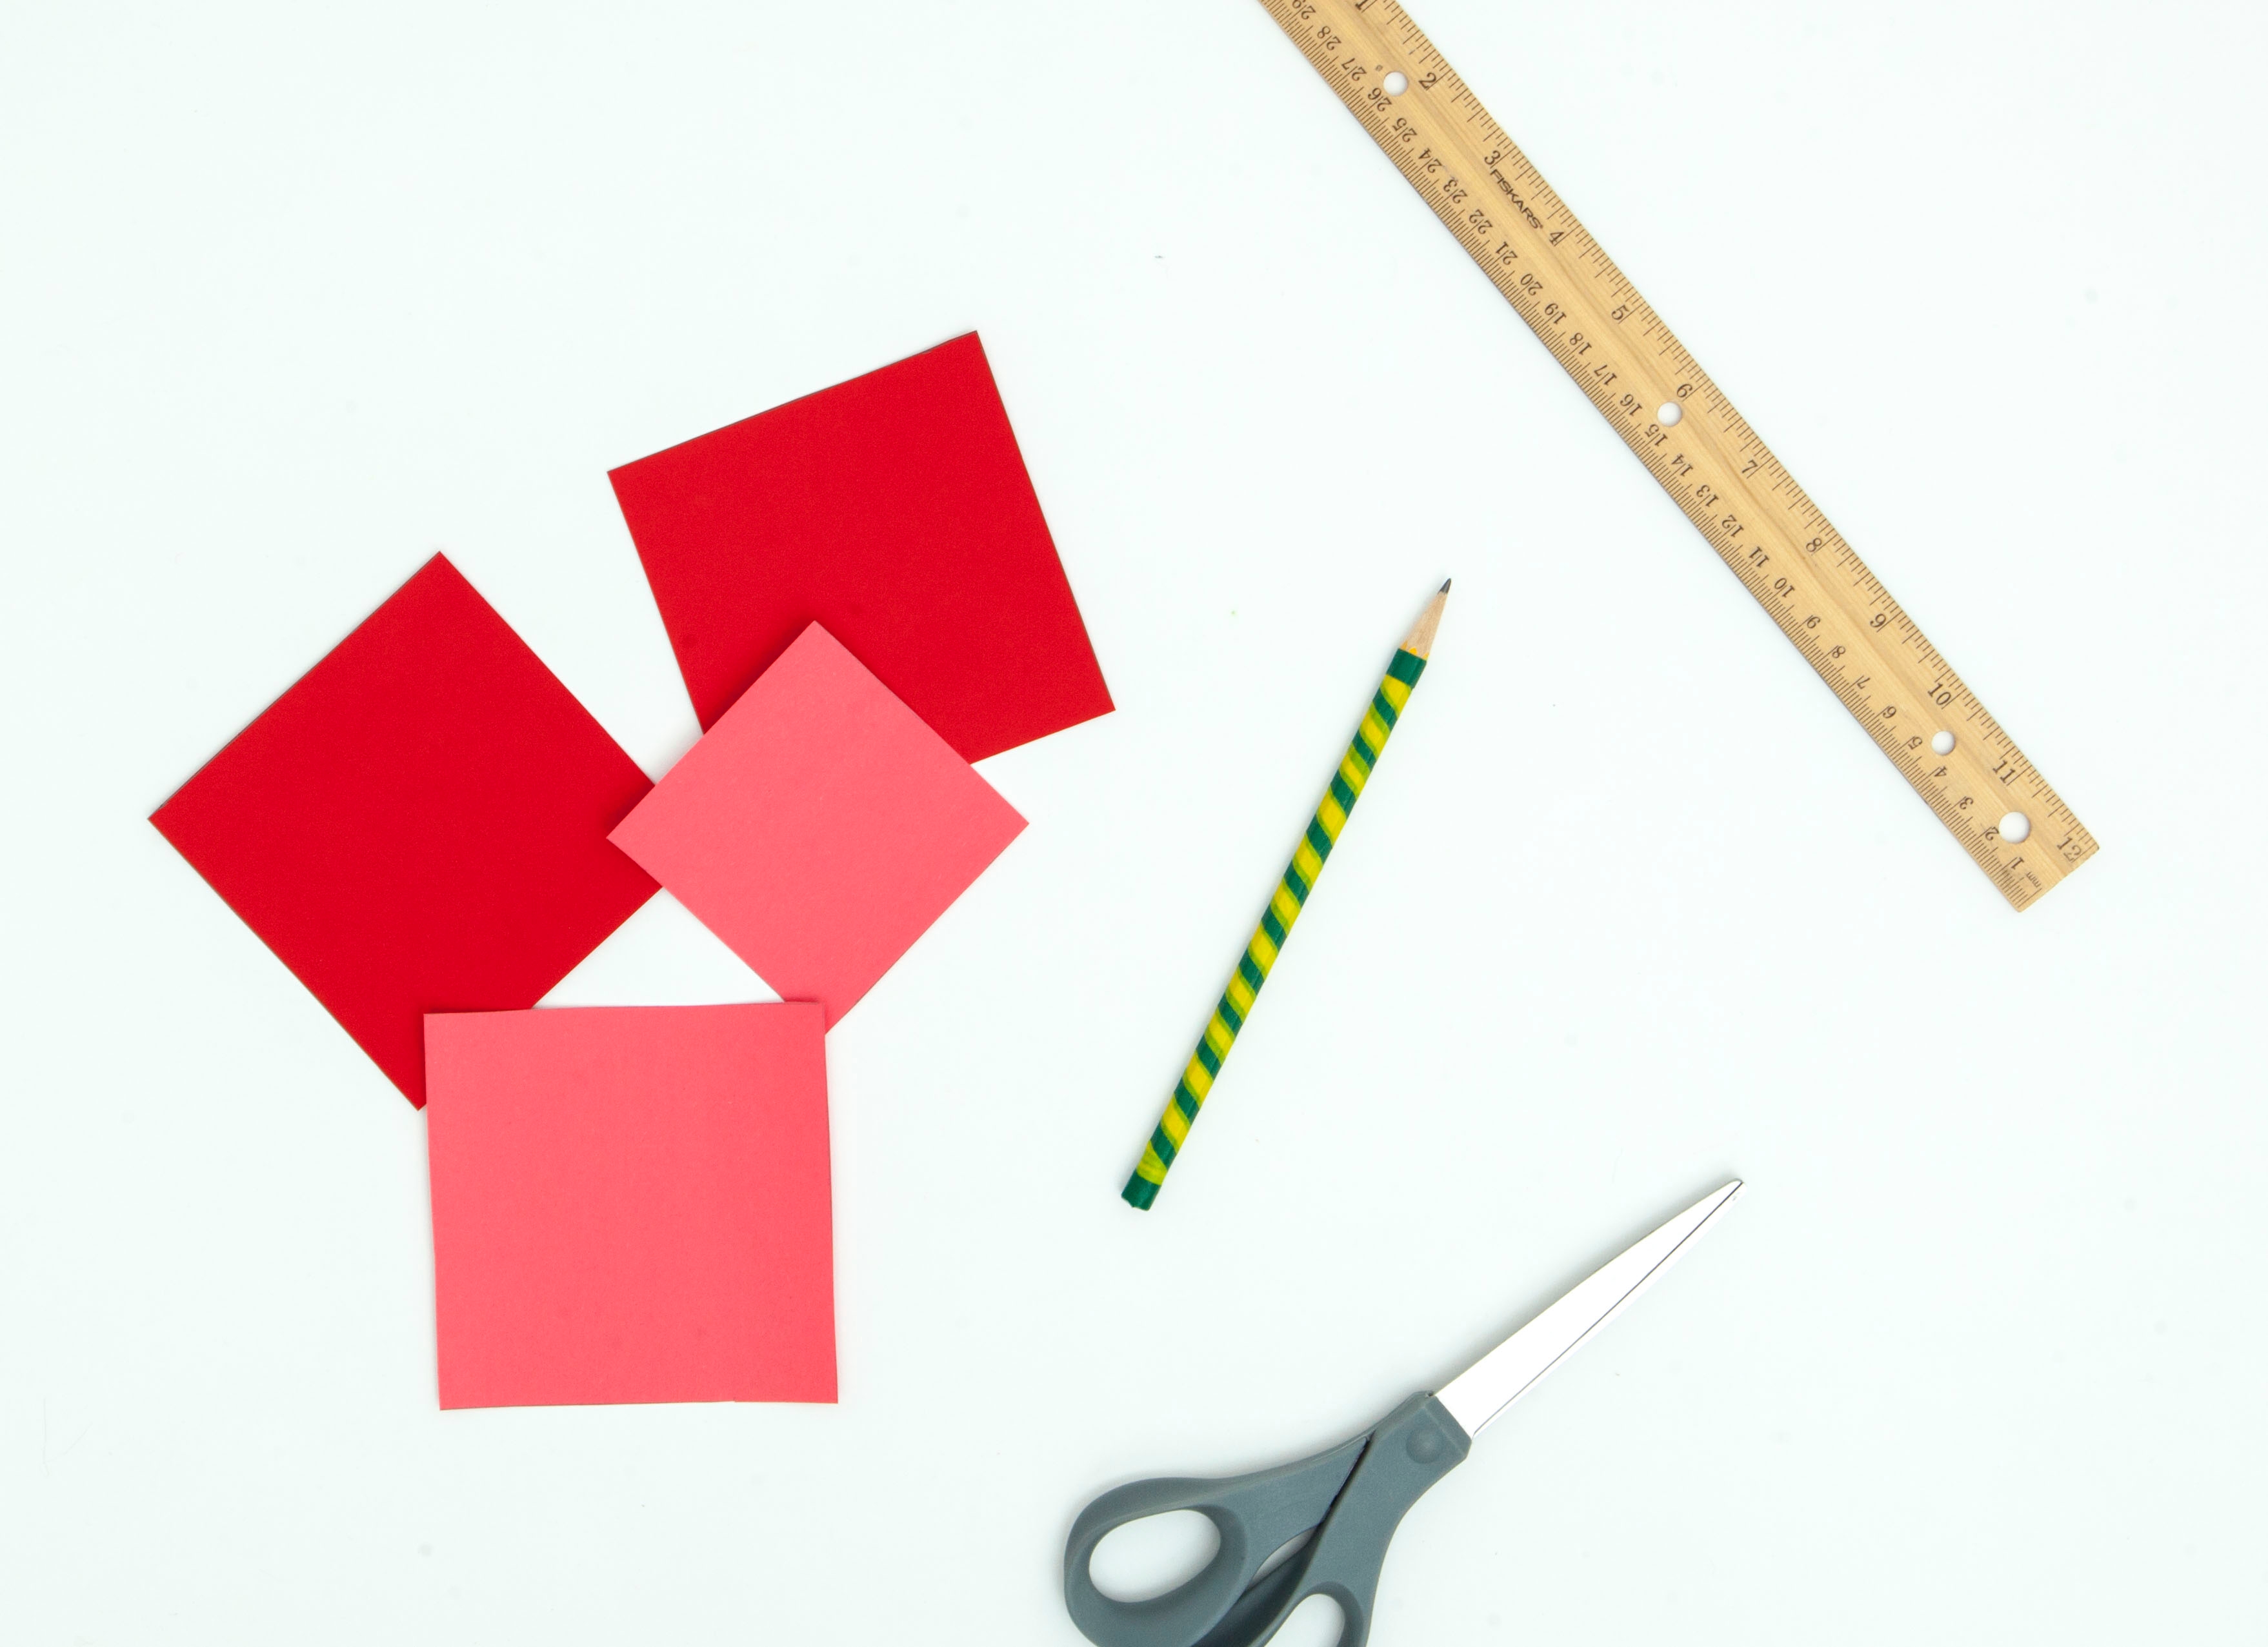
Cut two 4x4” (10.2x10.2 cm) squares out of the red cardstock. Then, cut one 4x4” square and one 3x3” (7.6) square out of the pink construction paper.
Step 4
Glue the large pink square to one of the large red squares.
Step 5
Crease the square in half vertically and horizontally.

Step 6
Flip the square over. Then, crease it diagonally in both directions
Step 7
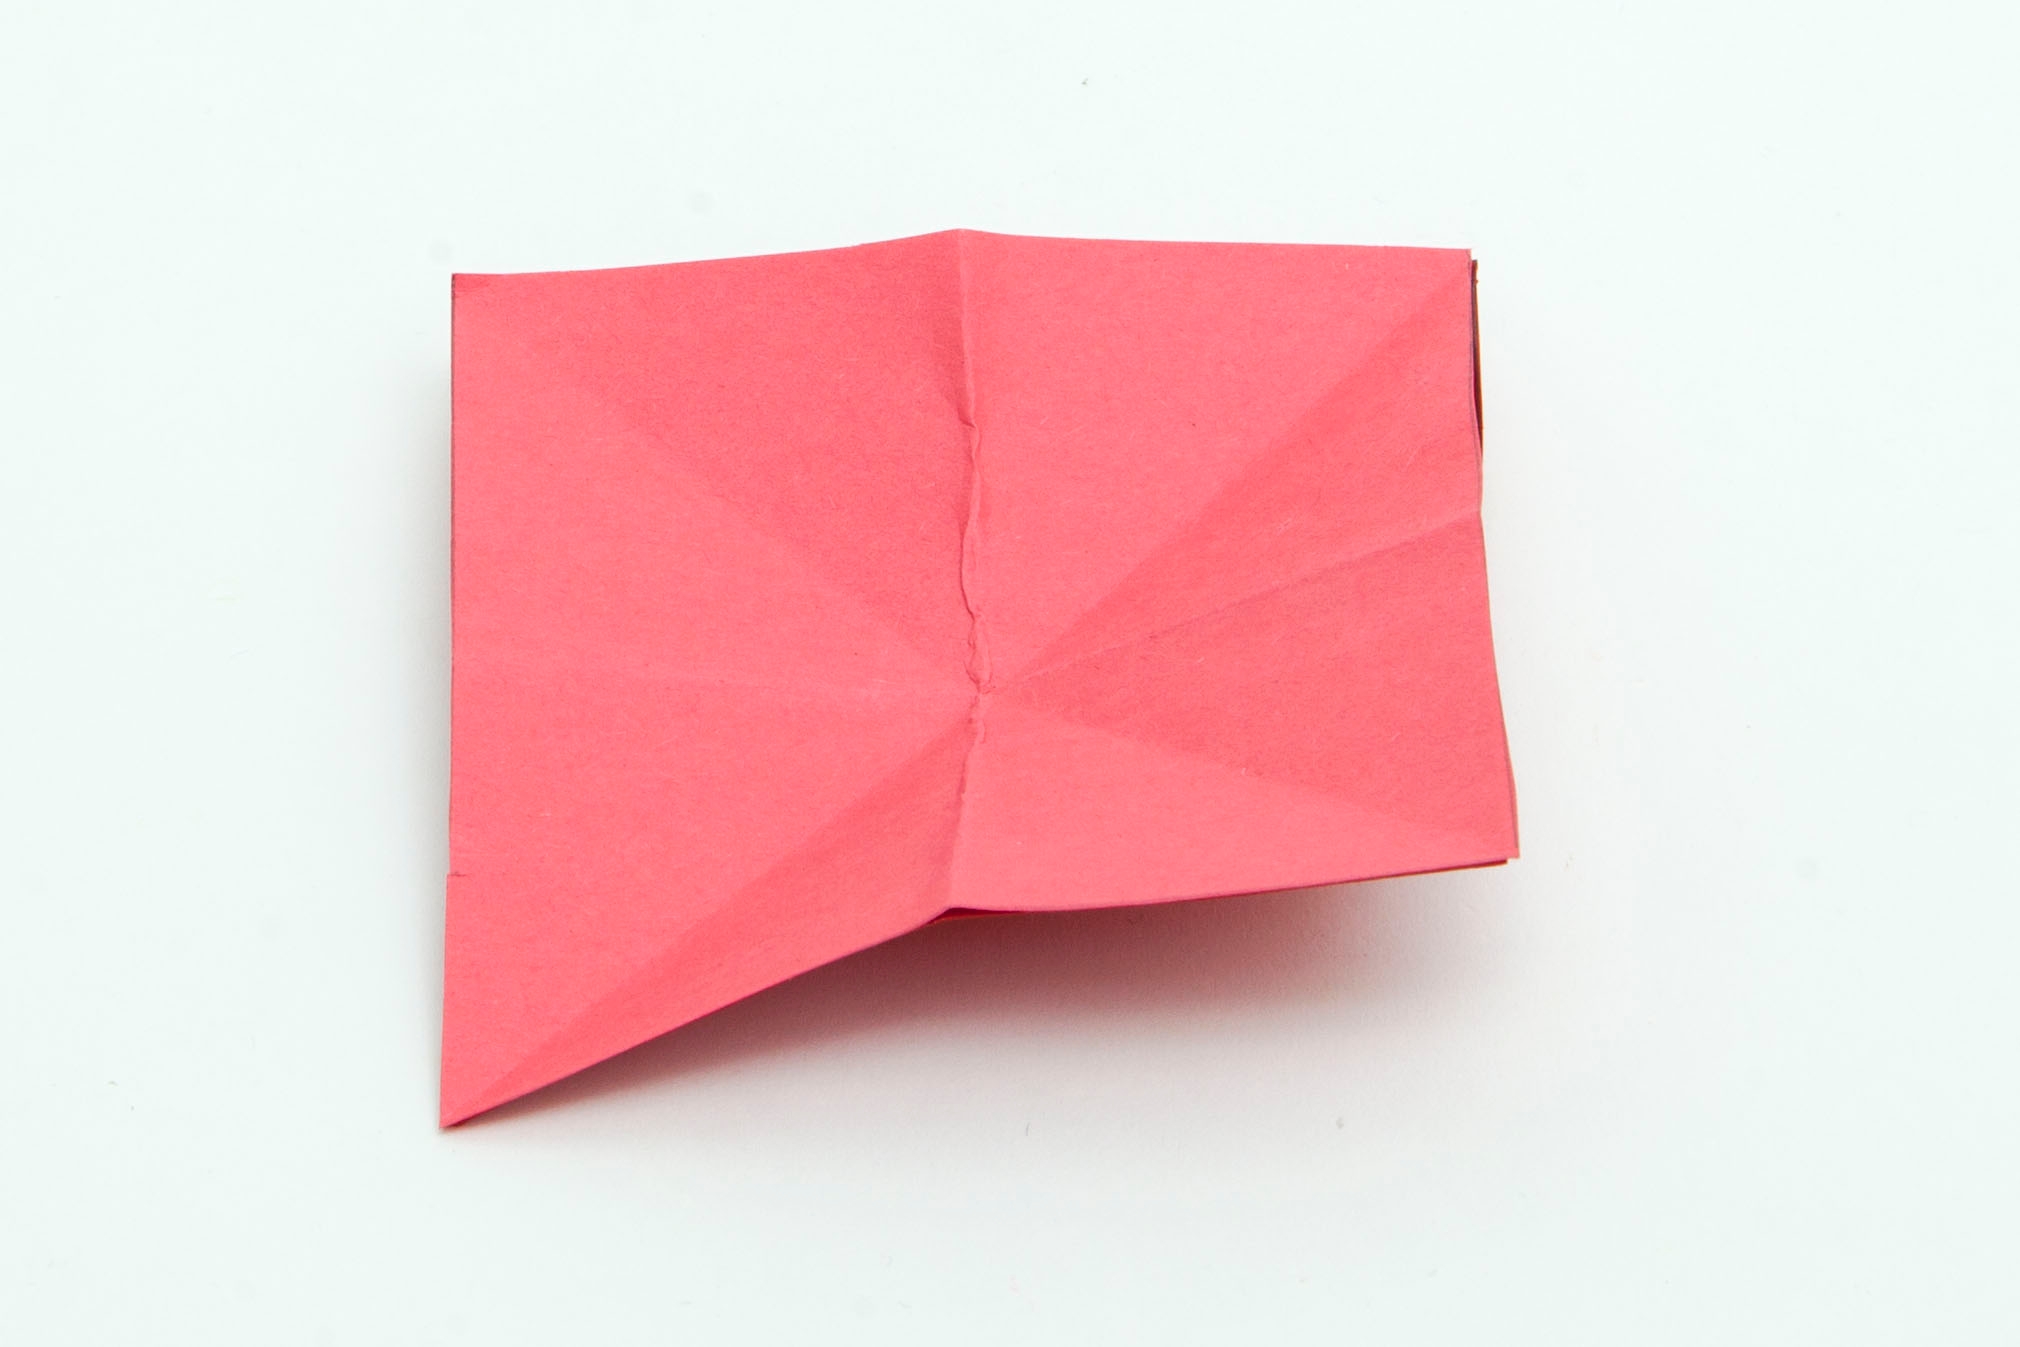
Flip the square over so it tents up.

Step 8
Fold the square into a small square as pictured.

Step 9
Draw a heart on the smaller square lining up the bottom point of the heart with the folded point of the square.

Step 10
Cut out the heart.

Step 11
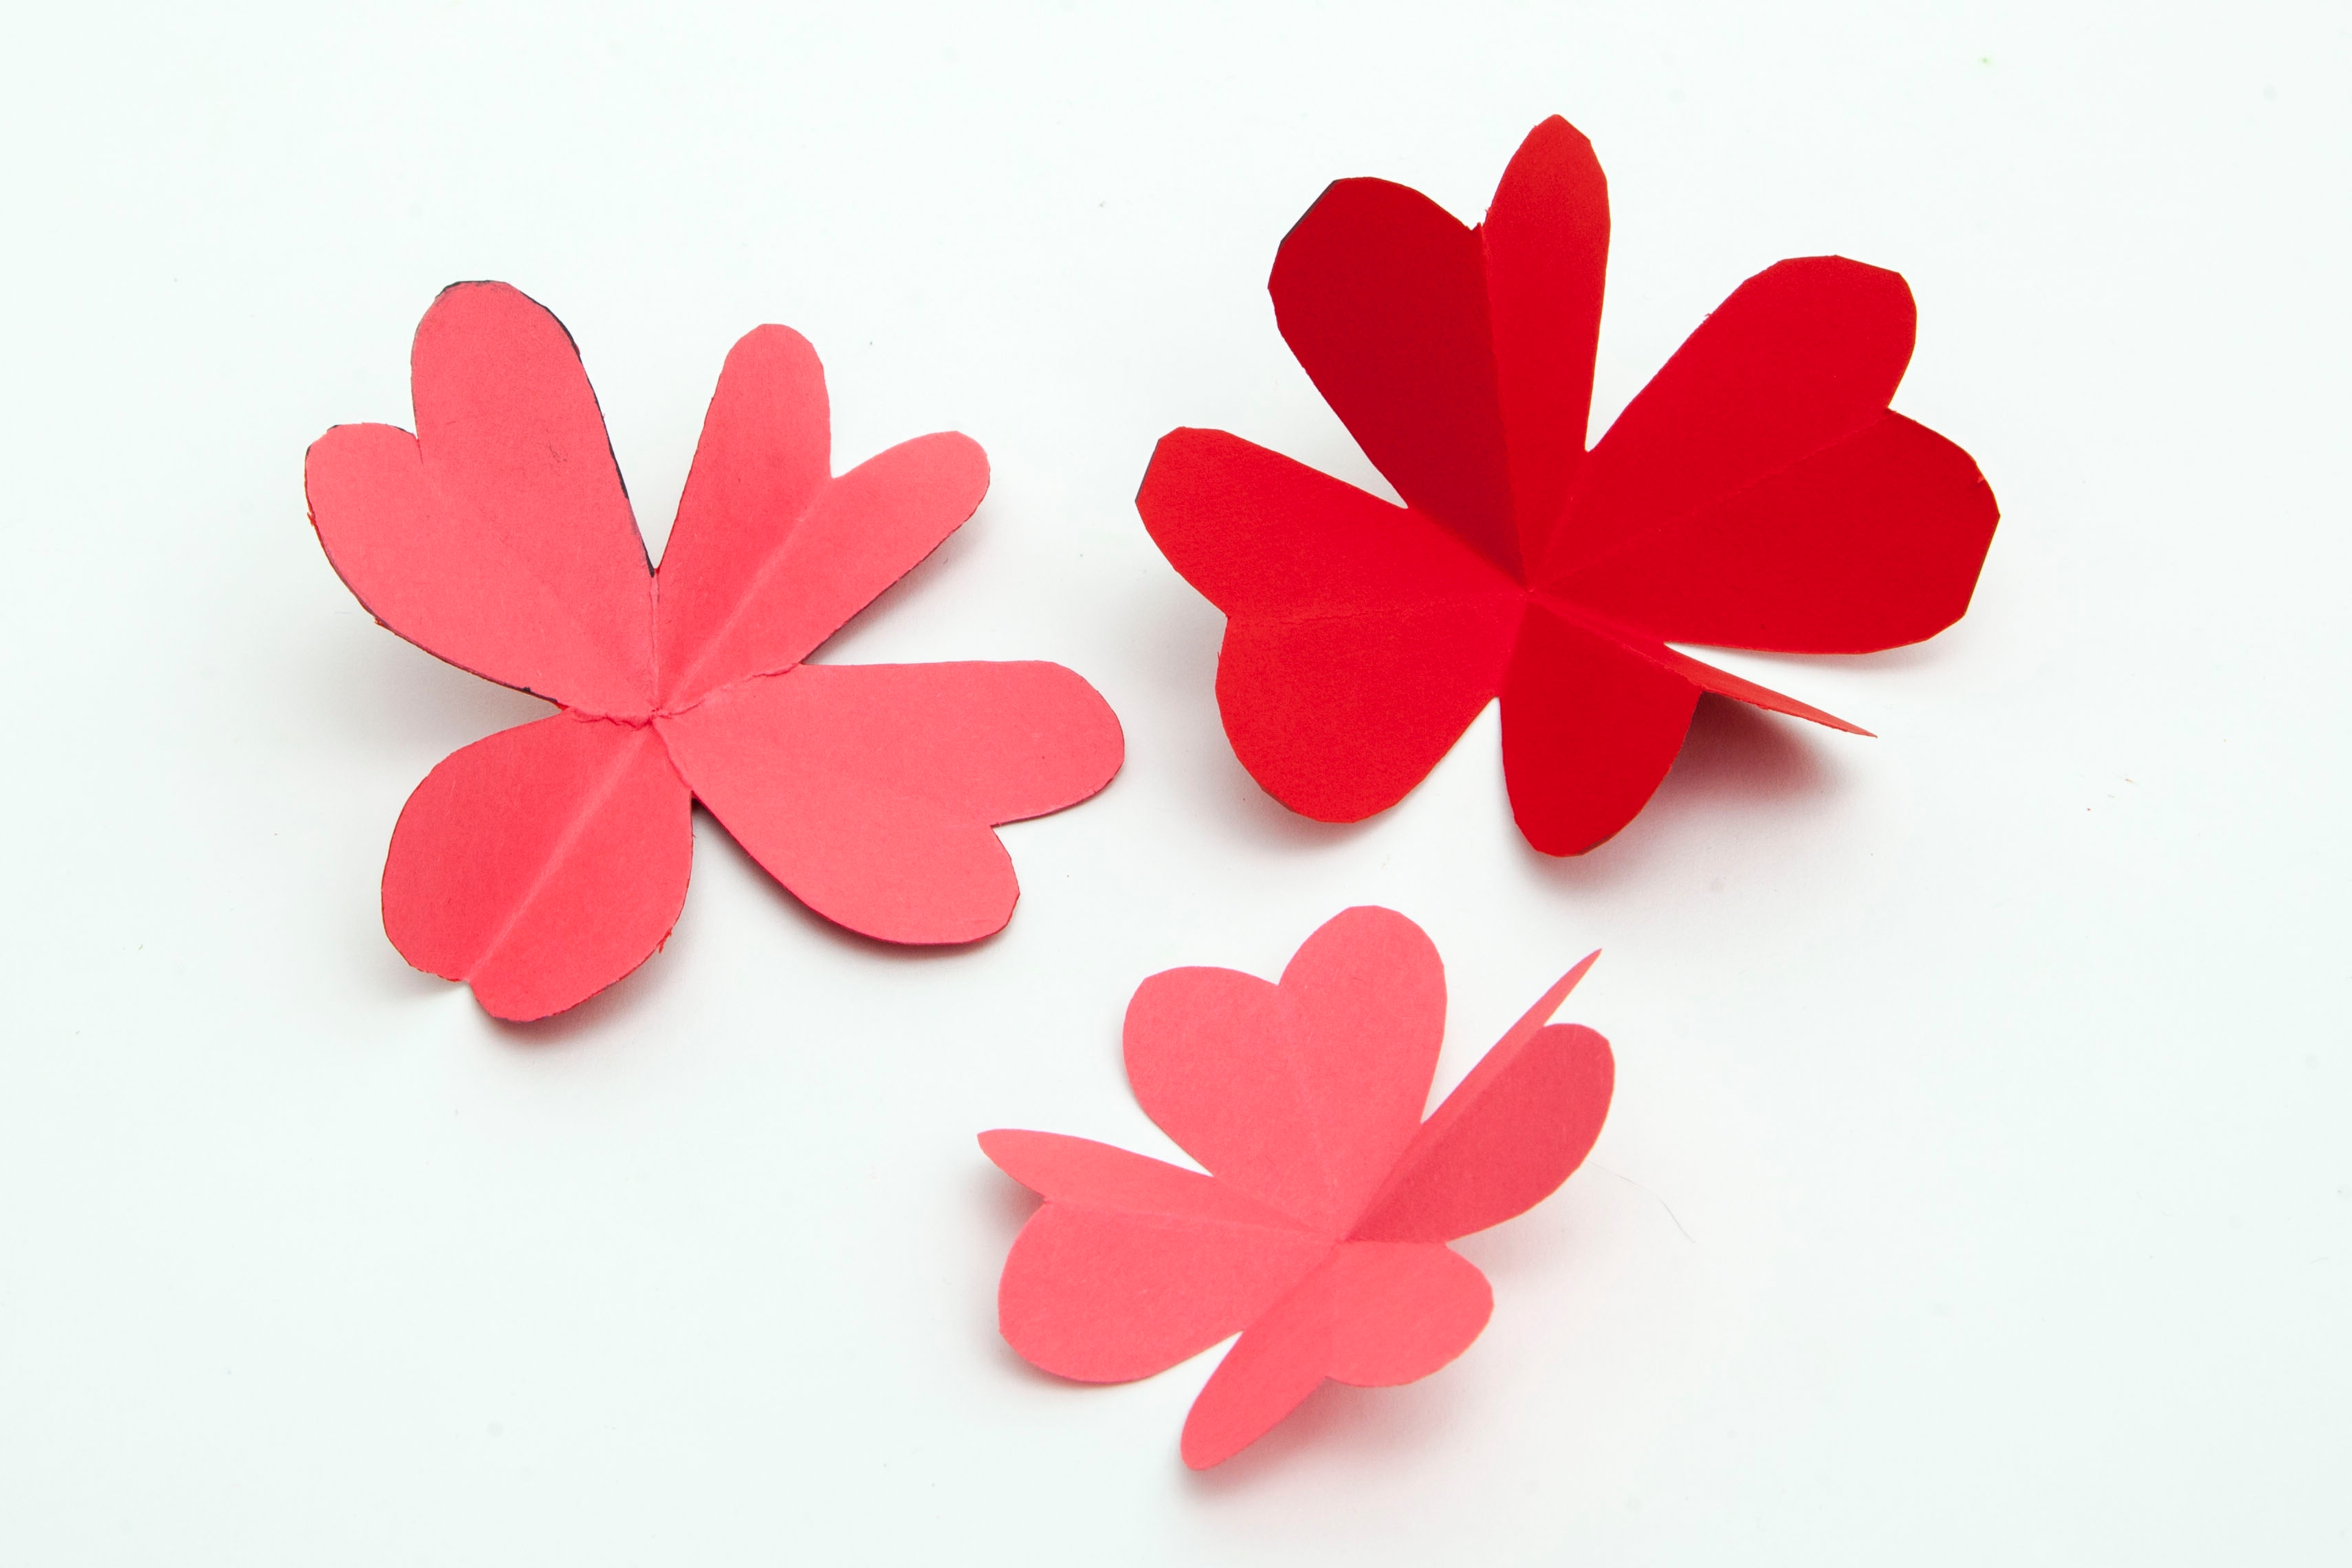
Repeat steps 5-10 with the remaining large square and small square. Then, open up all of the heart petals.
Step 12
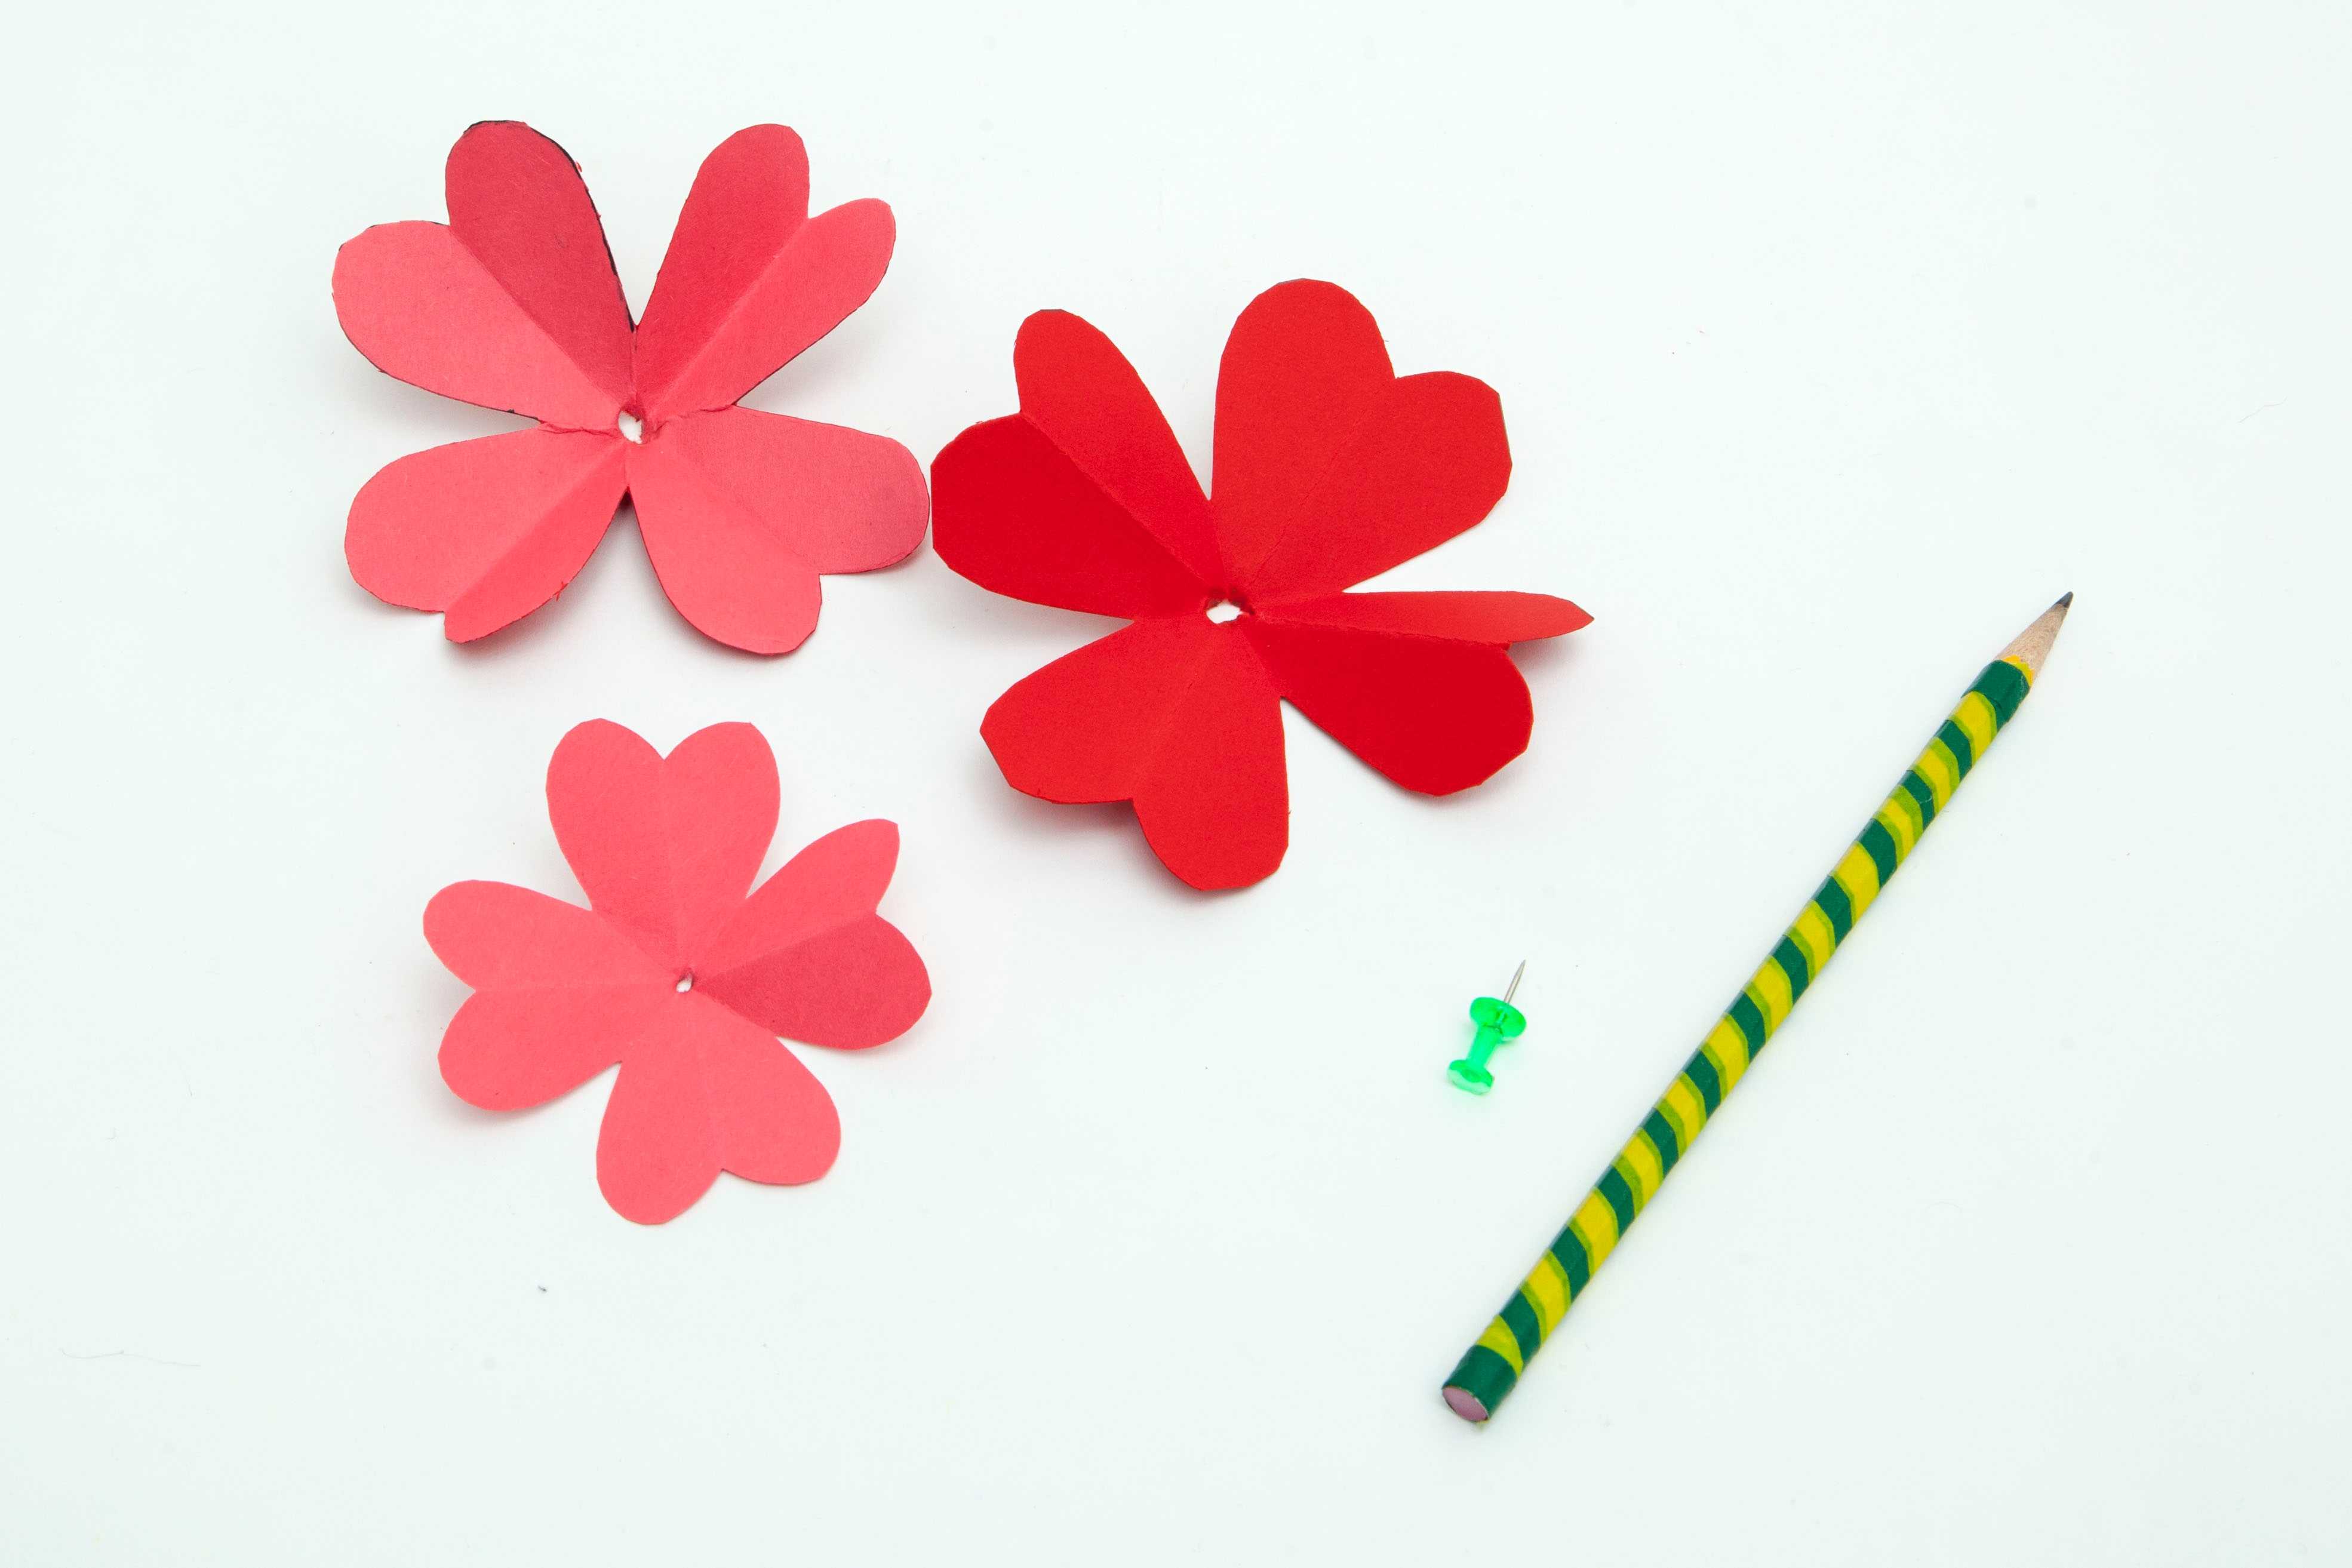
Poke a hole in the center of each heart petal with a pushpin. Then, widen the hole with a pencil.
Step 13
Wrap the LED around the top of the pencil. Then, press the solid red petals onto the pencil.
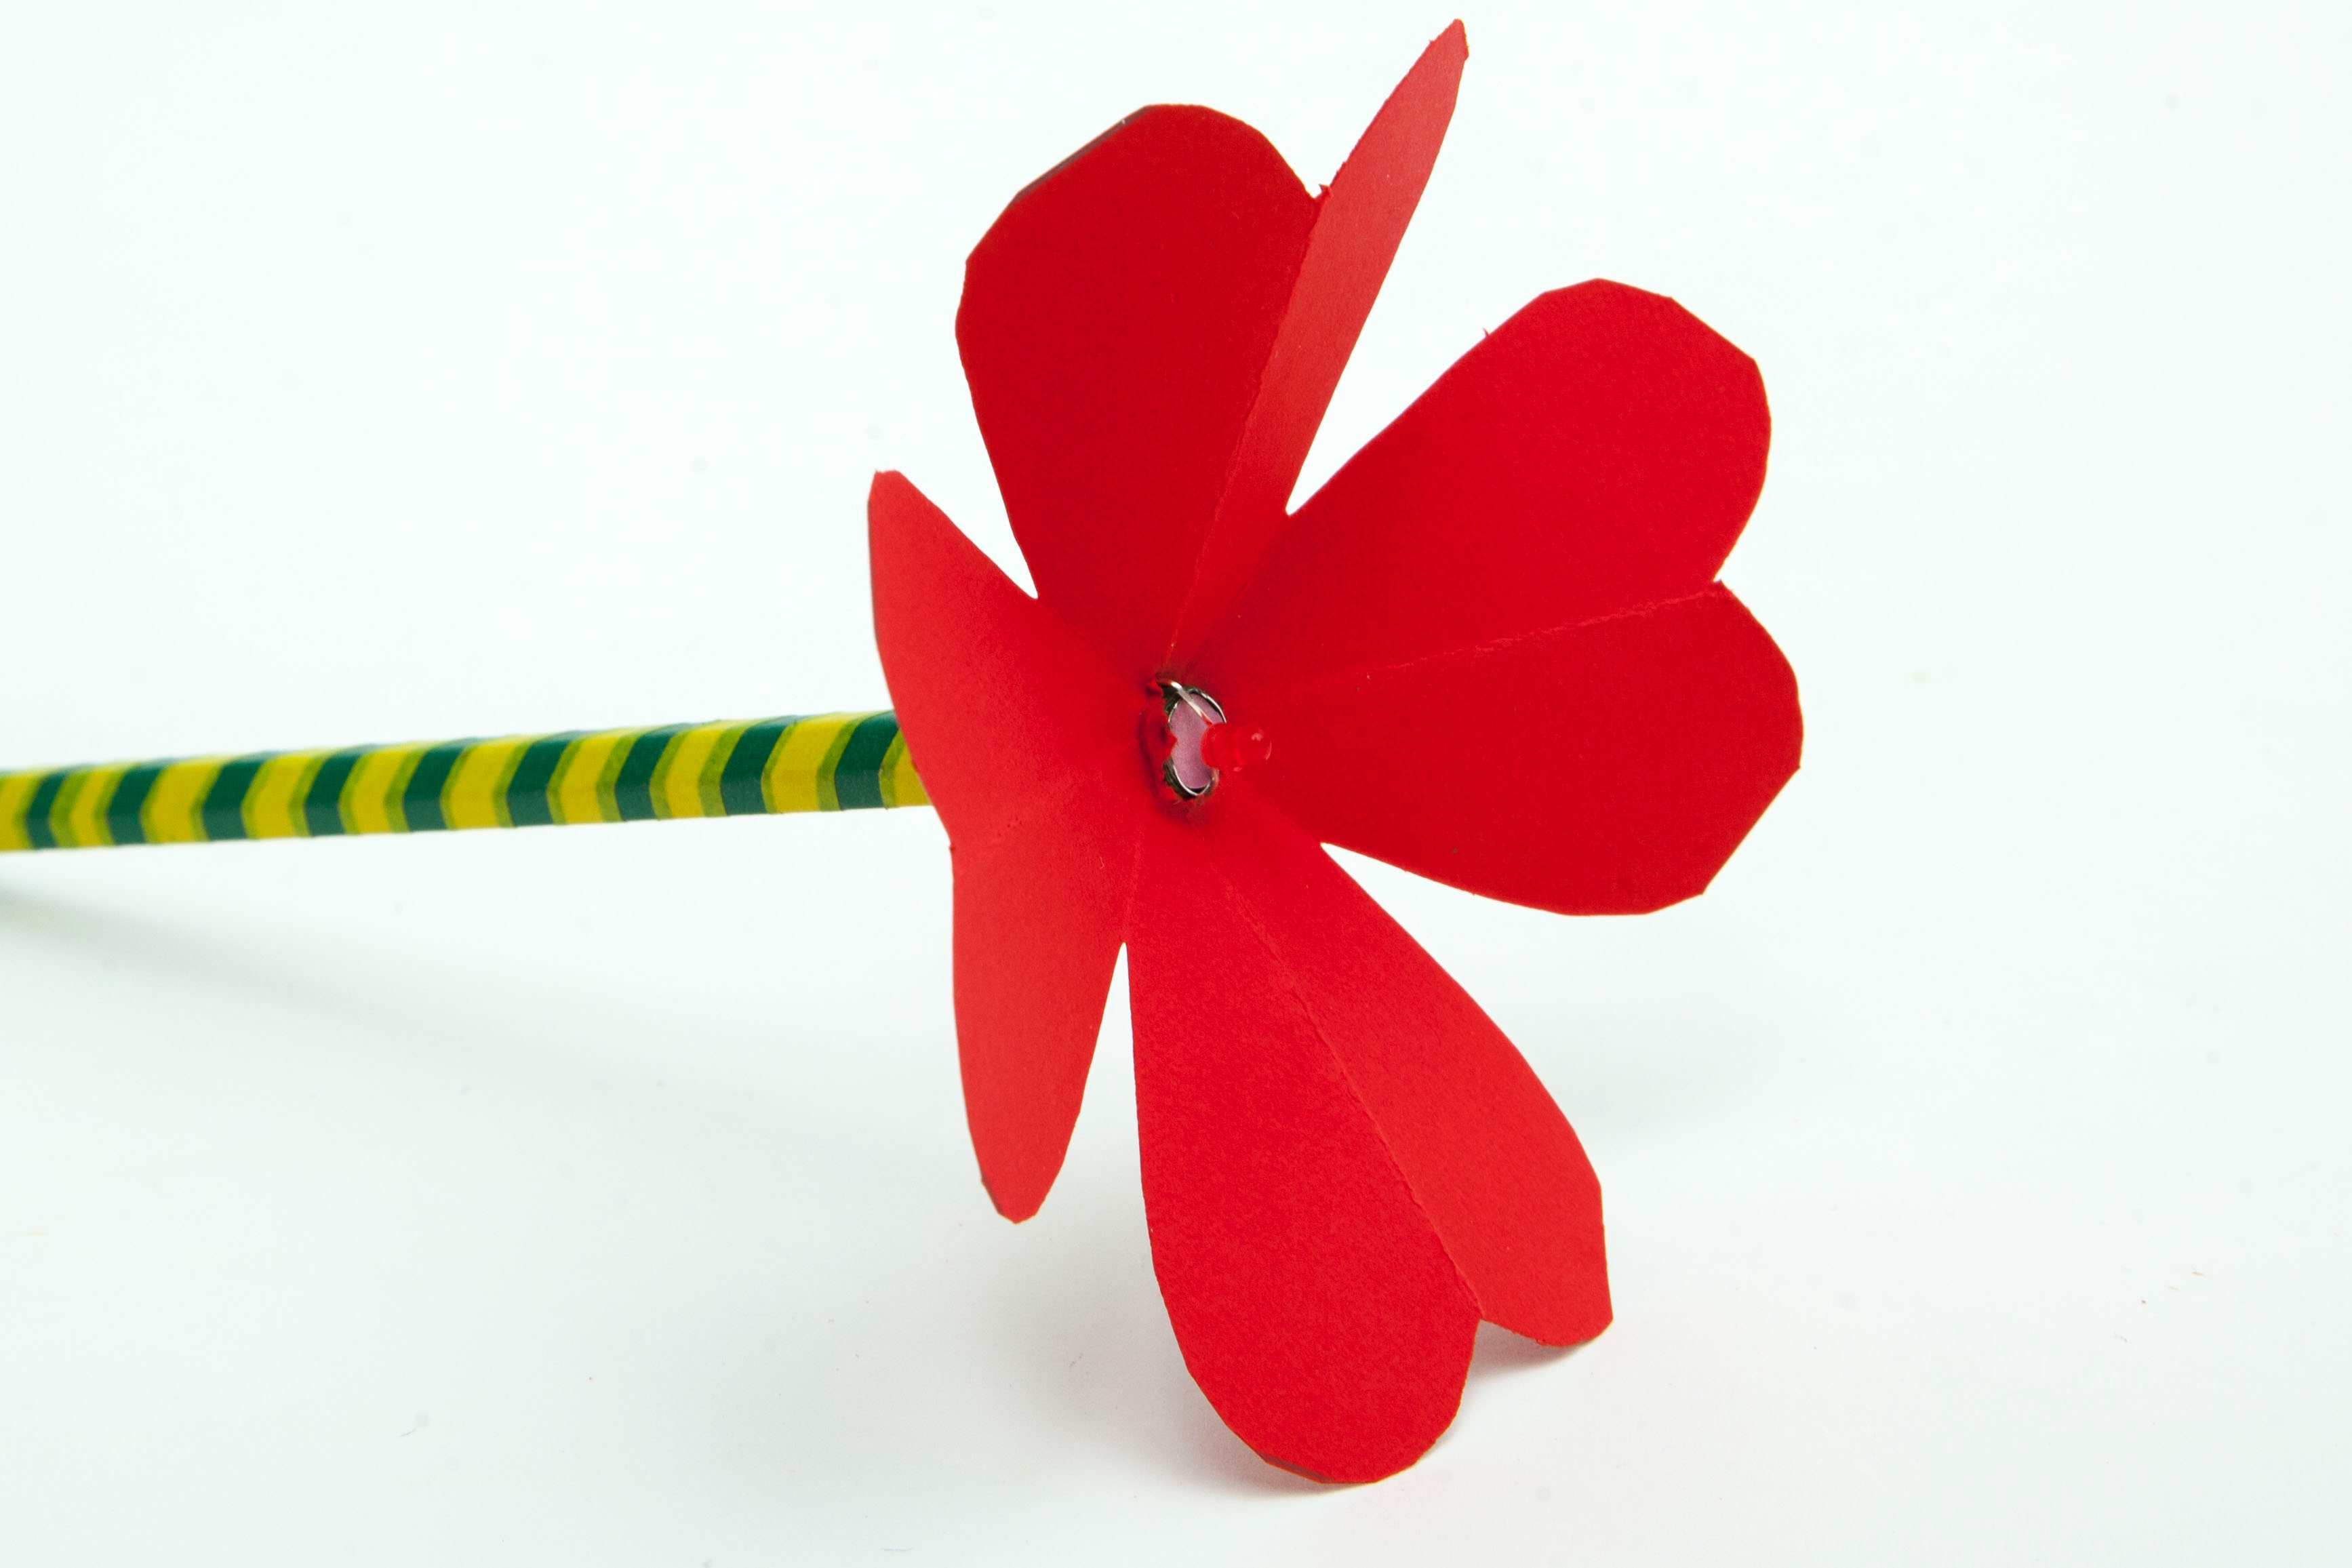
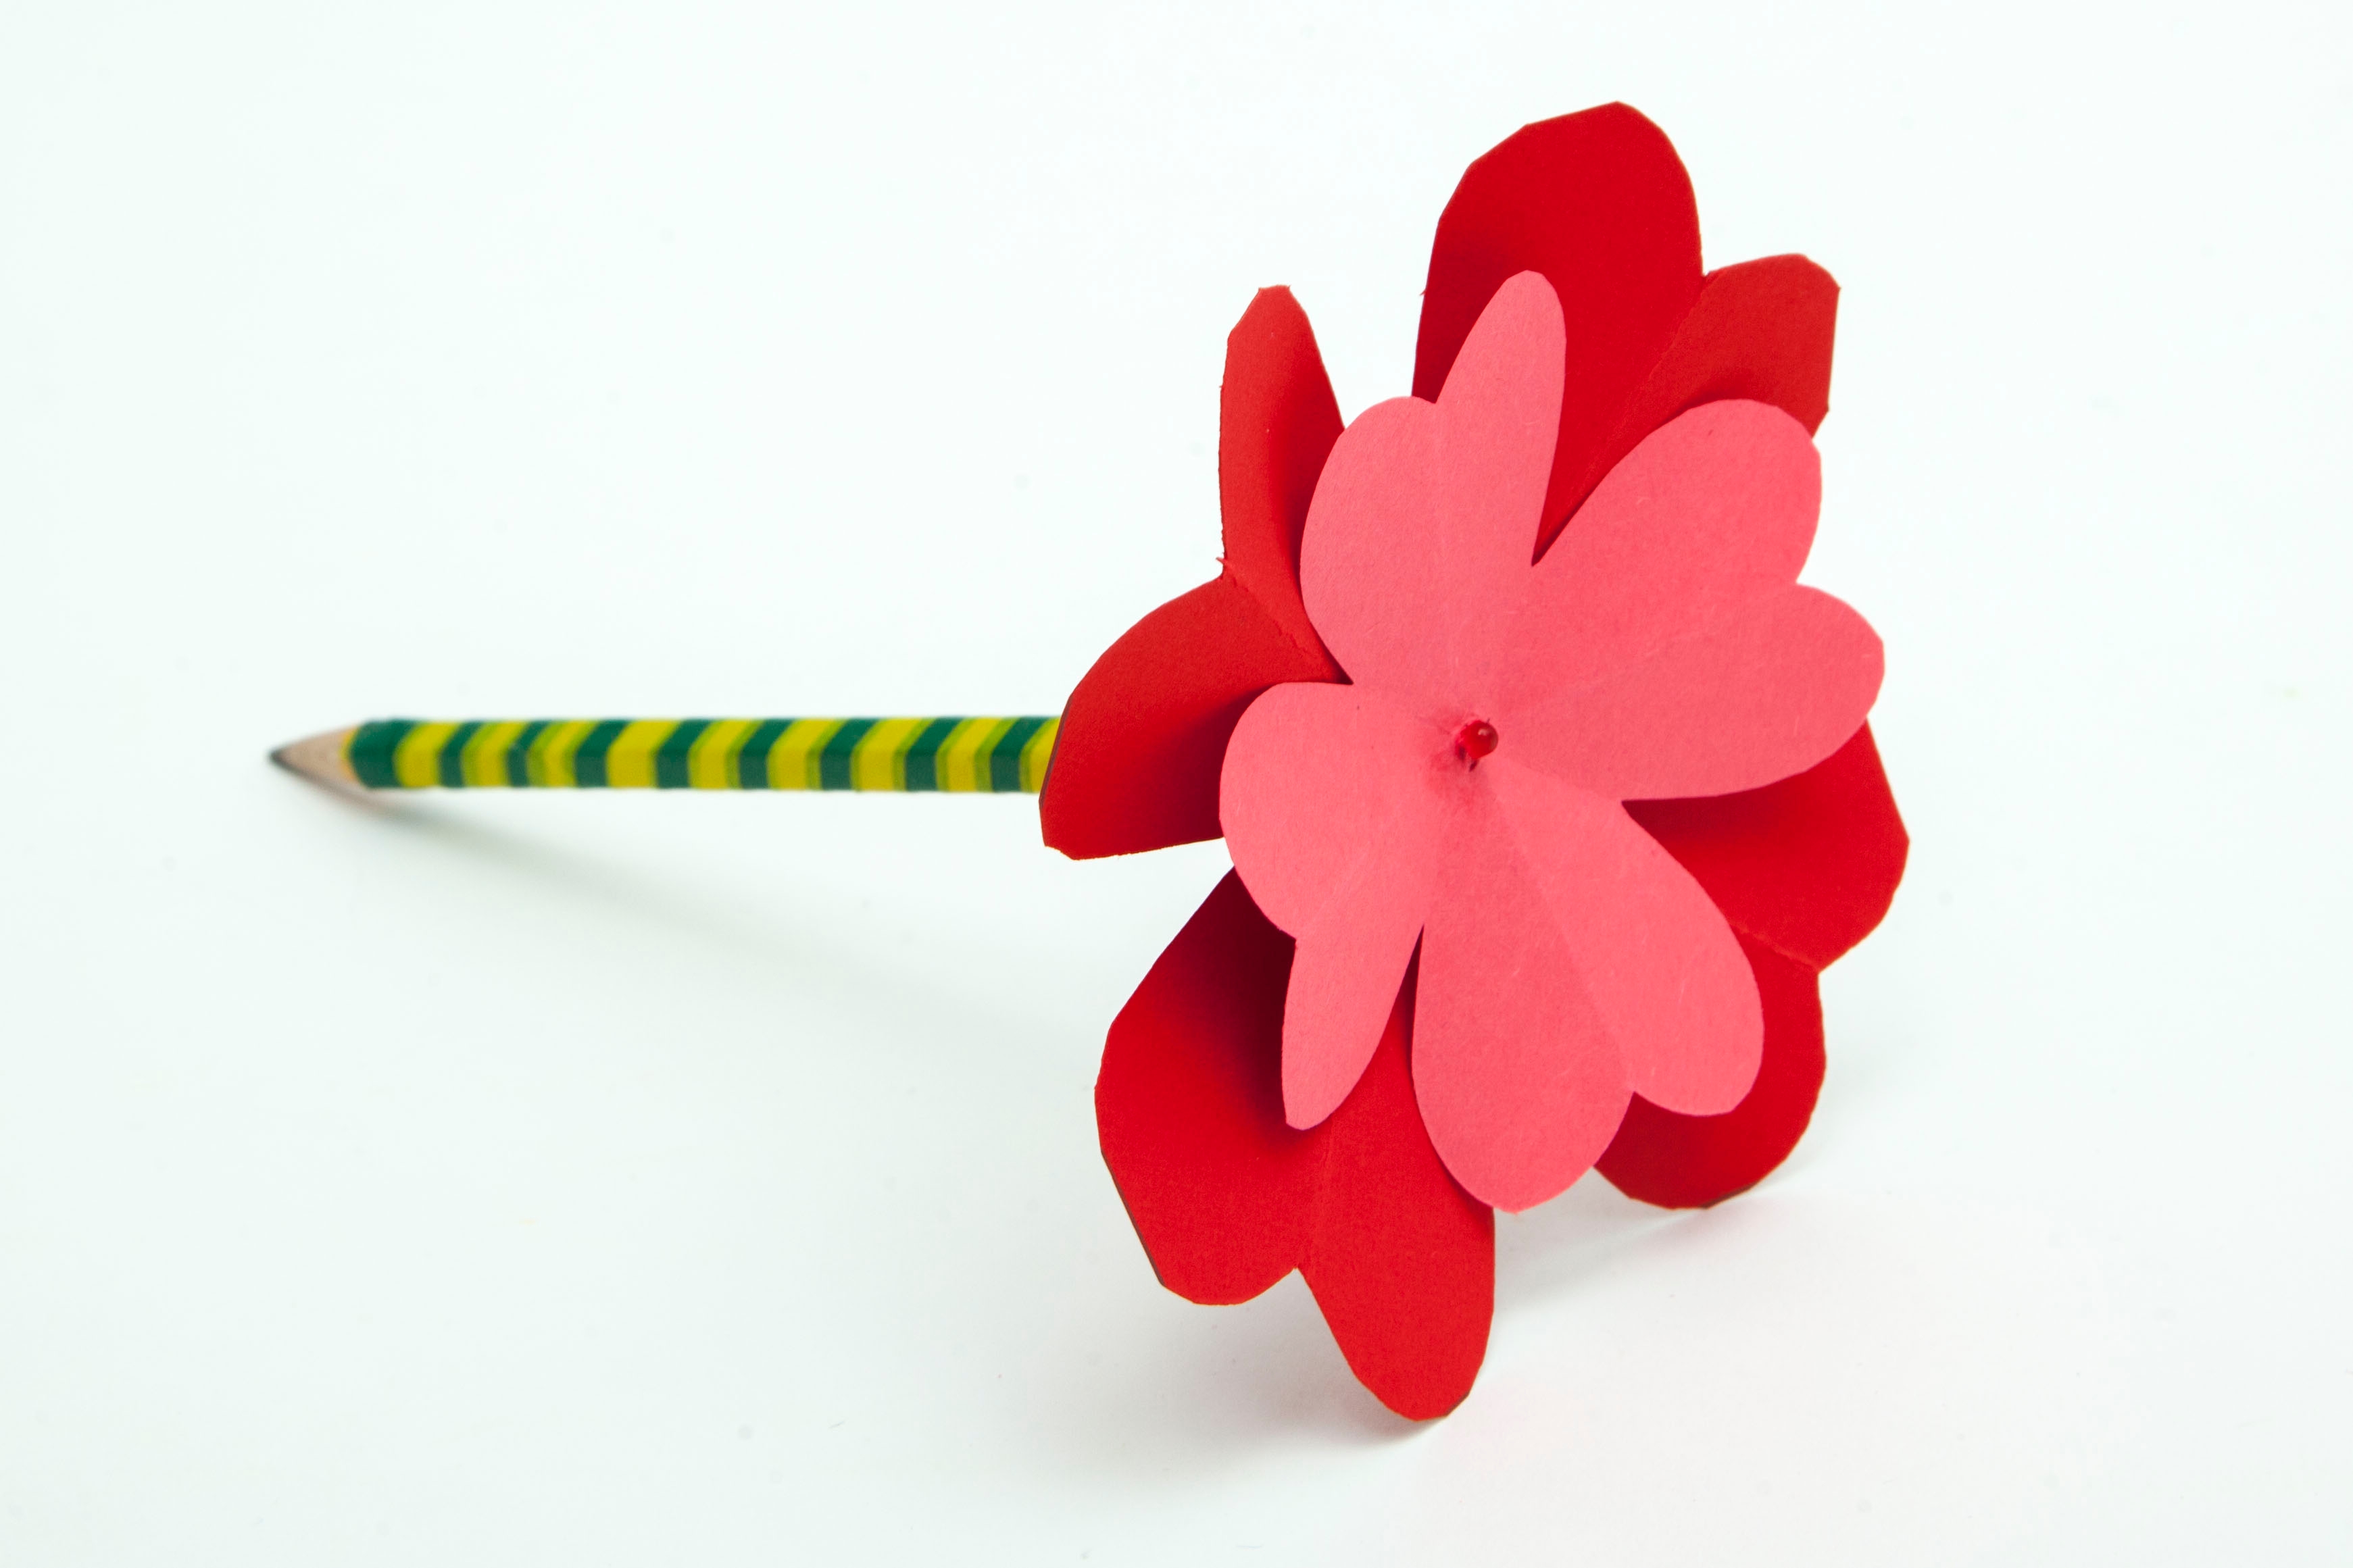
Step 14
Hot glue the LED in place. Then, place the smallest heart petal over the LED.
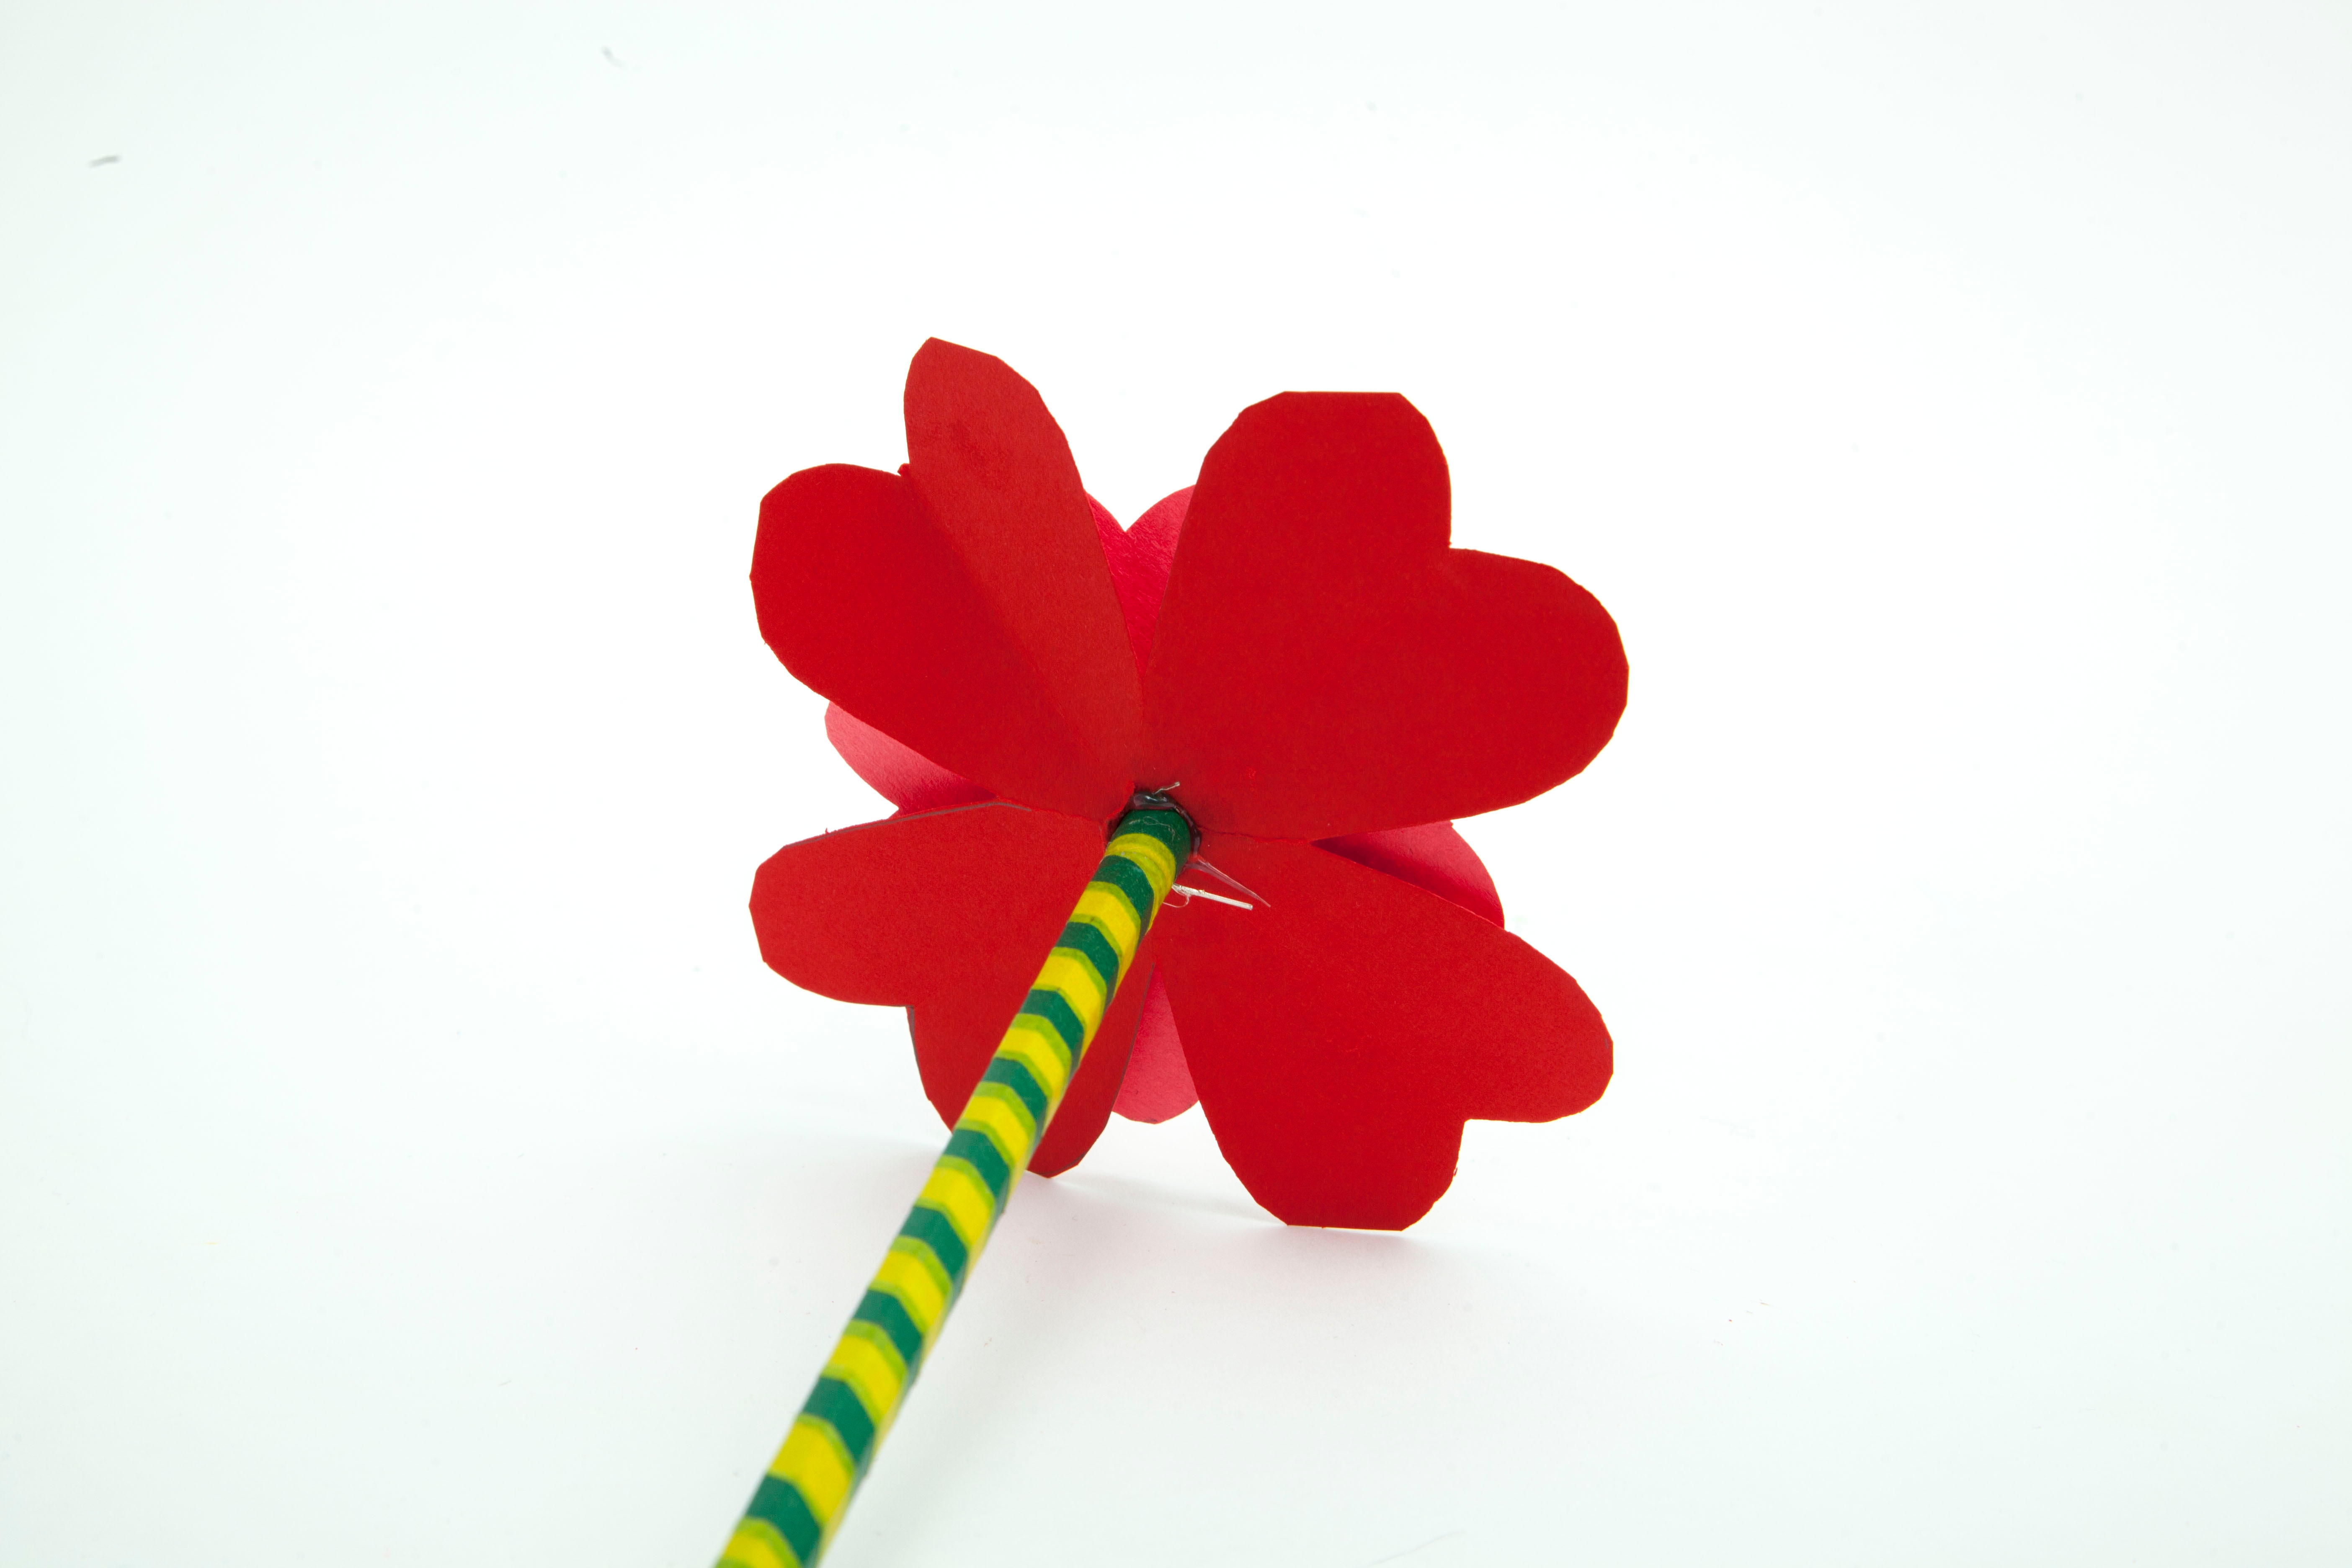
Step 15
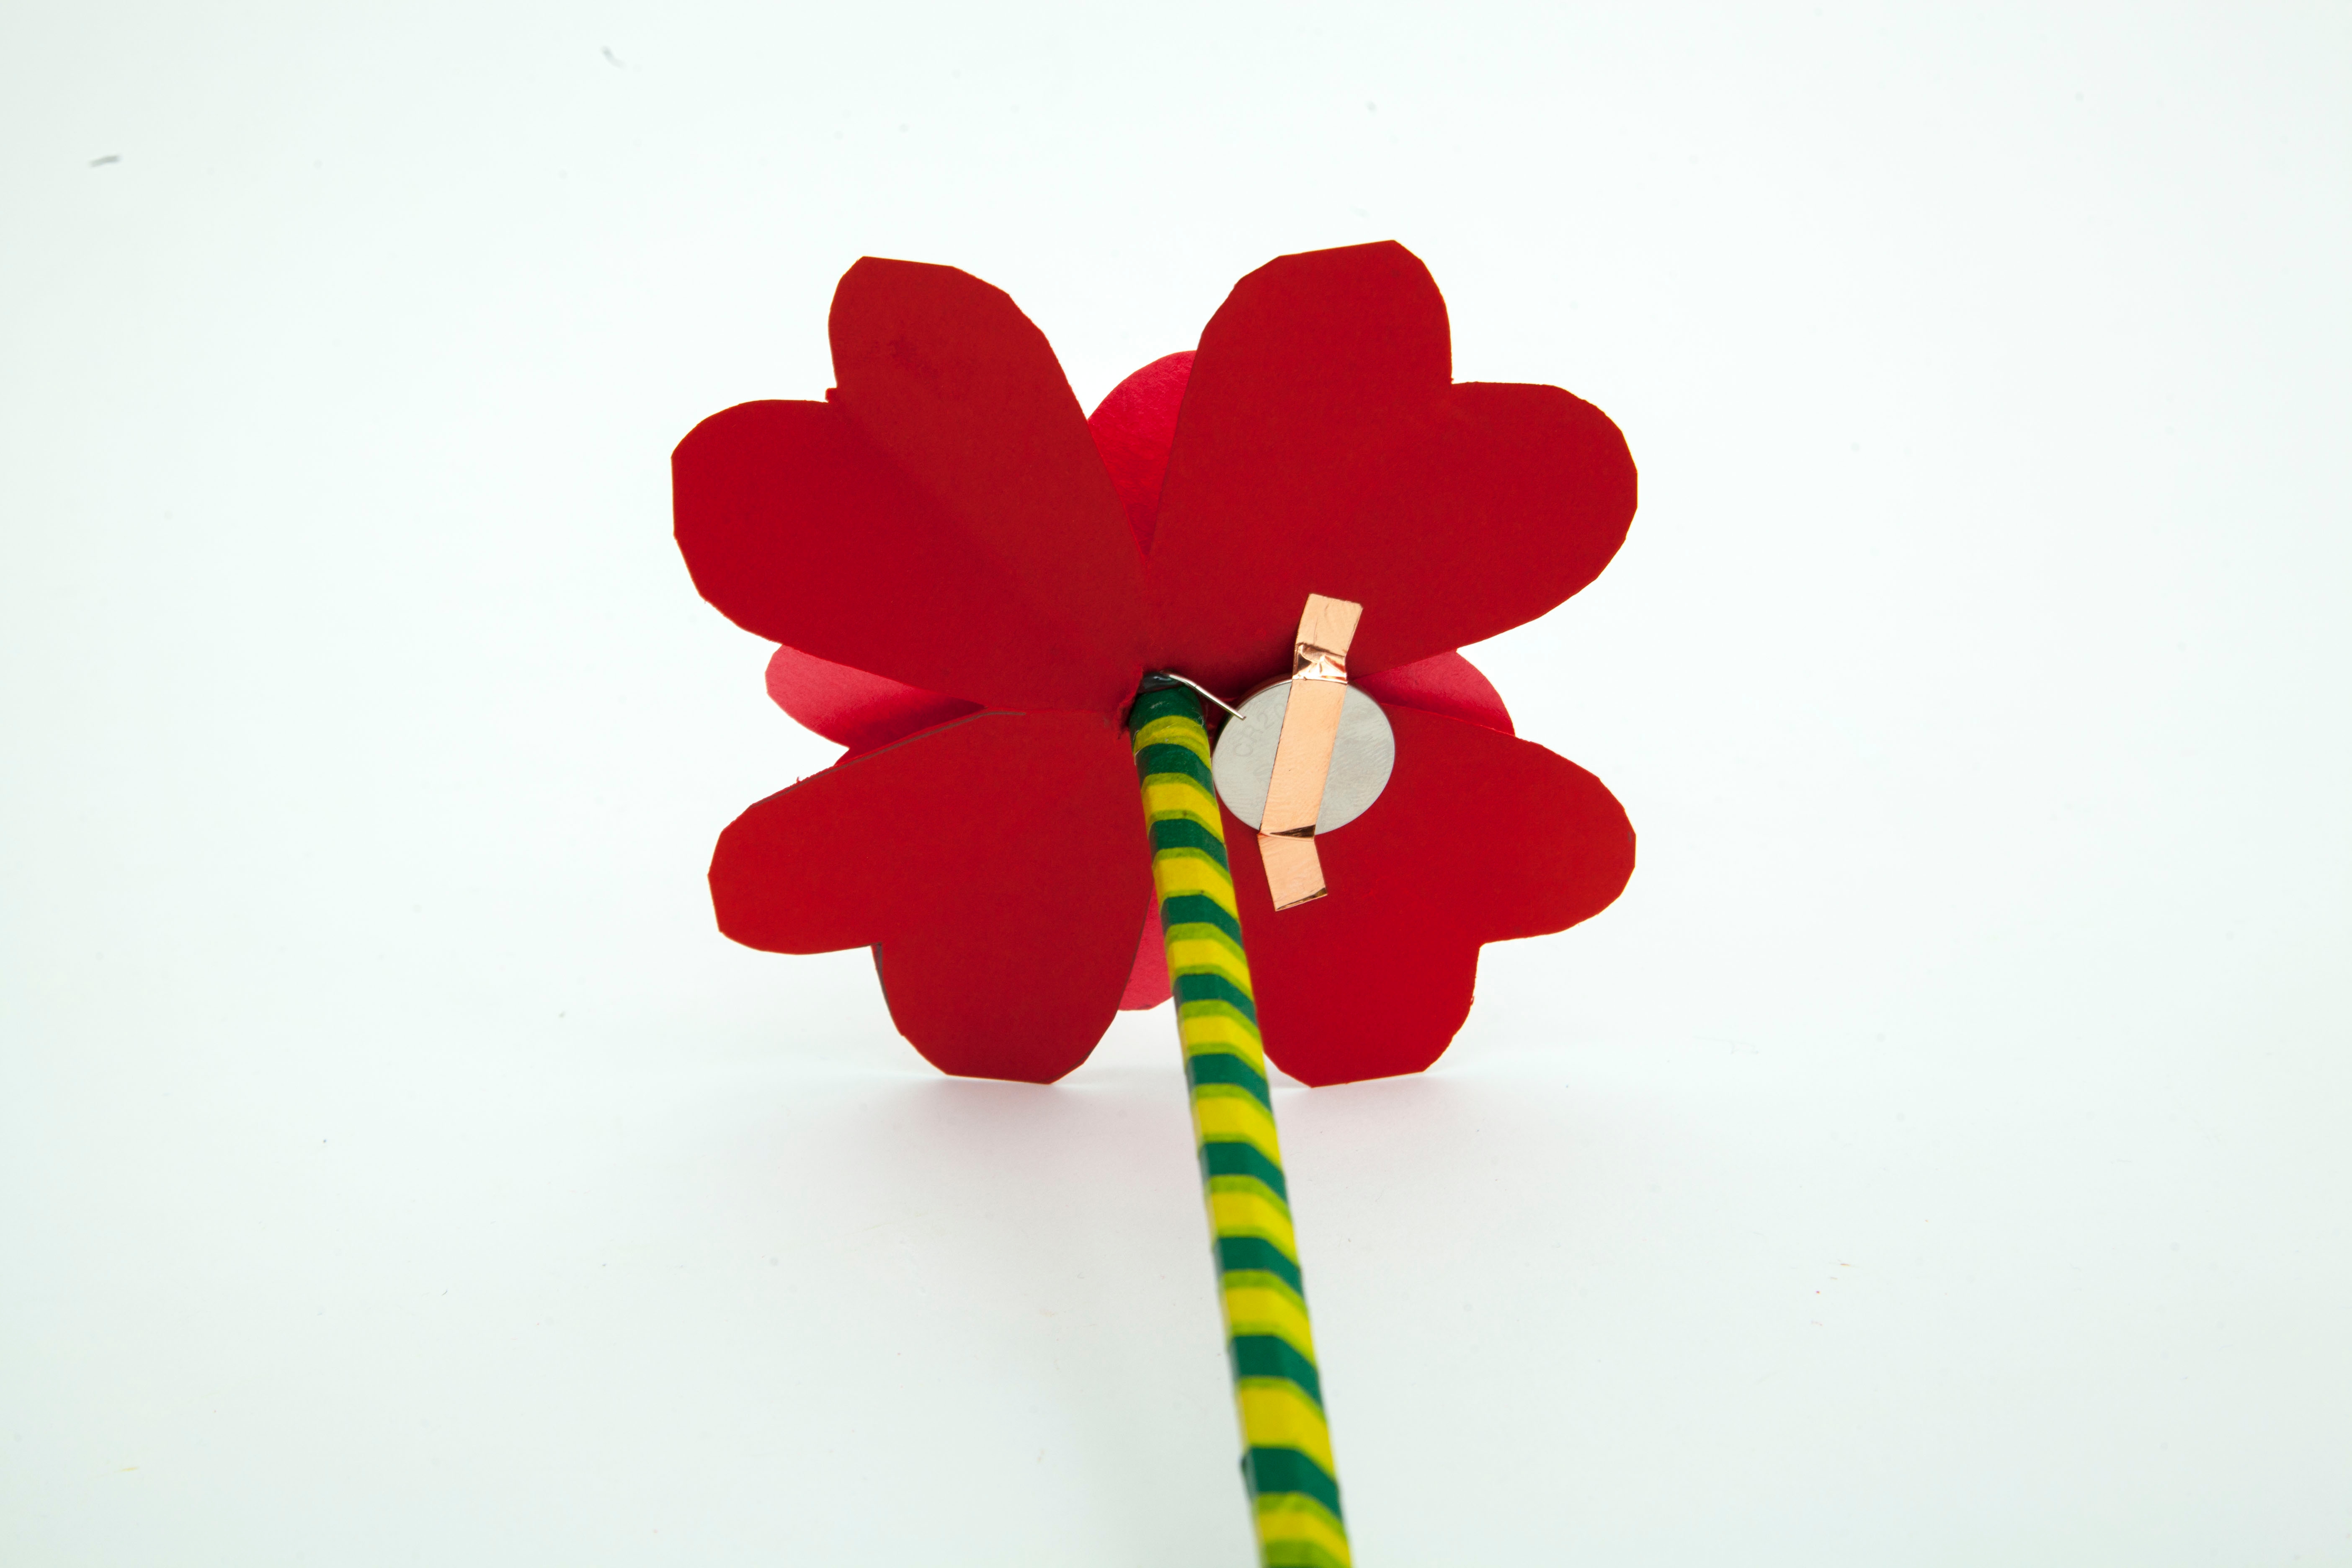
Flip the pencil over so that you are looking at the underside of the flower. Then, bend the longest wire of the LED towards the underside of the flower.
Step 16
Tape the coin battery over the bent LED wire with copper tape.
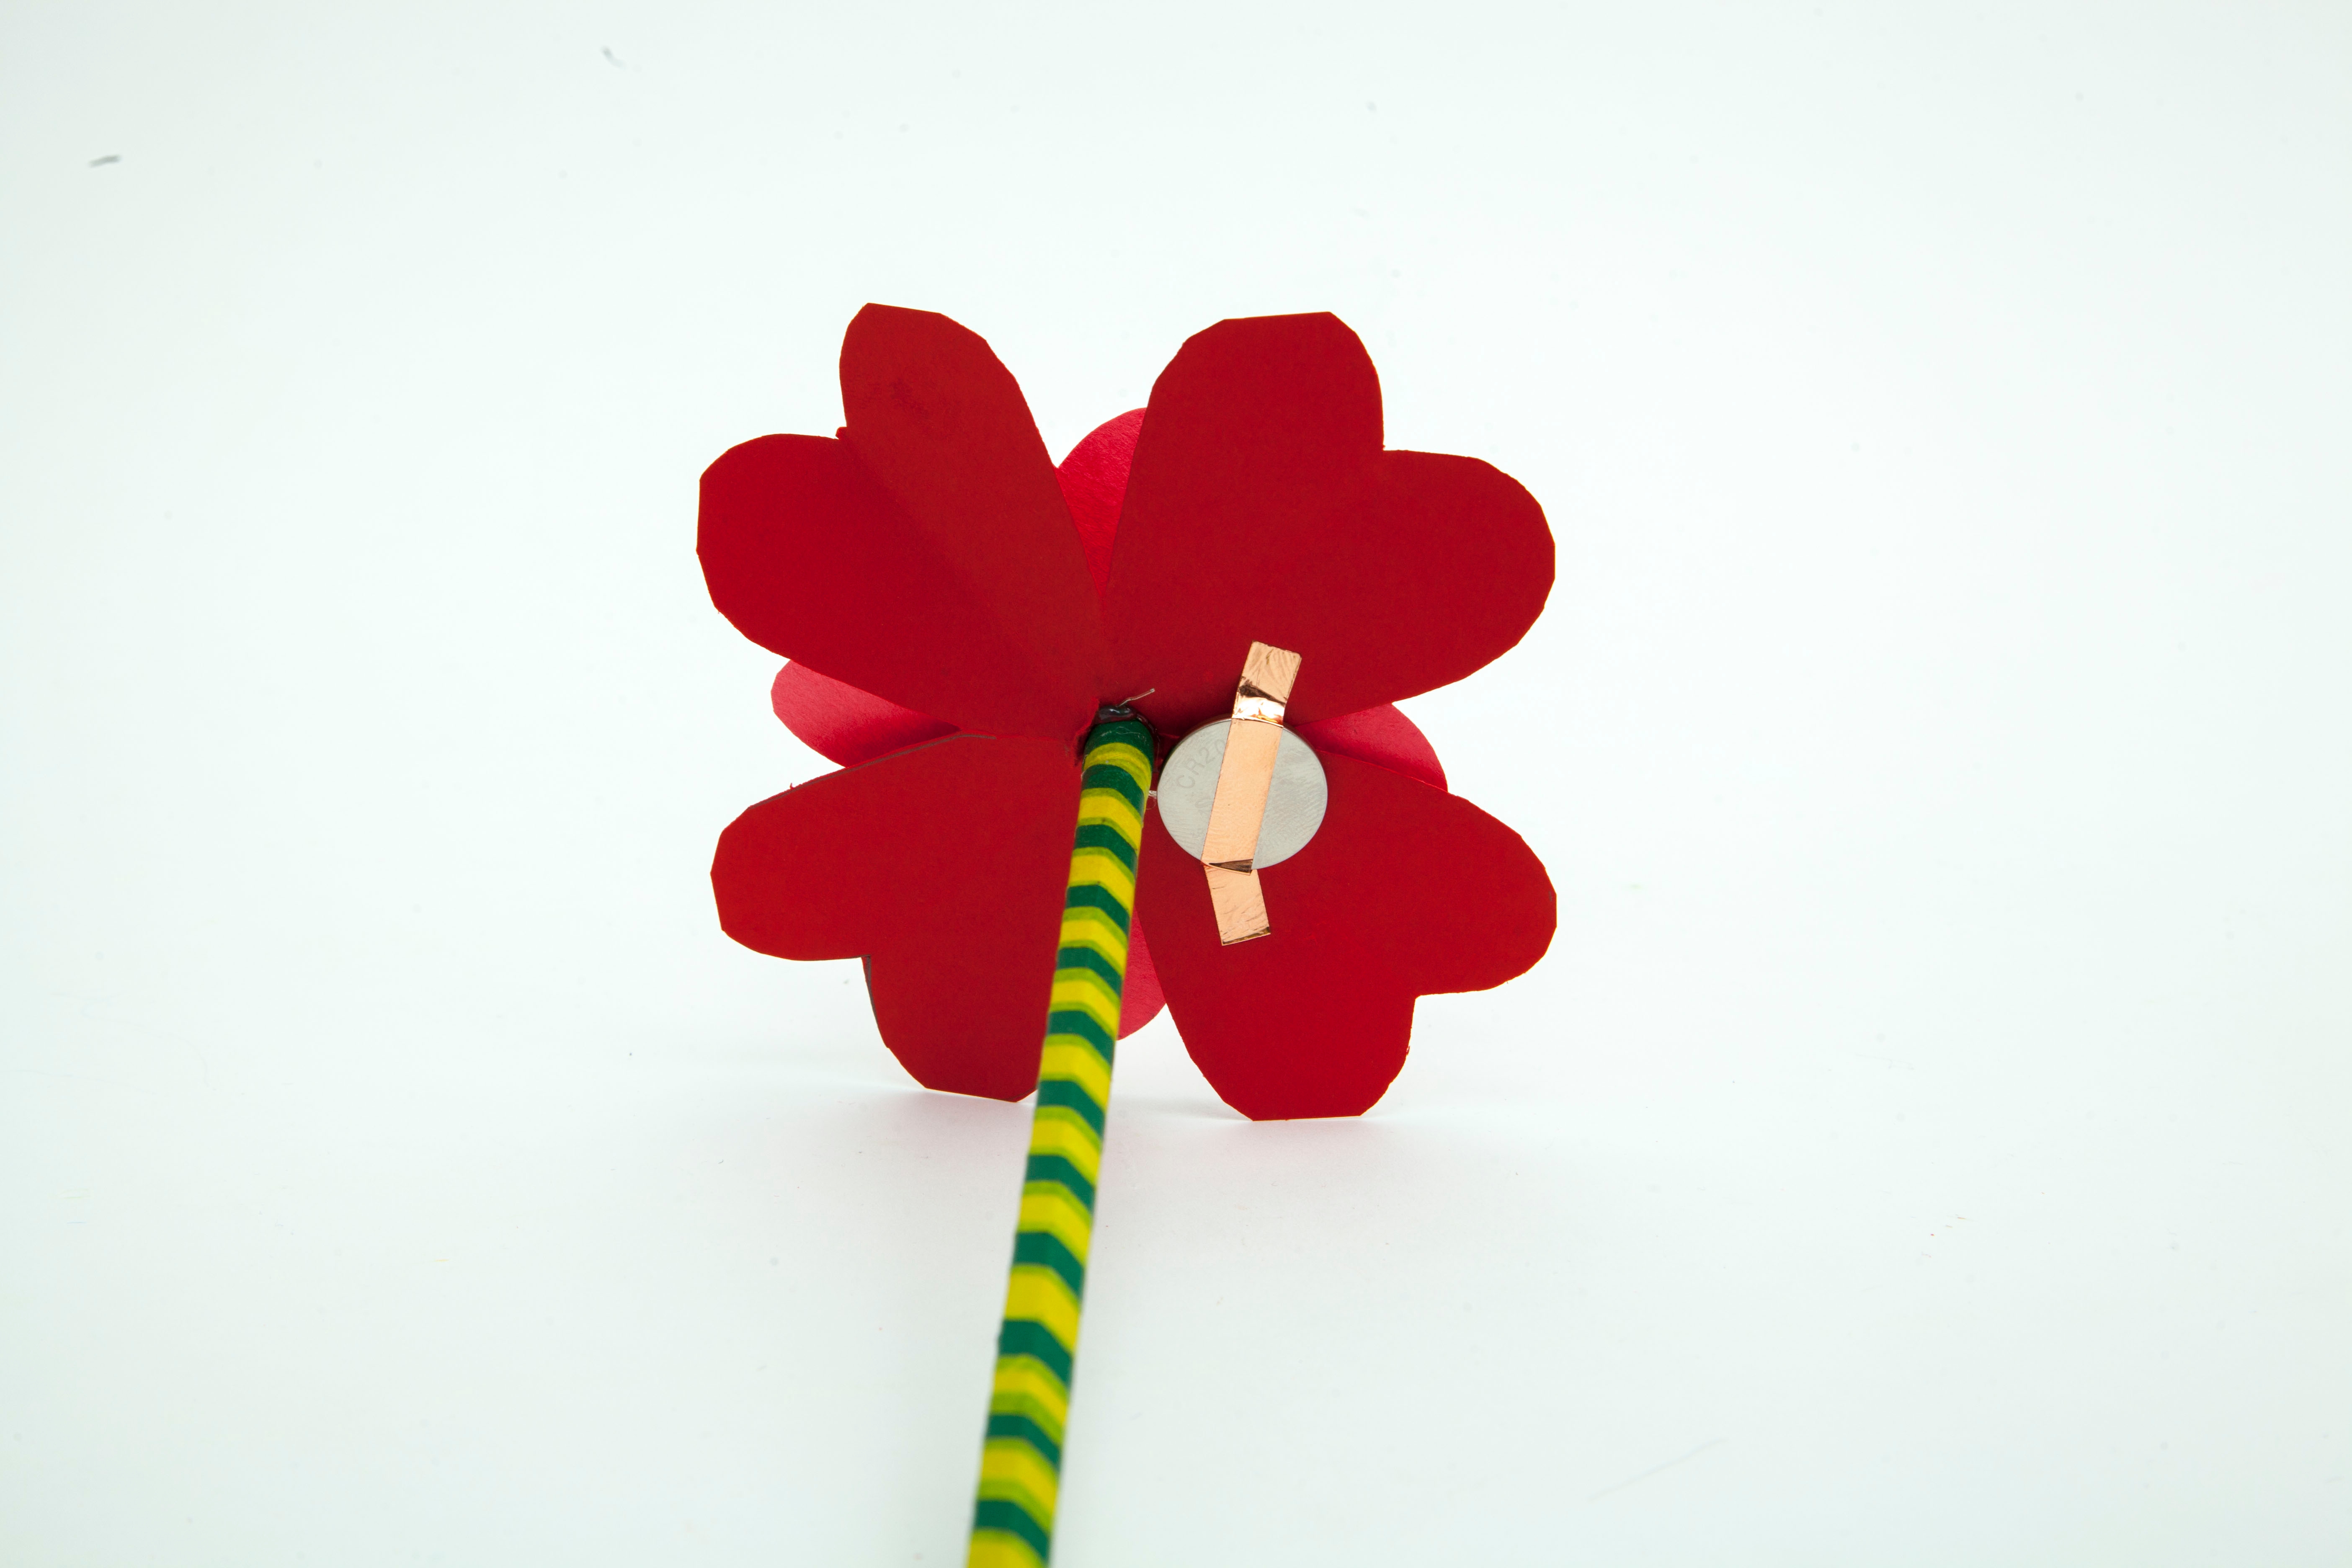
Step 17
Bend the other wire of the LED so that it just barely touches the exposed side of the coin battery.
Tip
Make sure that your coin battery is in the right orientation. If your LED doesn’t turn on, flip your battery over!
Step 18
Slide the double-sided large petal onto the pencil towards the other petals.
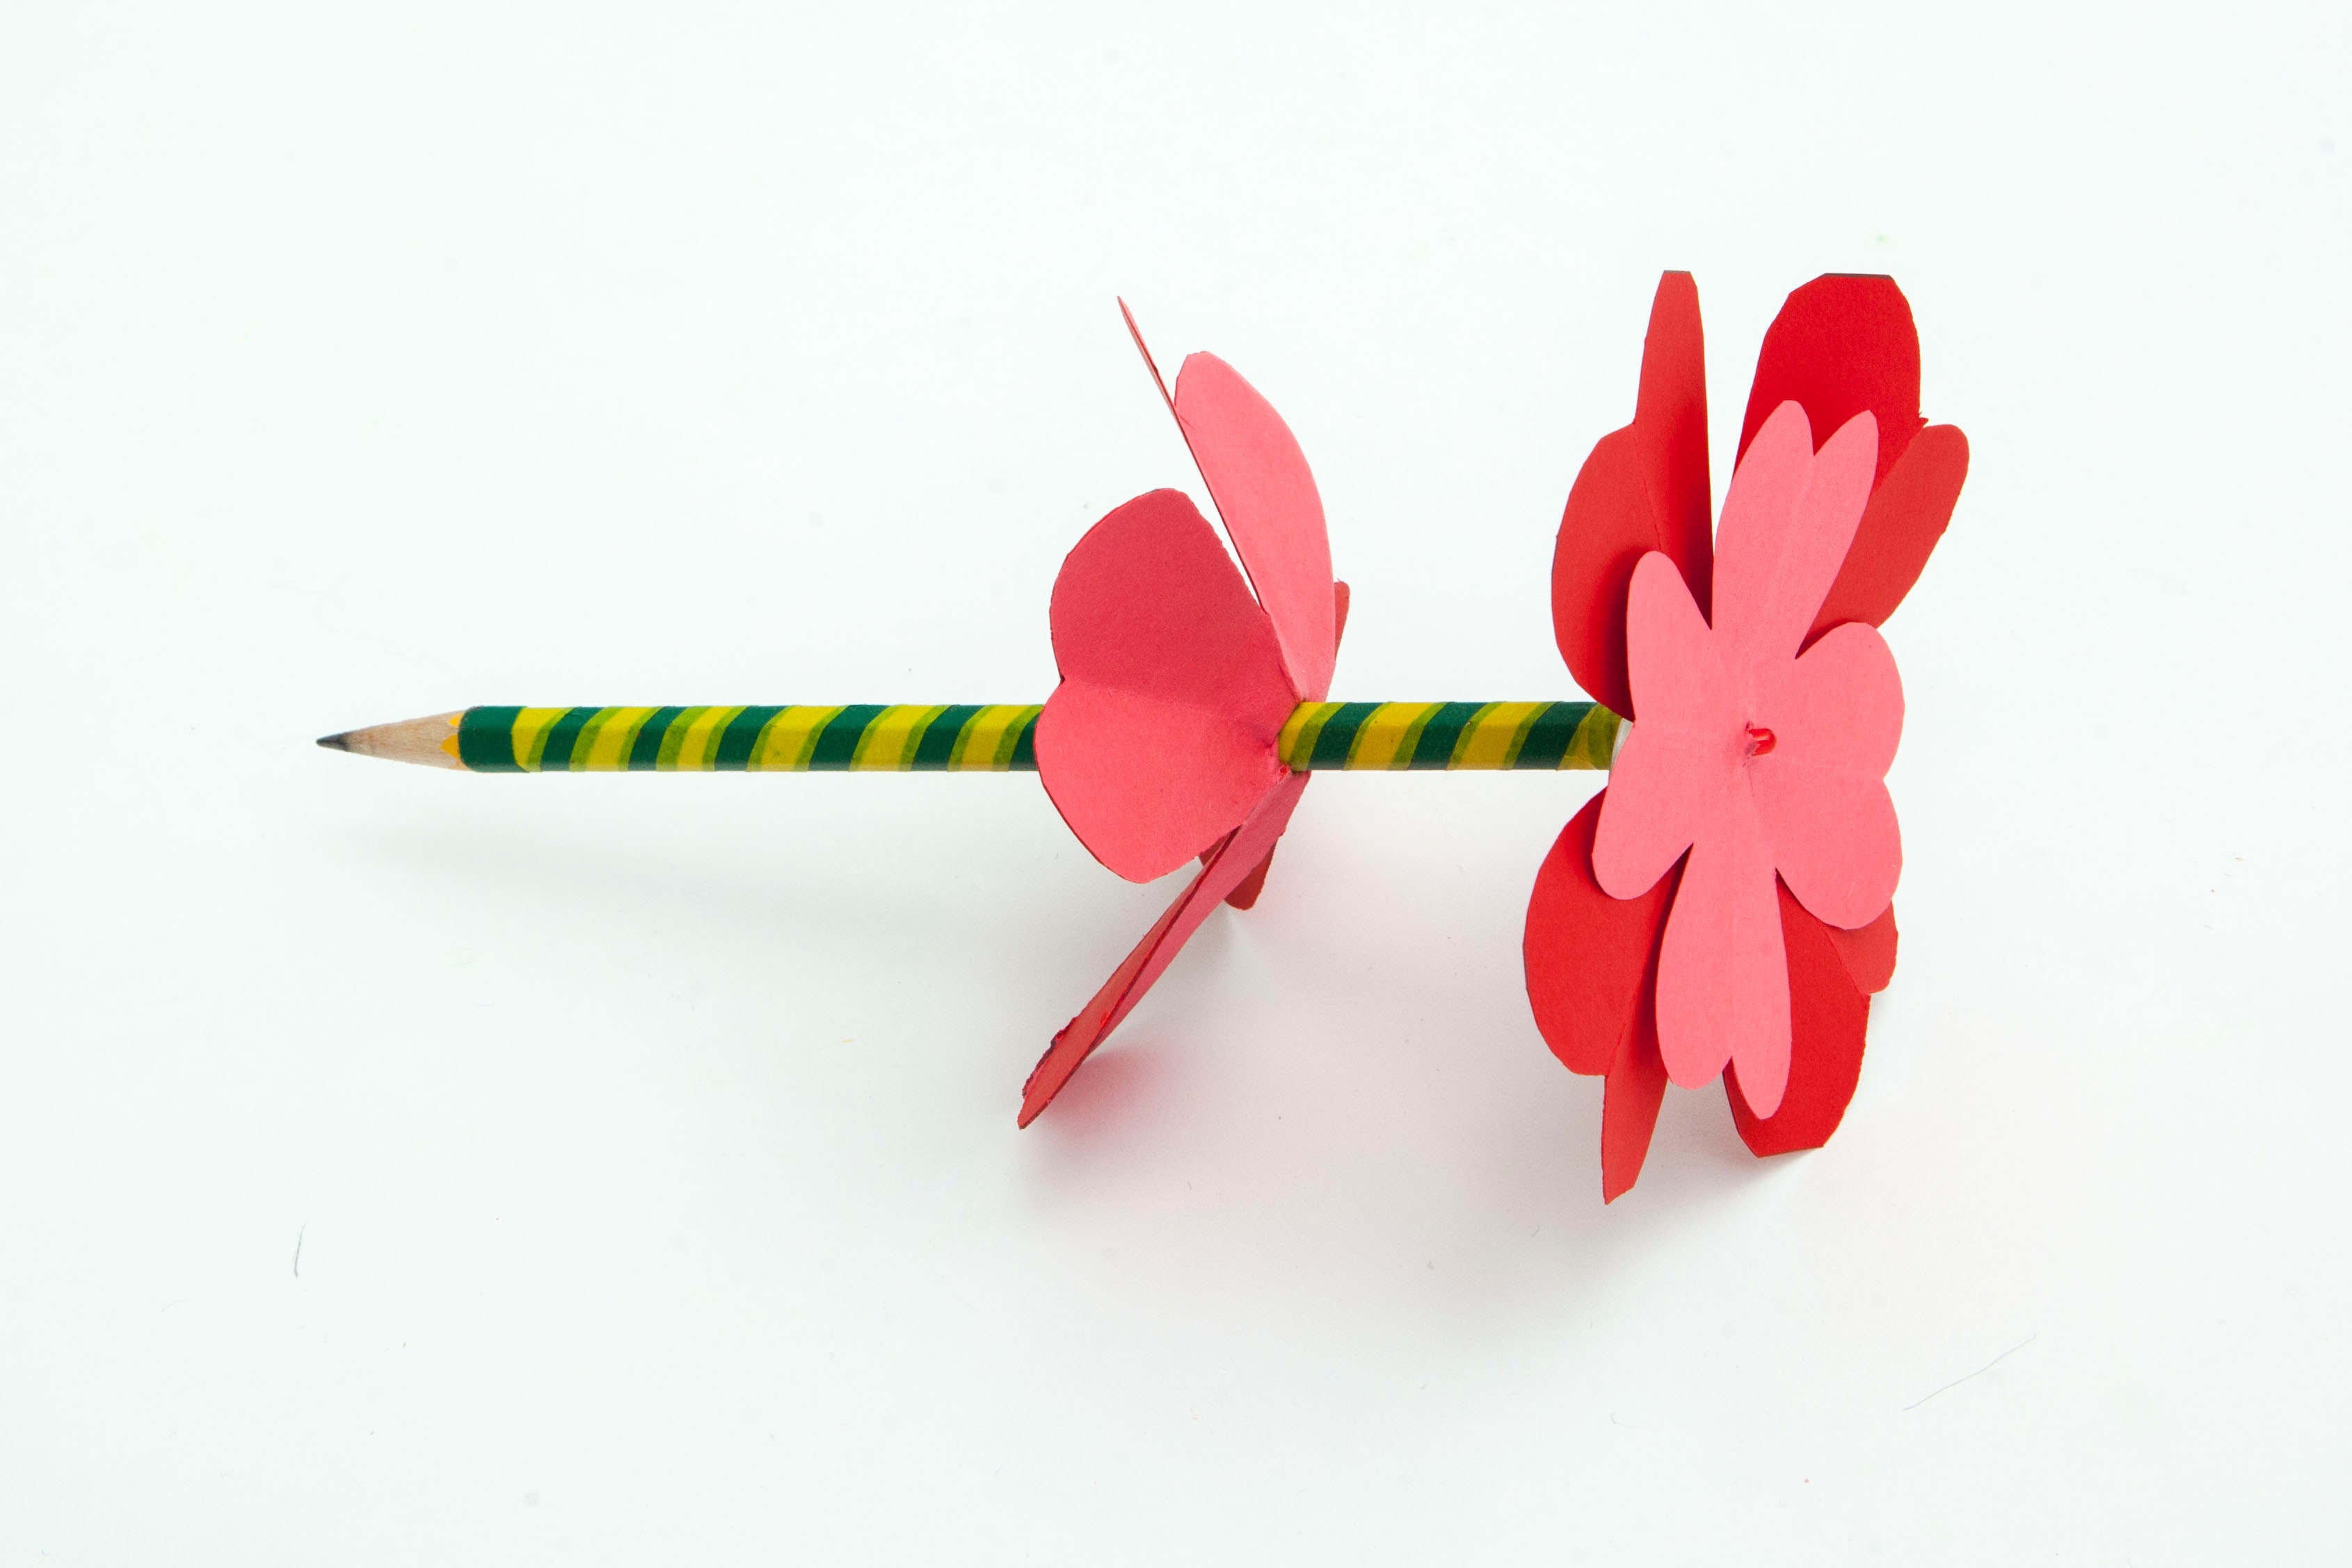
Step 19
Secure it in place by wrapping a rubber band directly underneath it.
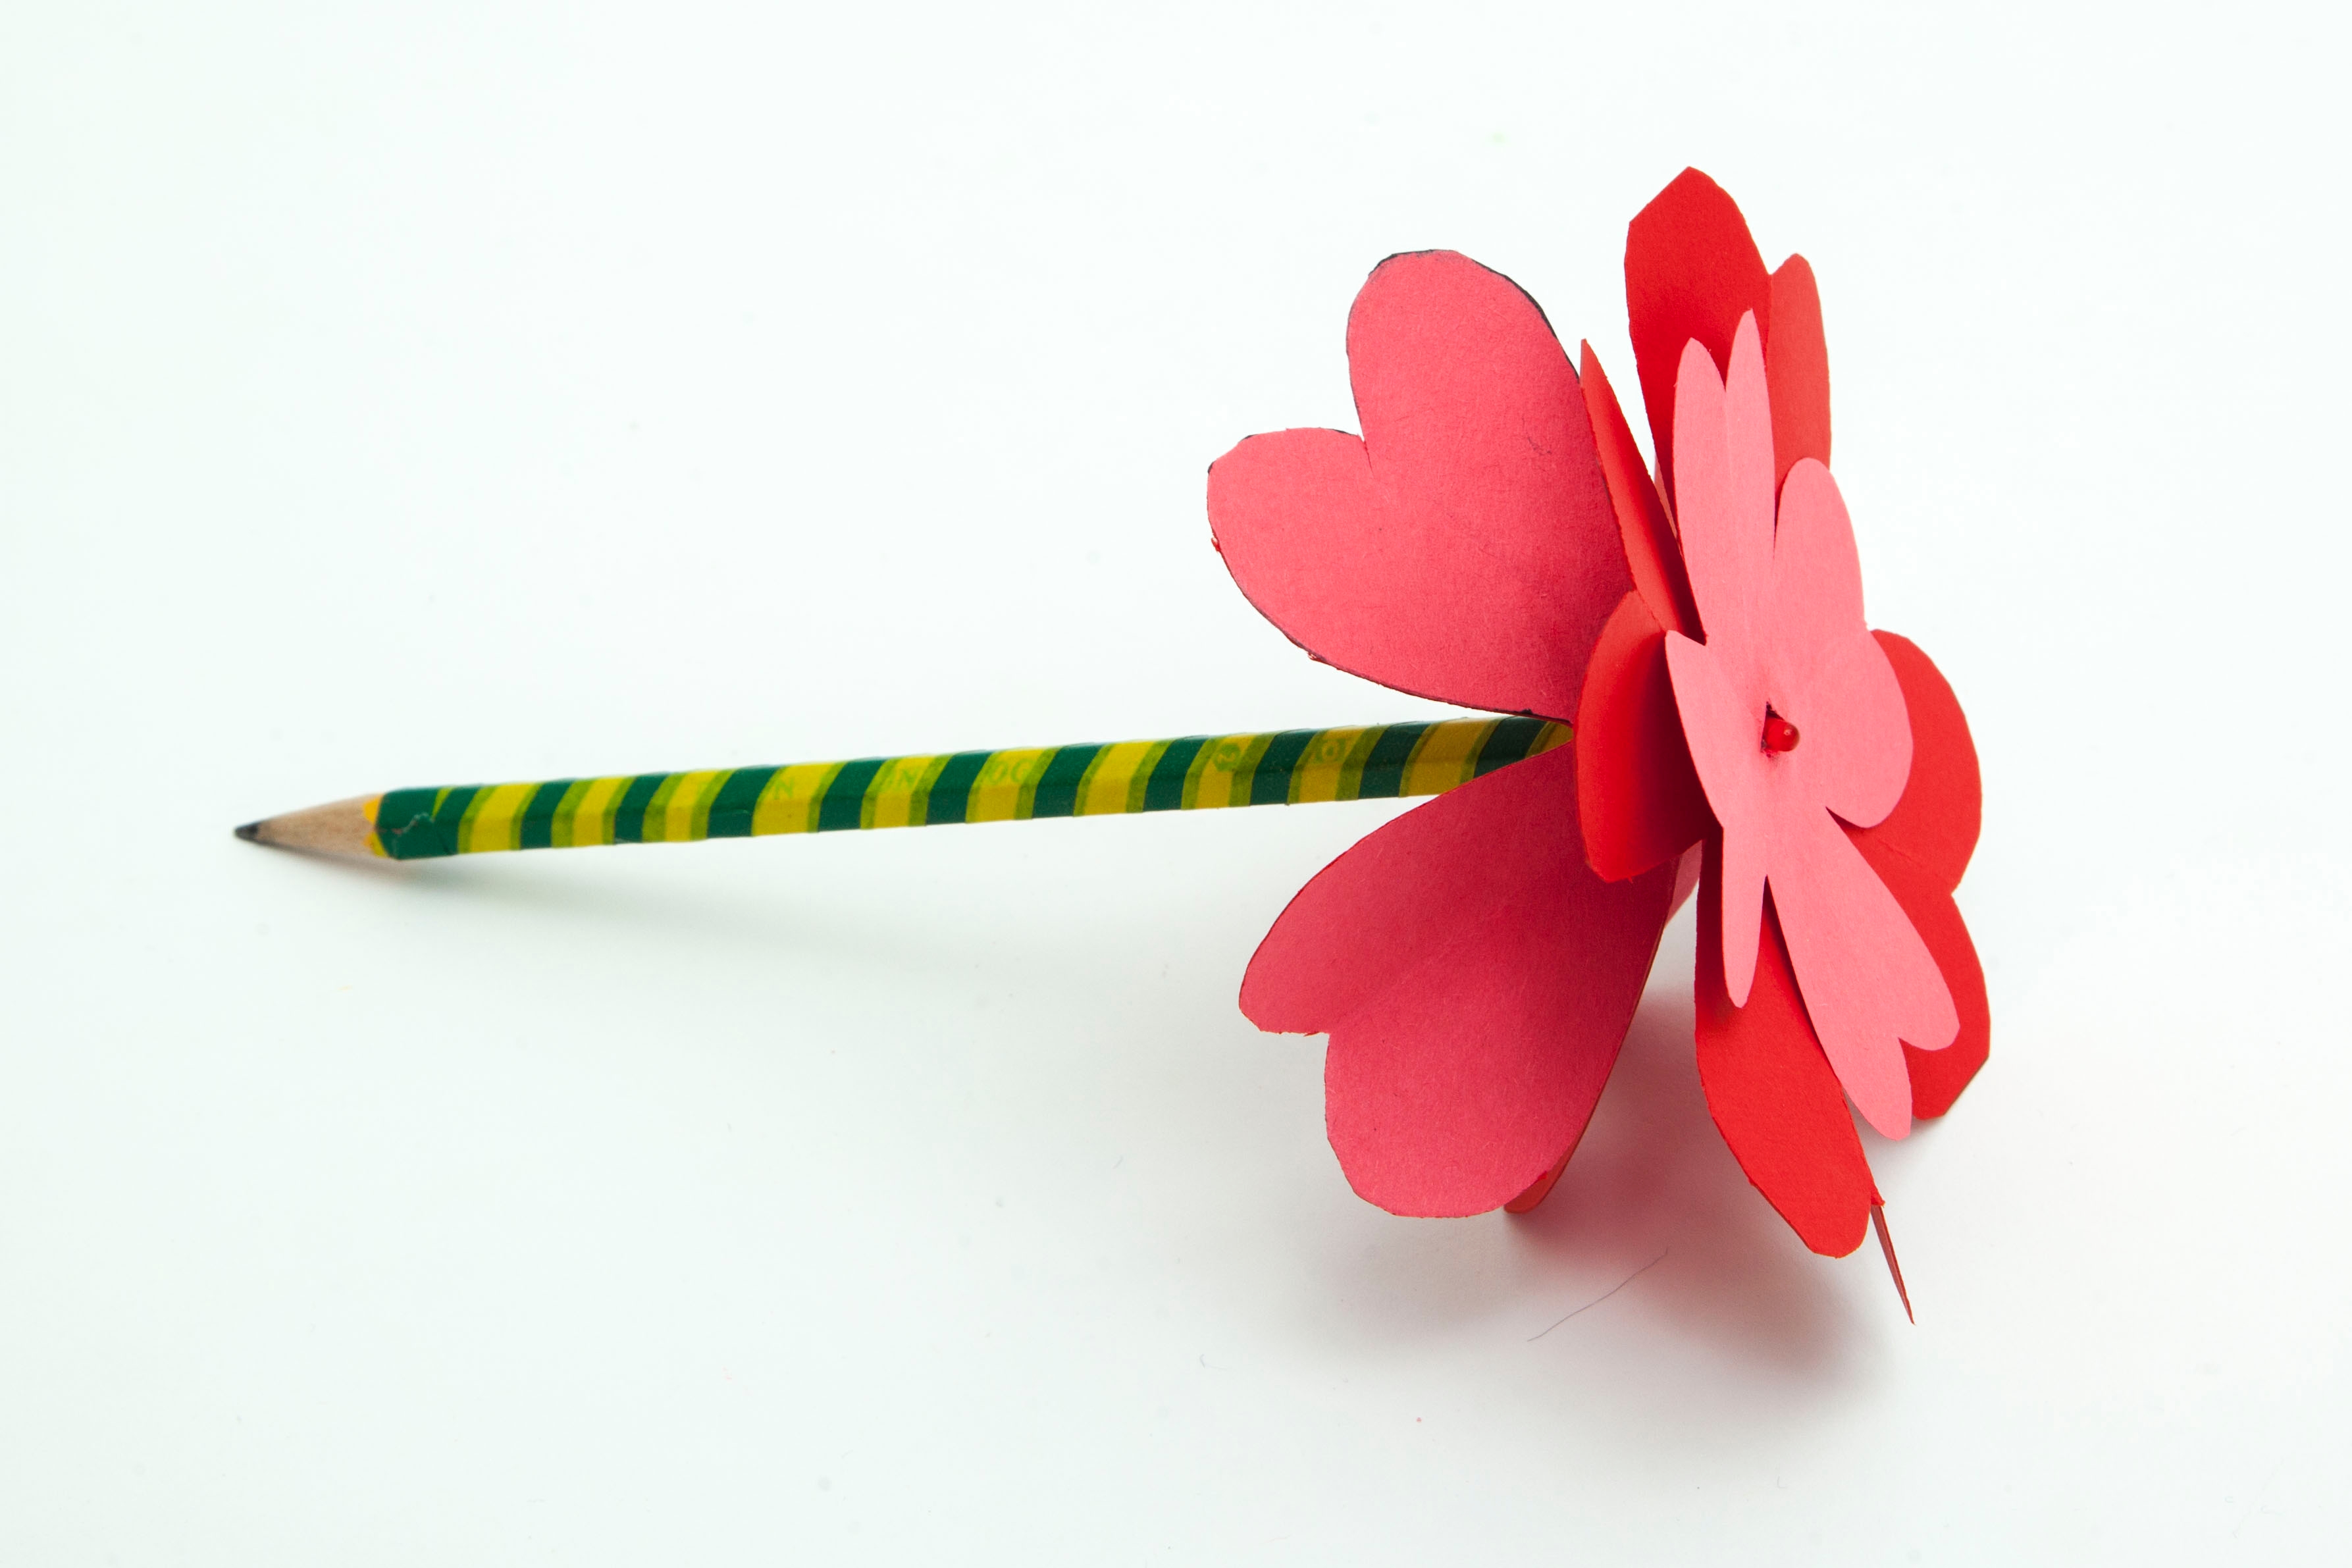
Done!
Push up on the bottom petal and your flower should light up!