Step-by-step tutorial
Step 1
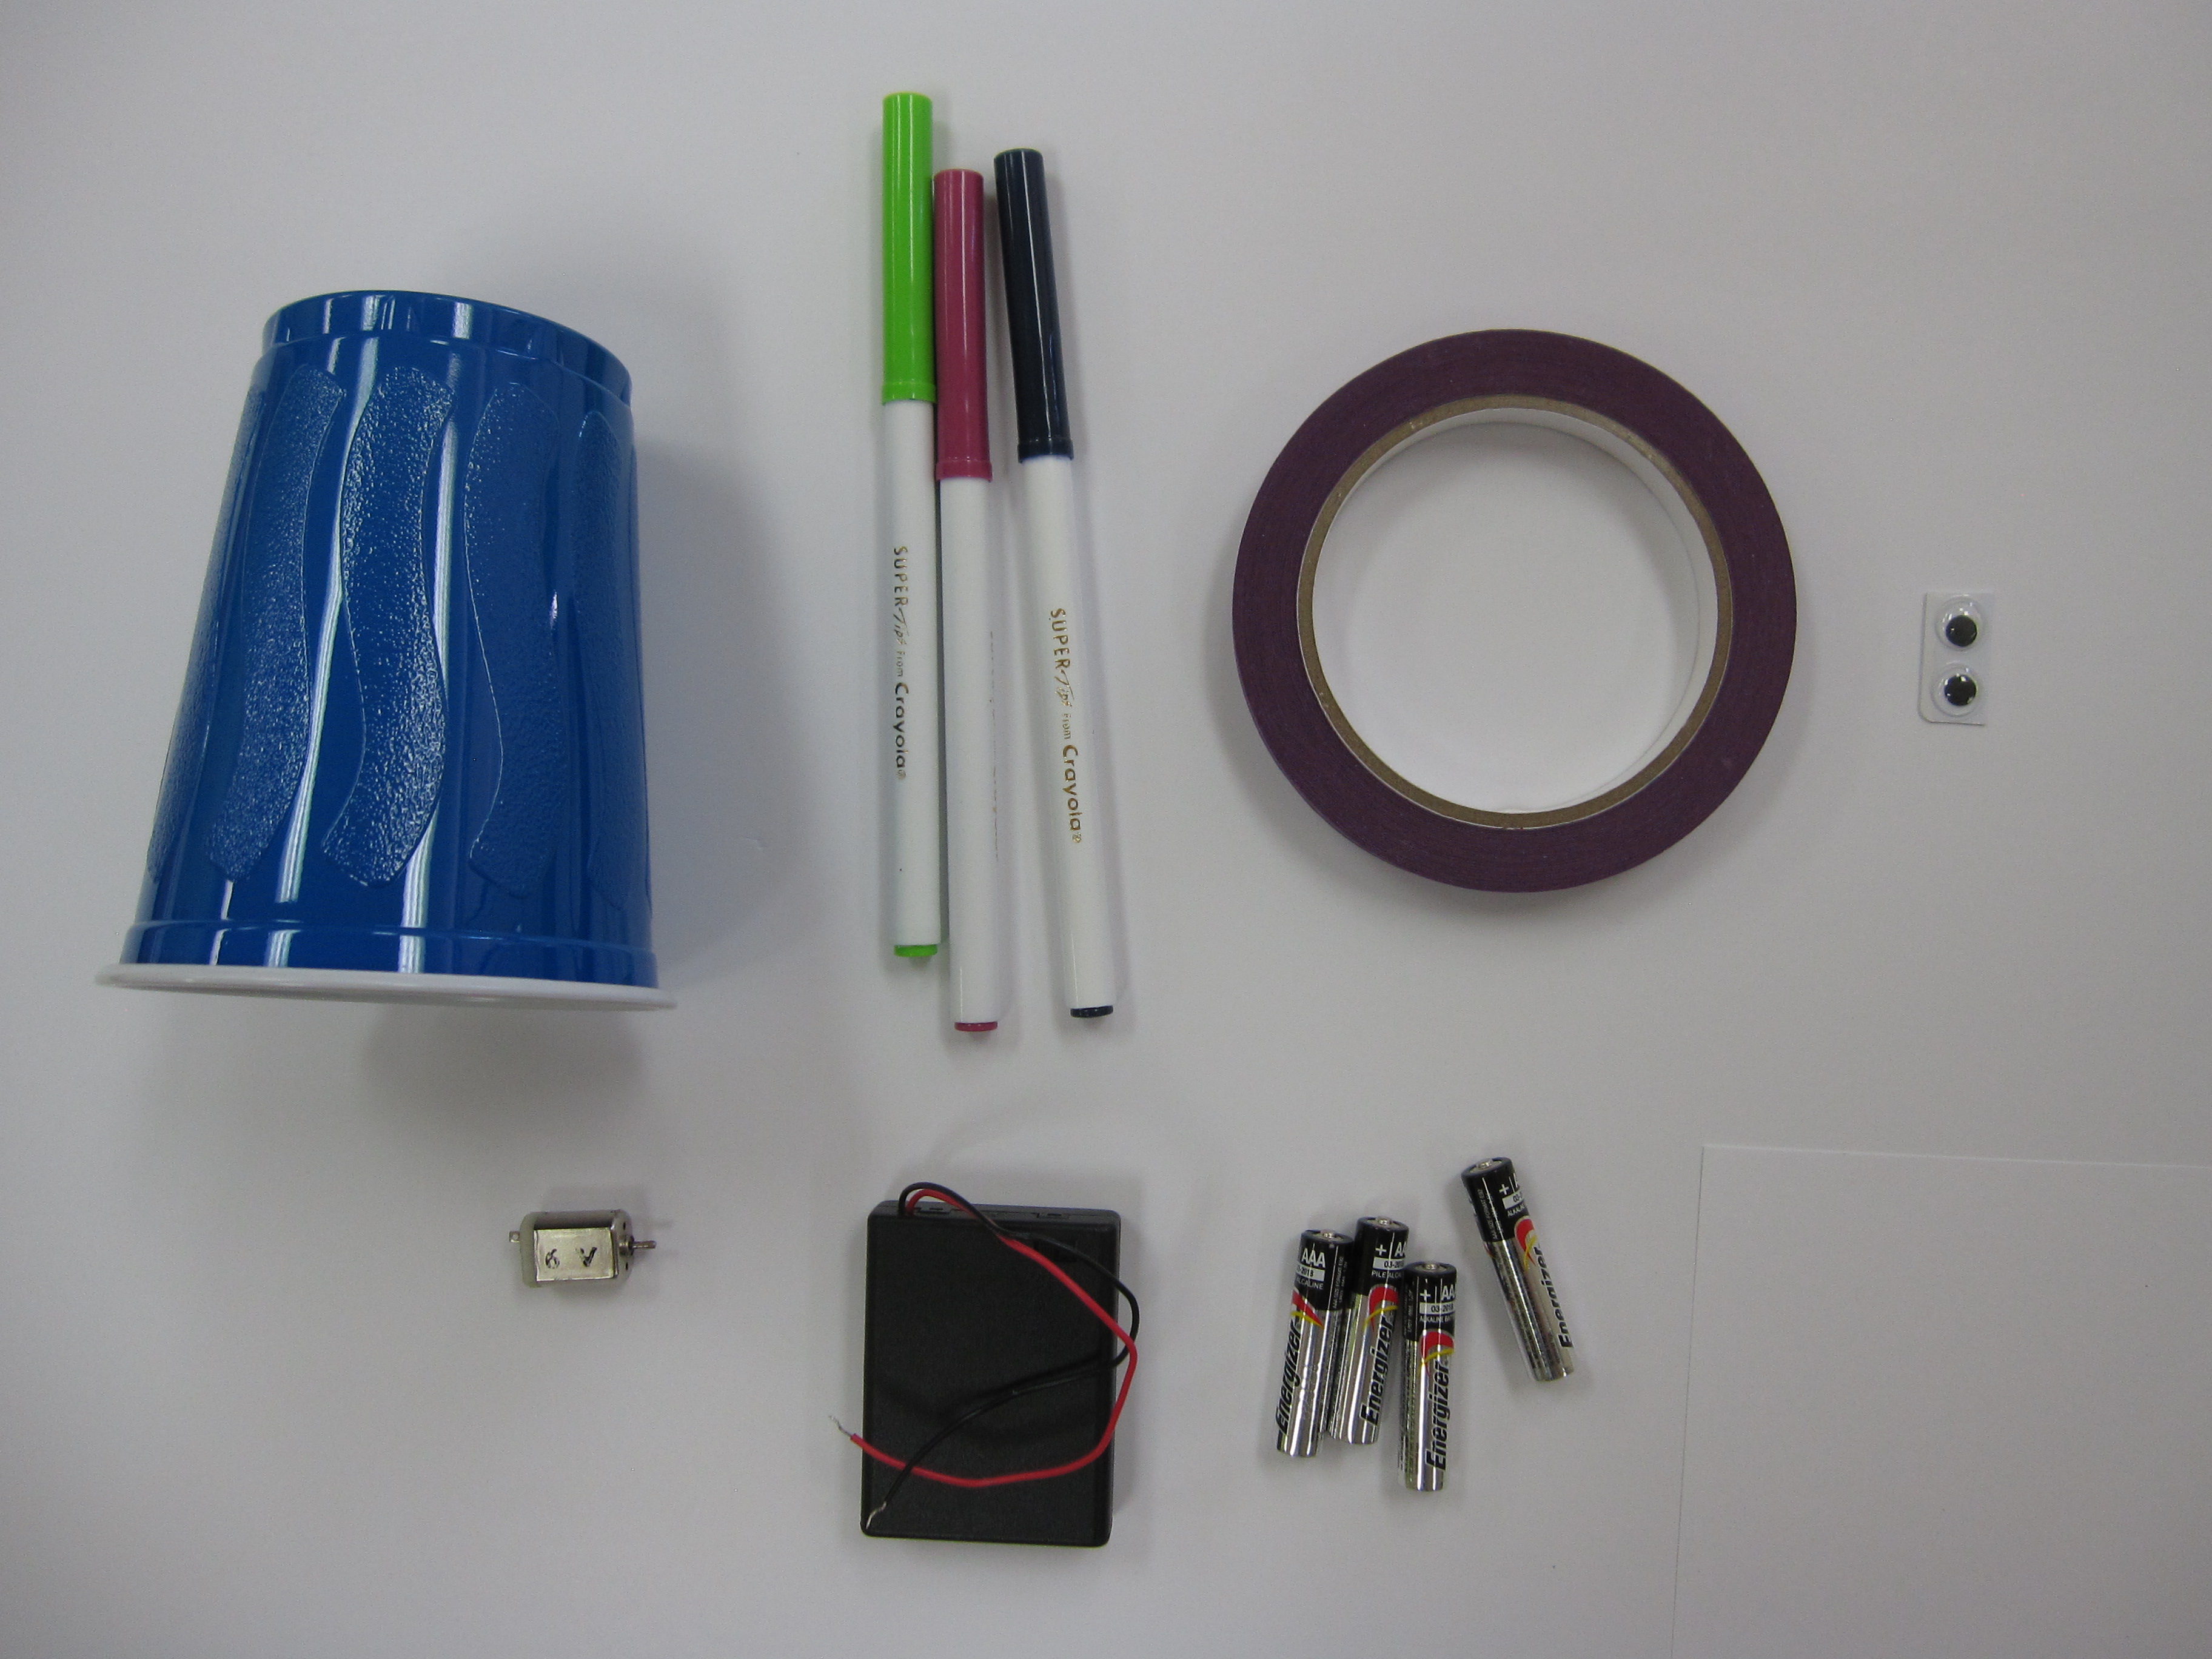
First, get together your supplies. You can get an inexpensive hobby motor and battery pack from your local electronics store. Put the batteries into the battery pack.

Step 2
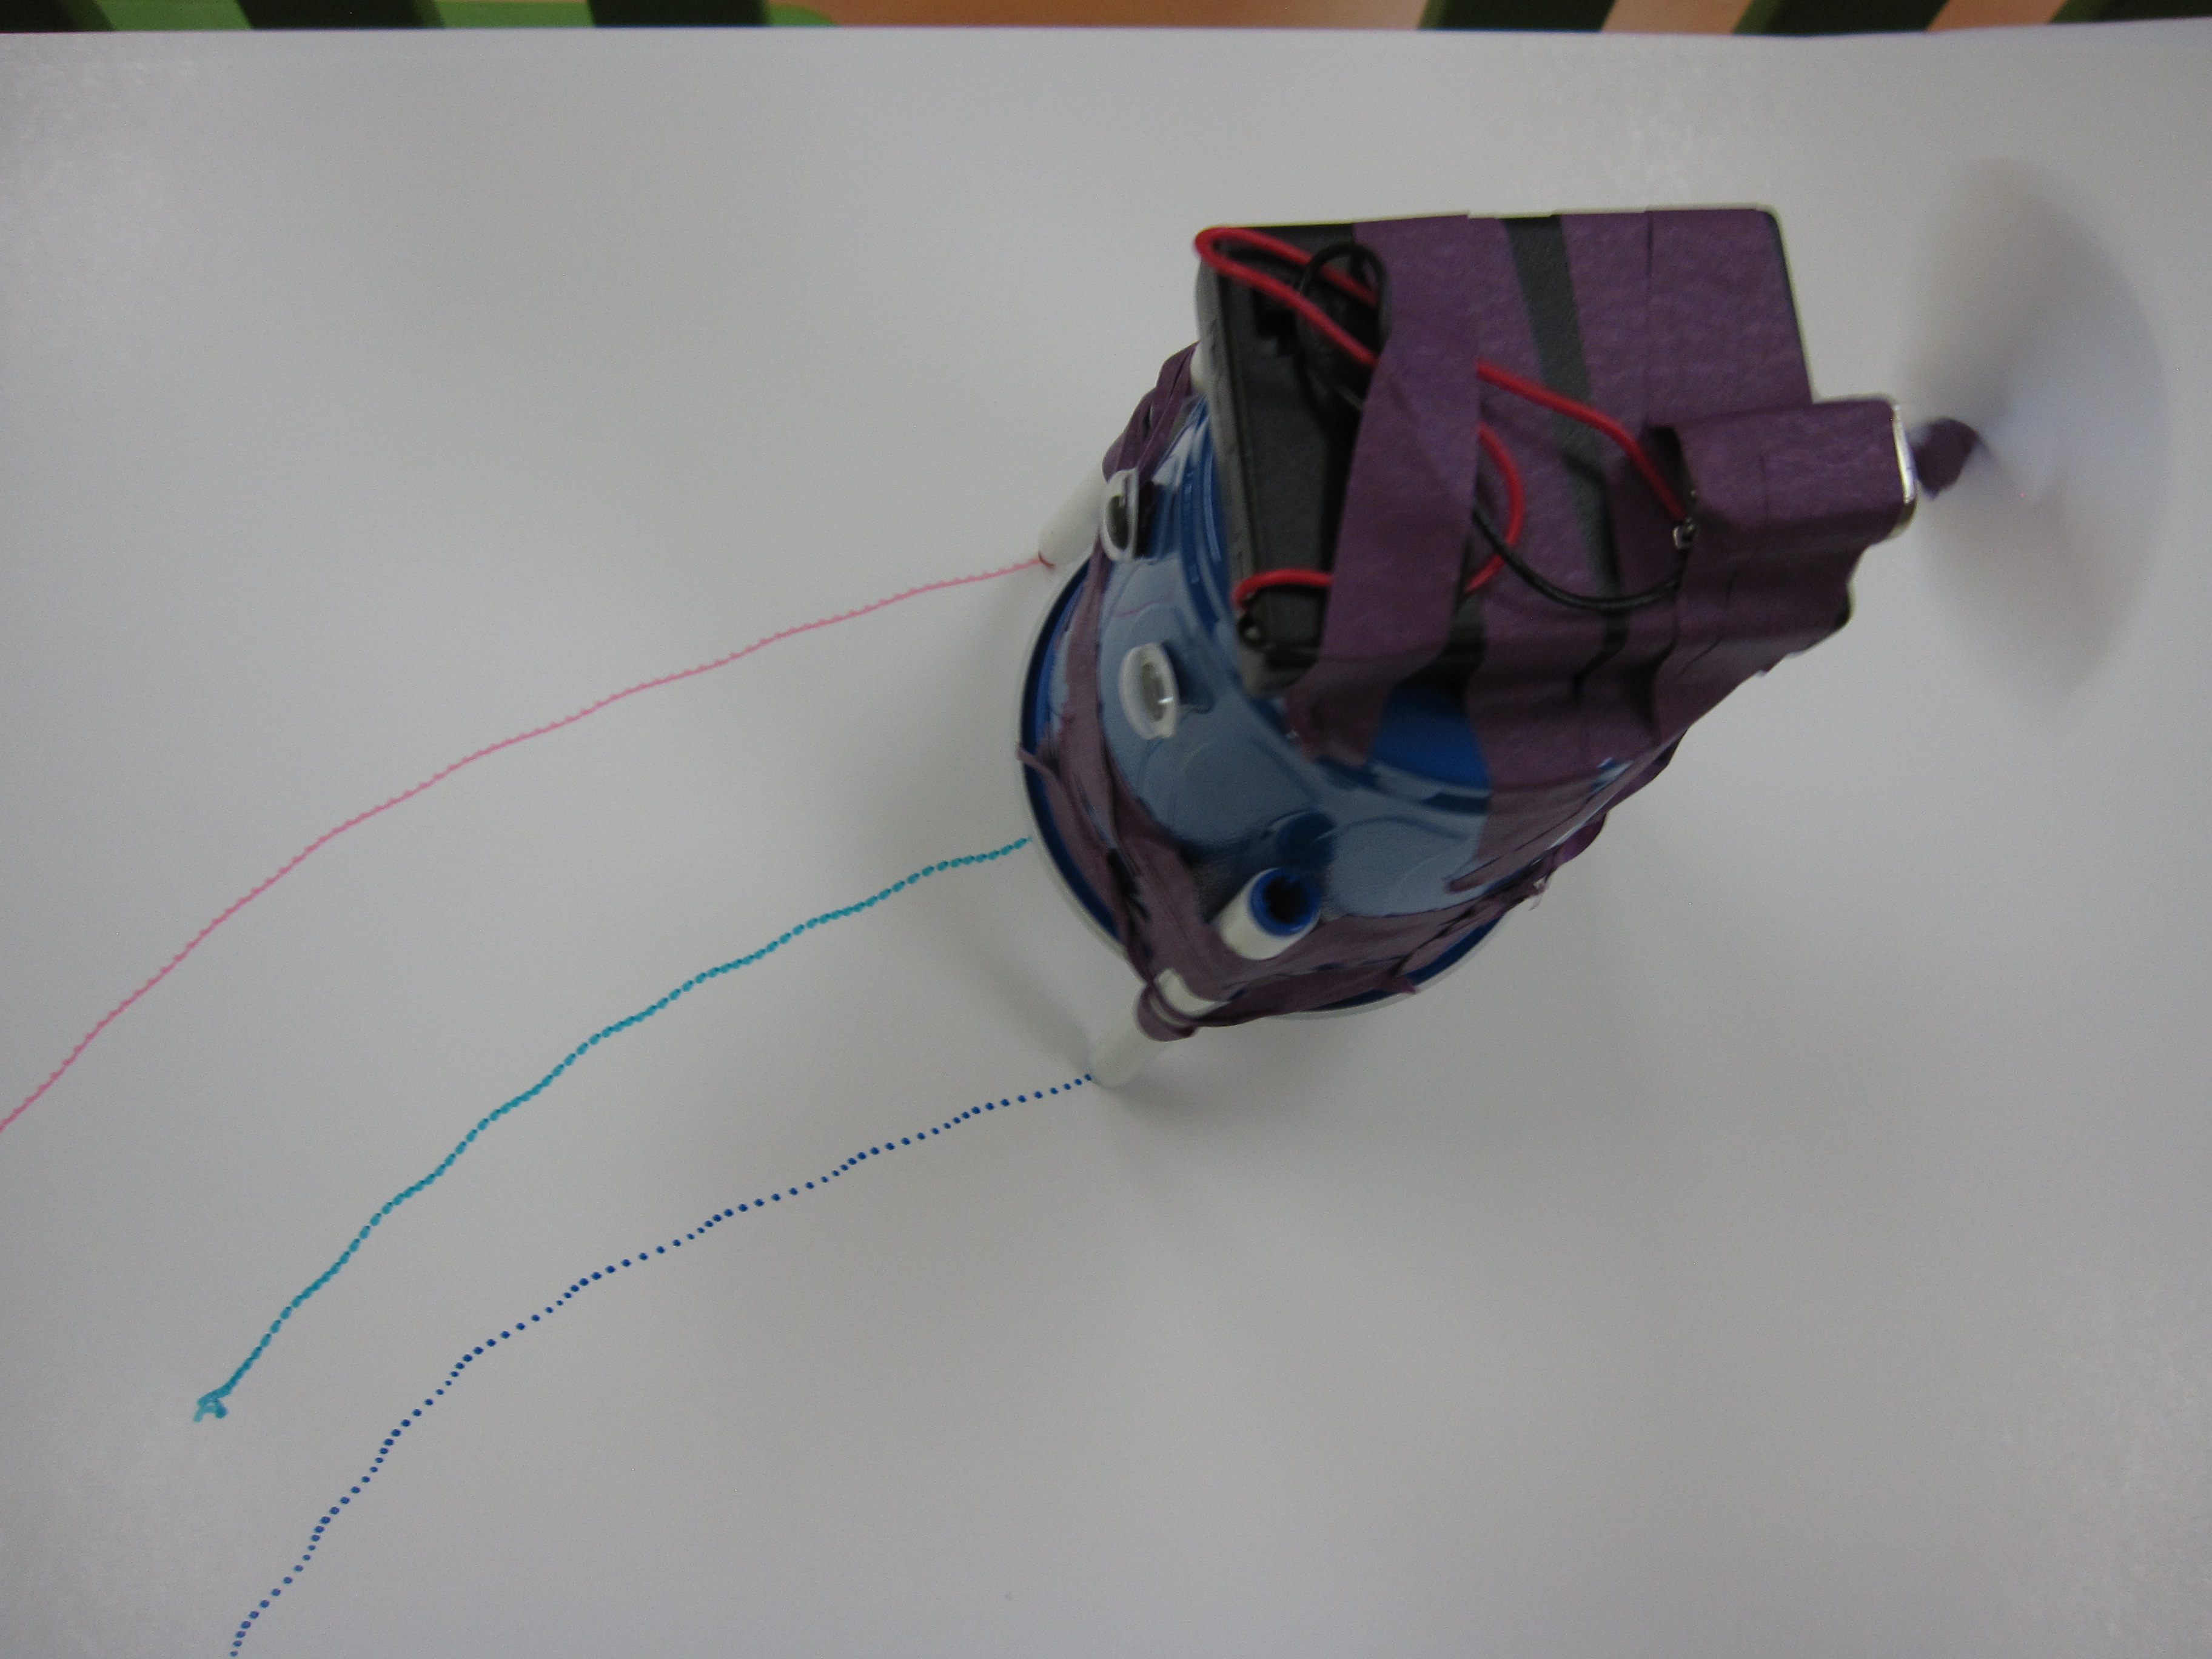
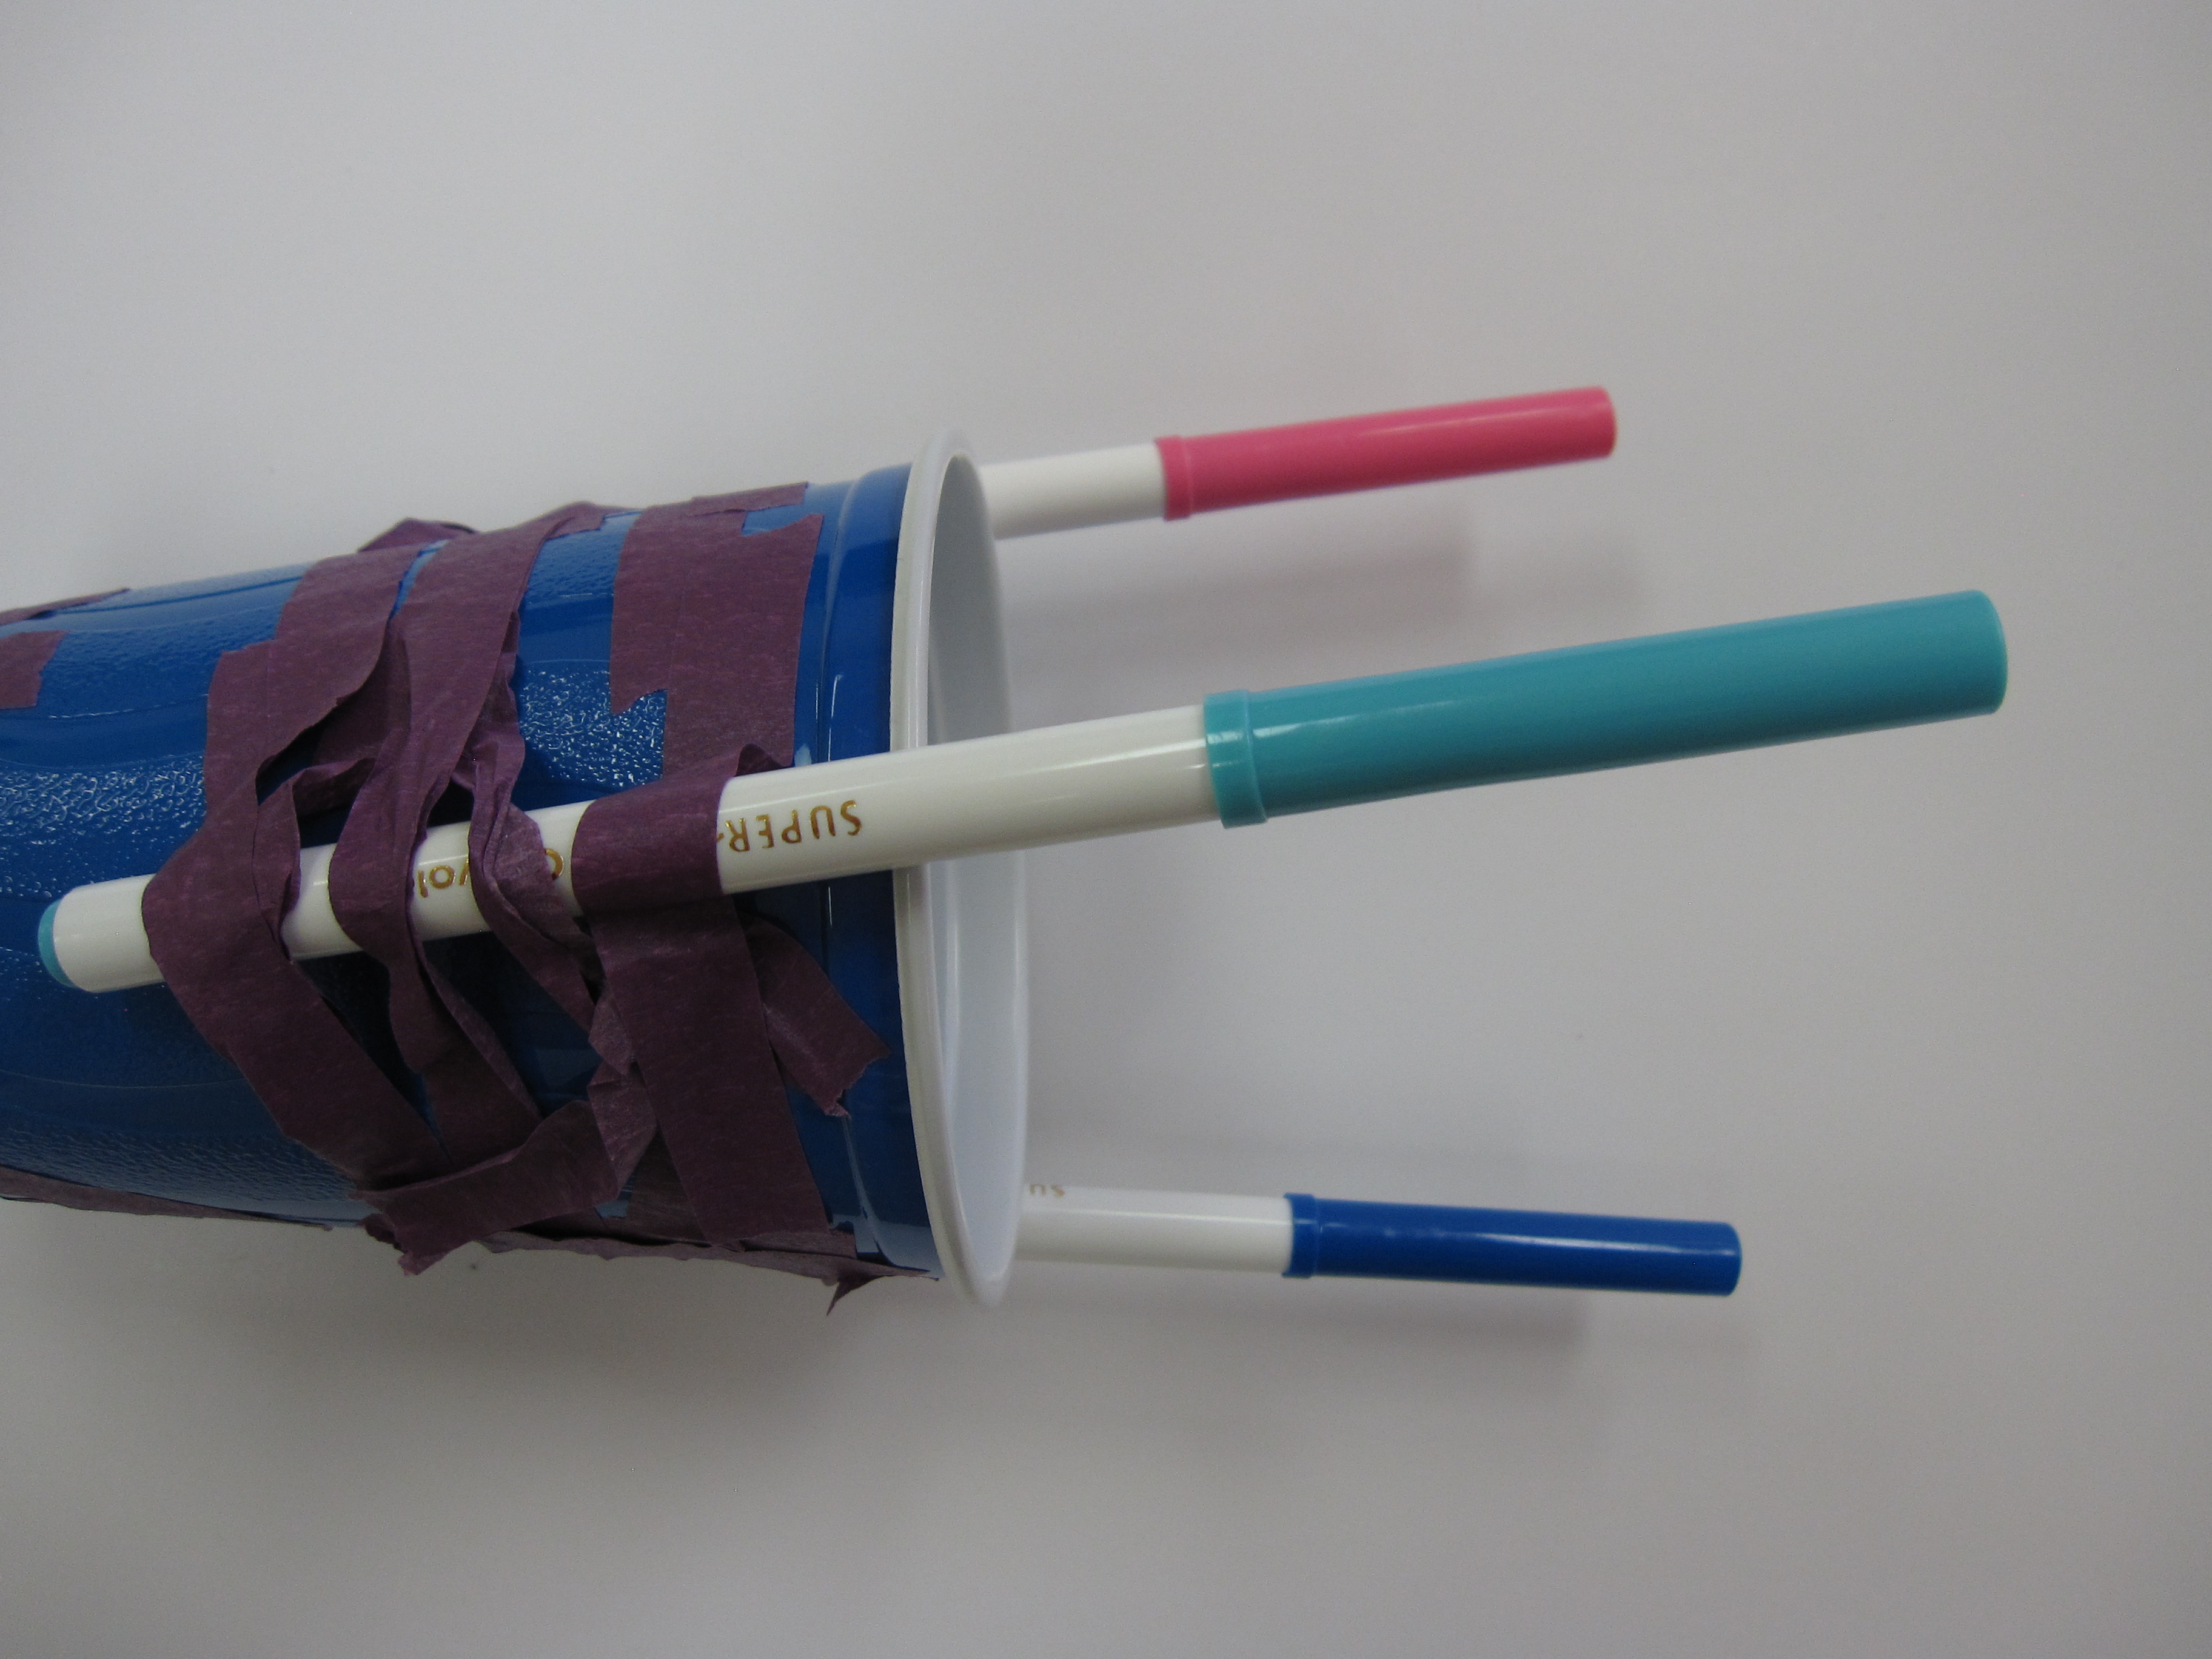
Tape your markers to the plastic cup. (Thinner markers are recommended. We tried thicker markers but they were too heavy and weighed ArtBot down.)
Step 3
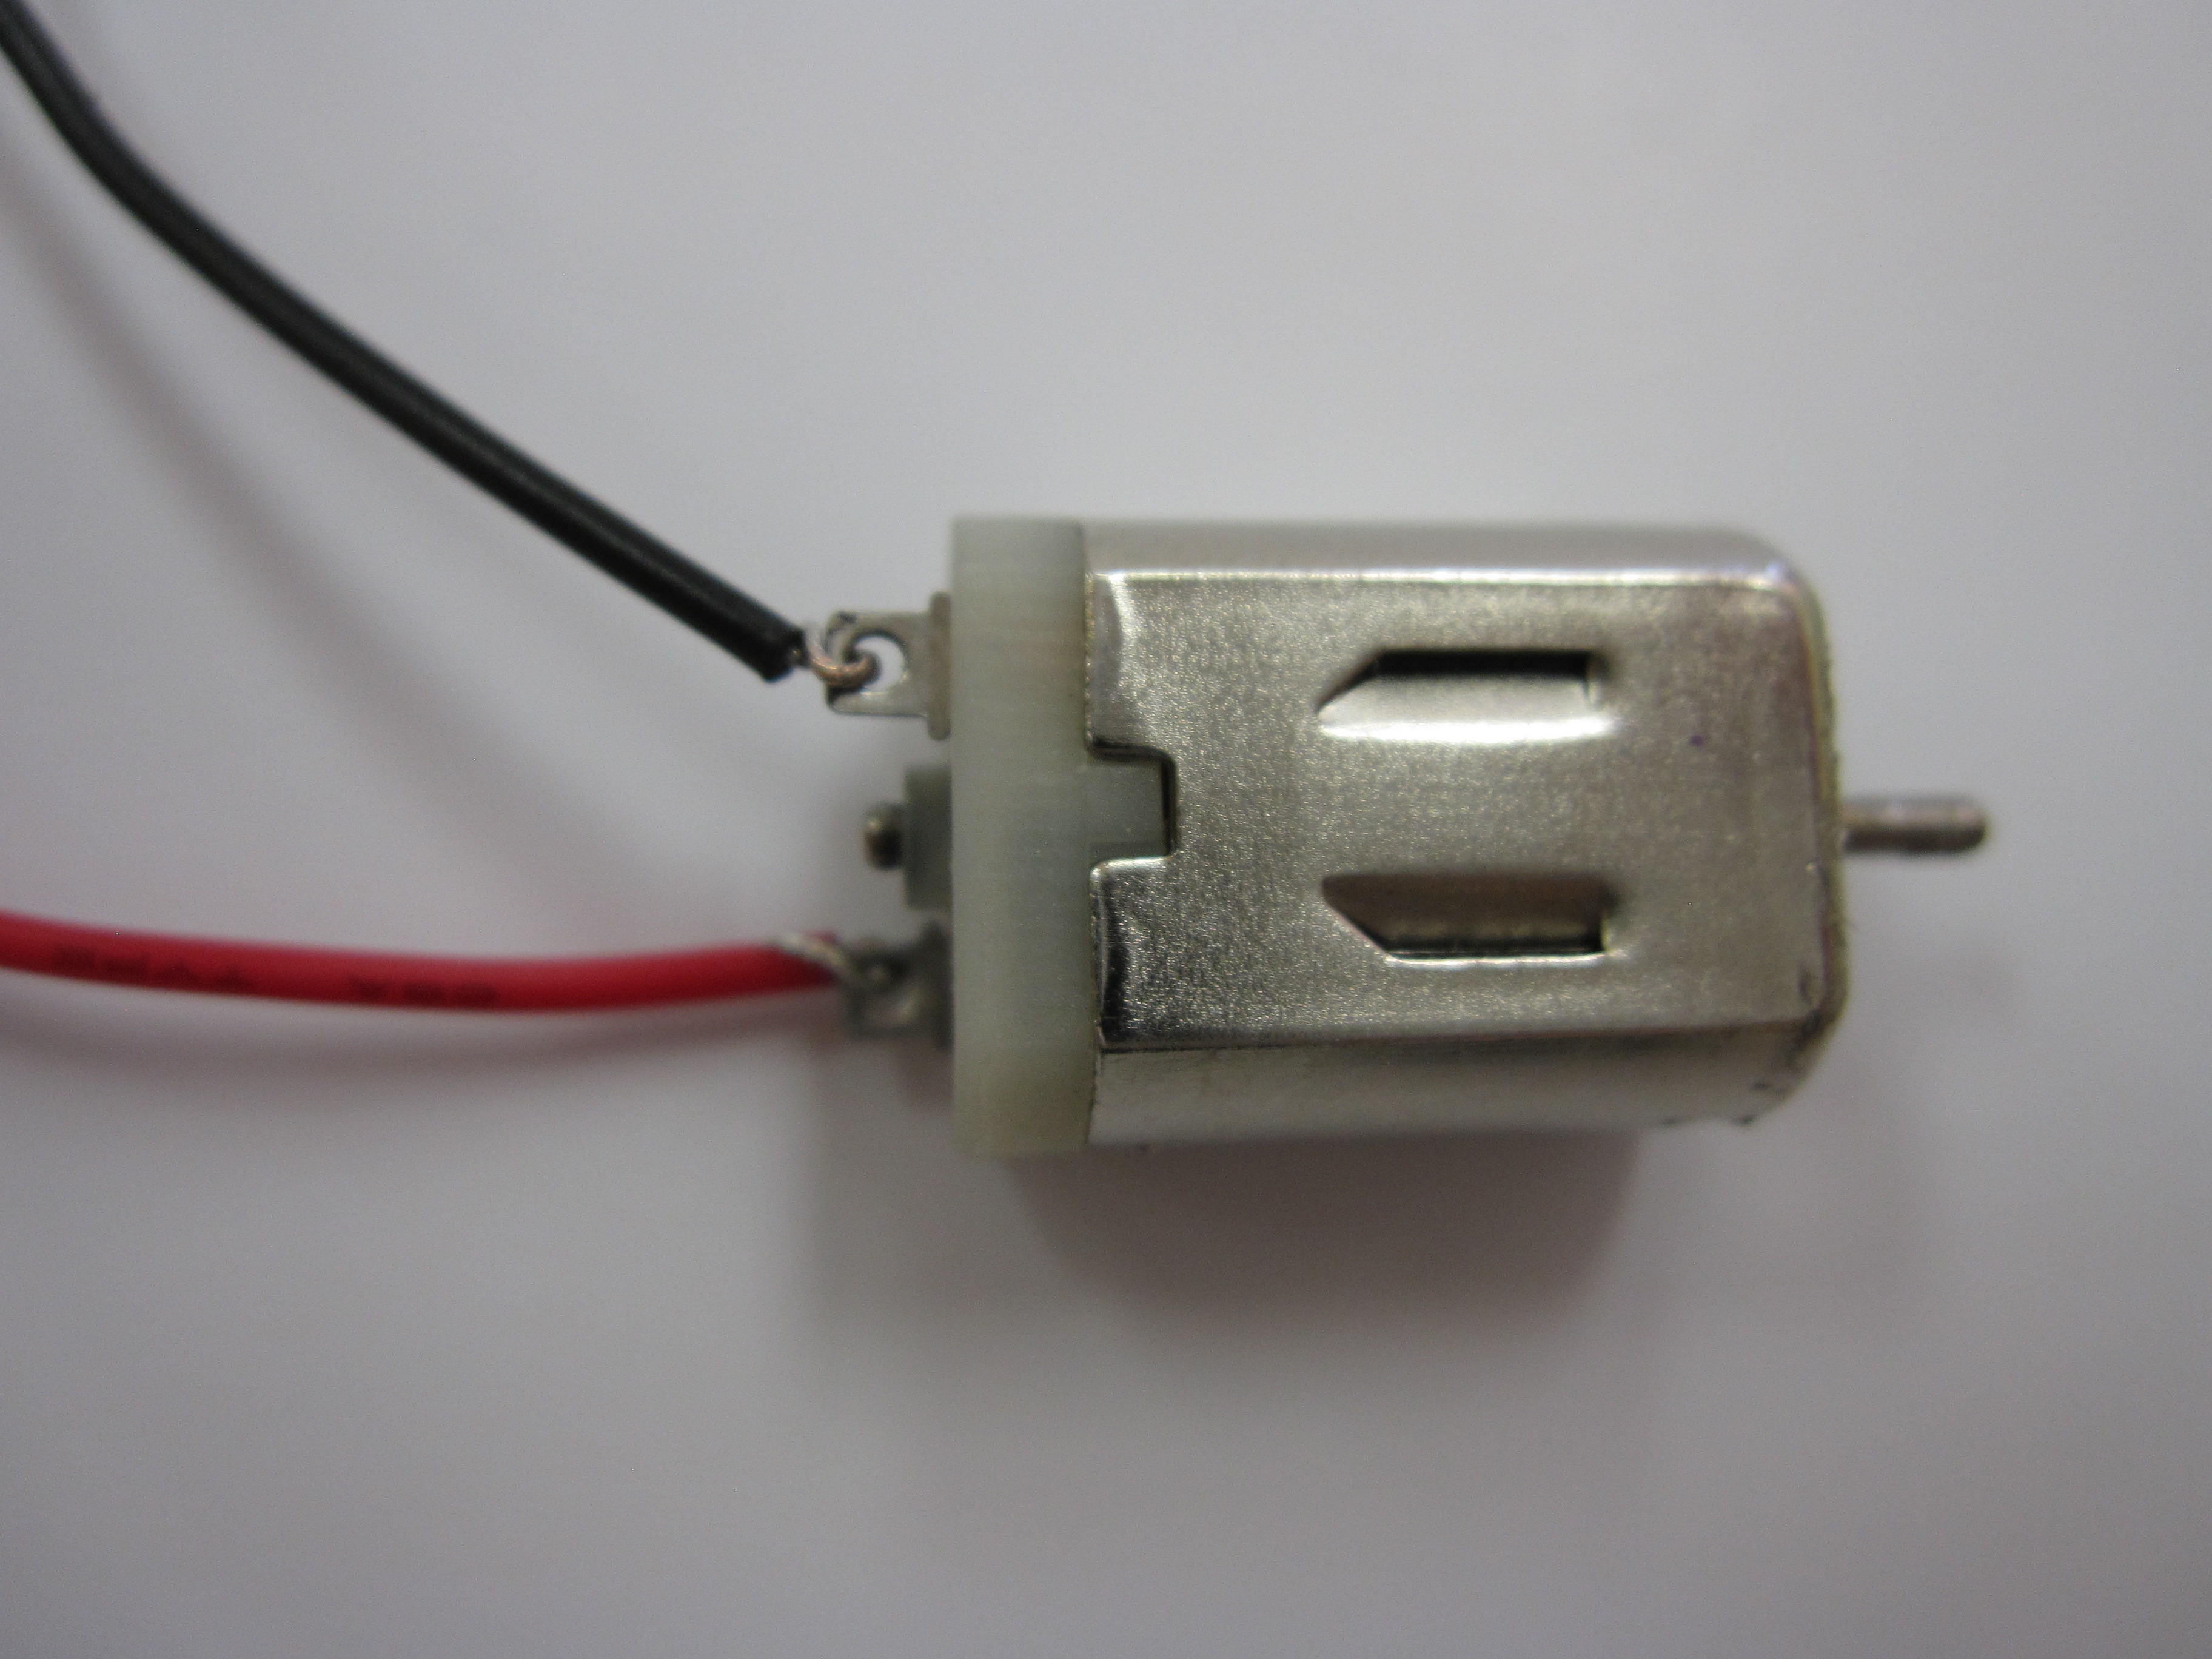
Hook the battery pack's wires to the hobby motor. It doesn't matter in which order you hook up the wire; just make sure there's only one wire on each small metal hole of the hobby motor. My five-year-old hooked the wires on, and then I helped her secure the wires.
Step 4
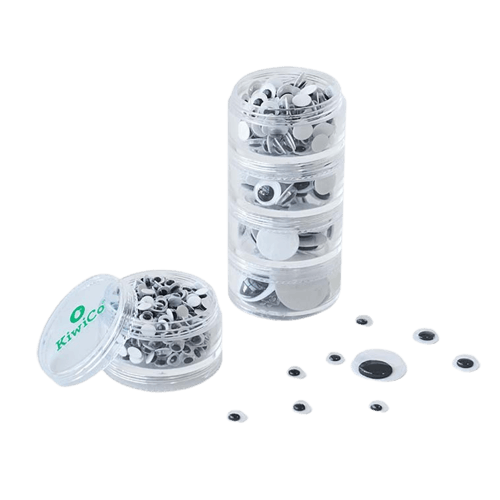
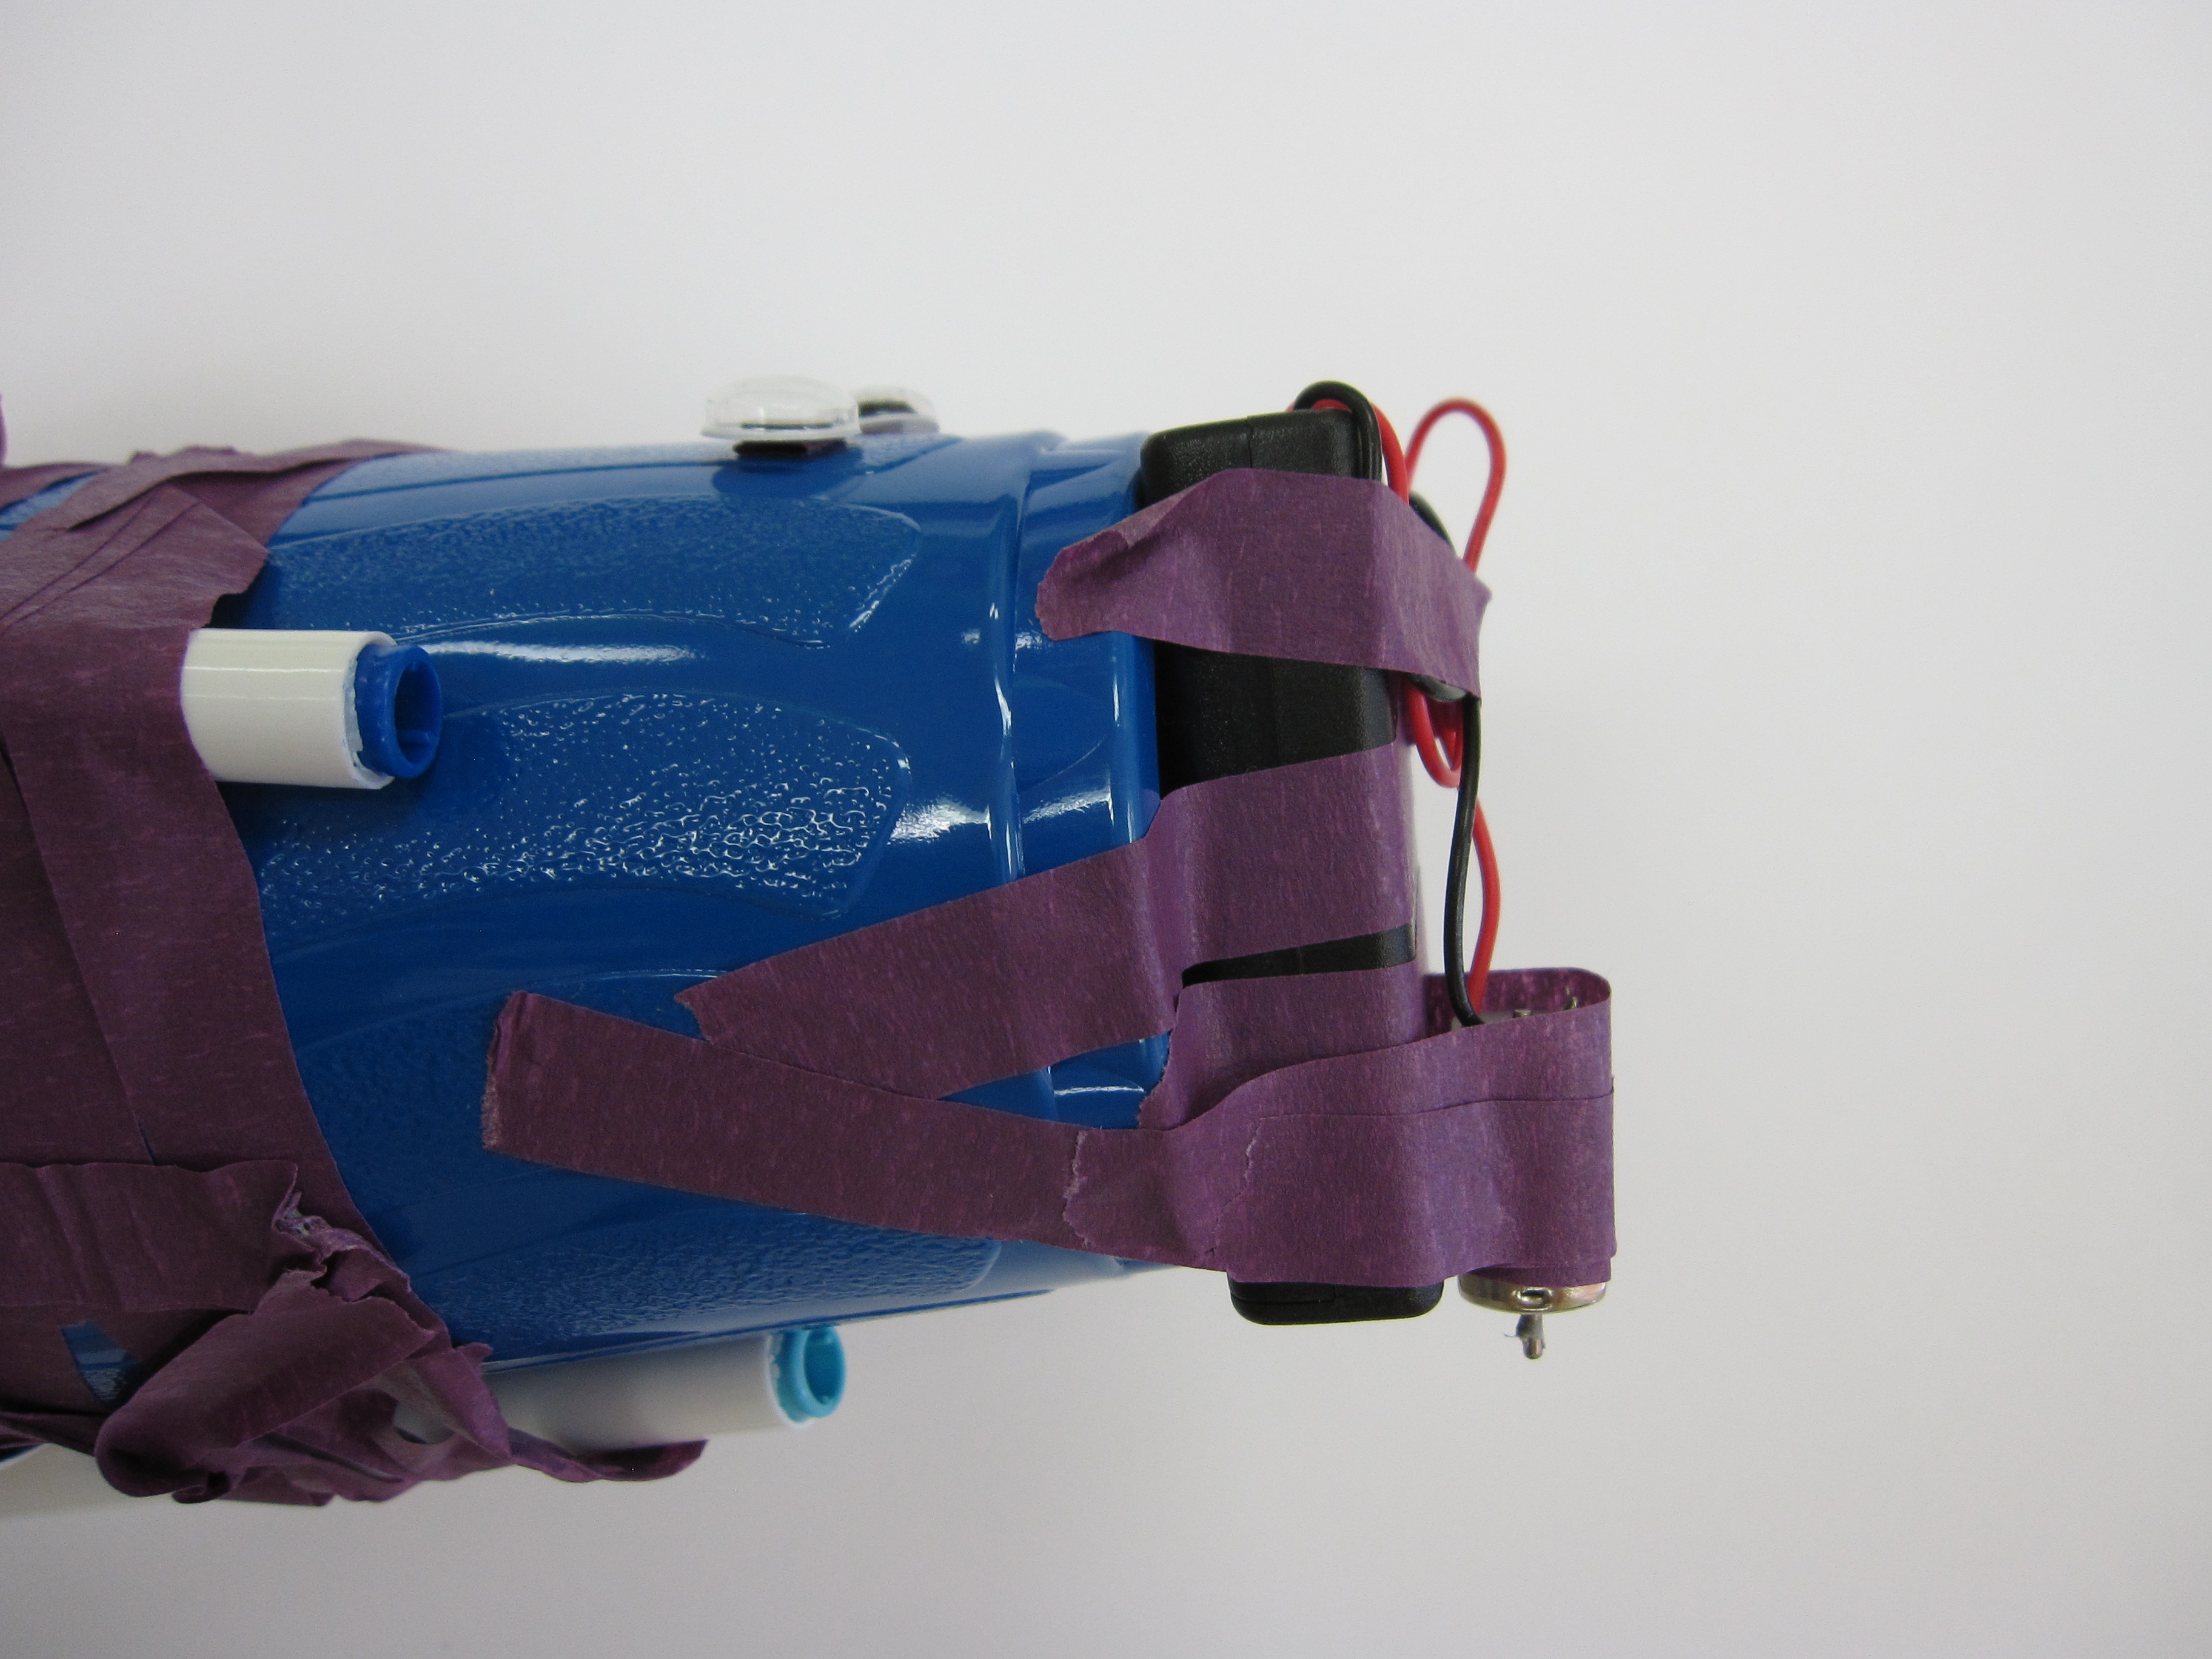
Tape the battery pack to the top of the plastic cup. We added some googly eyes to give the ArtBot some life!
Step 5
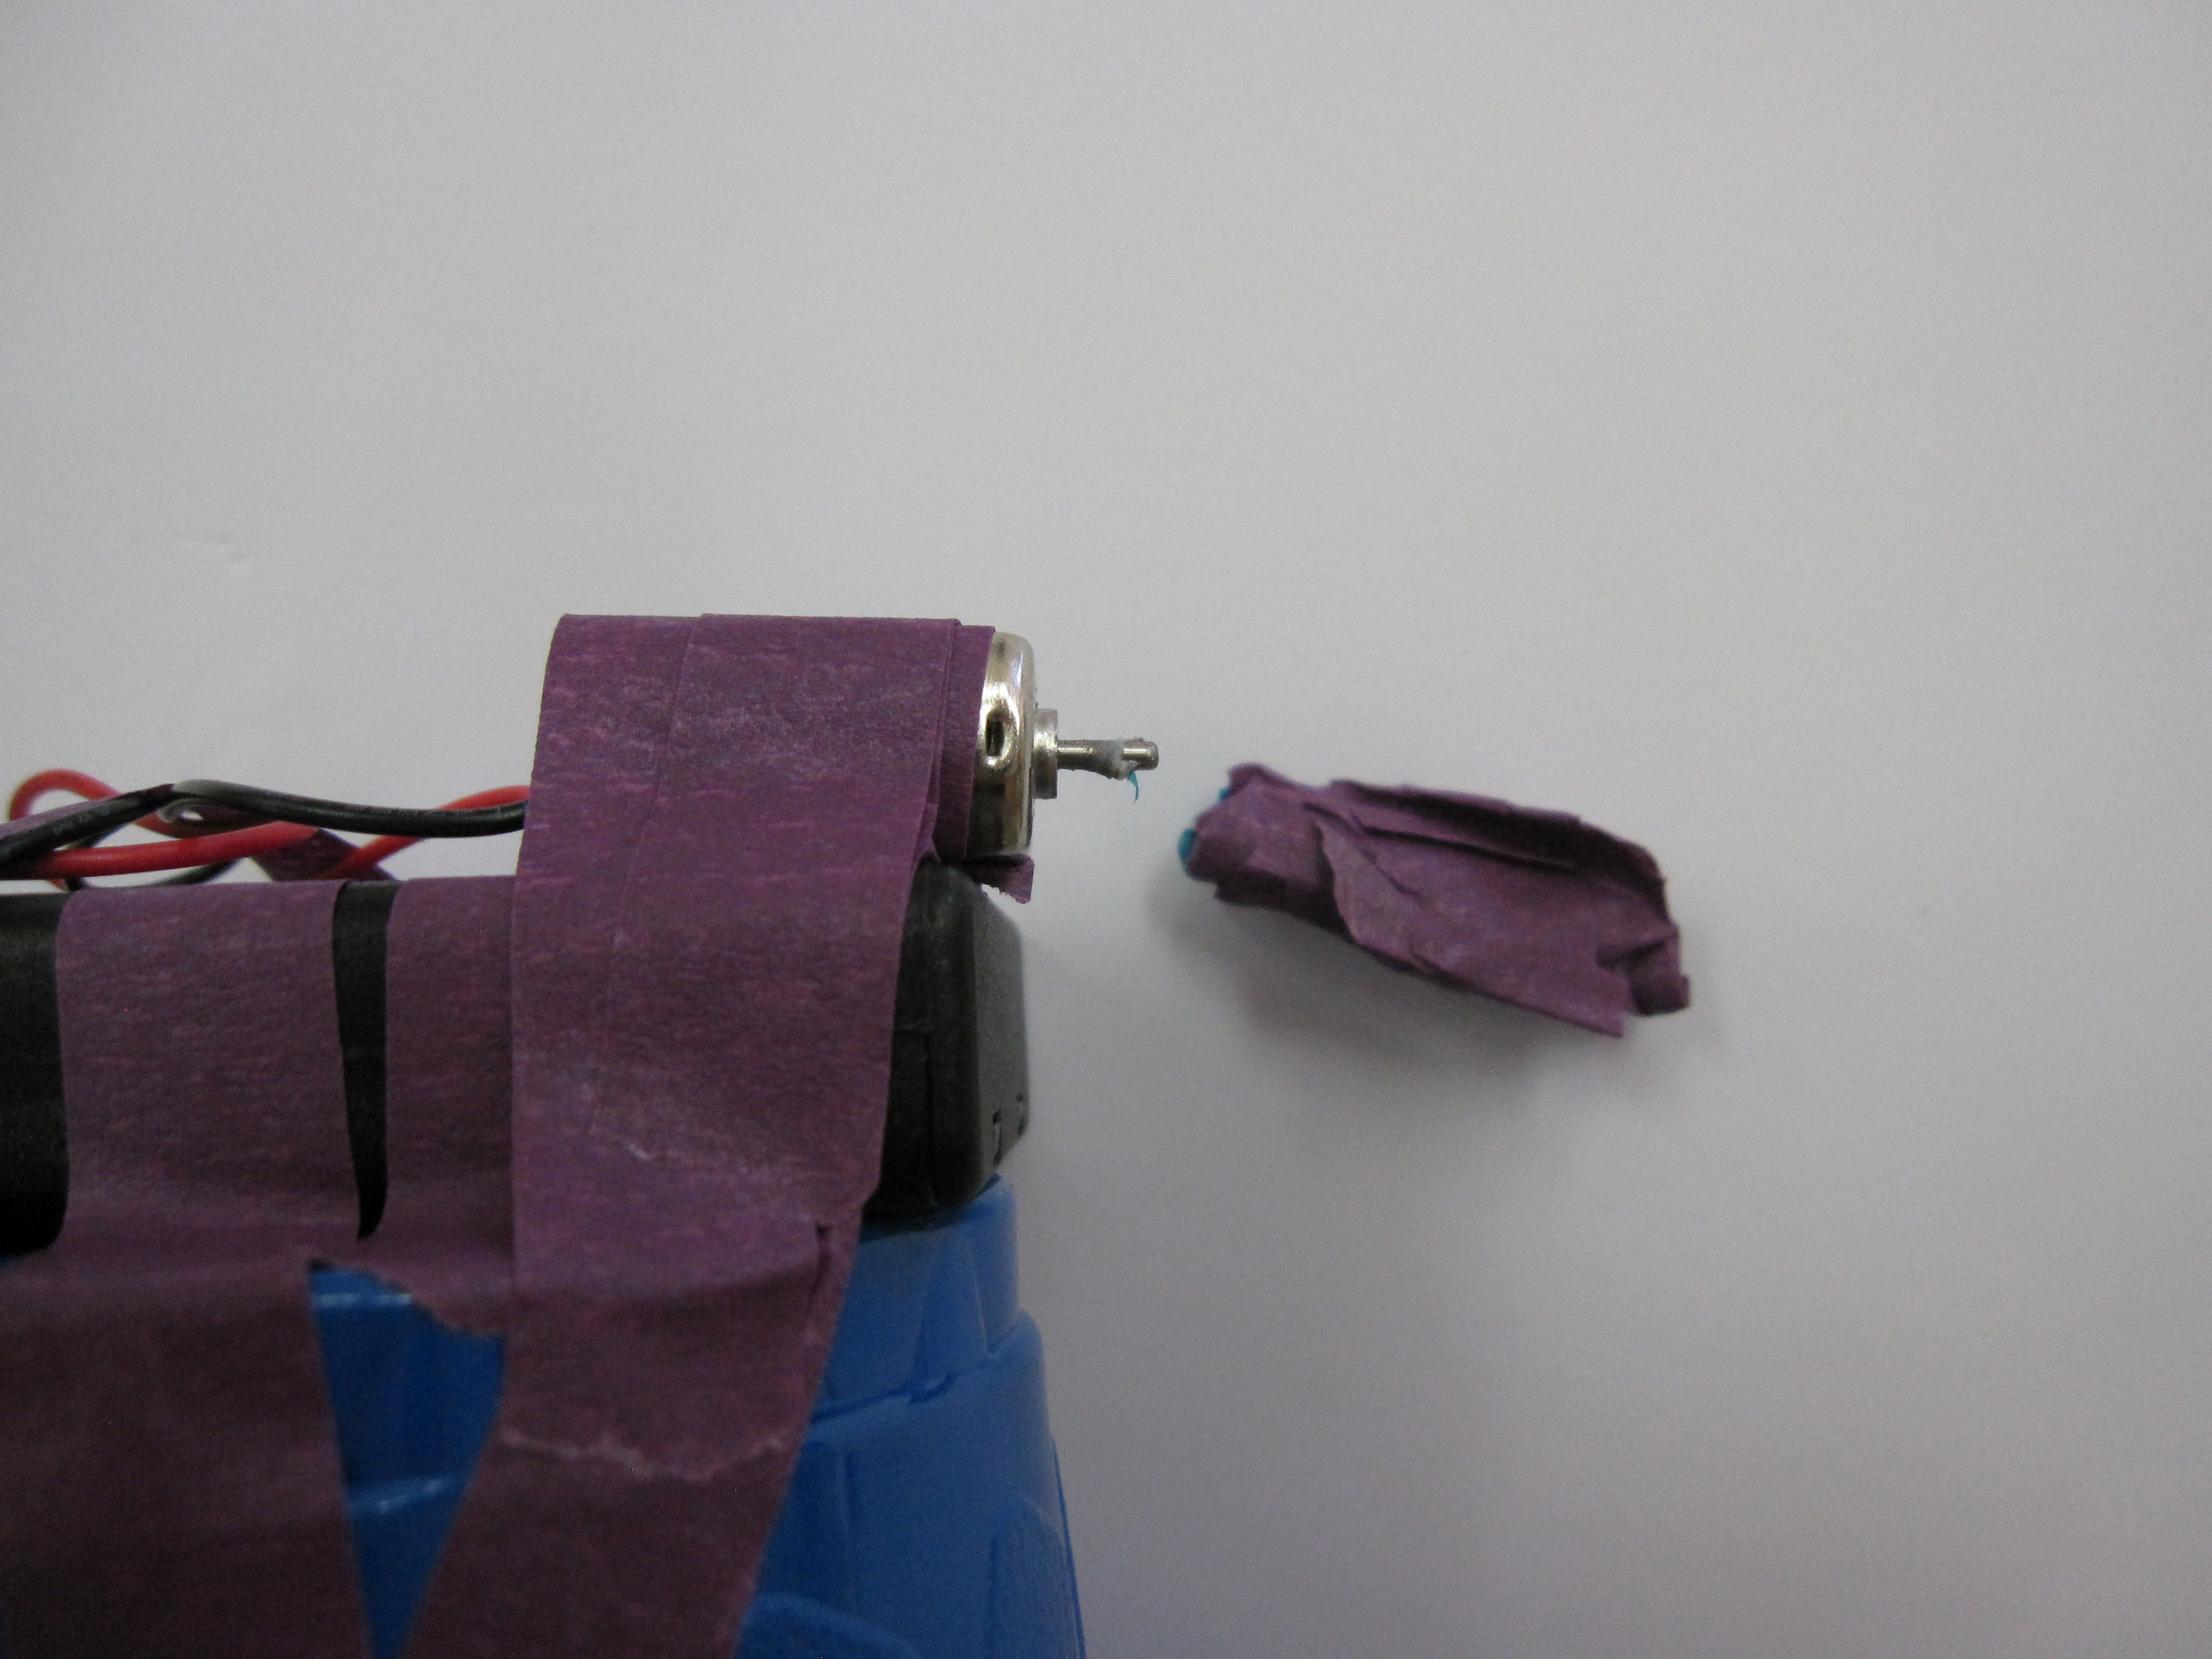
Add a glob of tape to the knob on the hobby motor. Turn on the motor to see whether the tape will stay on securely. It took us a few attempts before the glob of tape stayed on.
Done!
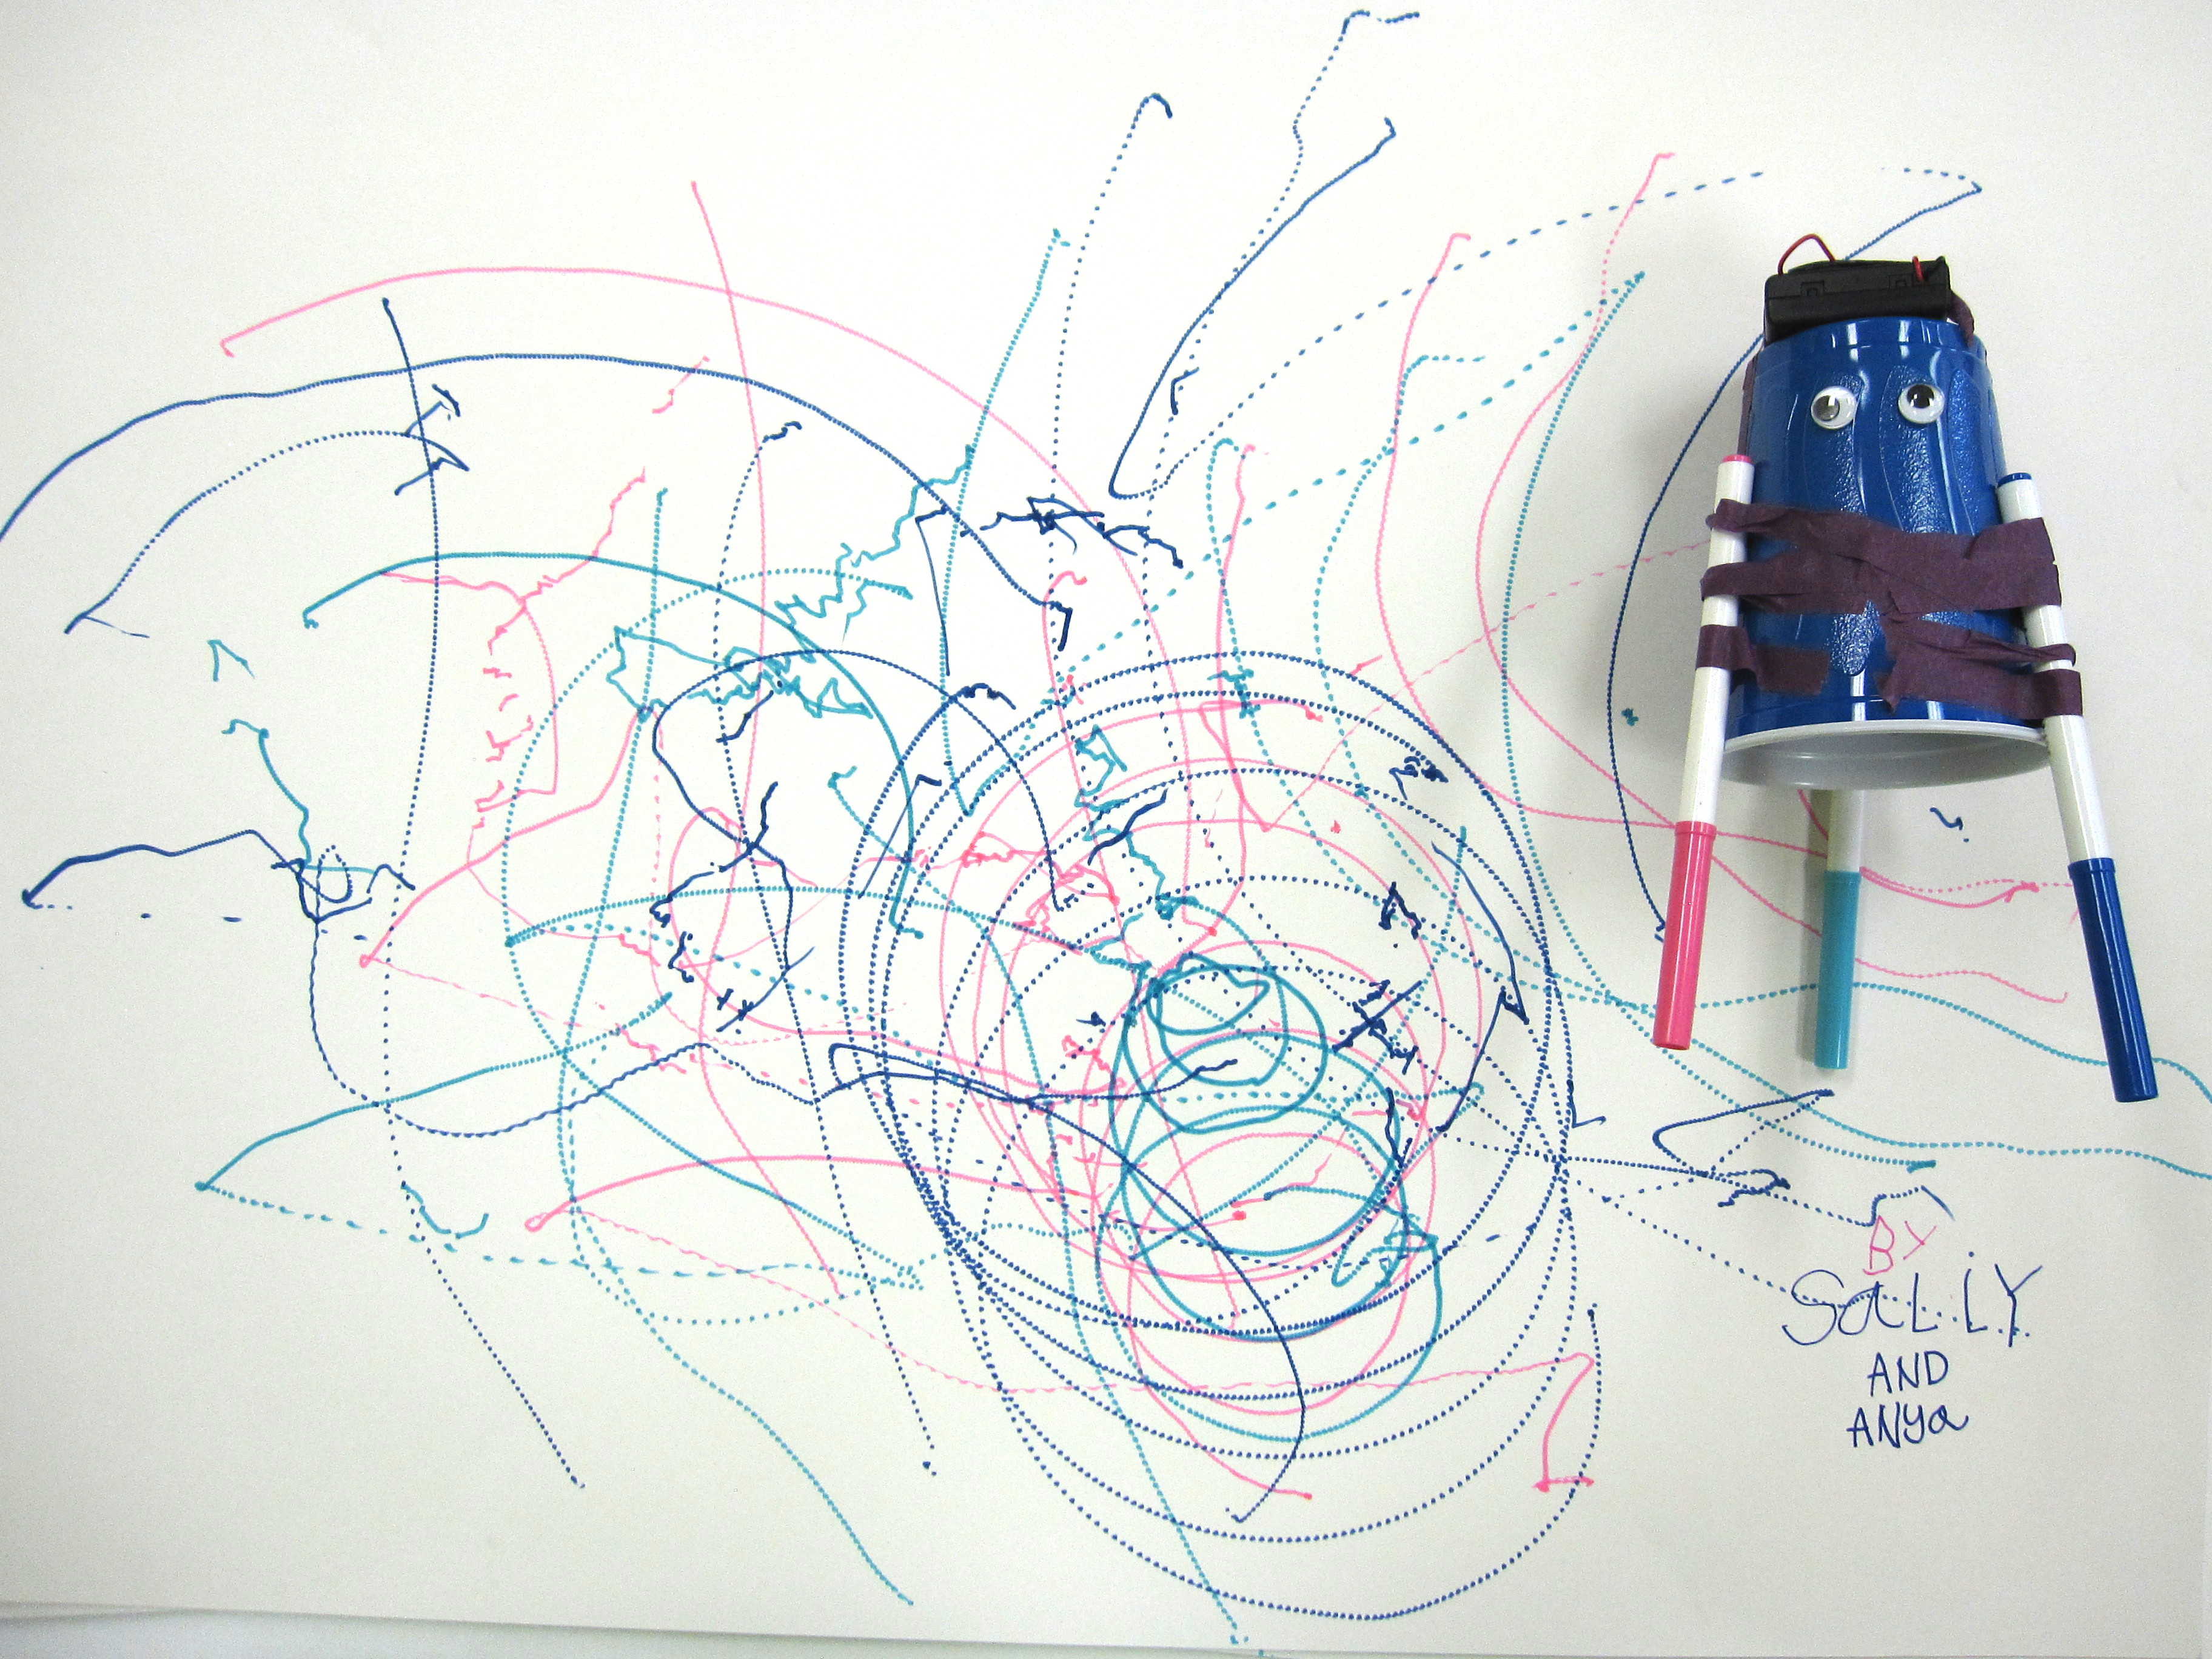
Uncap your markers, place your ArtBot on a large piece of paper, then turn your motor on by flicking the "on" switch on your battery pack. My five-year-old proudly named her robot buddy "Sally." Go Sally, go!