
Step-by-step tutorial
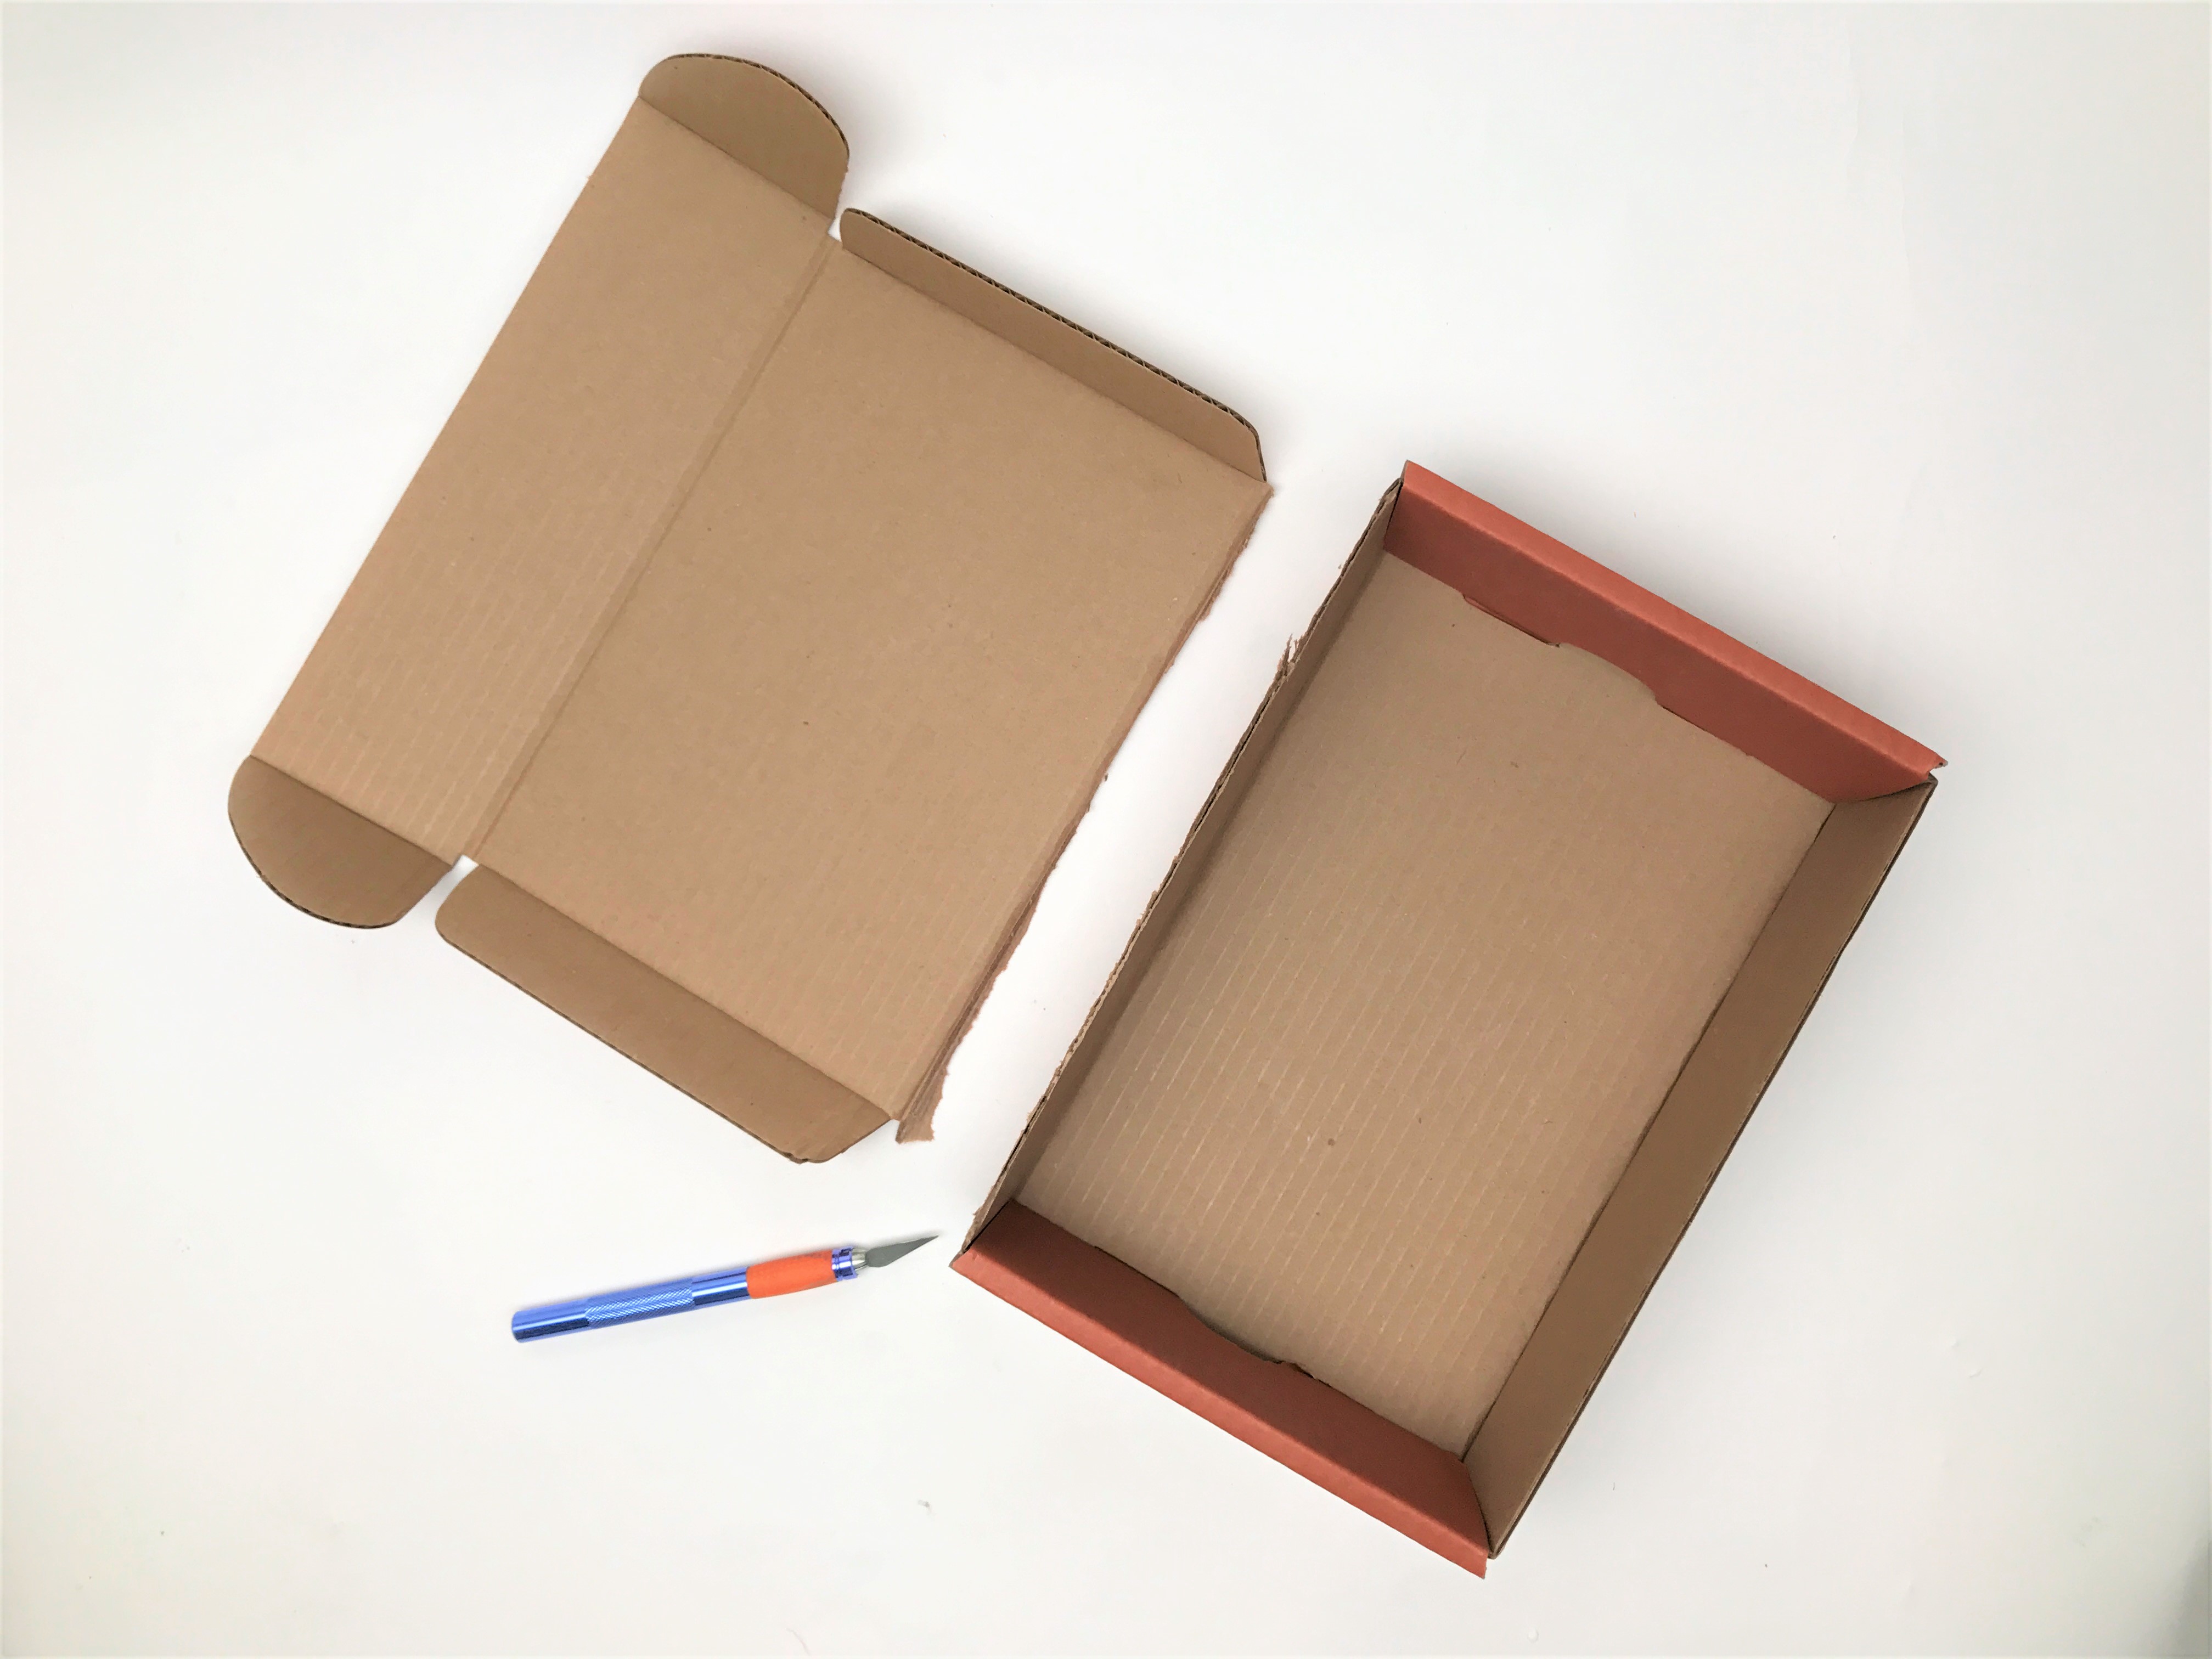
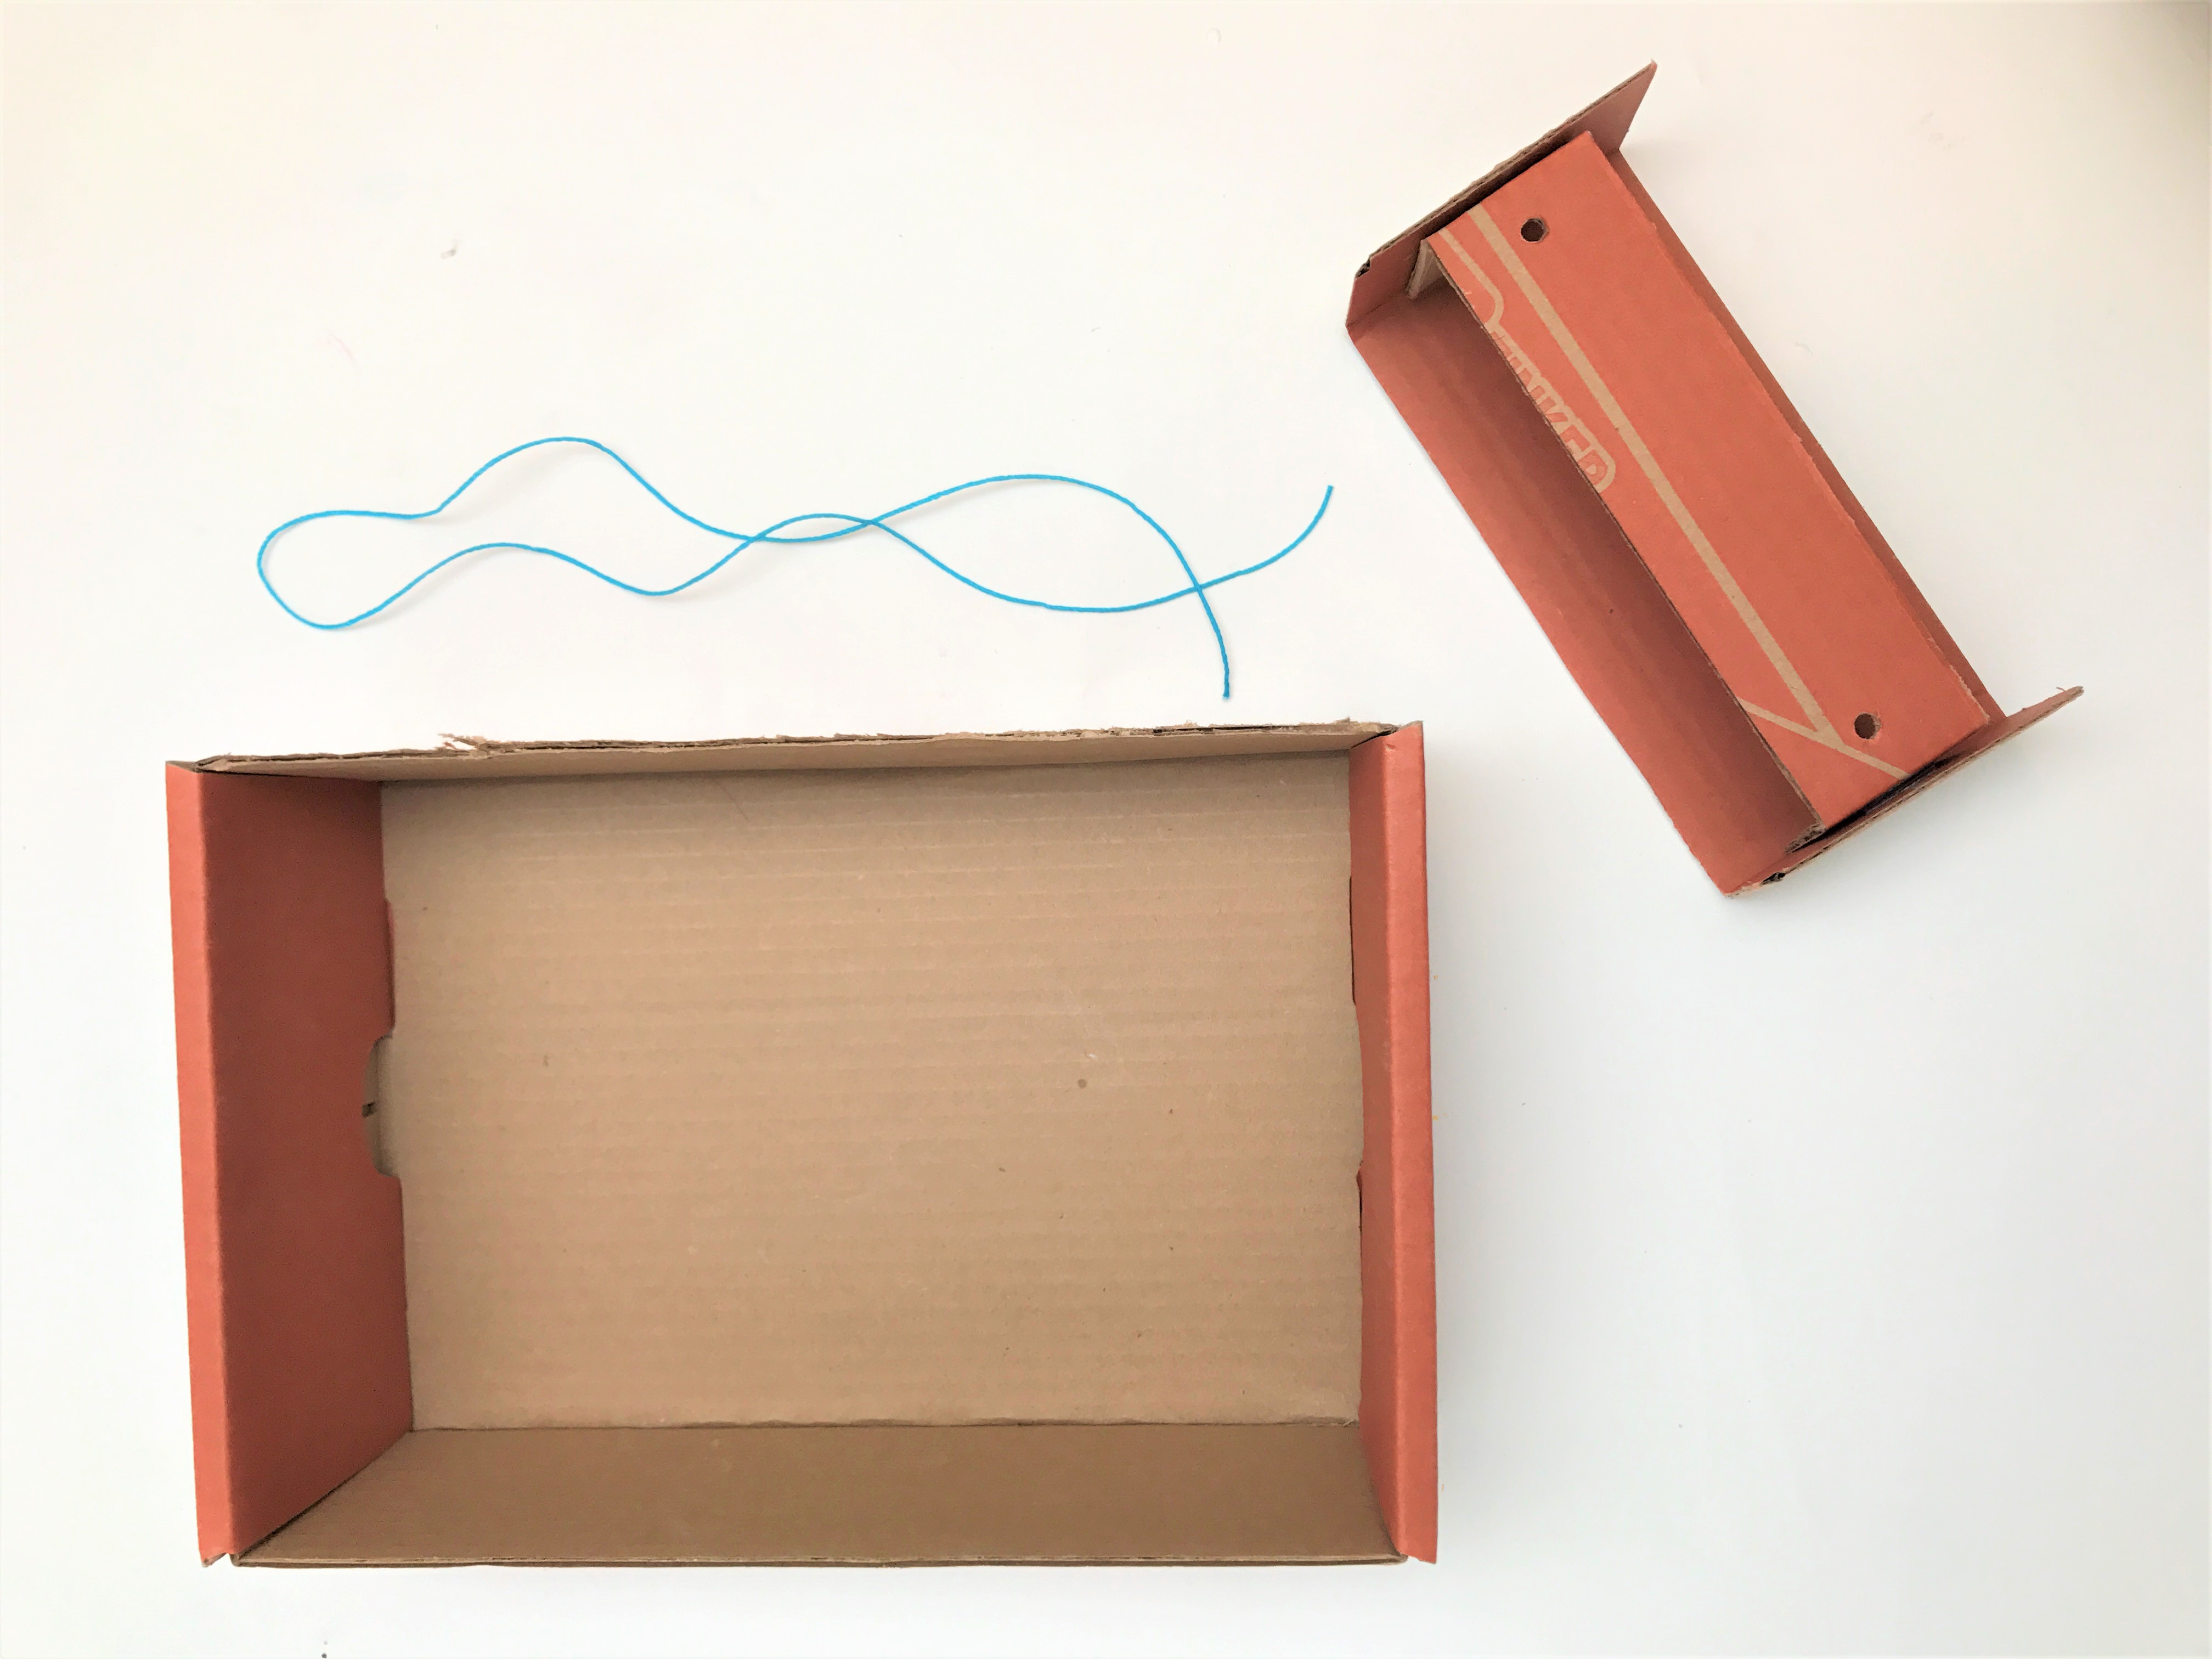
Step 1
Cut the lid off your crate. We'll use both the base and the lid in our lift construction.

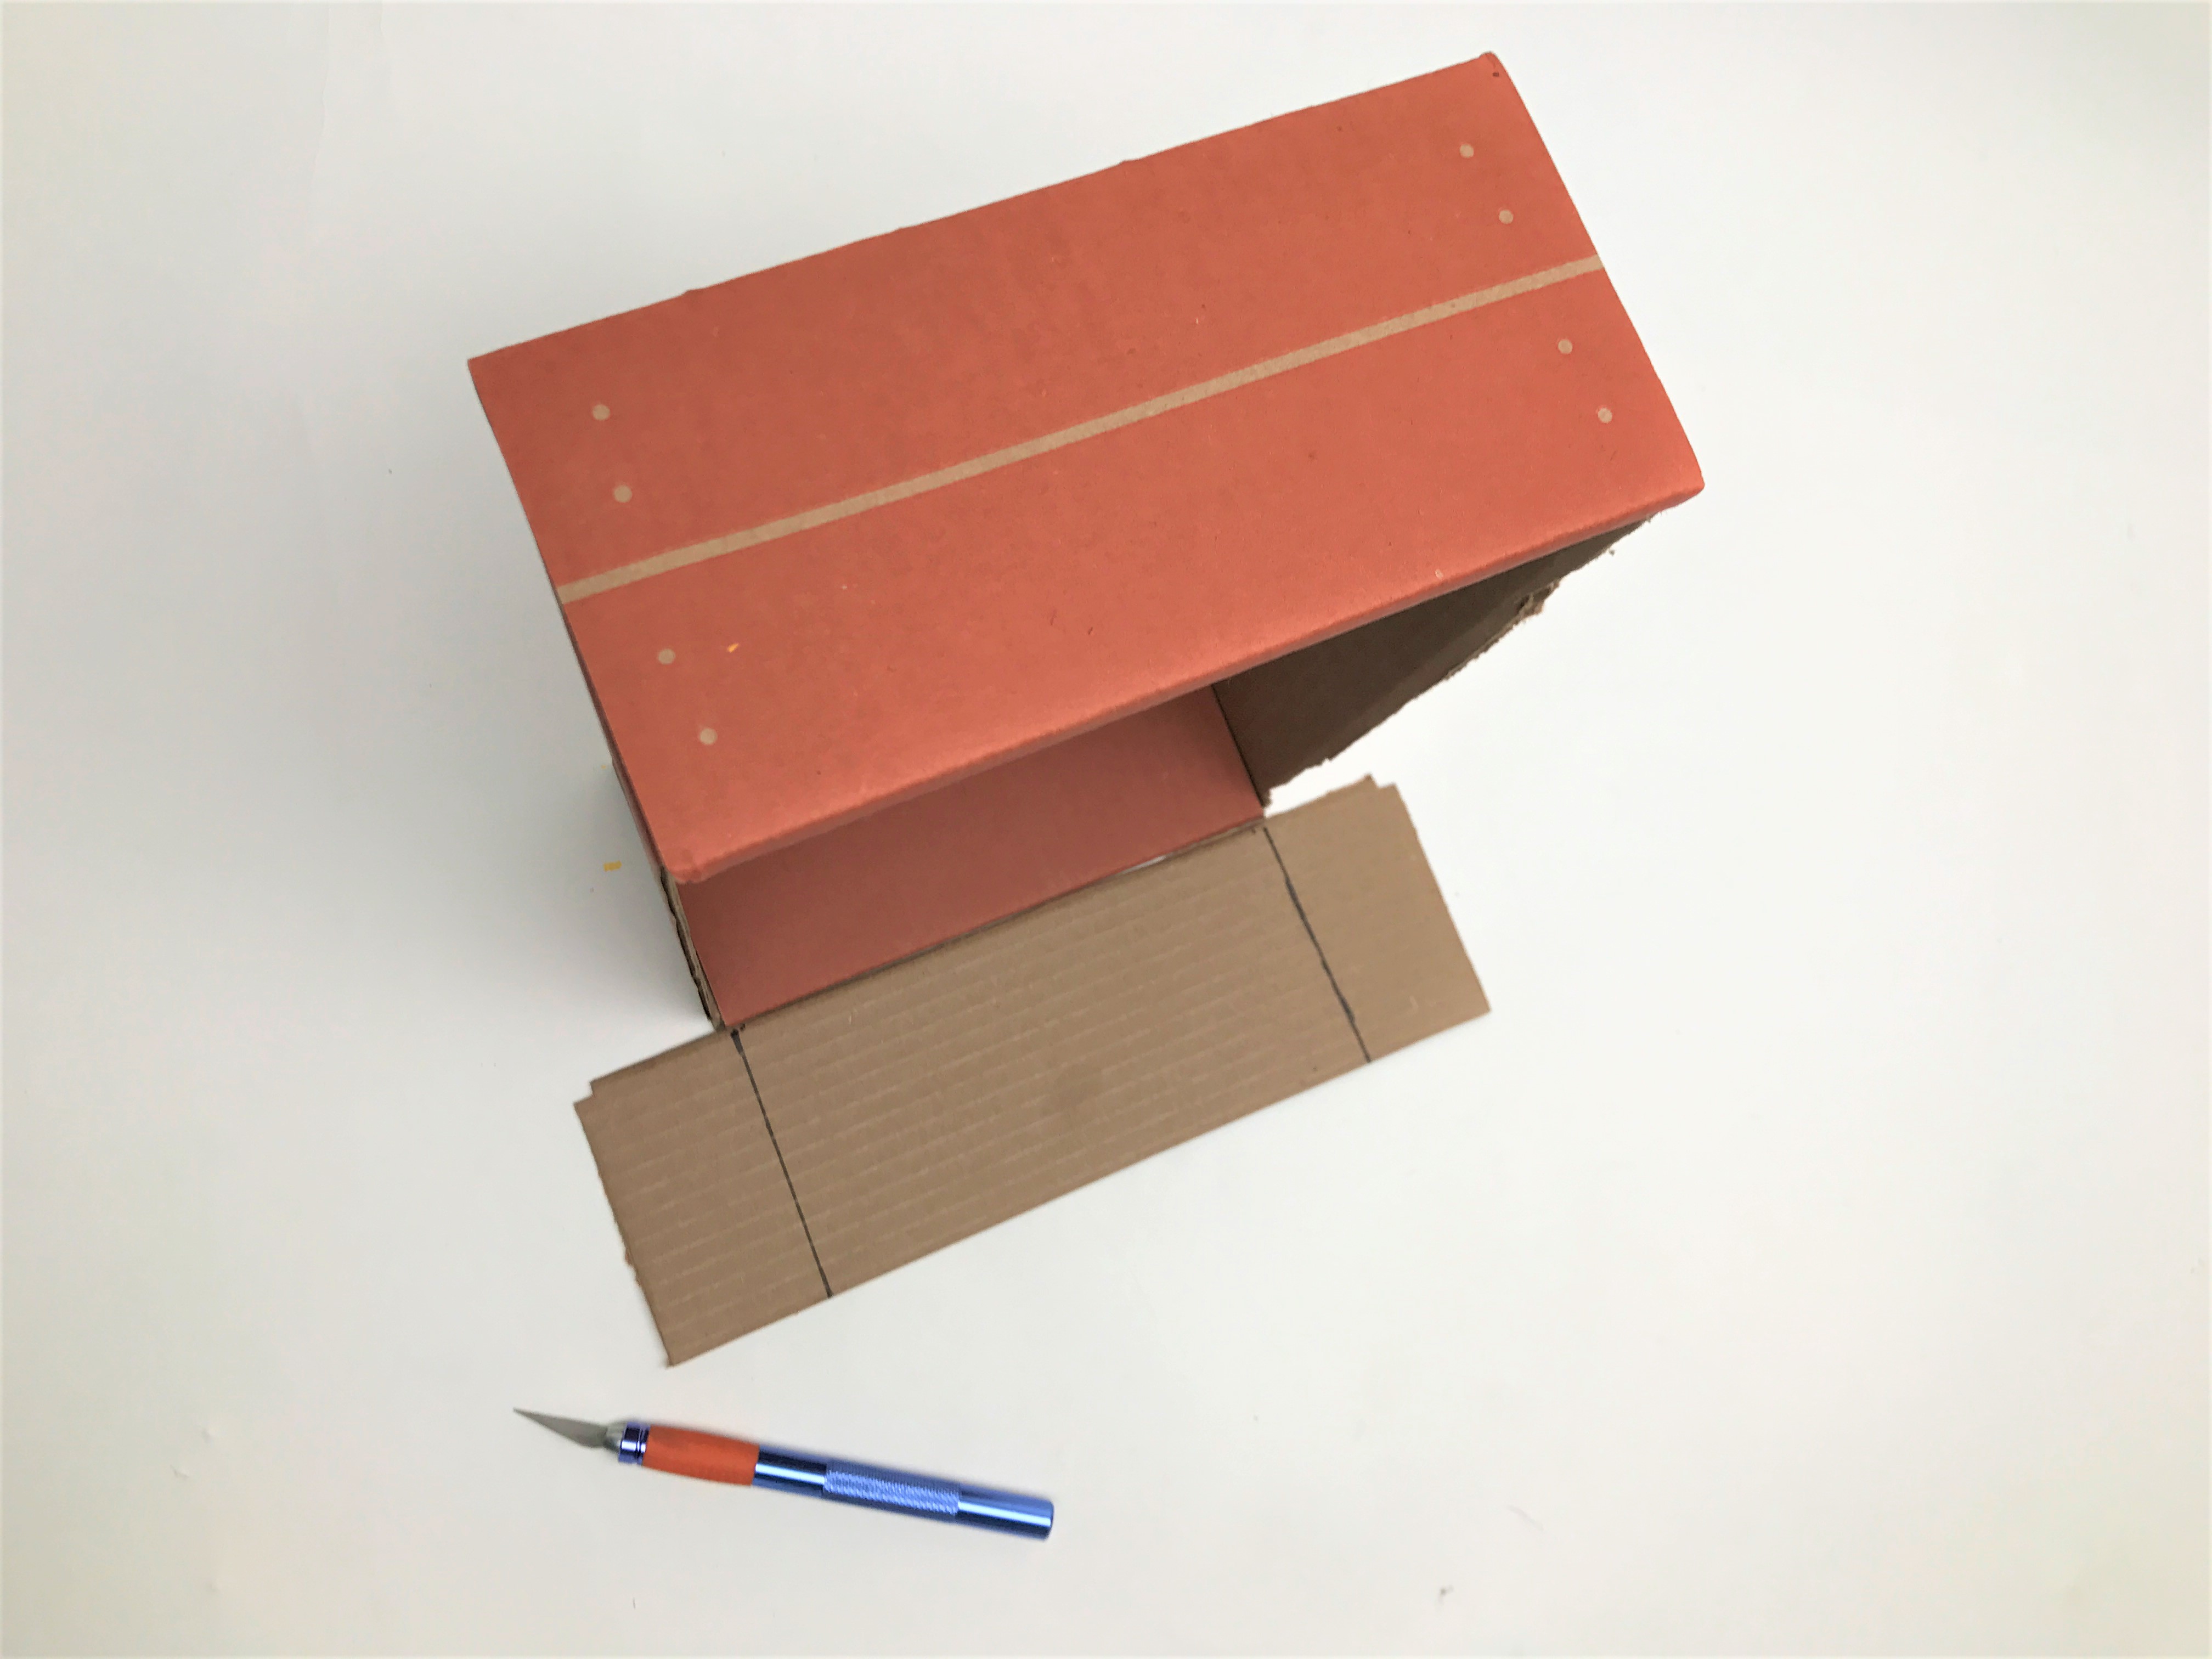
Step 2
Cut a strip of cardboard from the lid, making it slightly narrower than the interior depth of the crate. If you're using a crate, this would be about 3 inches. Next, place the cardboard strip next to the box. Note where the sides of the box end, and mark the placement, going a little narrower than the width of the box. If you're using a crate, this would be just under 6 inches. You'll use this portion to create the inside of your lift. Score and fold the edges of the strip up. Make sure that both of your tabs are even in length. This piece will be the base of your lift.
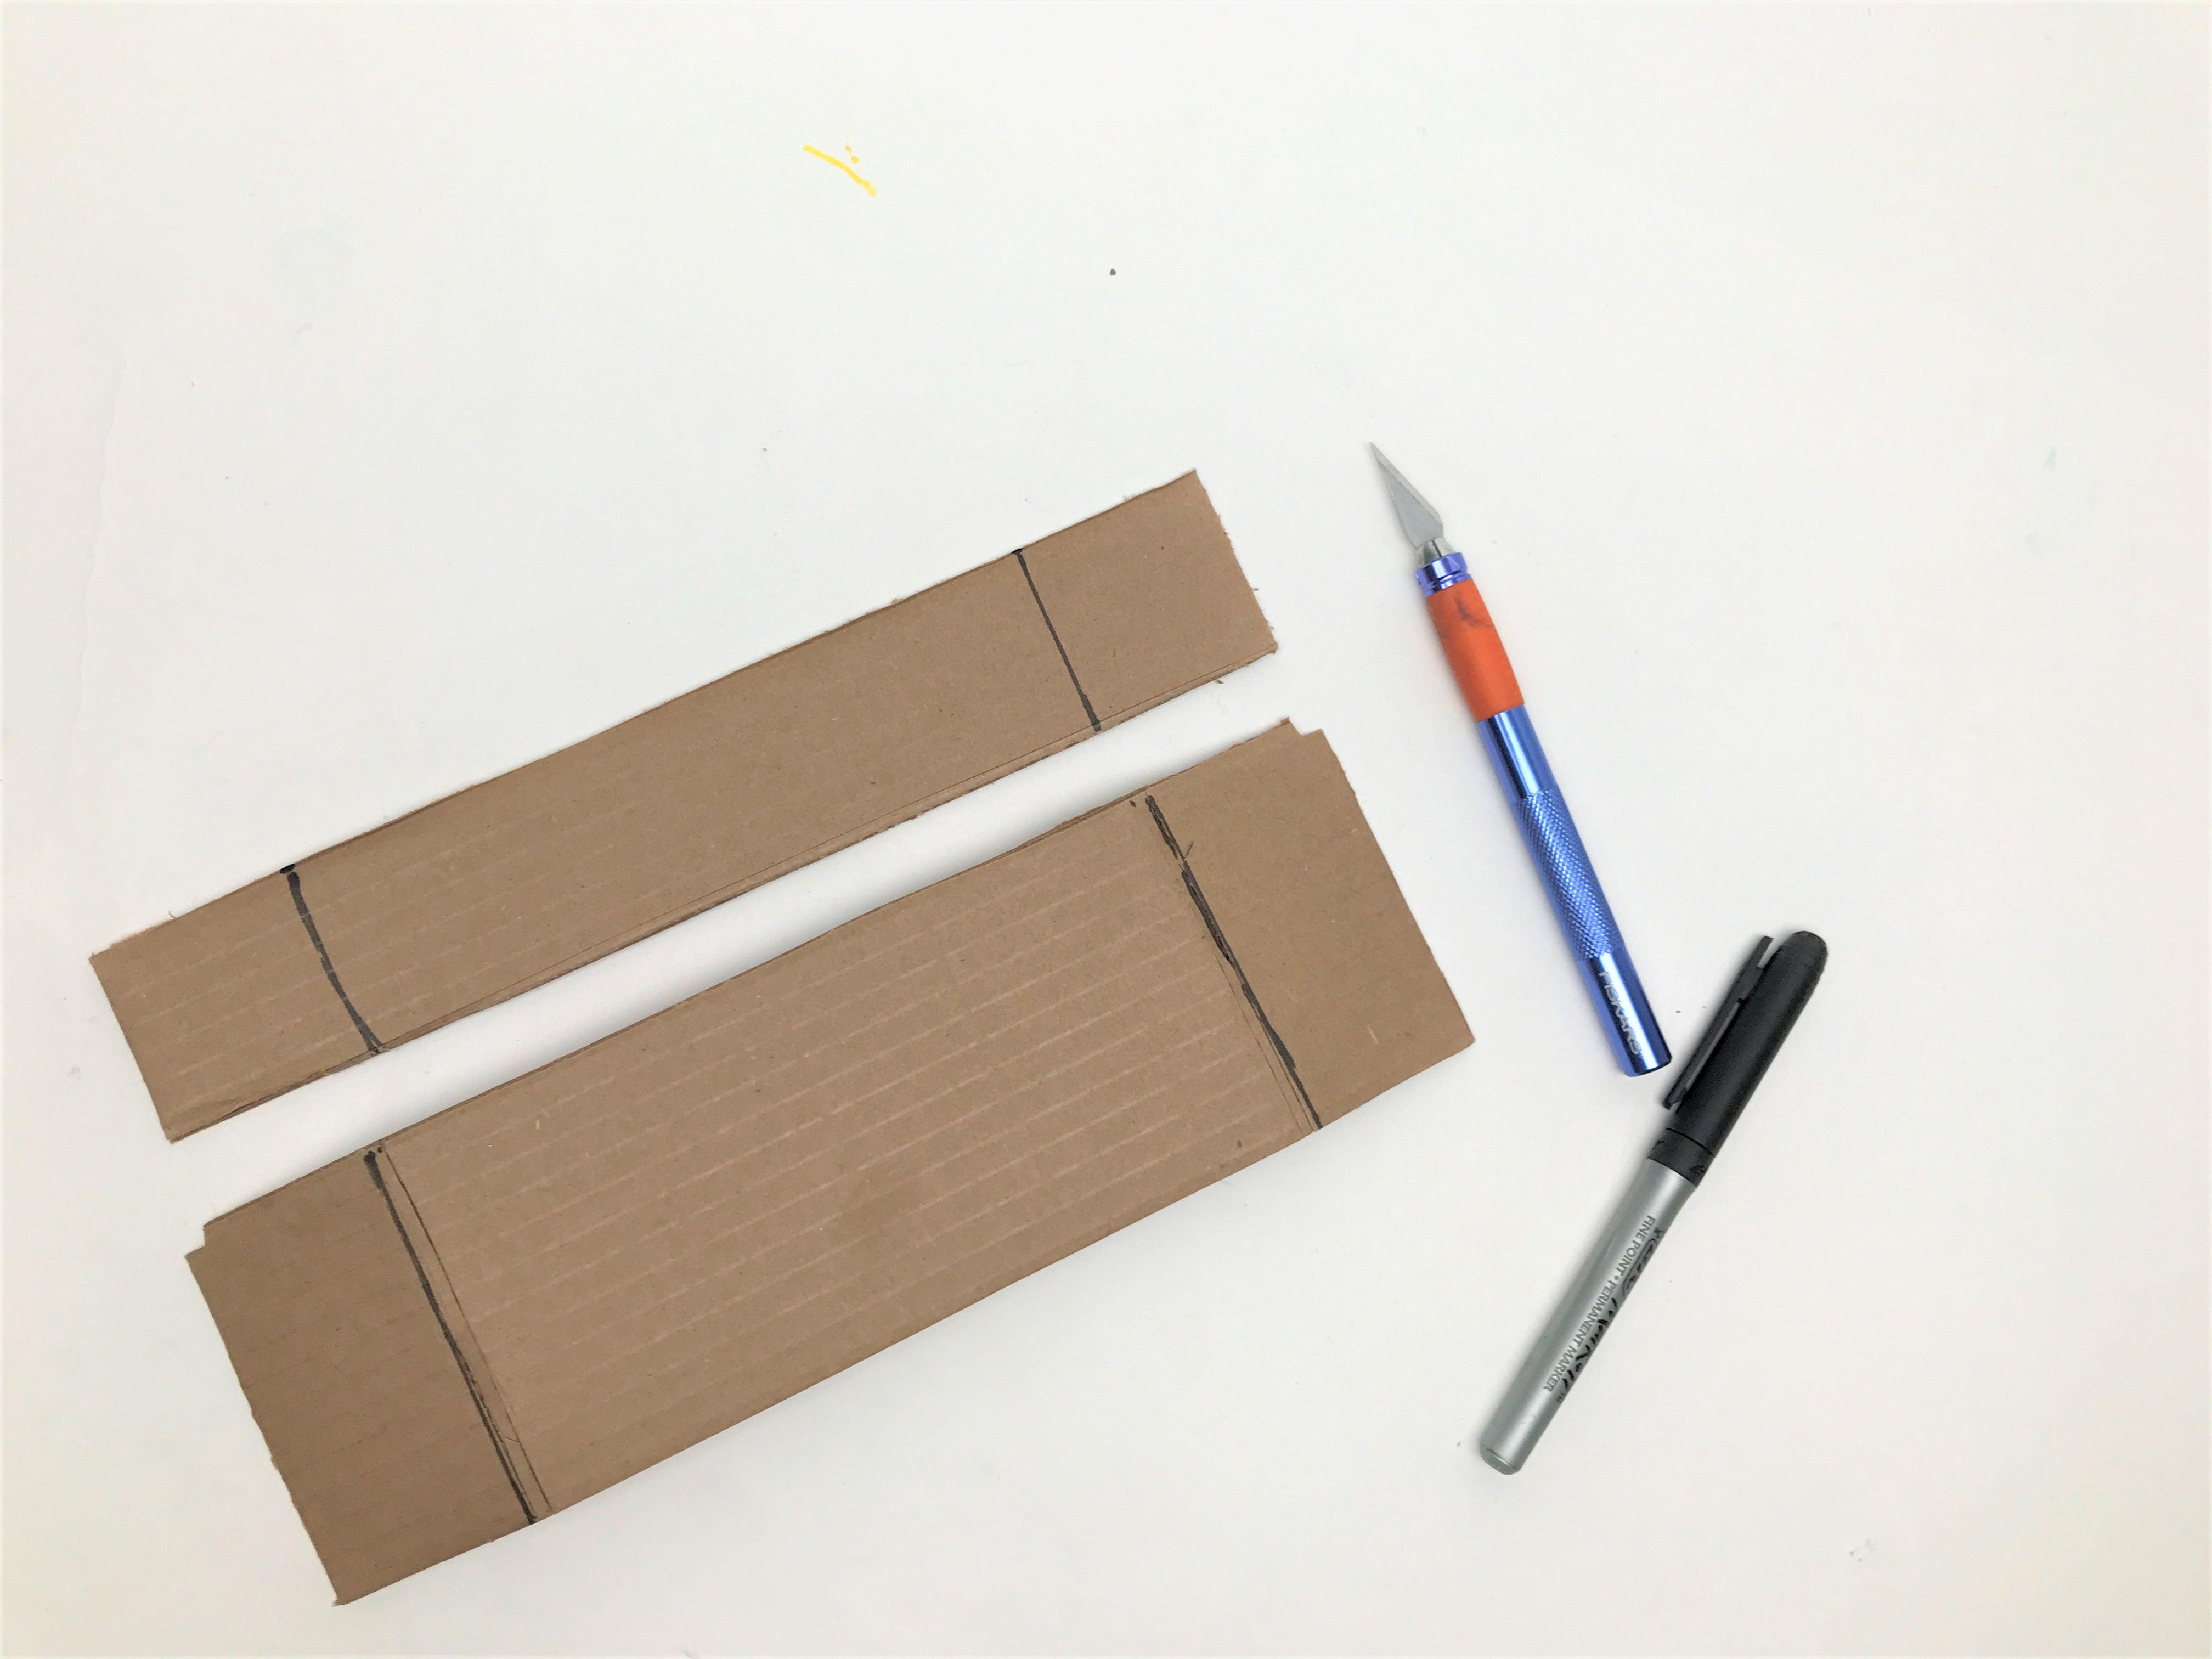
Step 3
Next cut a thin strip from the remaining cardboard lid, about 1 or 2 inches. Place this strip next to the first wider strip and mark just inside the fold lines of the last strip you cut. Score and fold the flaps of this thinner strip down. This thinner strip will be the top of your lift.
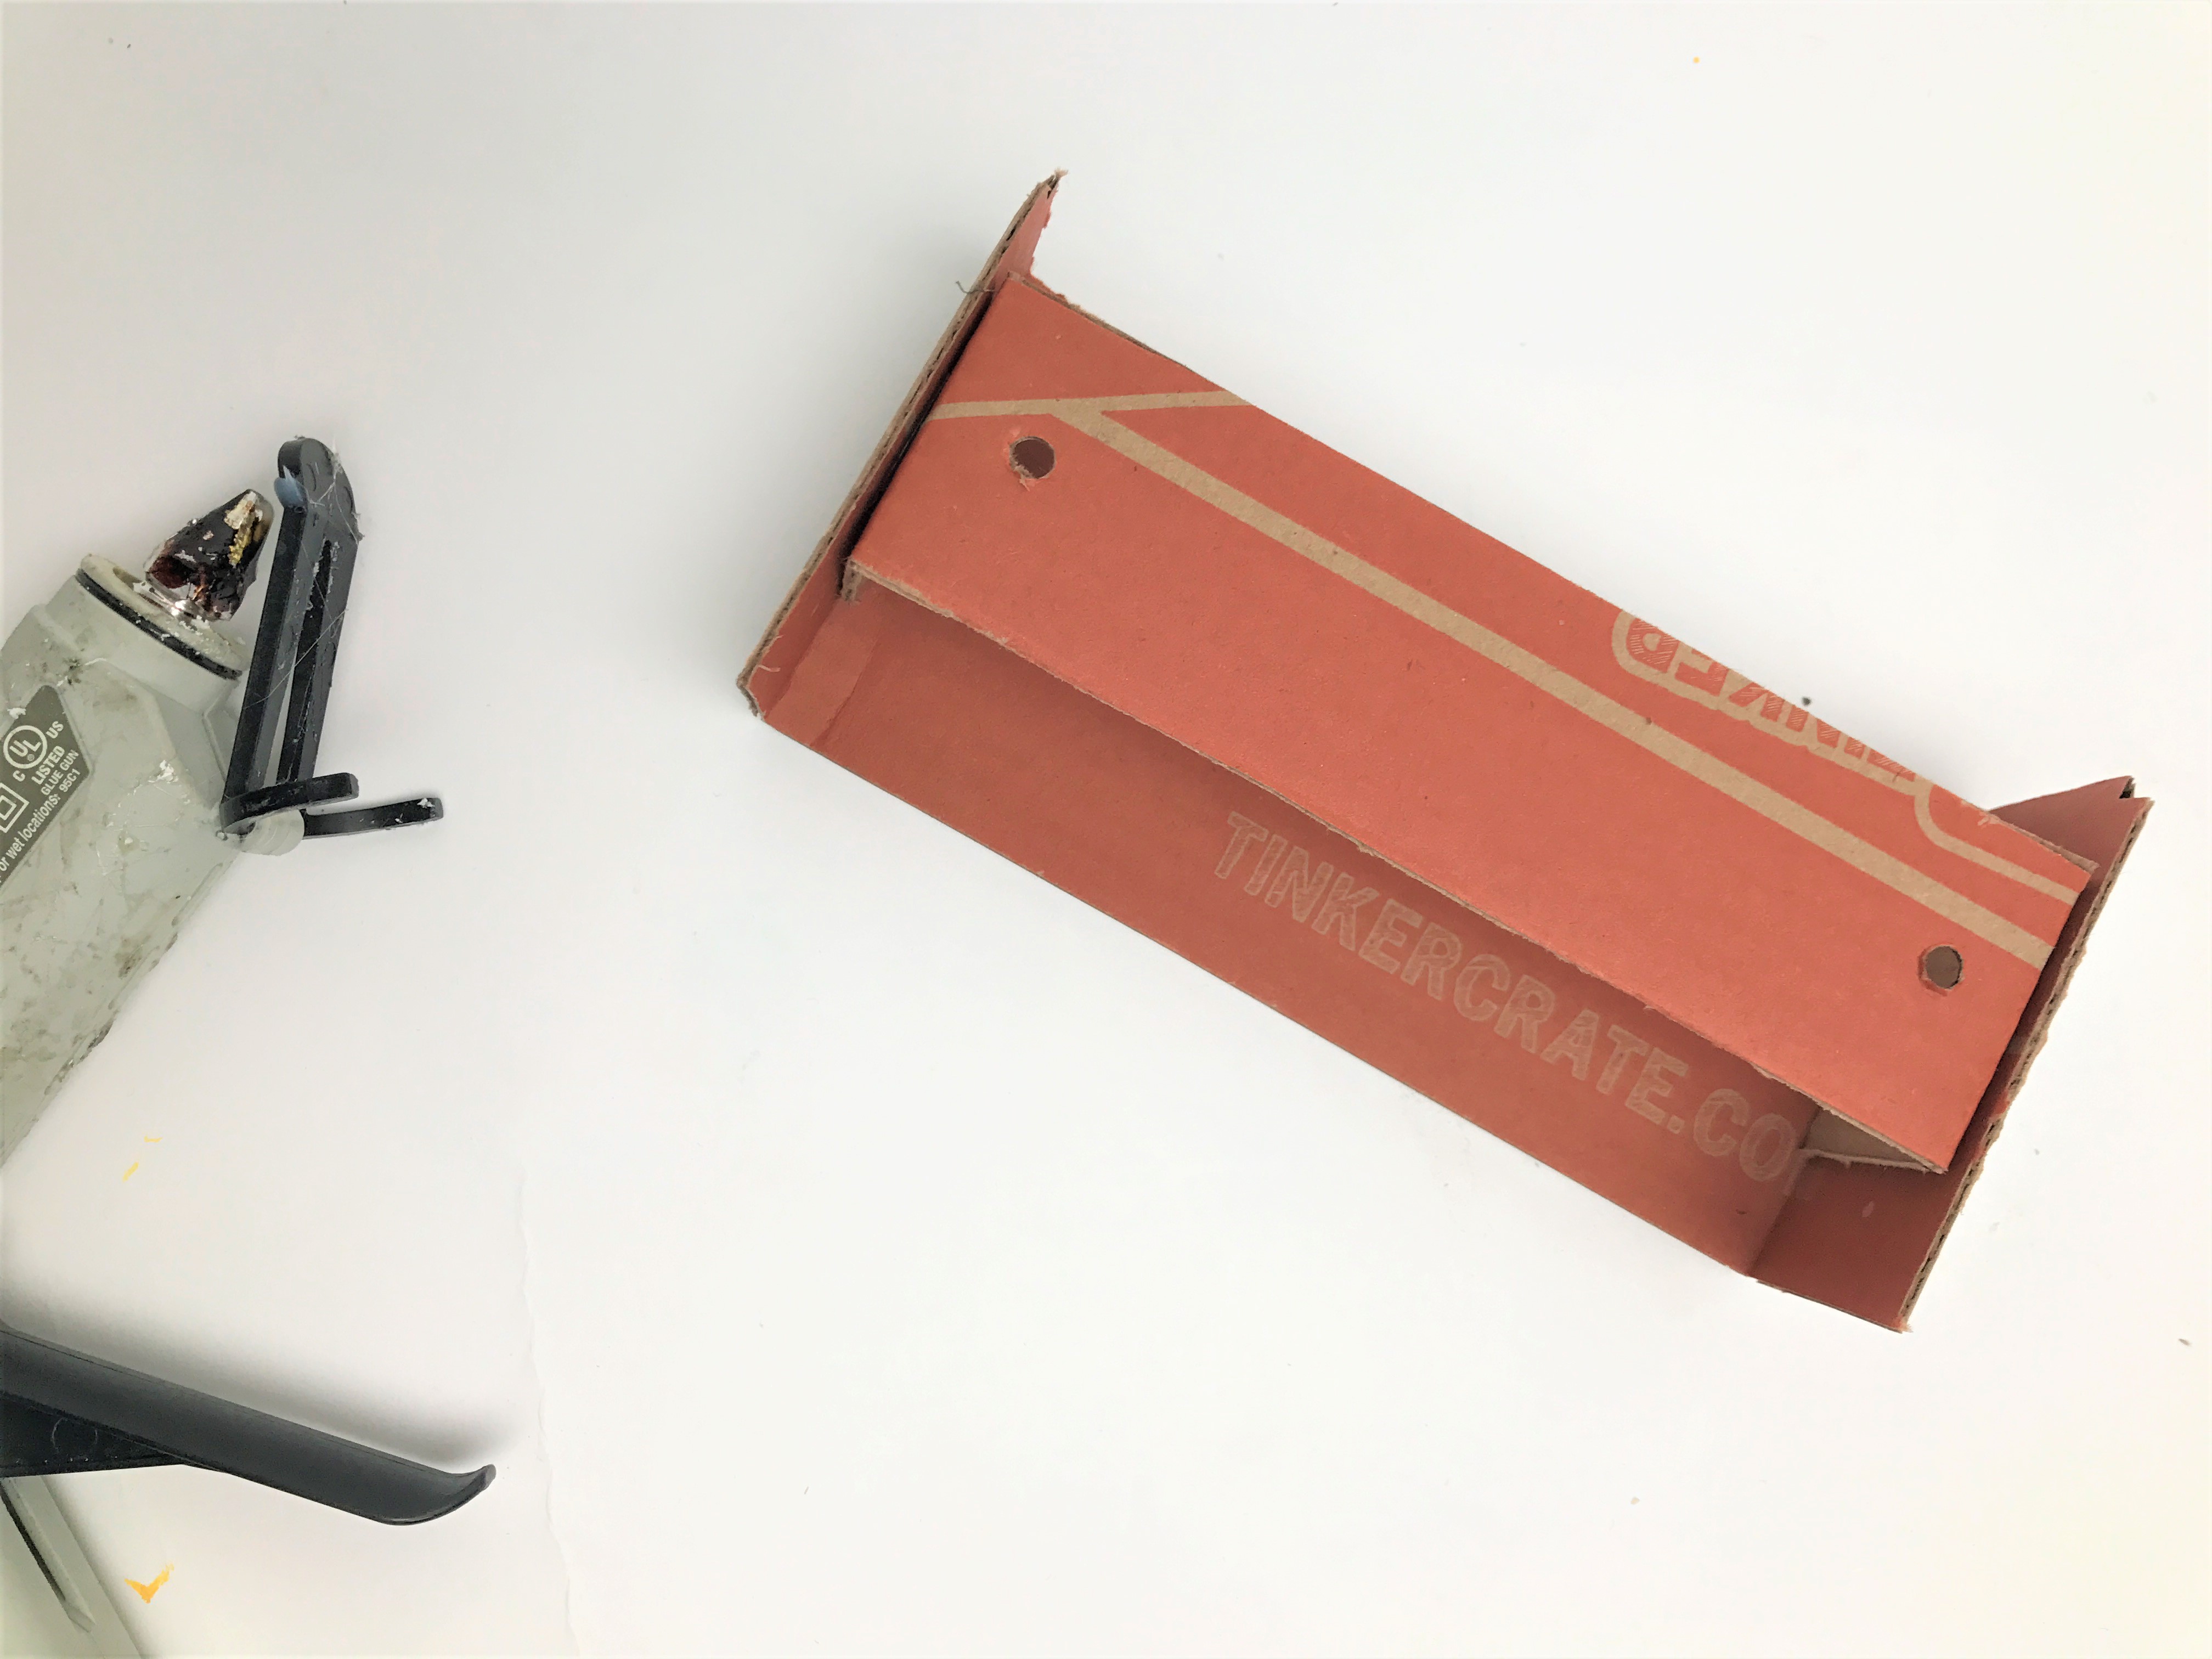
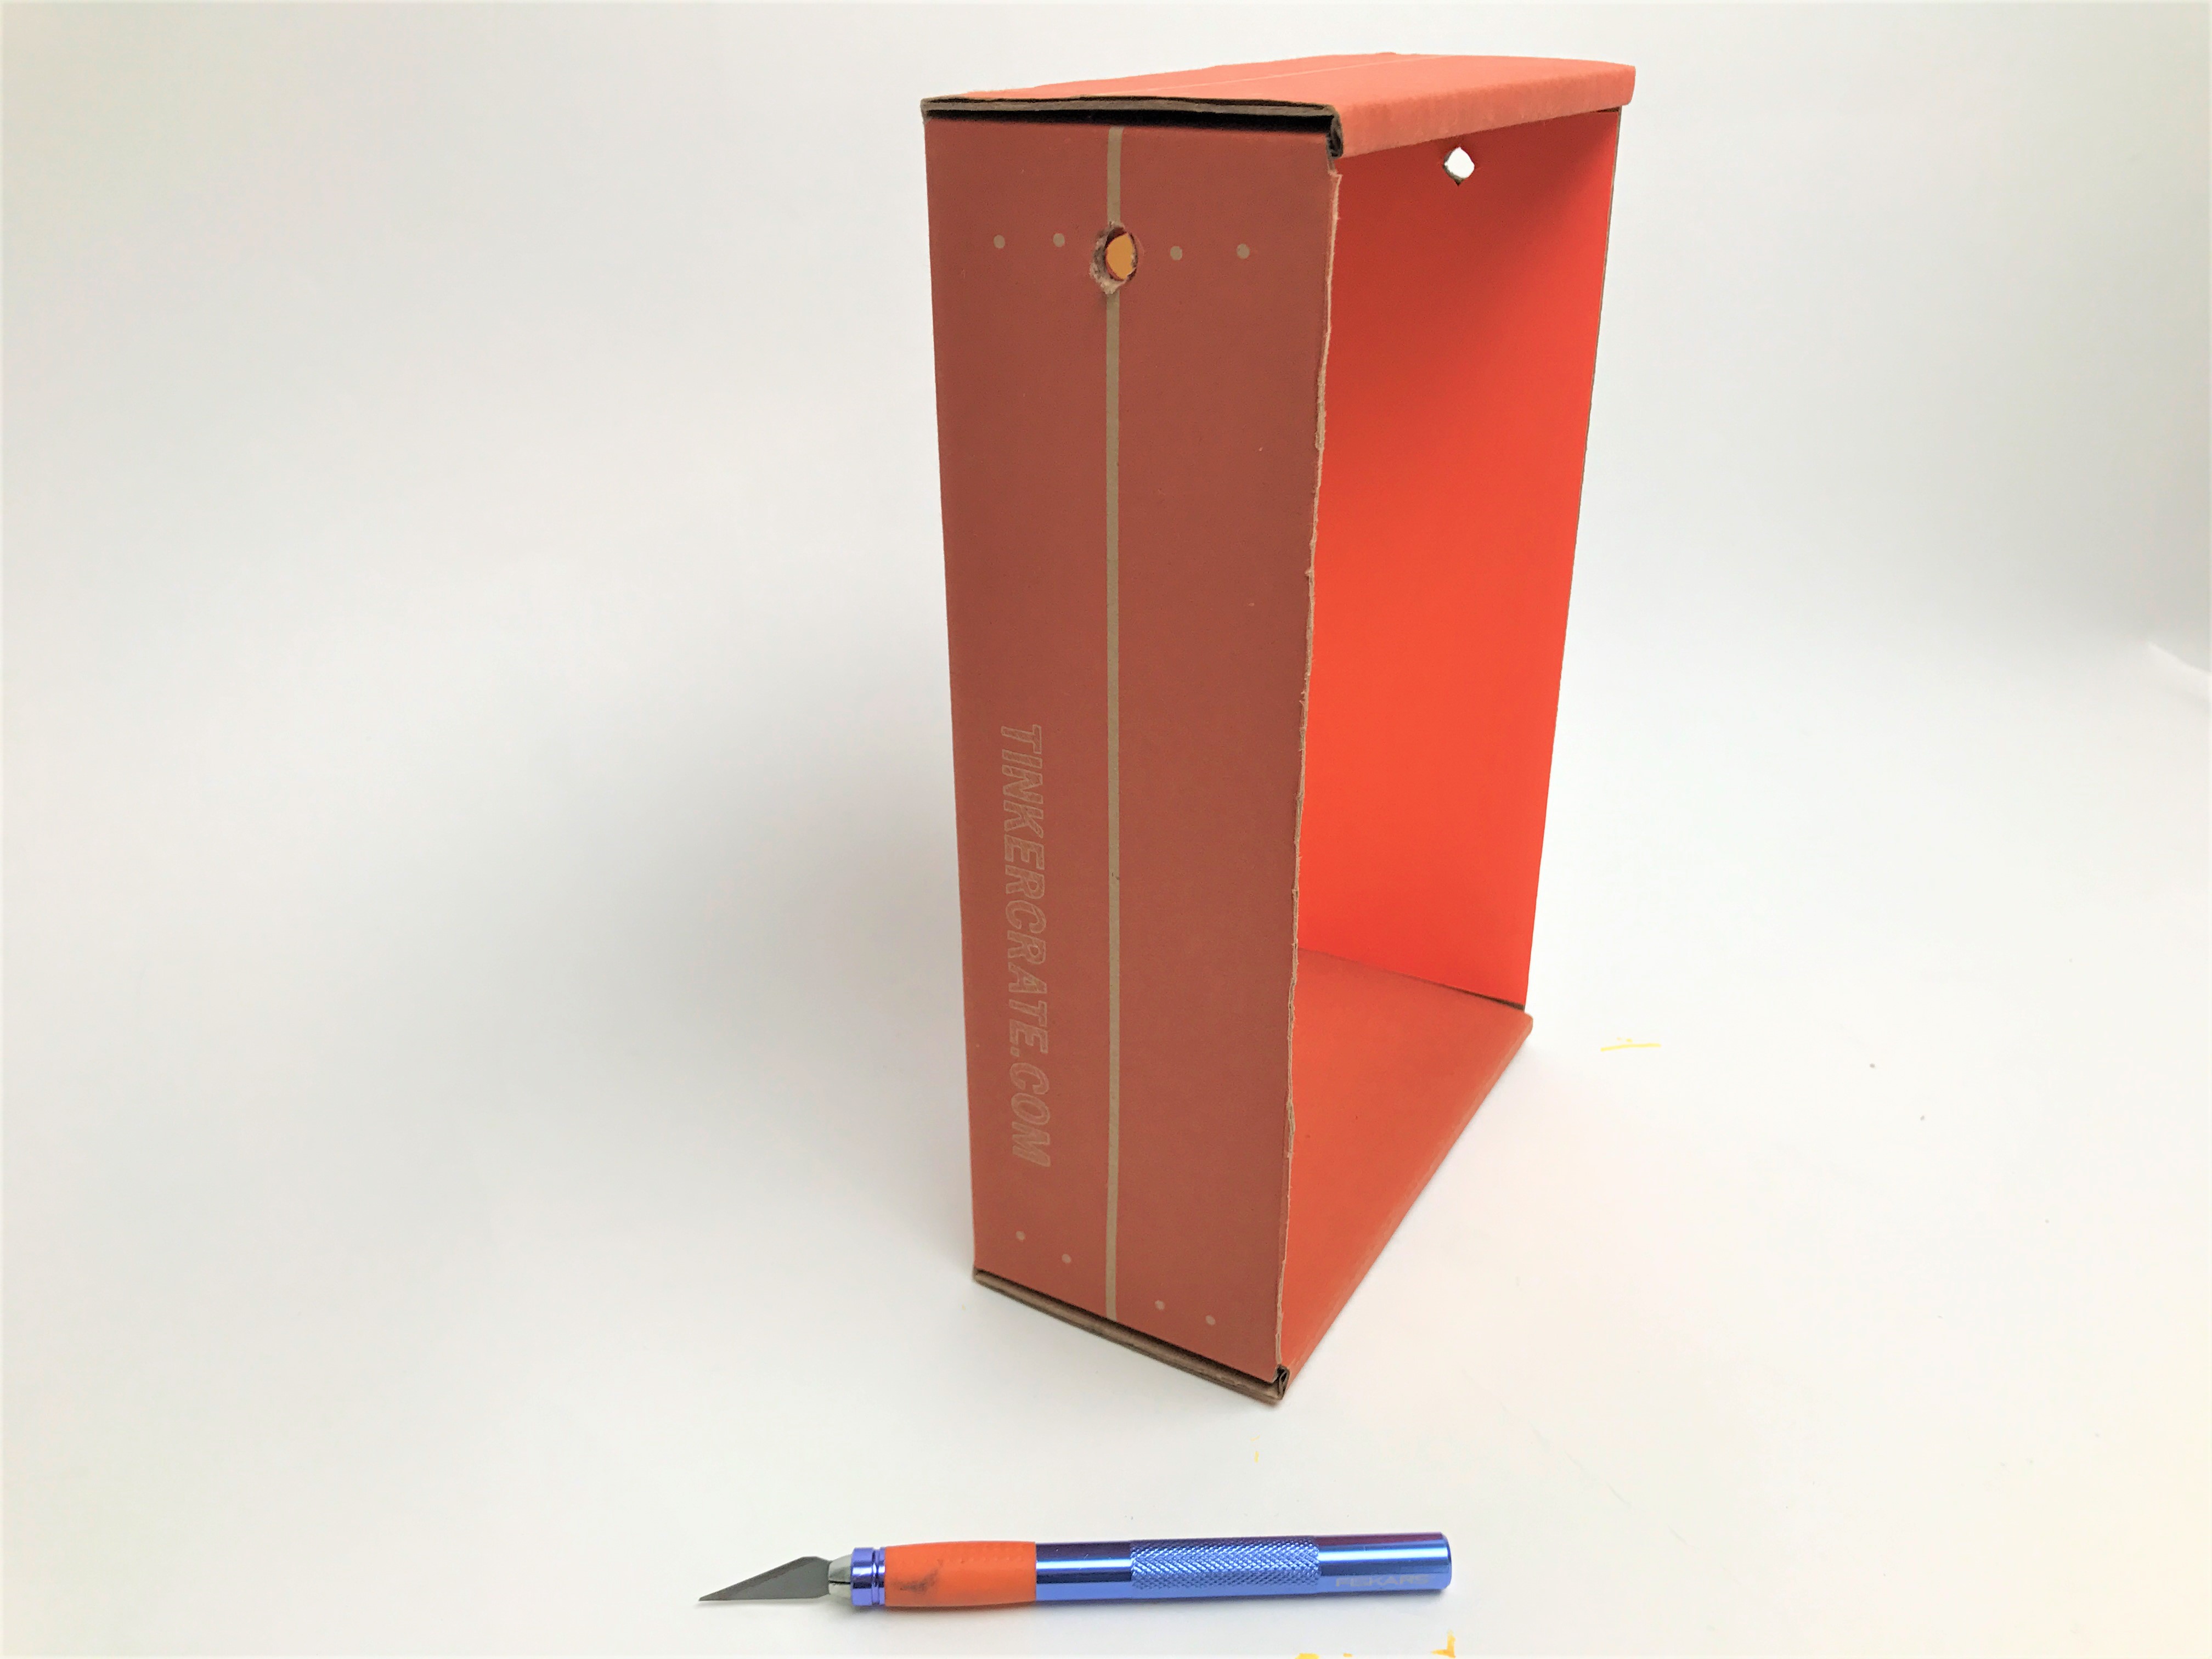
Step 4
On the thin strip of cardboard, measure roughly a half inch from each side and punch a hole.

Step 5
Place the wider strip of cardboard on a flat surface with its tabs folded upward. Then, put the thinner strip on top and fold its flaps downward. The thin strip should fit just along the inside flaps of the wider base strip, creating a rectangular shape. Use hot glue to attach them together.
Step 6
Measure out and cut a length of string that is about twice the height of your crate when it's standing upright. Loop the string through the holes and tie your string together in a simple overhand knot.
Step 7
Now that all of your pieces are made, It's time to decorate! Use assorted cardstock and patterned tape to design your lift any way you would like!

Step 8
With the base of your crate upright, mark two holes along the sides of the box, about an inch from the top. Use a craft knife to cut these holes out, cutting them wide enough to fit the wooden dowel.
Step 9
Insert your dowel into the two holes. Your dowel should be level.
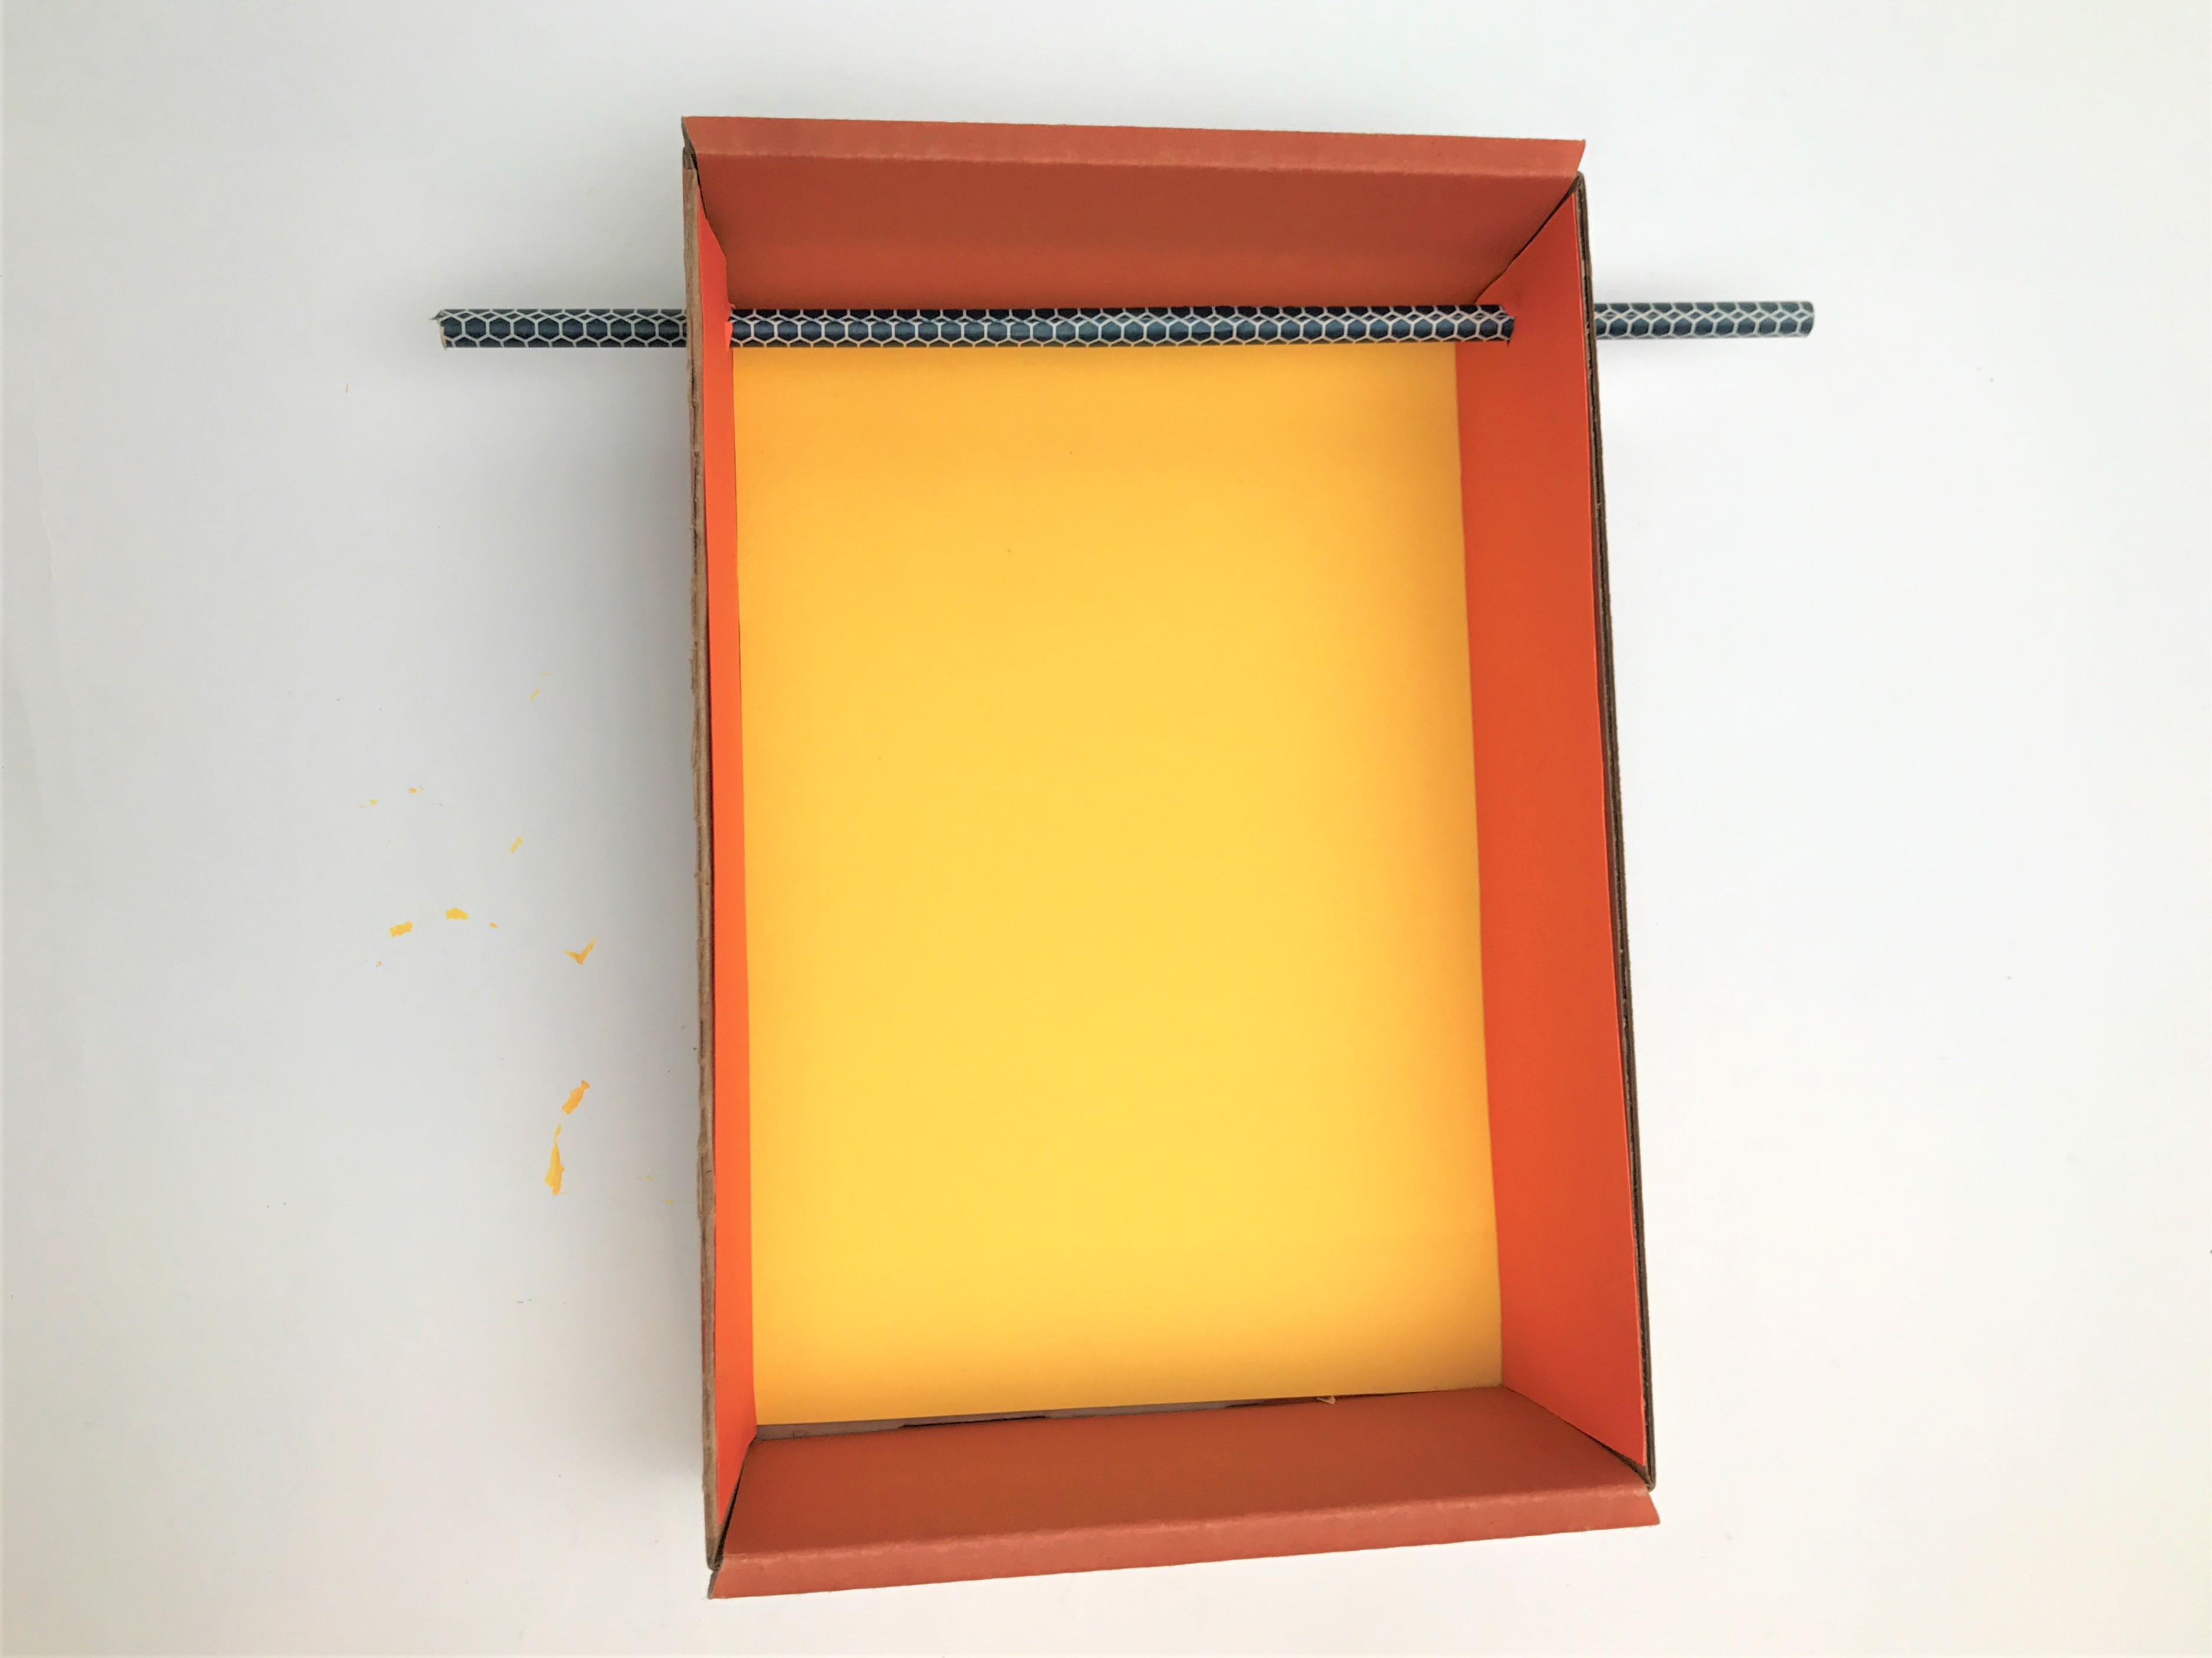
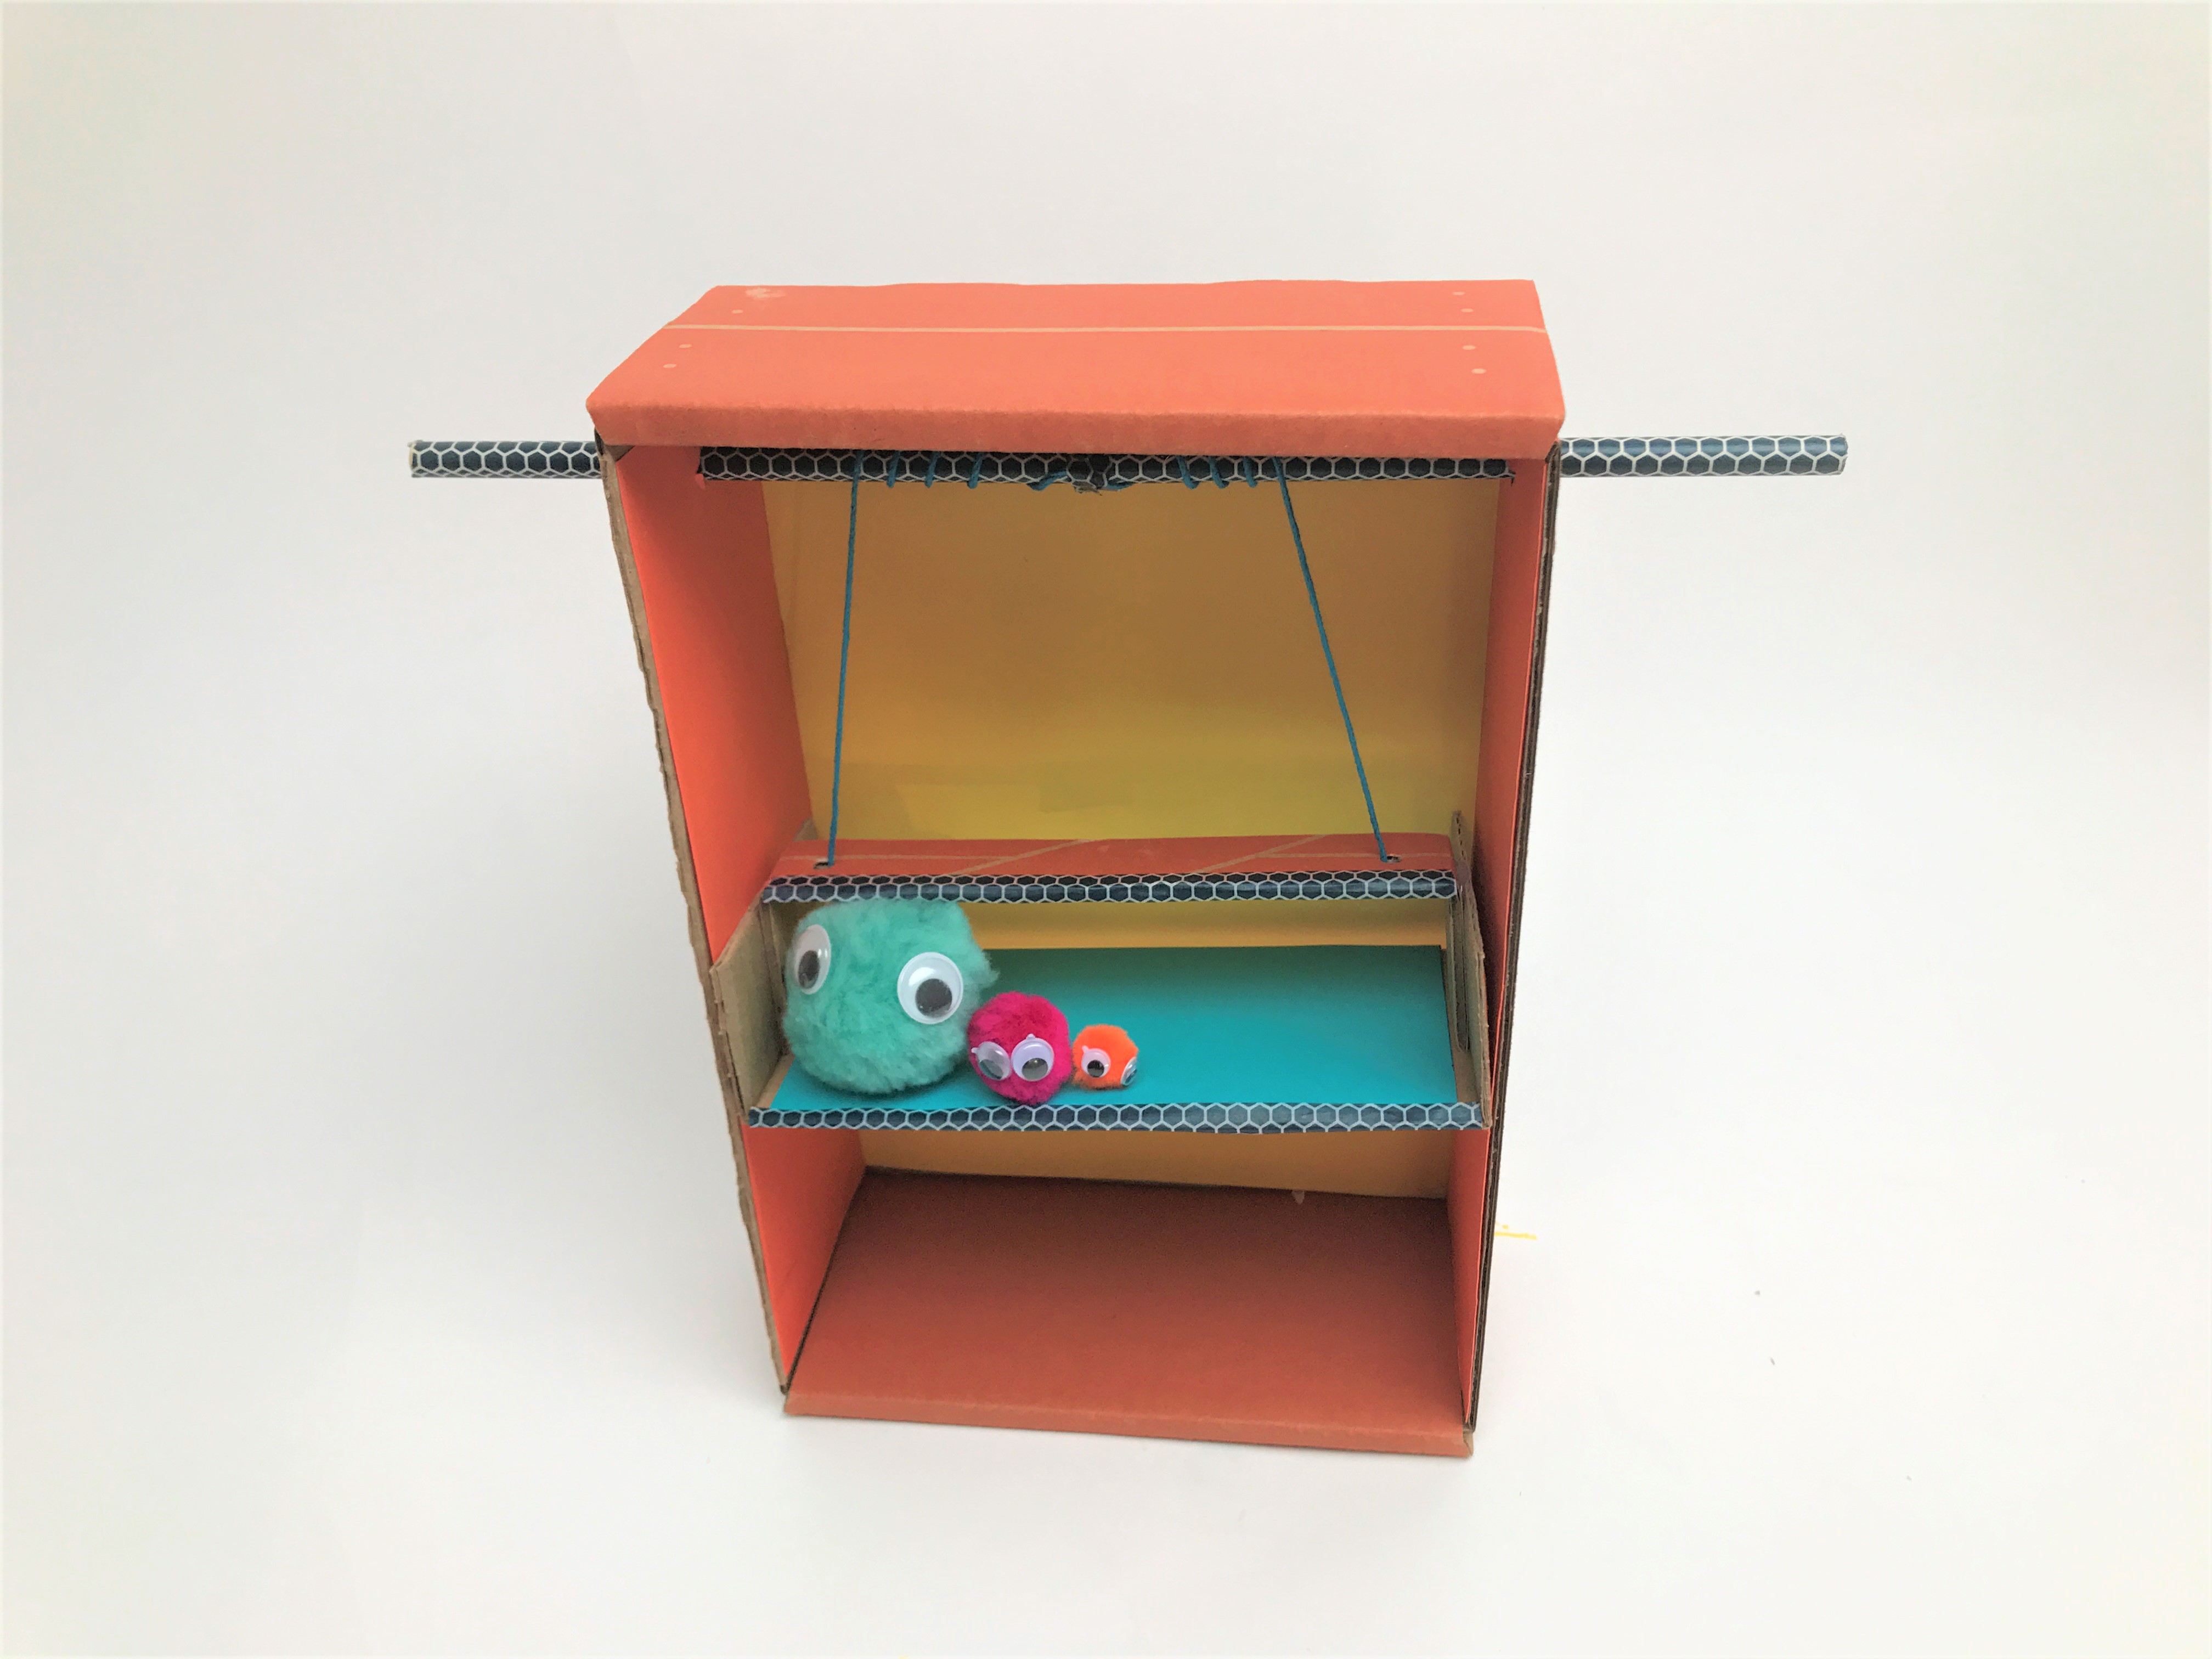
Step 10
Place the lift at the base of the crate, with the string and holes on top. Find the center of the looped string and tape it to the center of the dowel rod. It is important to get this centered or else your lift will not operate correctly.
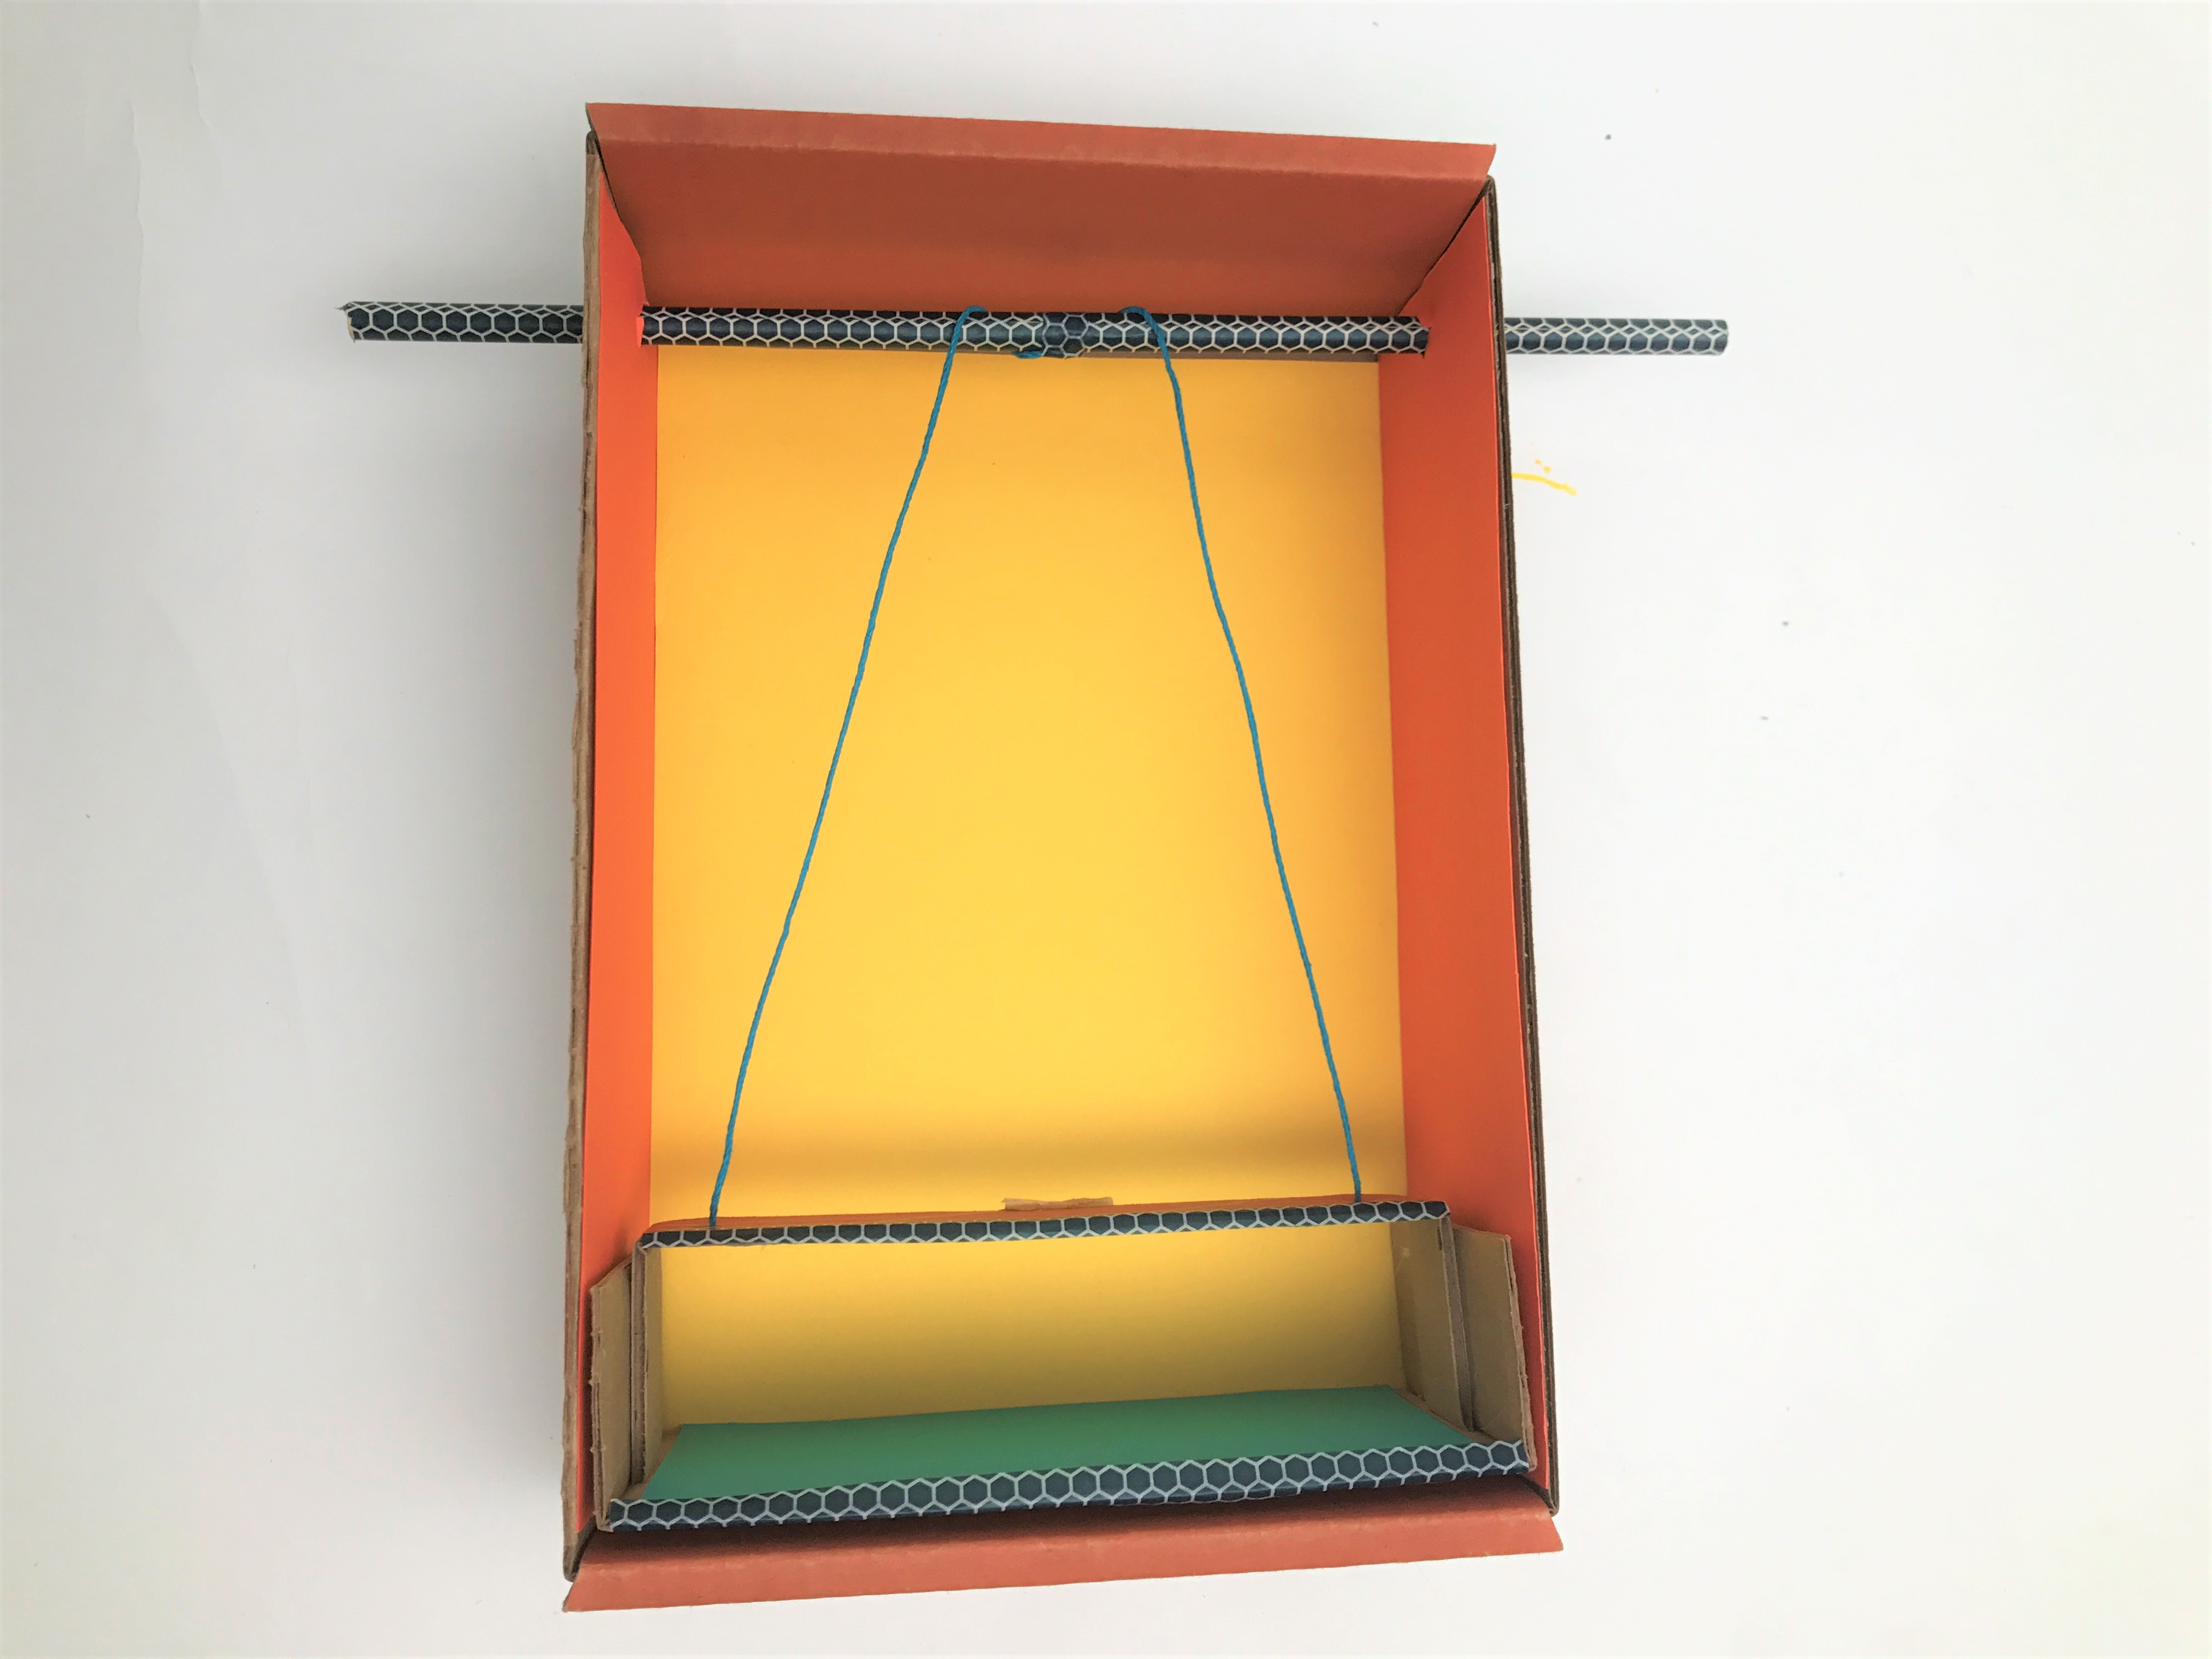
Step 11
You now have a working lift! To make your lift go up, twist the dowel so the string wraps around the dowel, pulling up the lift. What fun objects can you find to put on your lift? What are some everyday machines that use a similar mechanism?
Learn more

Want to make your elevator less work to use? Try cutting a cardboard circle and attach it to one end of the dowel. With the wheel added, you’ve turned plain old dowel into a wheel and axle mechanism. A wheel and axle is a super-handy simple machine used in everything from doorknobs to vehicles to — you guessed it — elevators. Together, the wheel and axle allows you to lift heavier loads than without it. If you’re only lifting pom-poms and cardboard, of course, it doesn’t make much difference. But if you were building a real elevator lifting thousands of pounds, you’d want all the help you could get!


