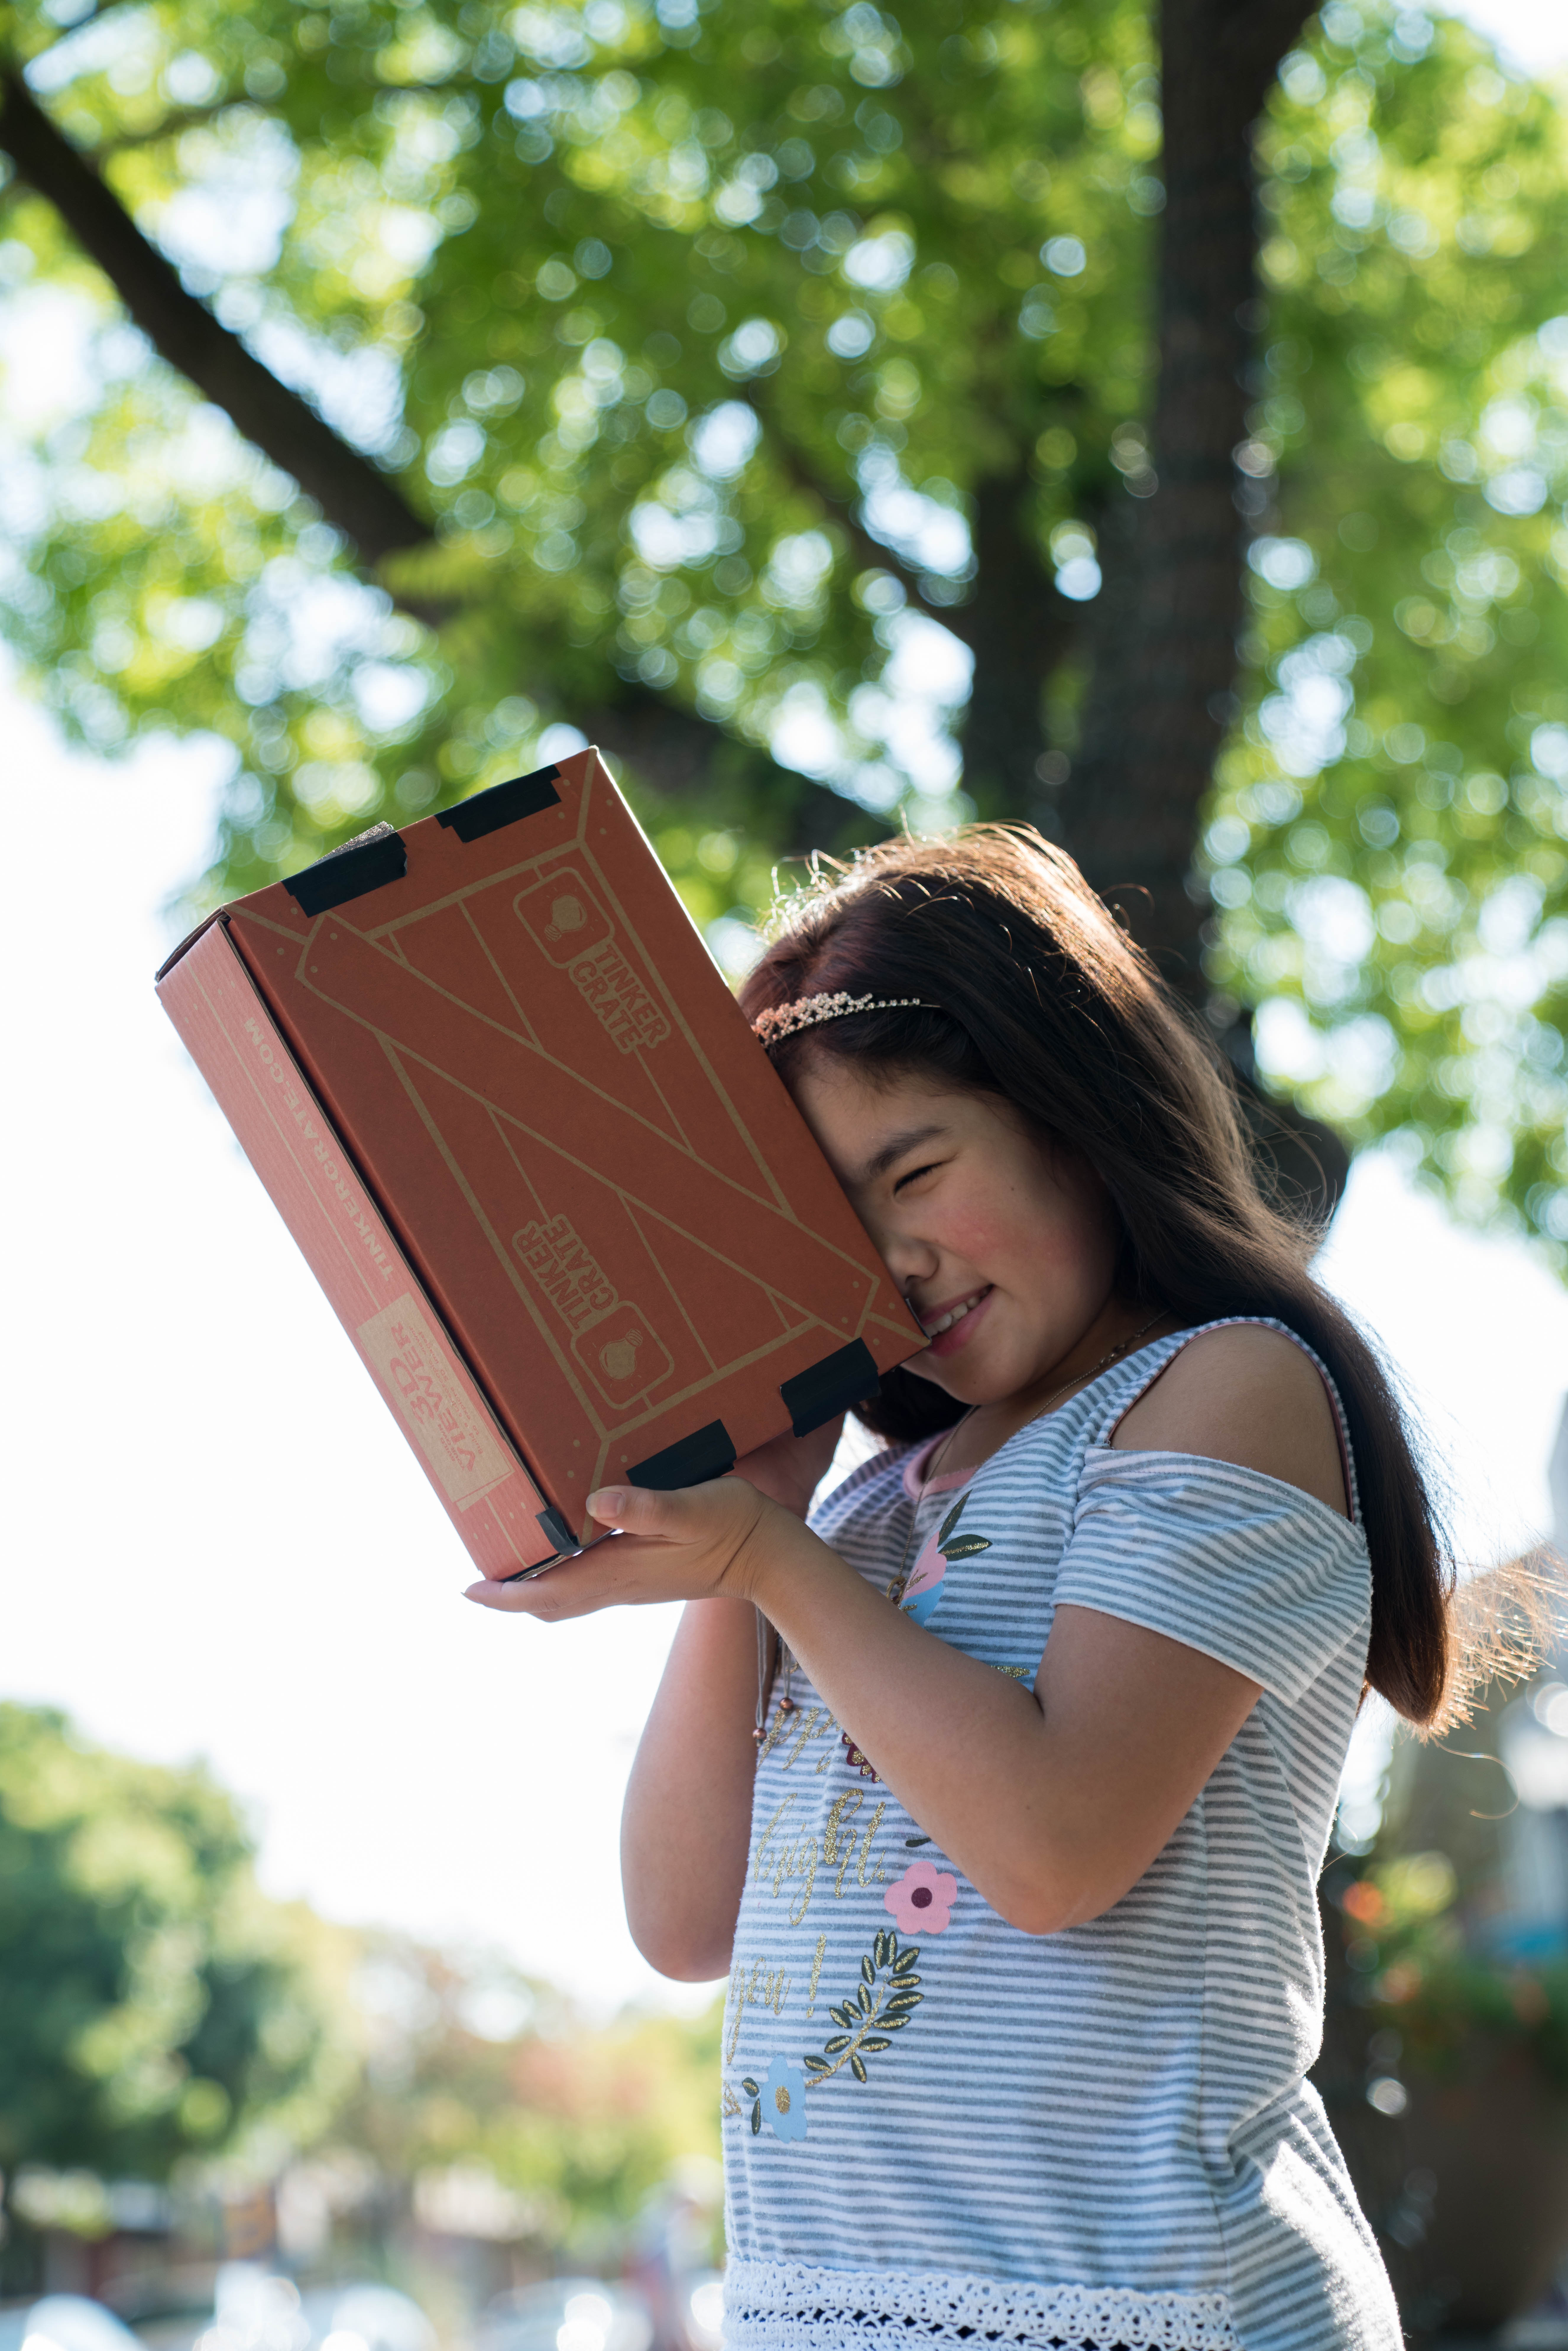
Step-by-step tutorial
Warning
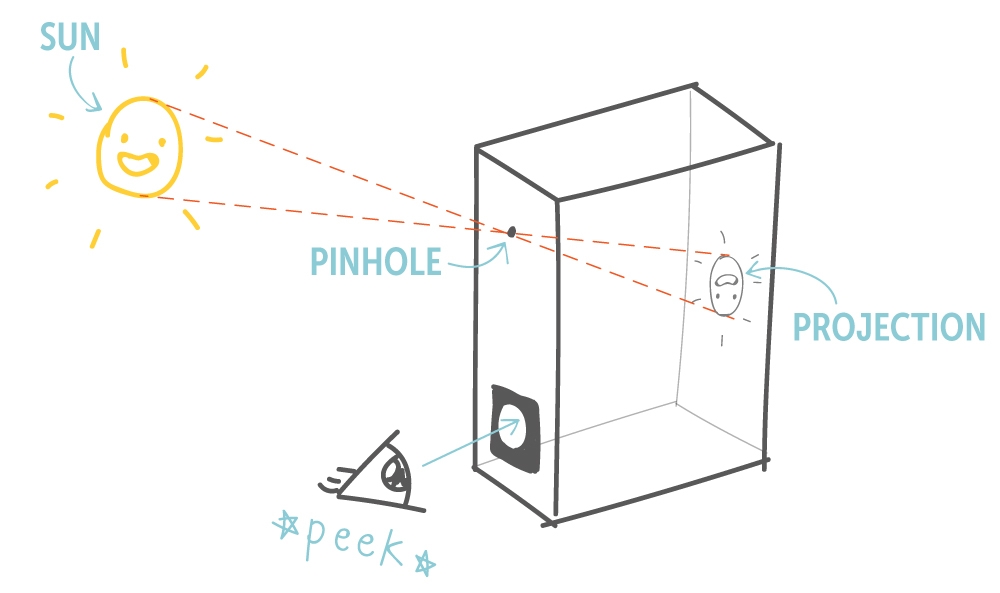
NEVER LOOK DIRECTLY AT THE SUN. Even a moment's viewing can damage your eyes forever! Even a partial solar eclipse can cause severe eye damage, so stay safe and always use a projector like this one for eclipse watching or solar viewing. Looking at the sun is dangerous because your eye is a lens, just like a magnifying glass. Ever seen a magnifying glass used to focus sunlight and start a fire? That's exactly what happens to your eye when you look at the sun — so don't do it!
Tip
Eclipses occur when the moon passes directly between the sun and the earth. This blocks the sun's light, casting a moon-shadow on the surface of the earth below. During most eclipses, the sun and the moon aren't quite lined up perfectly, so the sun's light is only partially blocked. During a partial solar eclipse, the sun appears crescent-shaped, like the moon. (When safely viewed through a projector, of course.) Very rarely, the sun and the moon line up perfectly, creating an amazing astronomical show for anyone standing in the path of the moon's shadow — a total solar eclipse. Total solar eclipses are very special events, but even a partial eclipse is an exciting chance to experience the moon's motion directly. So have fun — and safe — solar viewing!
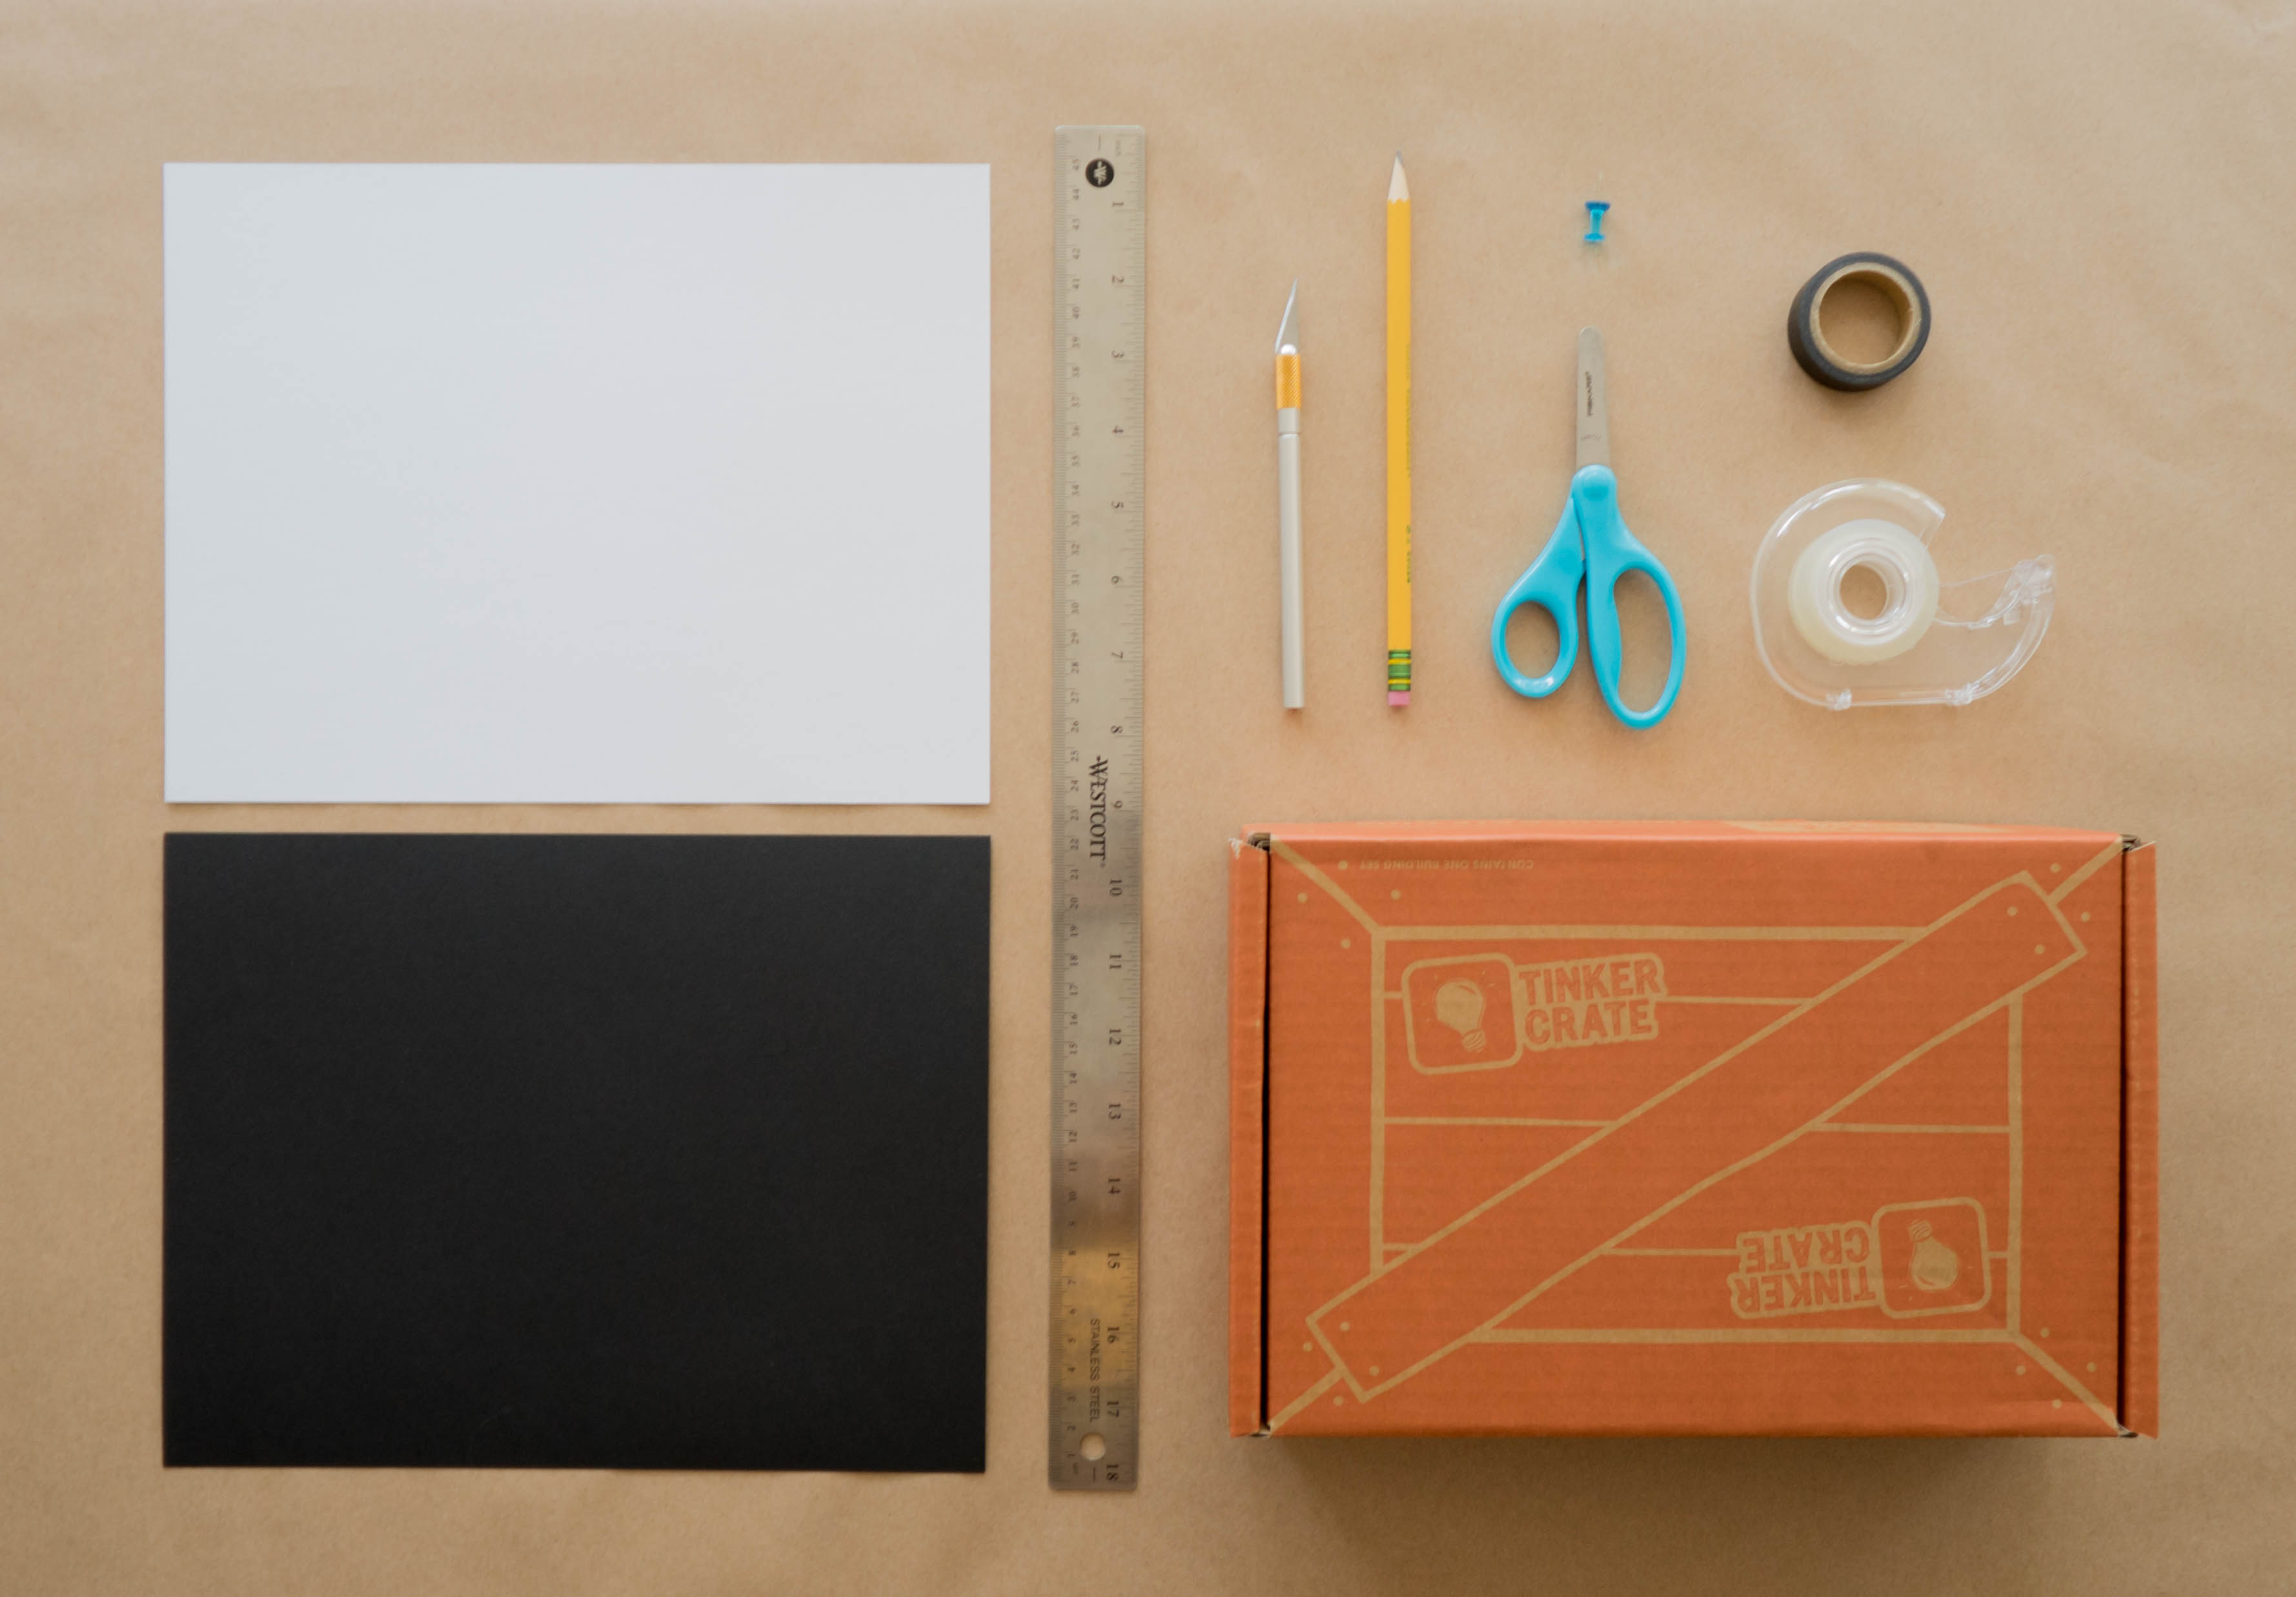
Step 1
Gather your materials.

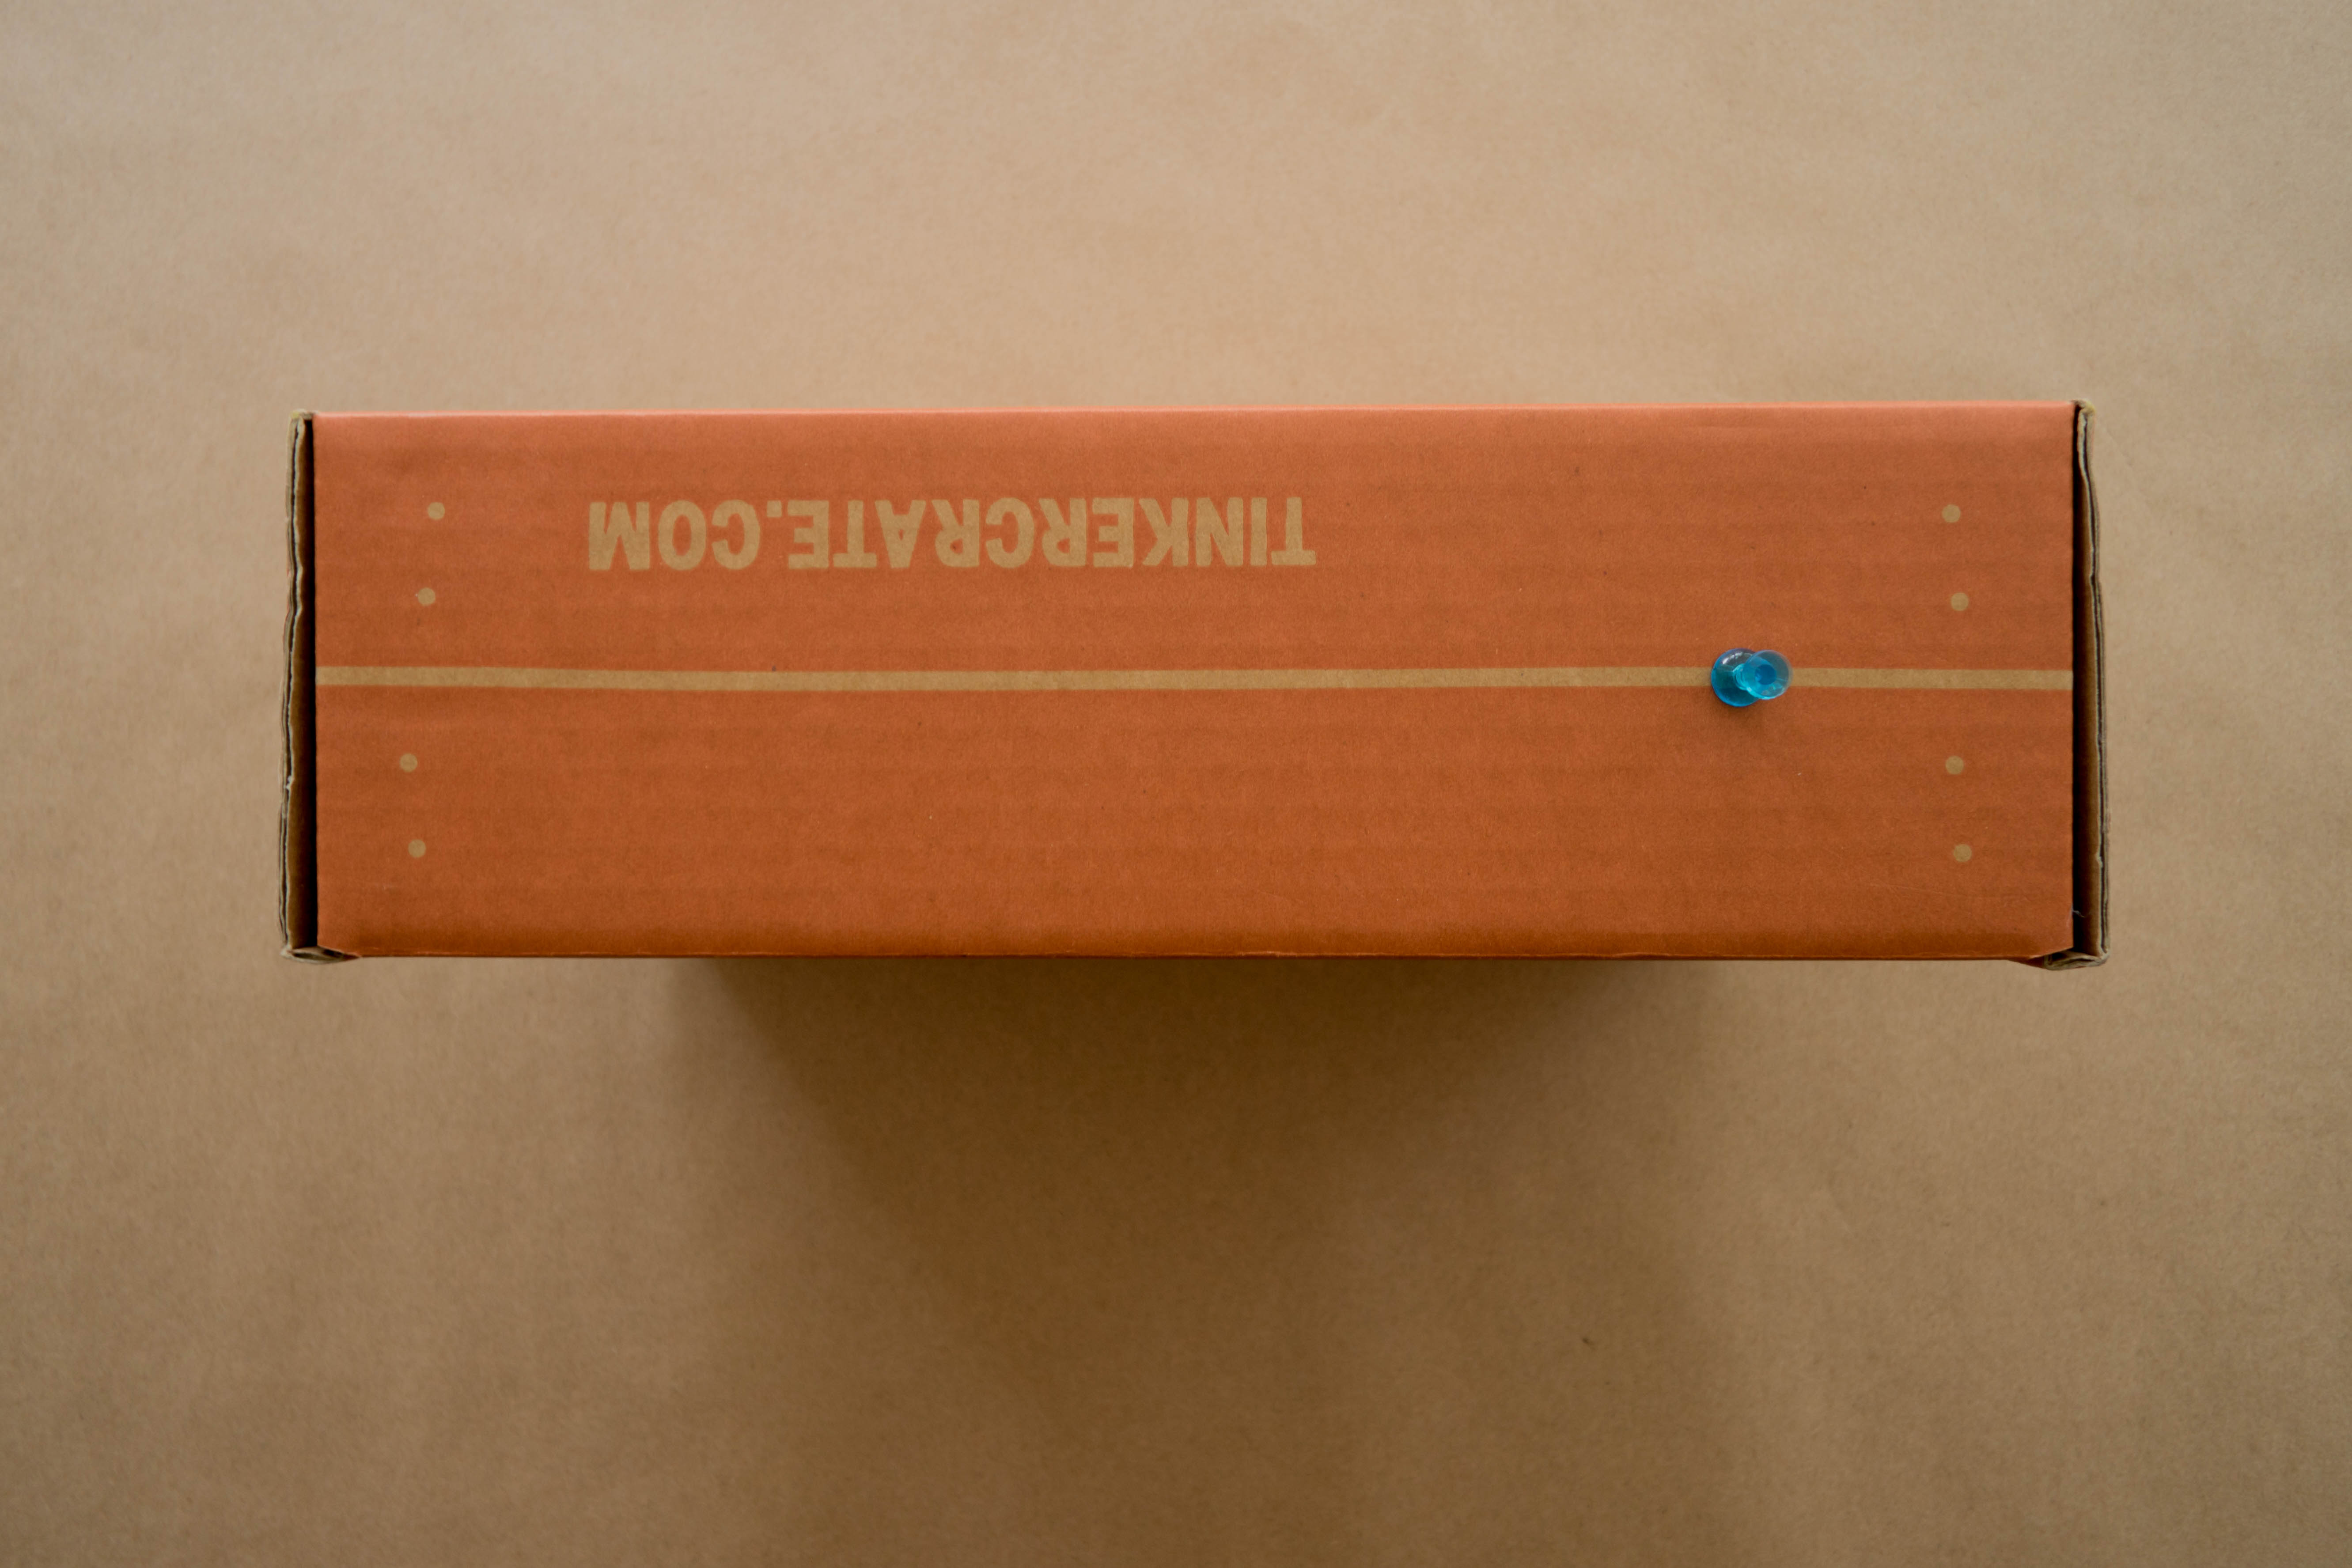
Step 2
On the back of the box, use a pushpin to make a small hole about 2” in from the middle of one short edge.
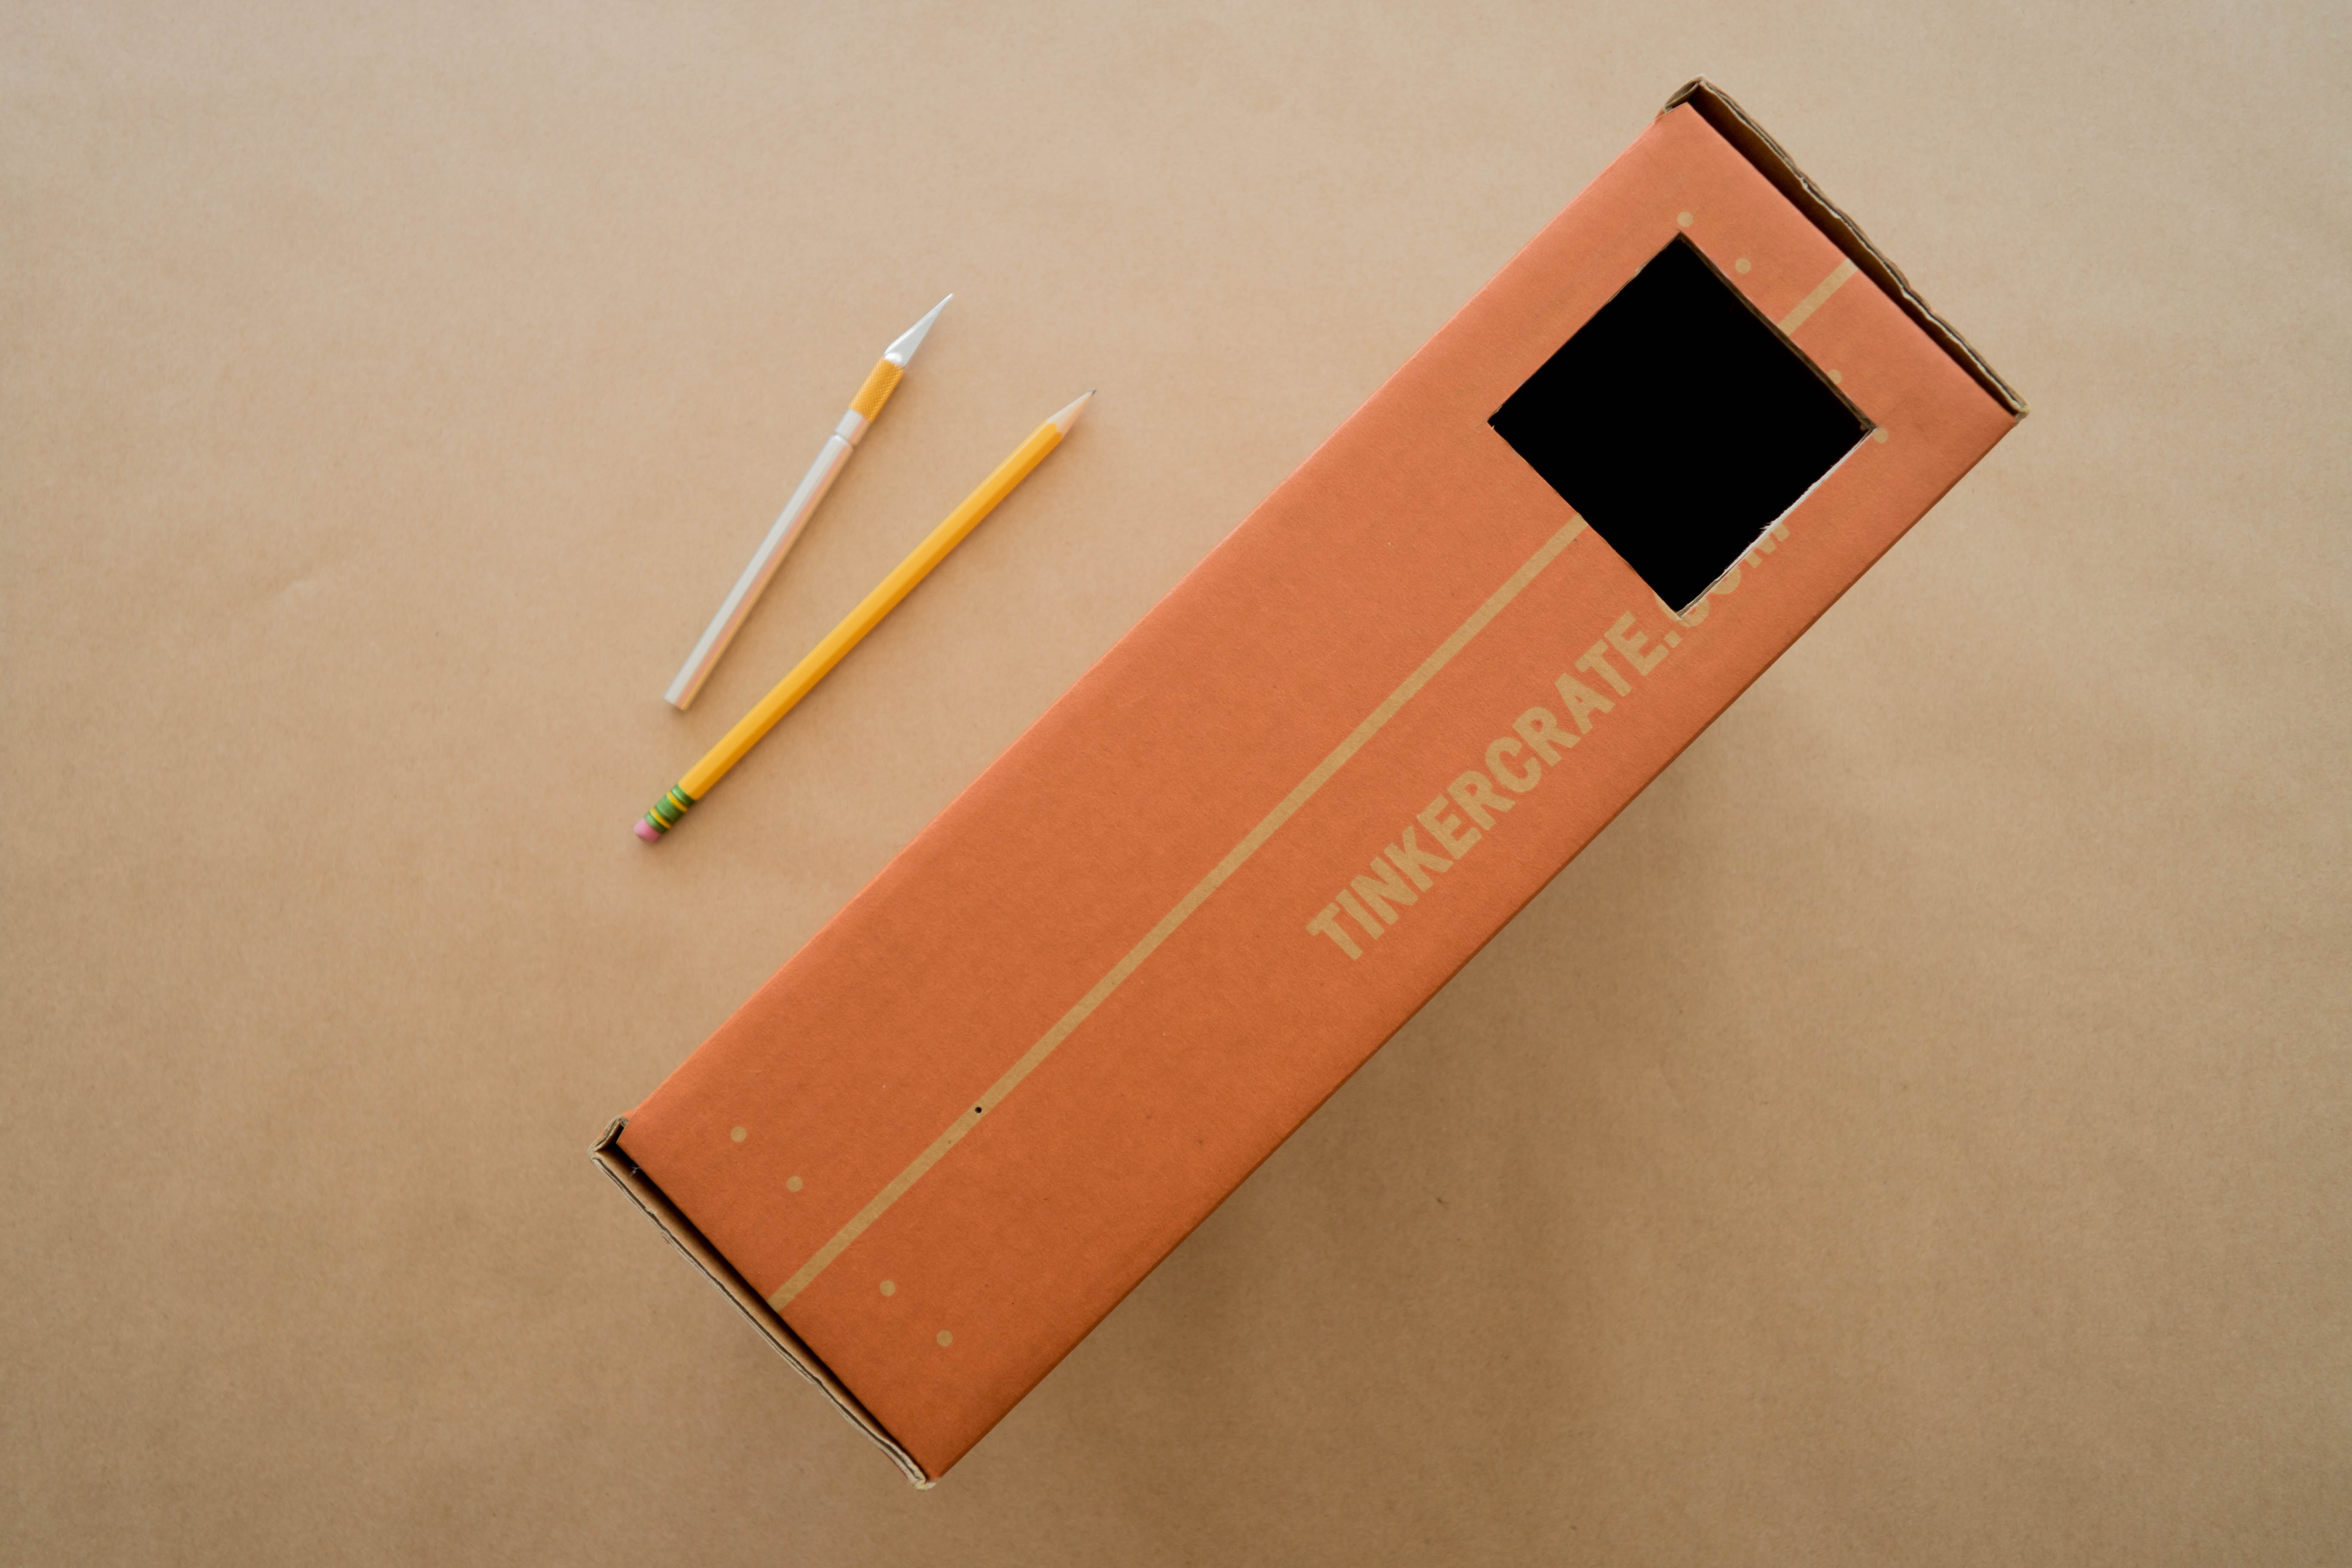
Step 3
On the other end, make an eyehole using an X-acto knife to cut a 2” square about a ½” in from the edges.
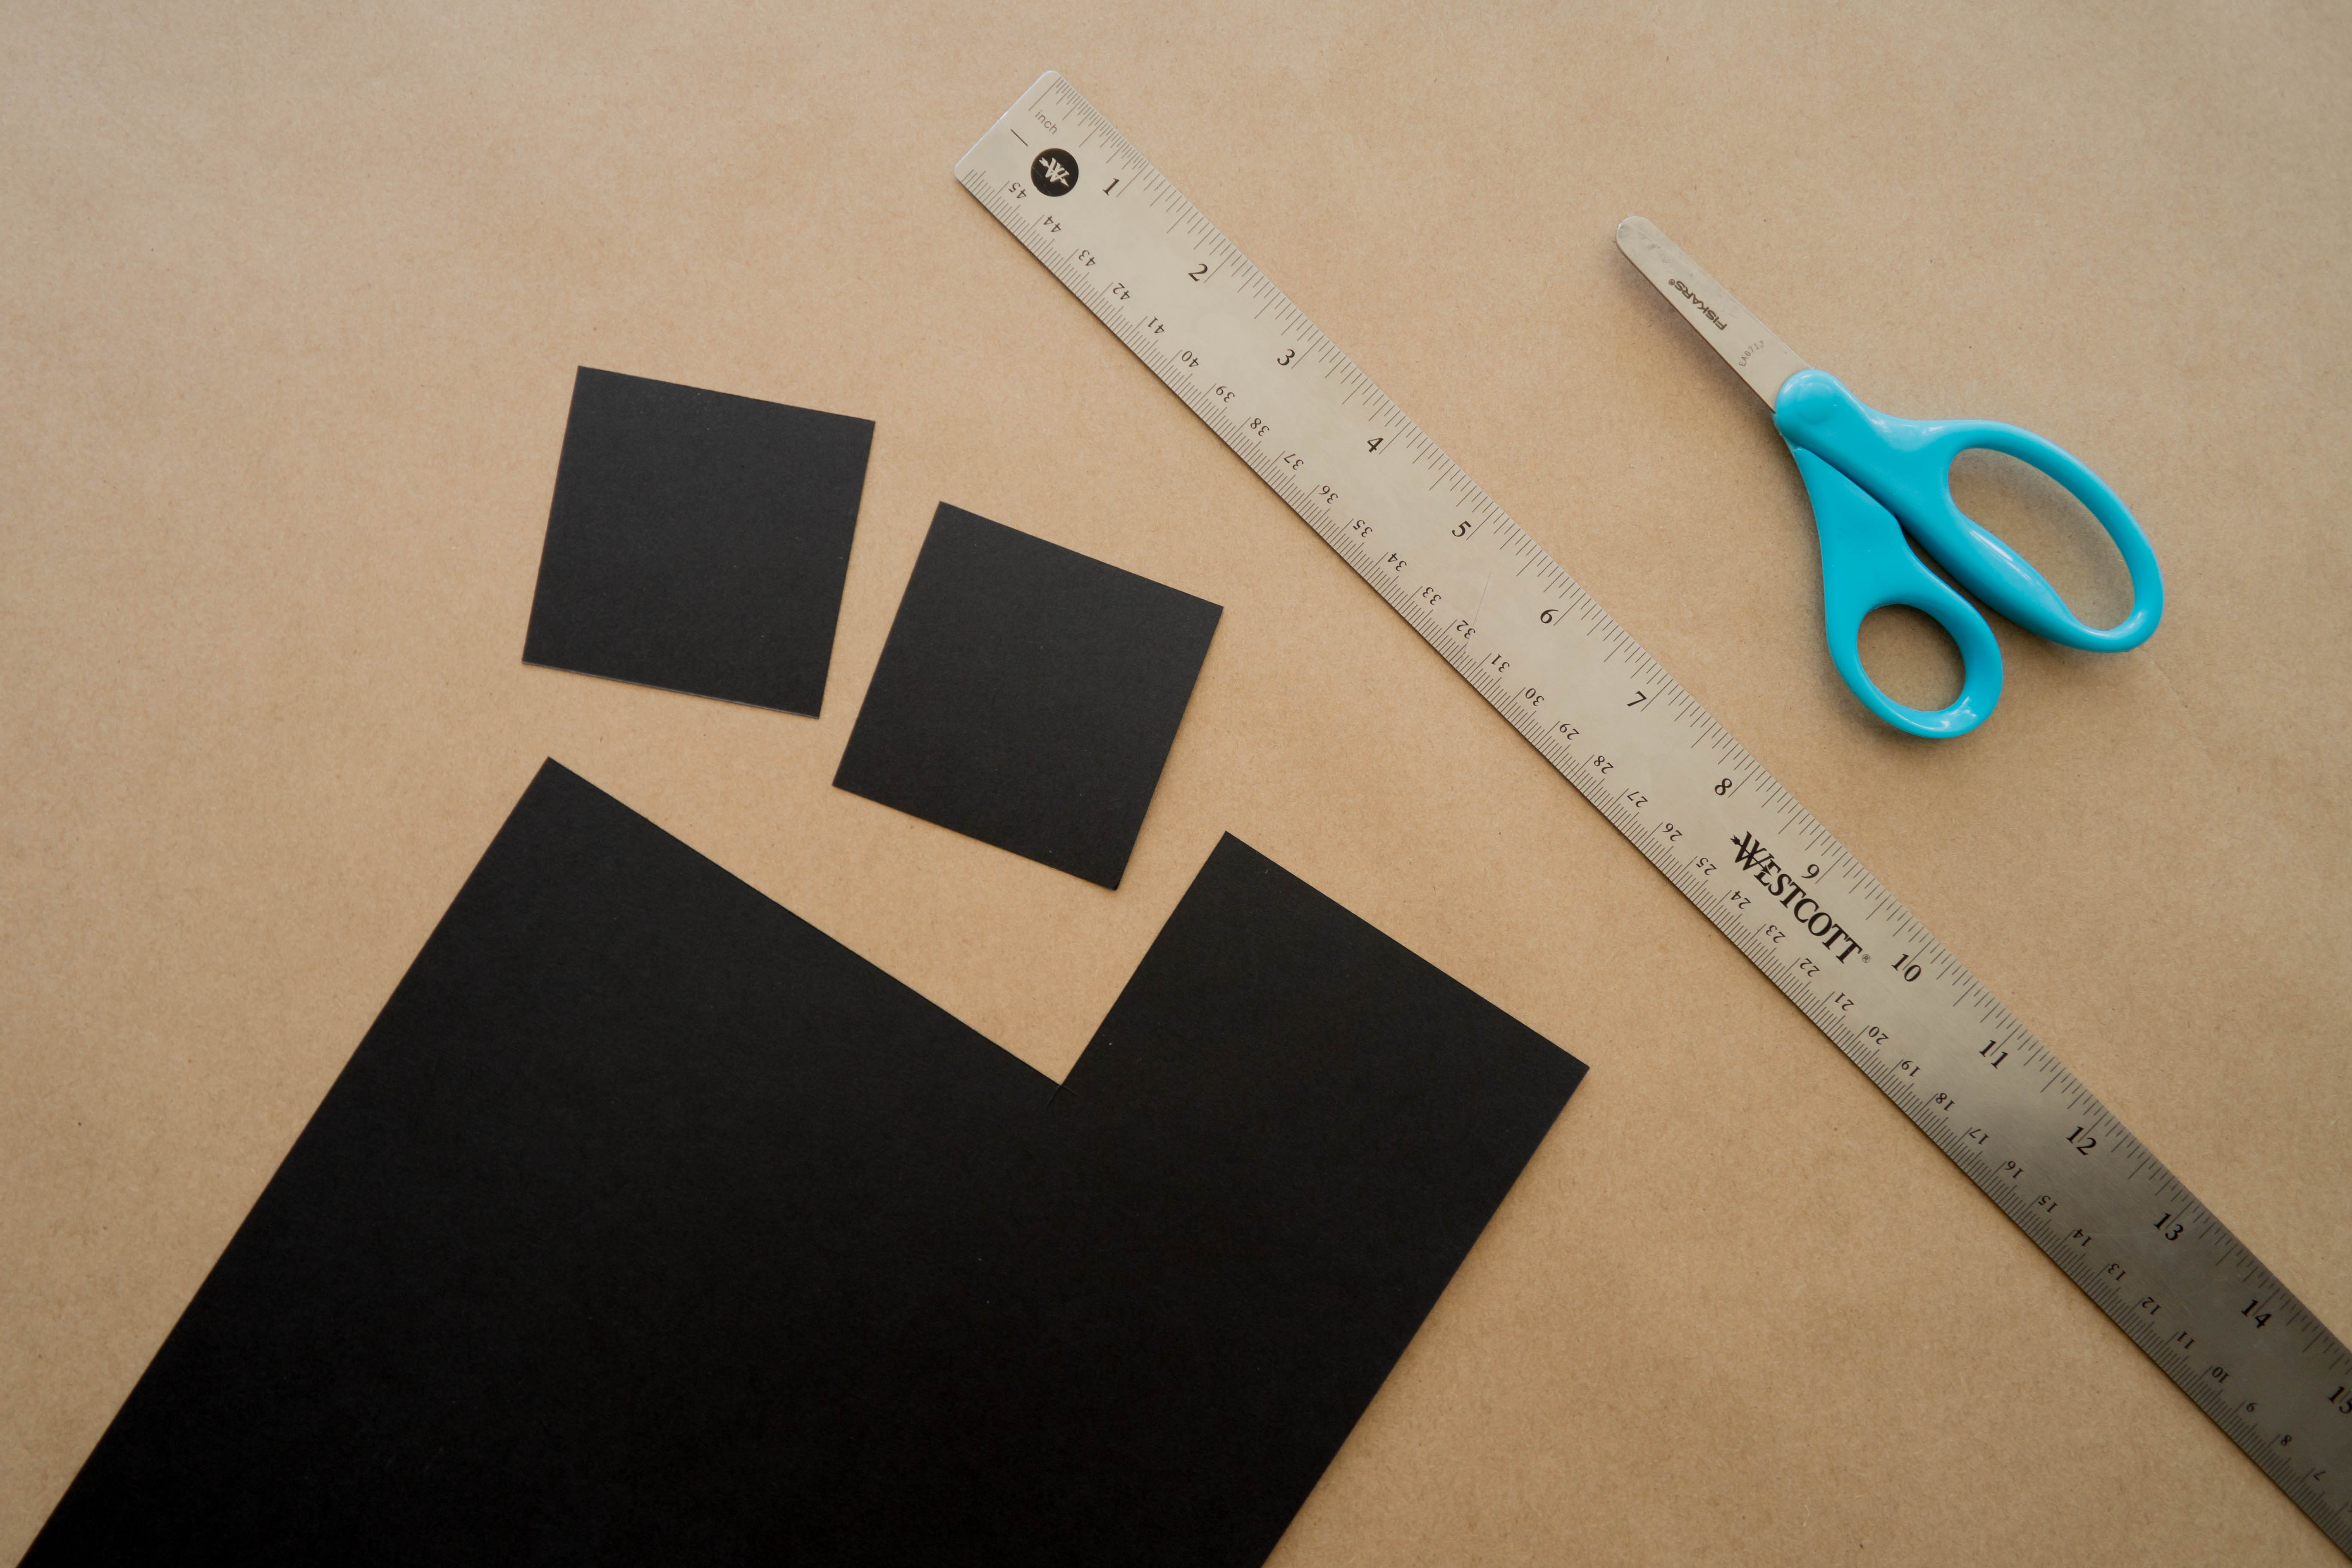
Step 4
Cut two 2½” squares out of black paper.
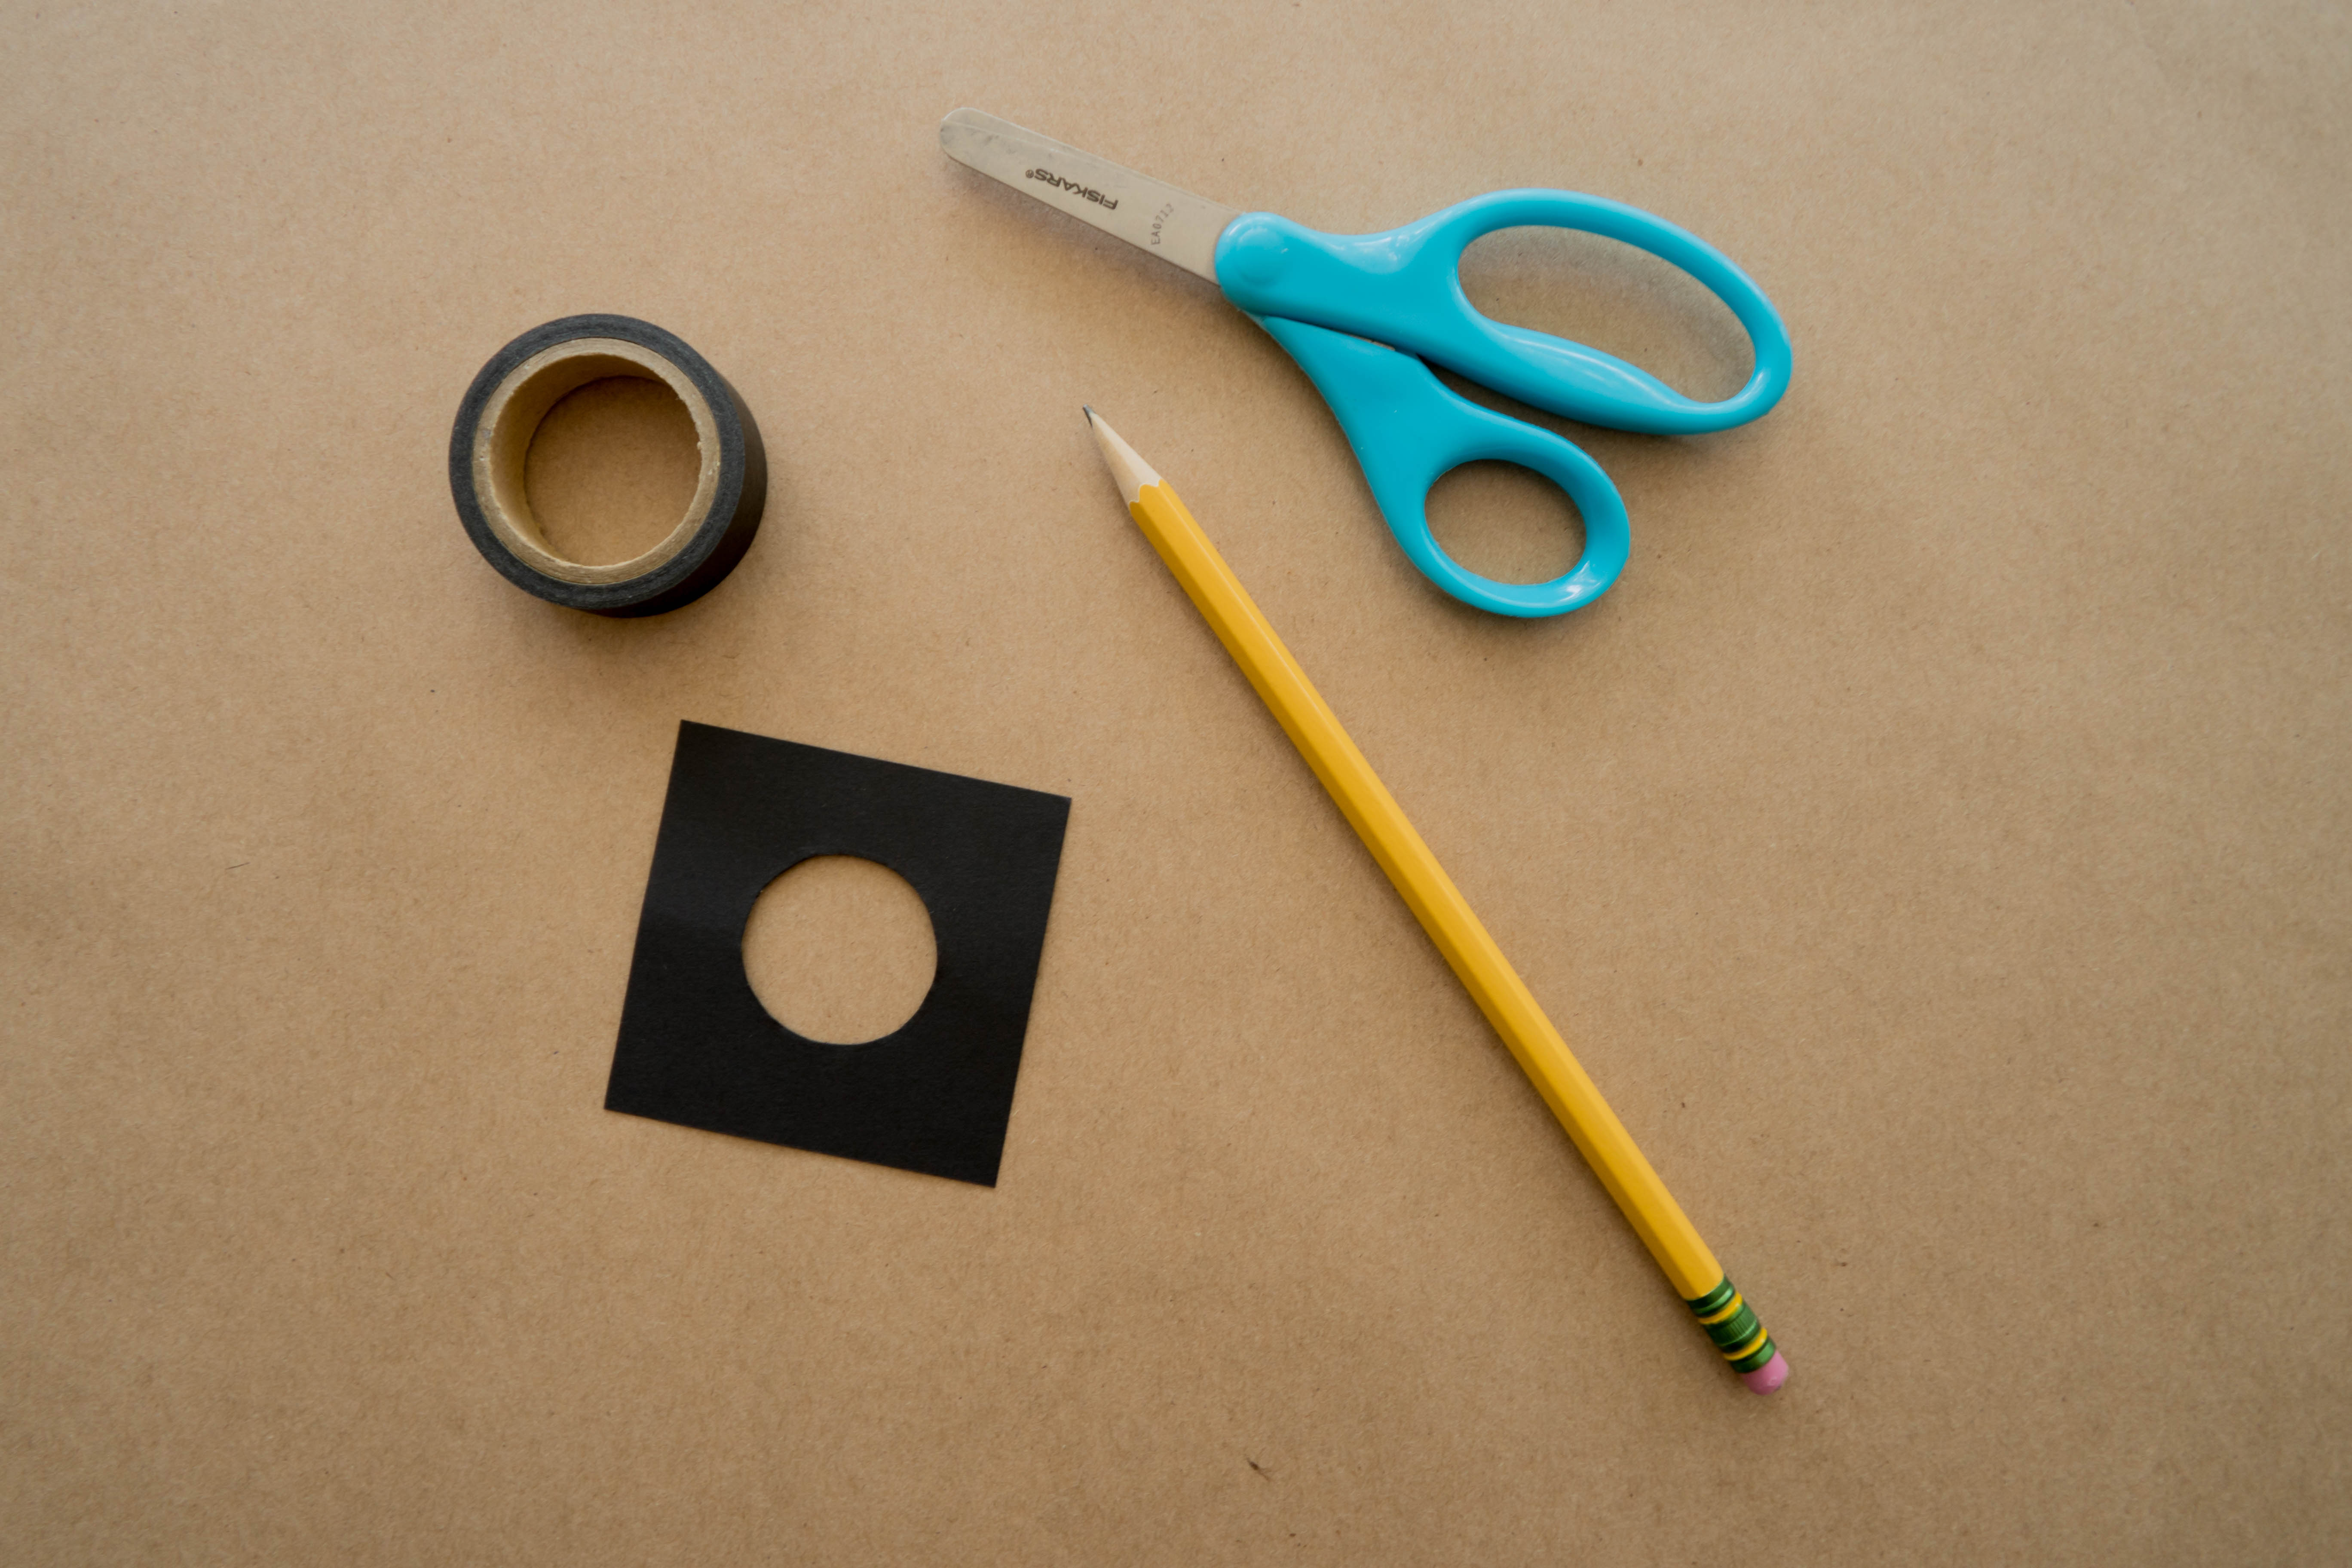
Step 5
Place a roll of tape in the middle of one black square and trace the inside circle. Carefully cut out the circle without cutting into the square. This will be your eyehole. Optional: Use the second black square to make a smaller or bigger eyehole.
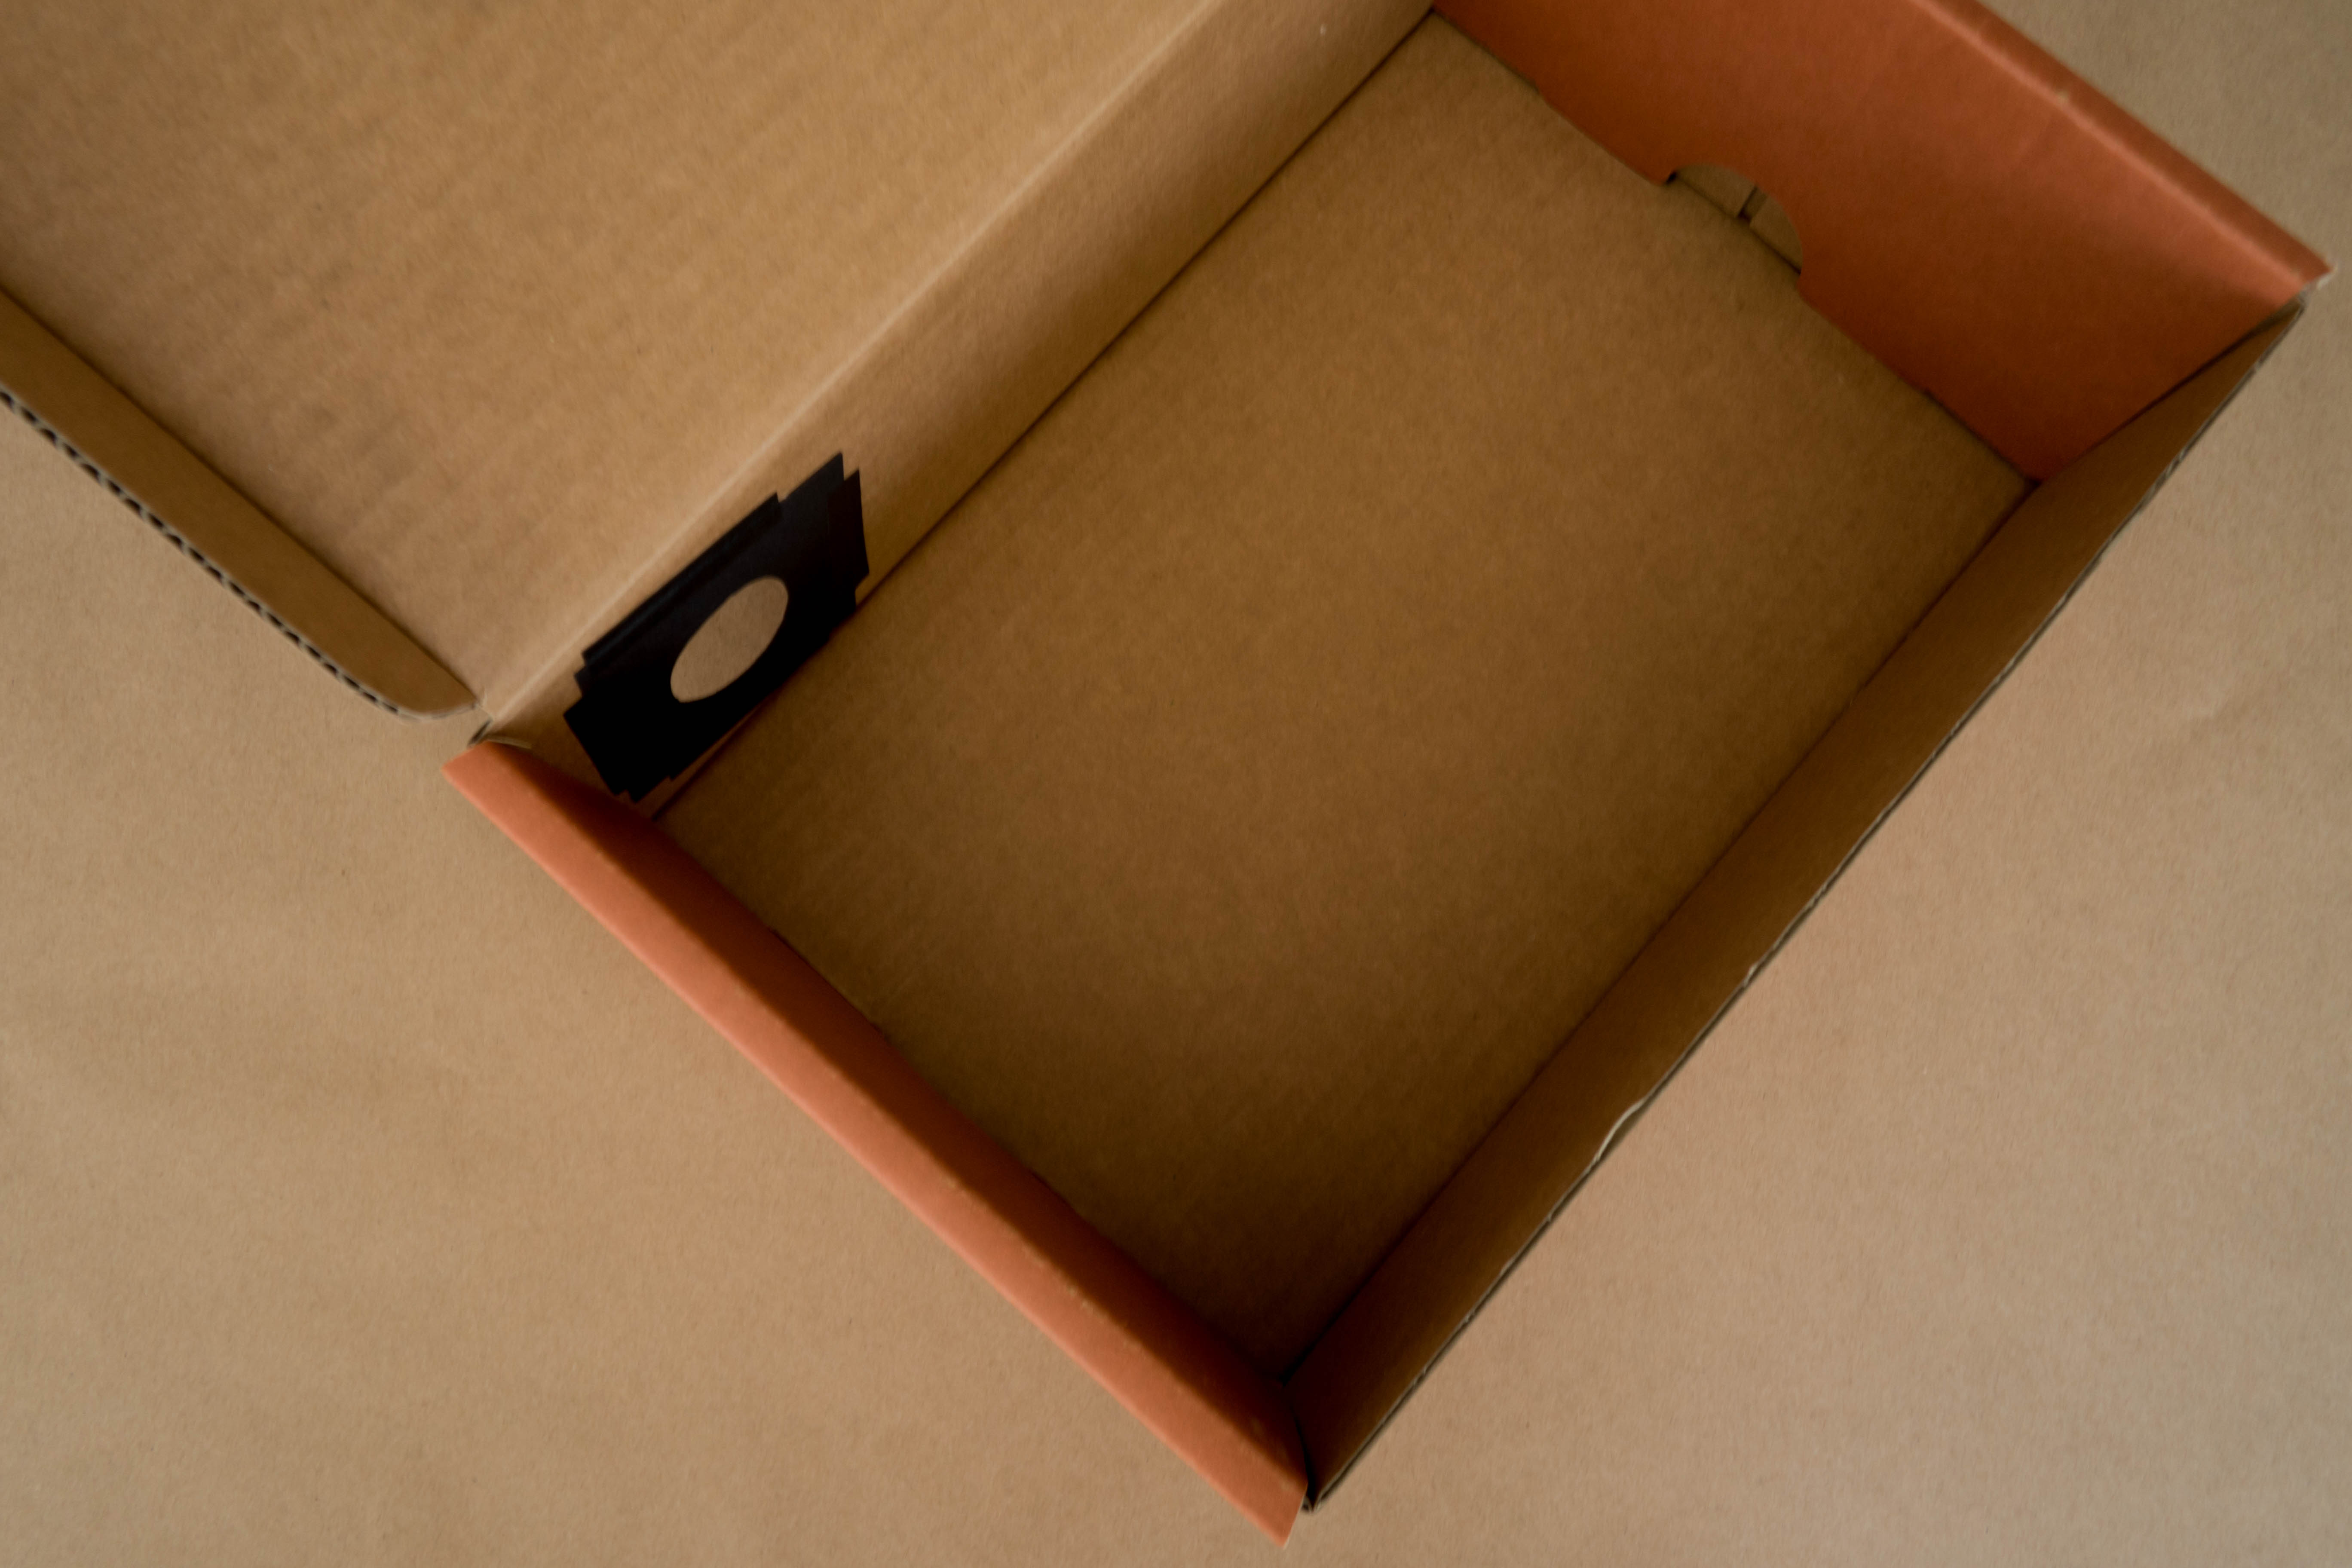
Step 6
Open the box and tape the square to the inside of the box so that the circle is in the middle of the eyehole.
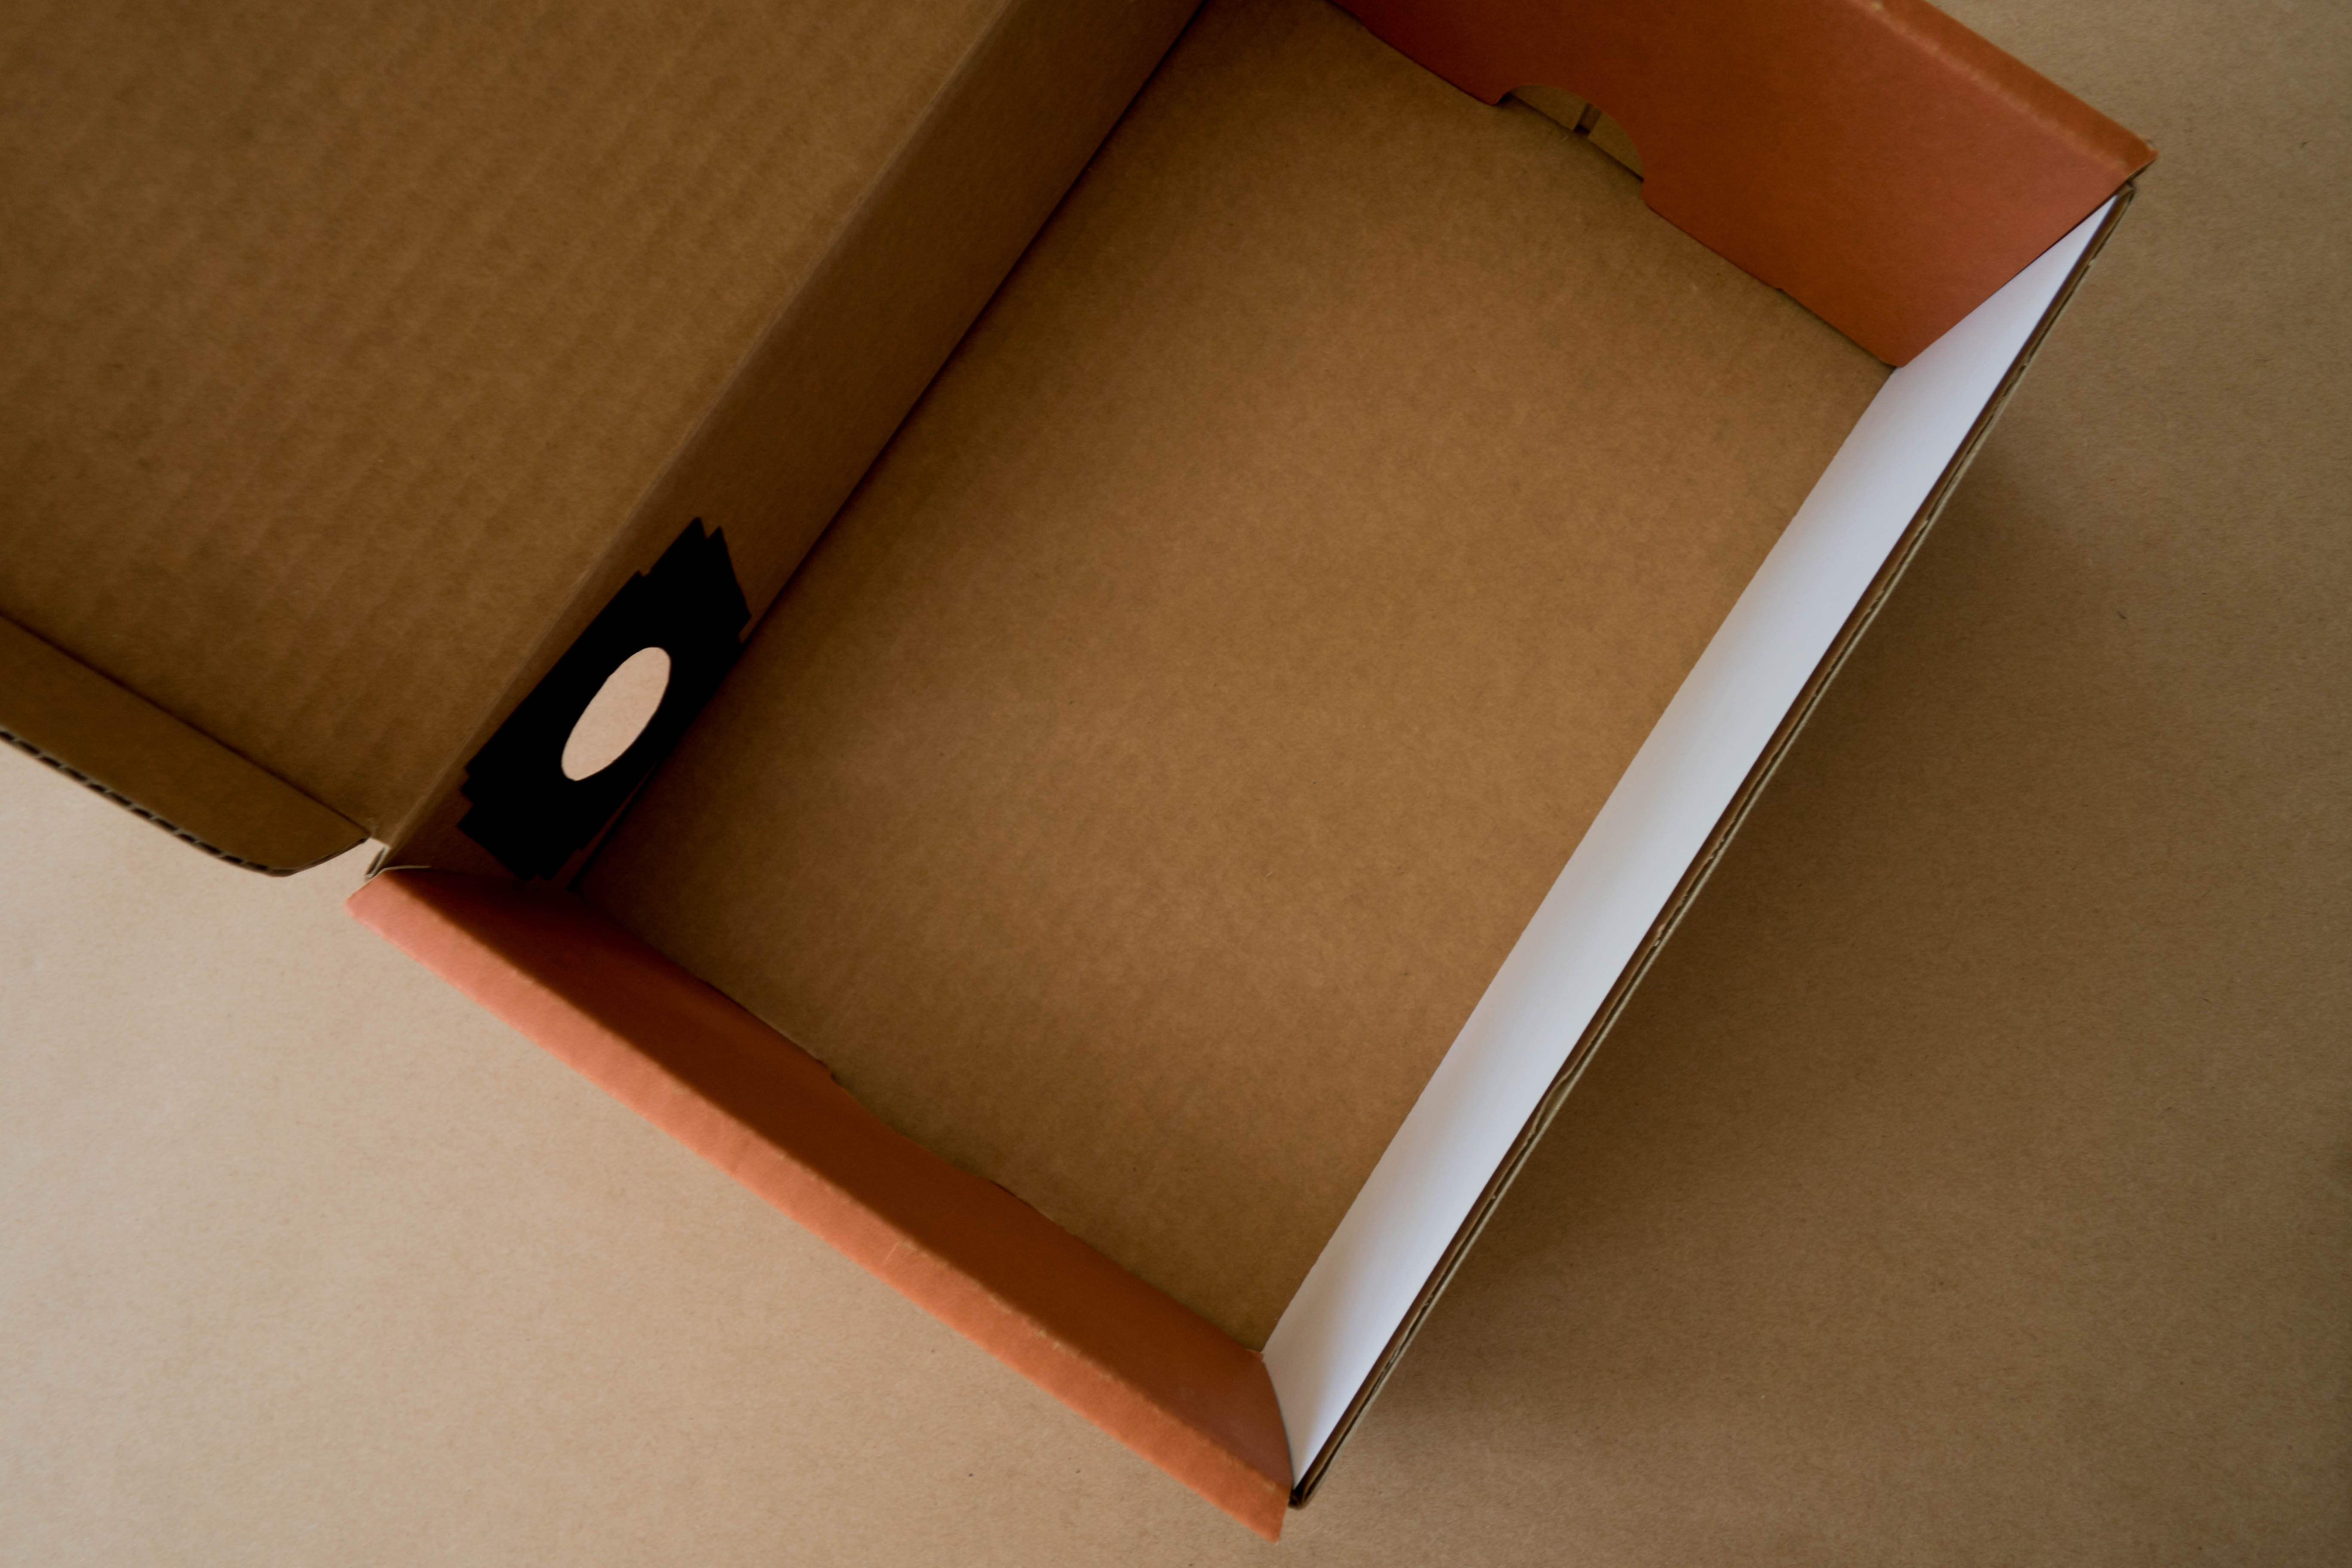
Step 7
Cut one 10½” x 3¼” rectangle out of the white paper. Use double-sided tape to stick the rectangle to the inside of the box, across from the eyehole.
Step 8
Close the box. Then, look inside the eyehole. Use black tape to cover up any holes that are creating light inside the box.
Step 9
Now, you’re ready to use your projector! Experiment with a flashlight first! Direct the light at the pinhole while looking through the eyehole. You should see a small circle of light inside the box. Then, try taking your box outside and using the sun as your light source!
Tip
To move the position of the light inside the box, tilt the box either up or down.


