Step-by-step tutorial
Step 1
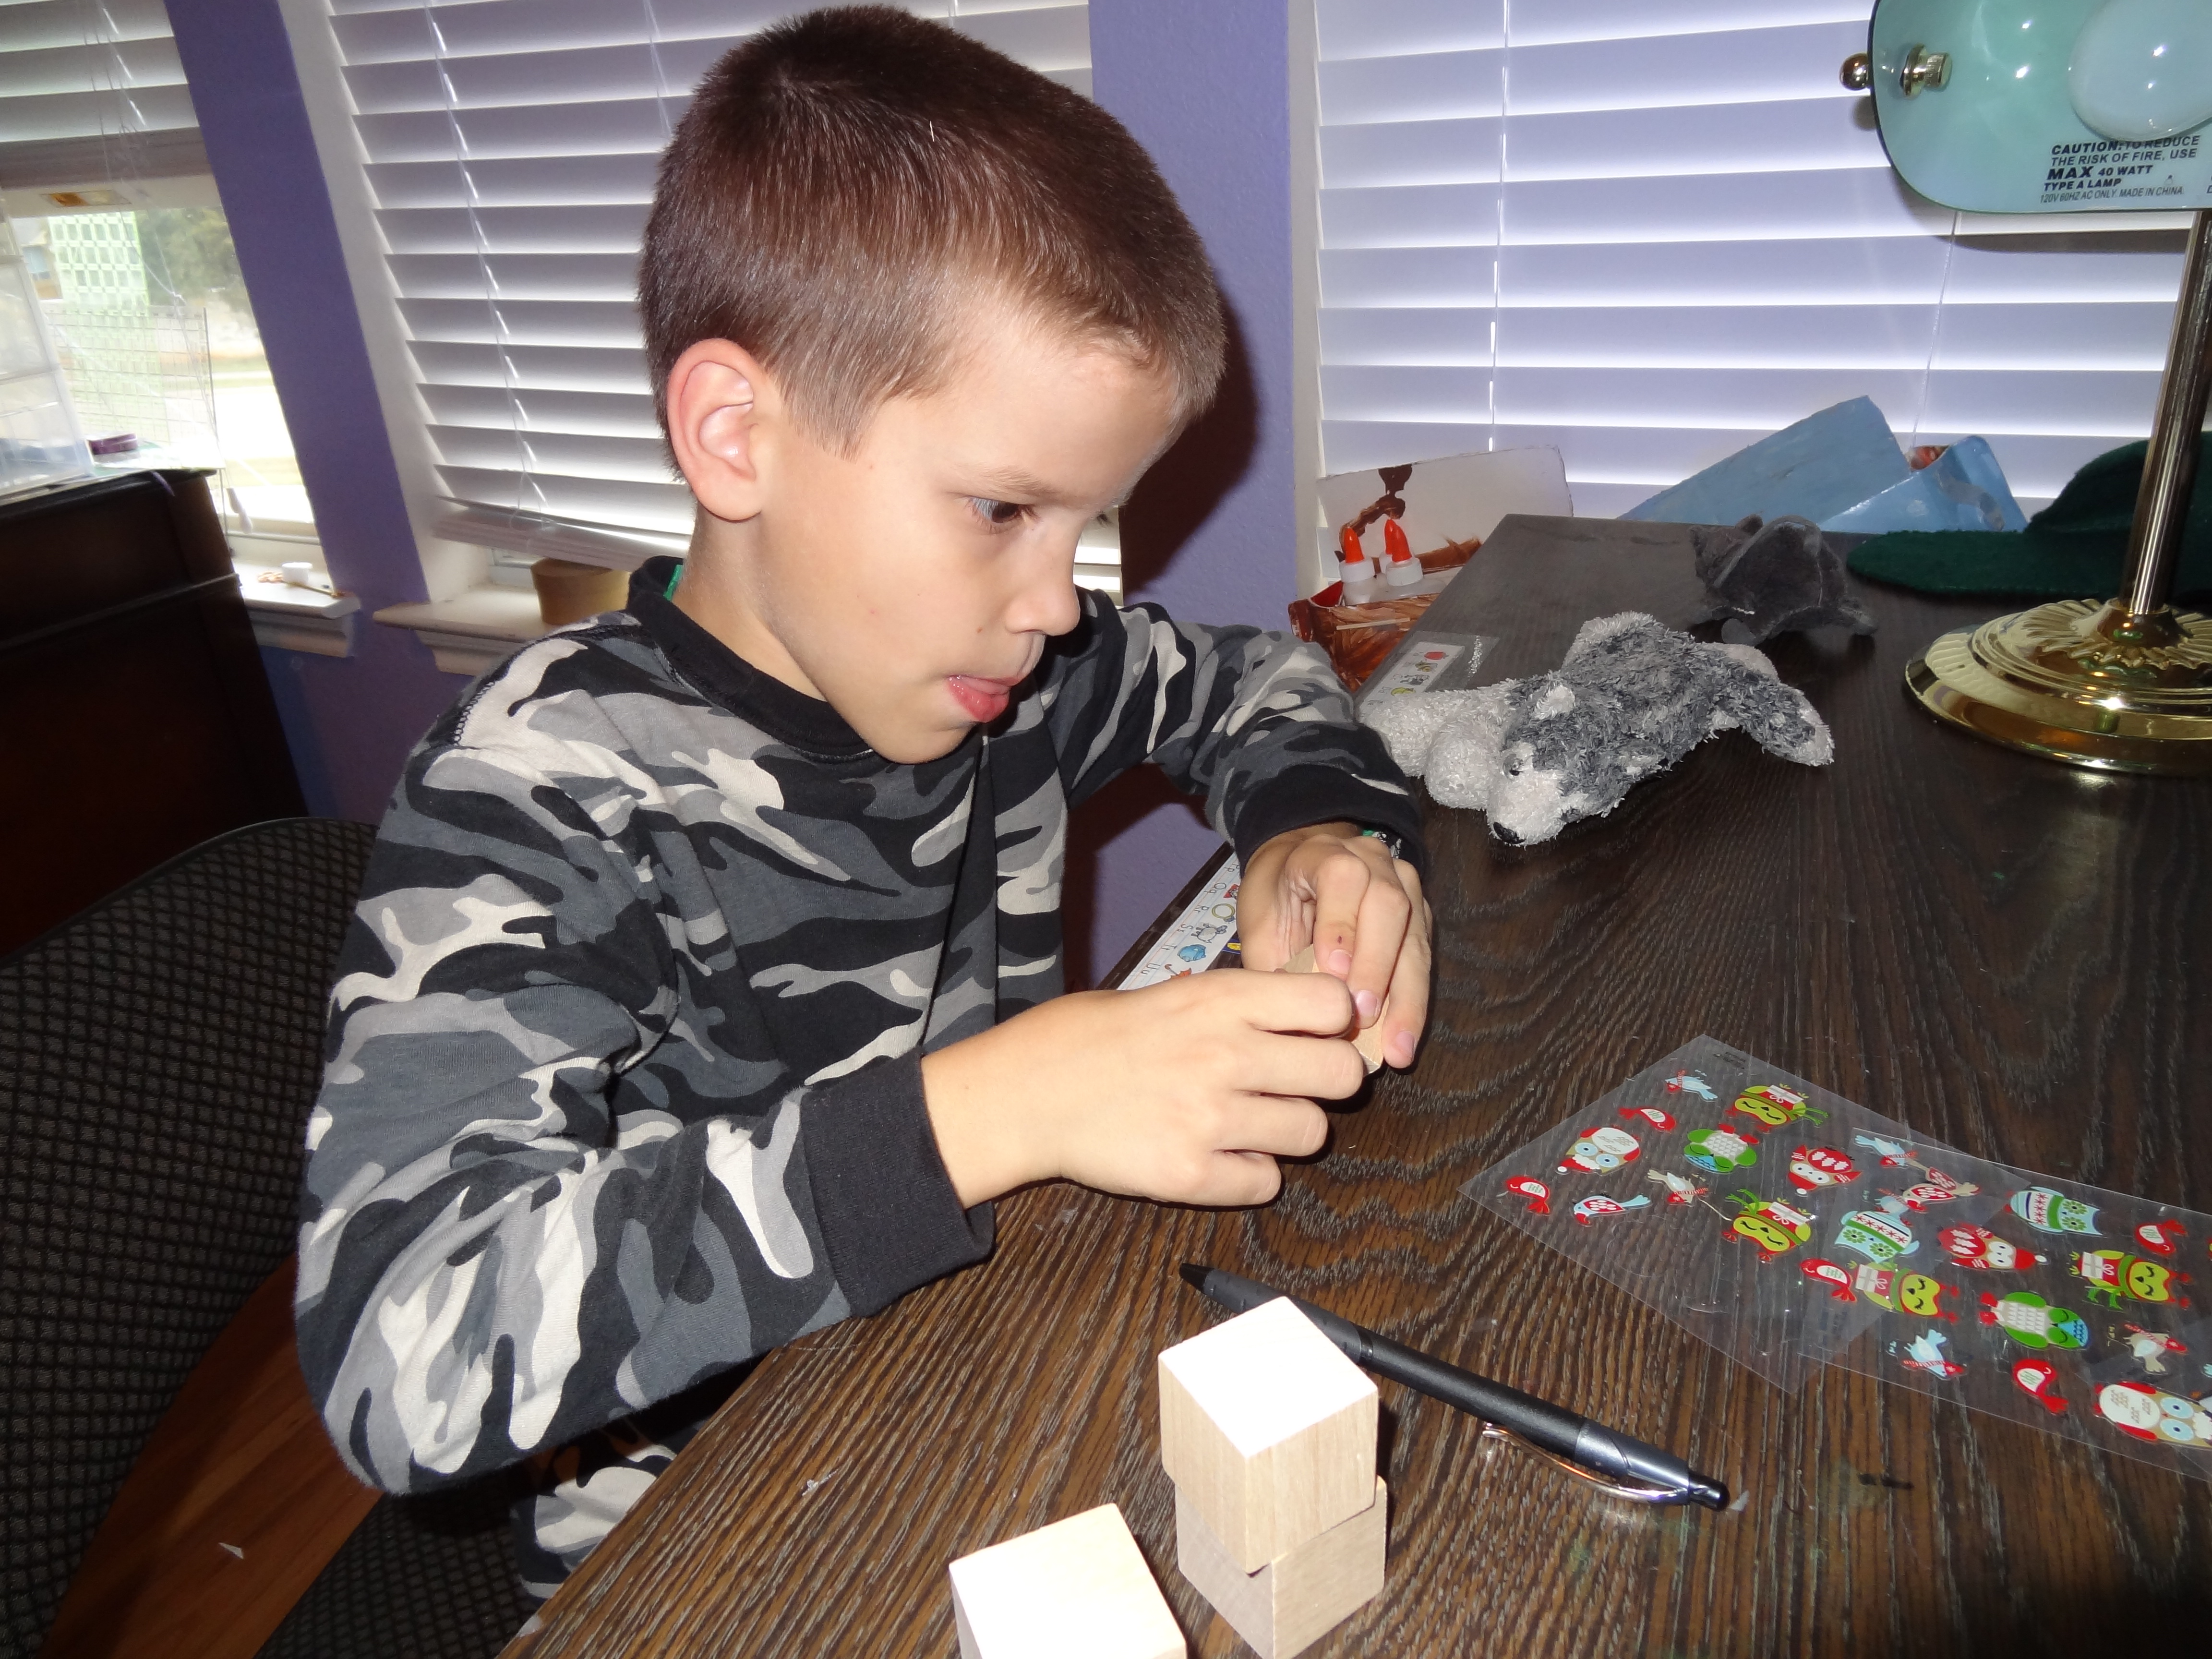
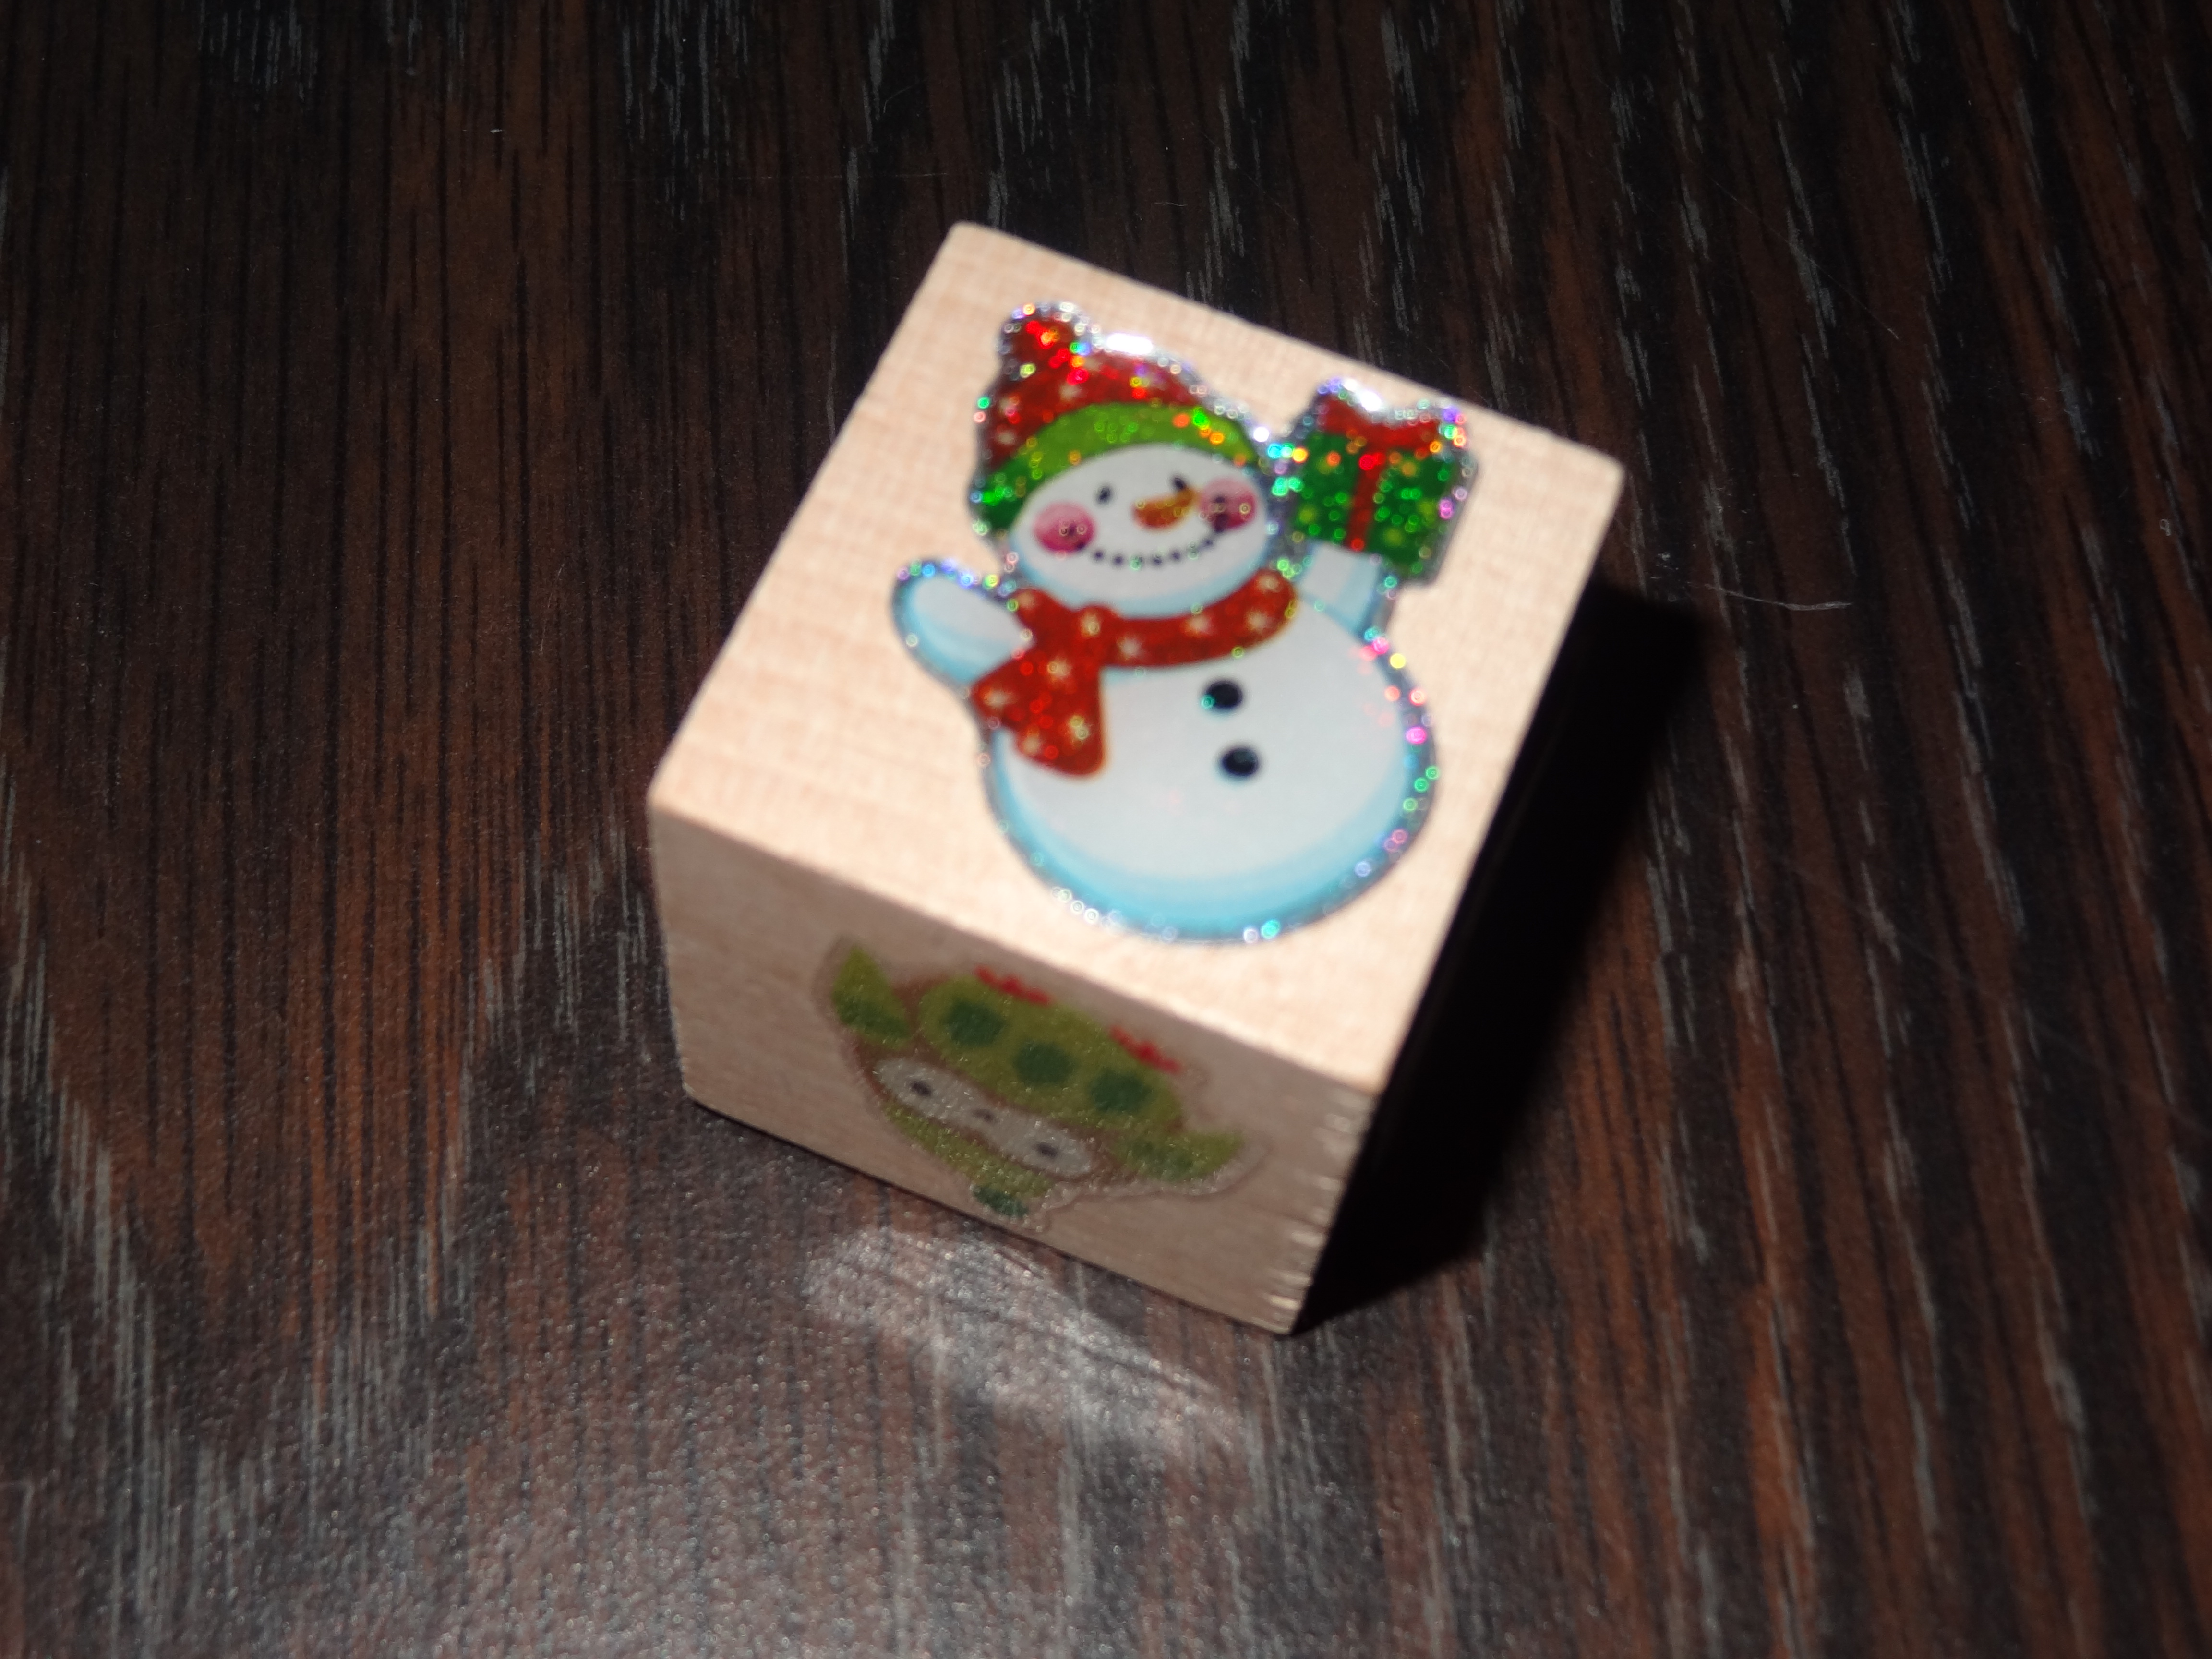
Peel the stickers off your backing sheet and stick them onto your cubes. With the size of our stickers we fit one sticker per side, but that worked well for one of my planned projects with these.

Step 2
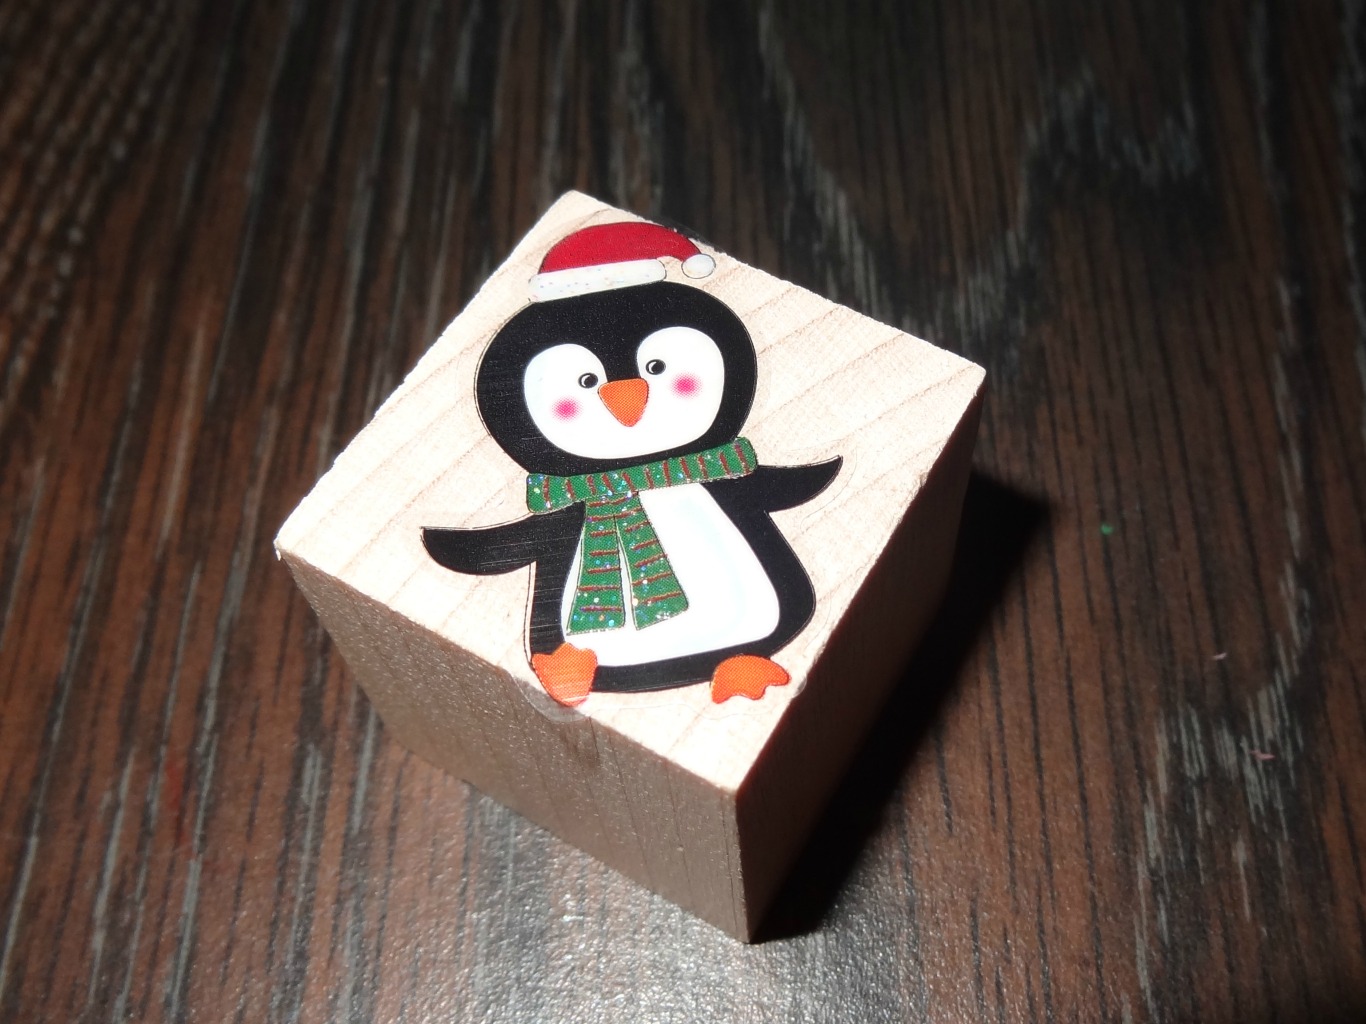
Some things to be aware of when choosing stickers for this project. Measure your sticker against your cube. The penguins we chose were almost too big for the cube, and some had to be trimmed.
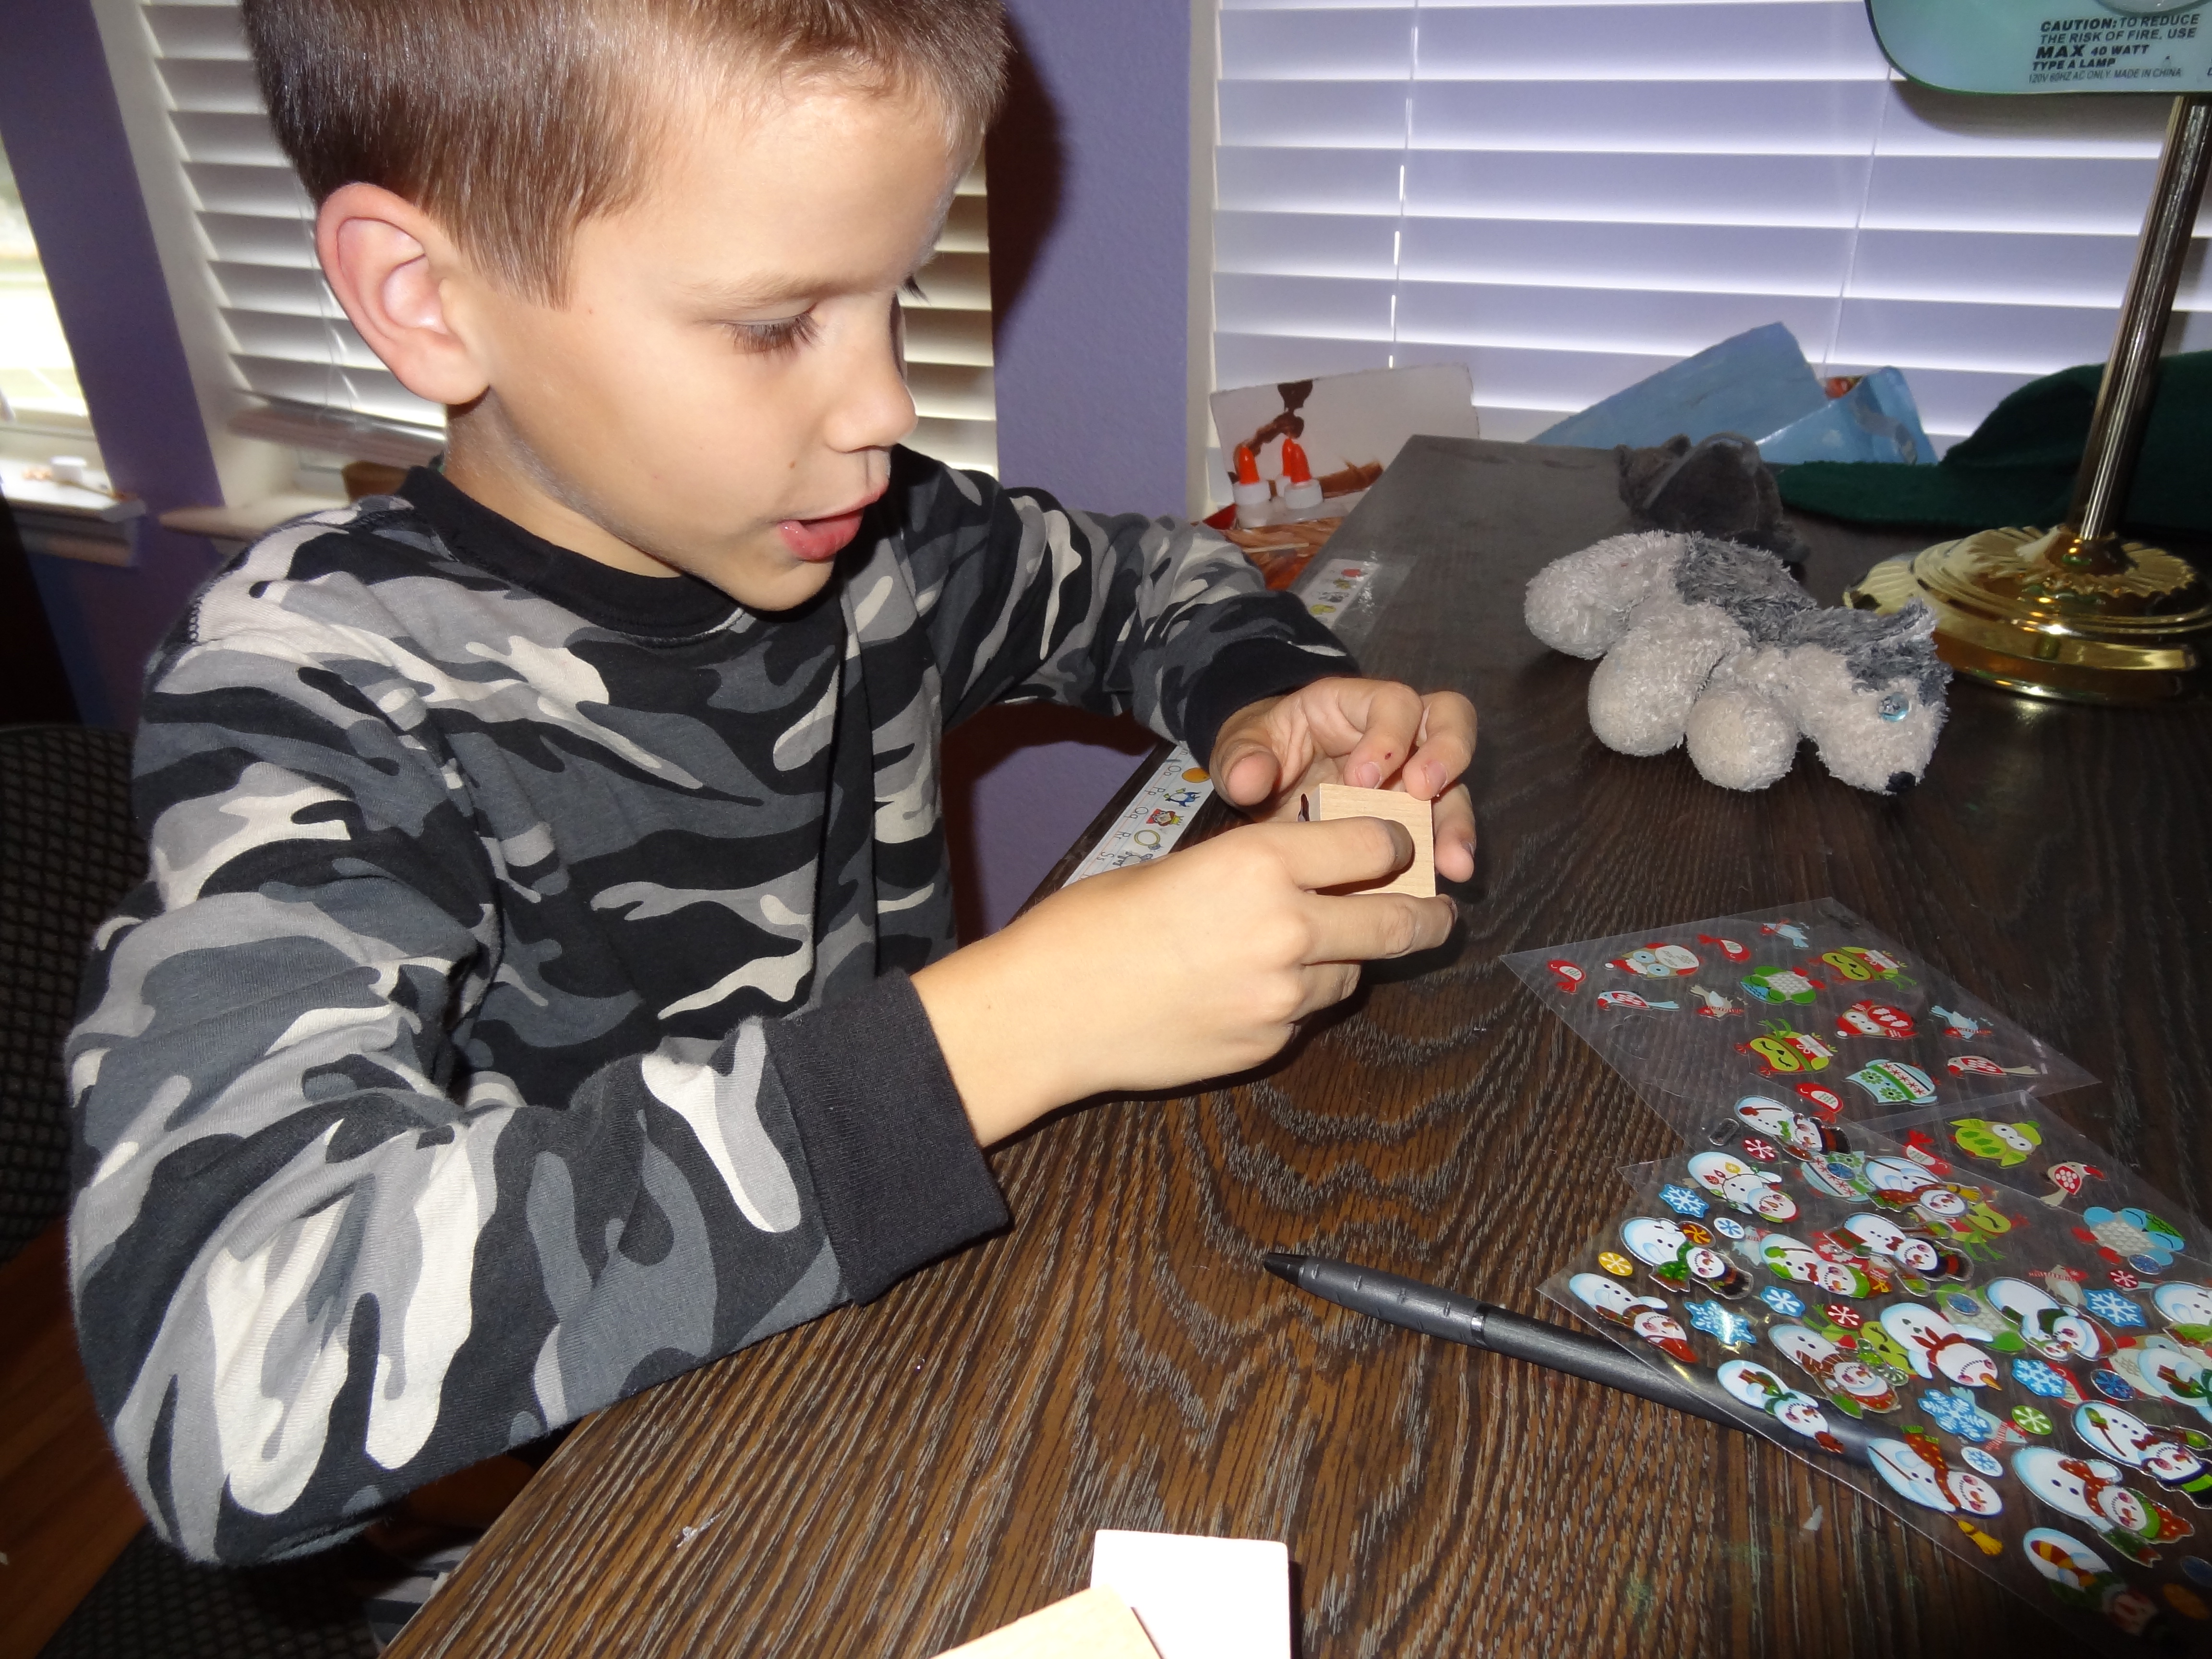
Step 3
While the puffy stickers were easier to pull off for my son, they had the problem of being bumpy and not resting well. In hindsight I should have just found some normal kid Christmas stickers, not scrapbooking ones.
Step 4
When all of your cubes have stickers on them take a final look around to make sure they have all sides covered.
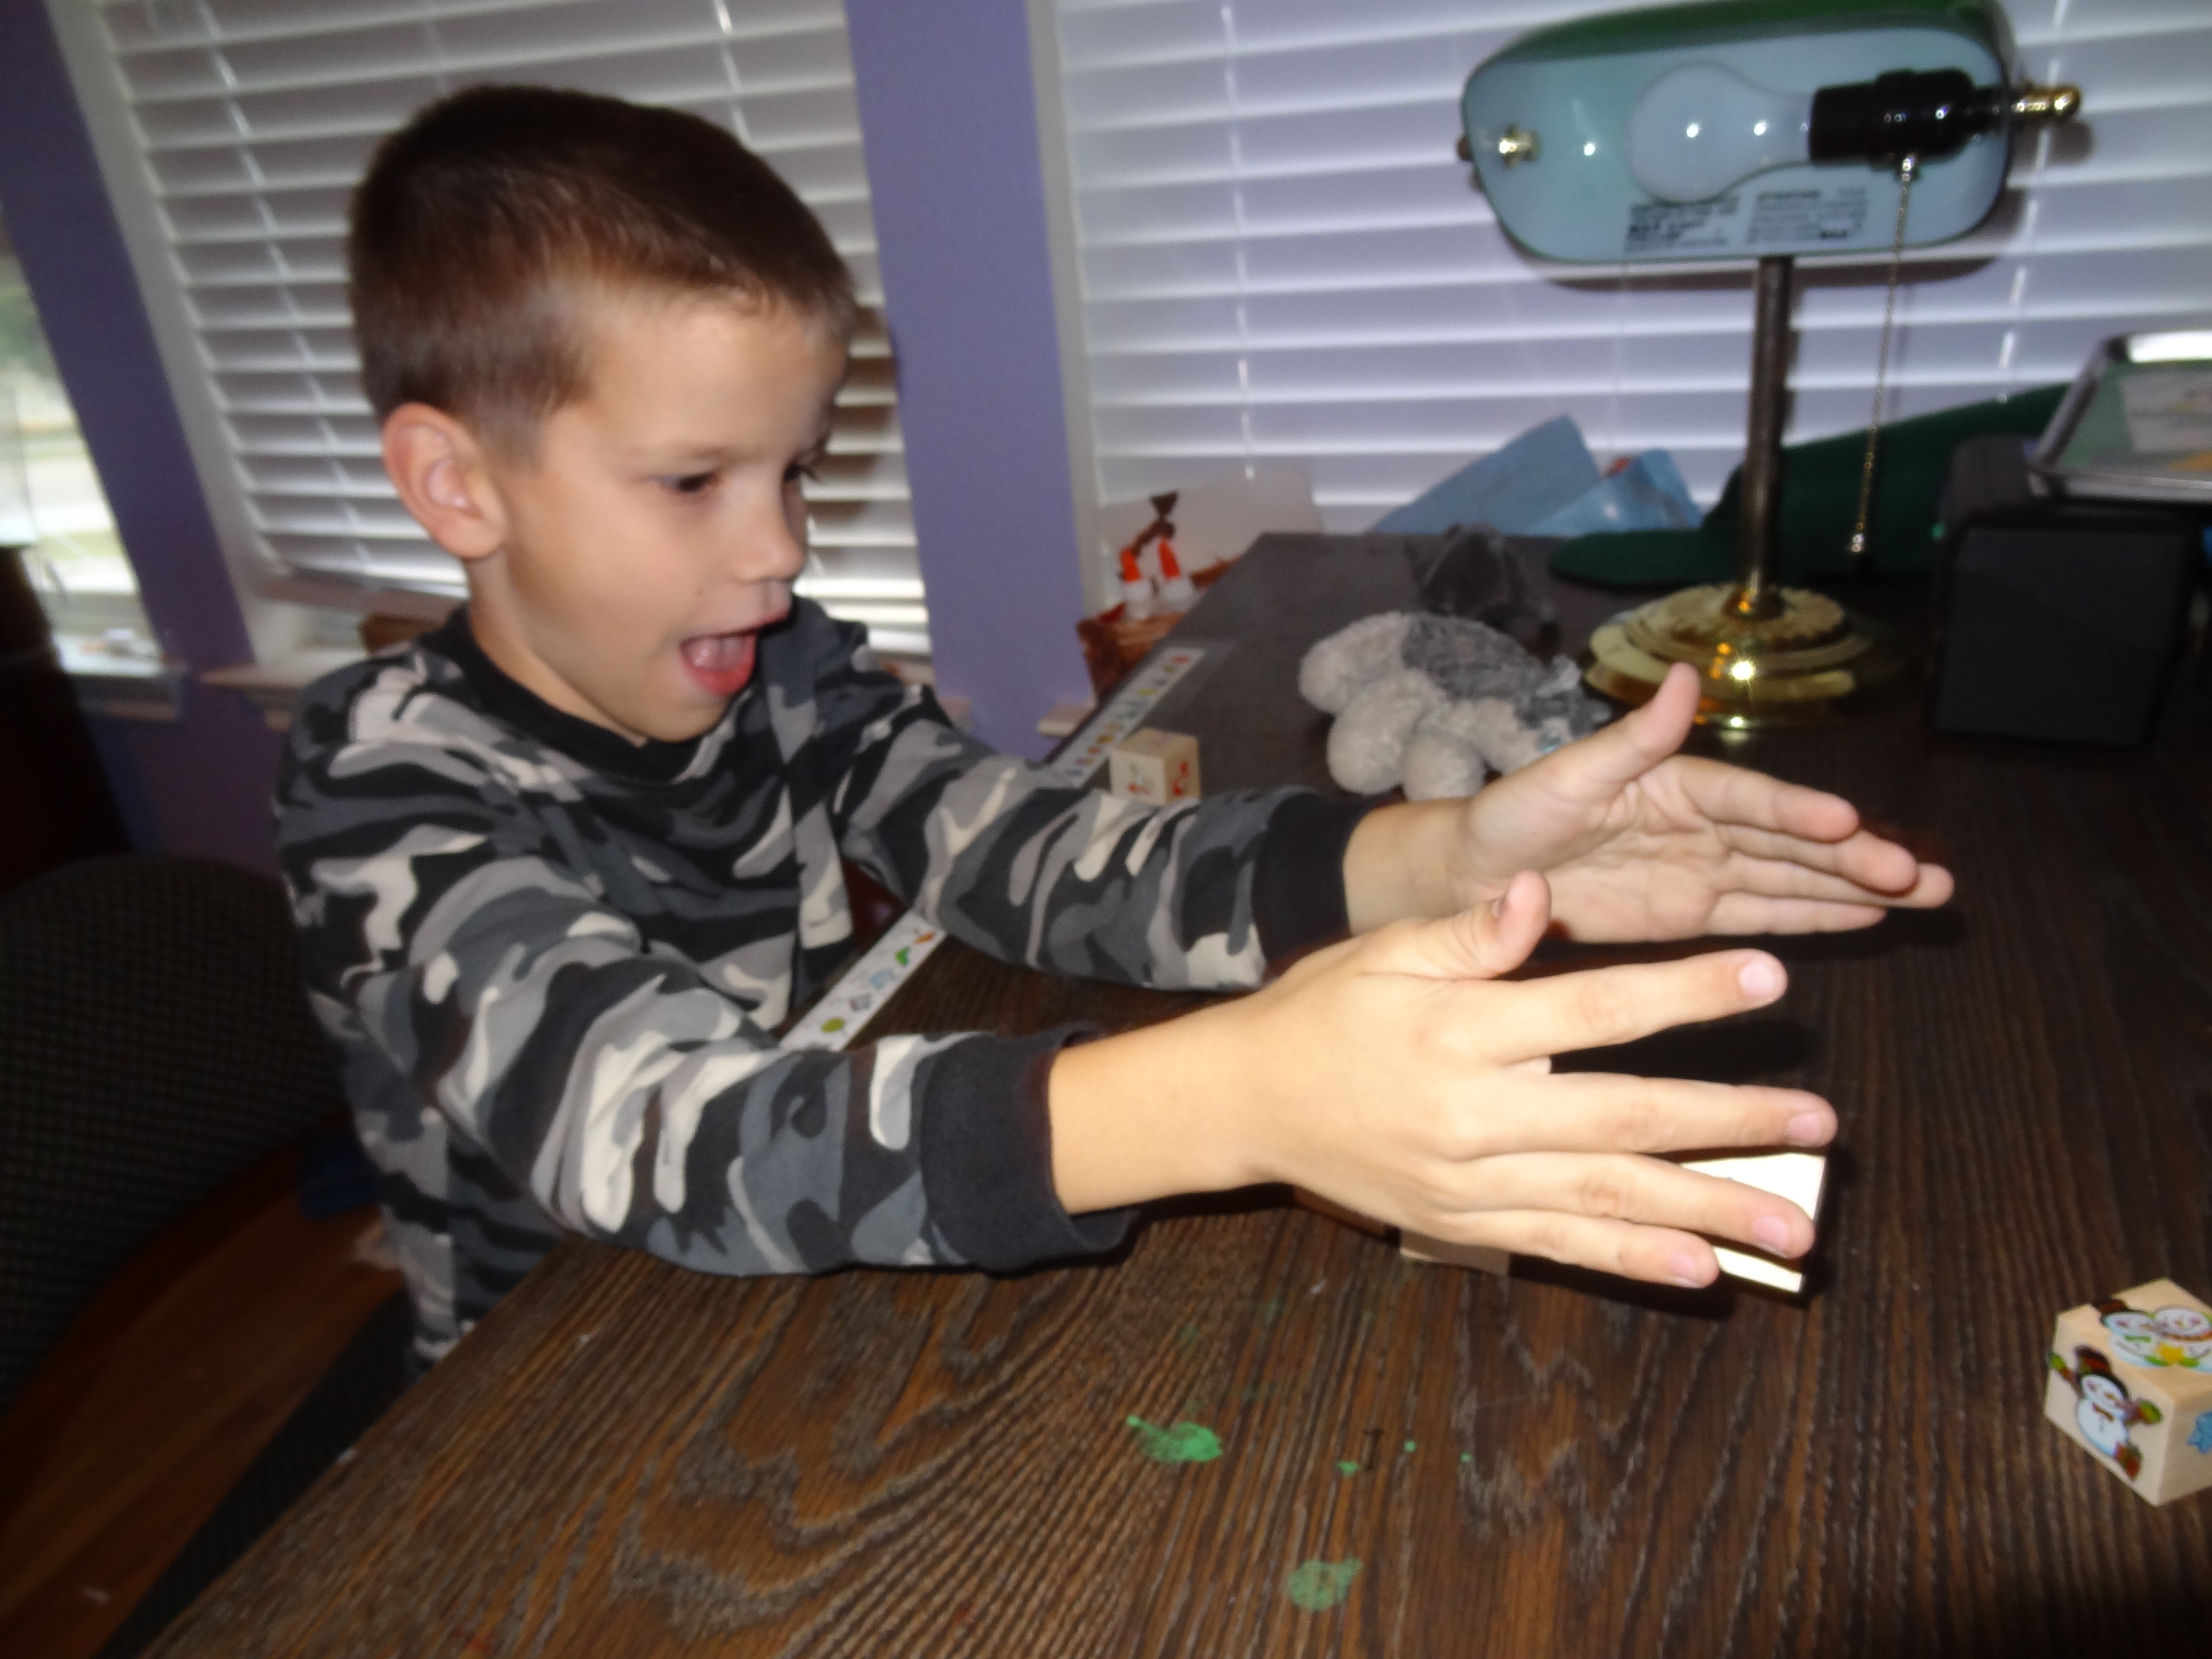
Step 5
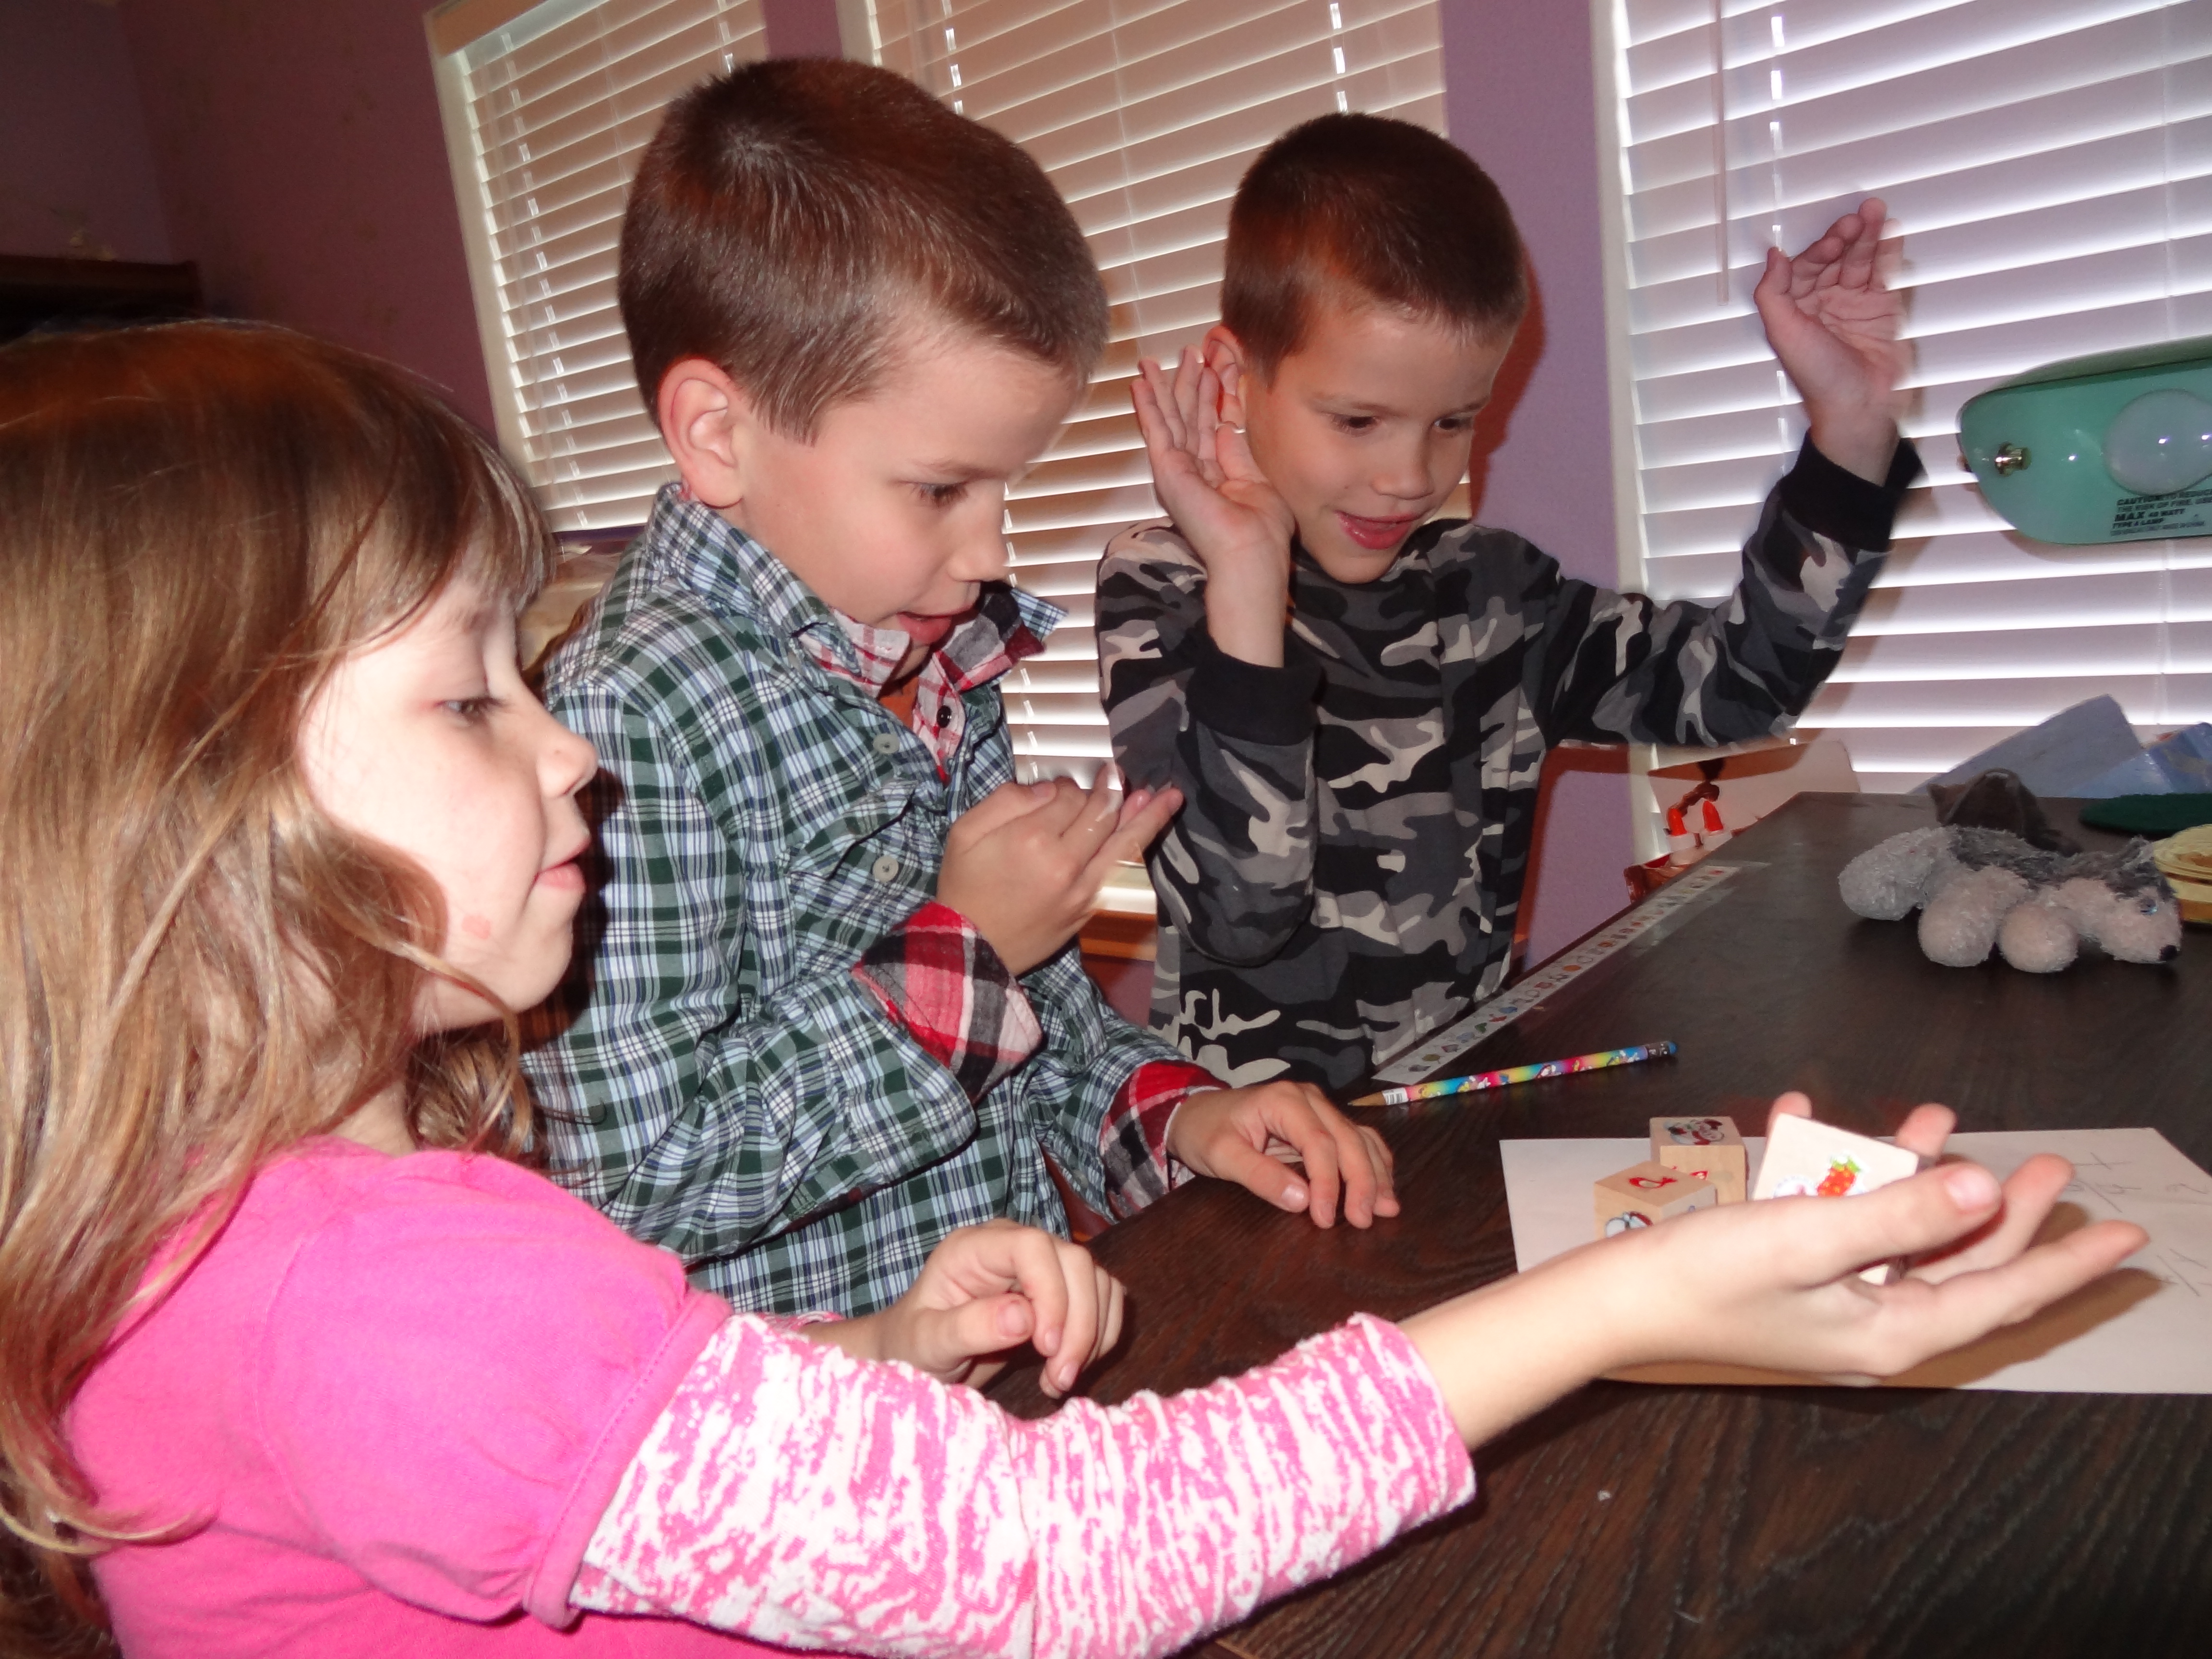
Now gather up as many of the cubes as will fit in your hand and roll those cubes!
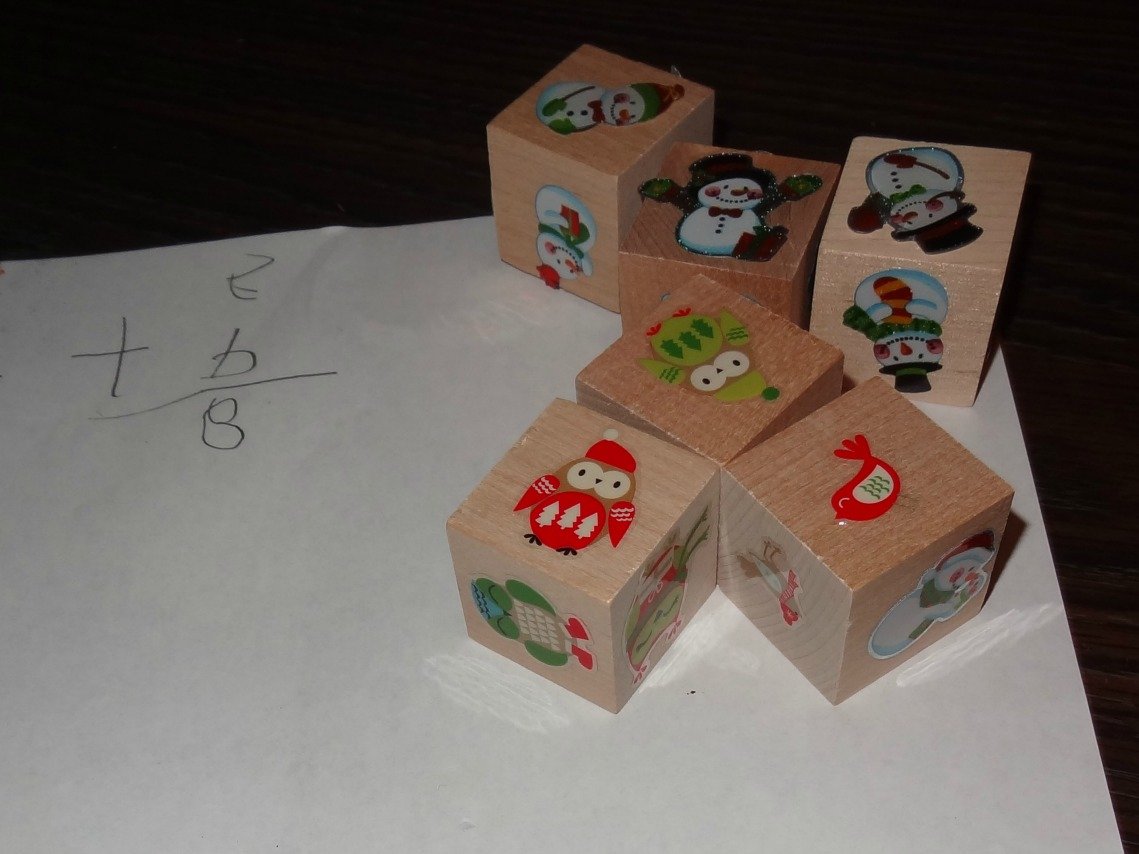
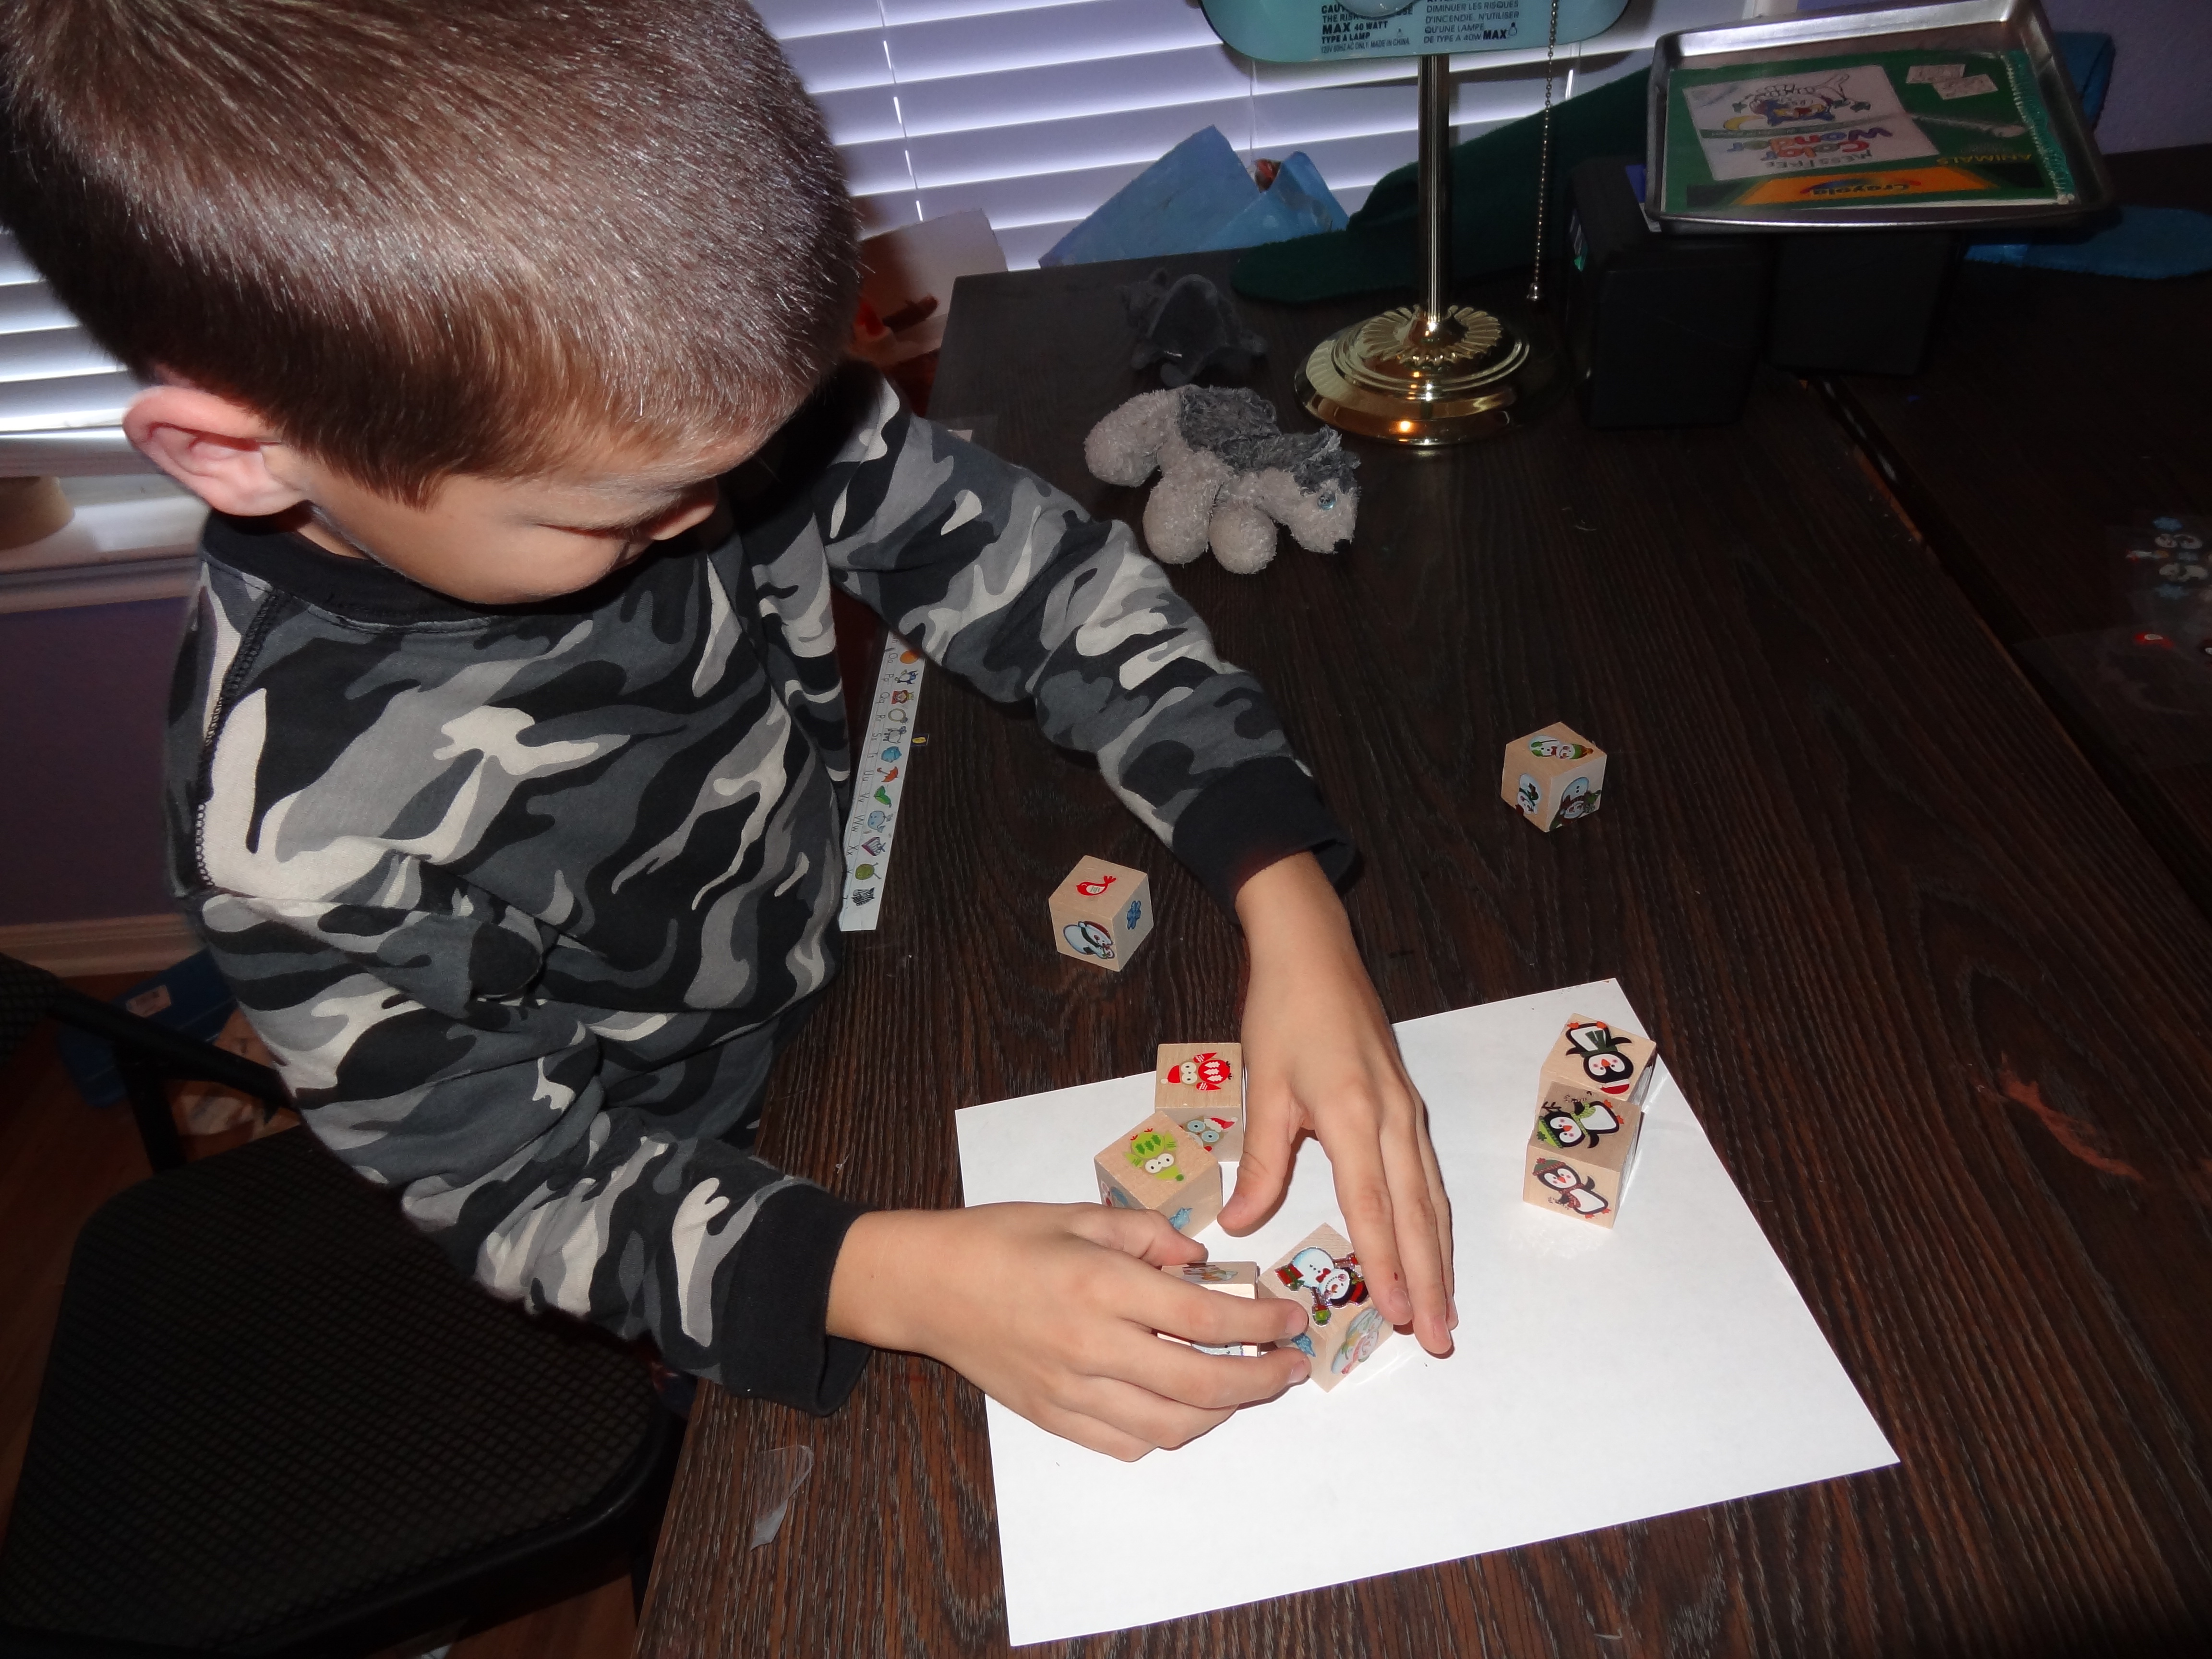
Step 6
Figure out your math problem and write it down. I was intrigued to see how my son grouped the cubes. It was fun to listen to his reasoning.
Done!
My other planned activities with these: story telling (roll the cubes and tell a story with them), graphing (roll a die and record the results), and probability (which sticker is most likely to turn up after 10 rolls). There are a lot of fun ideas you can do with this.