Step-by-step tutorial
Step 1
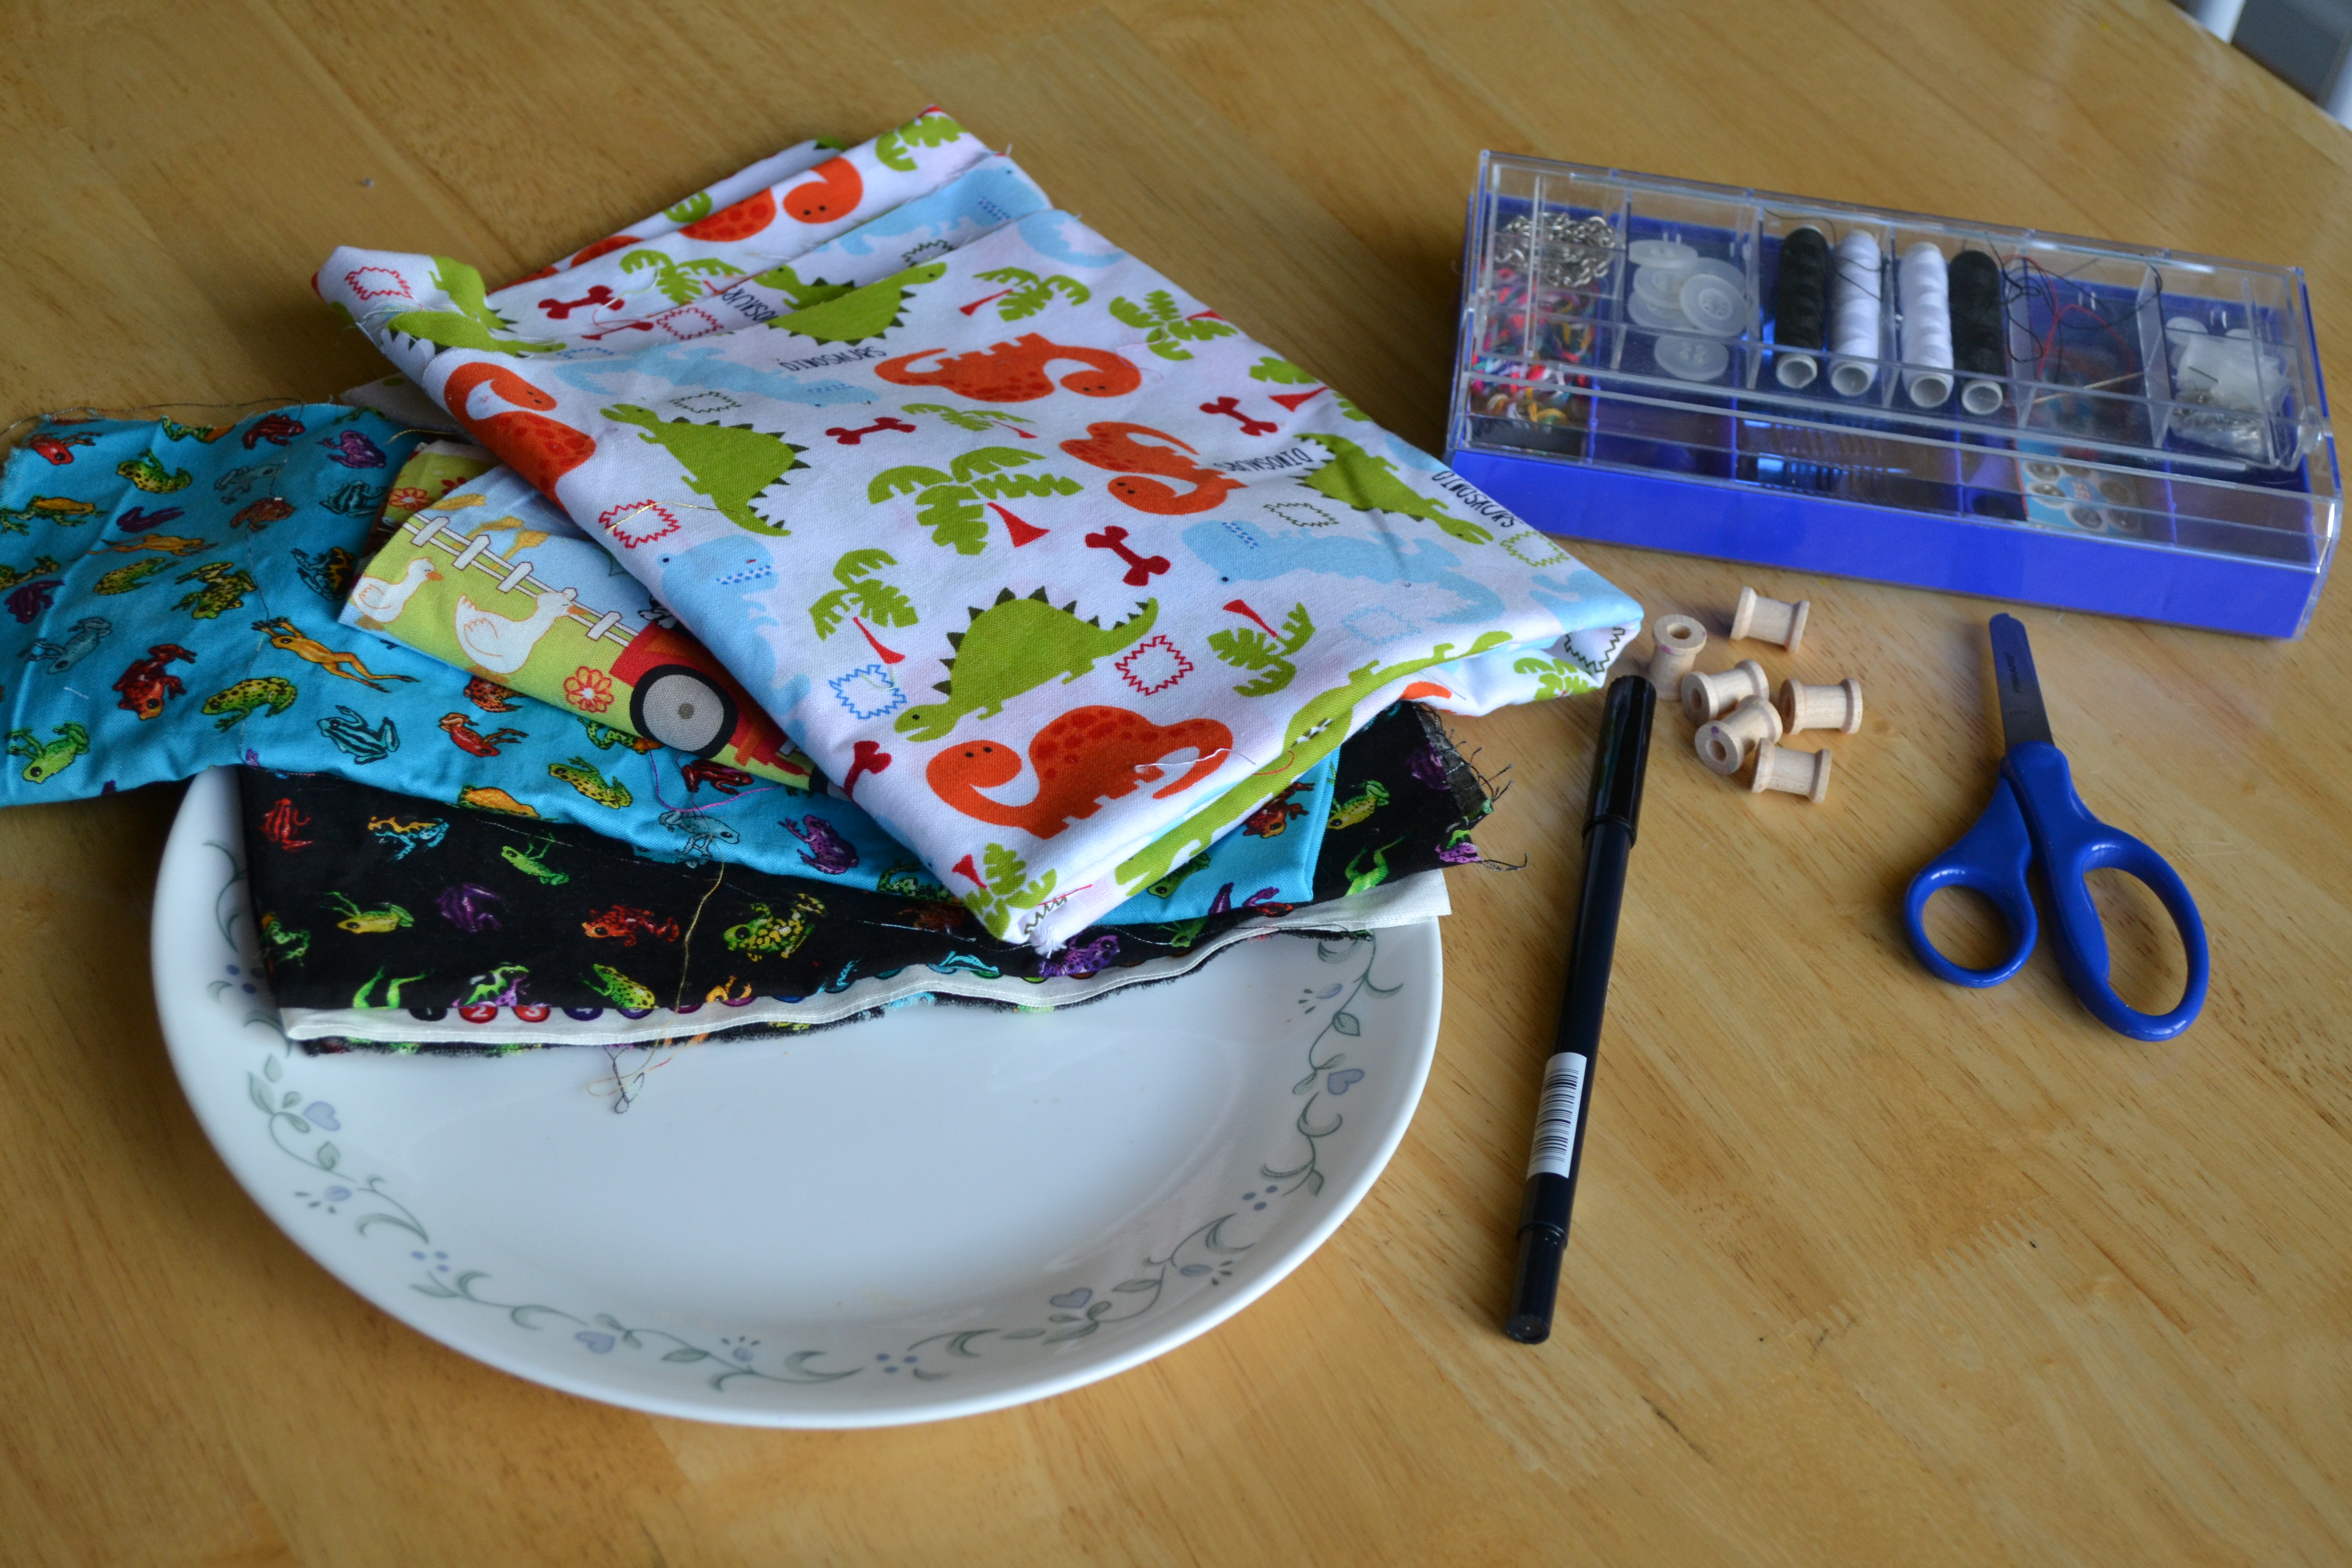
Gather all materials. We used leftover cotton fabrics from lots of different projects. We also used small wooden bobbins, but you could easily use a lightweight wooden bead or a small toy figure. The kids could even experiment to see which toys and materials work best.

Step 2
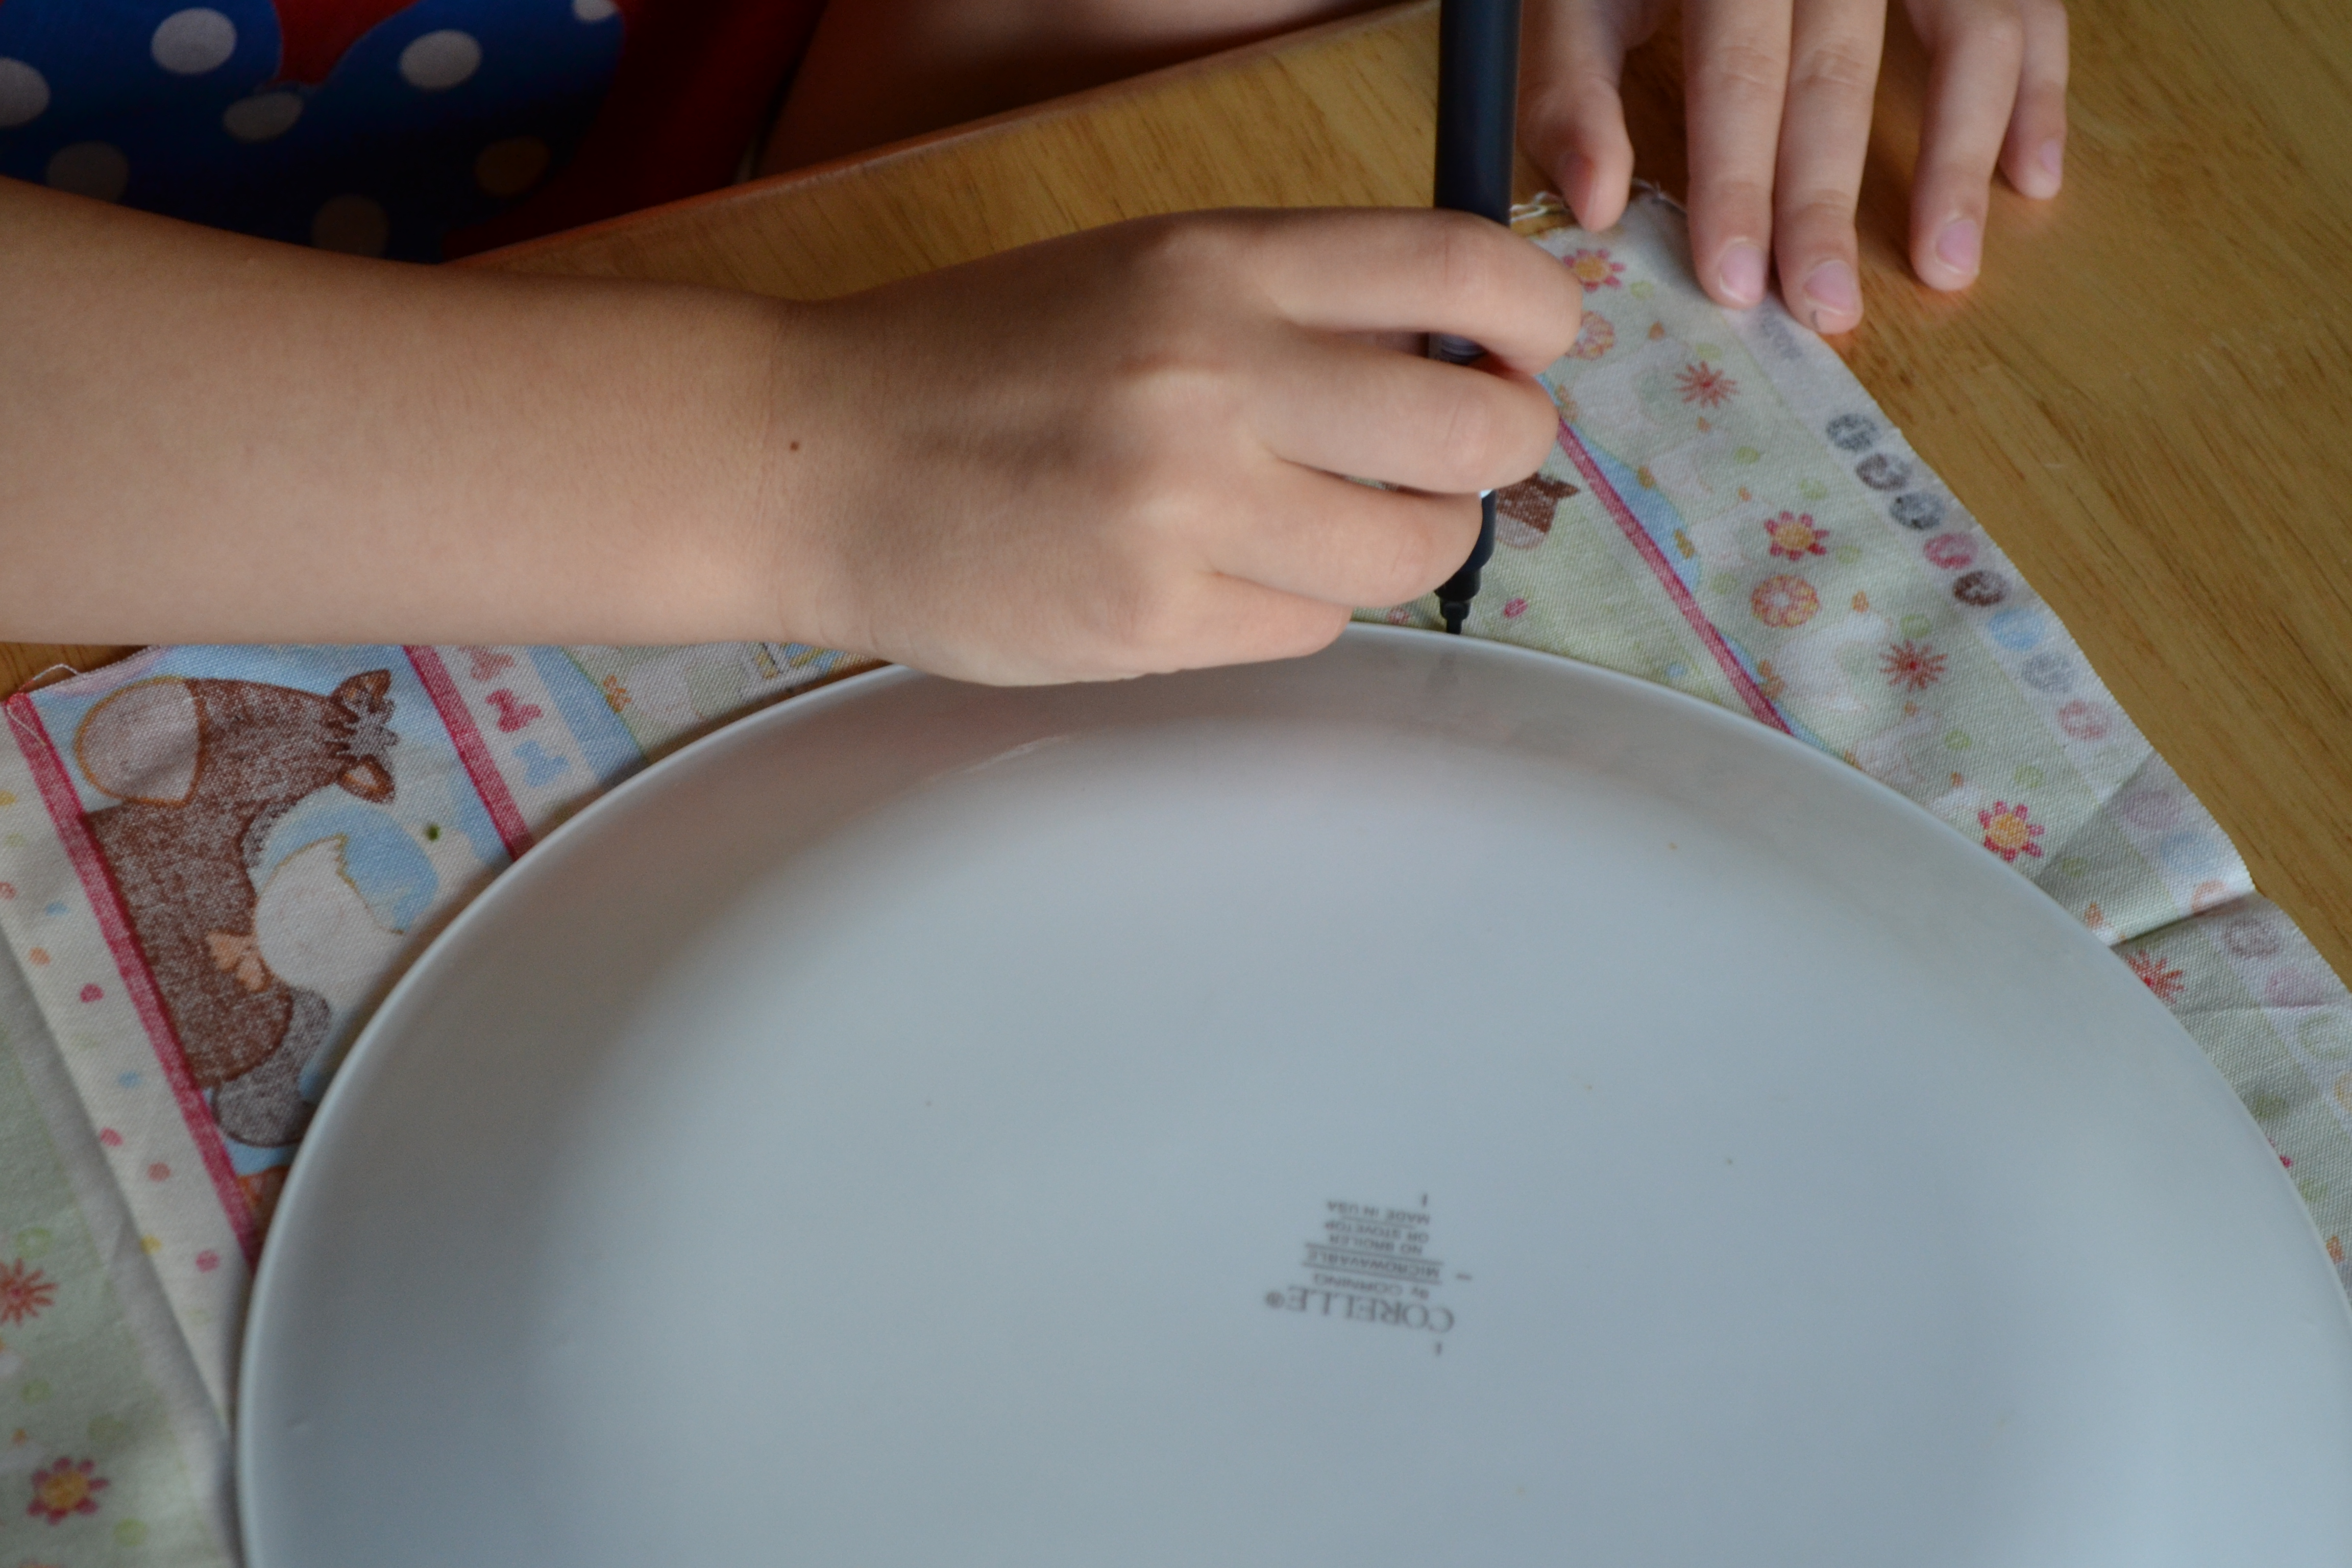
My 5-year-old carefully traced a large dinner plate on the backside of the fabric with a felt-tipped marker. He asked why we were using the large plates and we got to talk about surface area and wind resistance. The more surface area we have the more air will push against our parachute and the better it will fly.
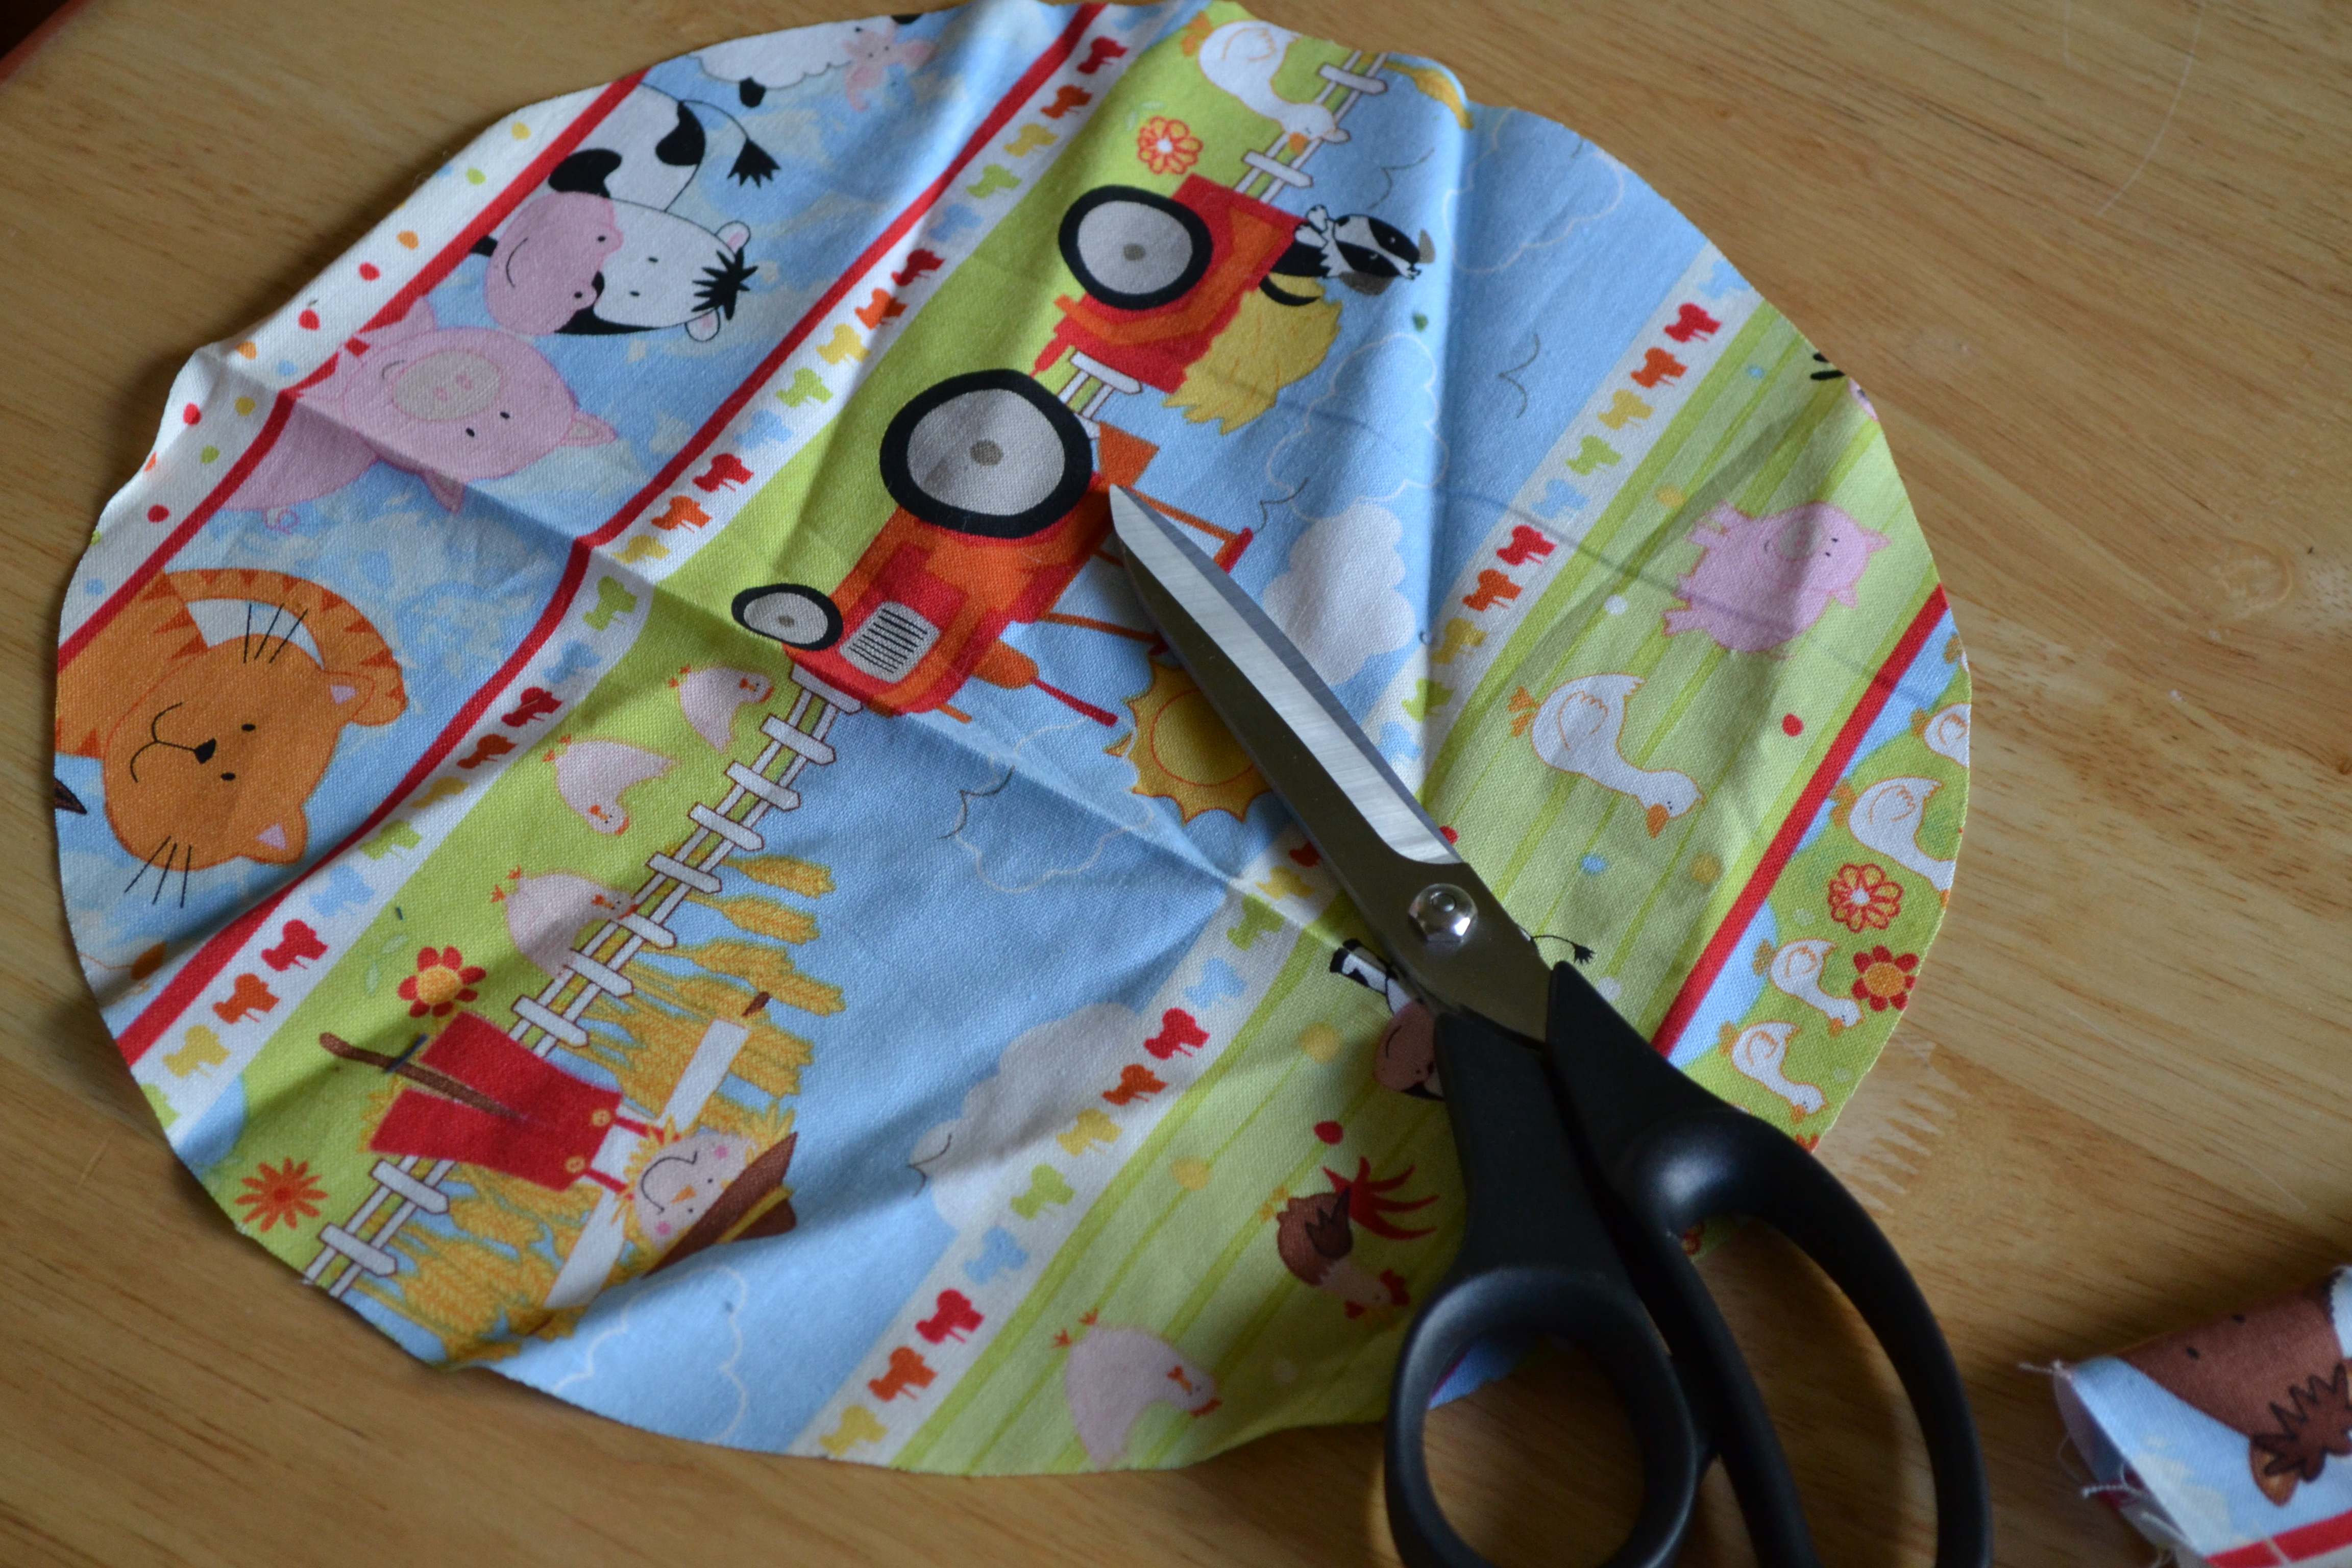
Step 3
My 7-year-old carefully used our sewing scissors to cut out the circle. You could probably use regular scissors with this step, but I find it's less frustrating and creates less fraying to use fabric scissors.
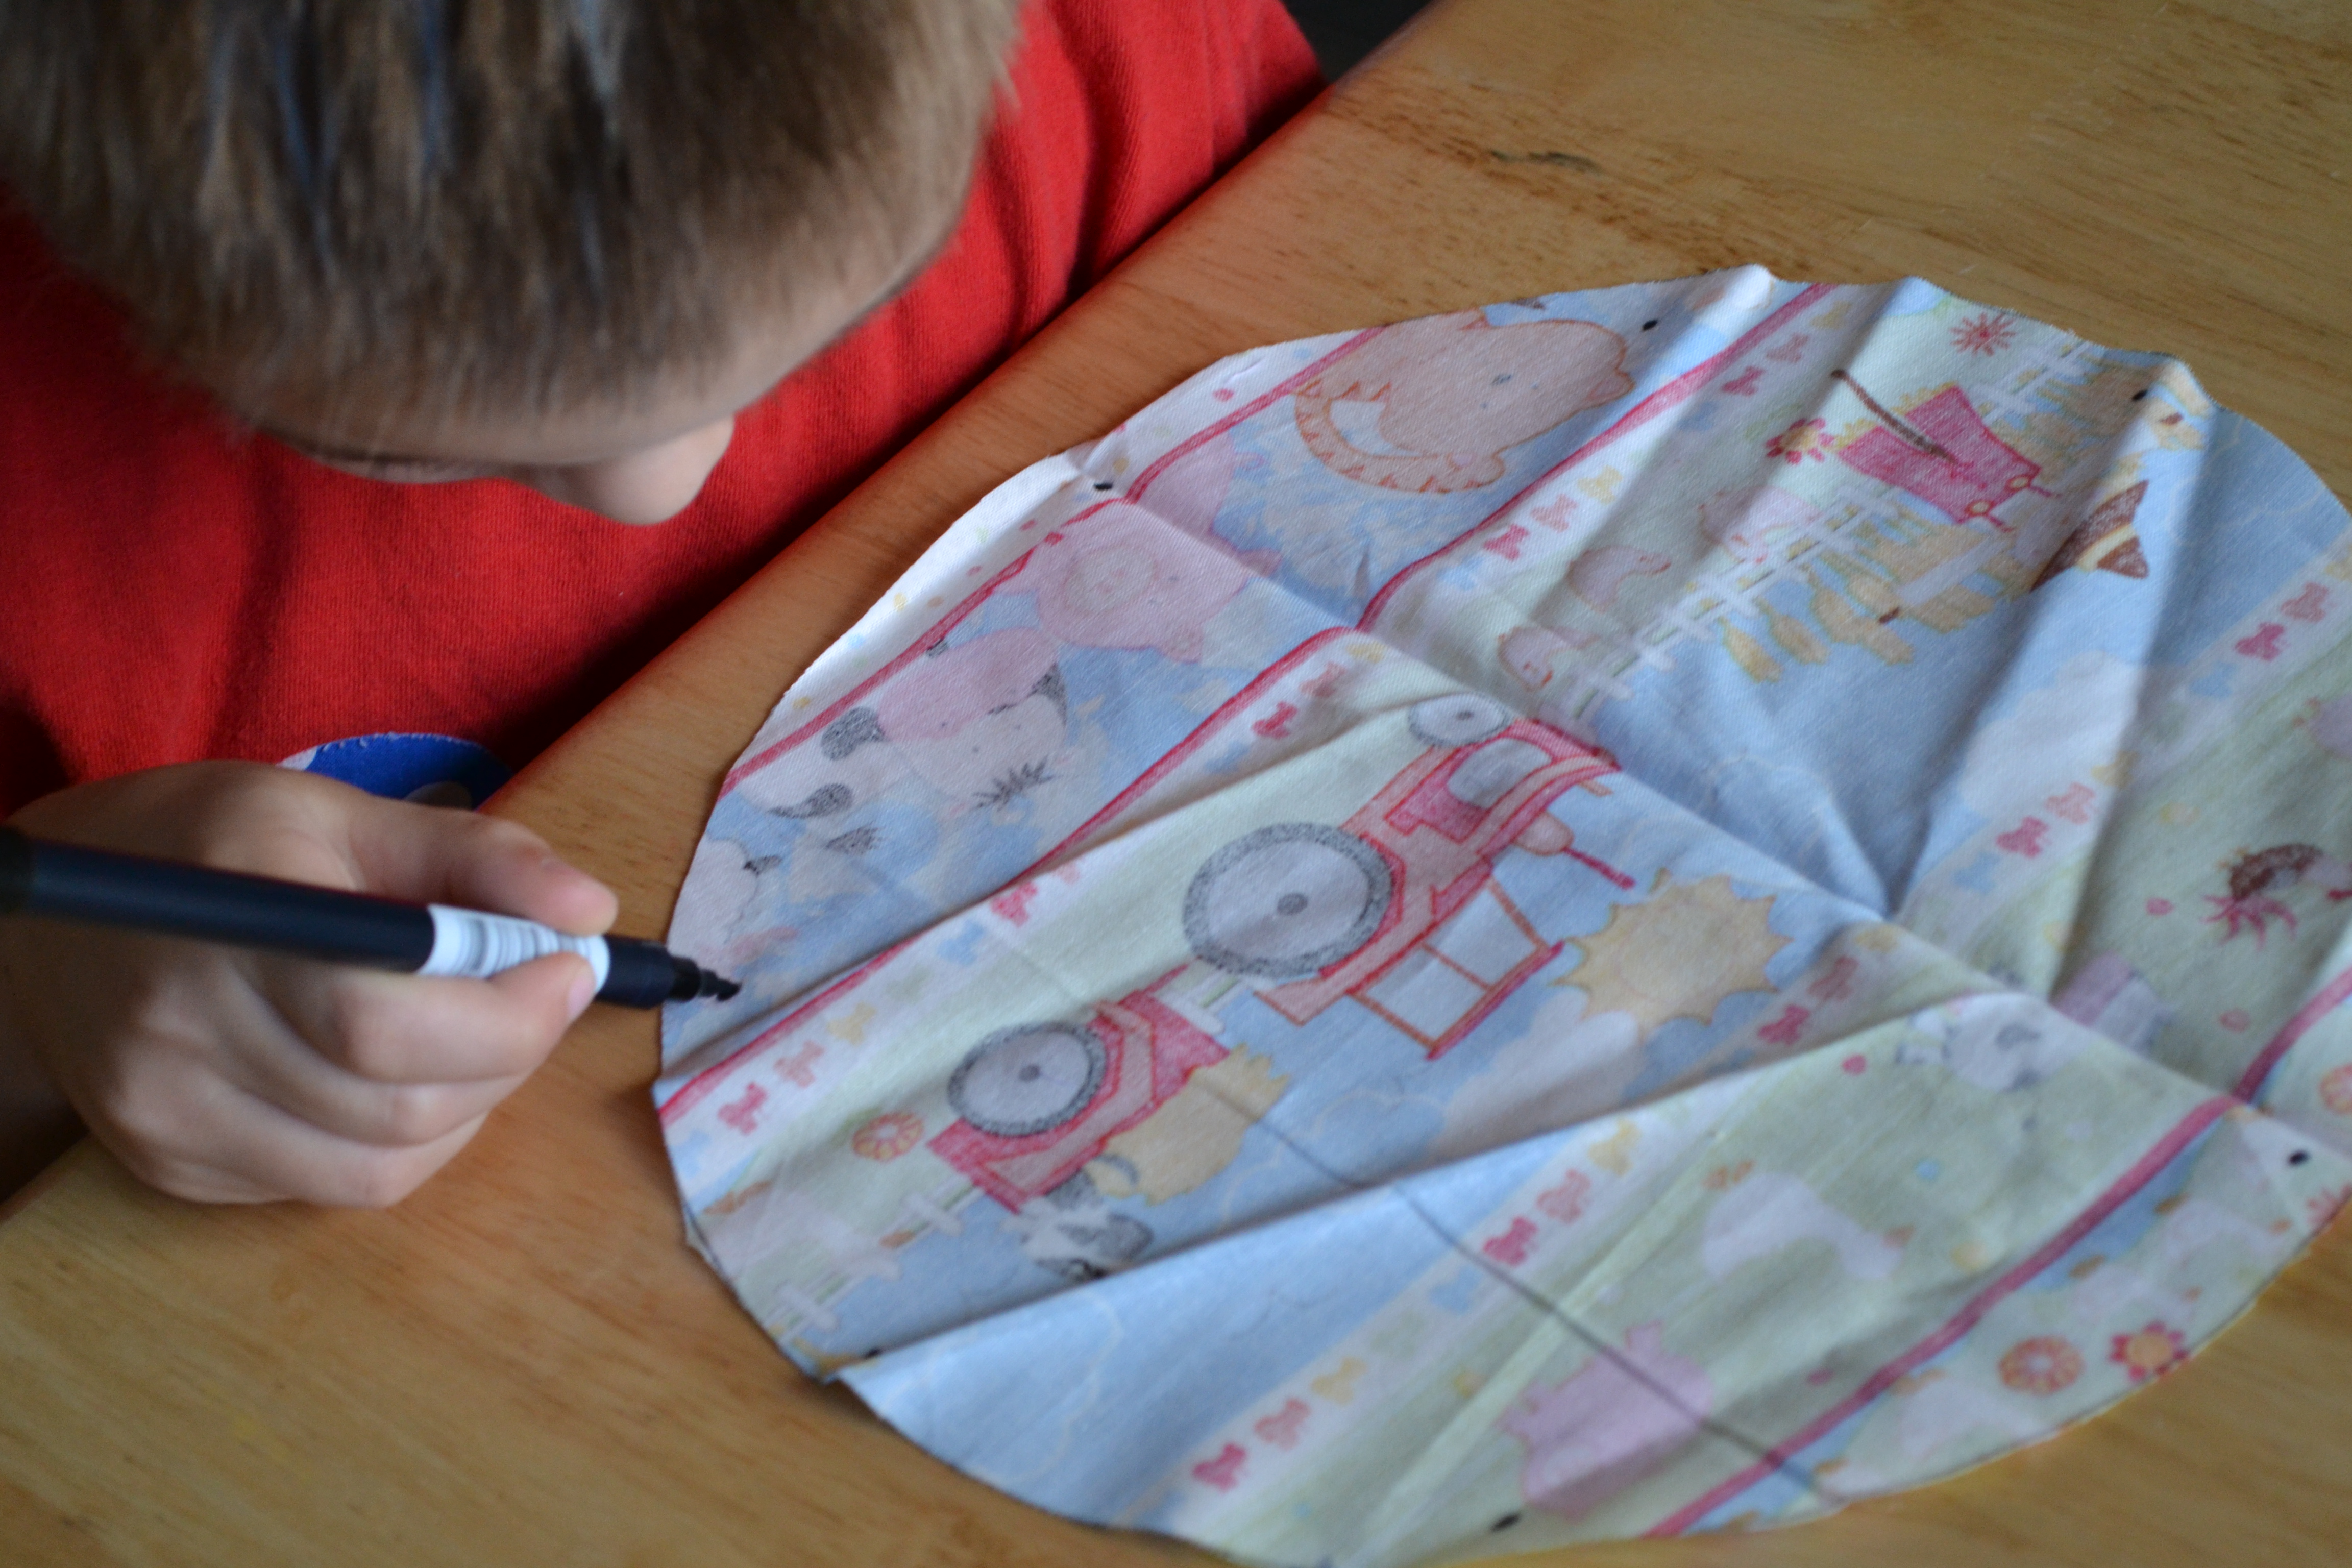
Step 4
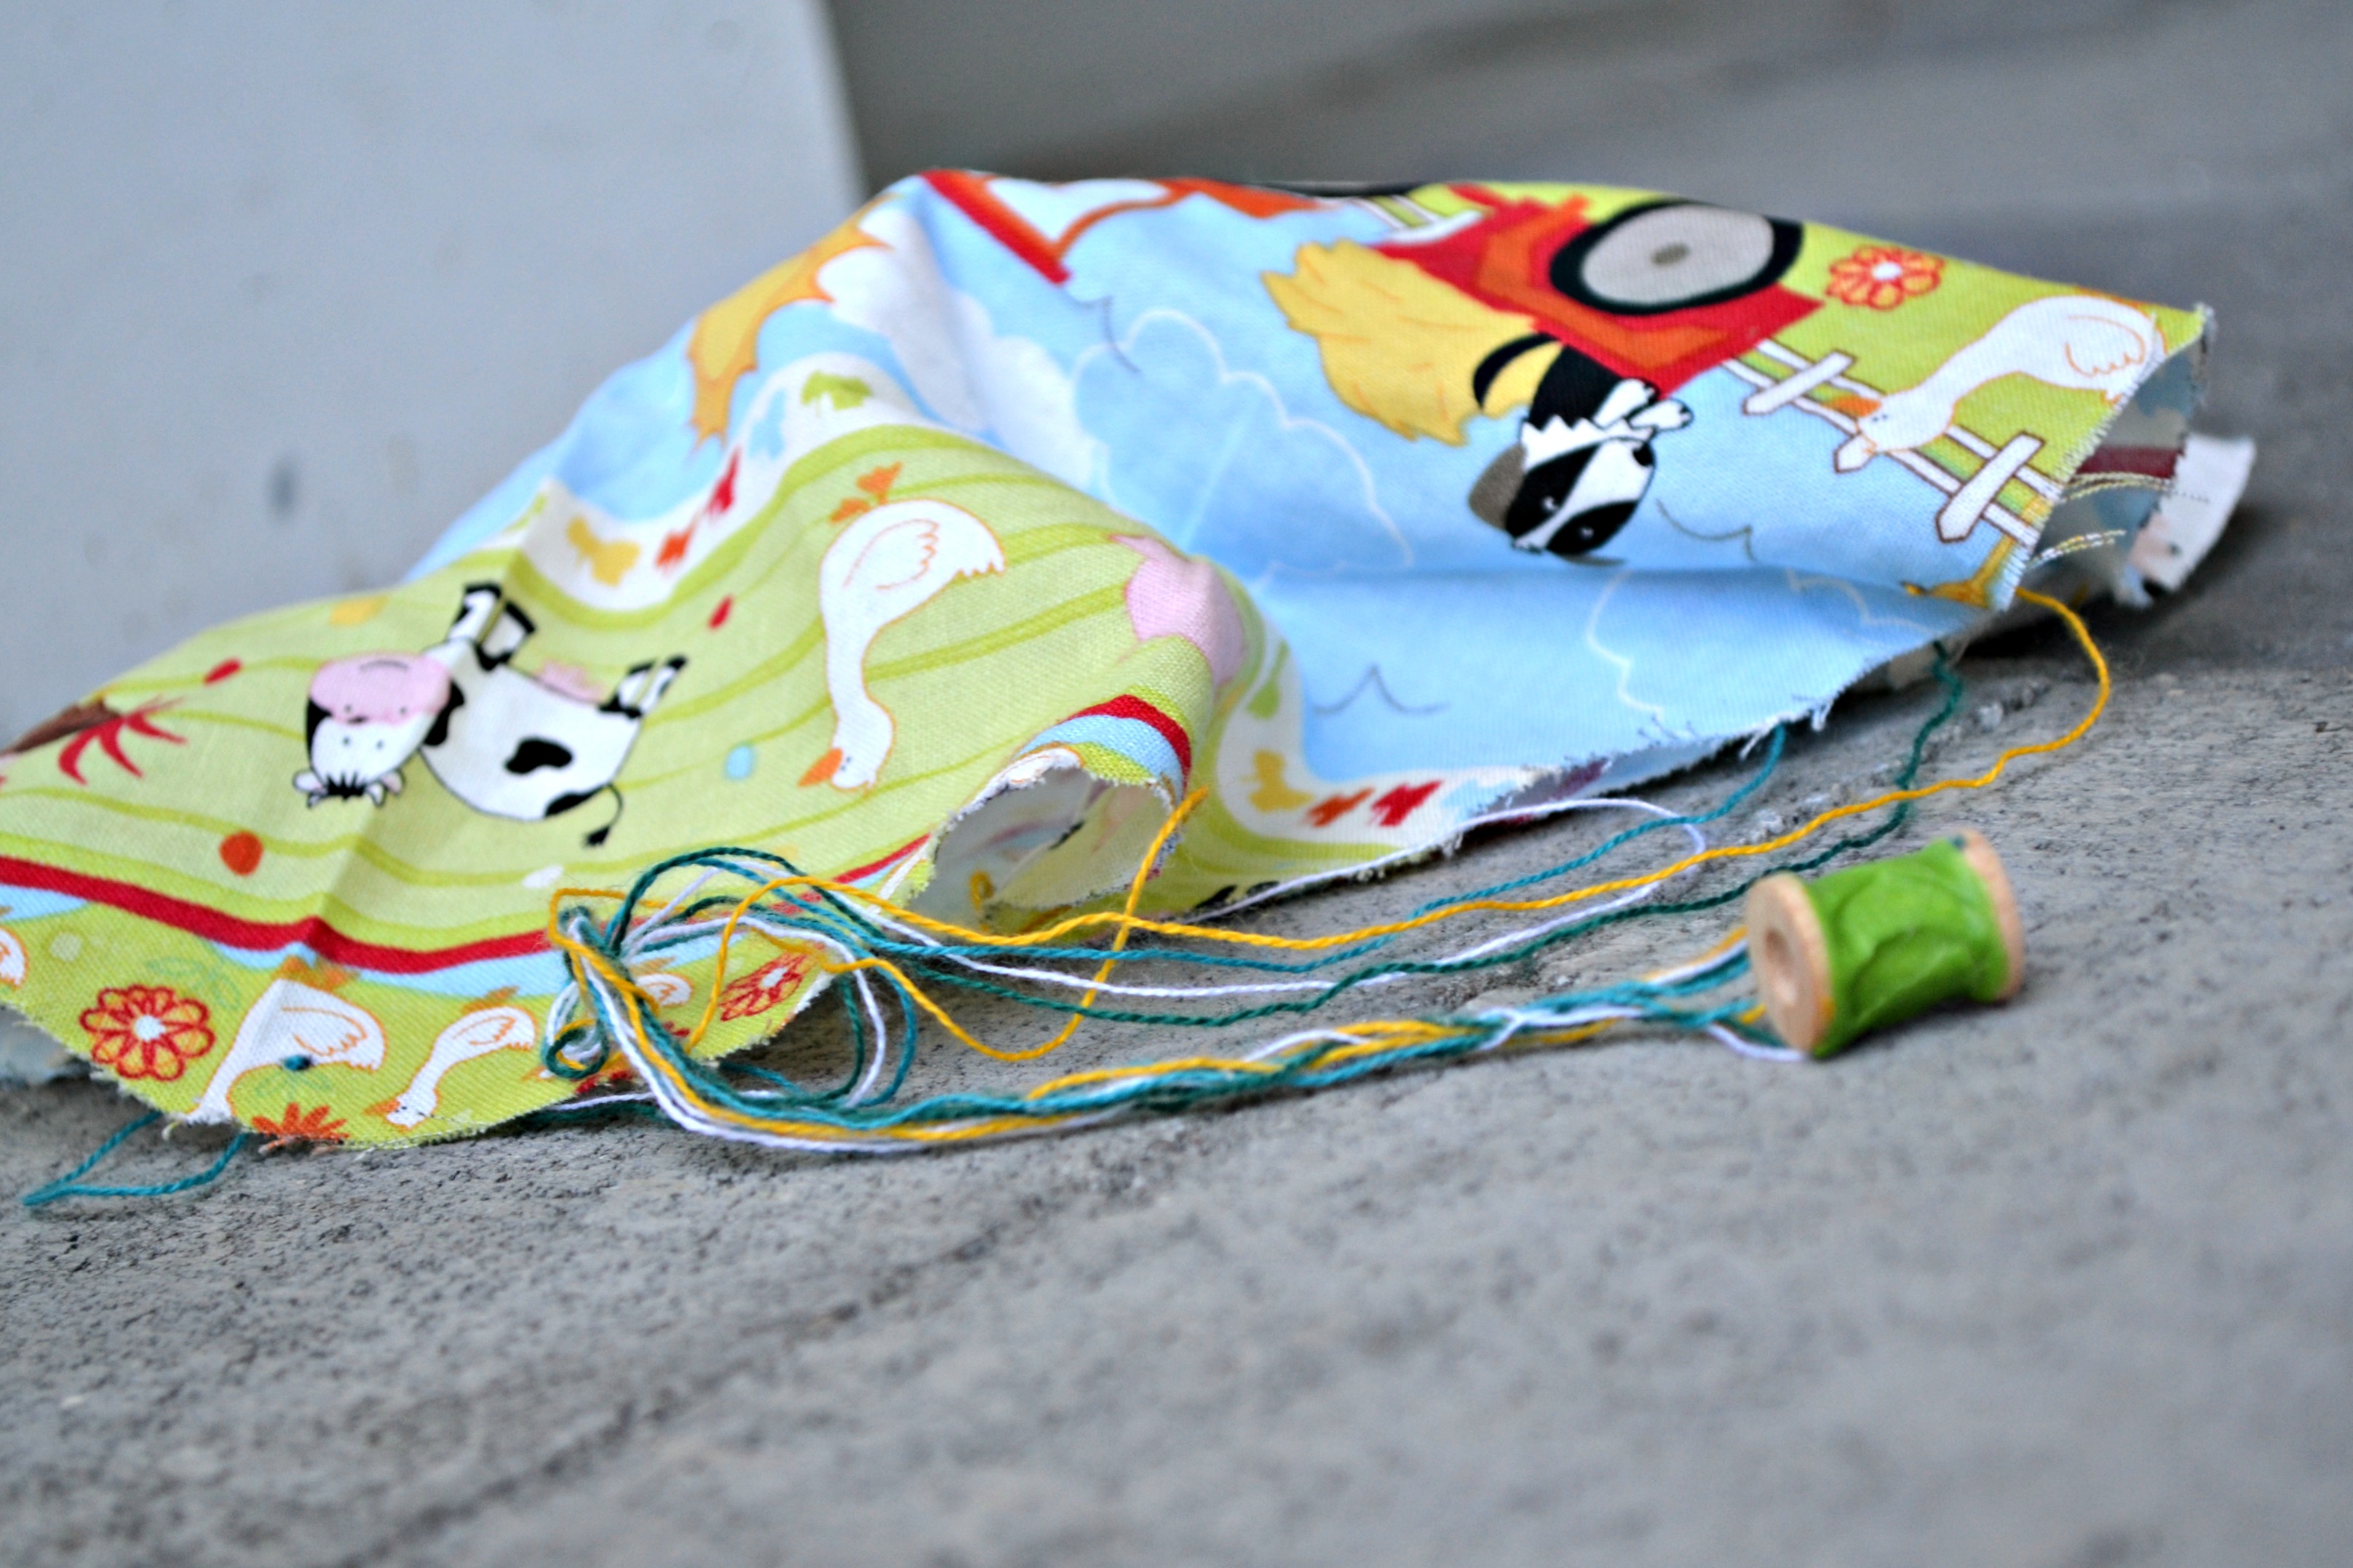
We used the marker to make 8 dots around the outside of the circle. We were careful to make them the same distance apart and to put them about 1/2 an inch from the edge. These marks let us know where to sew our thread for the strings of the parachute.
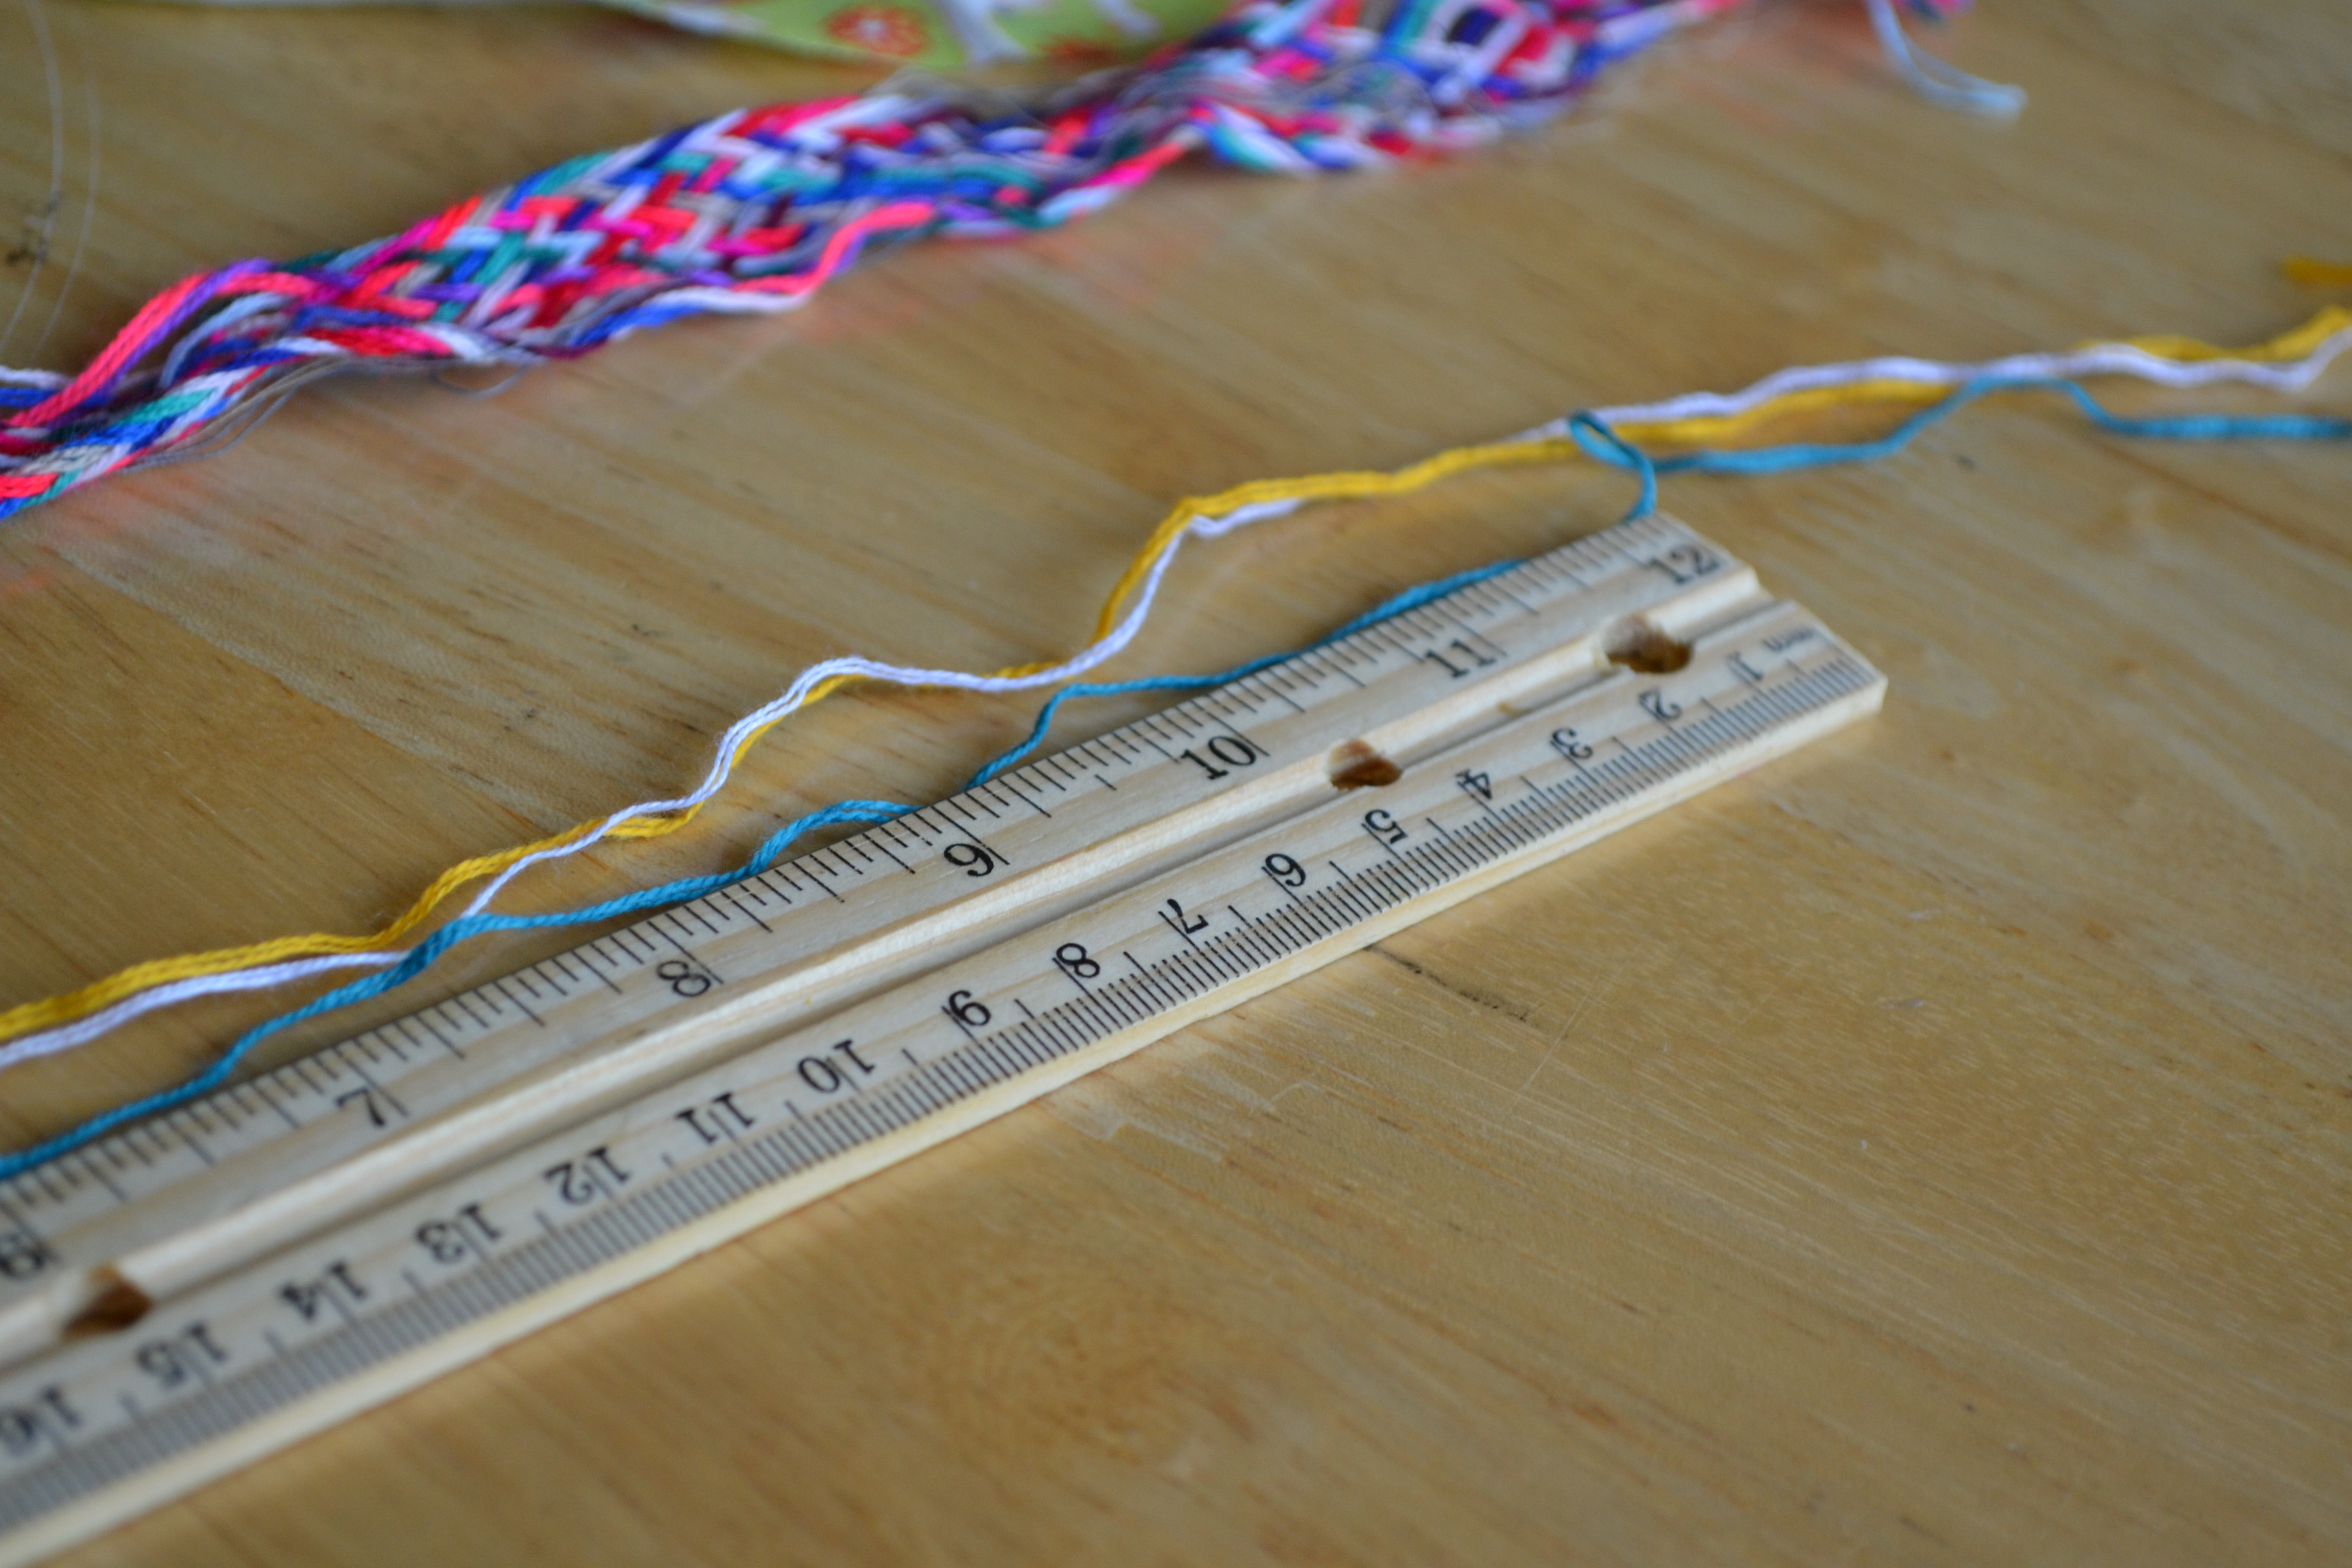
Step 5
For our parachute strings, we measured our thread to be about 12 inches long. For our first parachute, we used longer strings and they tangled easily when they were flying. The shorter strings were easier for my kids to manage.
Step 6
My 7-year-old was adamant that he wanted to sew his strings on all by himself and he did a great job. This is an easy beginning sewing project because it gives lots of practice threading the needle and making simple stitches. We did three stitches on top of each other for each dot and then left the string hanging from the back of the circle. He was so proud of himself for doing all of his sewing on his own!

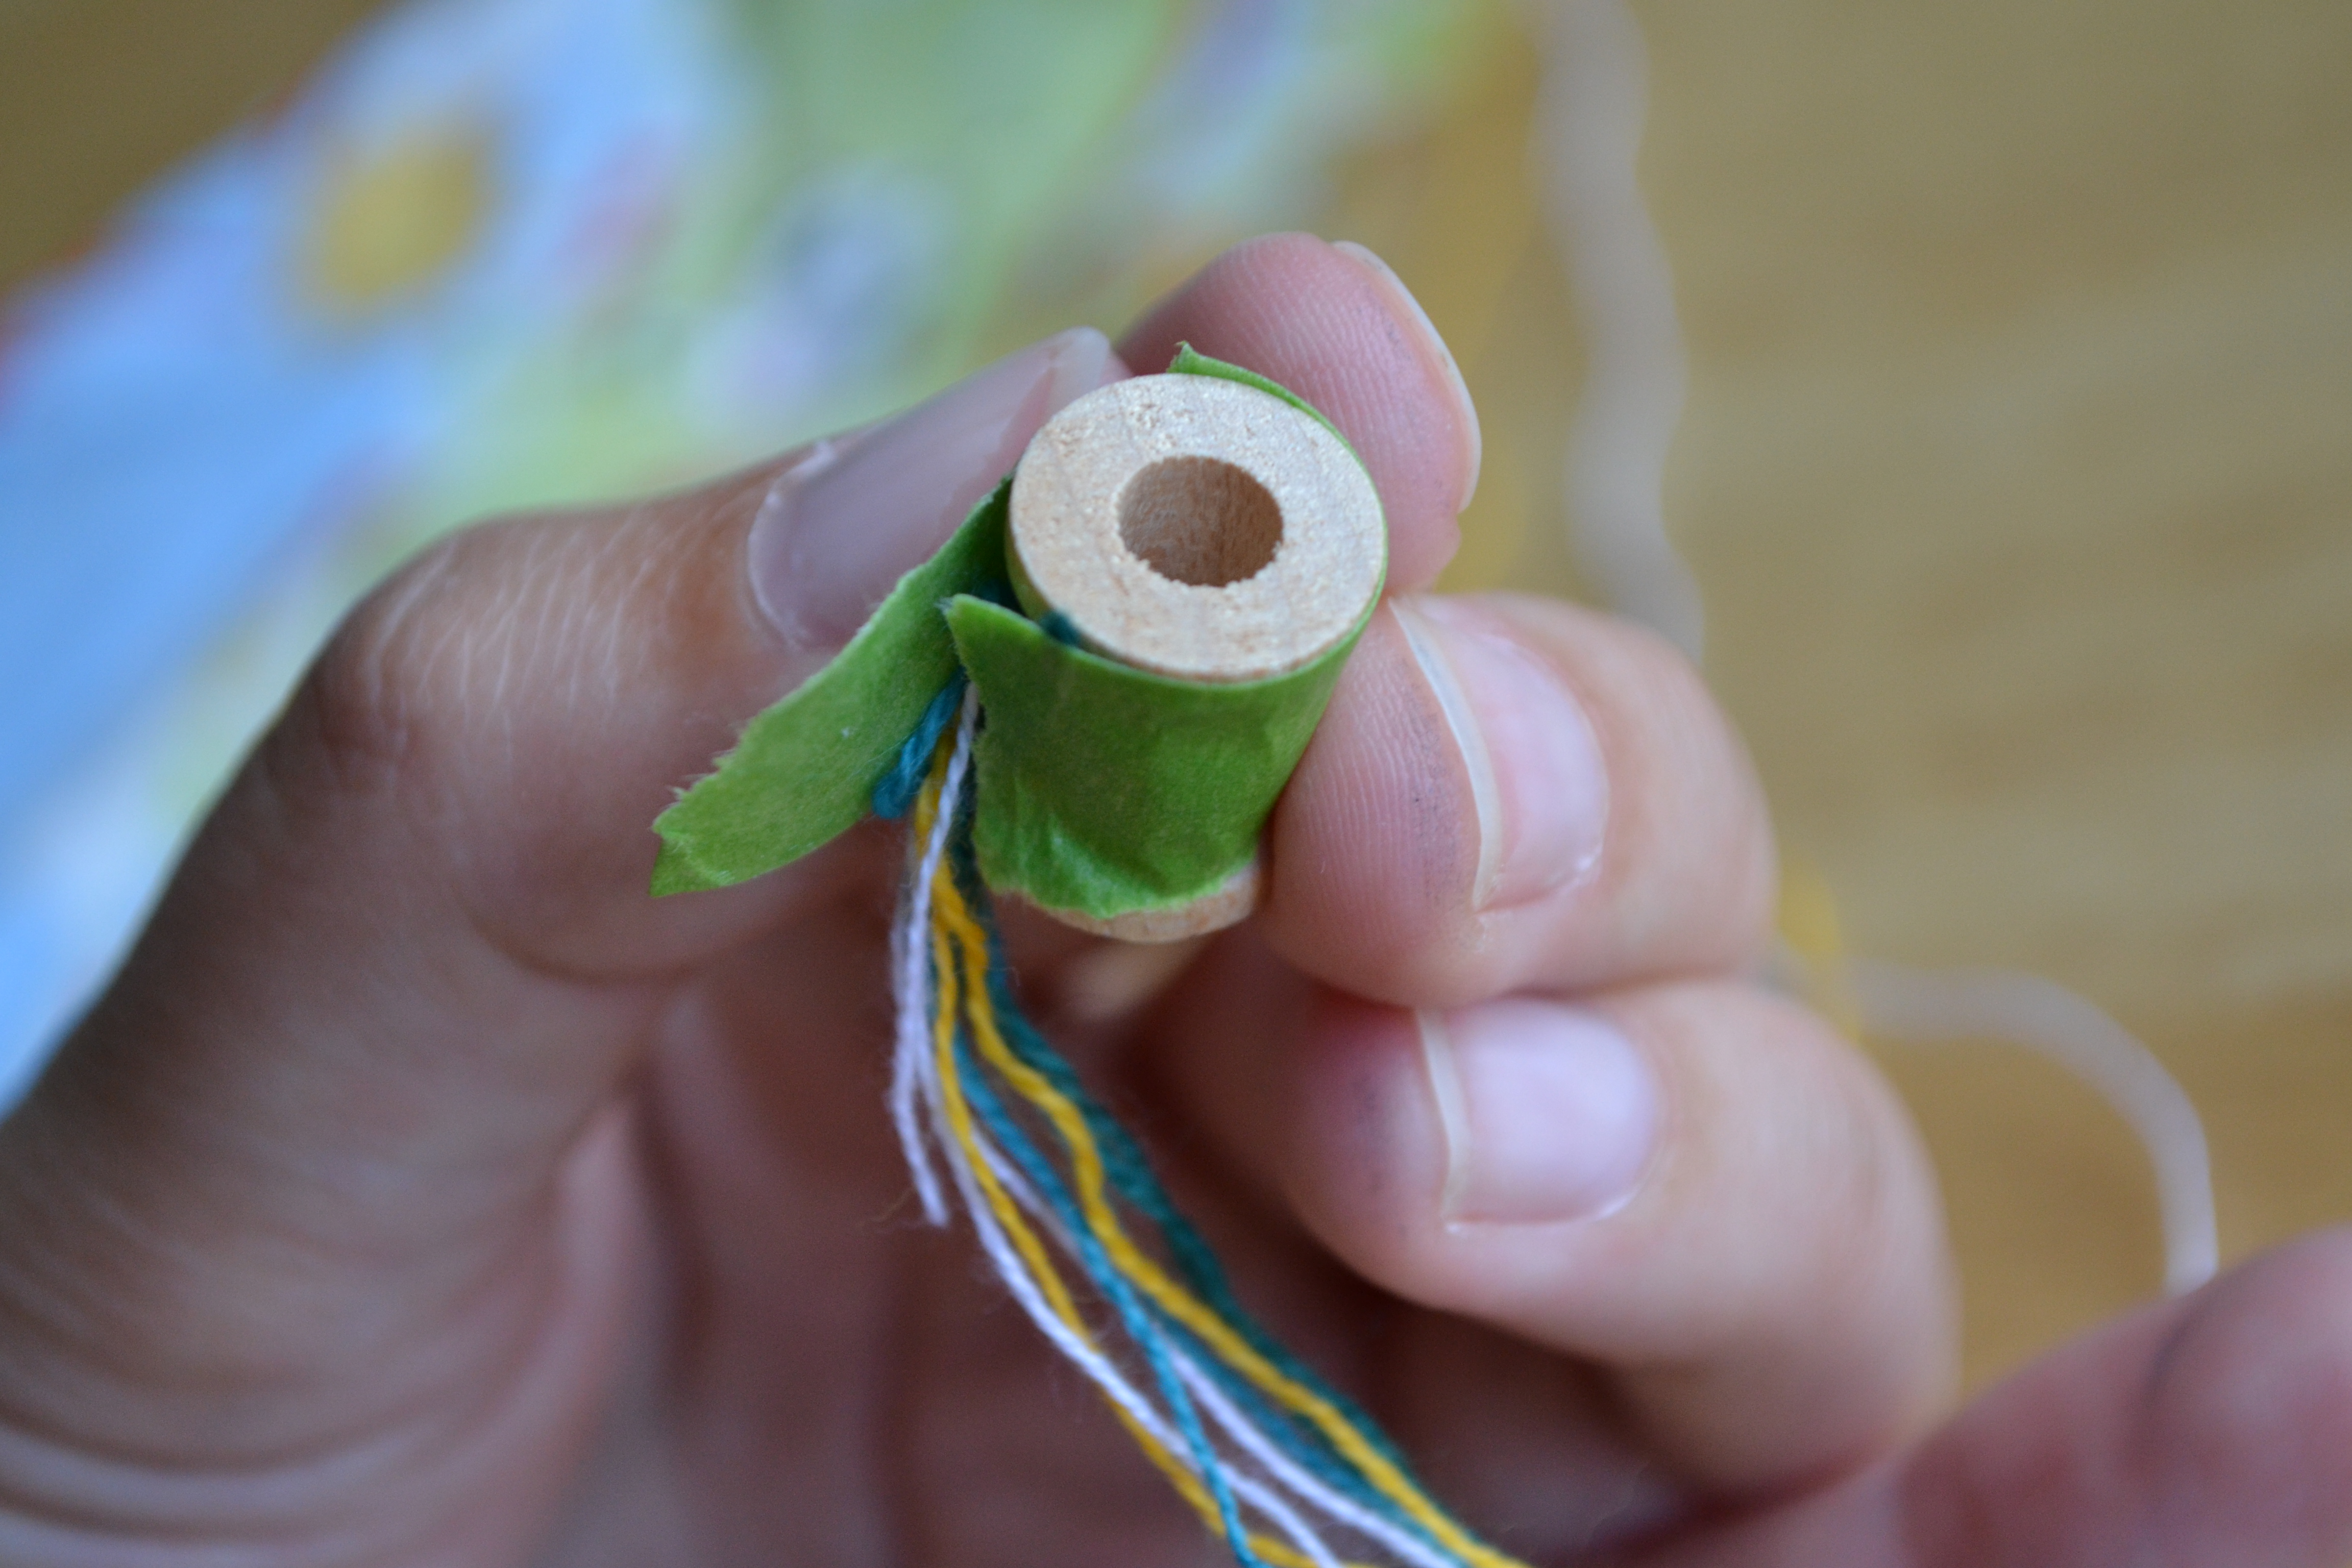
Step 7
I used the tape to secure the strings to our wooden bobbin. It worked best when I tried to keep the strings on their side of the bobbin rather than wrapping them around the bobbin first. We found that painter's tape was easy to work with and added a splash of color.
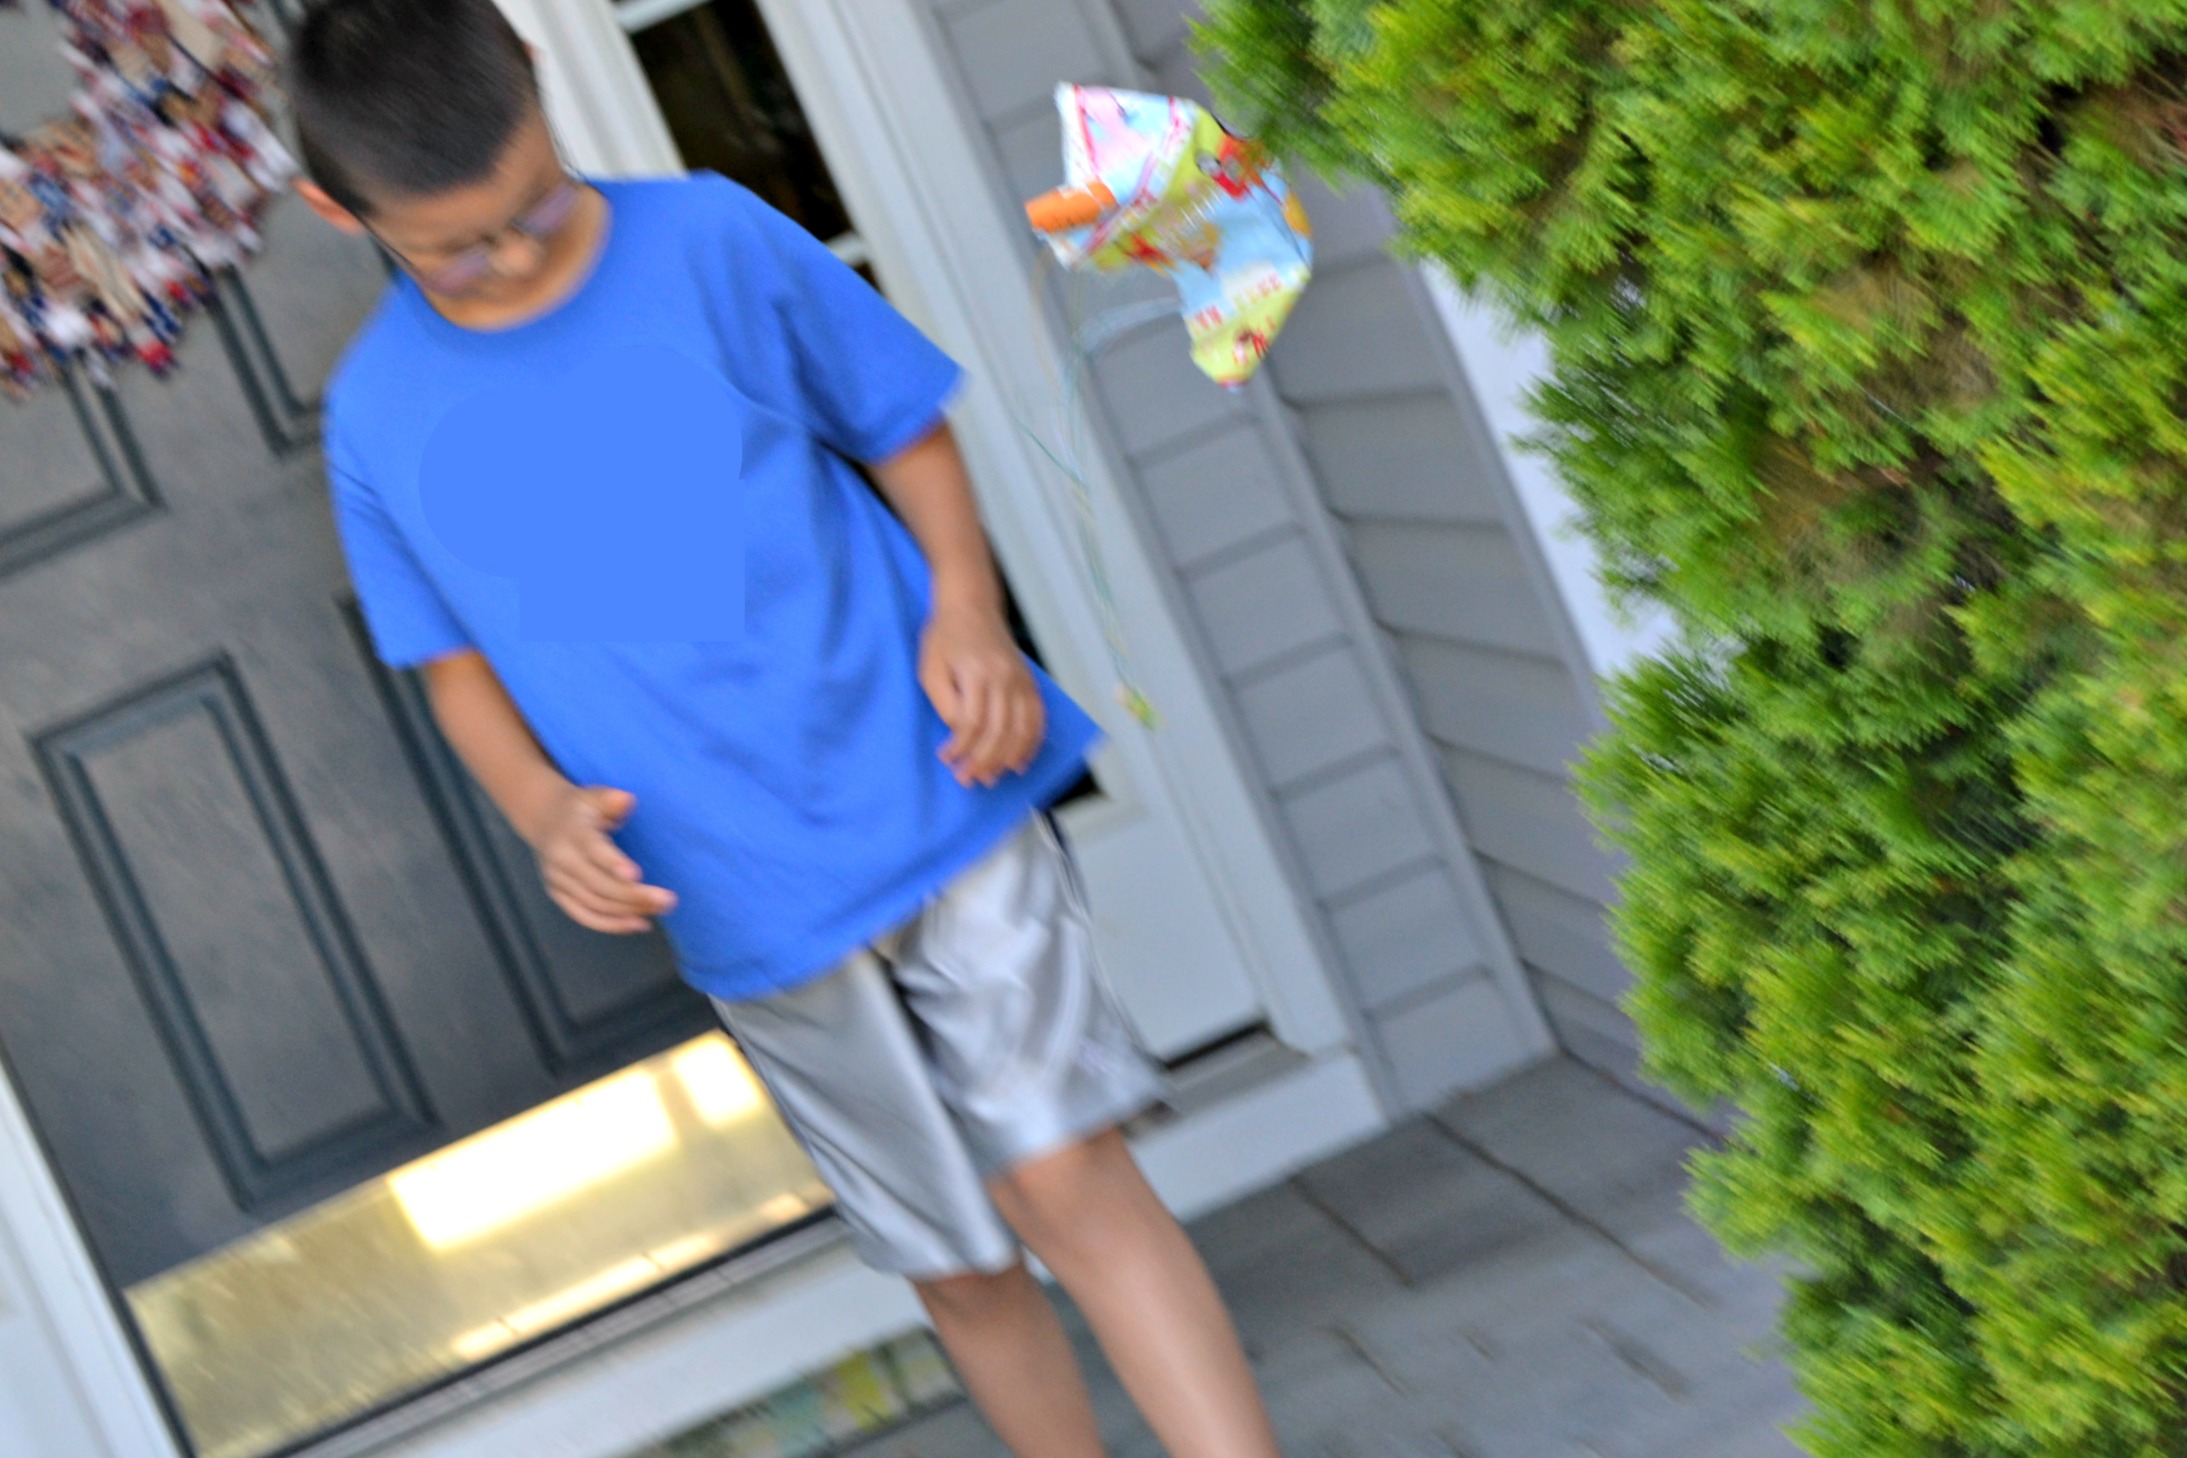
Done!
The kids had a great time with their homemade parachutes! They started by dropping them off of a step-stool and then moved outside to drop them from our front porch. Eventually, they were climbing our play set to launch them off the top of the slide.