Step-by-step tutorial
Step 1
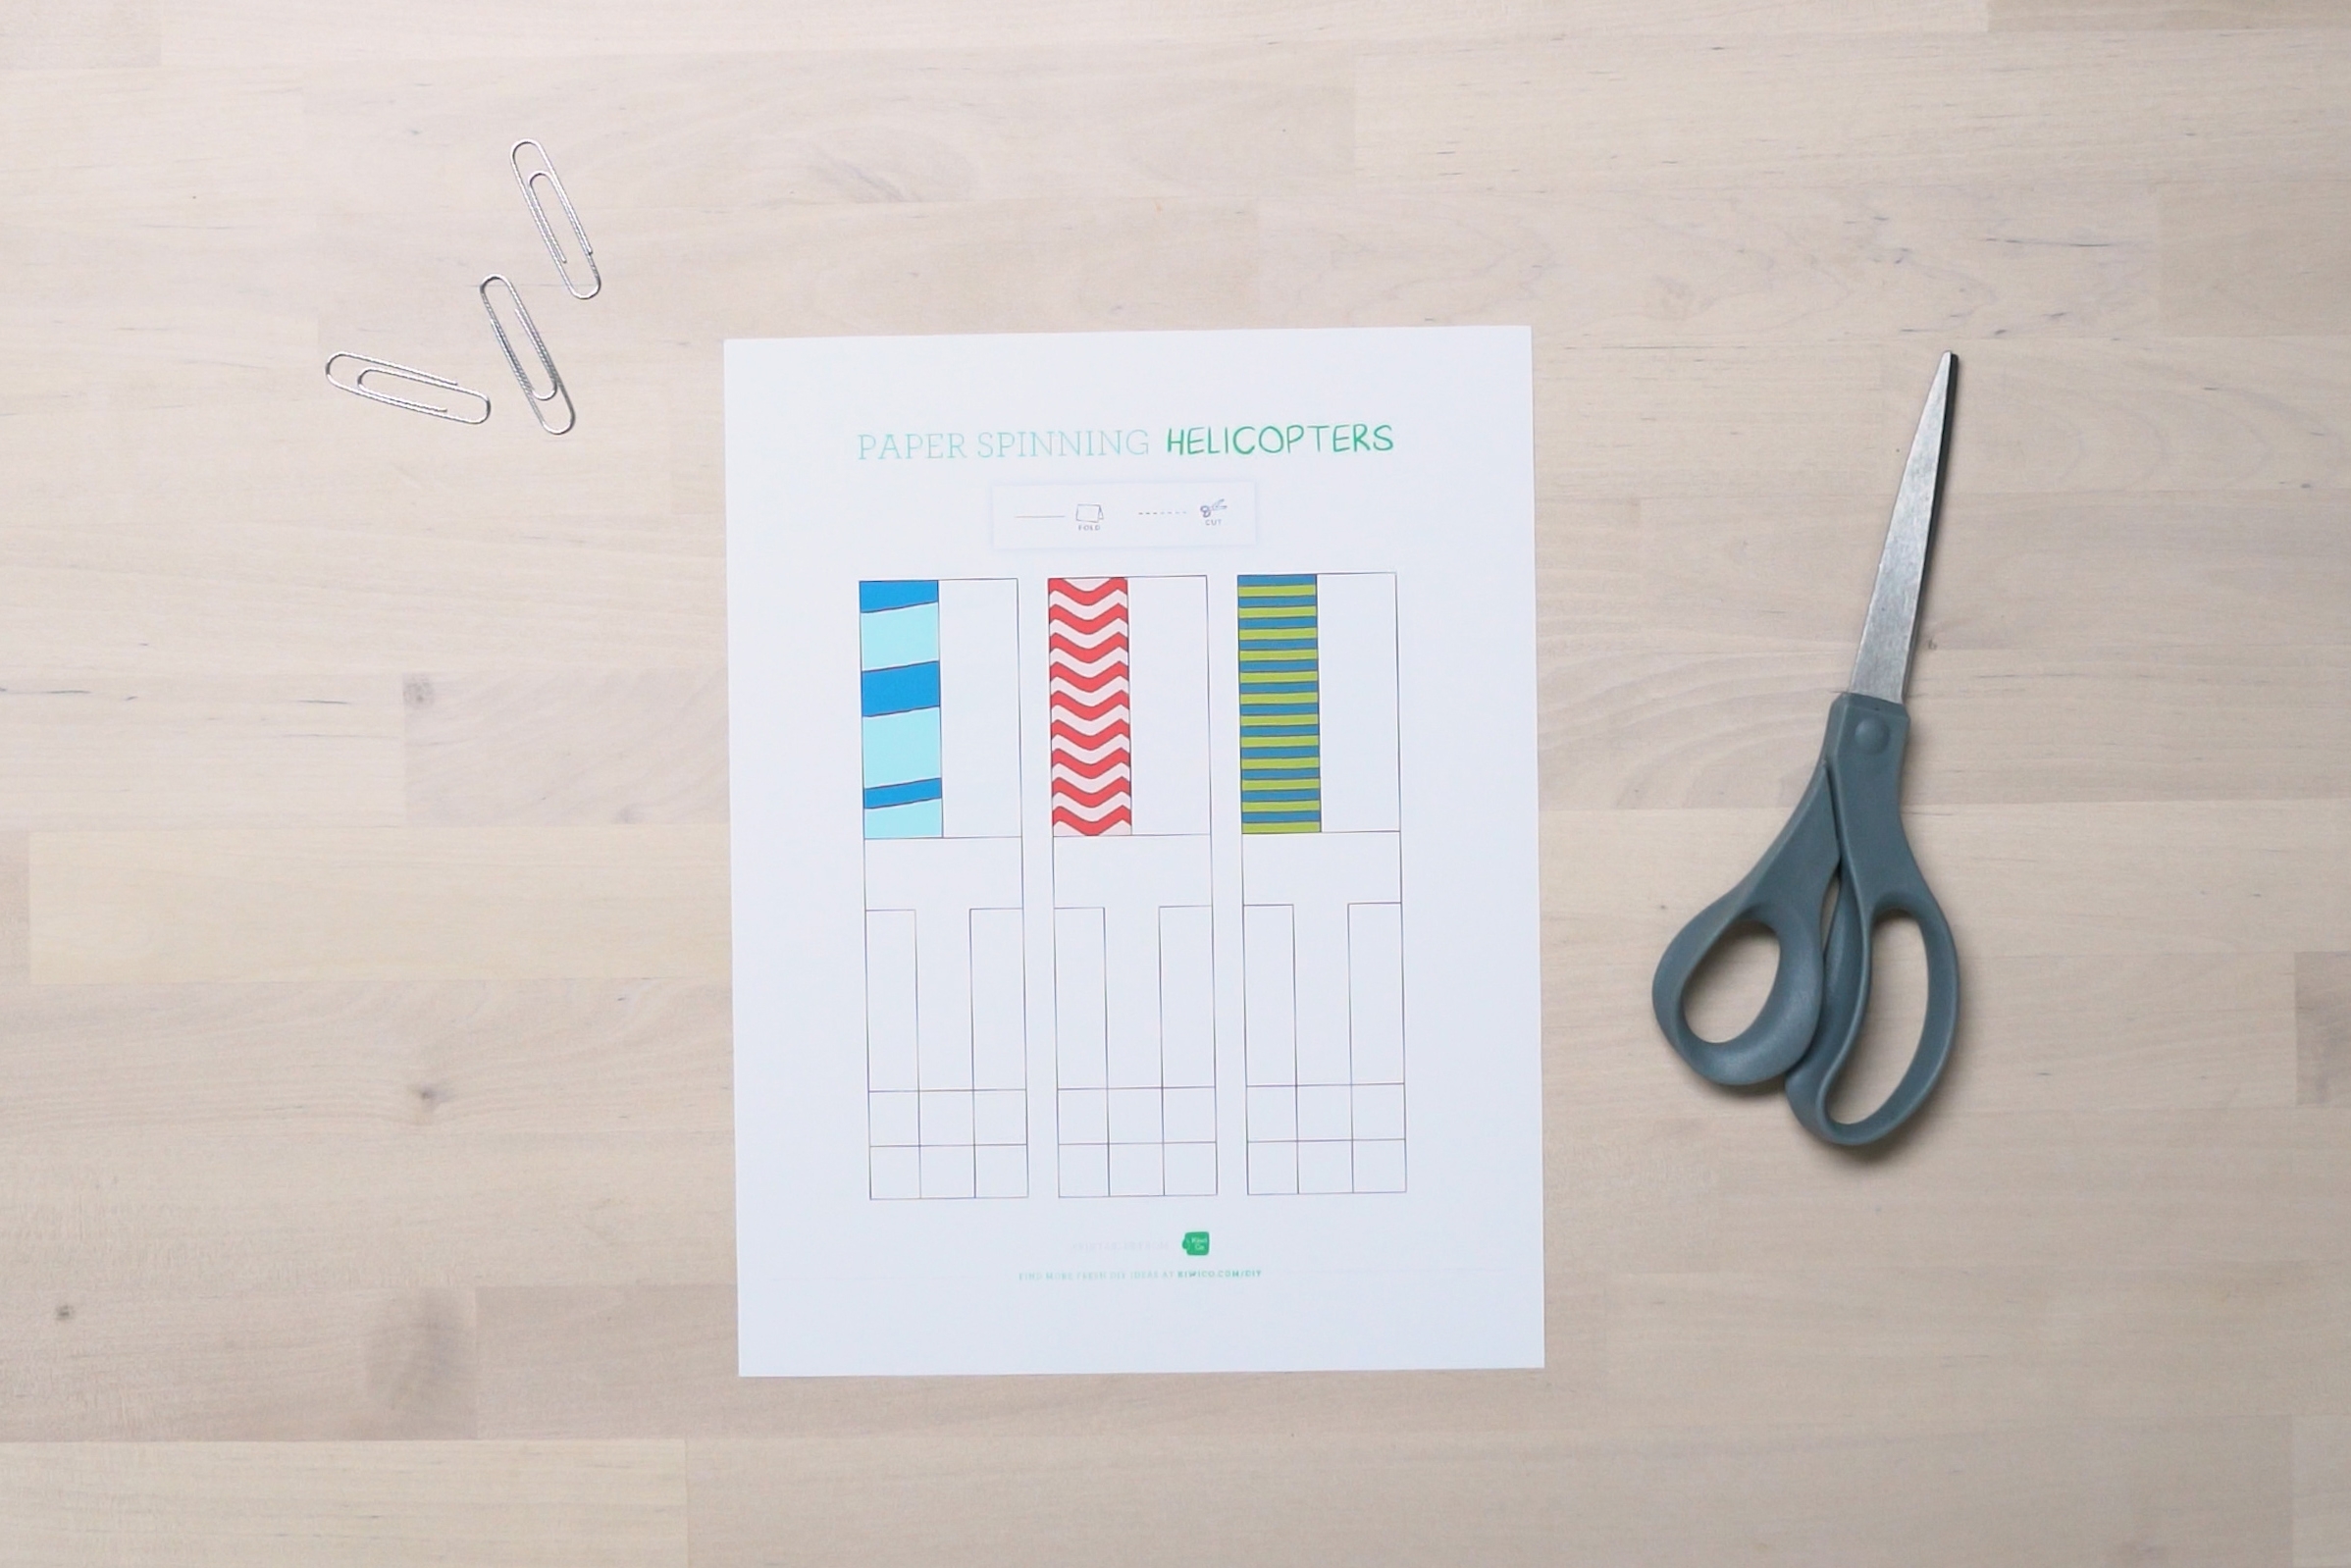
Gather your materials.

Step 2
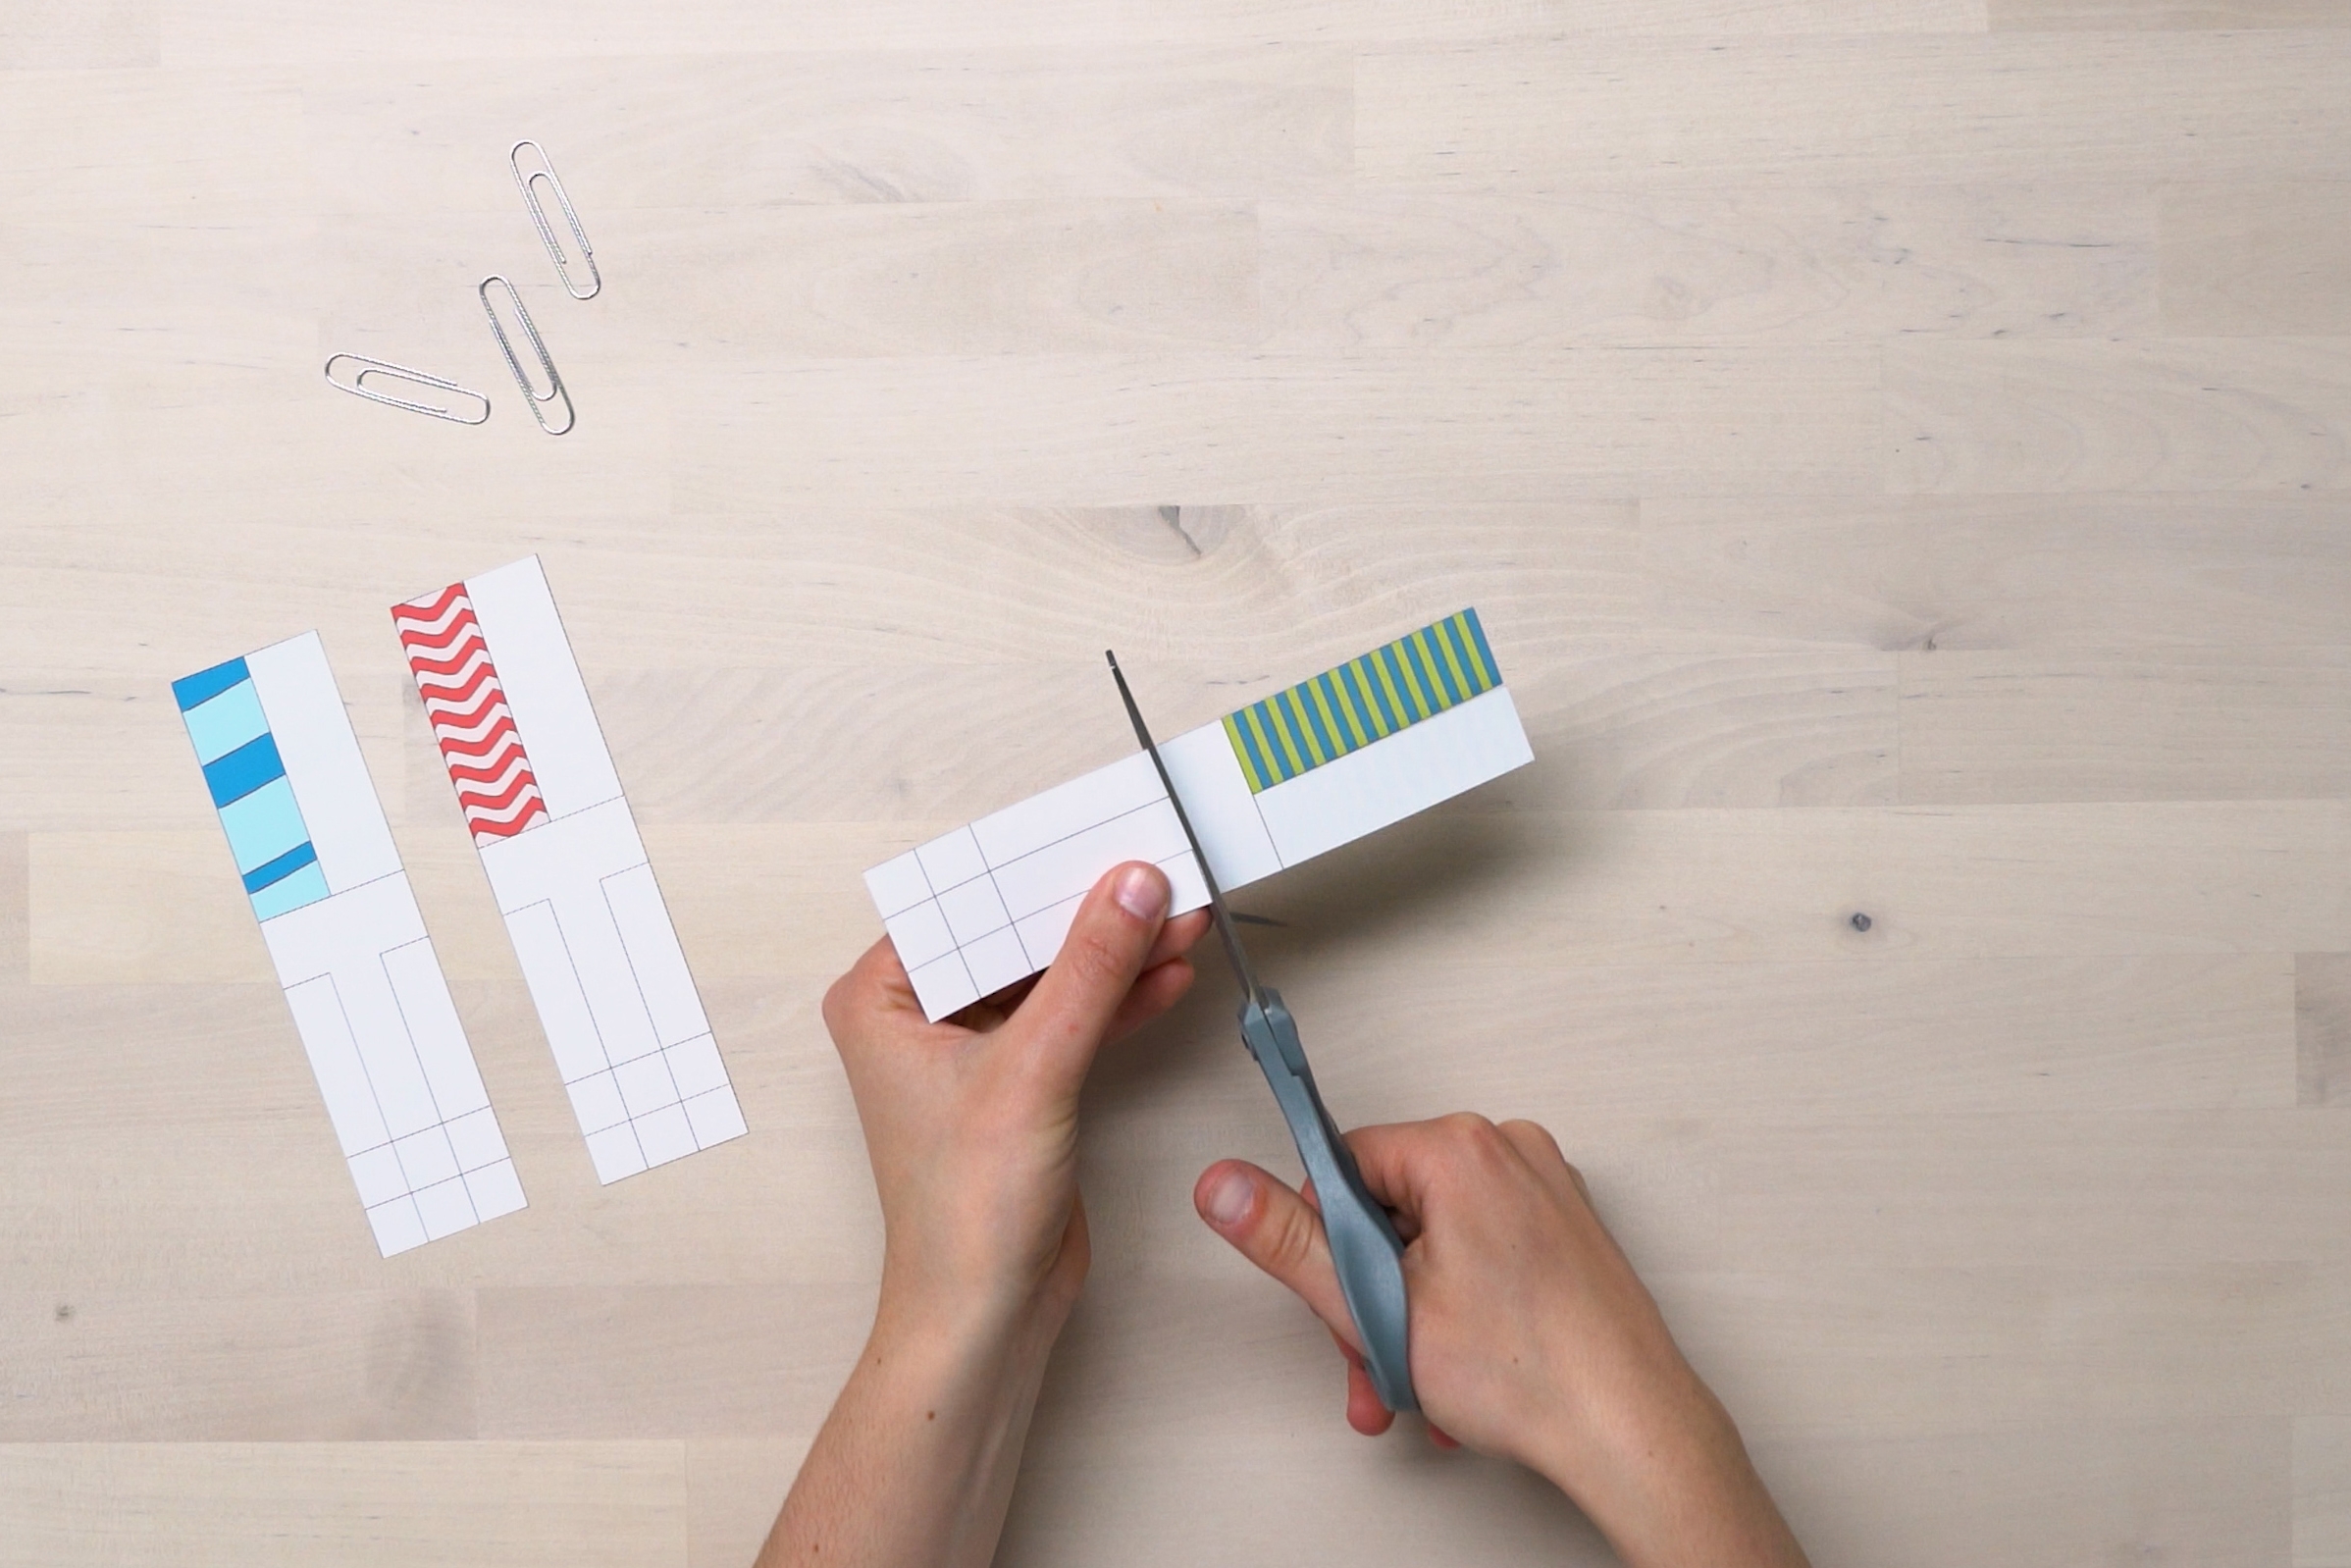
Cut the printable along the dotted lines.
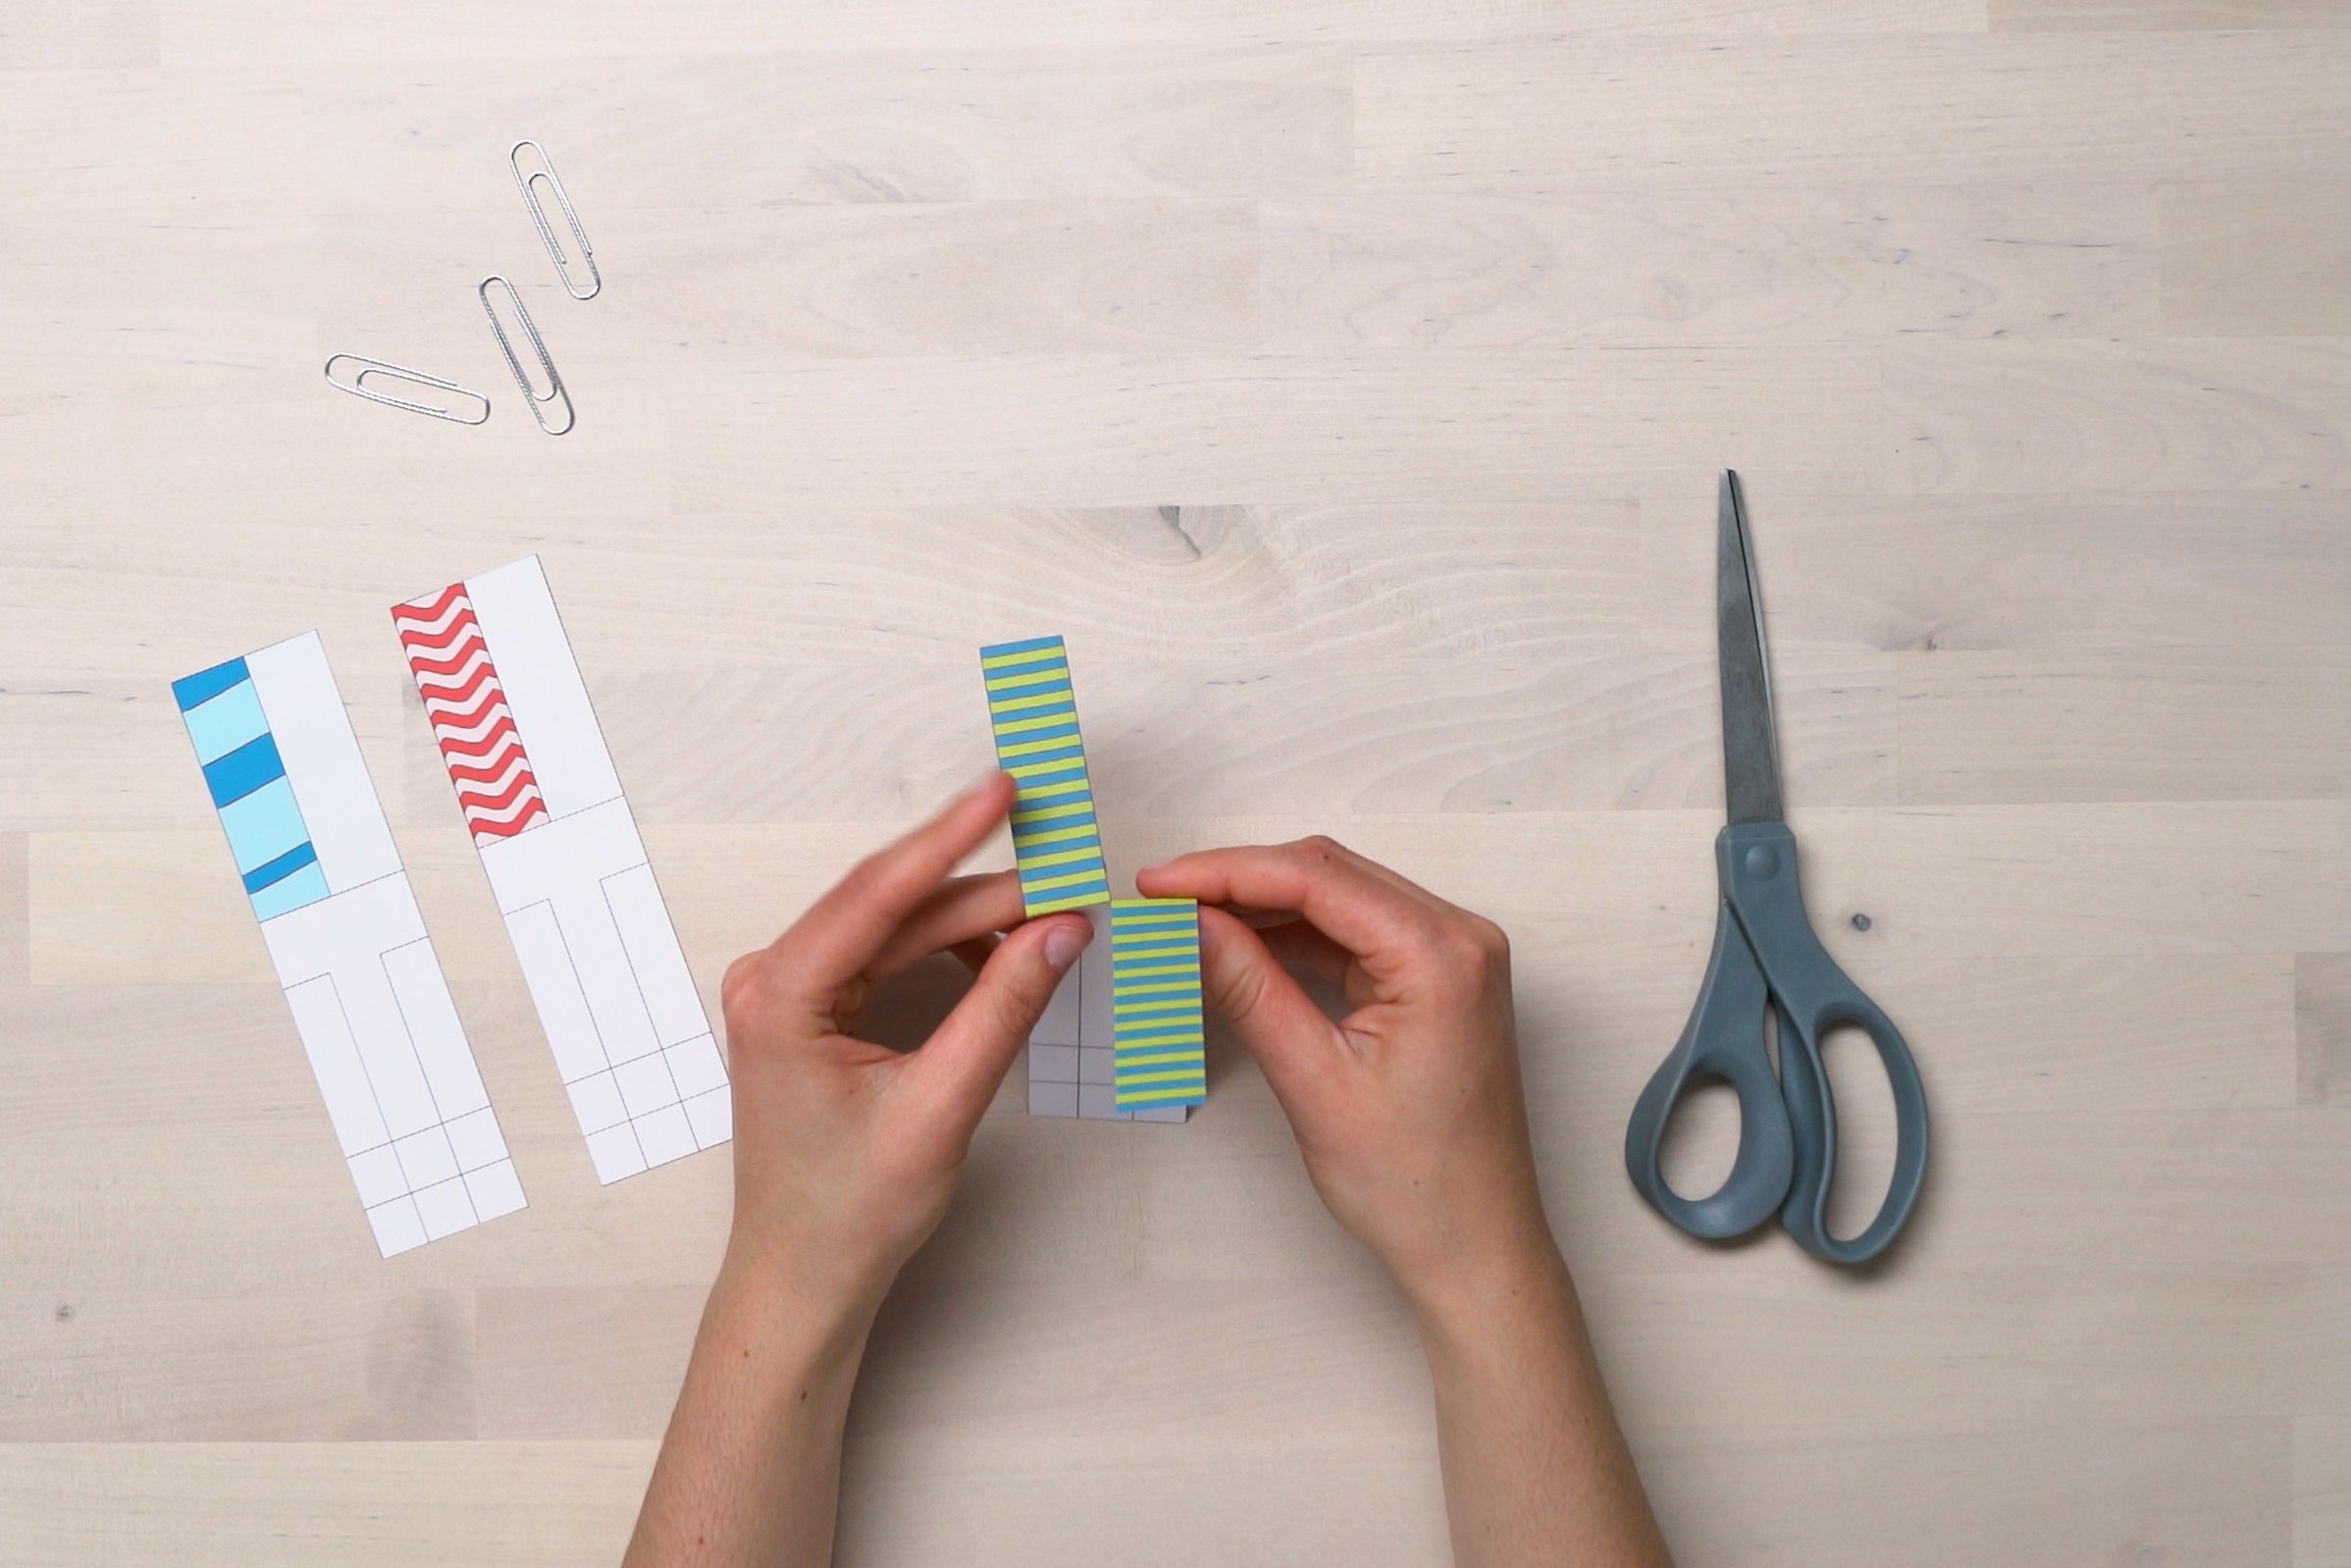
Step 3
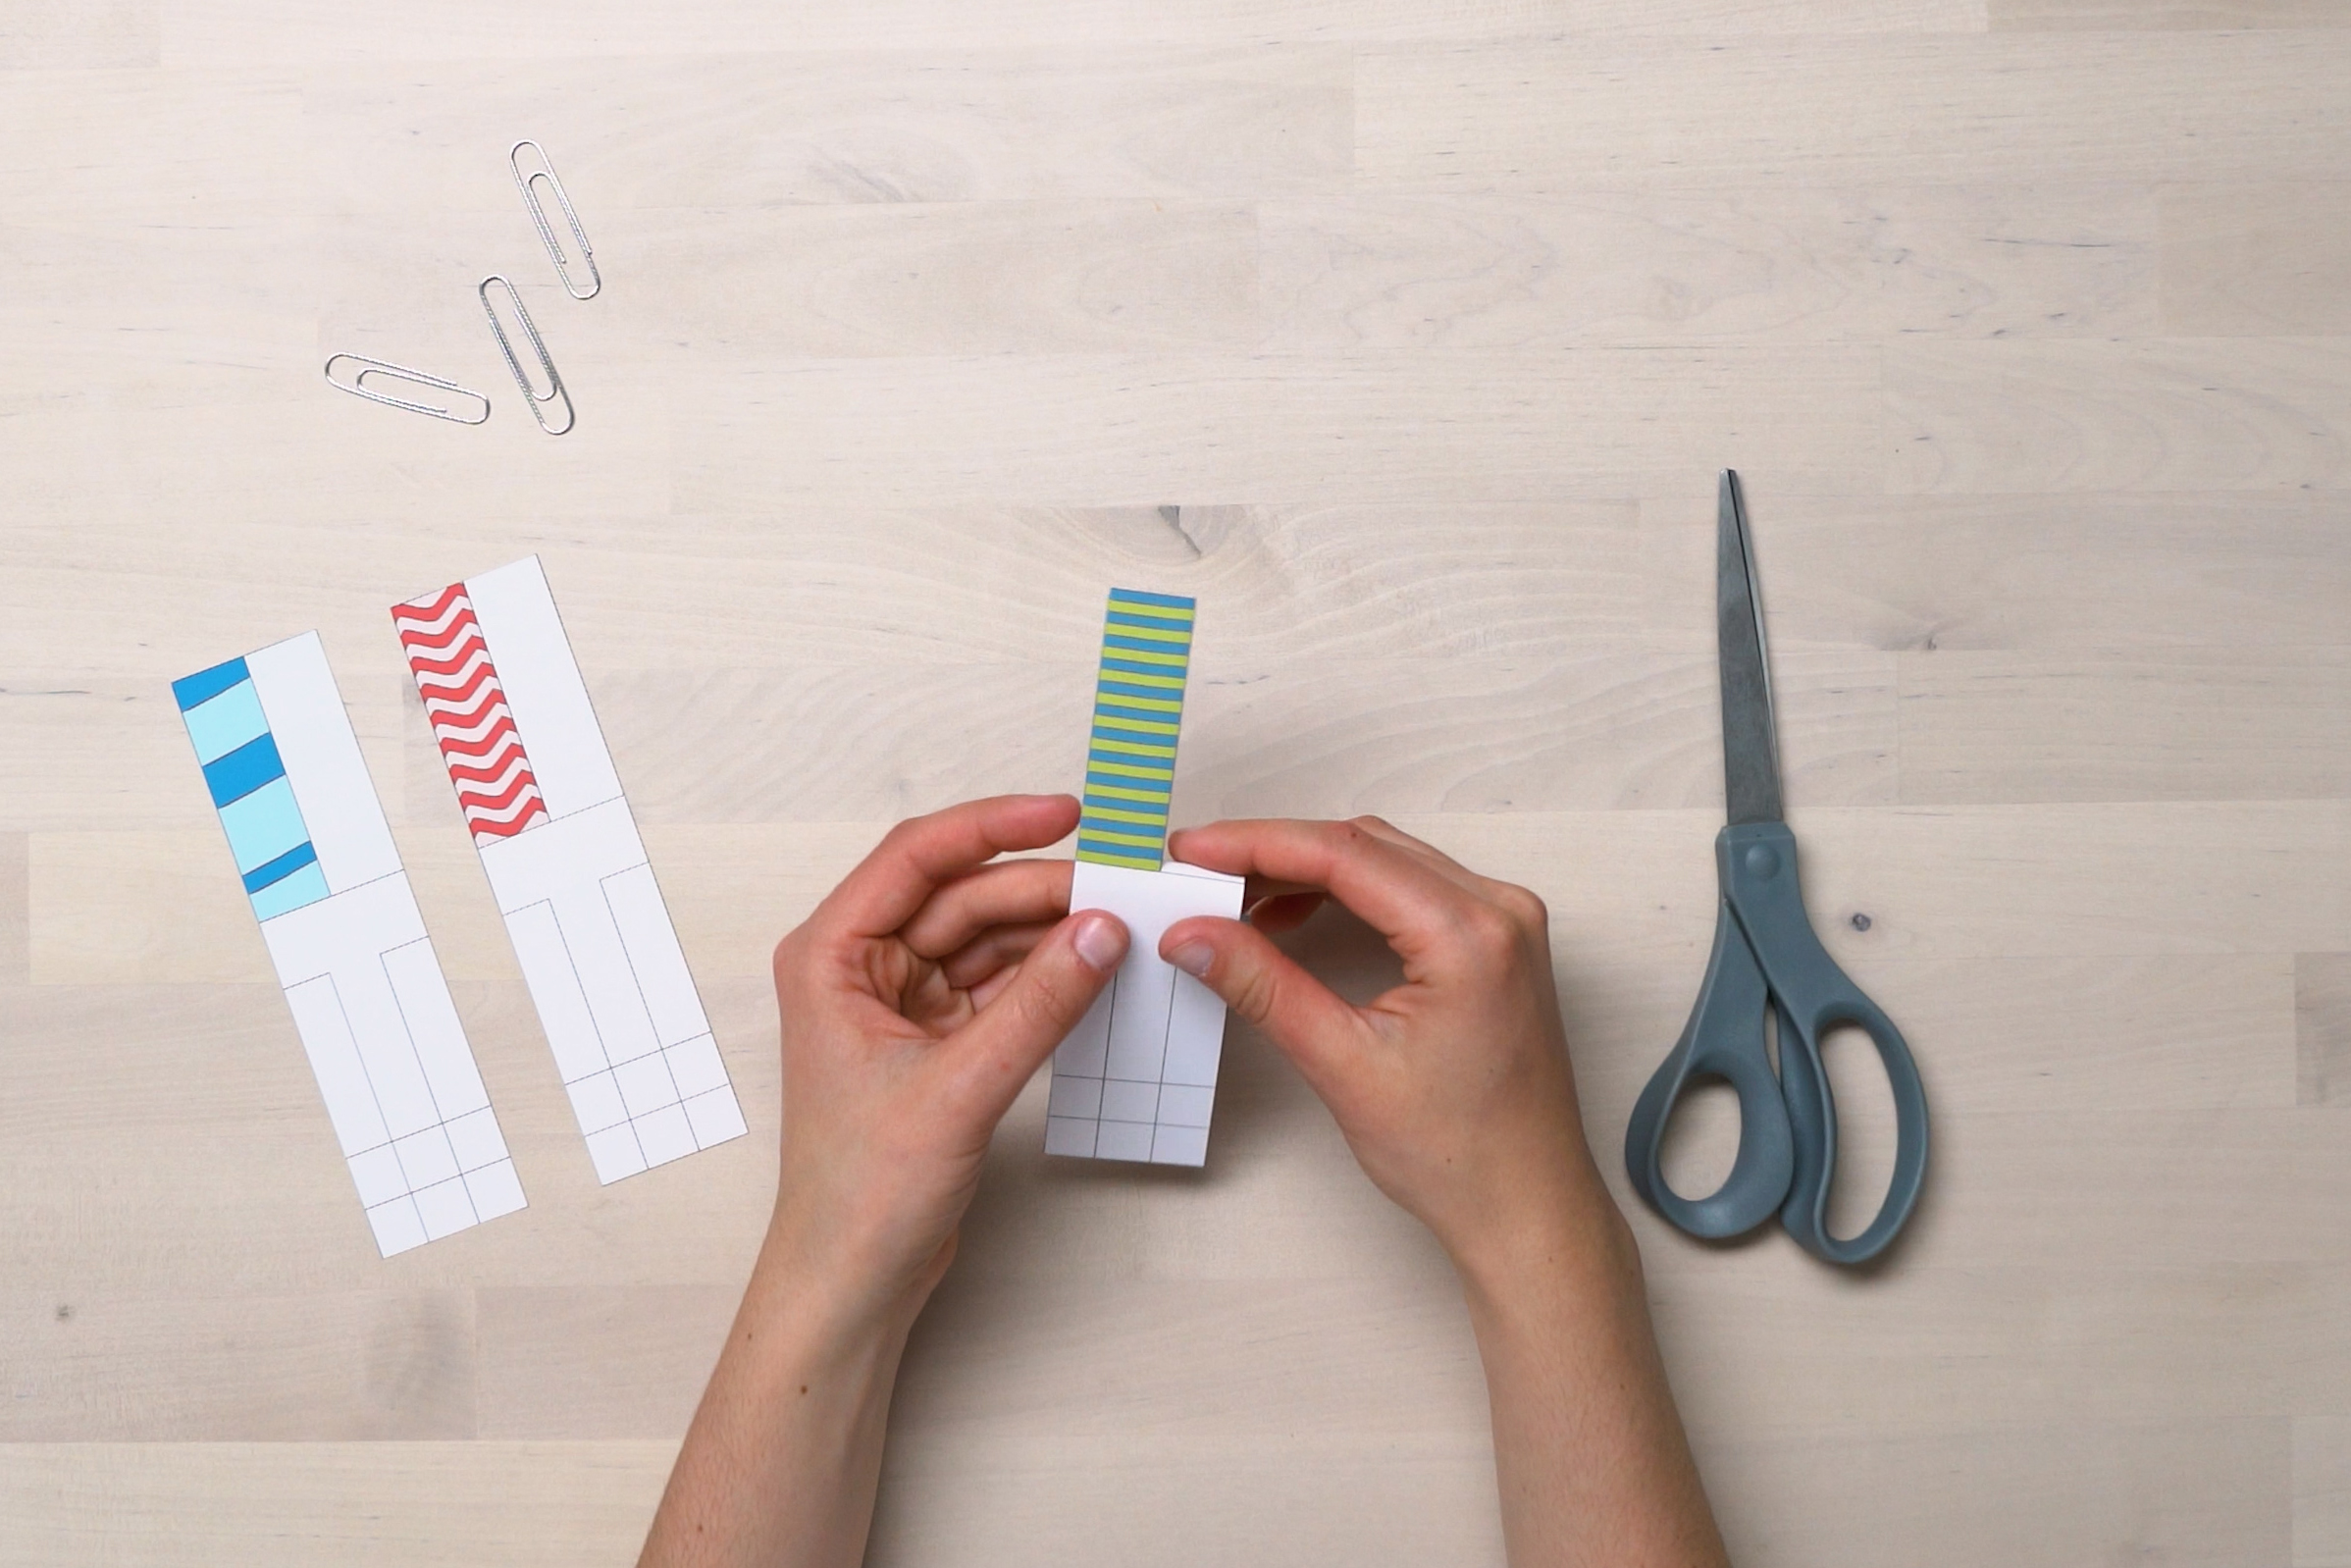
Fold the blades on the solid lines.
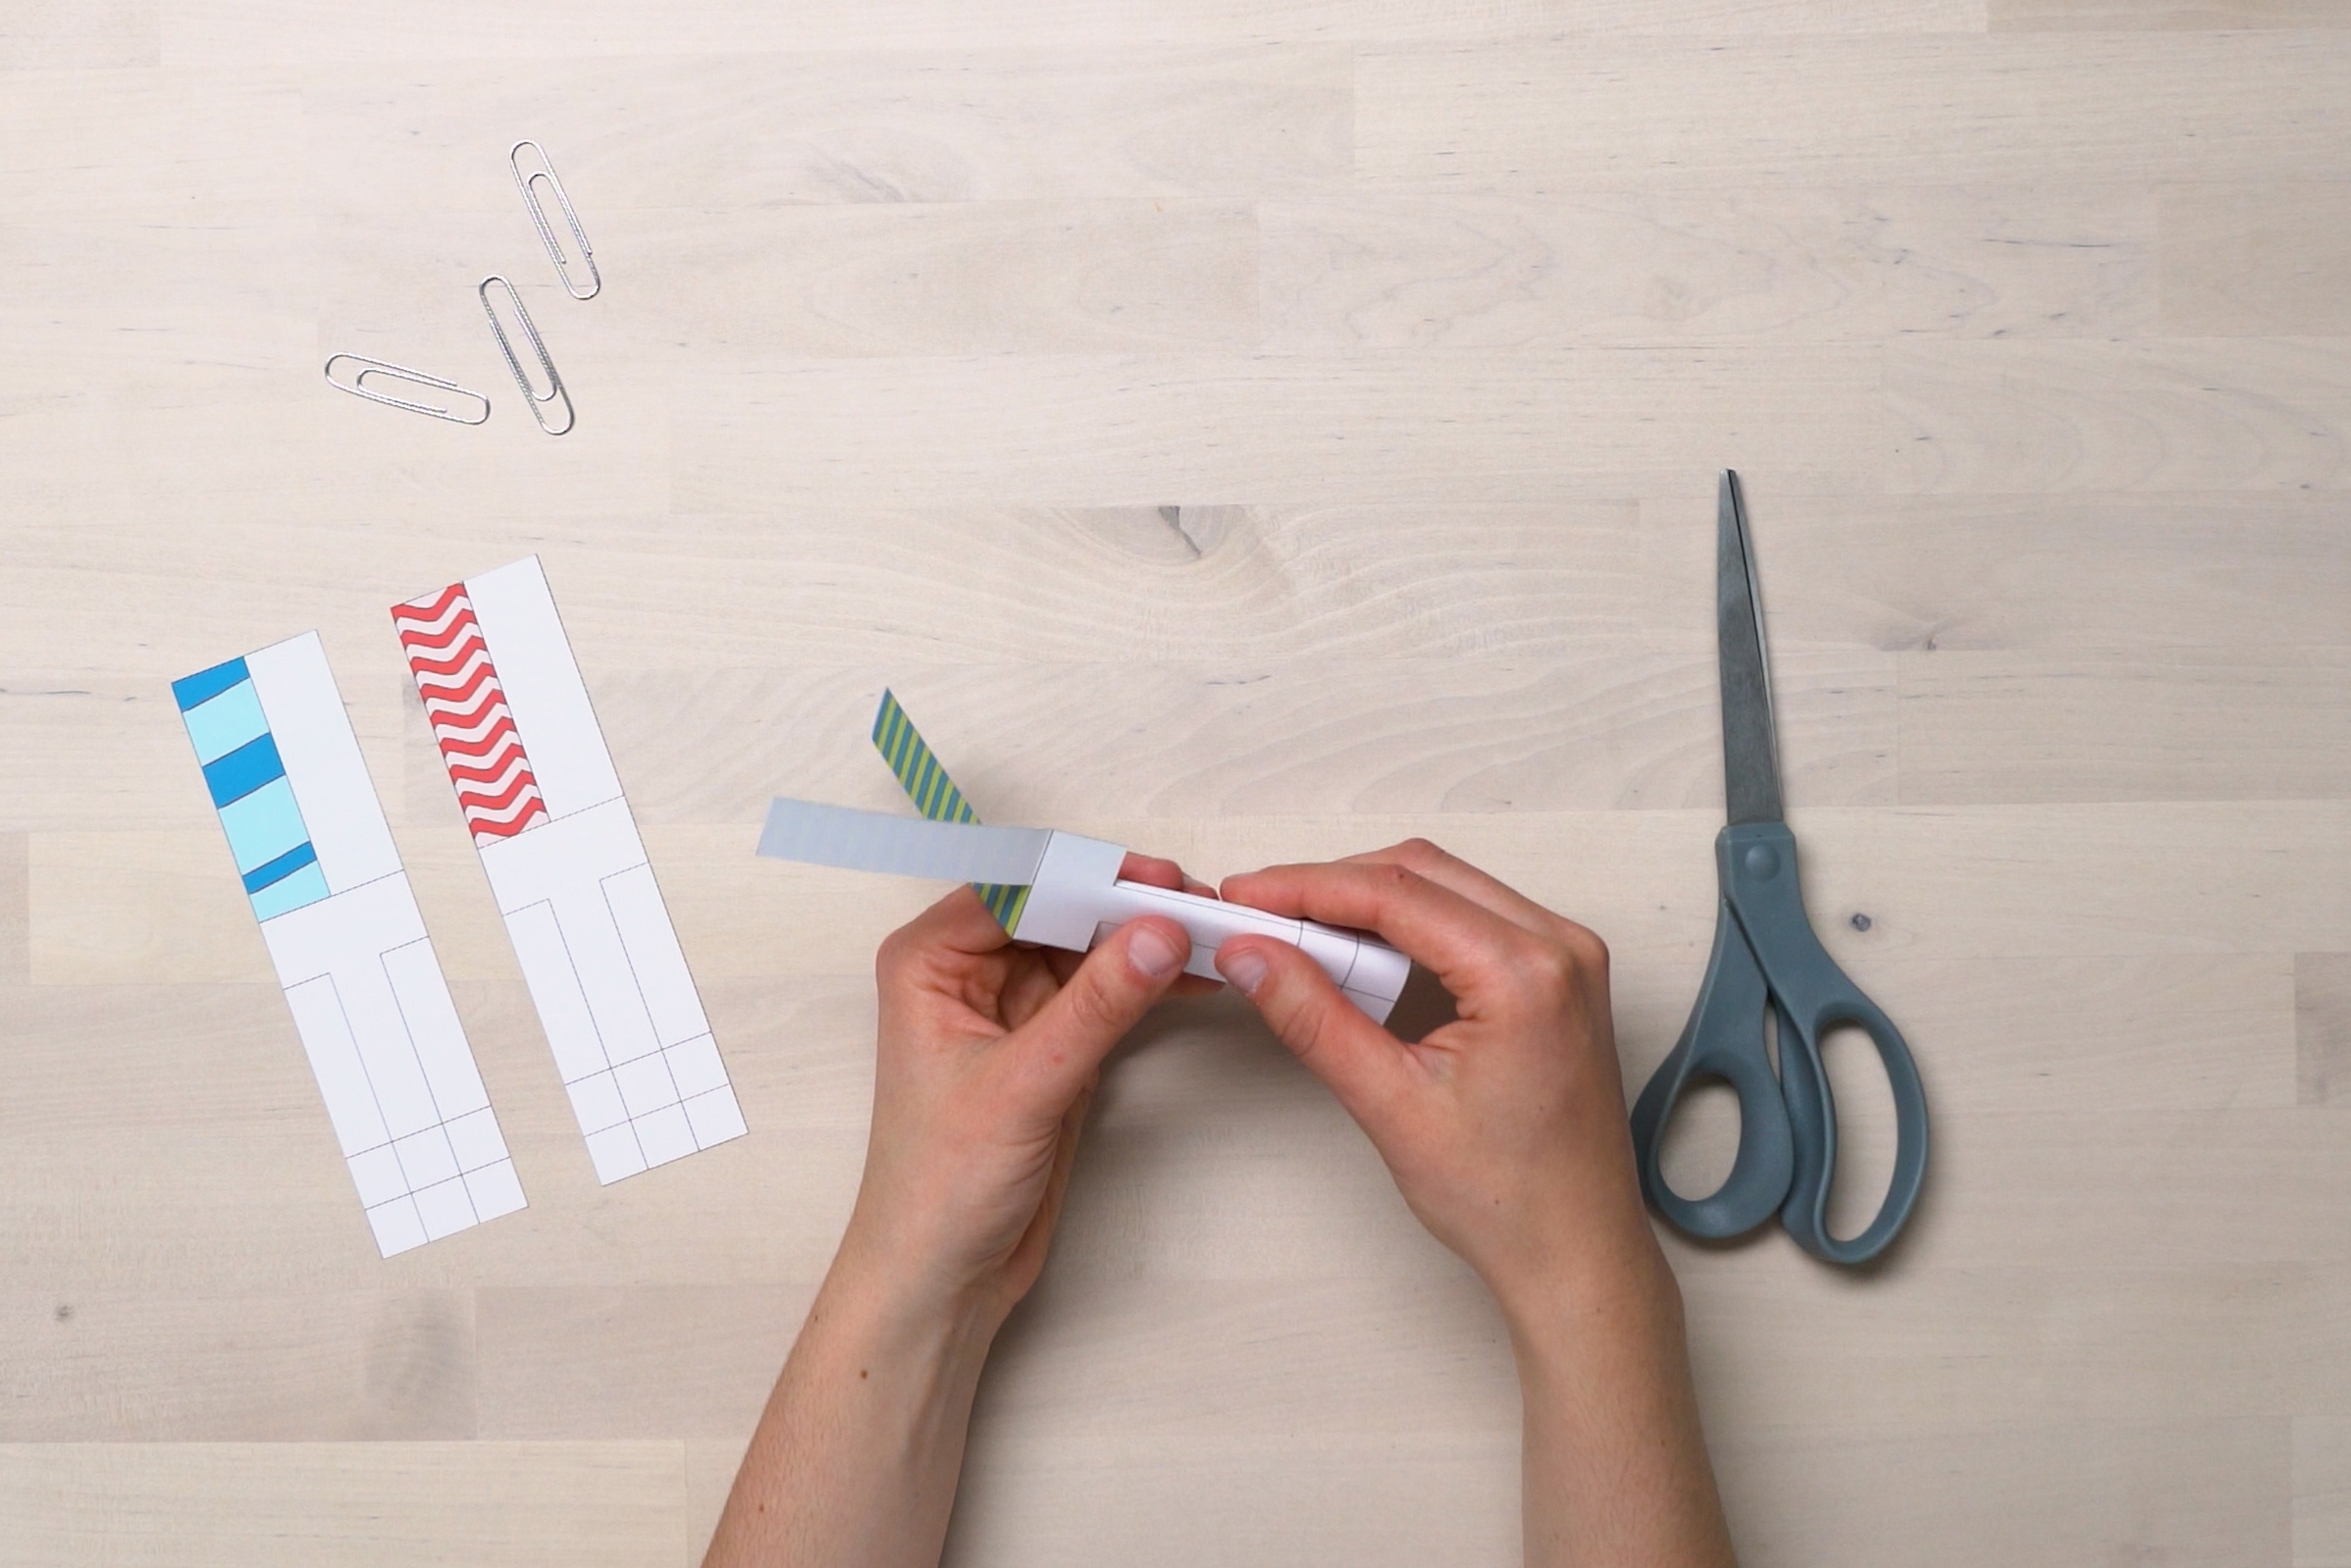
Step 4
Then, fold the blades to either side of the helicopter so the printed side faces towards you.
Step 5
Fold the bottom of the helicopter on the long solid lines.
Step 6
Fold the bottom of the helicopter on the short solid lines.
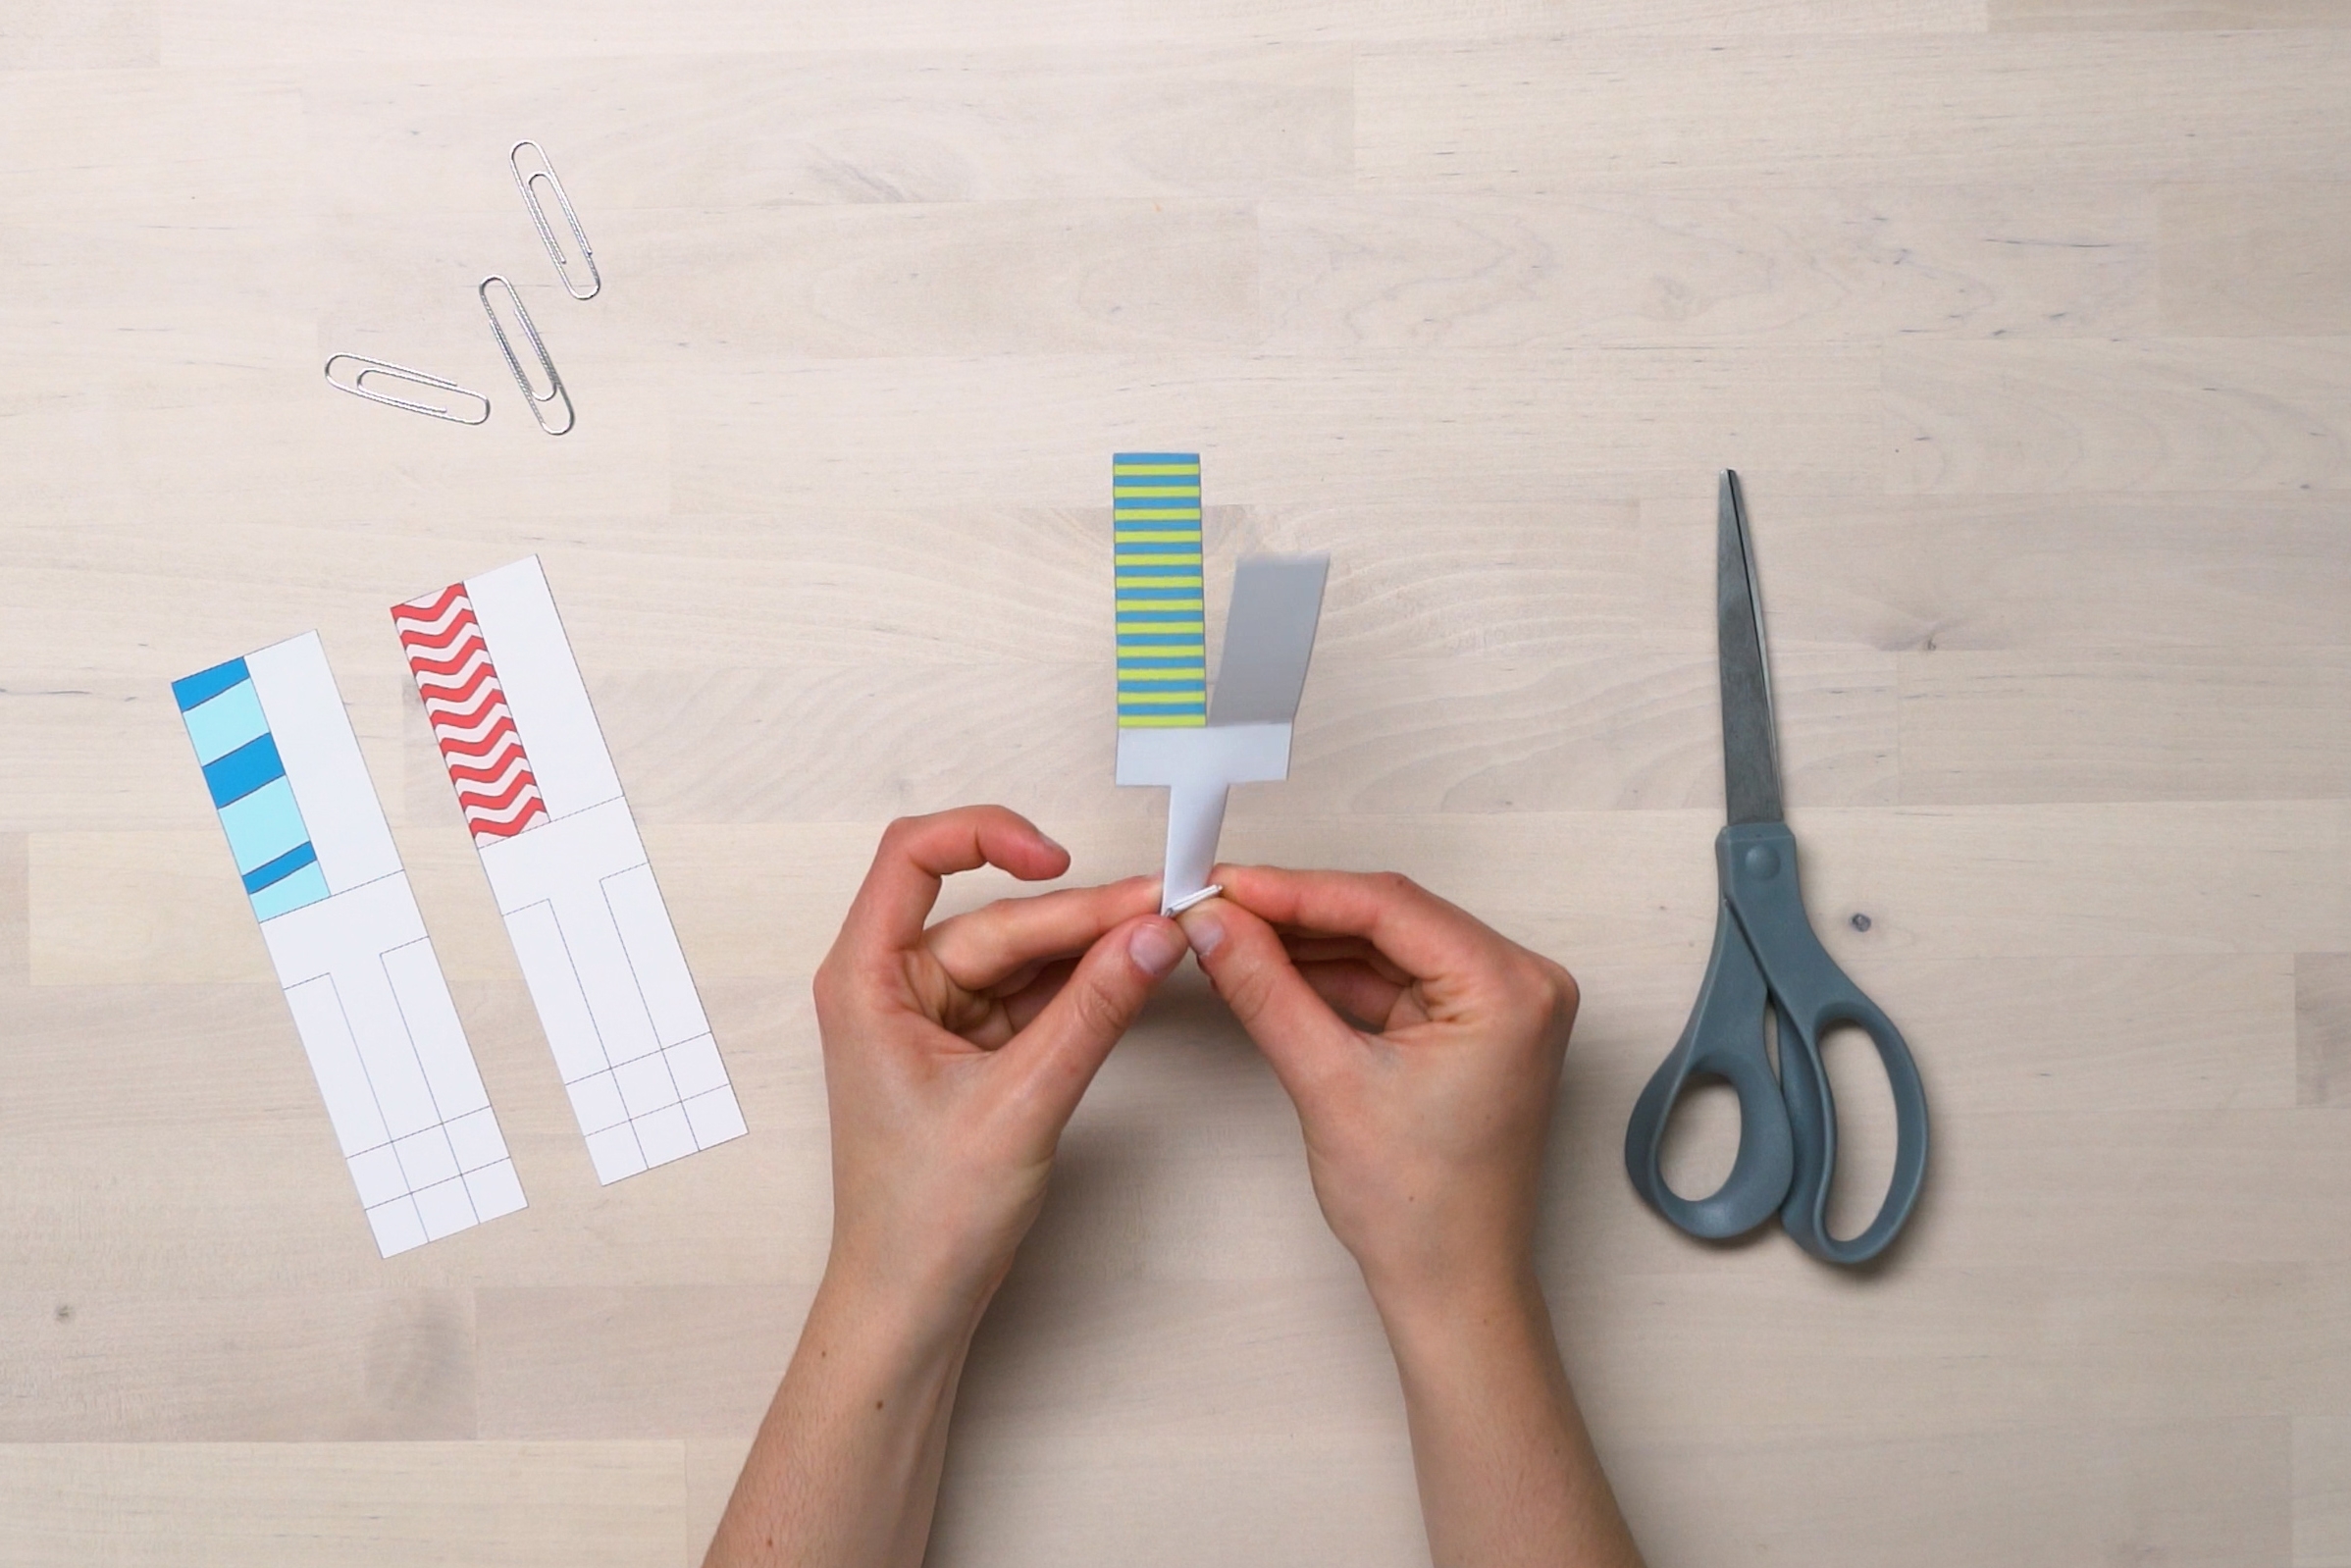
Step 7
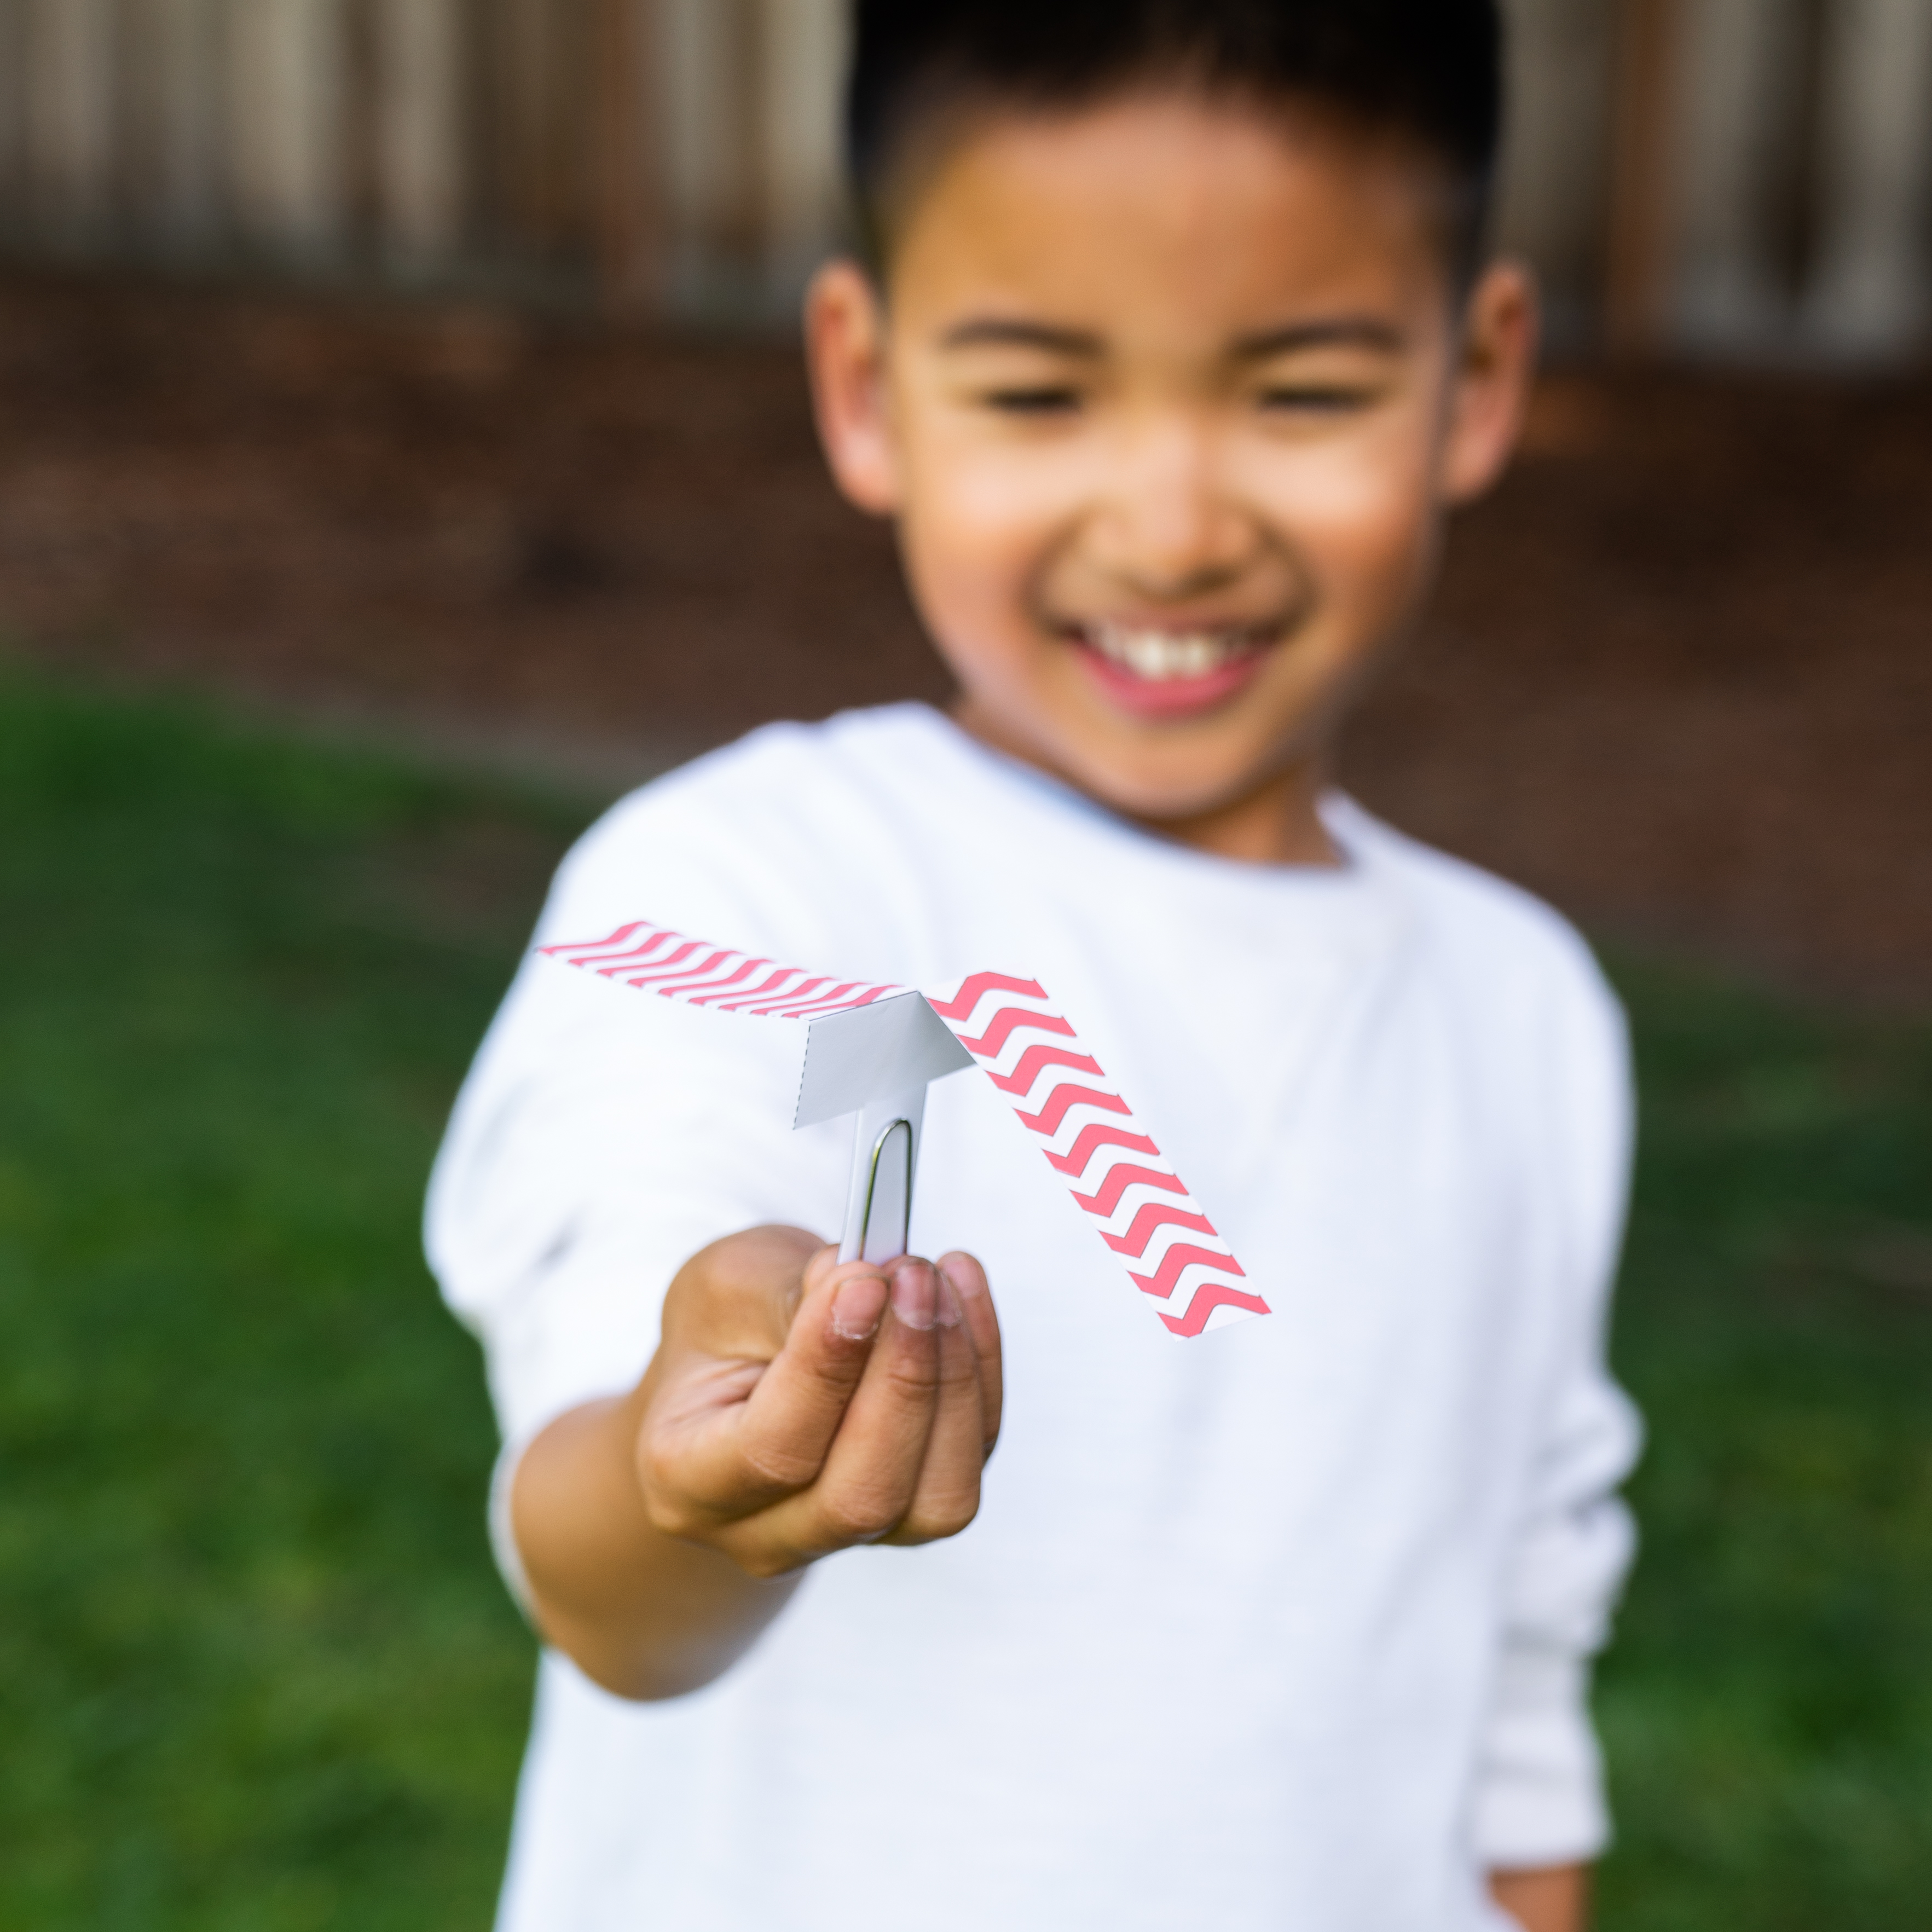
Attach a paper clip to the bottom of each helicopter.

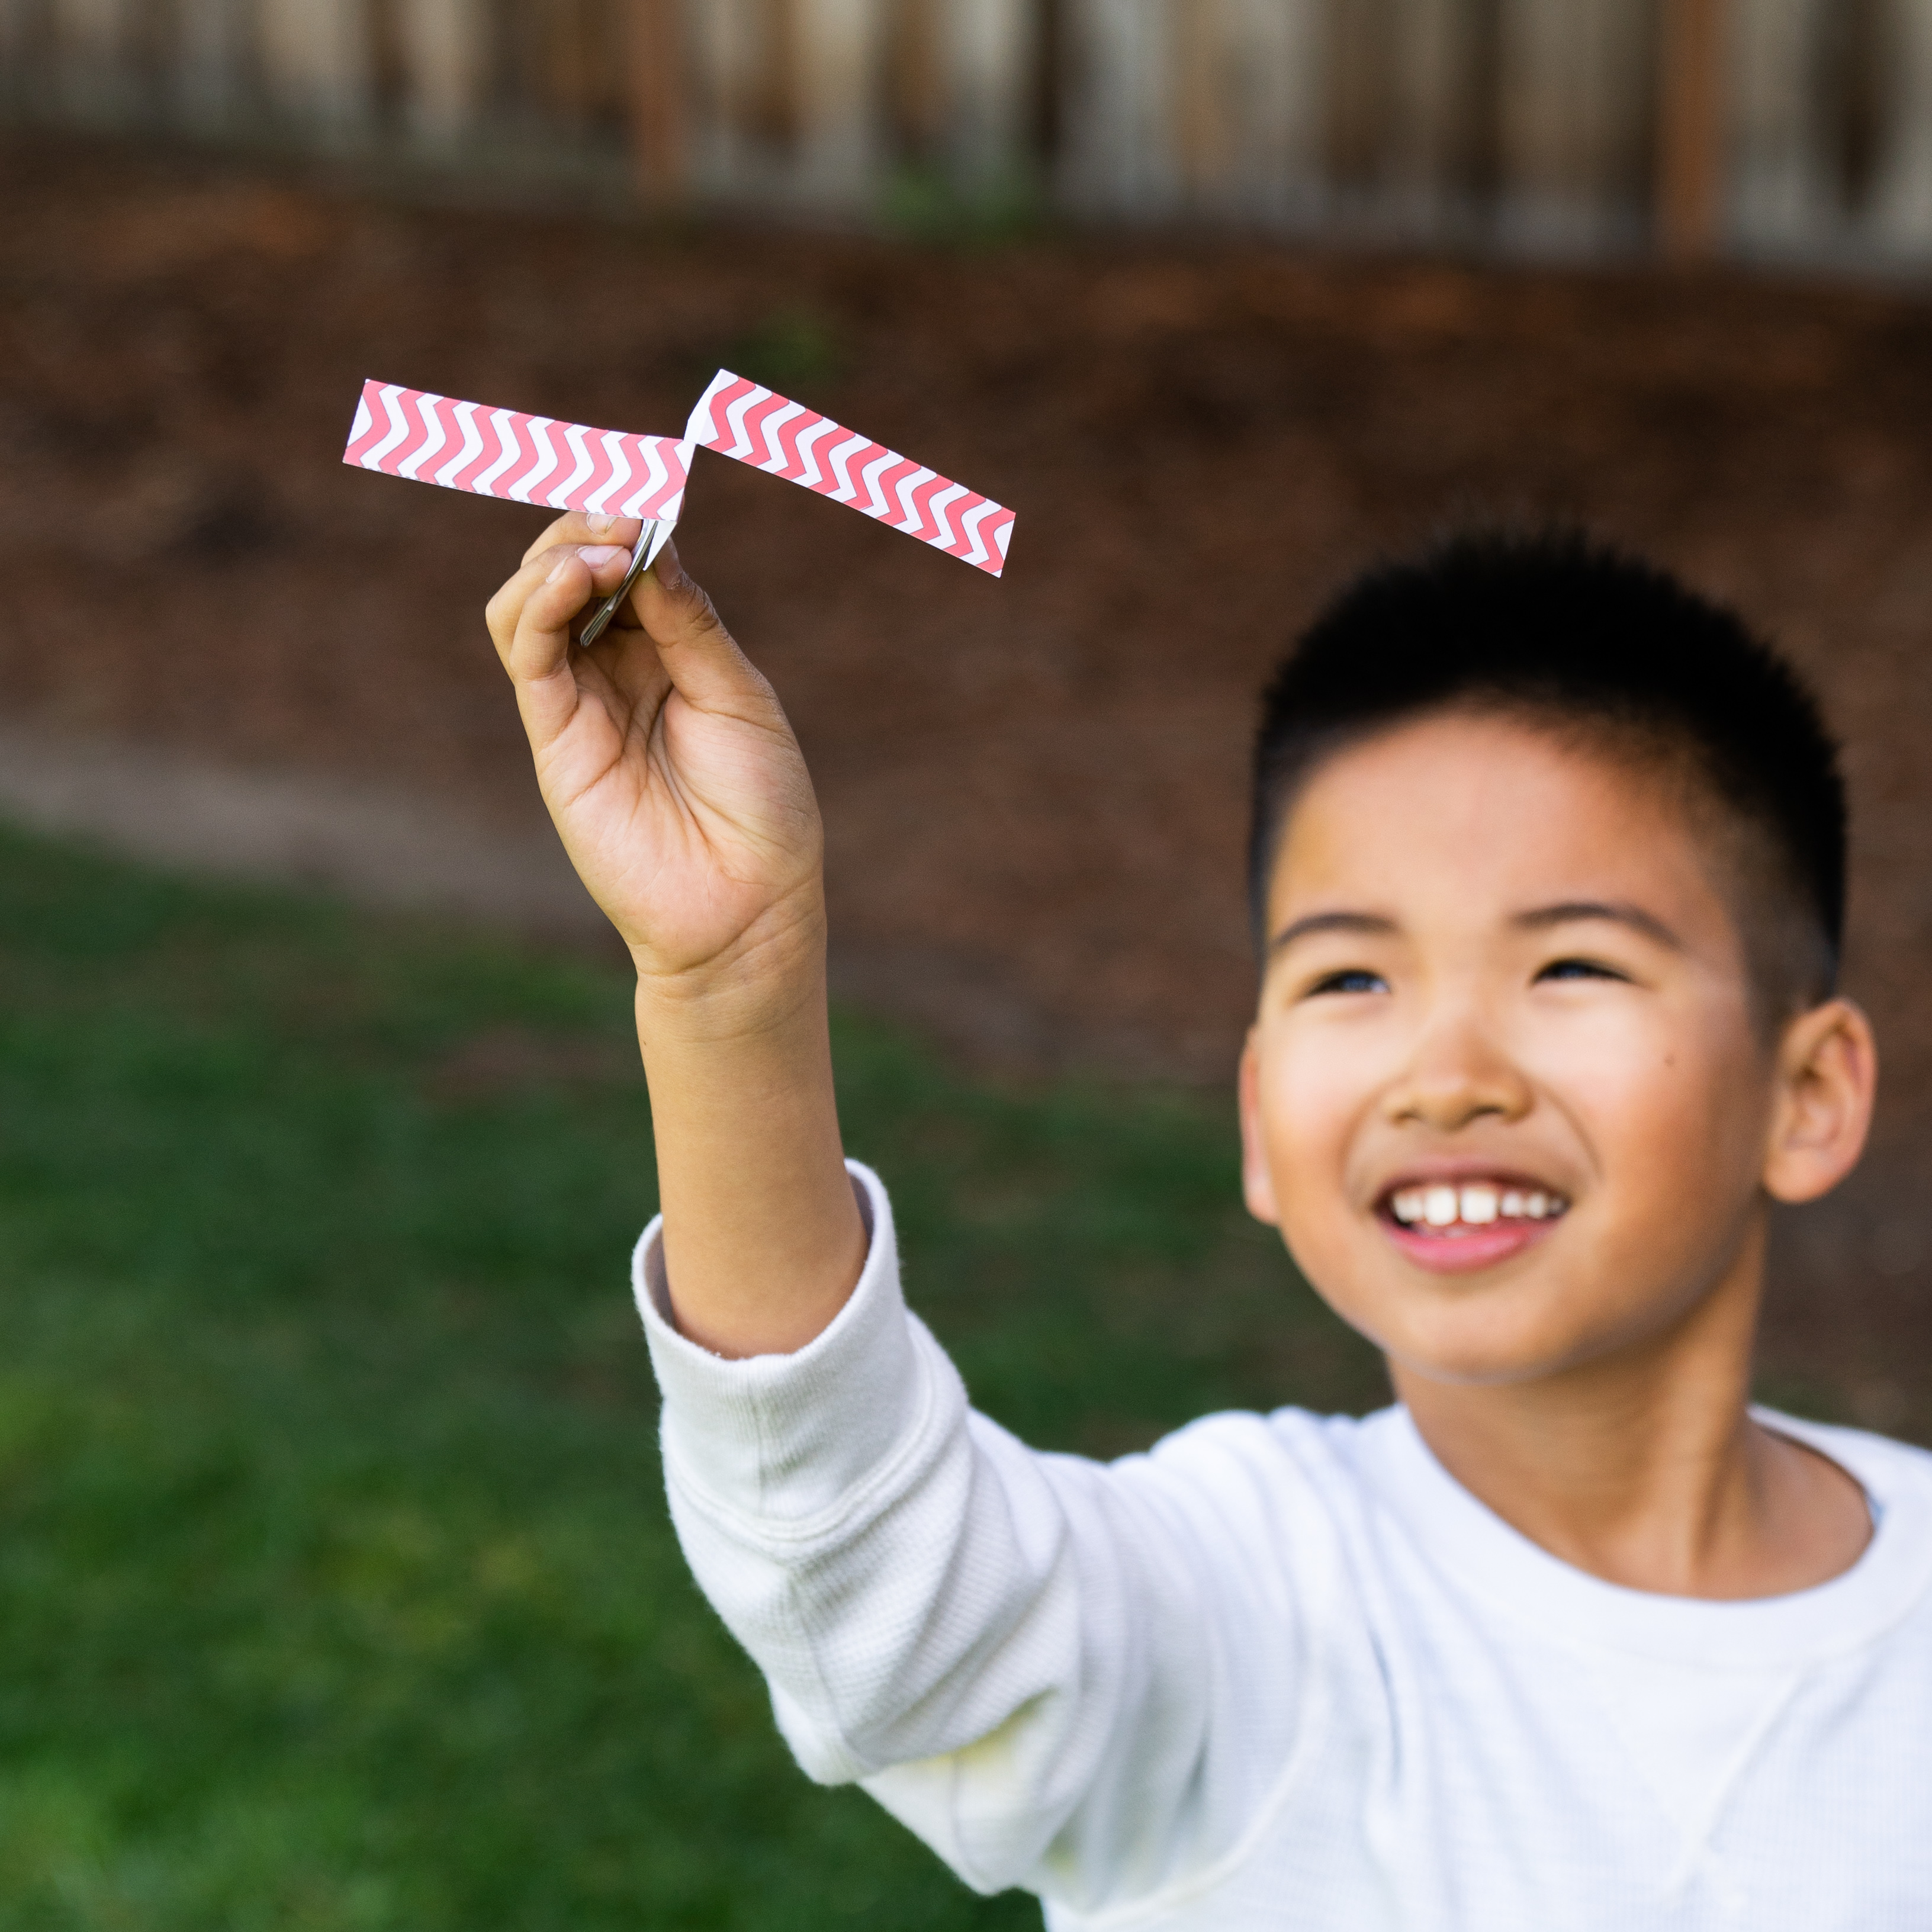
Step 8
Throw the helicopters into the air like you would throw a softball and watch them spin as they fall!
Learn more

The spinning motion of your helicopter does more than just look cool — it actually slows down the helicopter’s fall by making a force called lift. Lift is what lets real helicopters and airplanes fly through the sky, too. As the helicopter falls, its blades start to catch the wind like your outstretched hand does when you run really fast. The air below the blades pushes lightly against them, so instead of falling straight down, they slice sideways into the air and start the helicopter spinning. That spinning gives the blades enough speed for them to act like little airplane wings. The air flows over the blades as they spin, like water flowing around a rock in a river, and it creates an upward push on the blades as it flows. That upward push is lift! It isn’t as much as in an airplane or real helicopter, but it’s enough to slow the descent and land safely. If you try straightening the blades upward instead of folding them out, you’ll see a big difference in how the helicopter falls!


