Step-by-step tutorial
Step 1
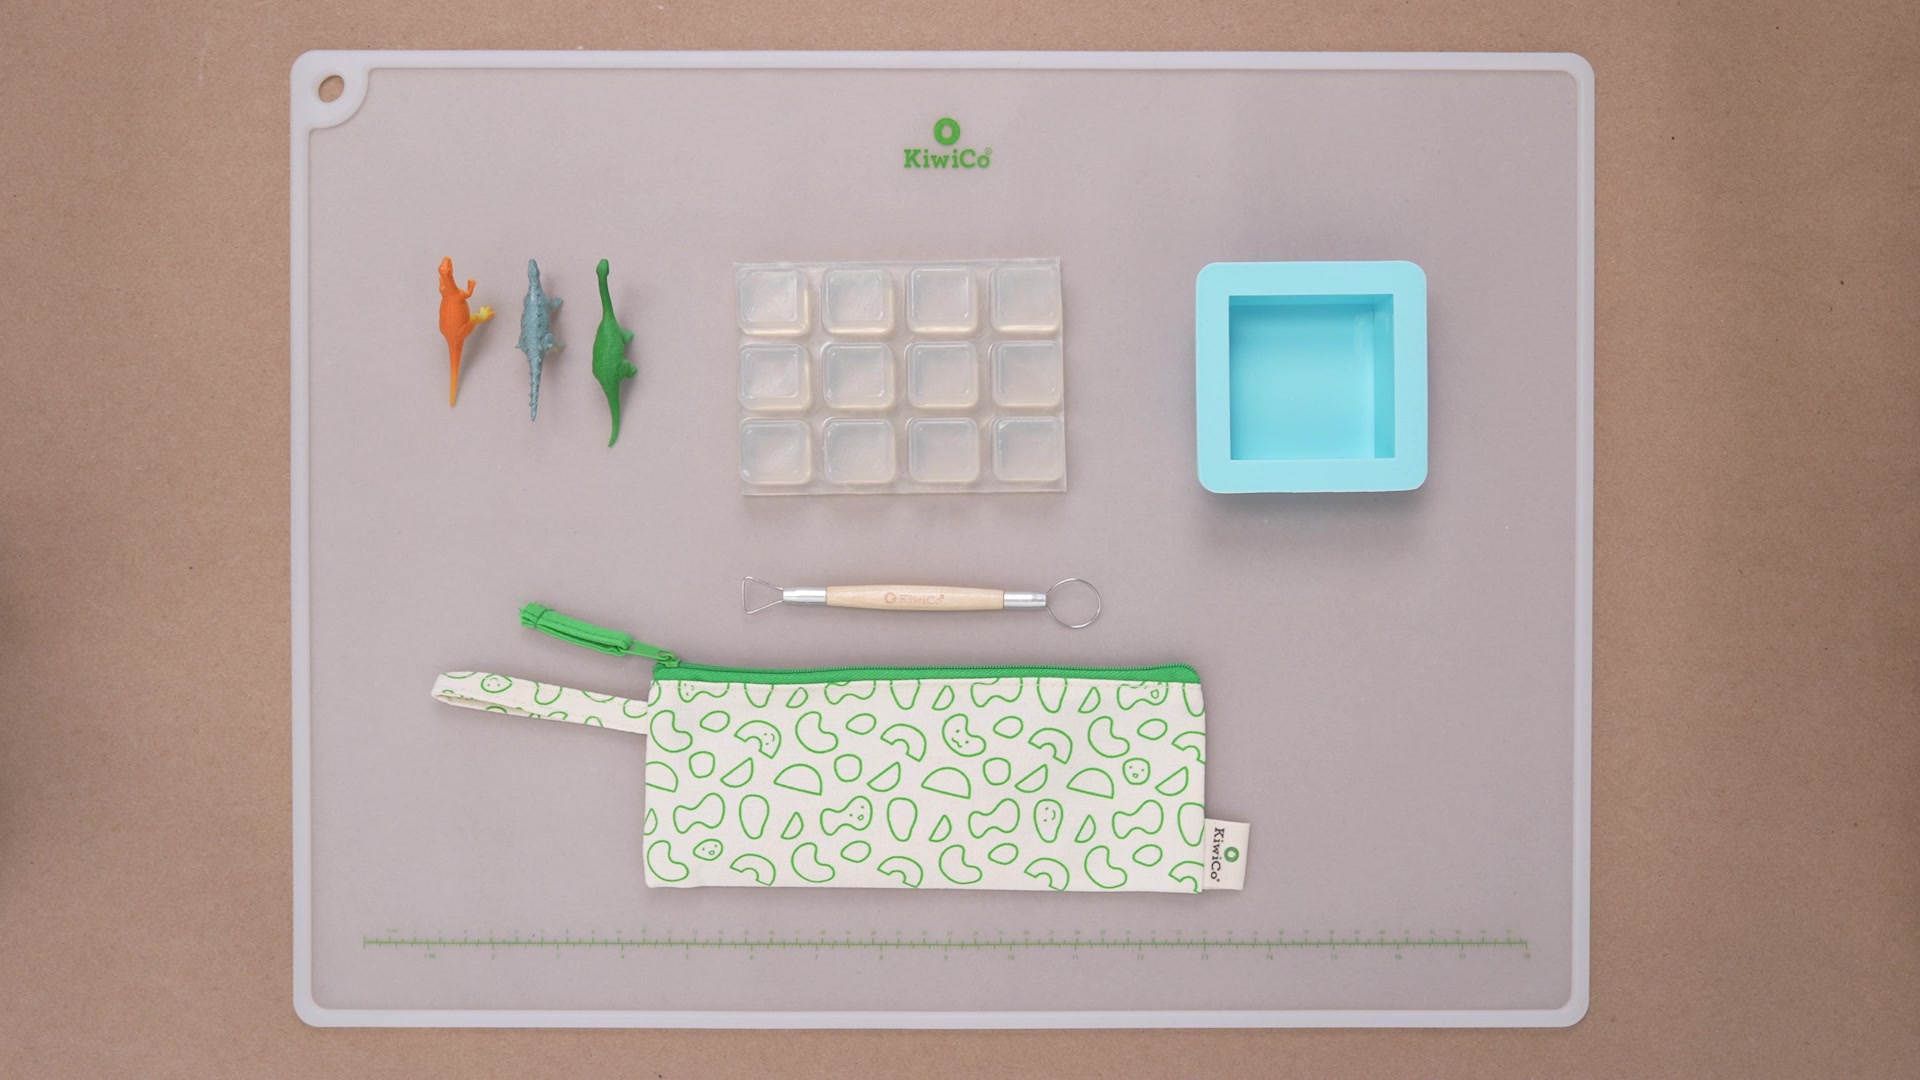
Gather your materials.

Tip
If you’re interested in making more super cool melt-and-pour soap, check out our Crystal Ombre Soap Making kit, available in the KiwiCo Store!
Step 2
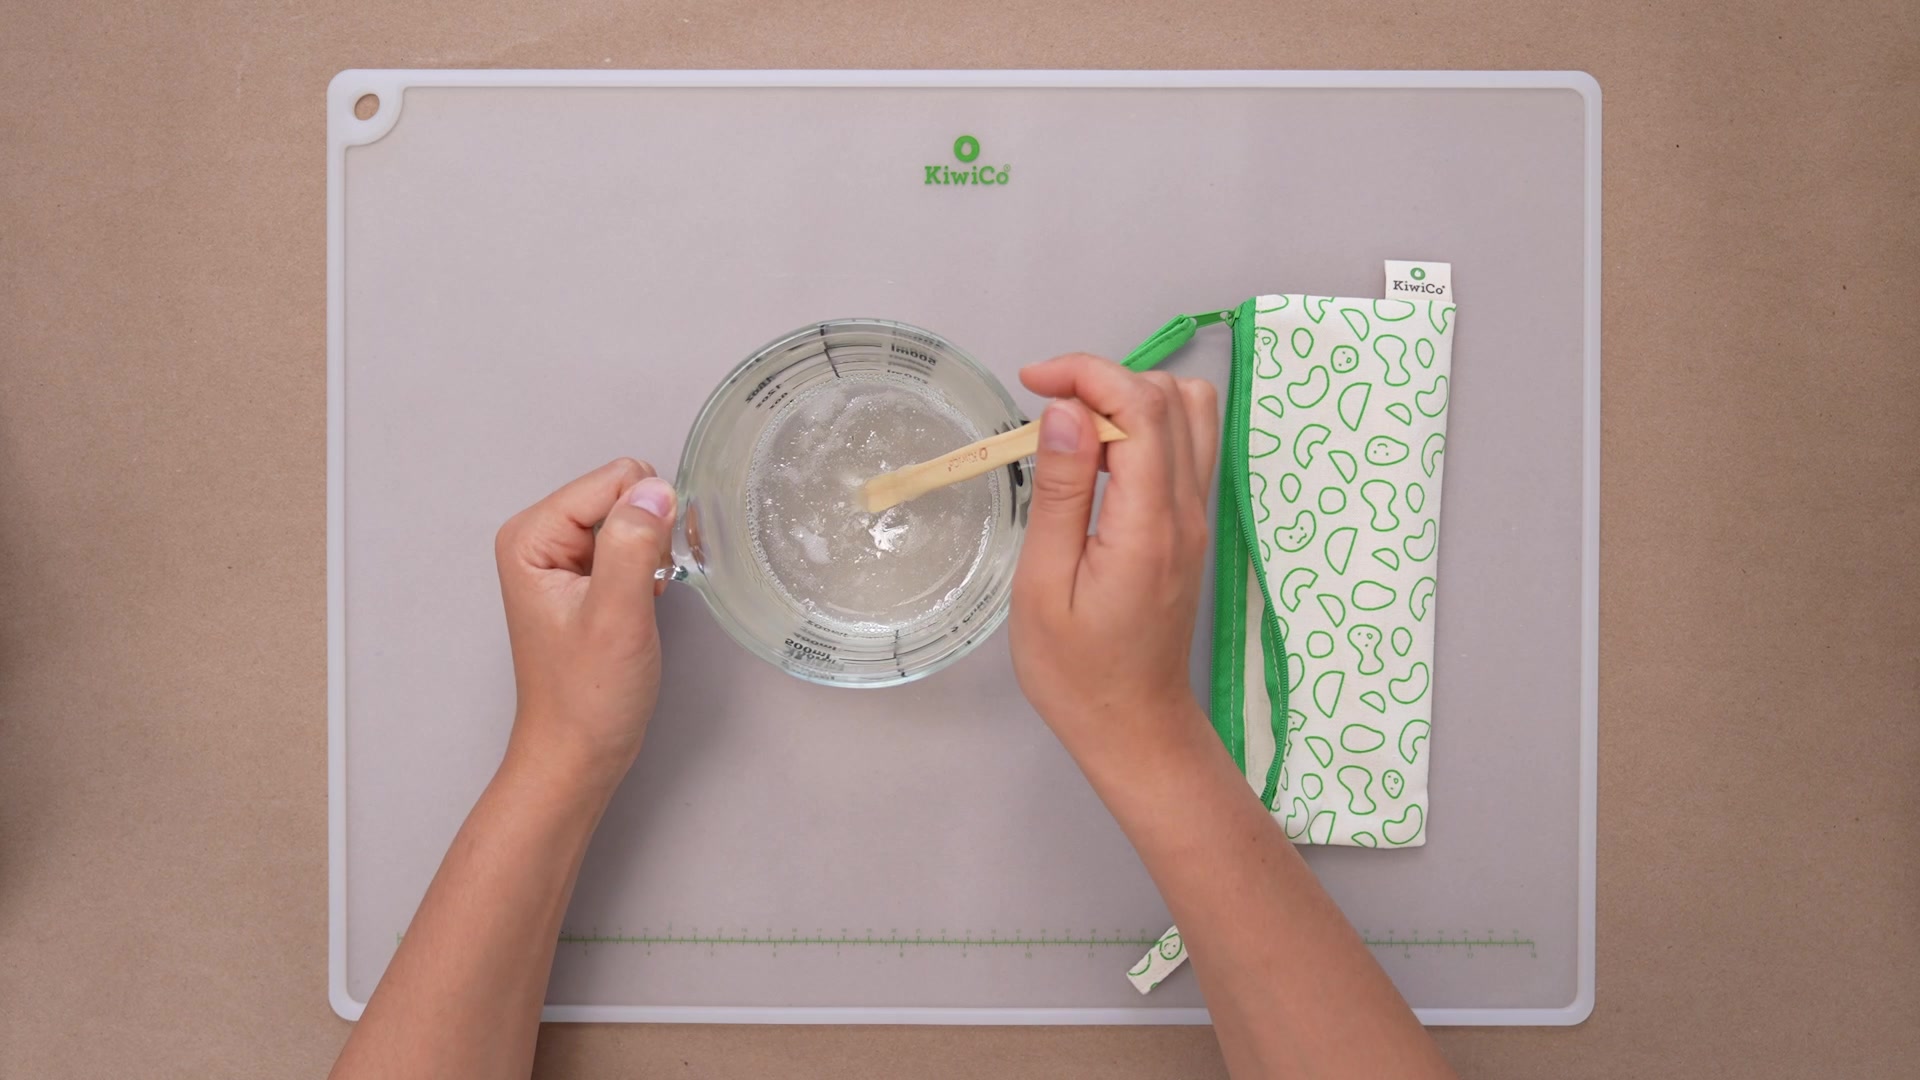
Melt the glycerin in a glass measuring cup or microwave-safe container with a spout. Heat in 20-second intervals until thoroughly melted, stirring with a metal or wood utensil in between heats.
Warning
Ask your grownup assistant for help– the glycerin is pretty hot!
Step 3
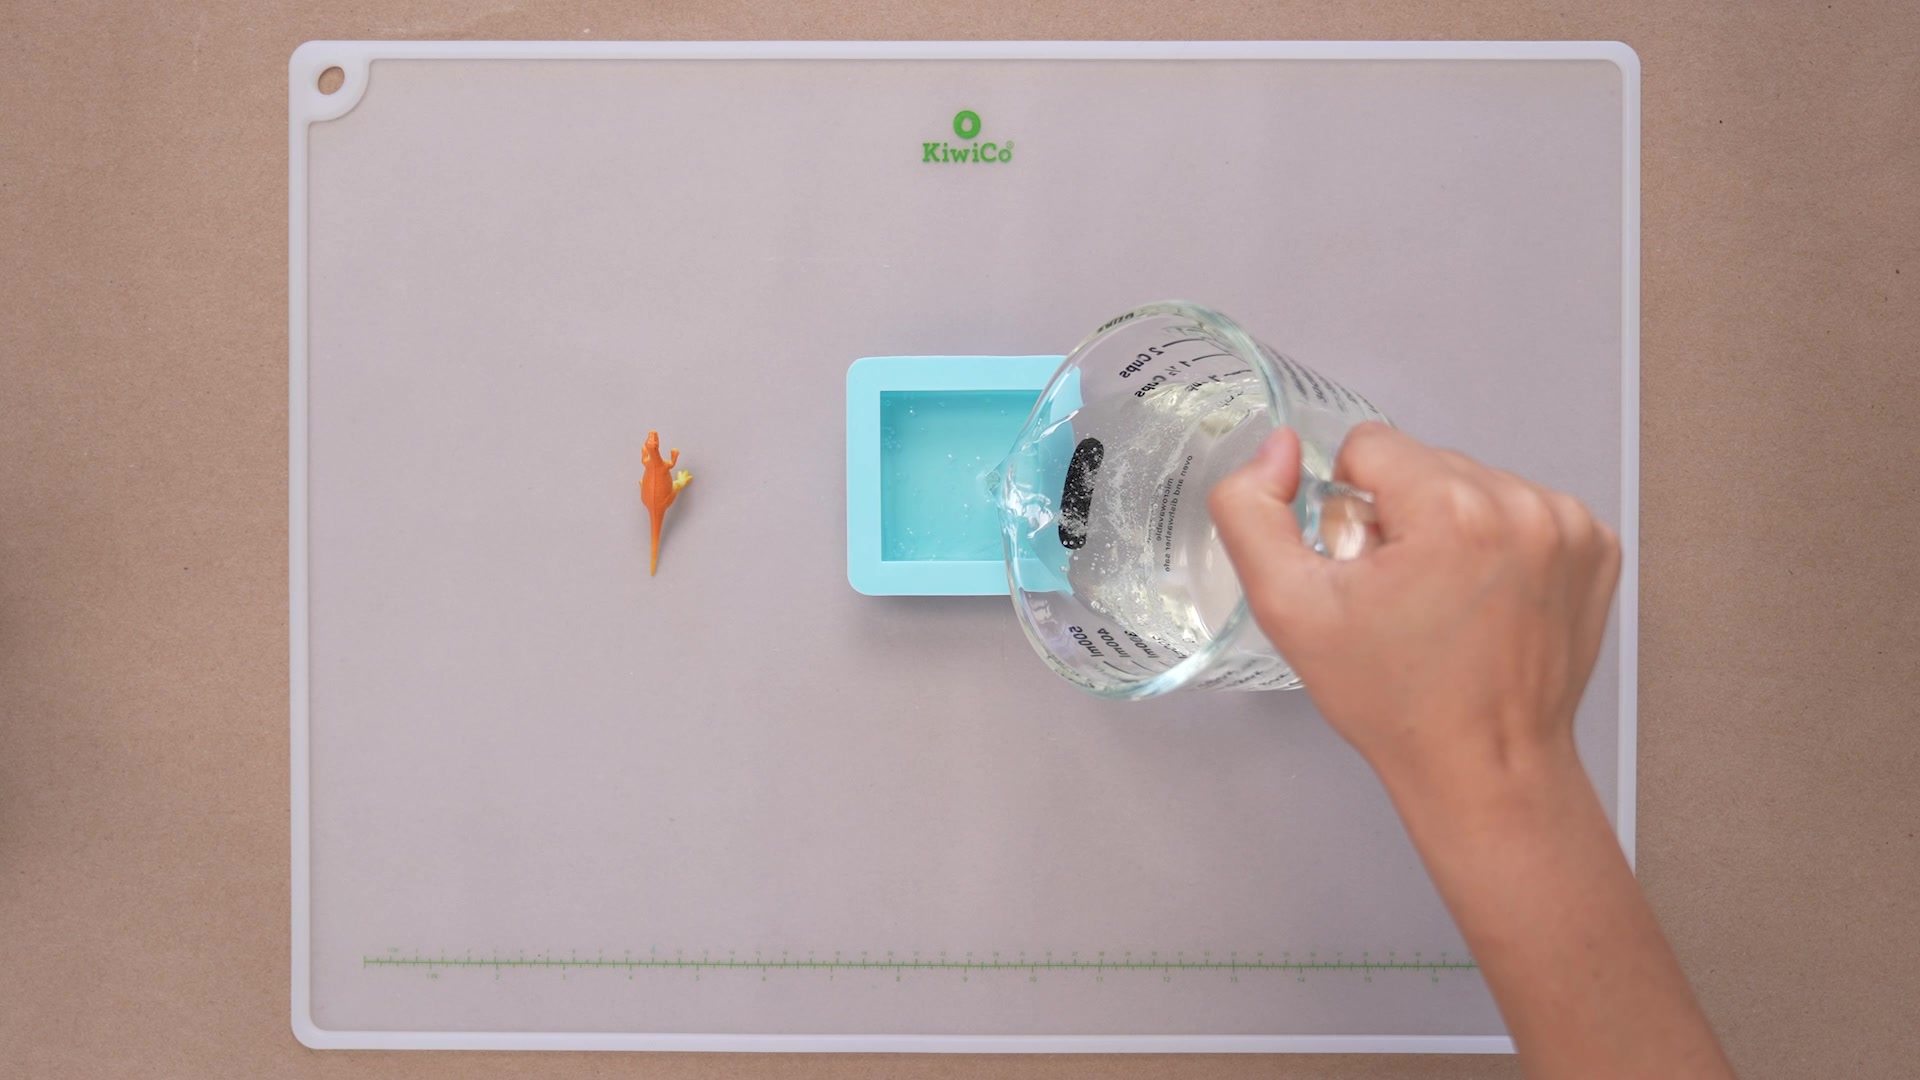
Fill your molds halfway with a layer of melted glycerin. Let it sit for about five minutes.
Tip
If the remaining glycerin starts to harden while you wait, pop it back in the microwave!
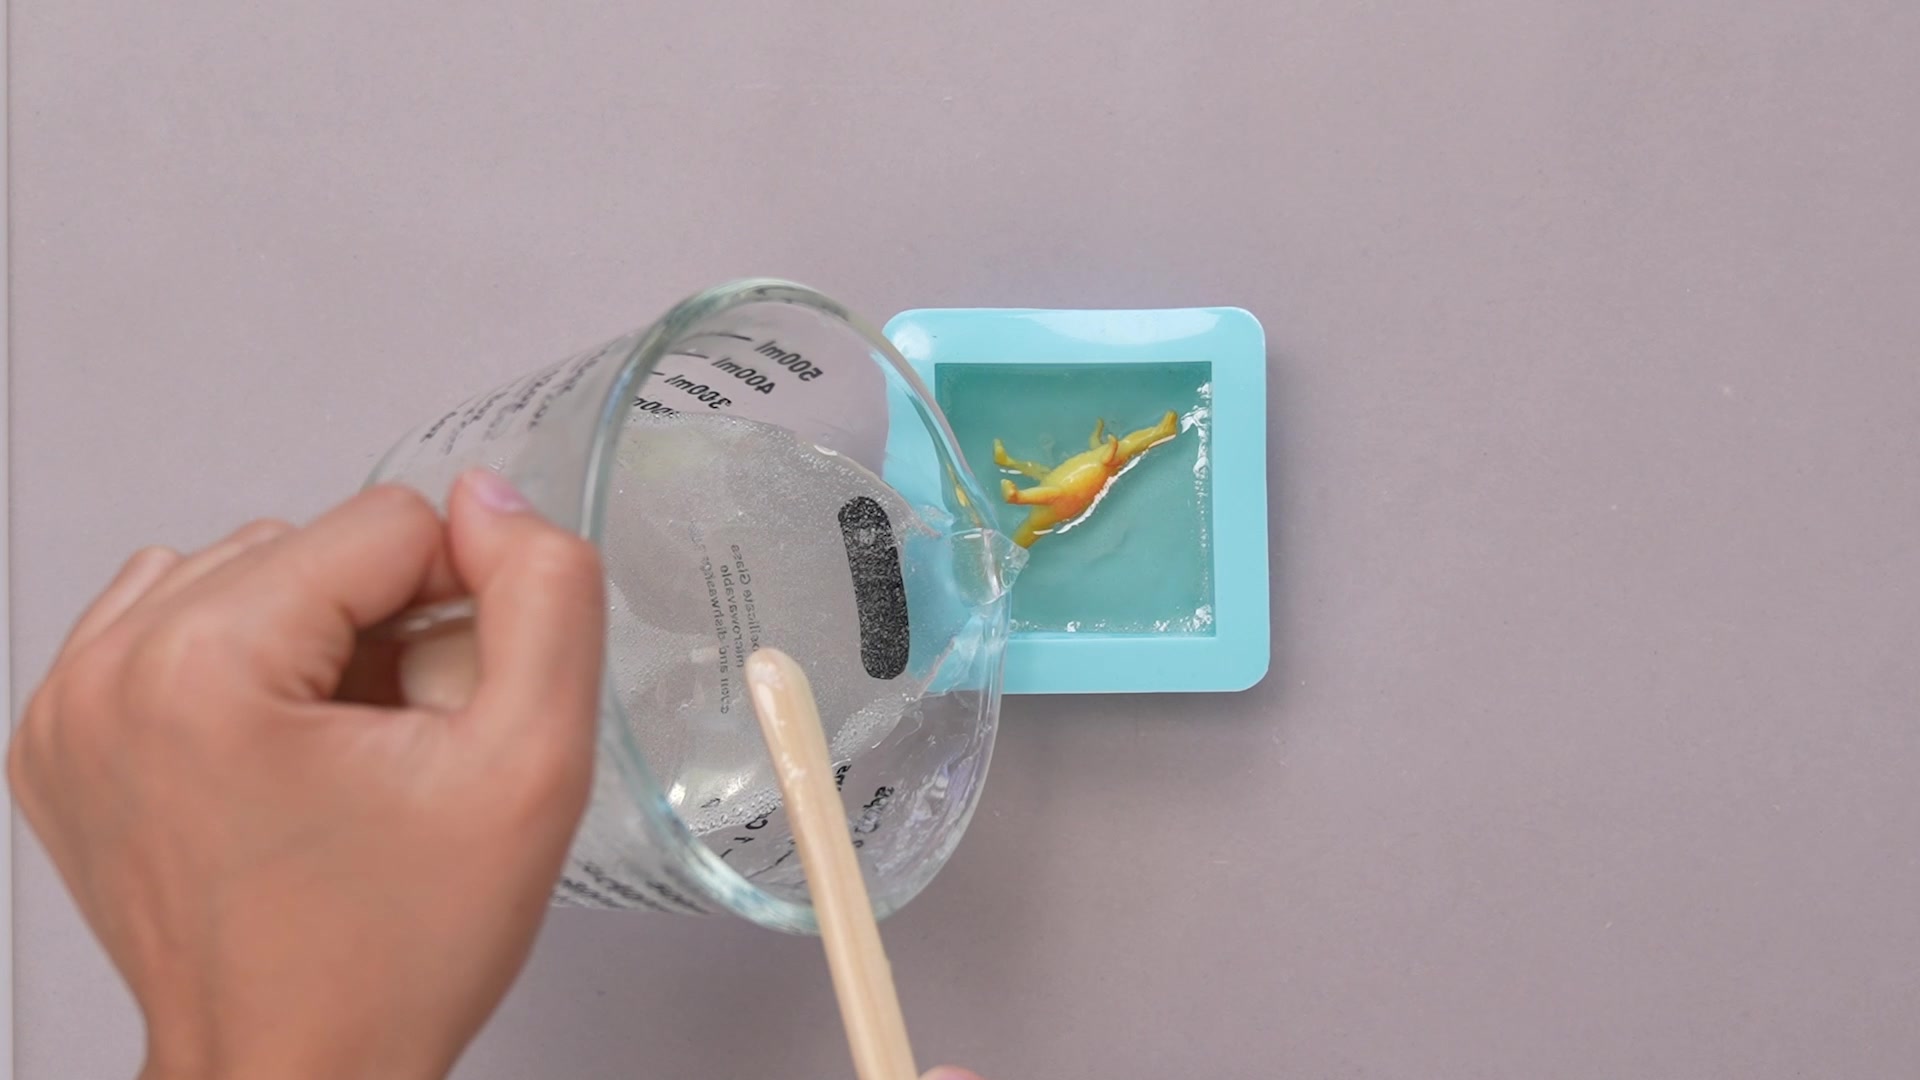
Step 4
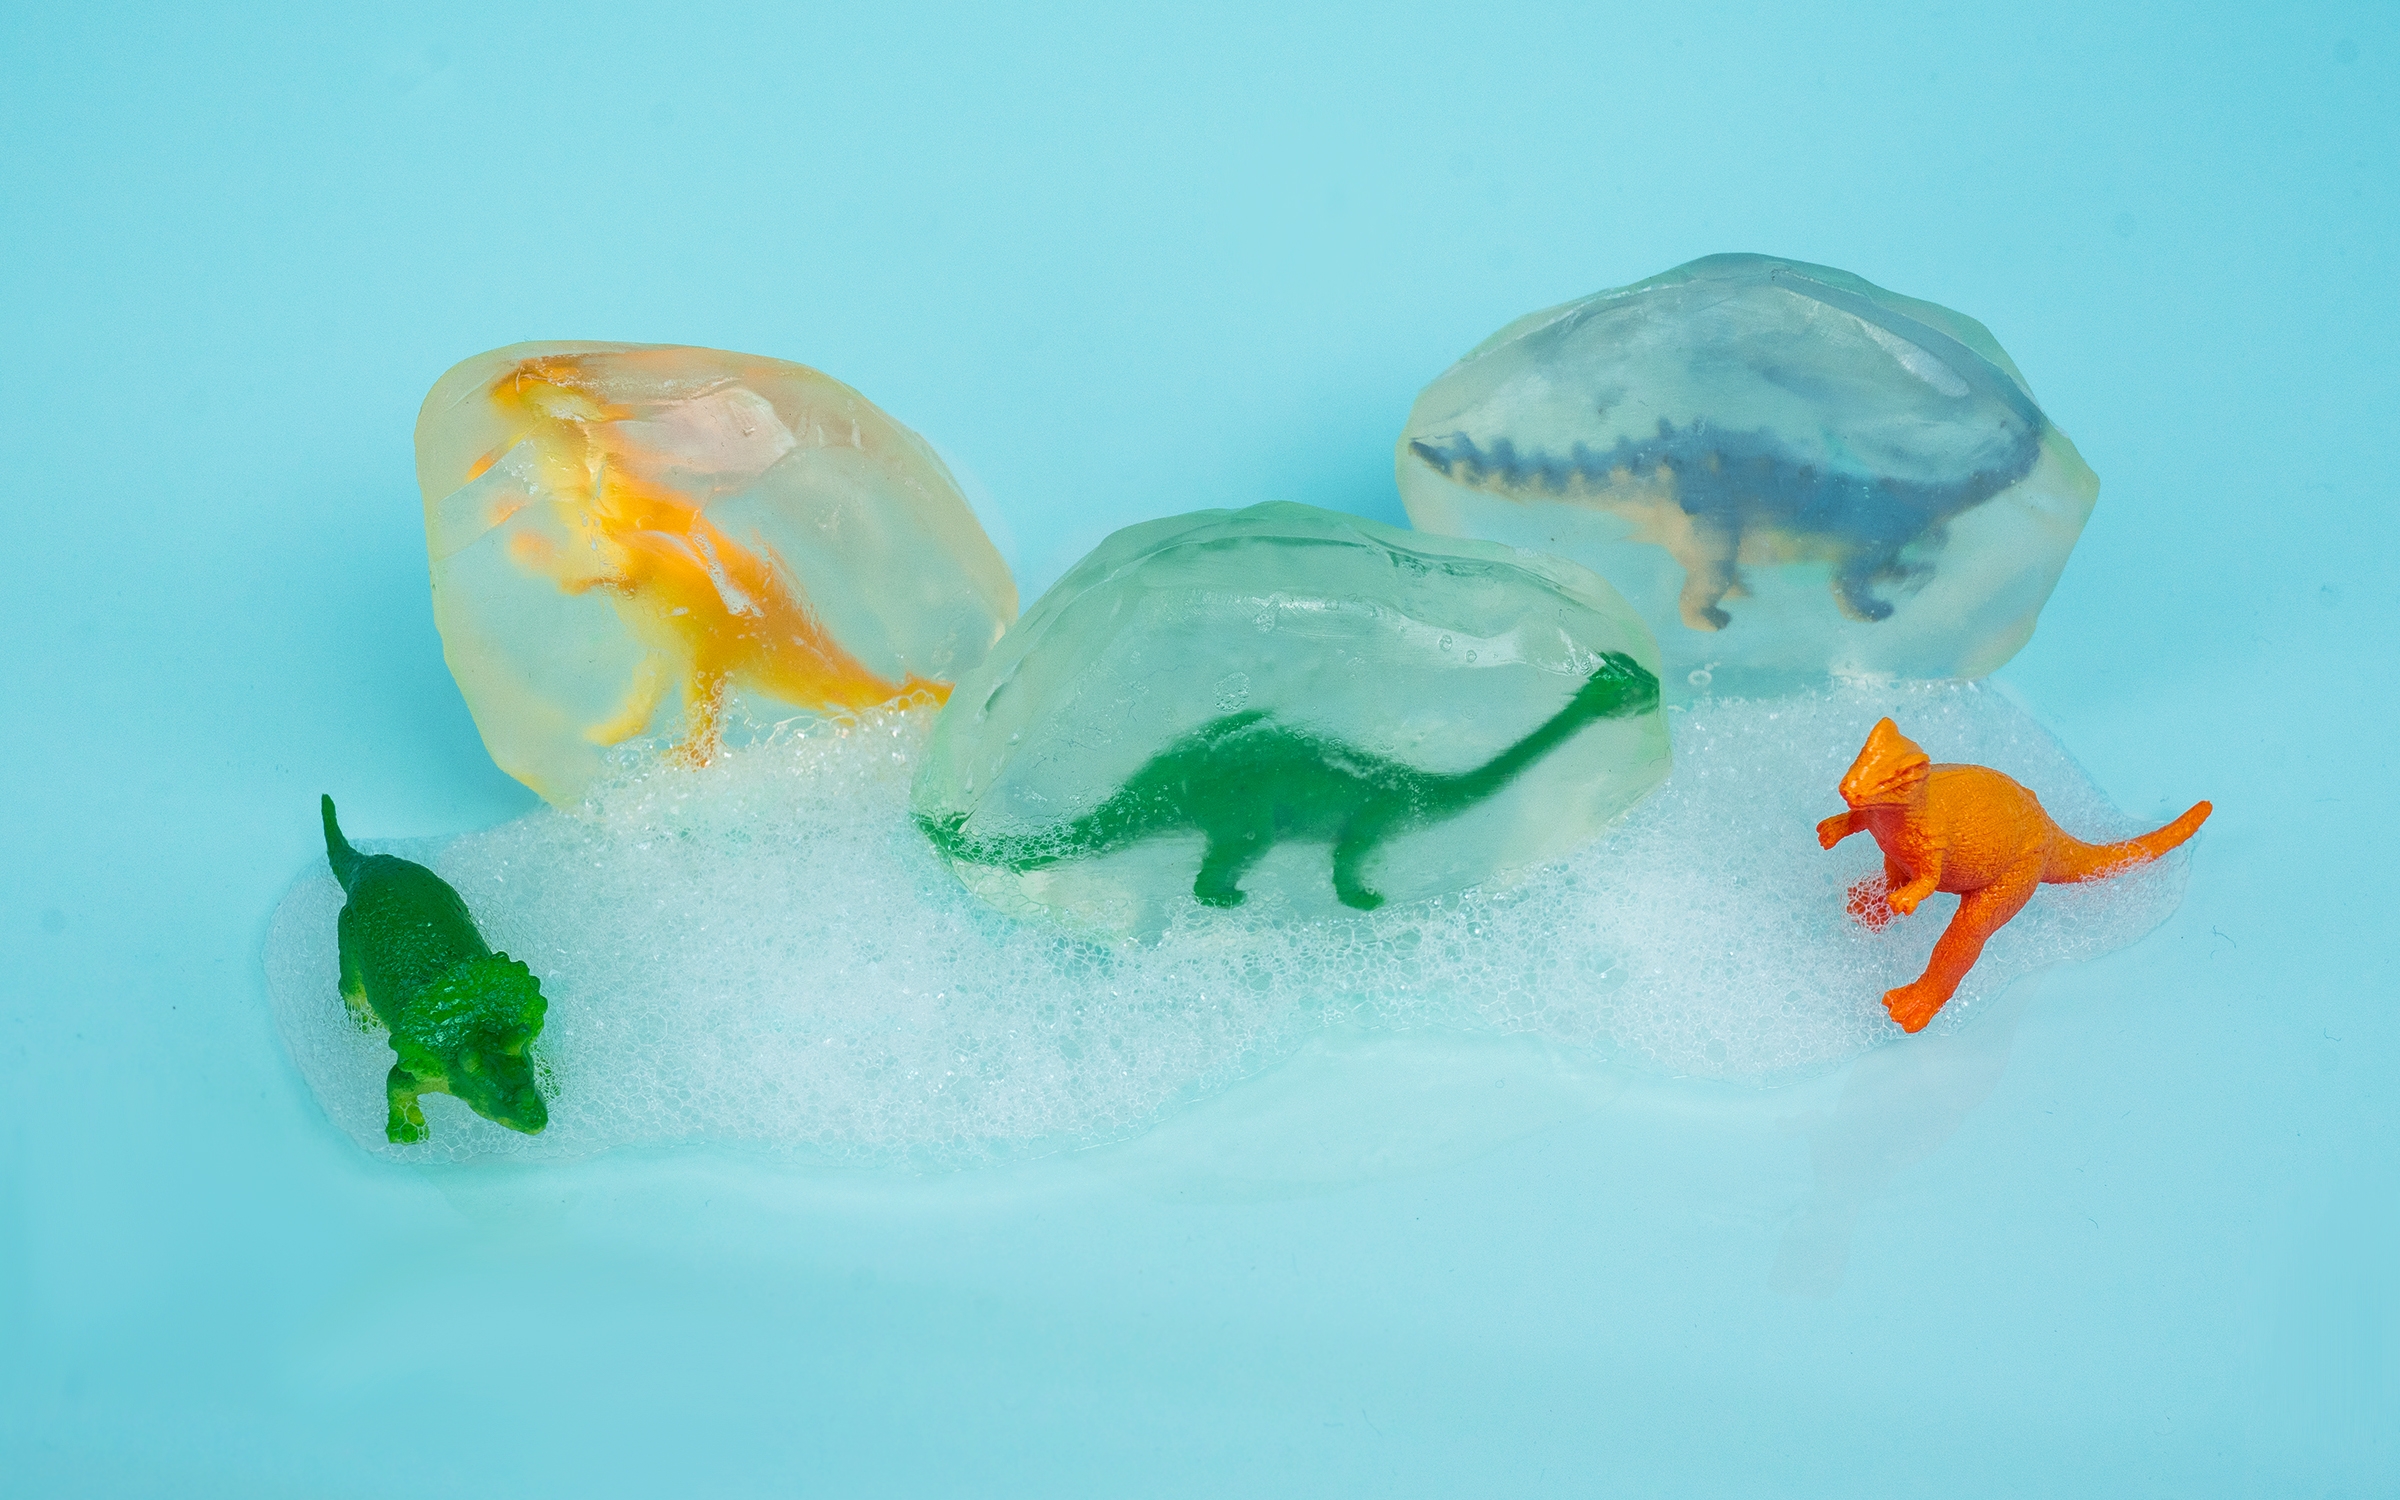
Place your dinos or other decorations into the molds. Then, carefully fill the molds with more glycerin. Be careful not to overfill! It is better to under-fill than overfill. If you have air bubbles after pouring, gently tap the bottom of the mold.
Tip
If you have air bubbles after pouring, gently tap the bottom of the mold.
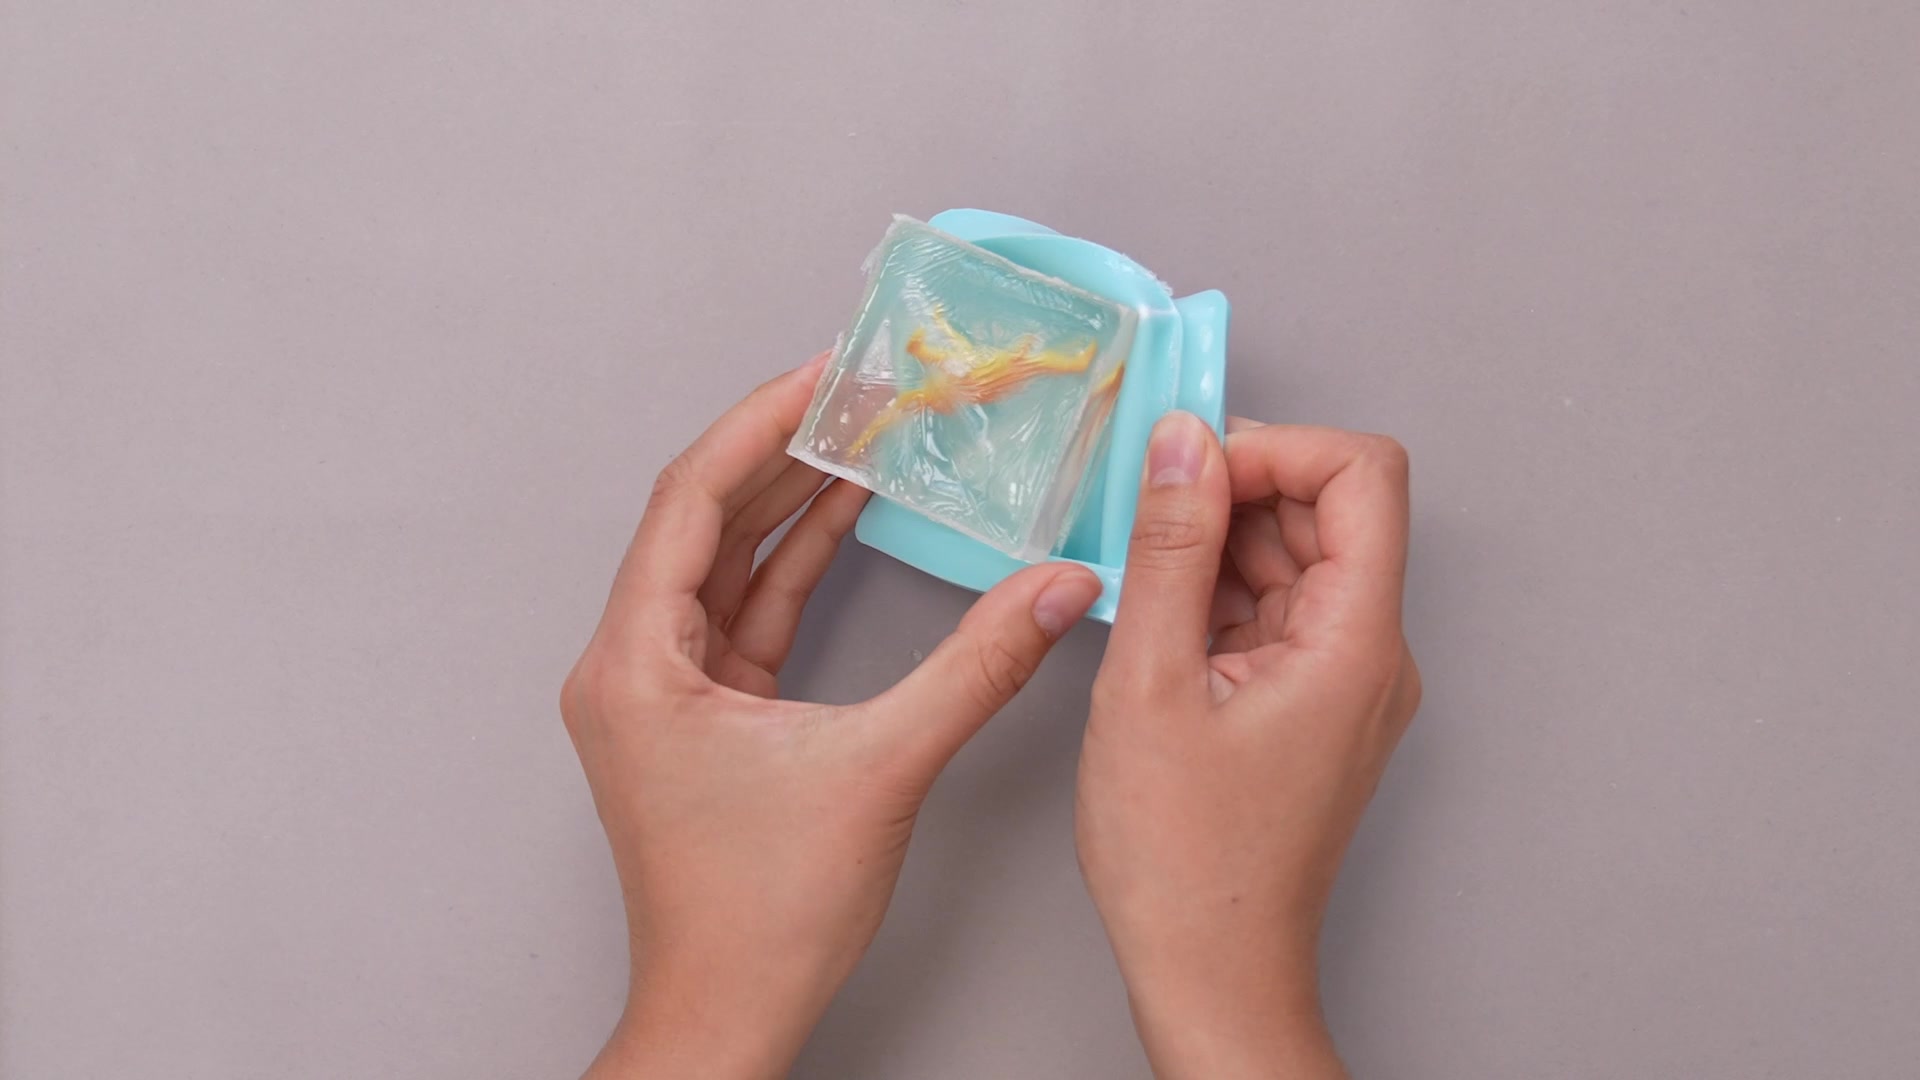
Step 5
Wait about an hour (or longer, depending on the size of your molds) until the surface of your soap cools and hardens. Then, pop the soap out of the silicone molds.
Step 6
(Optional) Carve the soap into an egg shape using clay tools!

Learn more

Soap has been keeping humans clean for quite a long time! In the 1700s, the first bars of soap were mass produced and advertised as a way to stay clean and healthy. Through this DIY, you’ll explore a soap making process called “melt and pour”. Lots of soap makers use this technique because it’s easy and customizable. Makers can focus their attention on the look of their soap instead of working out the chemistry.
But if you are interested in the chemistry of soap’s super cleaning powers, look no further than our video explaining how soap keeps us clean!


