Step-by-step tutorial
Step 1
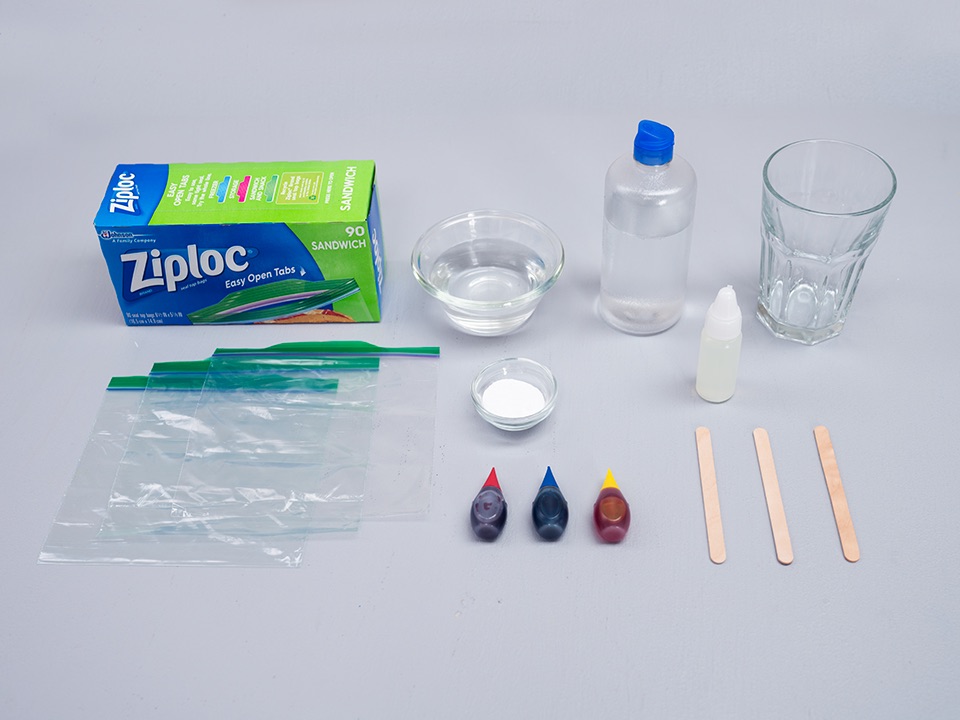
Gather your materials.

Step 2
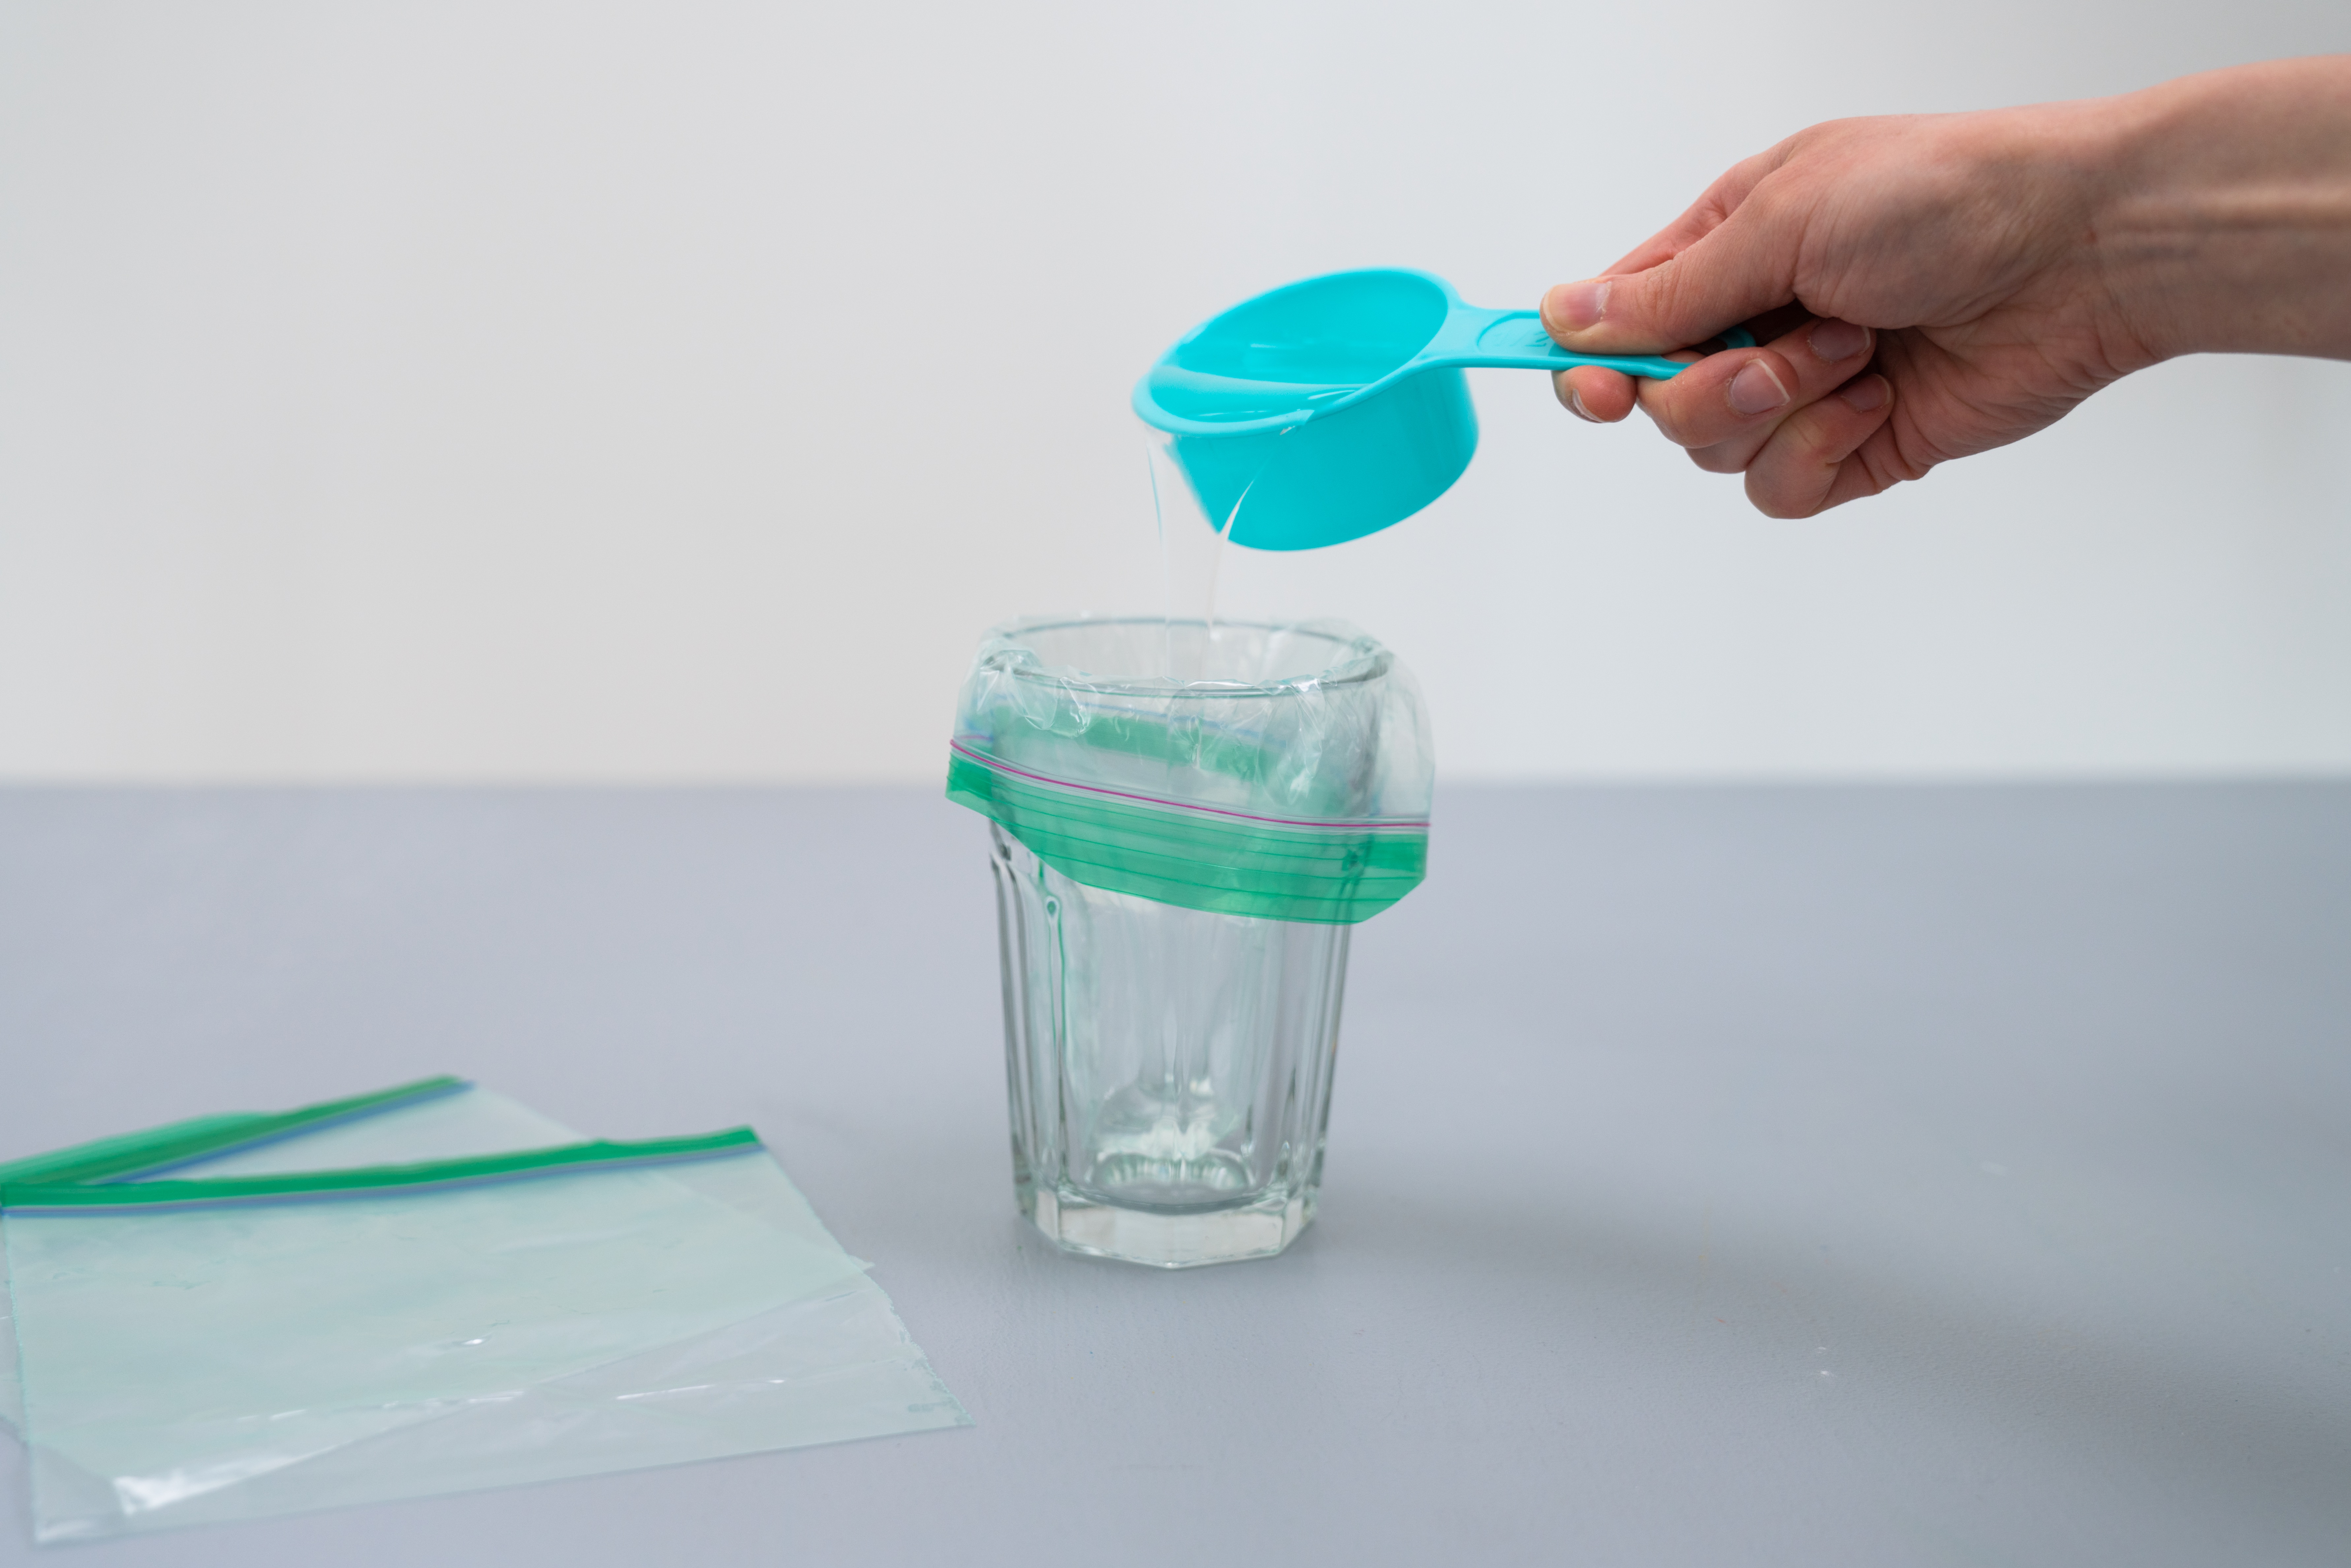
For each color of slime, place an open bag over the mouth of a glass. Add a ½ cup of clear non-toxic glue to each bag (avoid filling the bag beyond half its size).
Step 3
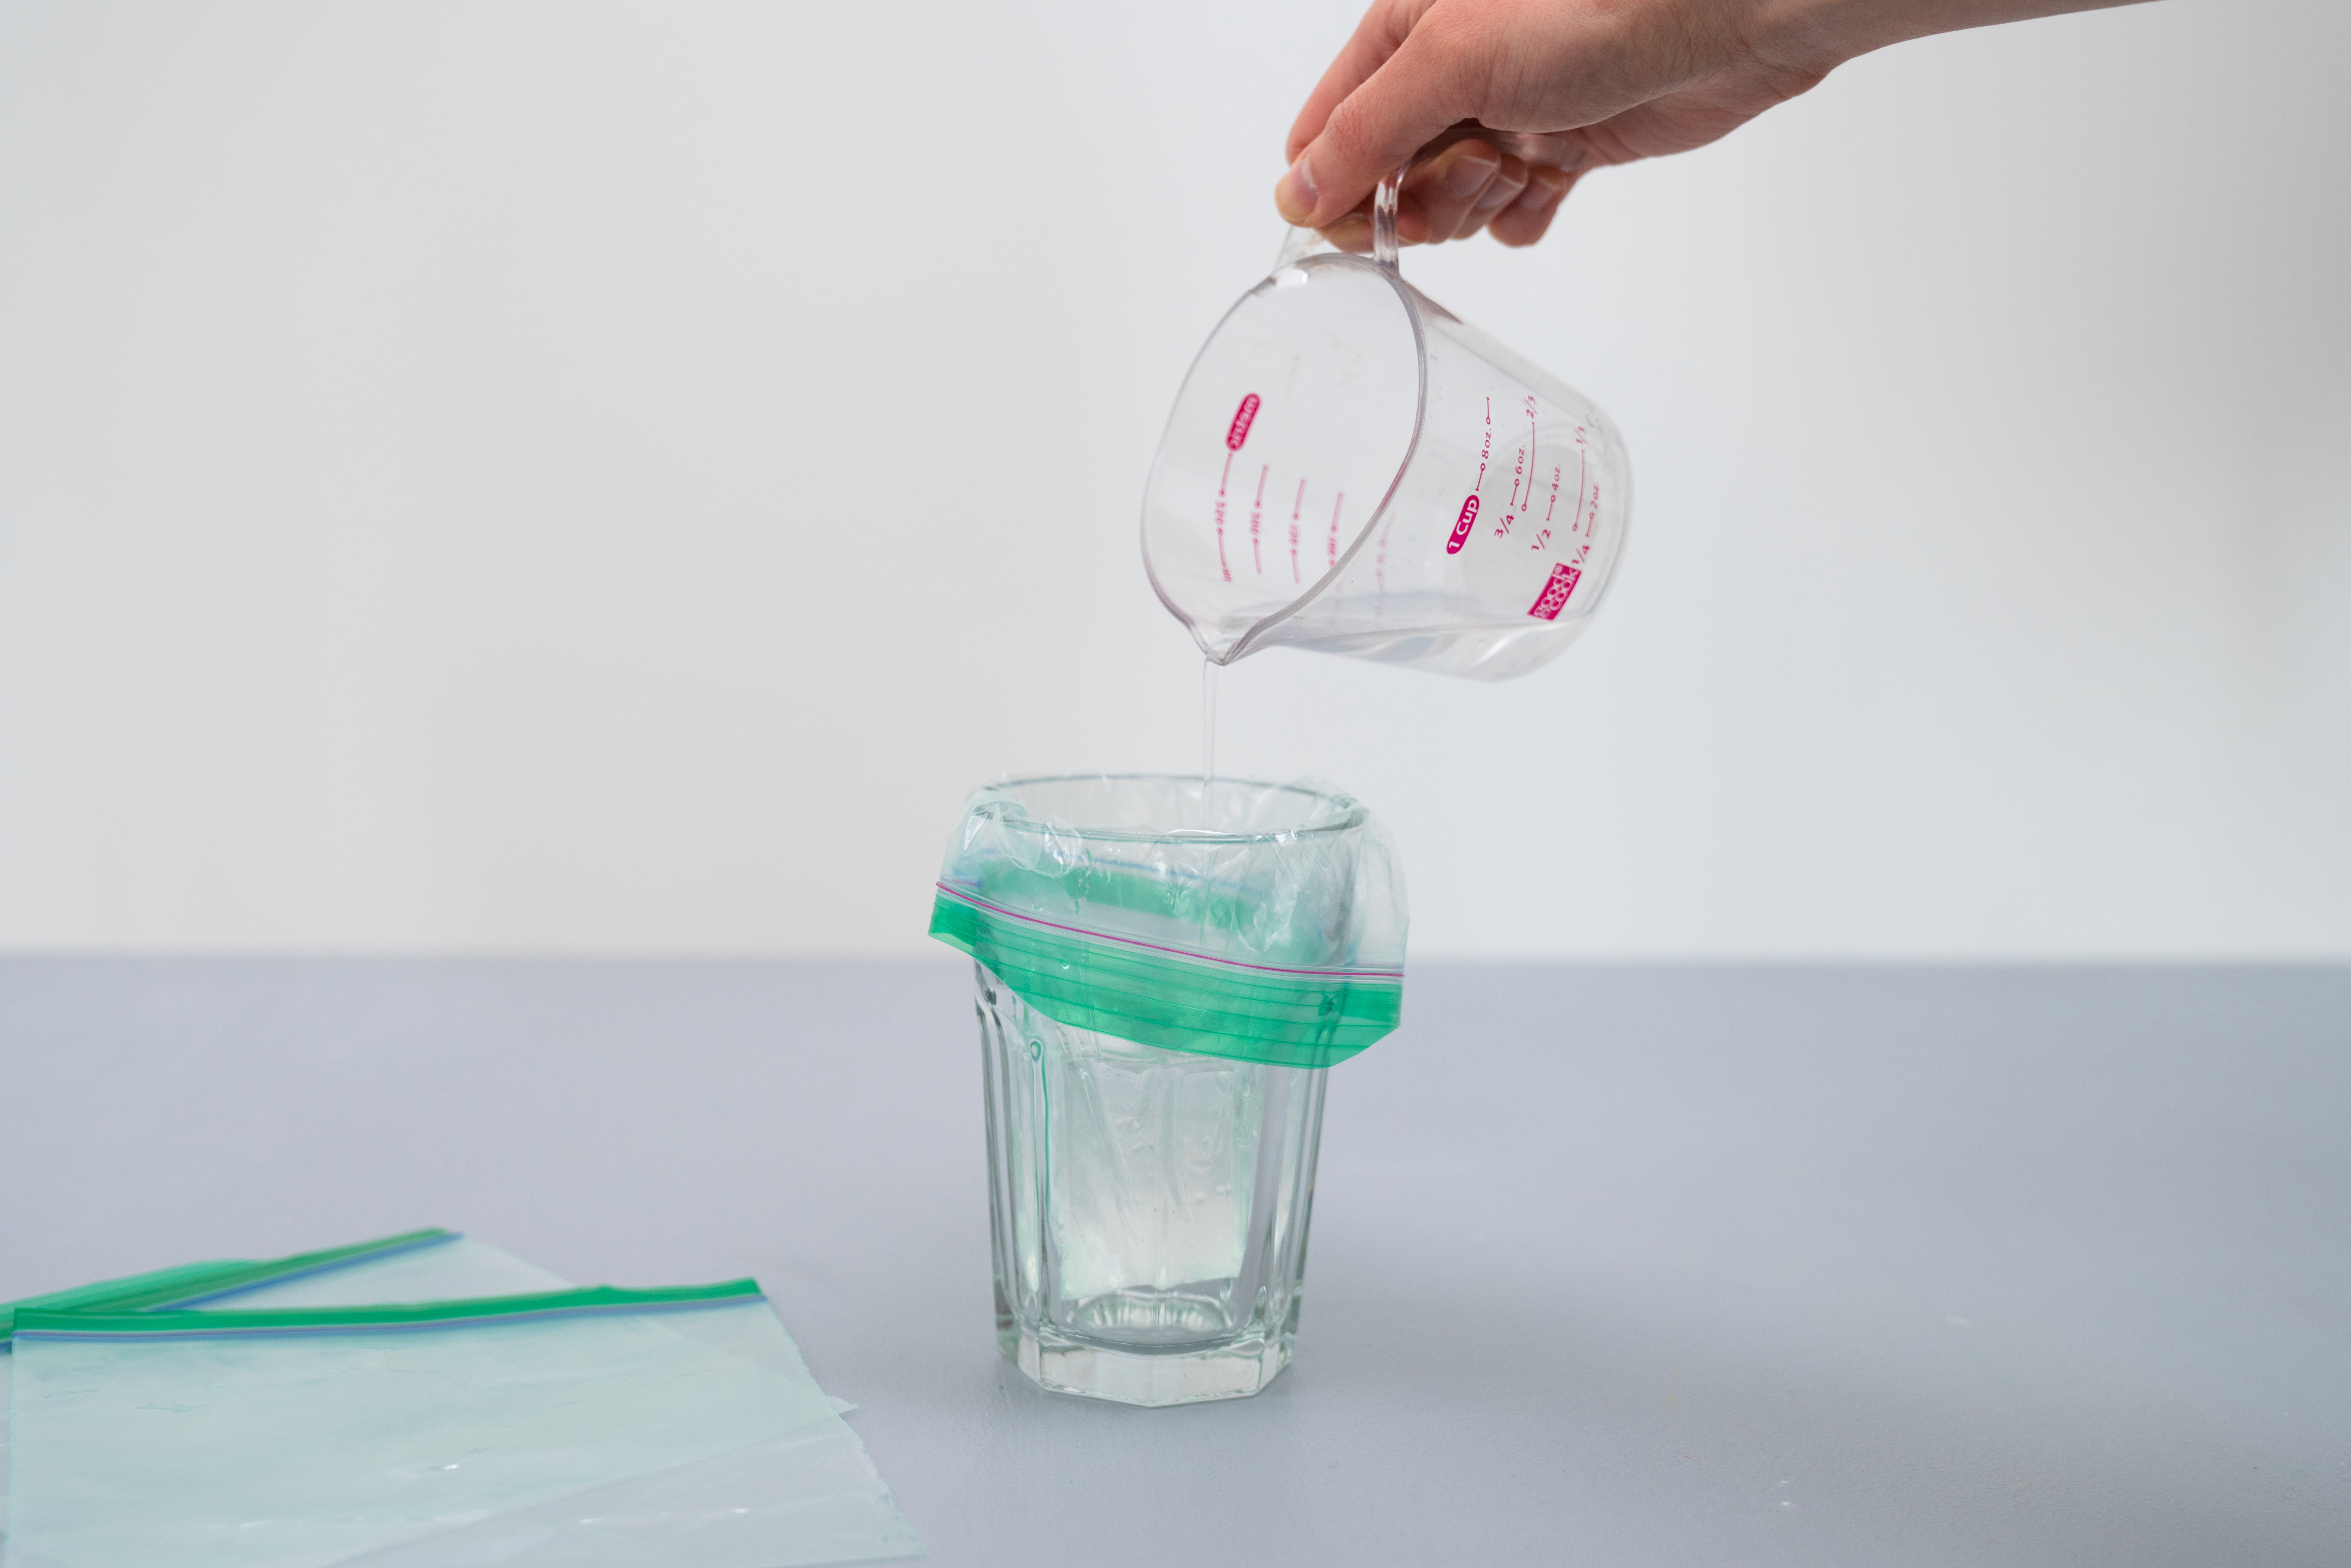
Add a ¼ cup of water to each bag, then mix the glue and water together with a craft stick.
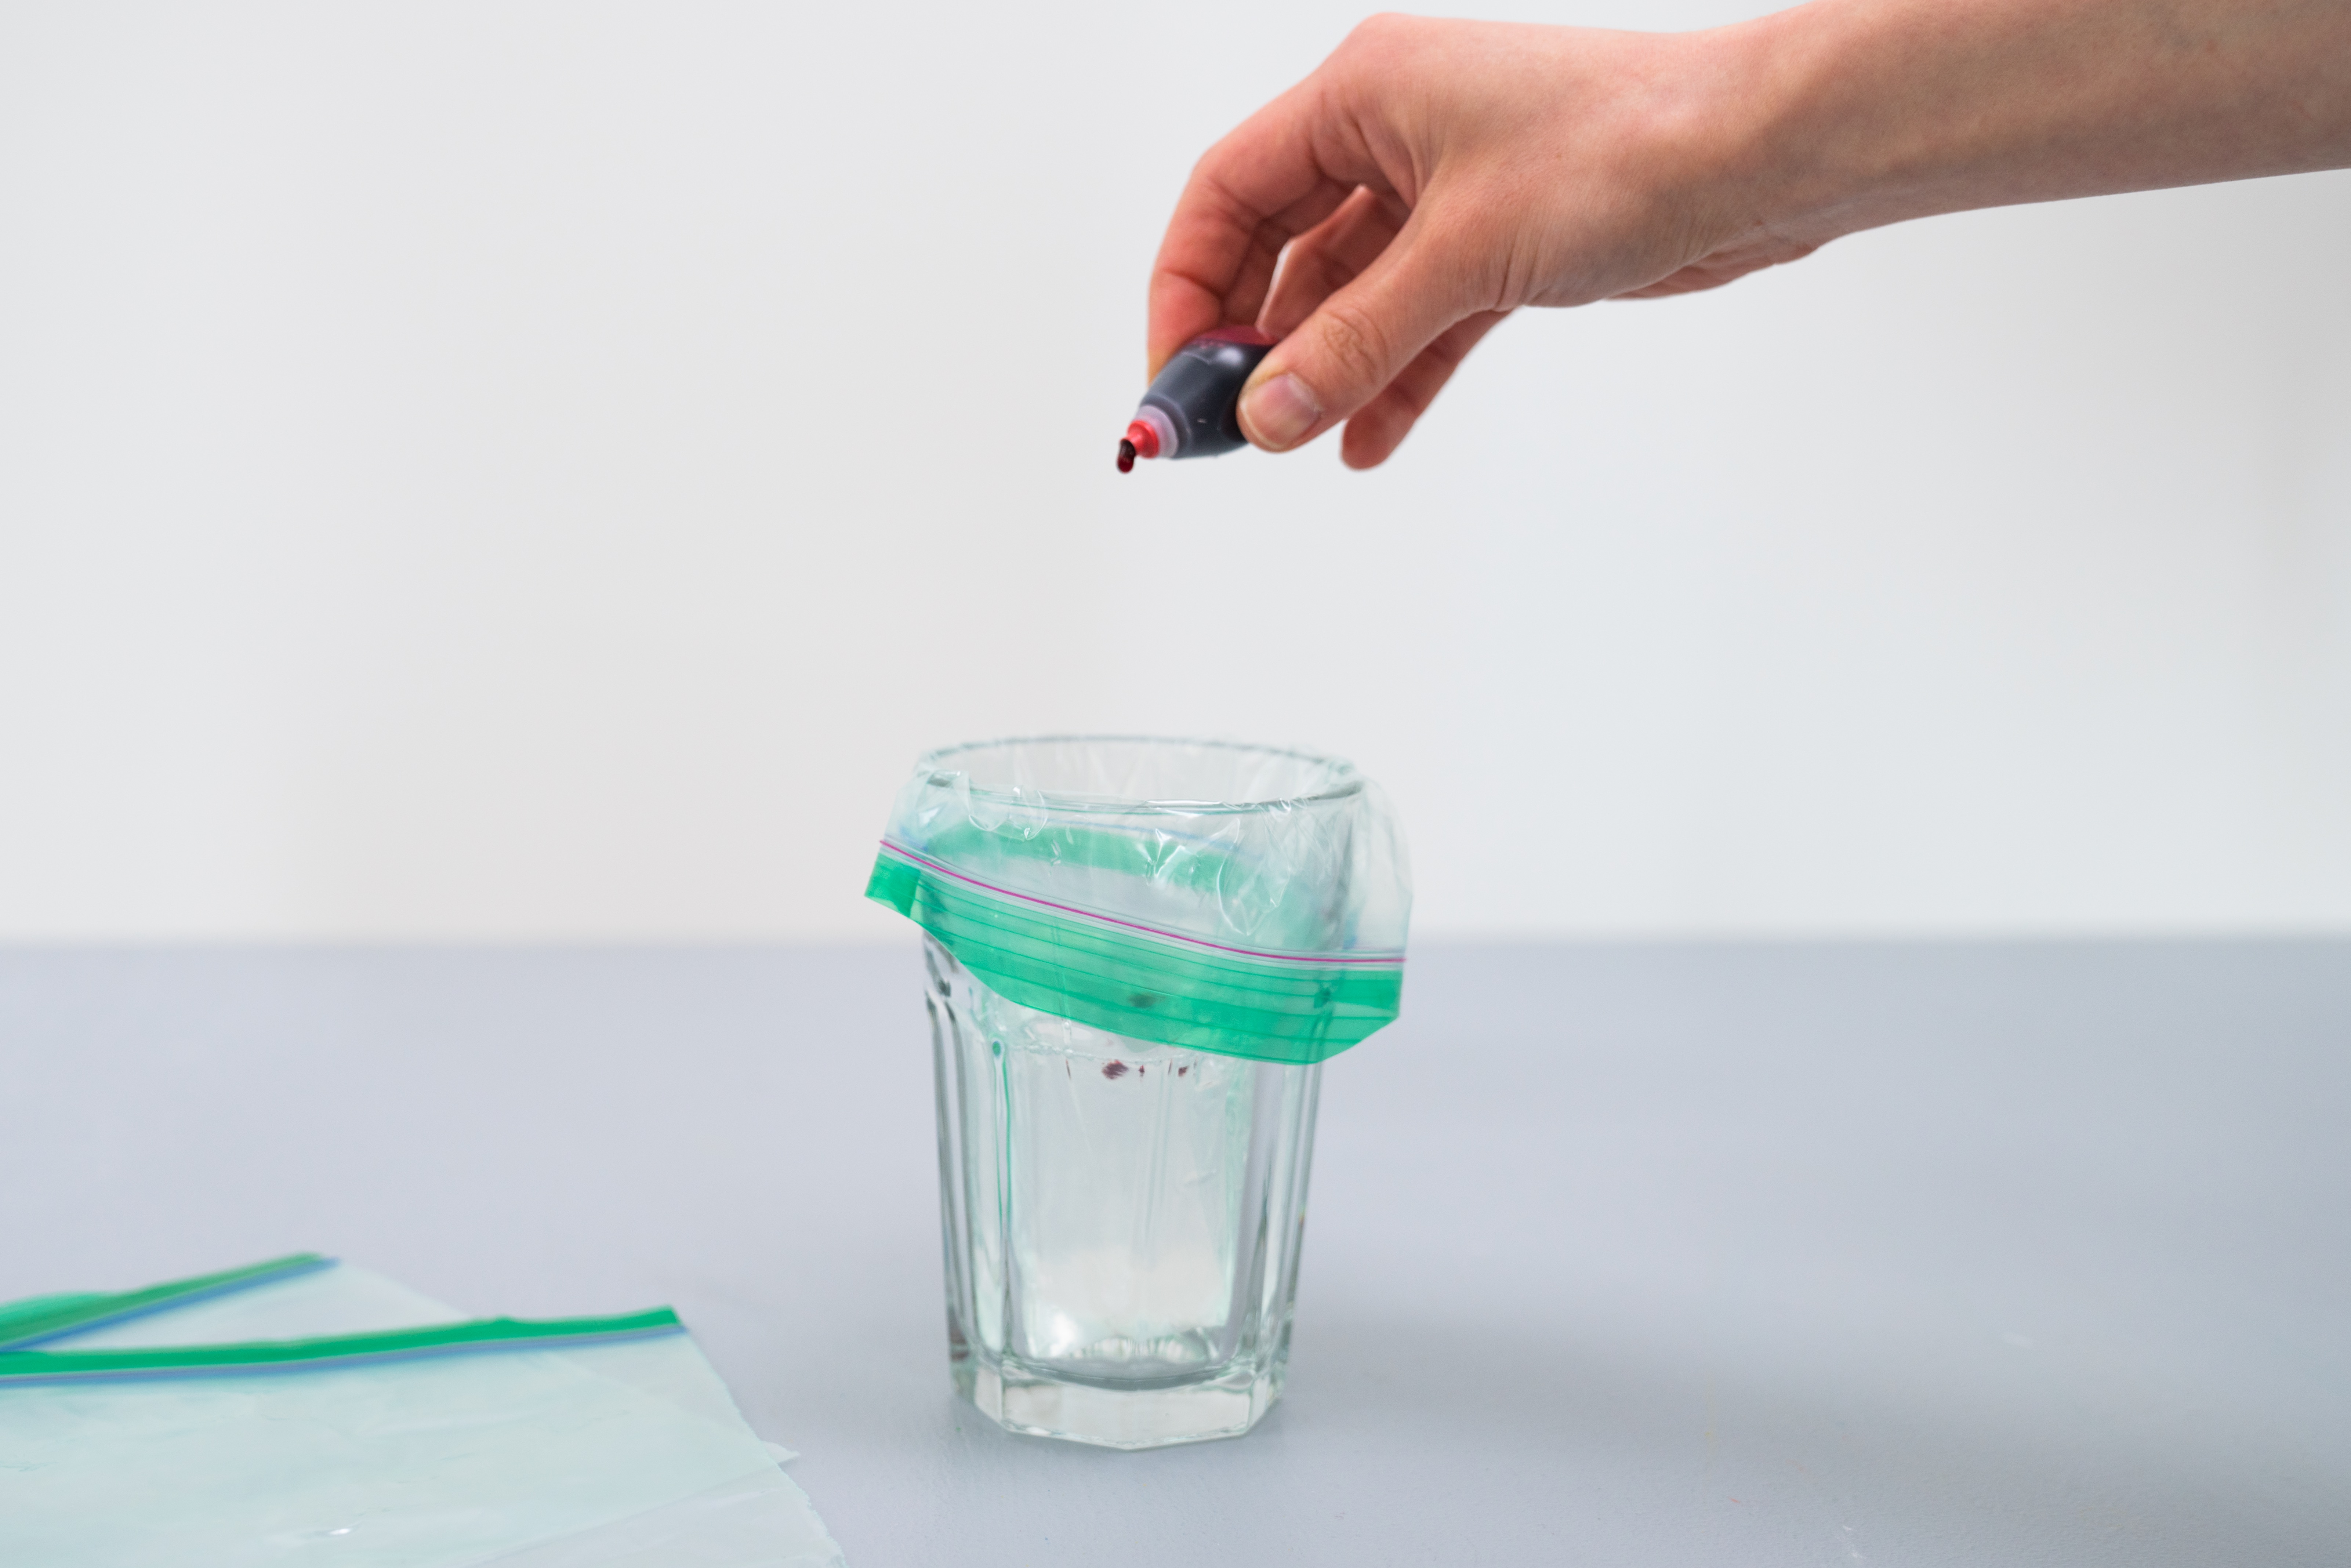
Step 4
Add in 1 to 2 drops of food coloring to each glass. Stir the mixture until the color has evenly dispersed.-To make red, add 2 drops of coloring.-To make yellow, add 1 drop of coloring.-To make blue, add 2 drops of coloring.
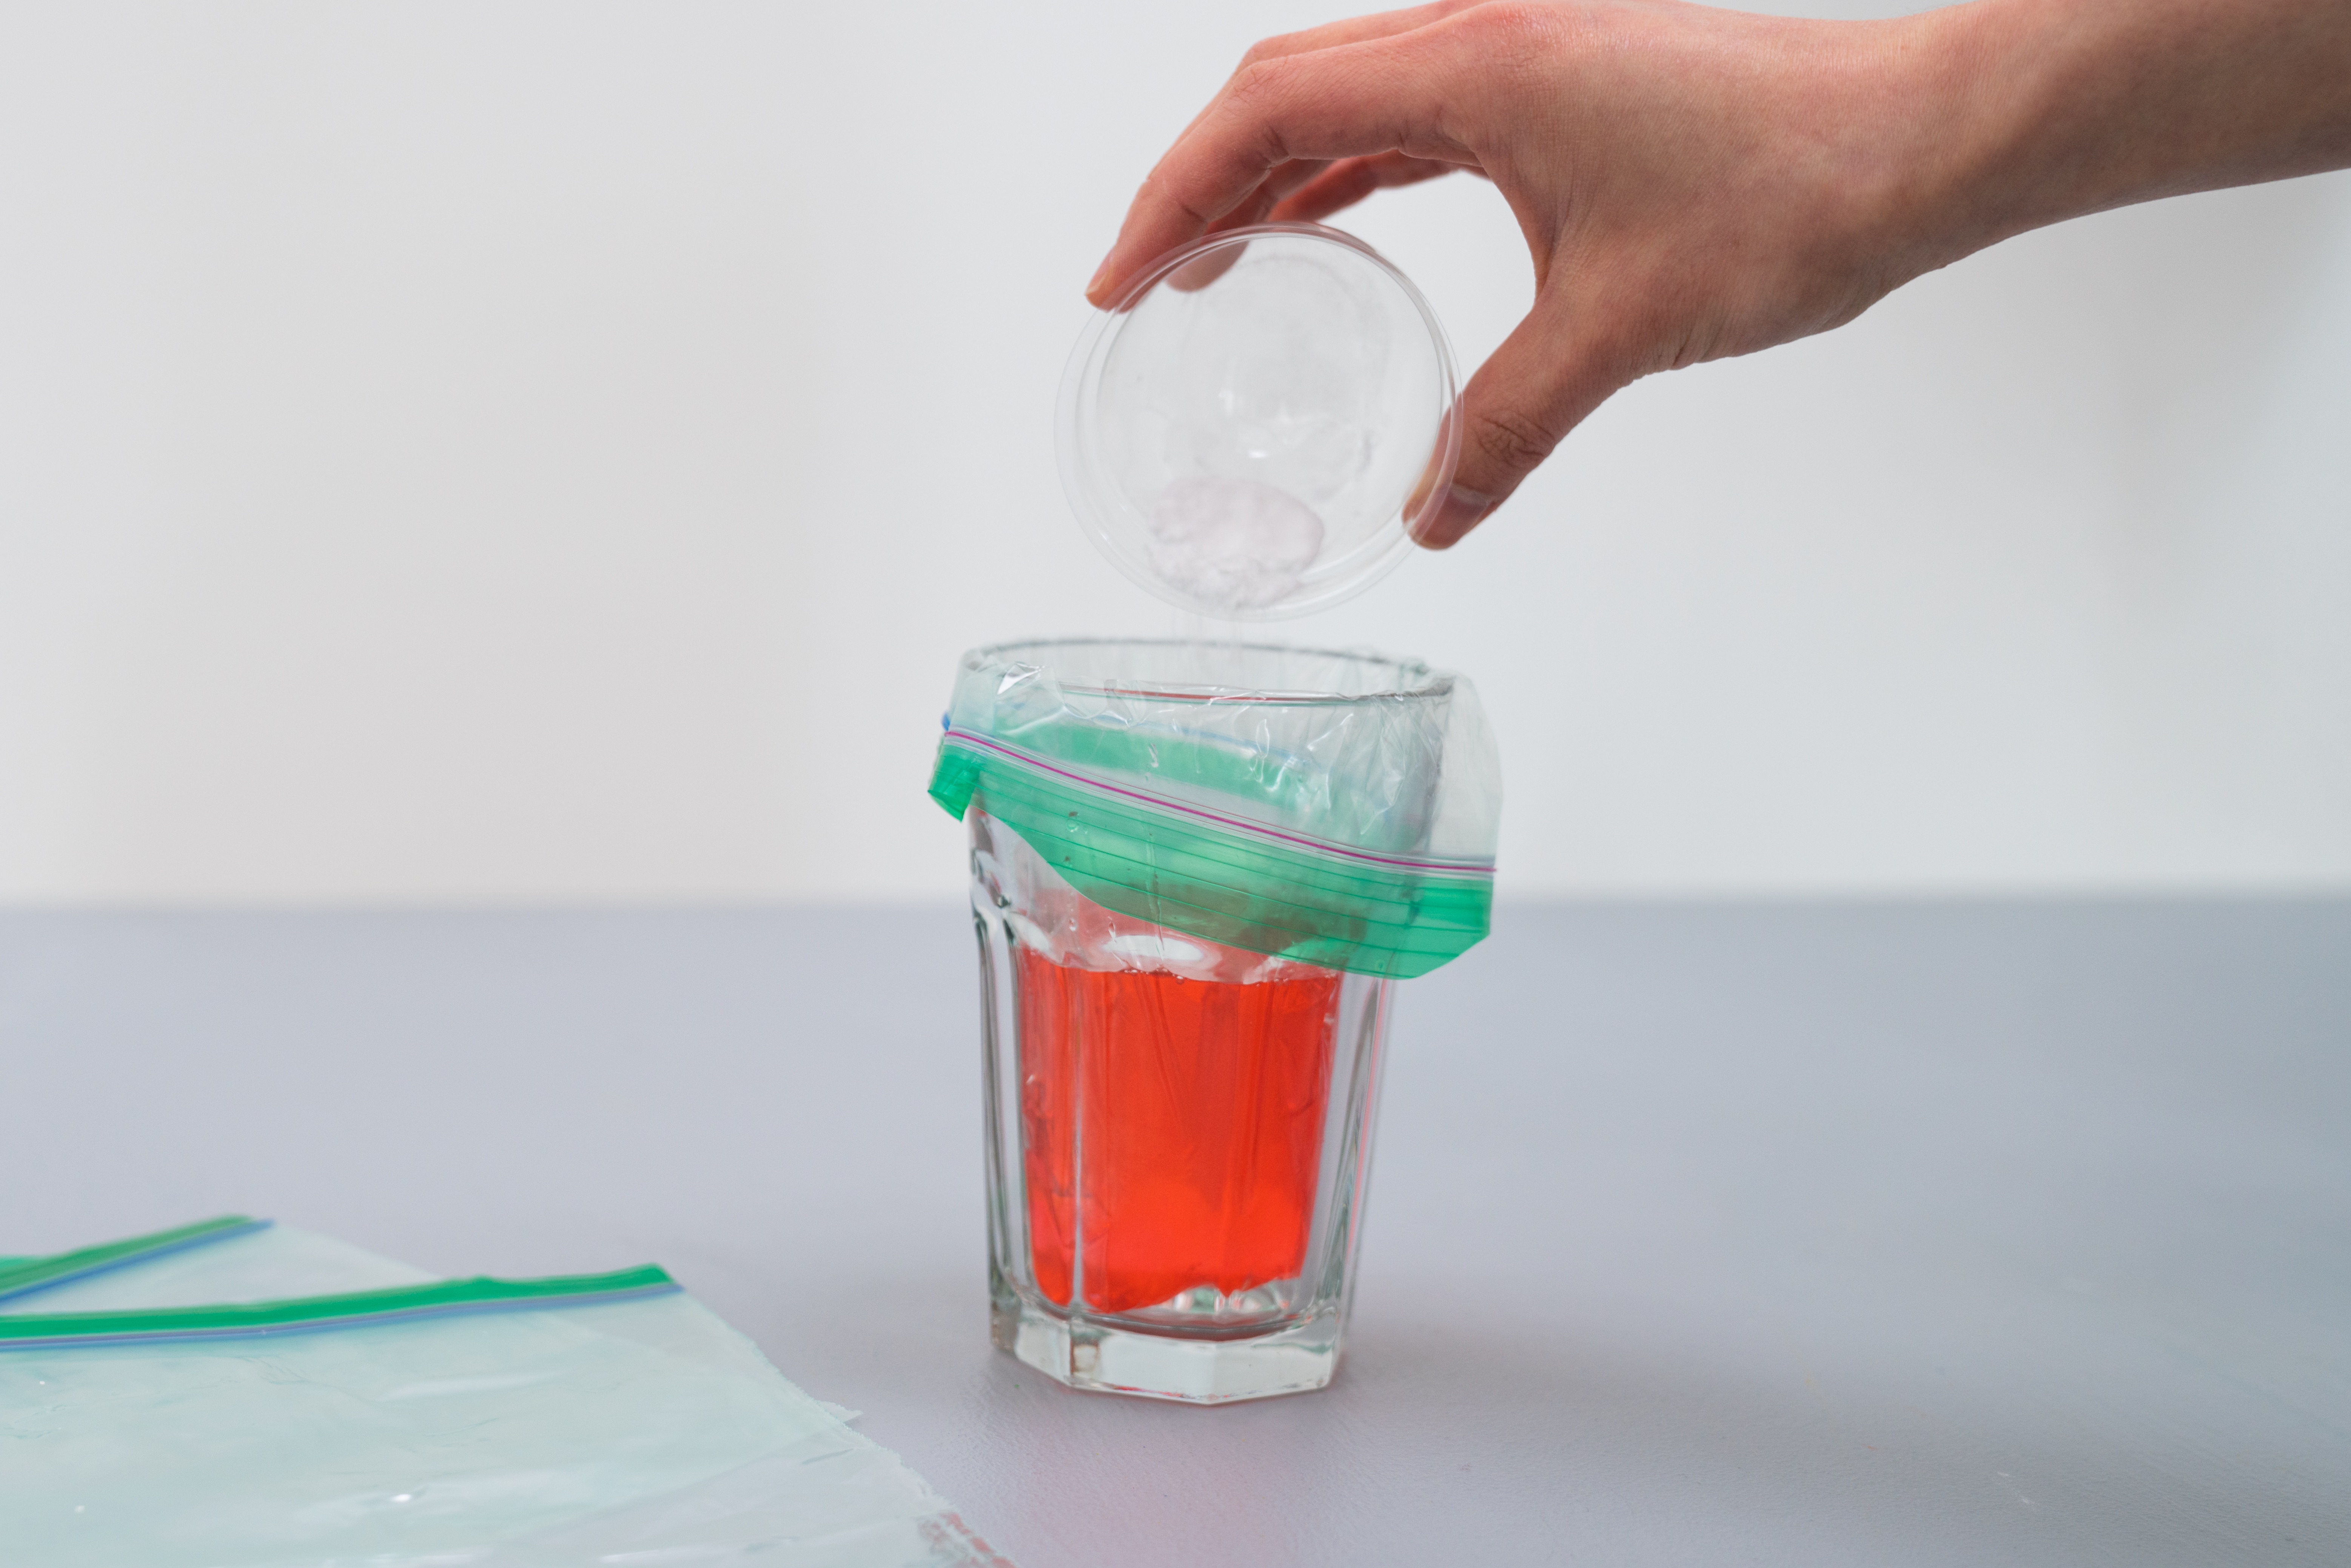
Step 5
Add a ½ teaspoon of baking soda to each glass and stir the mixture until it has dissolved.
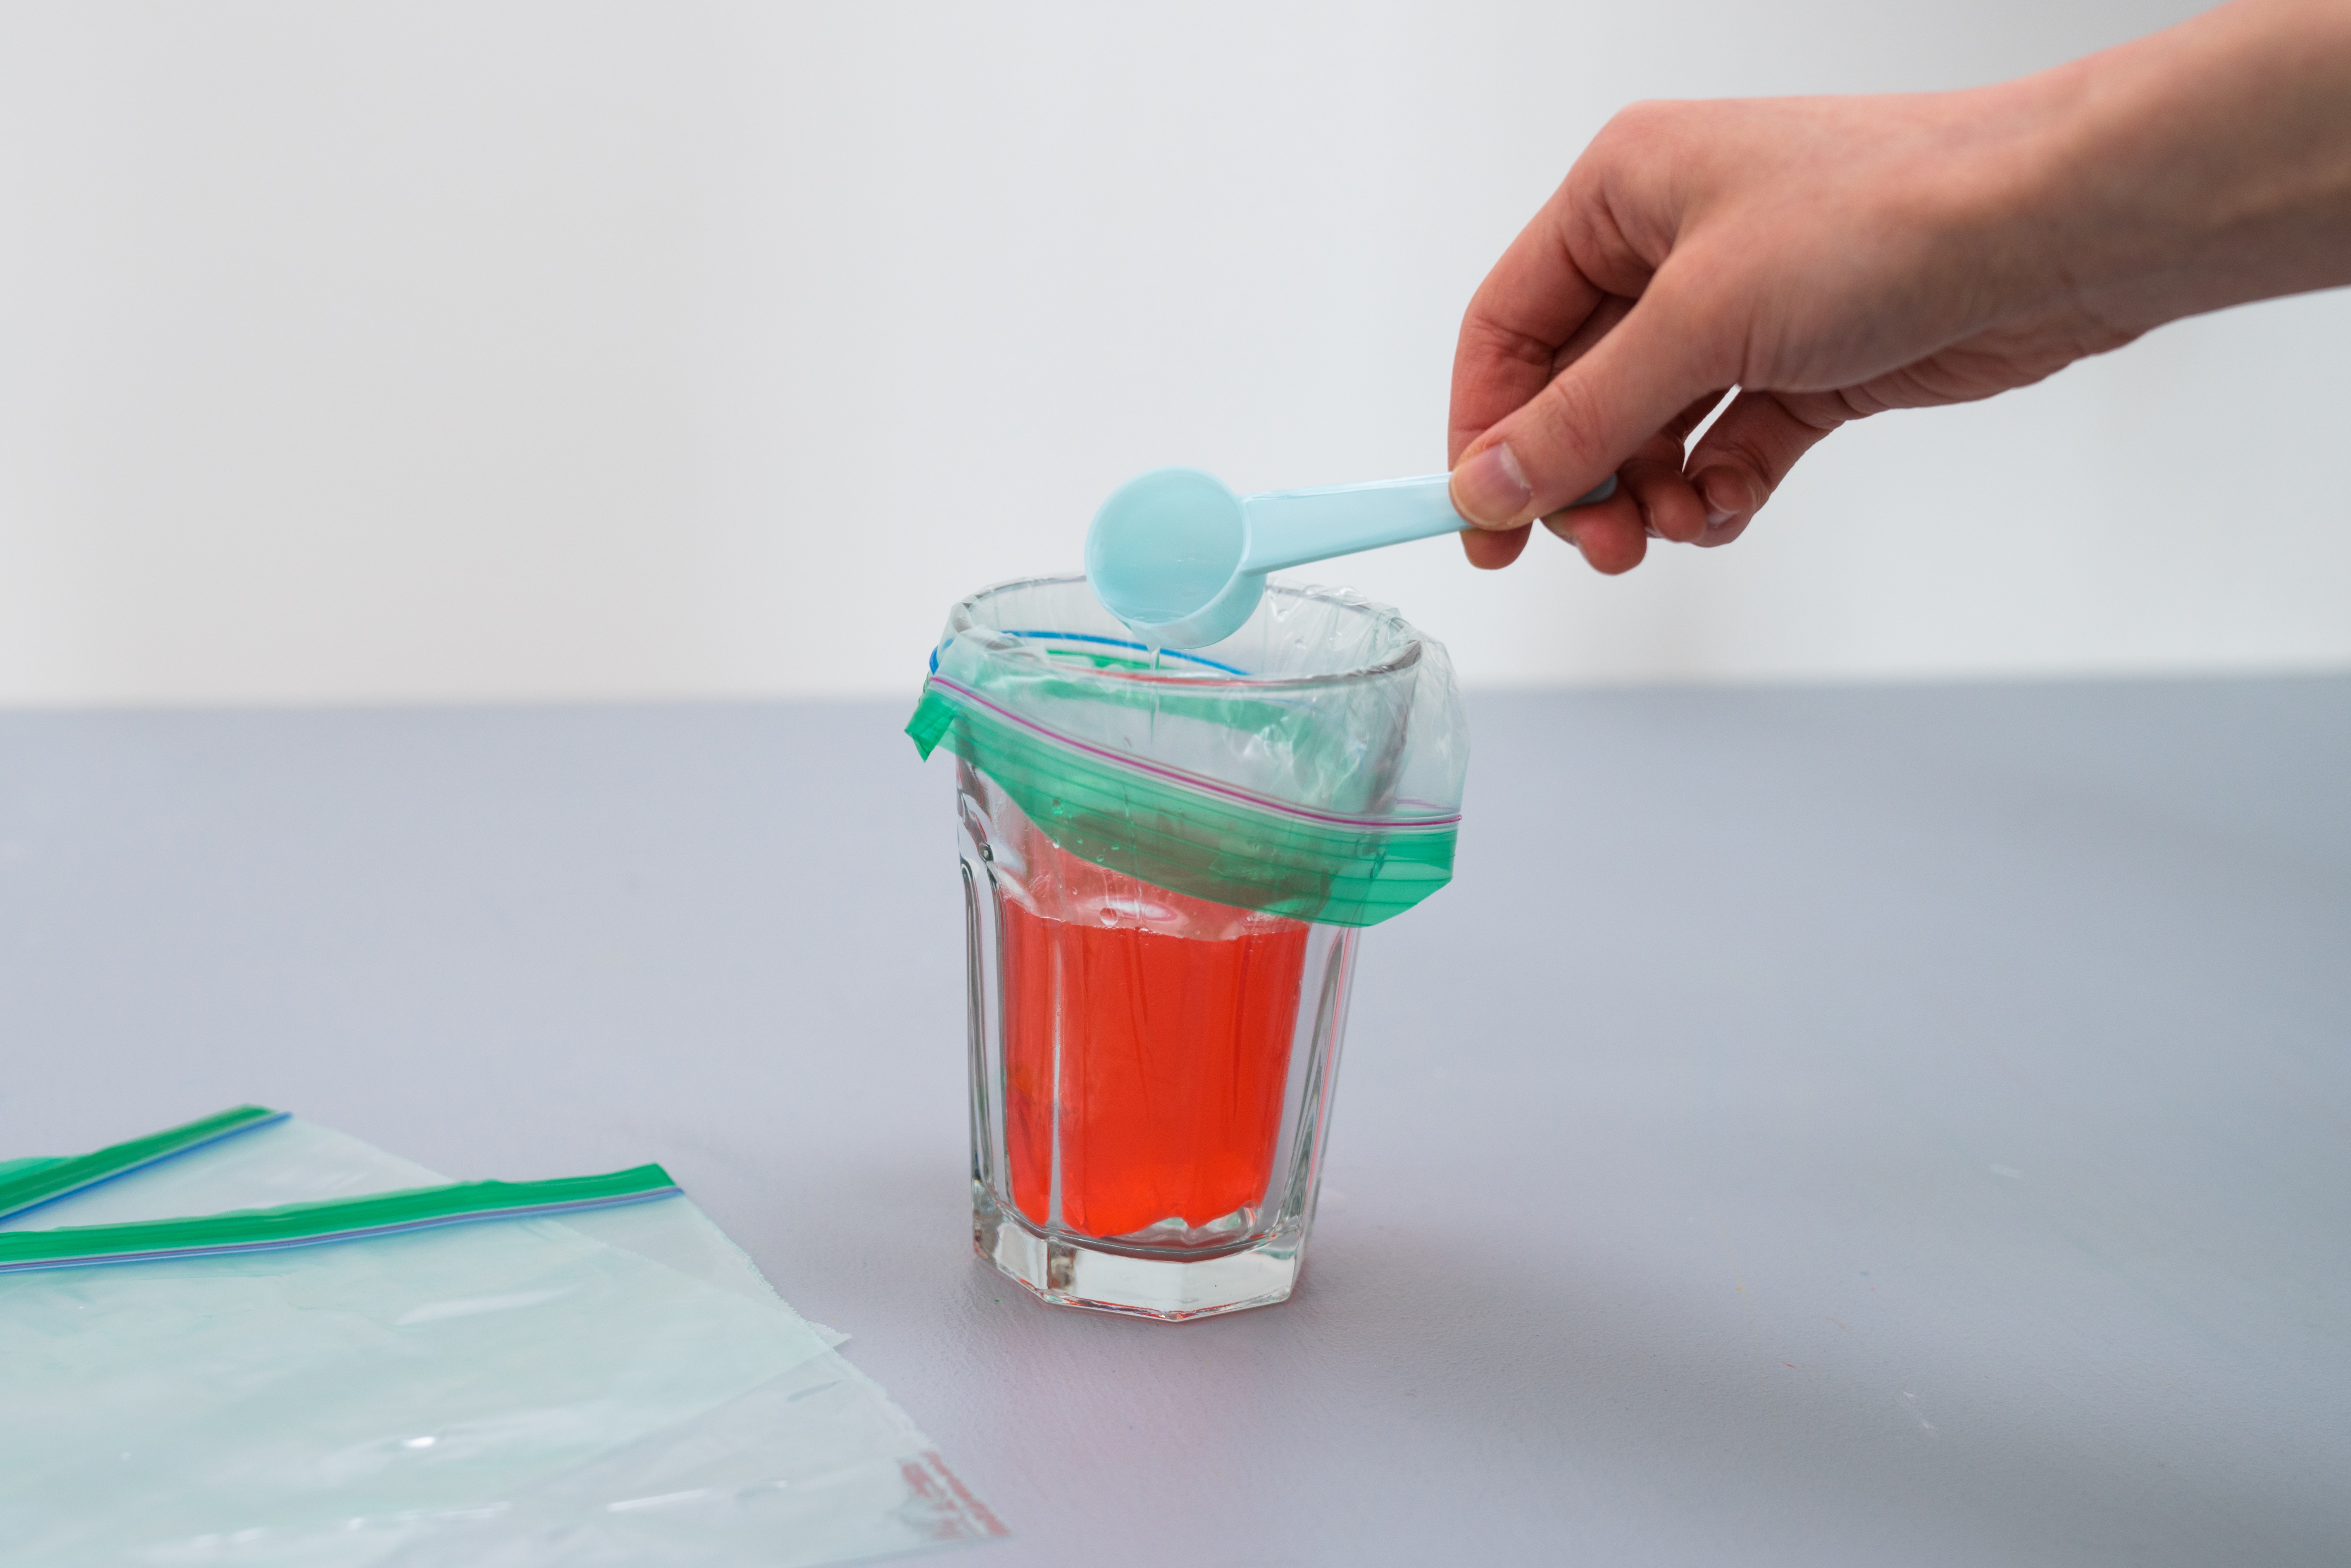
Step 6
Add 1 tablespoon of contact solution to each color.
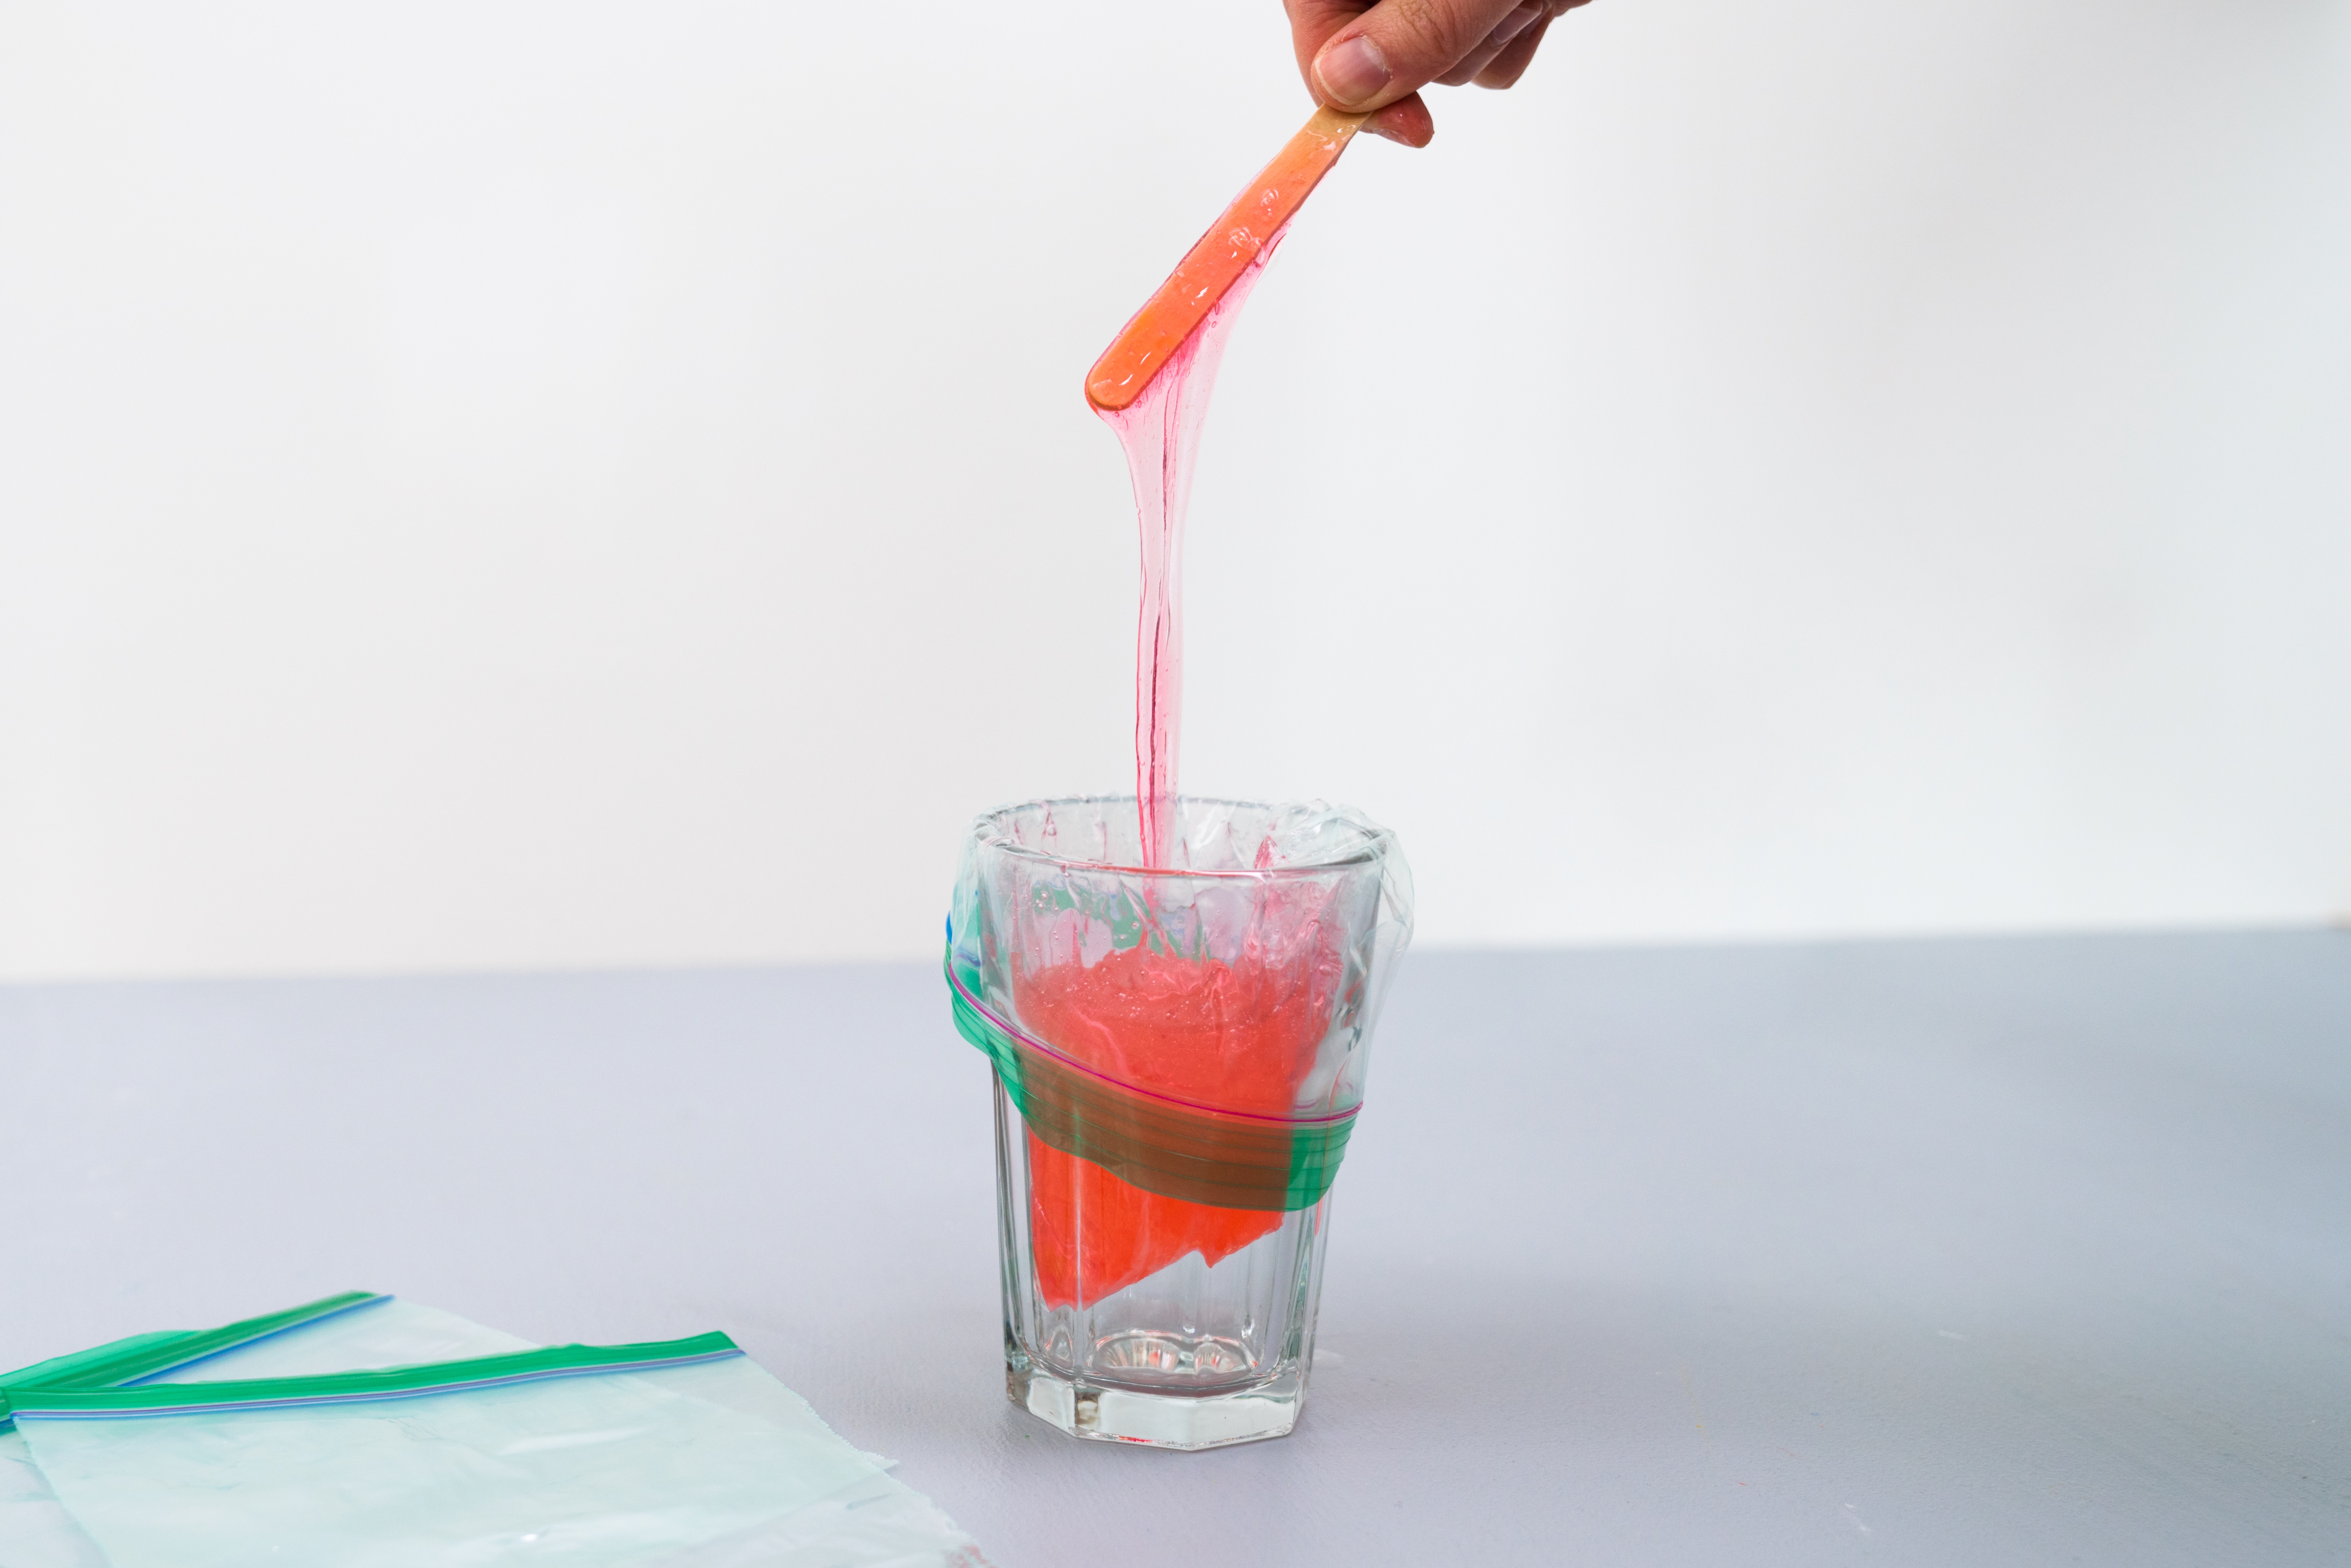
Step 7
Stir each mixture. You’ll see and feel the slime start to come together. It will become less sticky and more slime-like!
Step 8
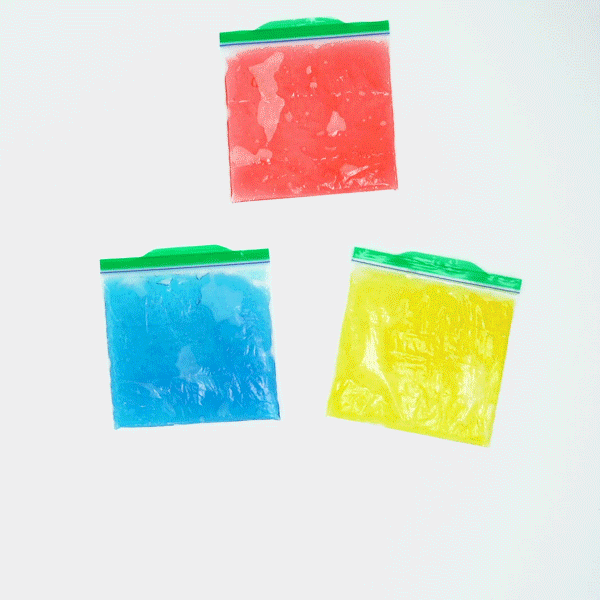
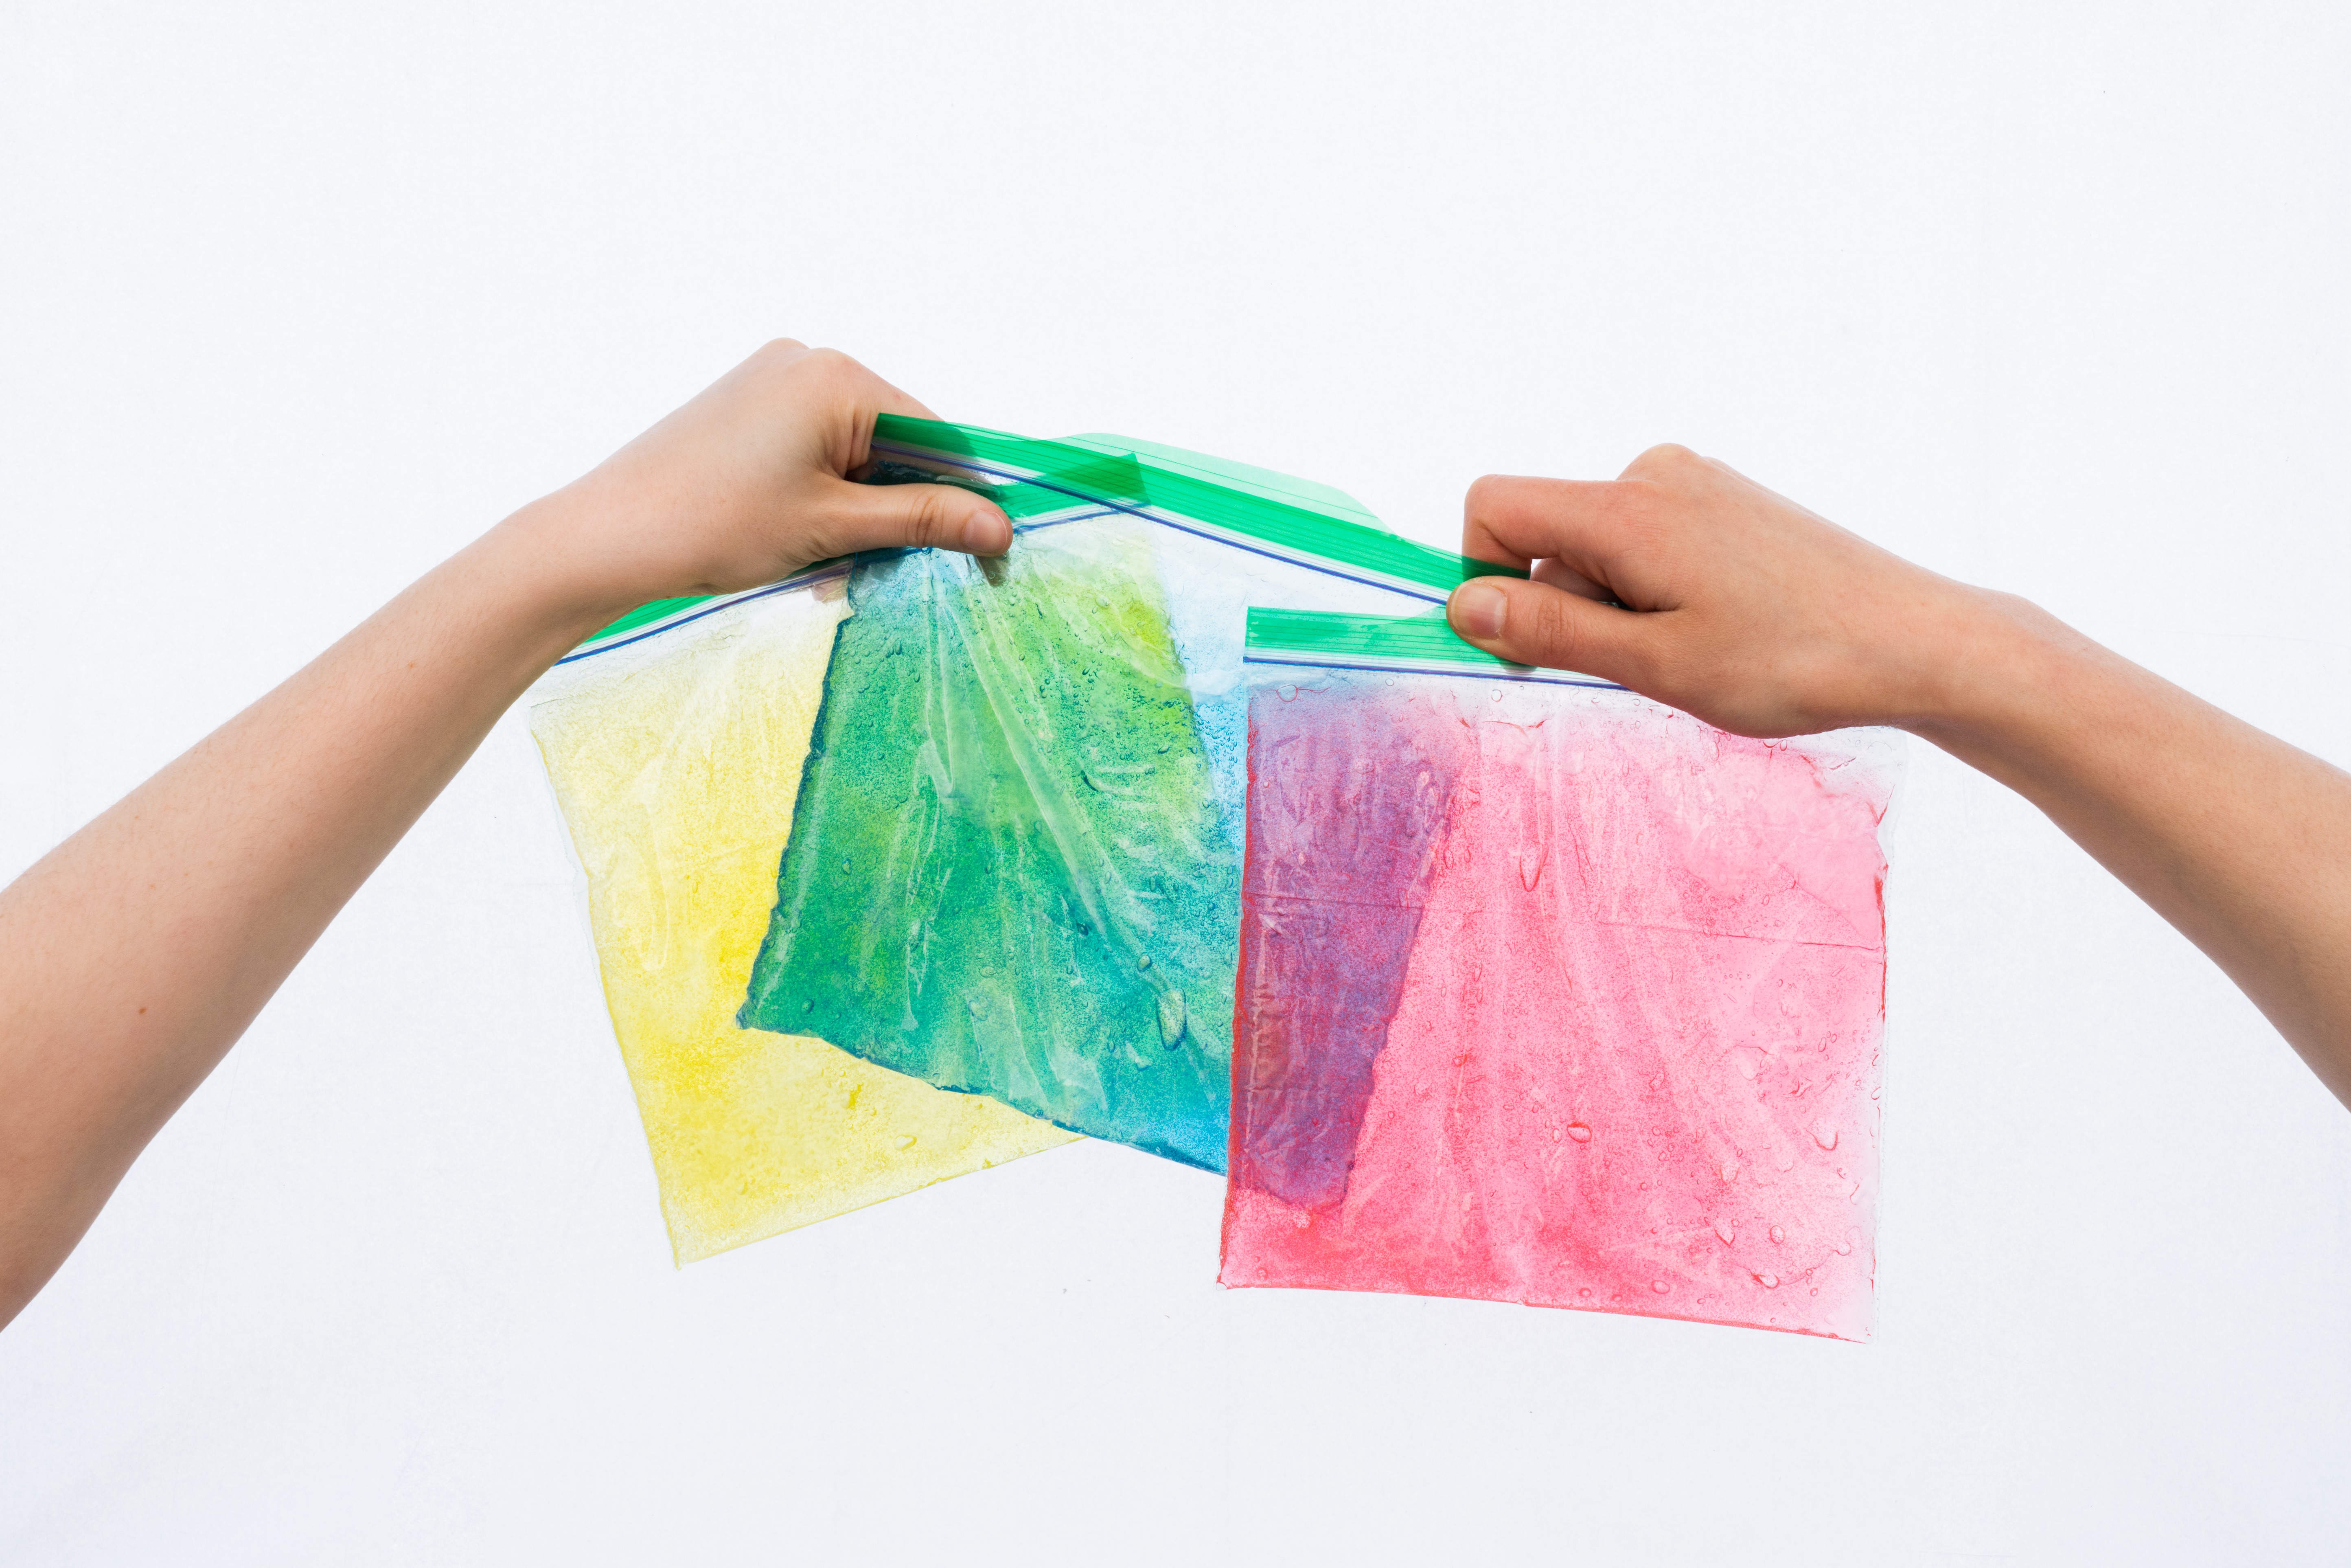
Carefully remove the bags from the glasses and seal them. You should now have 3 separate bags, filled with red, yellow, and blue slime. Overlap two bags at a time. What colors can you create?
Learn more

When you overlap your bags, you can see the two primary colors blend together to form a new color. These are secondary colors. Try creating all three! red + blue = purple blue + yellow = green yellow + red = orange. If you want to take the colors a step further, repeat the activity to create slime in each of the secondary colors and place them in their own Ziploc bag. Now try mixing and matching the primary and secondary colors with one another. Overlap these bags and see what new colors you can create!


