Step-by-step tutorial
Step 1
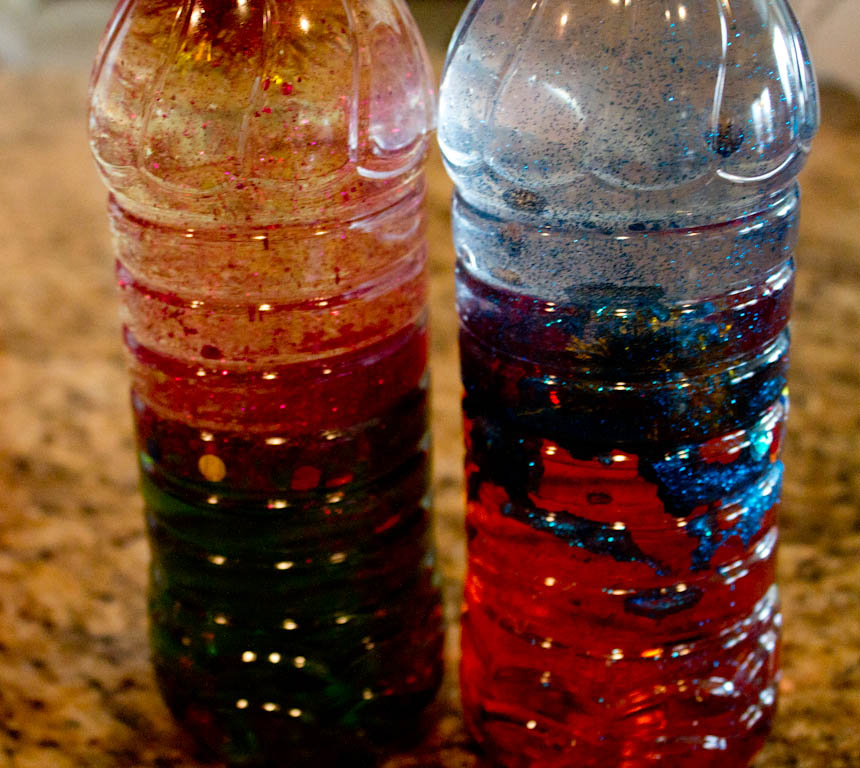
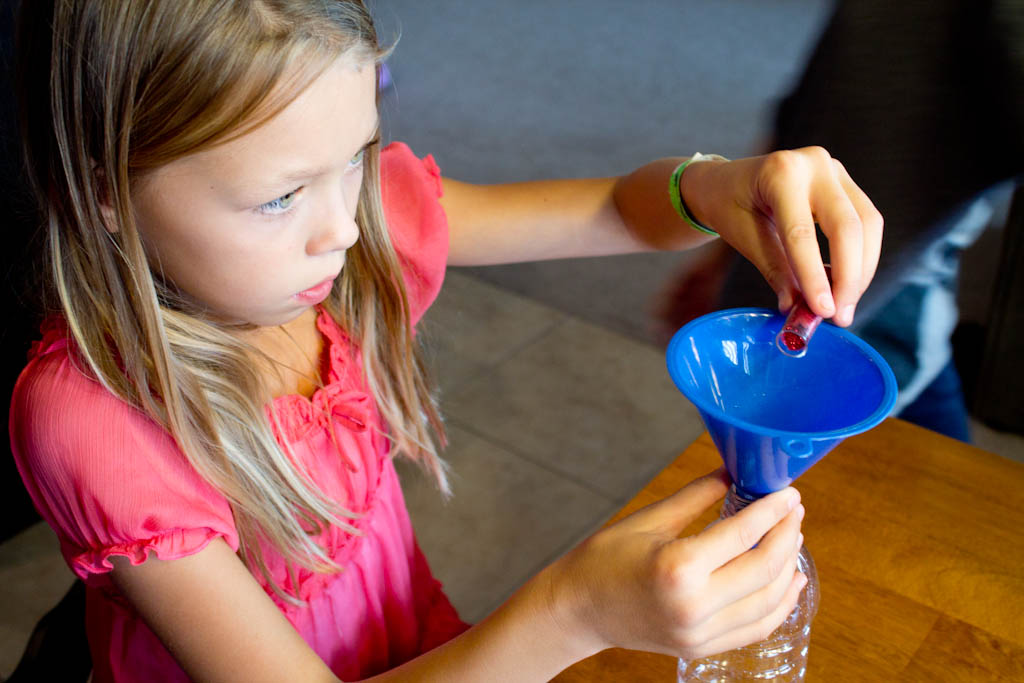
Have your child make a hypothesis of how they think the oil and water will interact with one another. Will they mix? Will they swirl around one another? What about about the glitter--will it stay at the bottom or float to the top? First gather all your supplies for easy access, then add your glitter.

Step 2
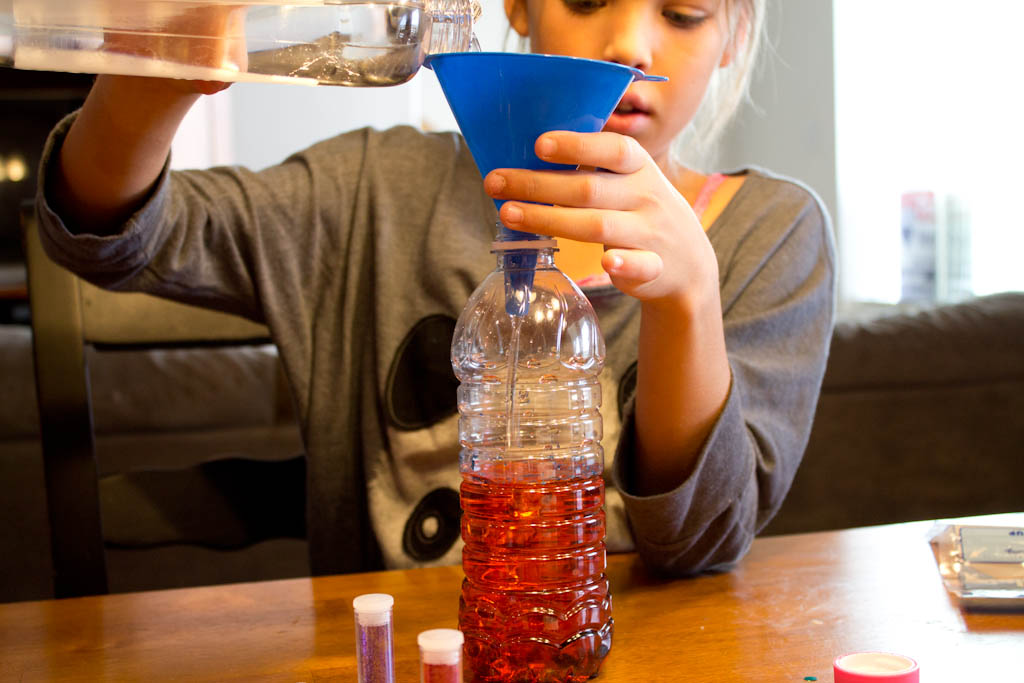
Then, using a funnel, fill the bottle half way with water. Then add your food coloring. Add just a few drops and keep adding till you get the desired color.
My girls had fun mixing the colors. They found out that the colors were very dark since there was not much water in the bottles.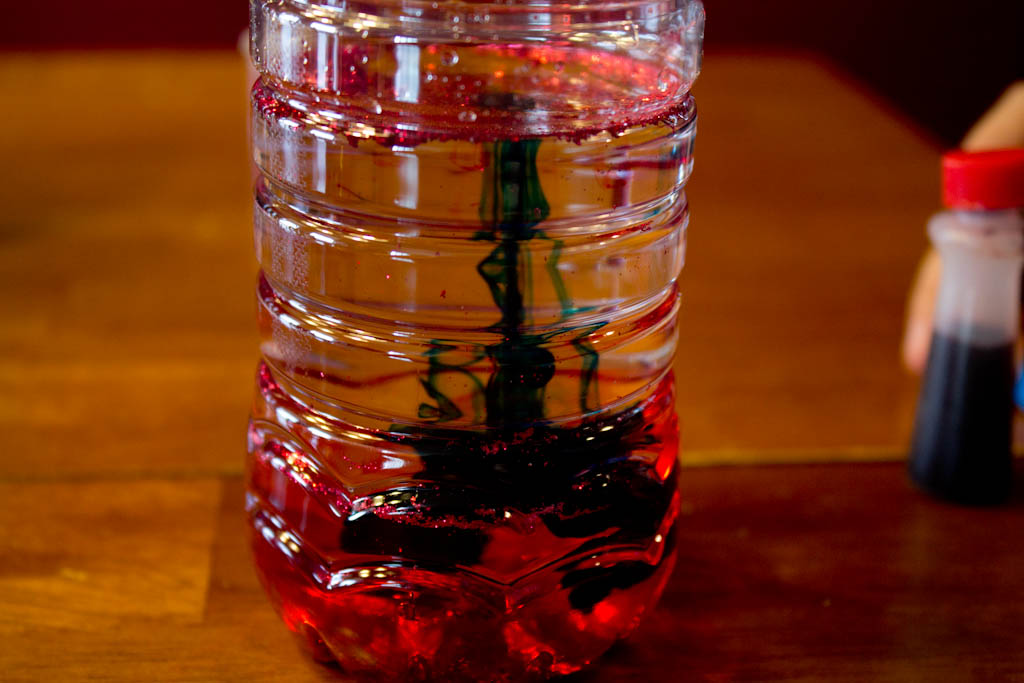
Step 3
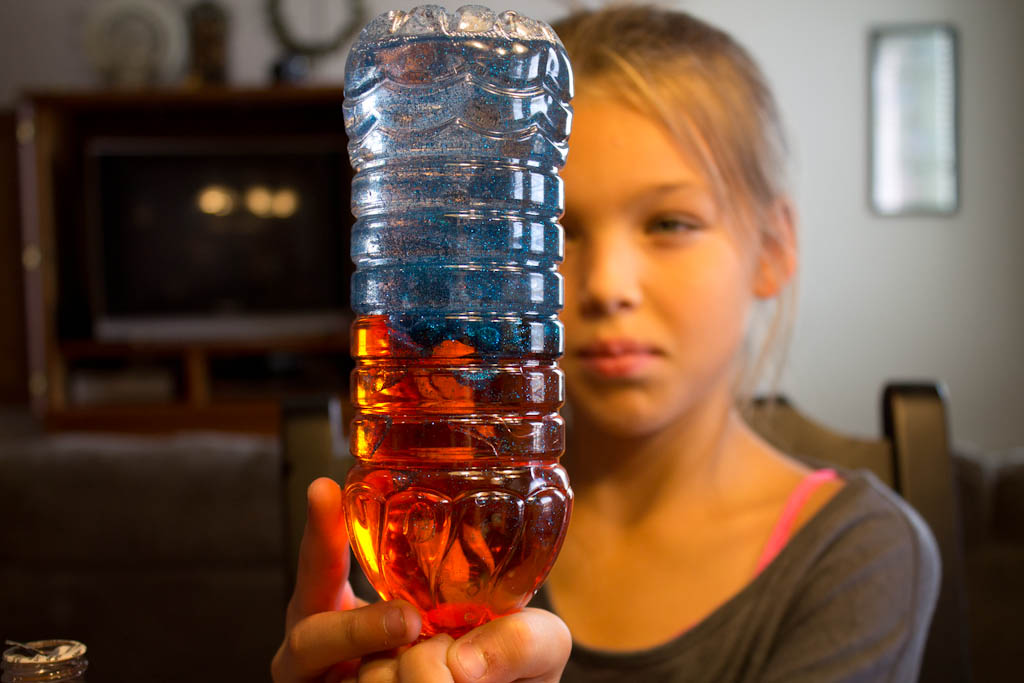
Fill the remainder of the bottle with baby oil. Then use a hot glue gun to secure the bottle lid (optional but makes it more secure).
Done!
Now have your child turn the bottle upside down and test their hypothesis. My kids thought it was very cool to observe how the oil and water resisted each other and how the glitter mixed with the oil.