St Patrick's Day Slime

St. Patrick's Day is just around the corner, and if you're a teacher or parent looking for fun ways to celebrate with your kids, then St. Patrick's Day slime is a great idea!

St. Patrick's Day Slime is a popular DIY project these days, but it’s also an educational opportunity to learn about non-newtonian fluids.

Create an amazing, oozing mix of ingredients that encourages sensory play. Don't worry about getting a little messy, because who doesn't like slime?

  1. Ages: 5 - 16

  2. <30 minutes

  3. Super messy

Tags:

Materials you'll need

Step-by-step tutorial

  • Step 1

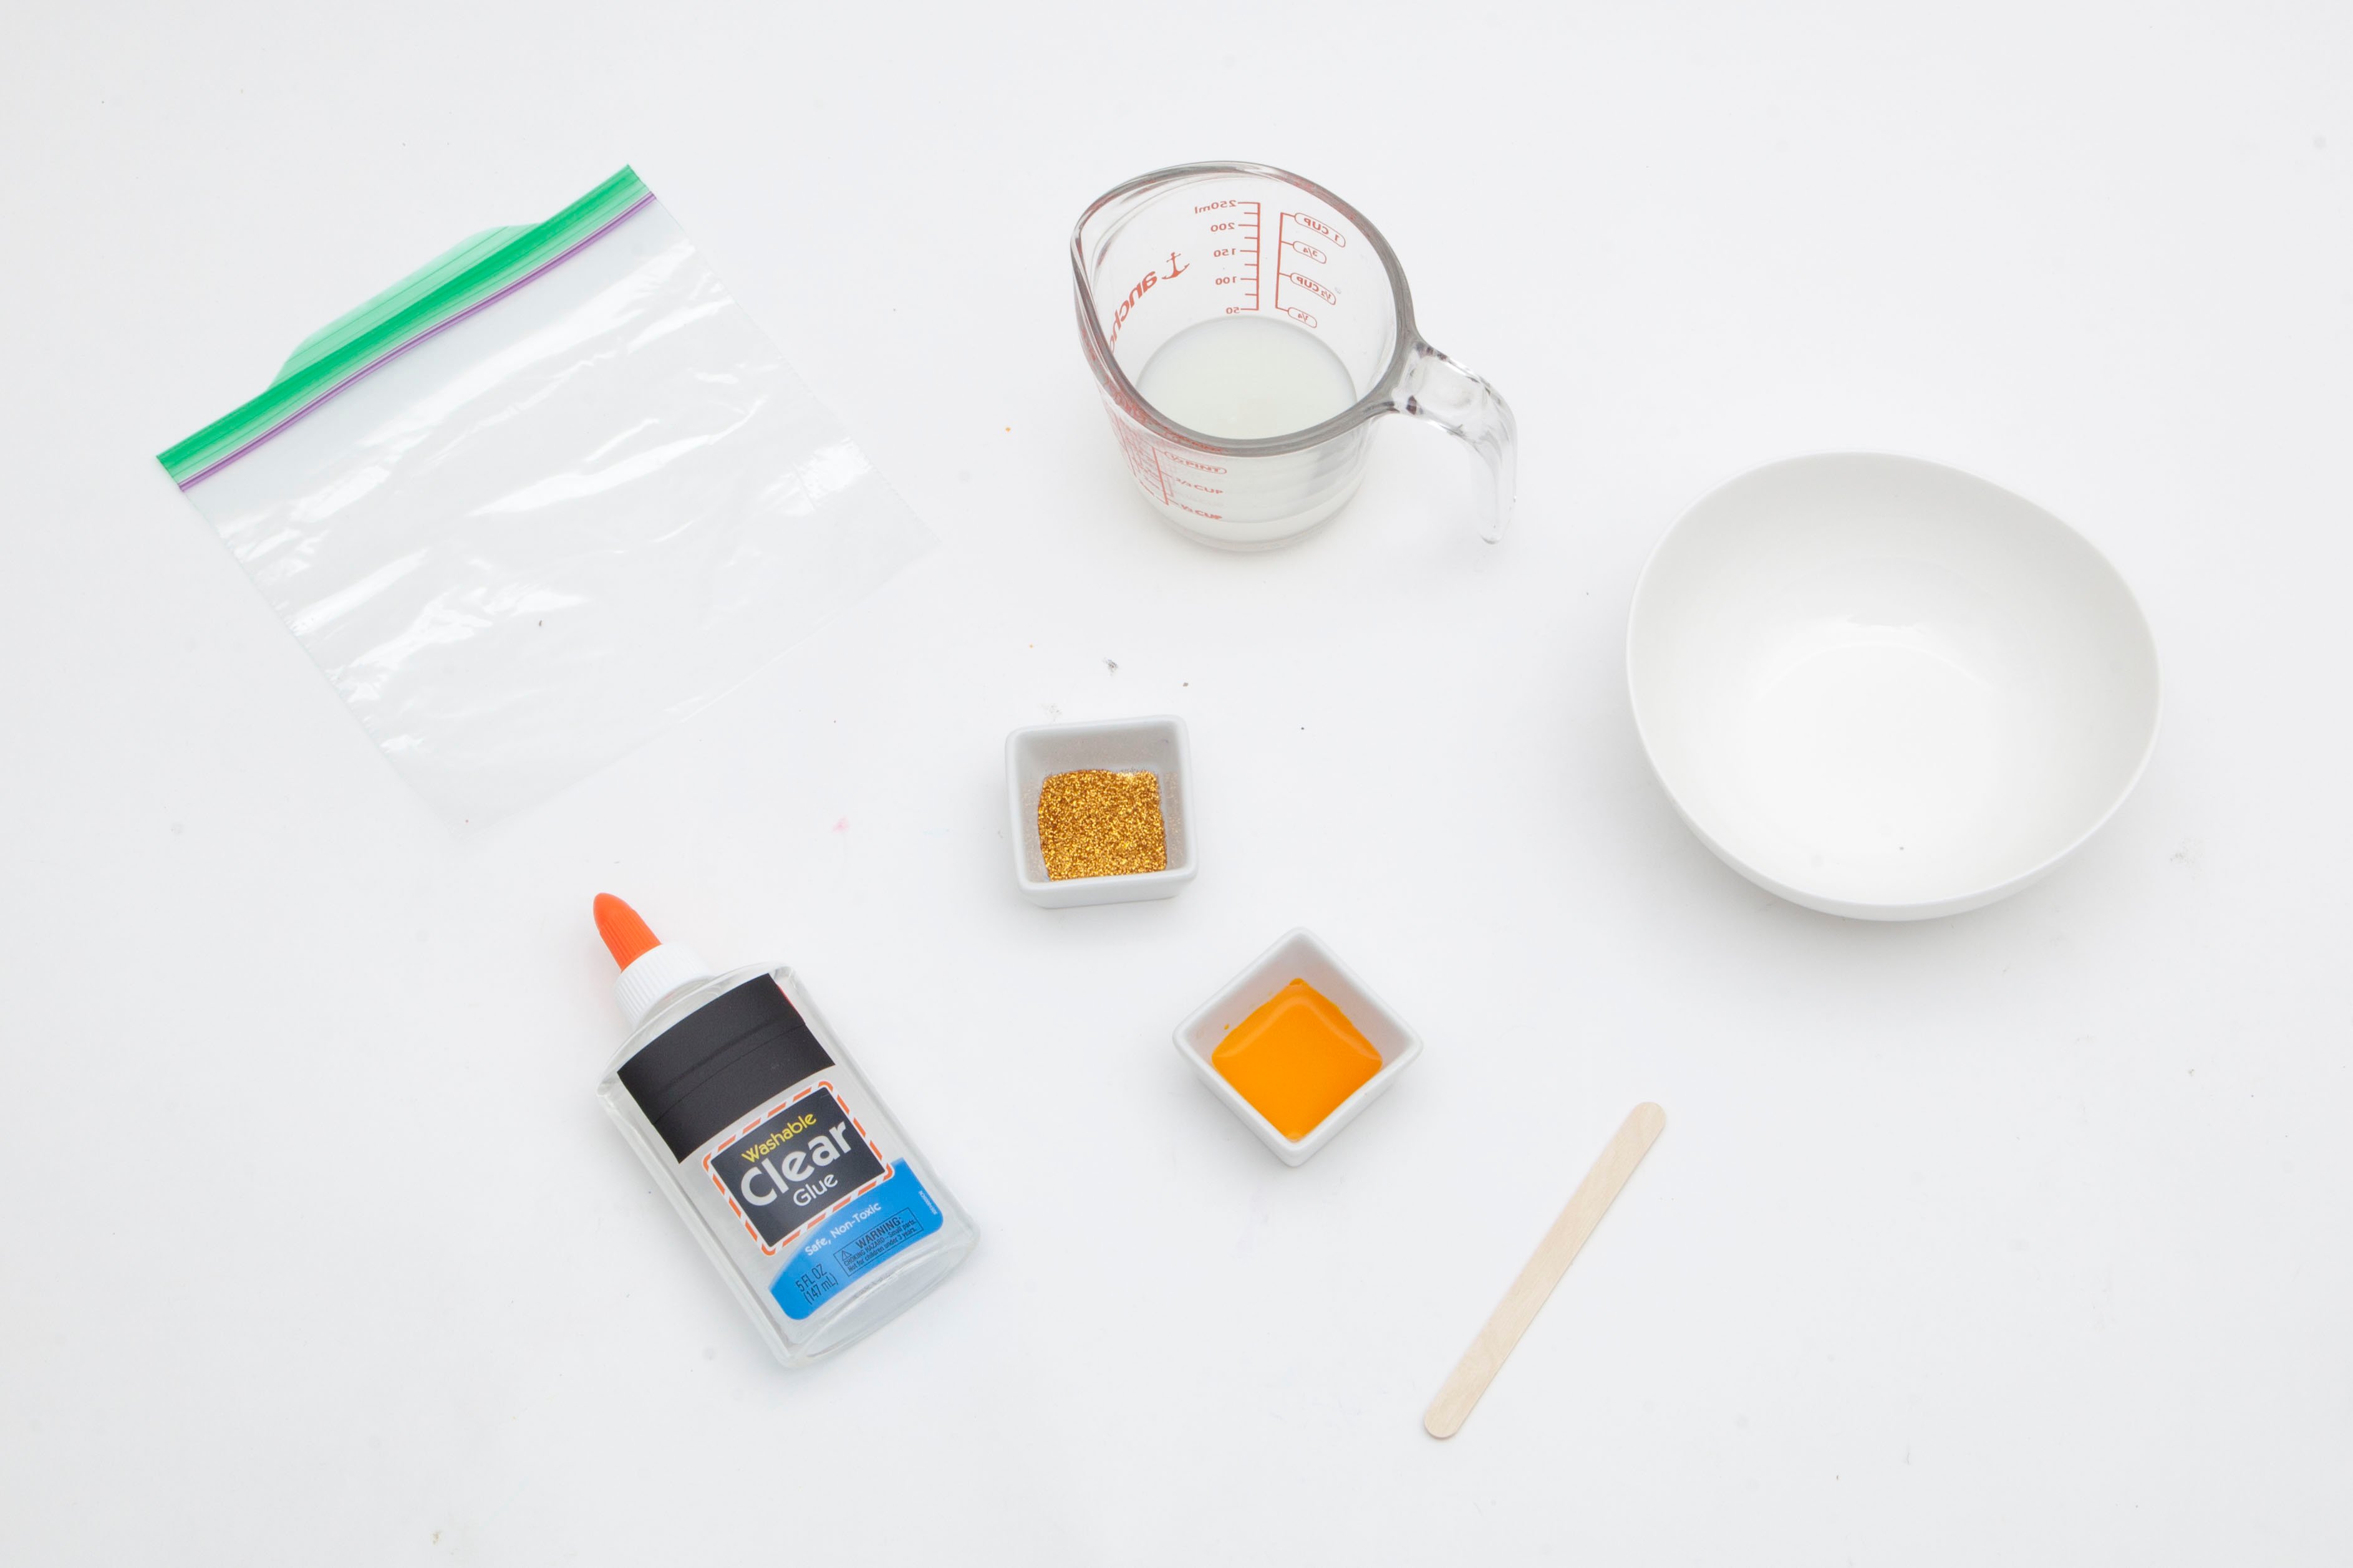
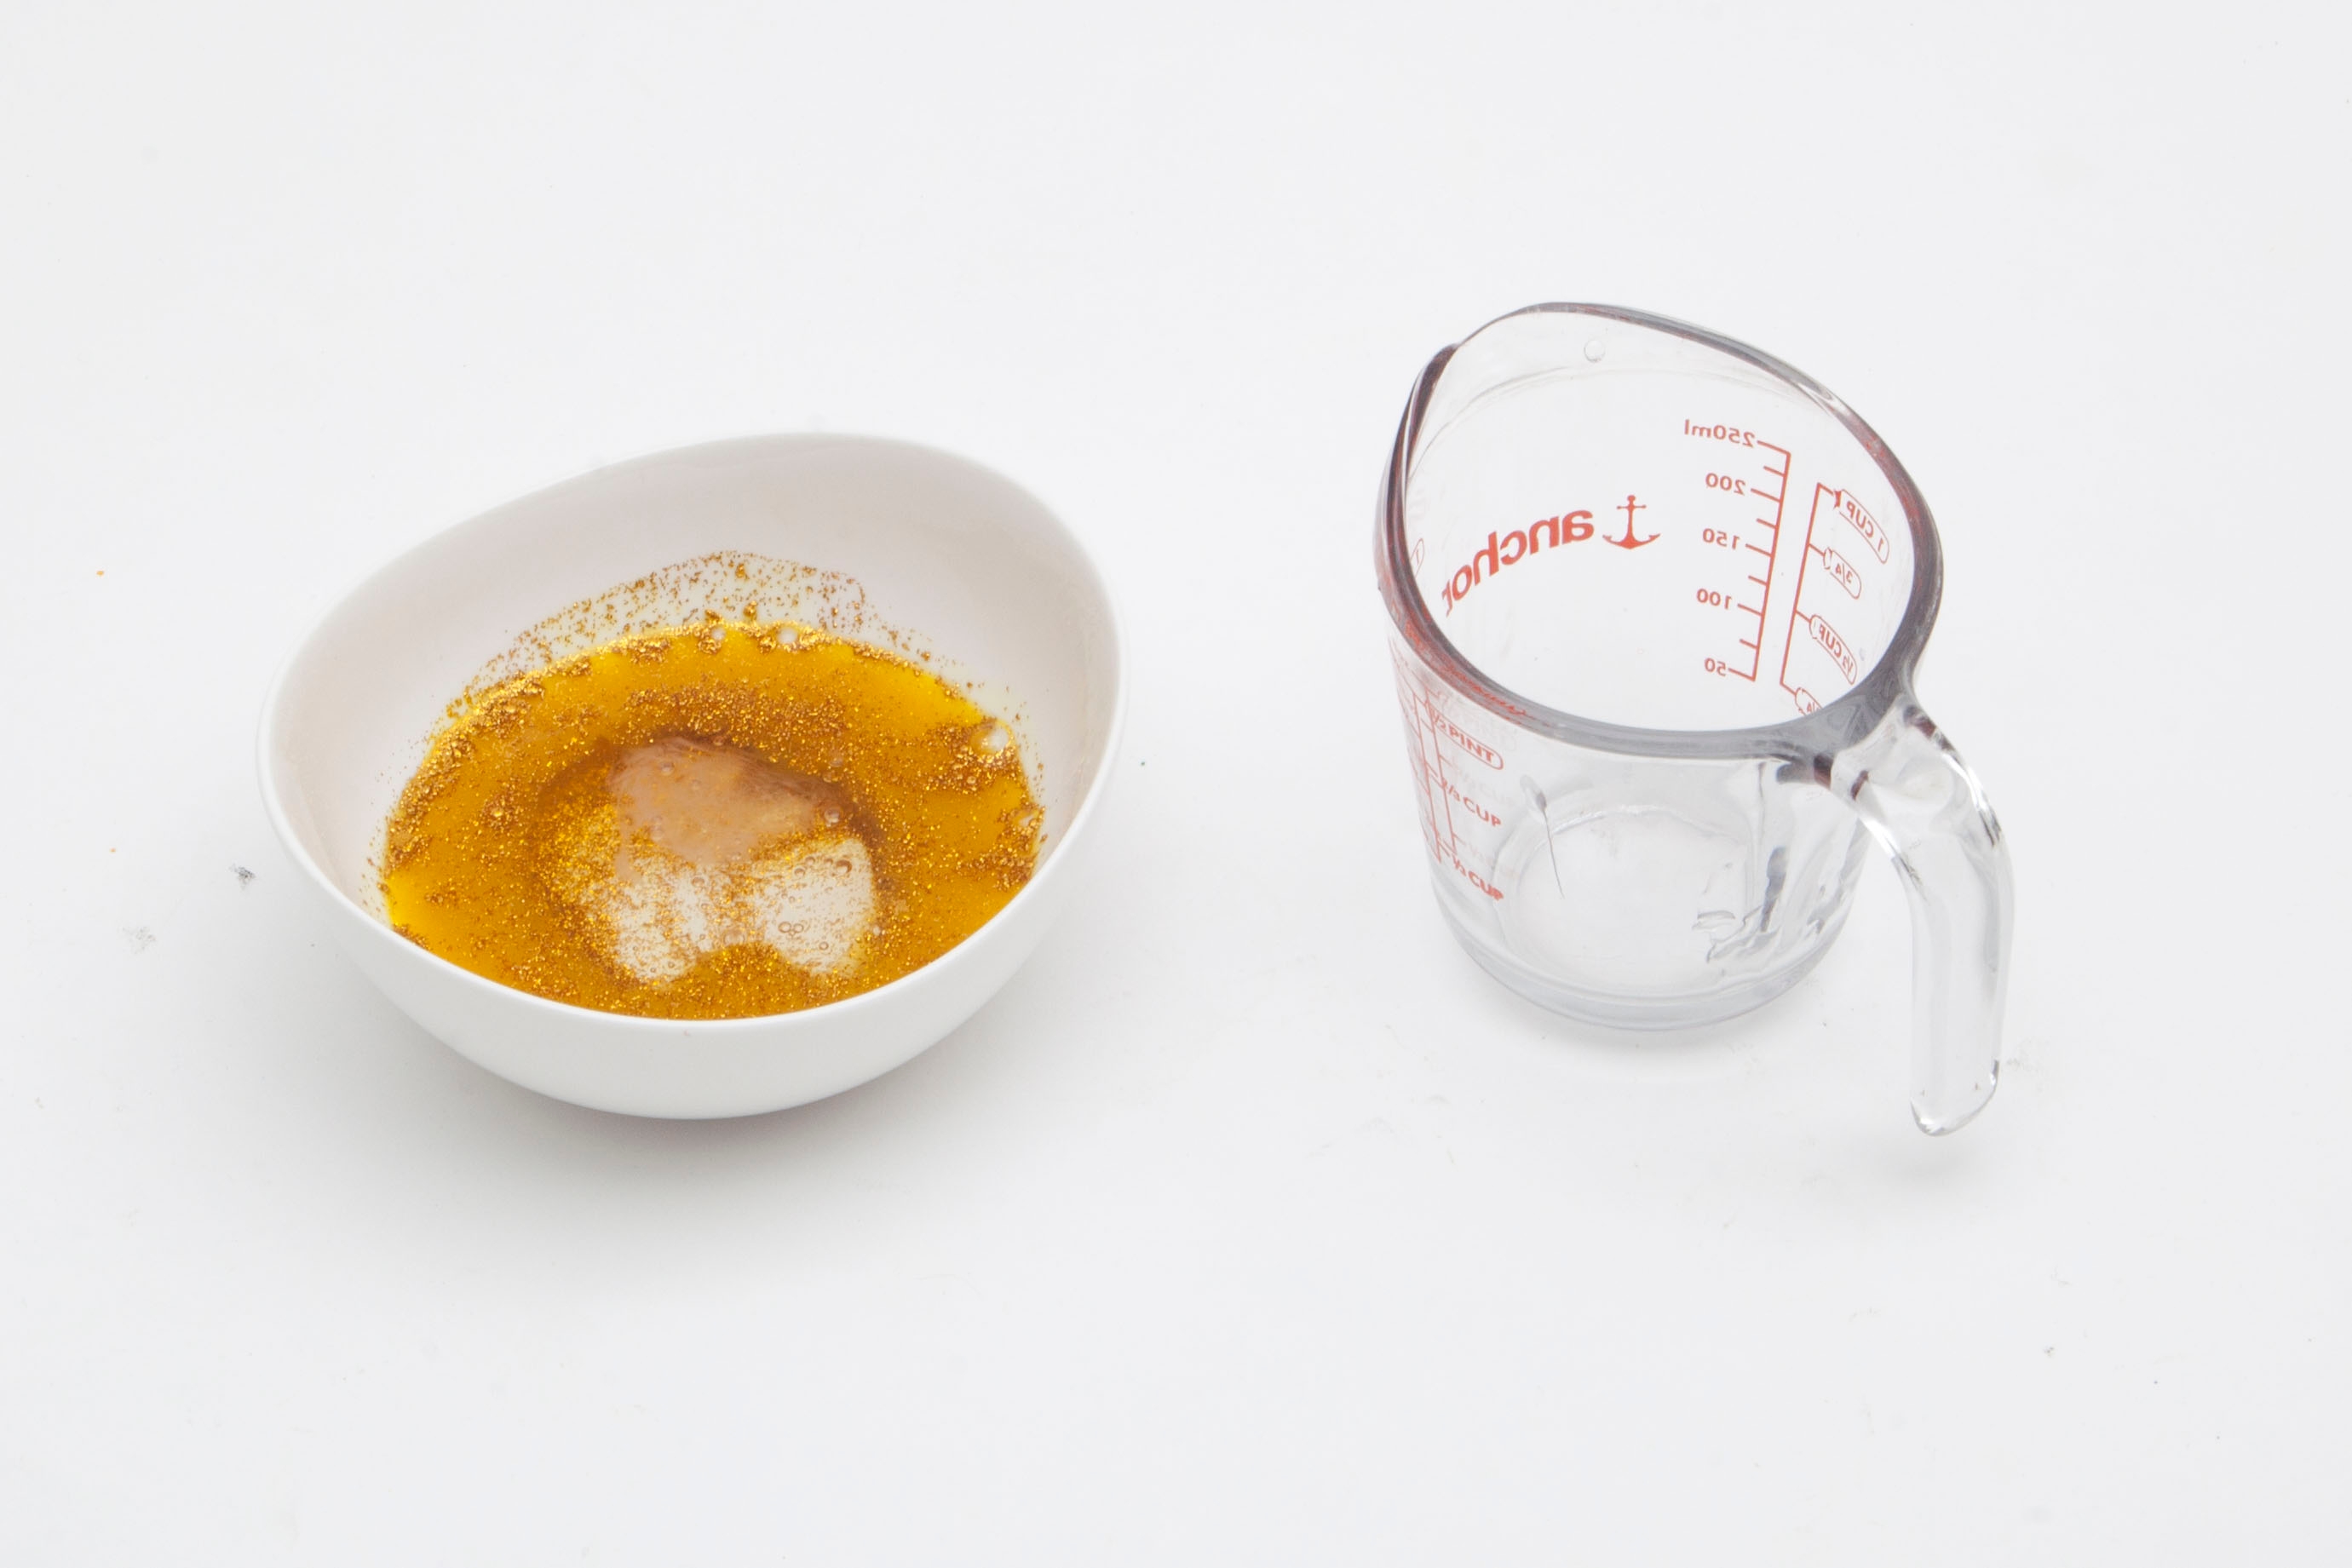
    Gather your St. Patrick's Day slime materials.

    Photo reference of how to complete step 1

  • Step 2

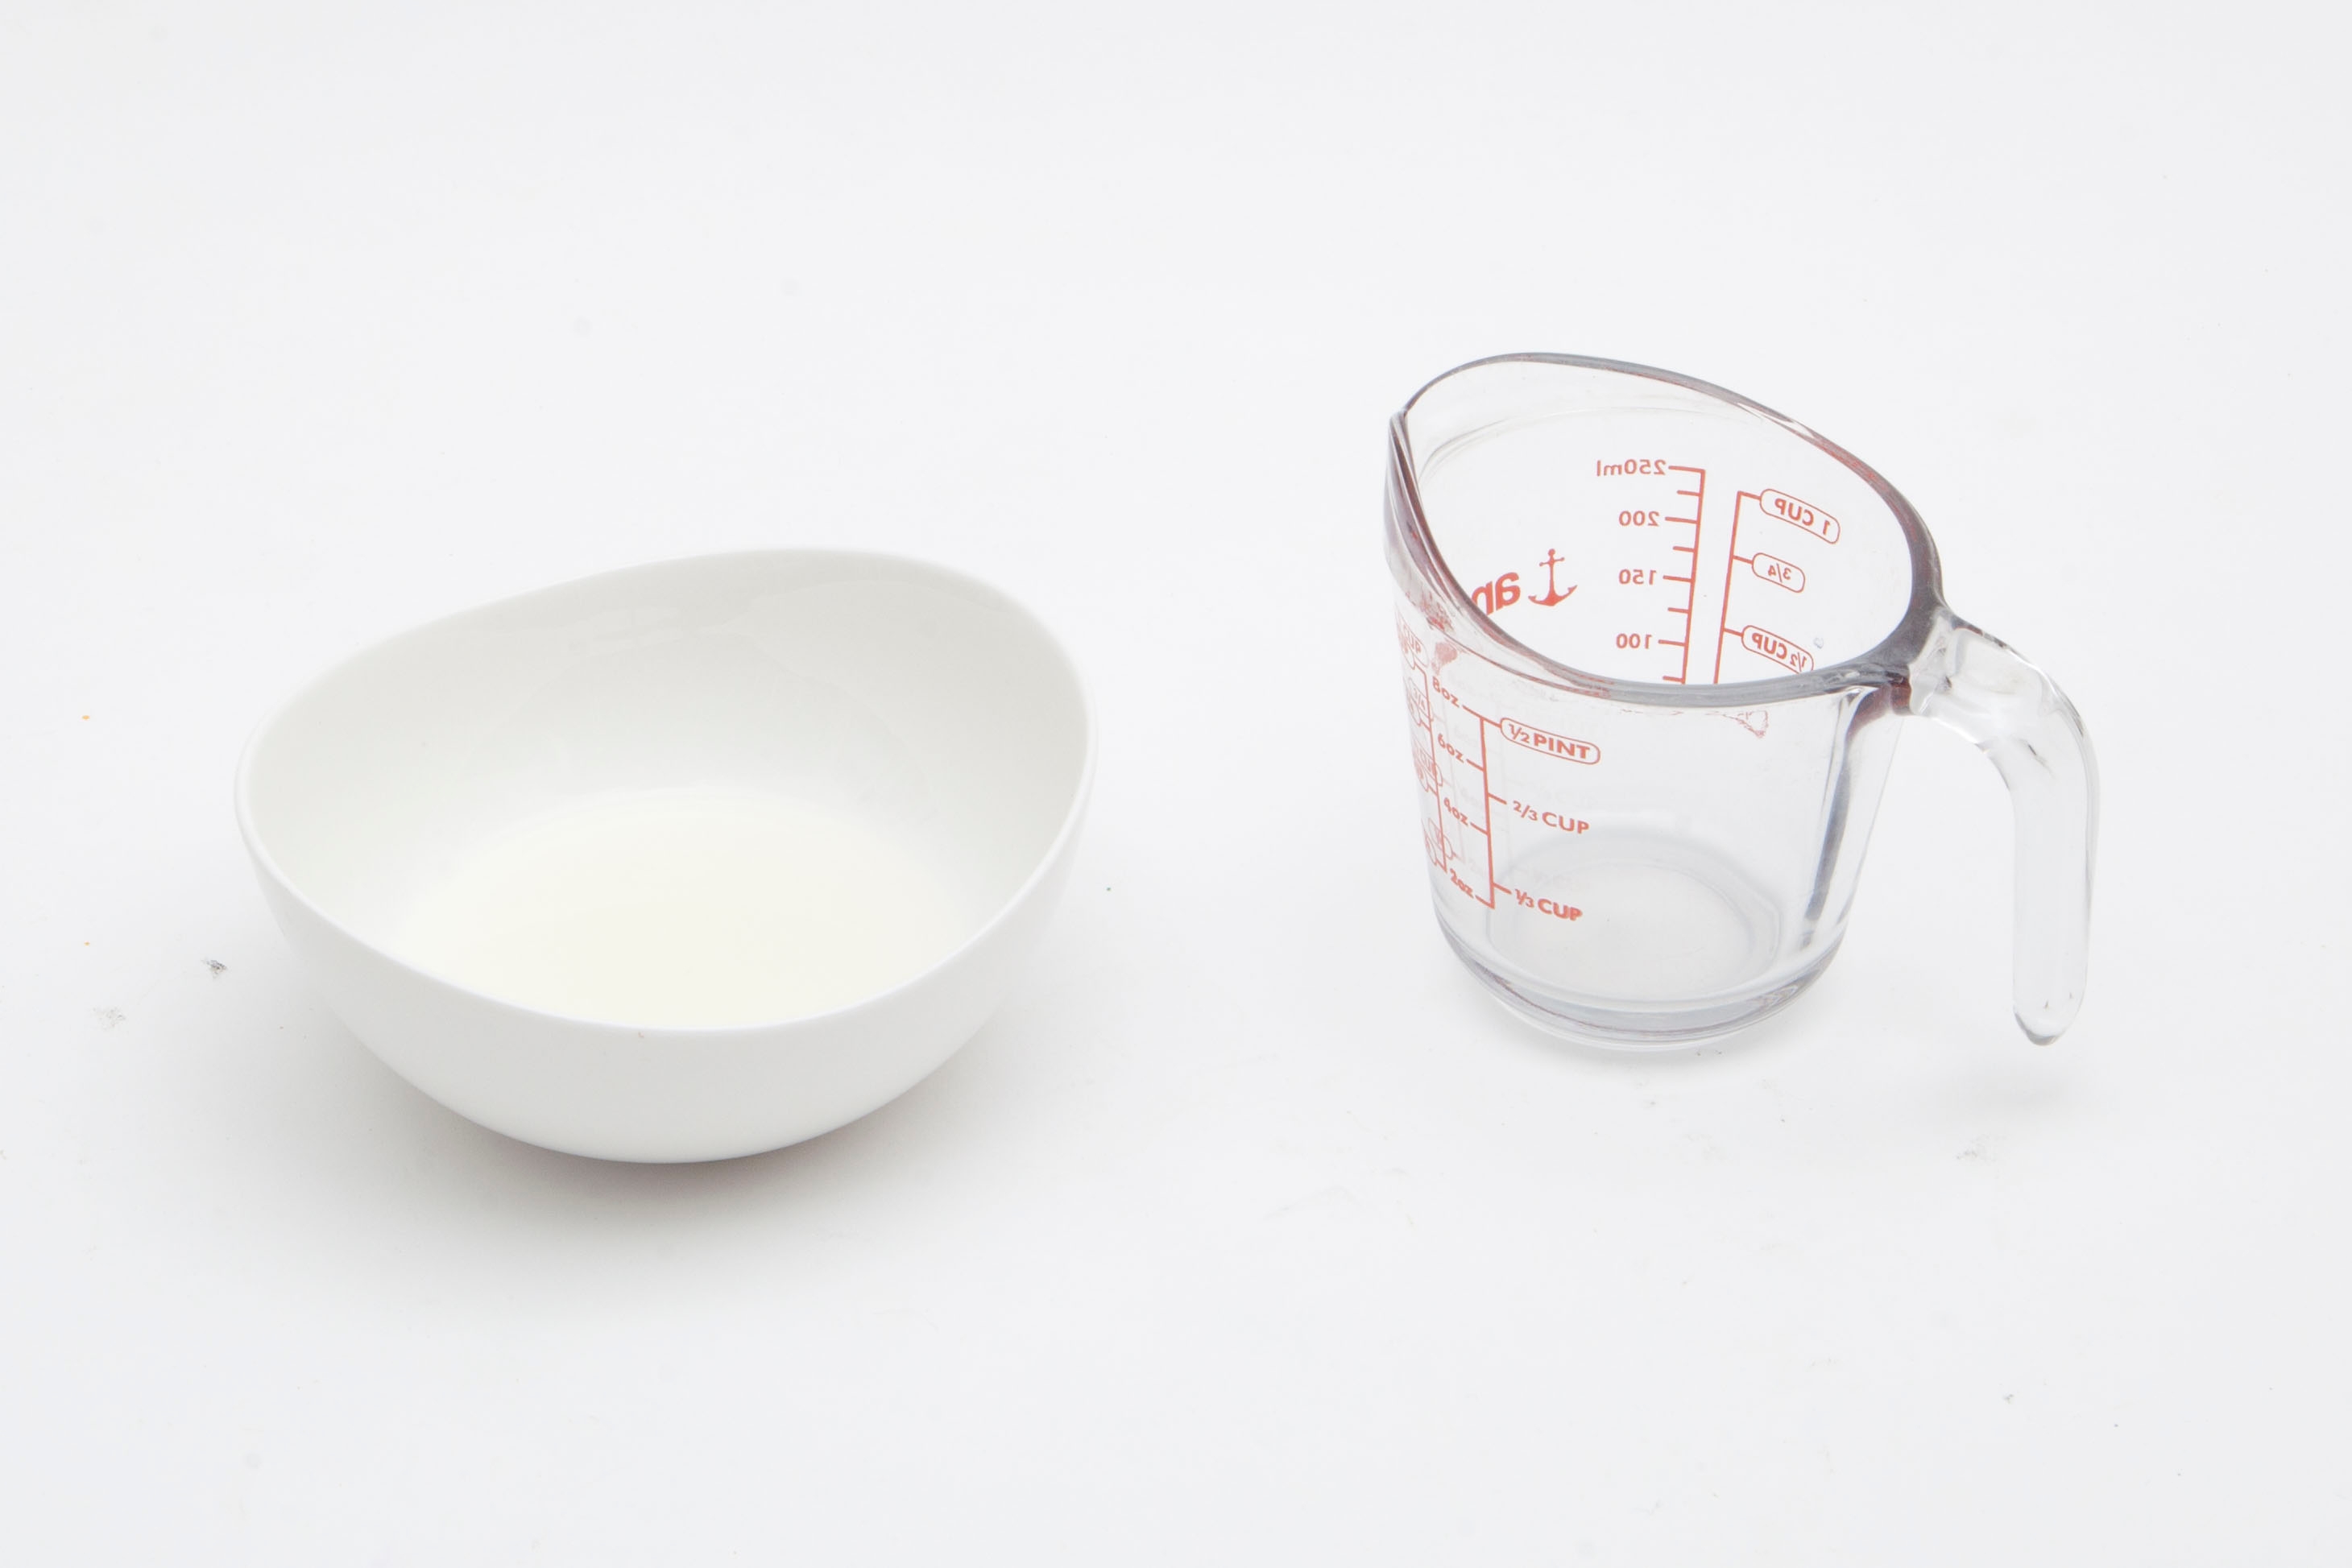
    Pour ¼ cup of liquid starch into the mixing bowl.

    Photo reference of how to complete step 2

  • Step 3

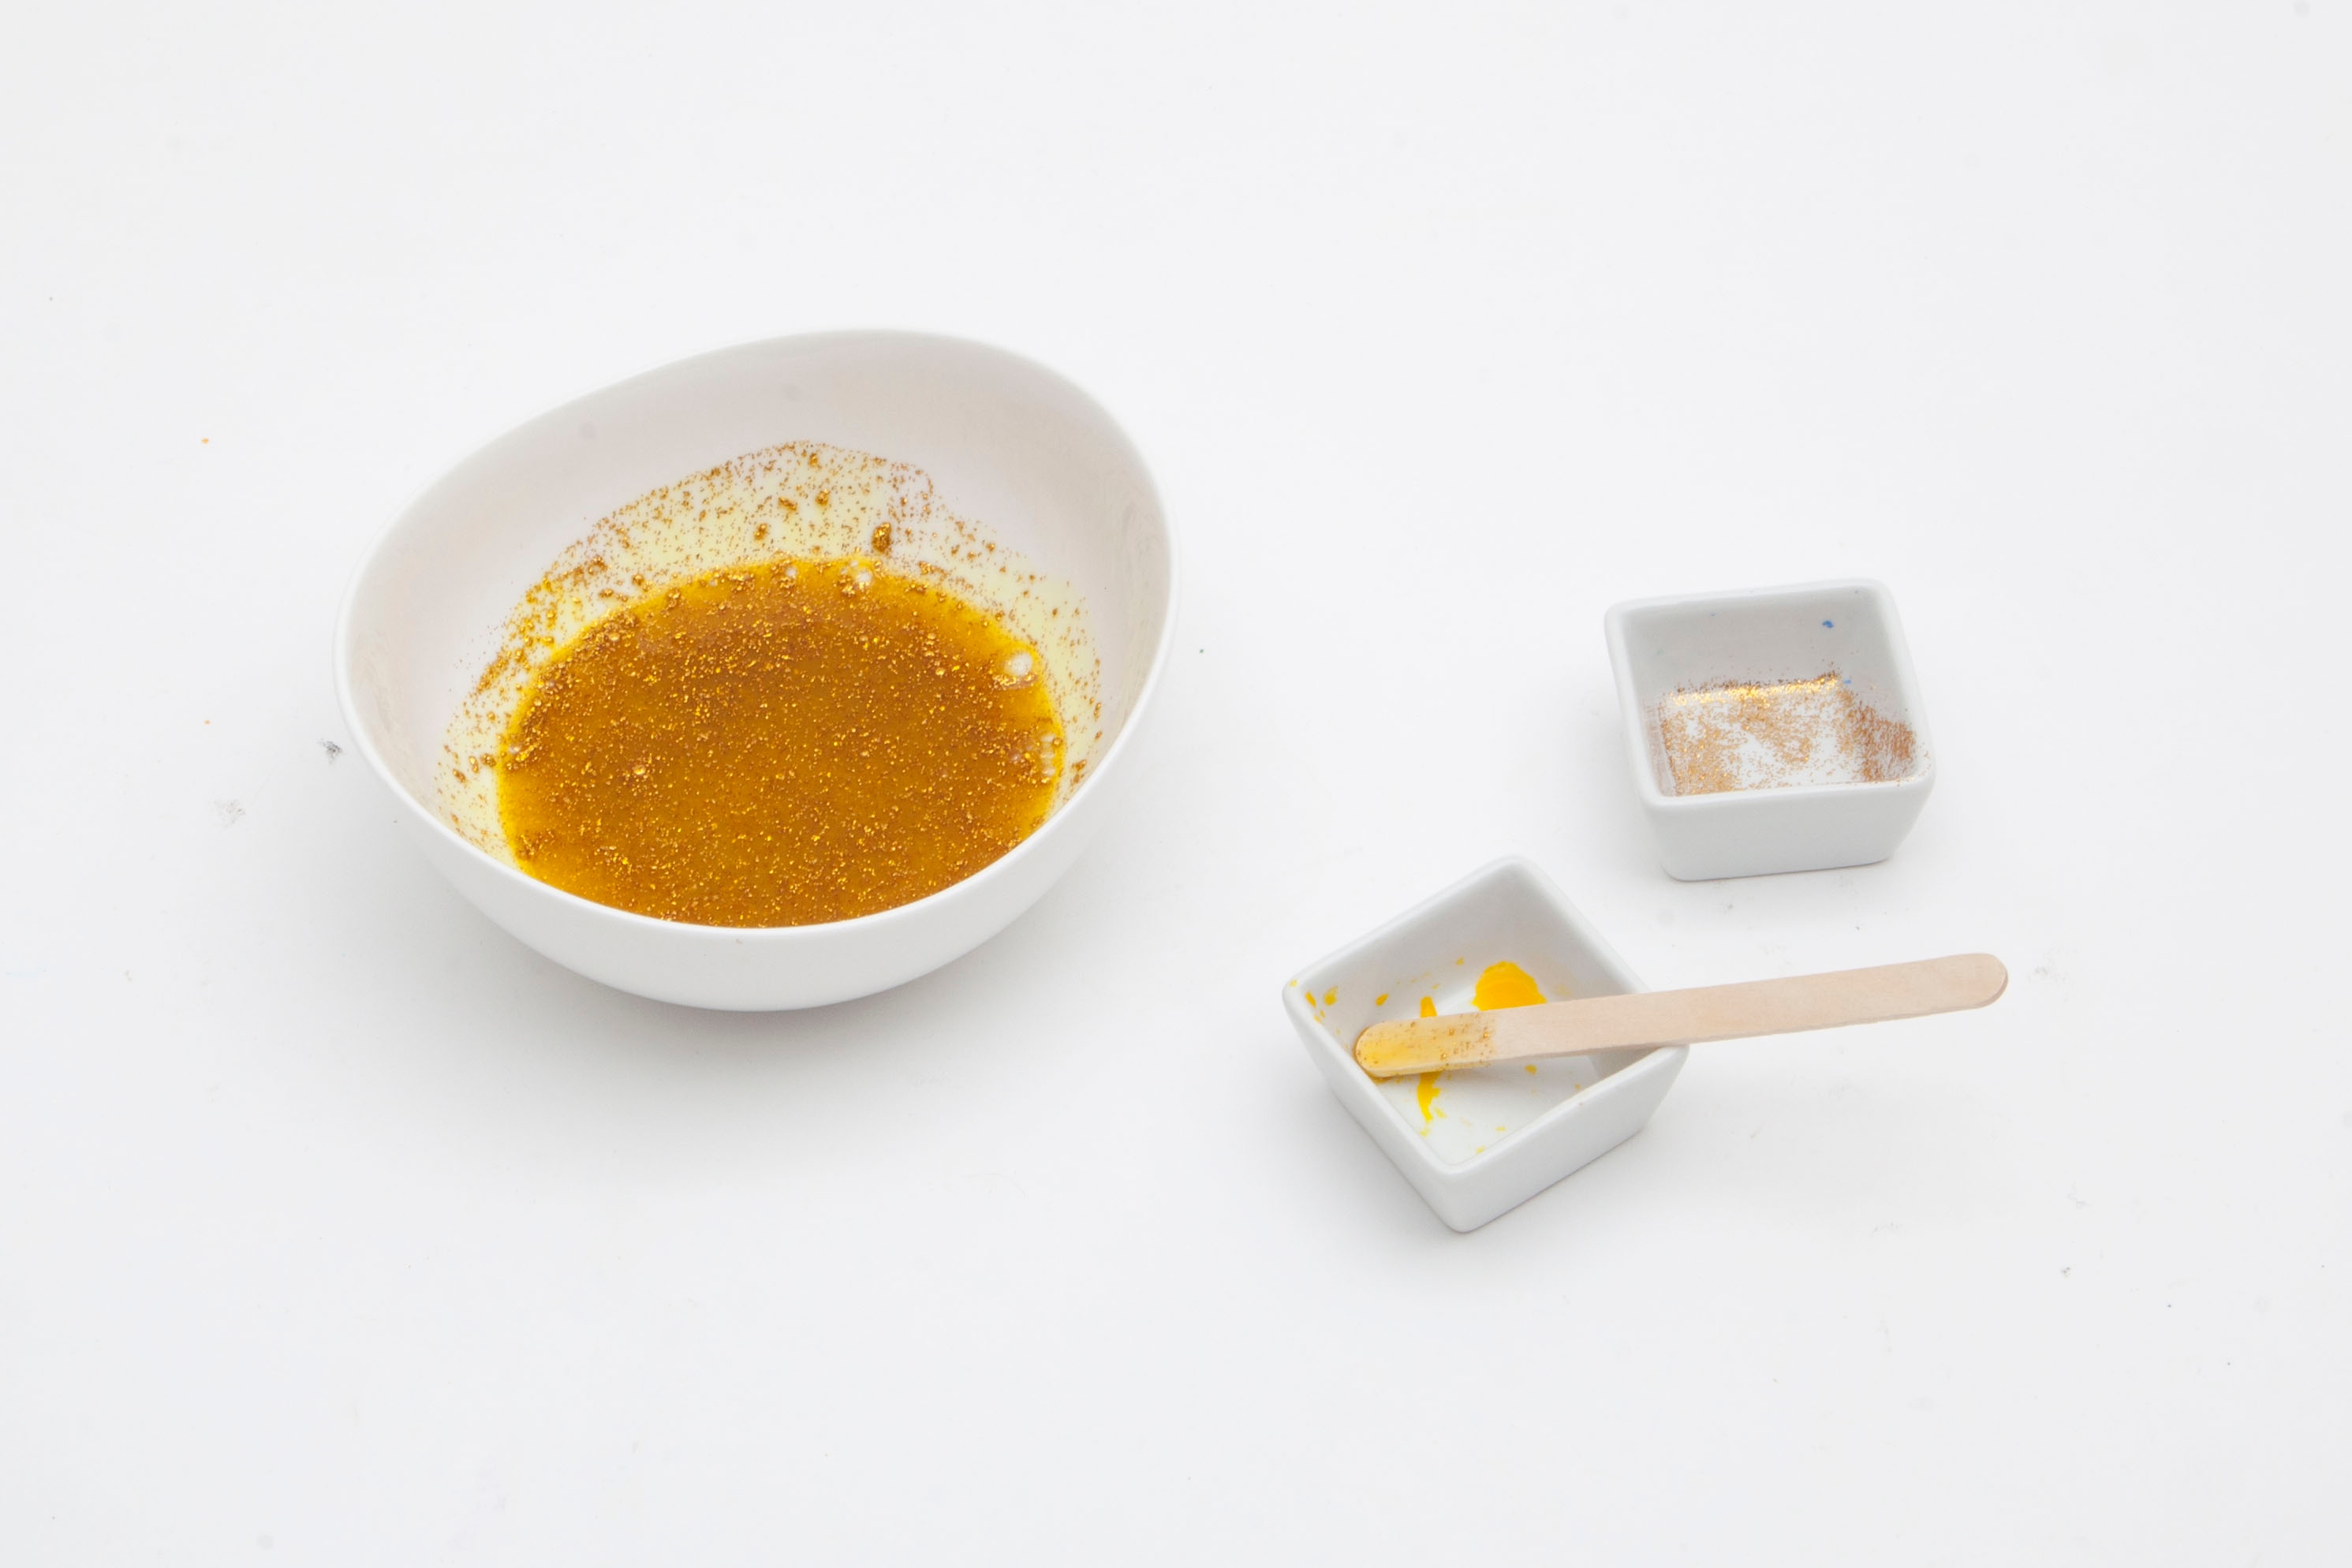
    Add gold glitter and liquid watercolor to the bowl and mix well.

    Photo reference of how to complete step 3

  • Step 4

    Add a little over ¼ cup of clear glue to the bowl.

    Photo reference of how to complete step 4

  • Step 5

    Start mixing the slime with your hands! It might take a while for the St. Patrick's Day slime to feel like slime. Don’t worry - just be patient and keep mixing!
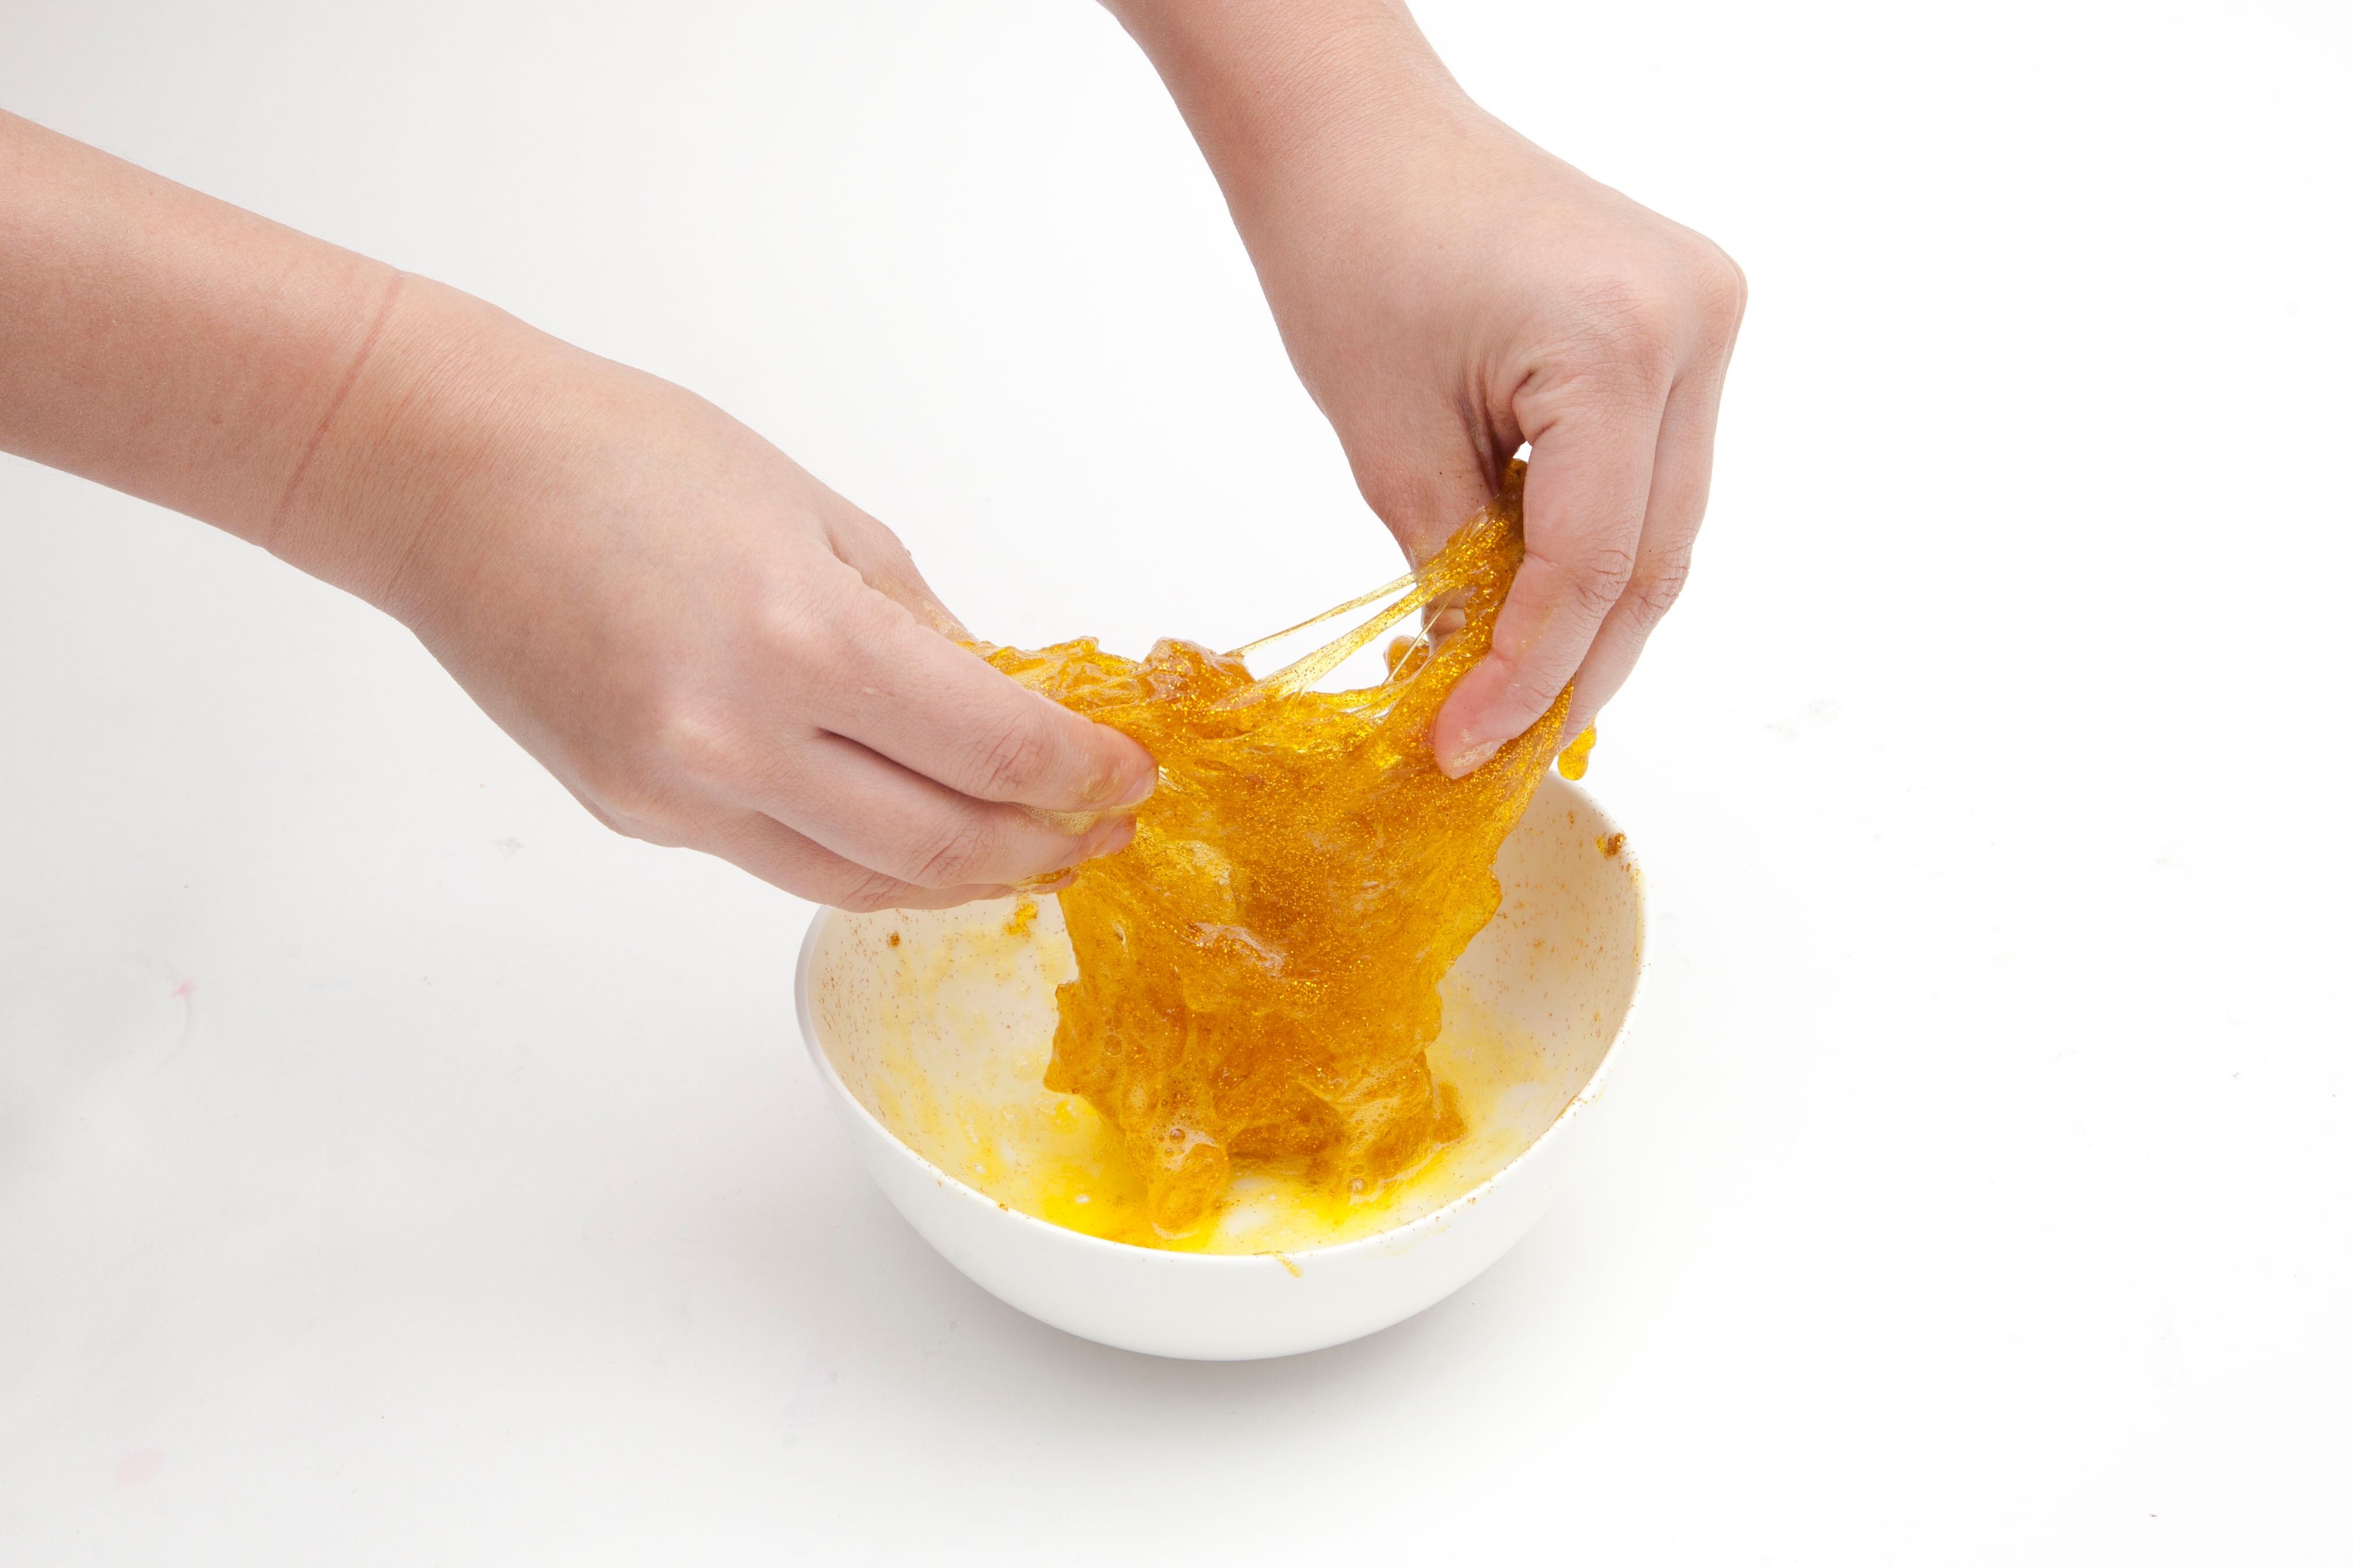
    Photo reference of how to complete step 5

  • Step 6

    When your slime starts to look stringy (about 5 minutes of mixing), put it in a plastic bag, squeeze out any excess air, and let it sit for 10-15 minutes.
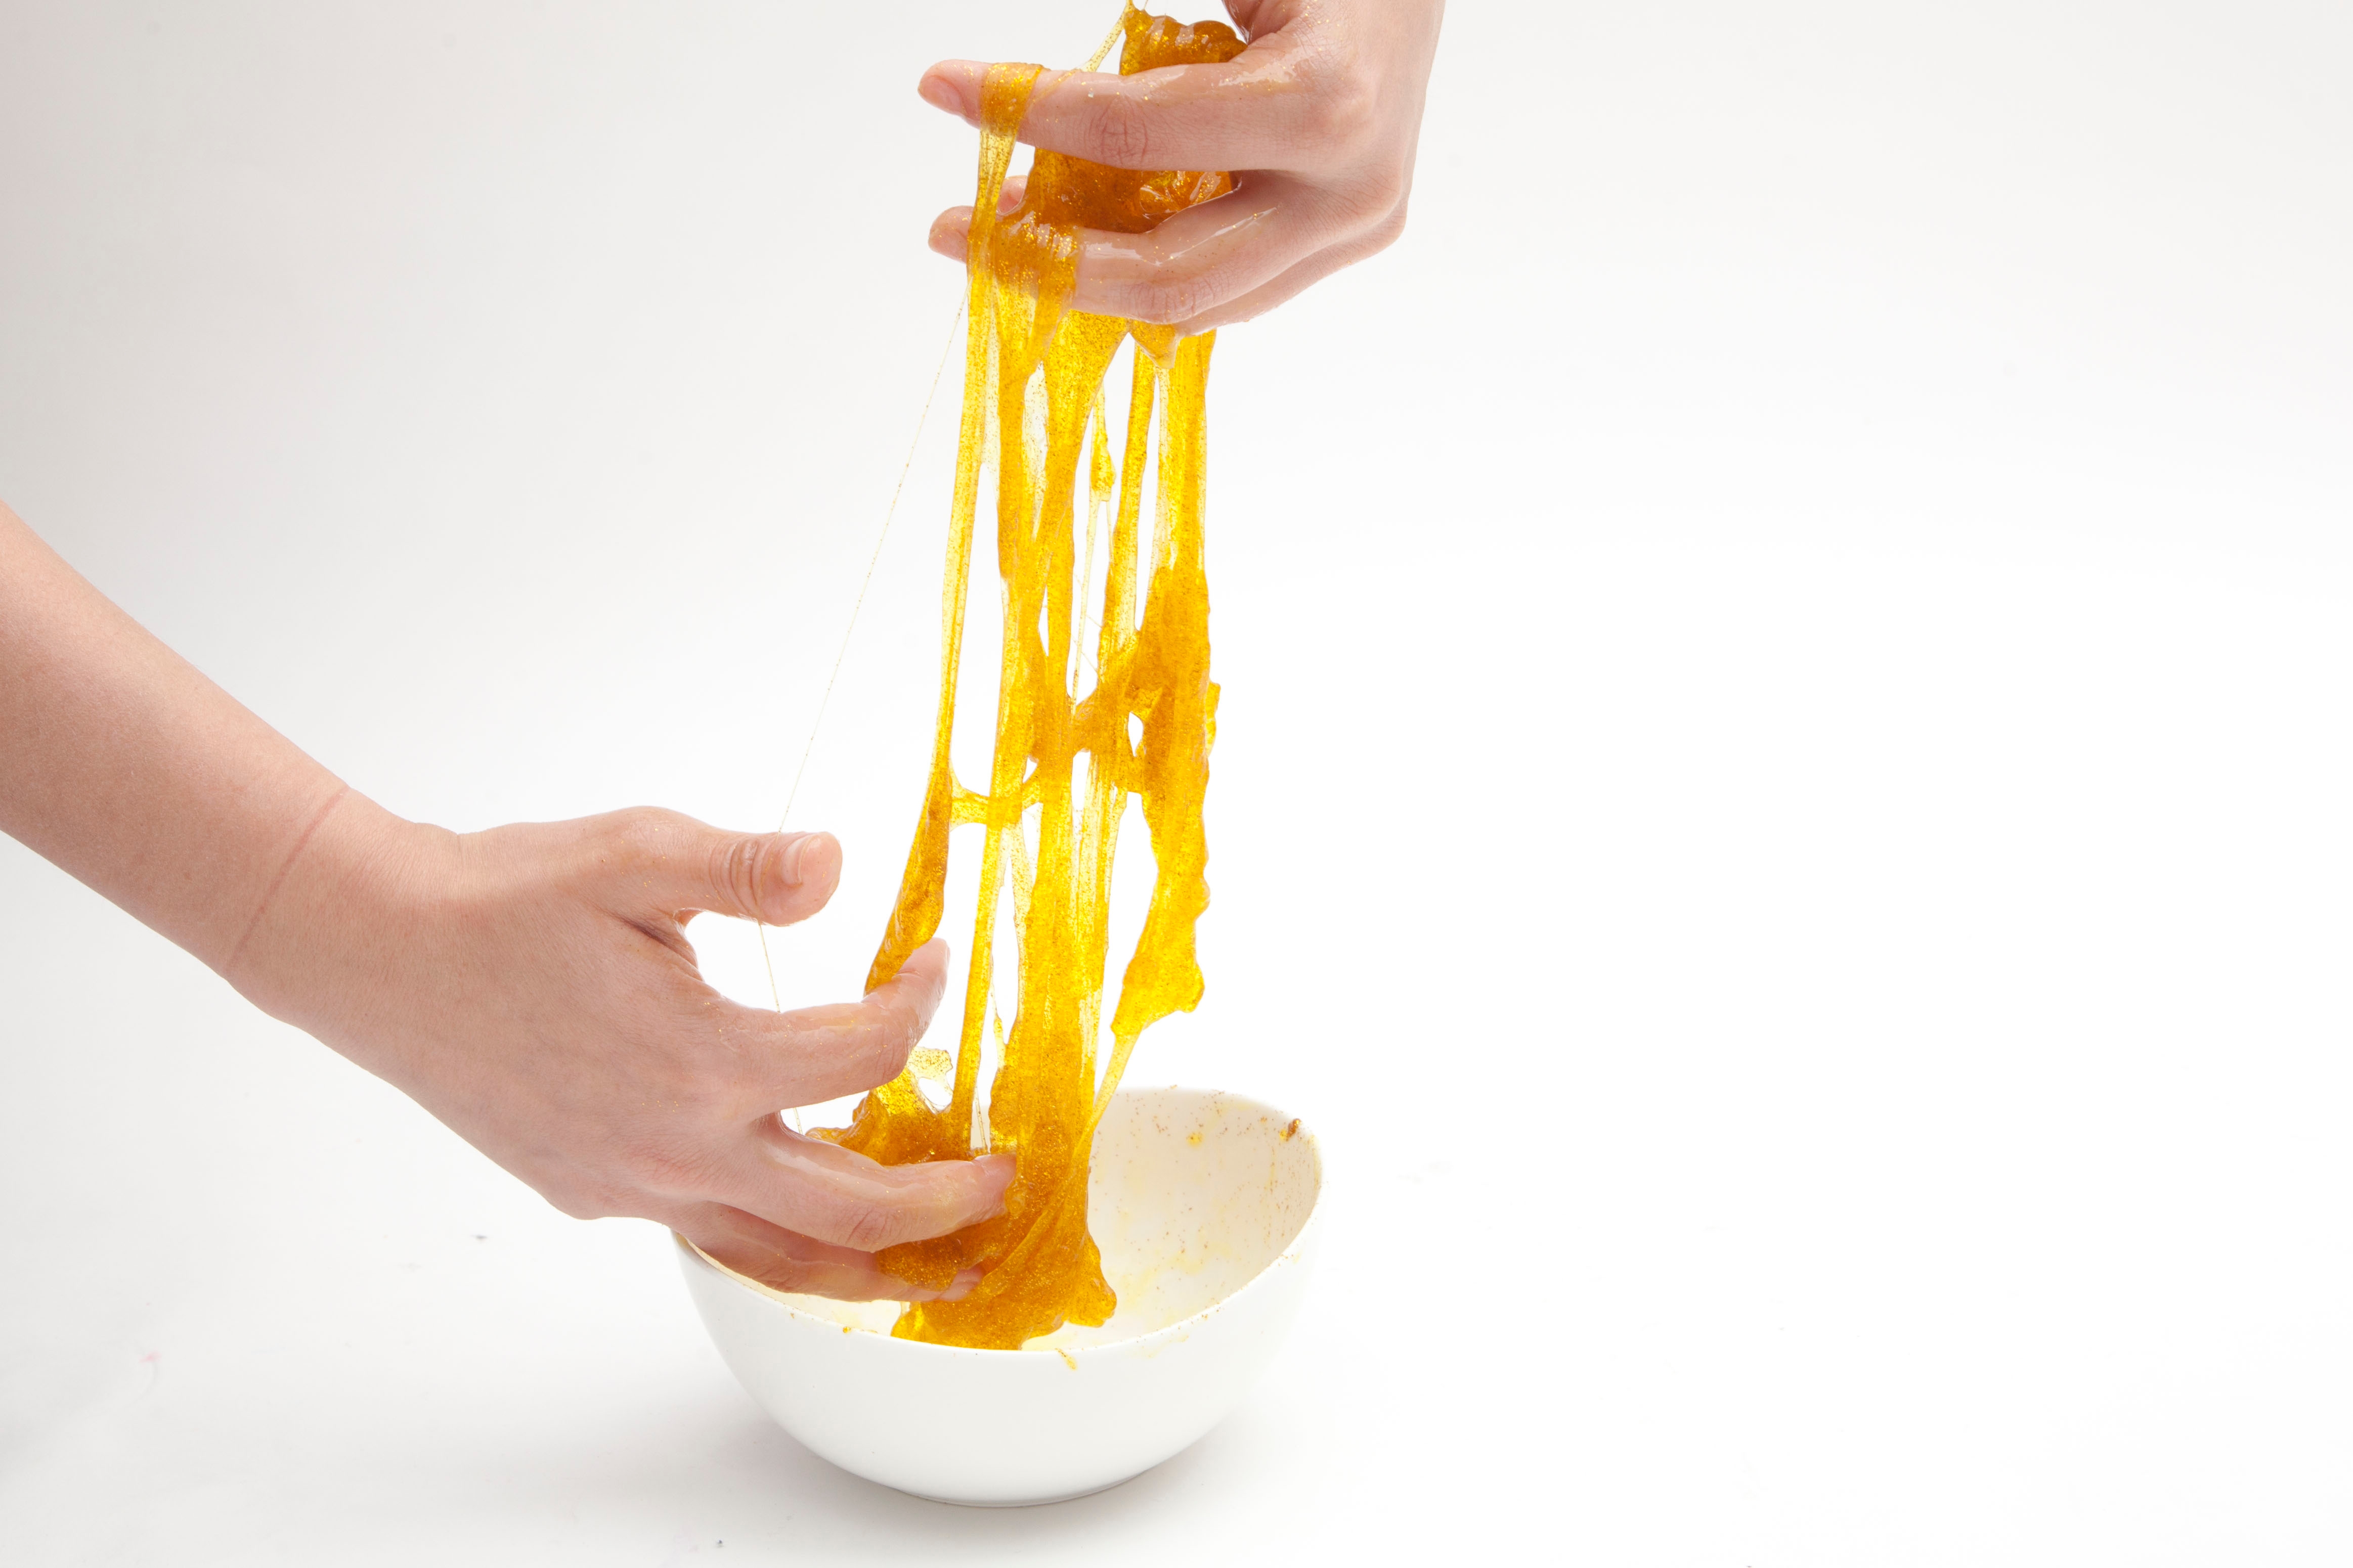
    Photo reference of how to complete step 6

  • Step 7

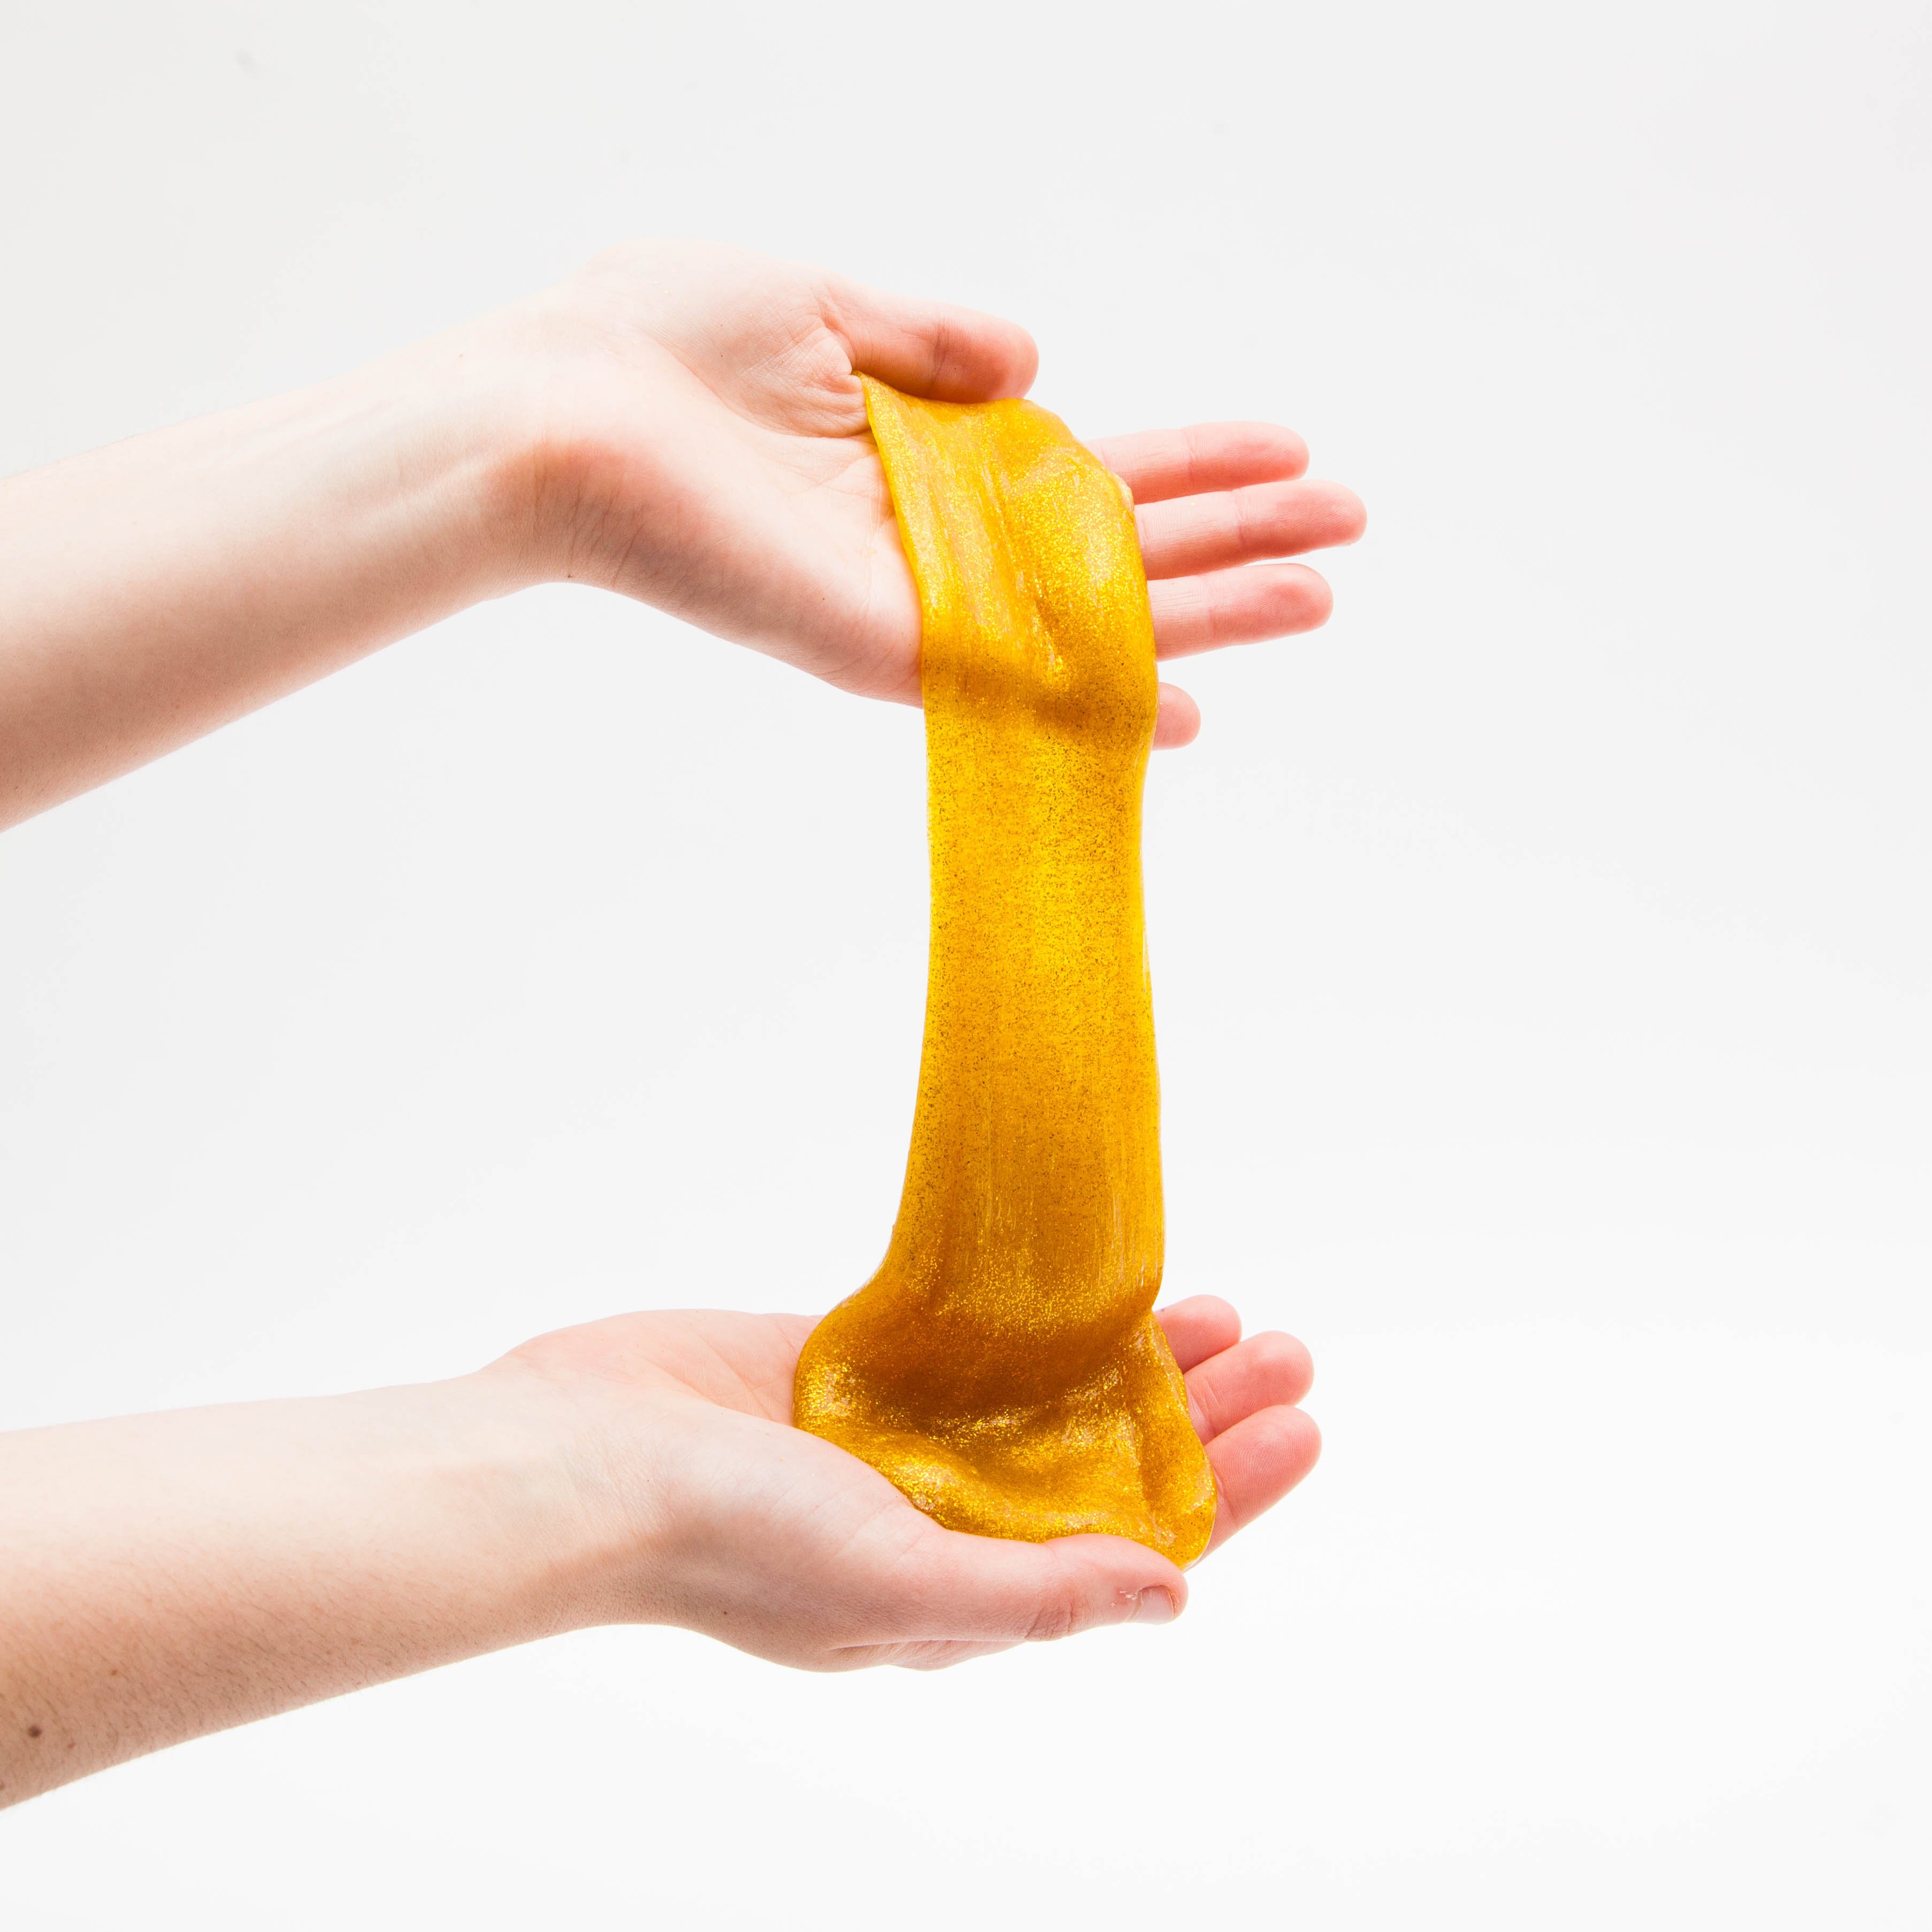
    Take the St. Patrick's Day slime out of the plastic bag, knead it a bit, and start playing!

    Photo reference of how to complete step 7

  • Tip

    To keep your St Patrick's Day slime from drying out, store it in a plastic bag.

You might also like

Top categoriesBurst graphic

Share what you made & tag us at!

;