Step-by-step tutorial
Step 1
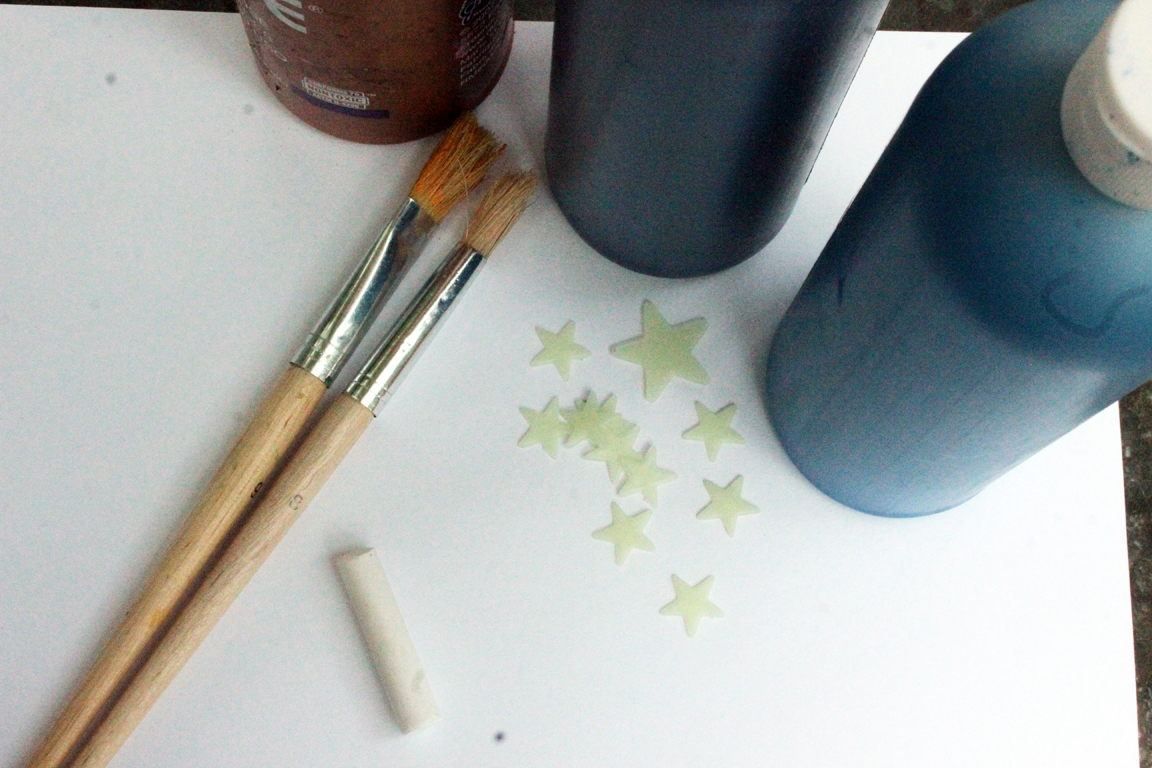
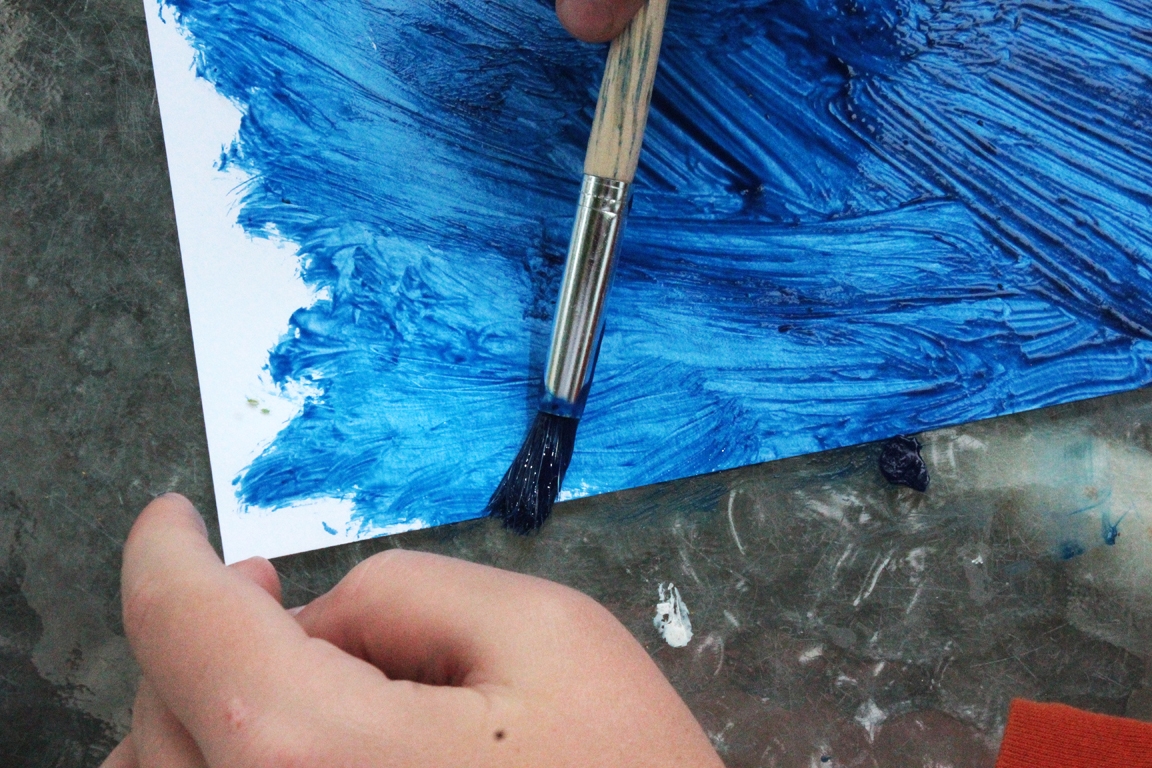
You can save a step and use dark paper, or you can paint a beautiful nighttime sky on a piece of heavy paper. We chose to paint!

Step 2
While the paint was drying, the children looked through our constellations book to find one they knew or one they were interested in learning about. We read the story and set to work.
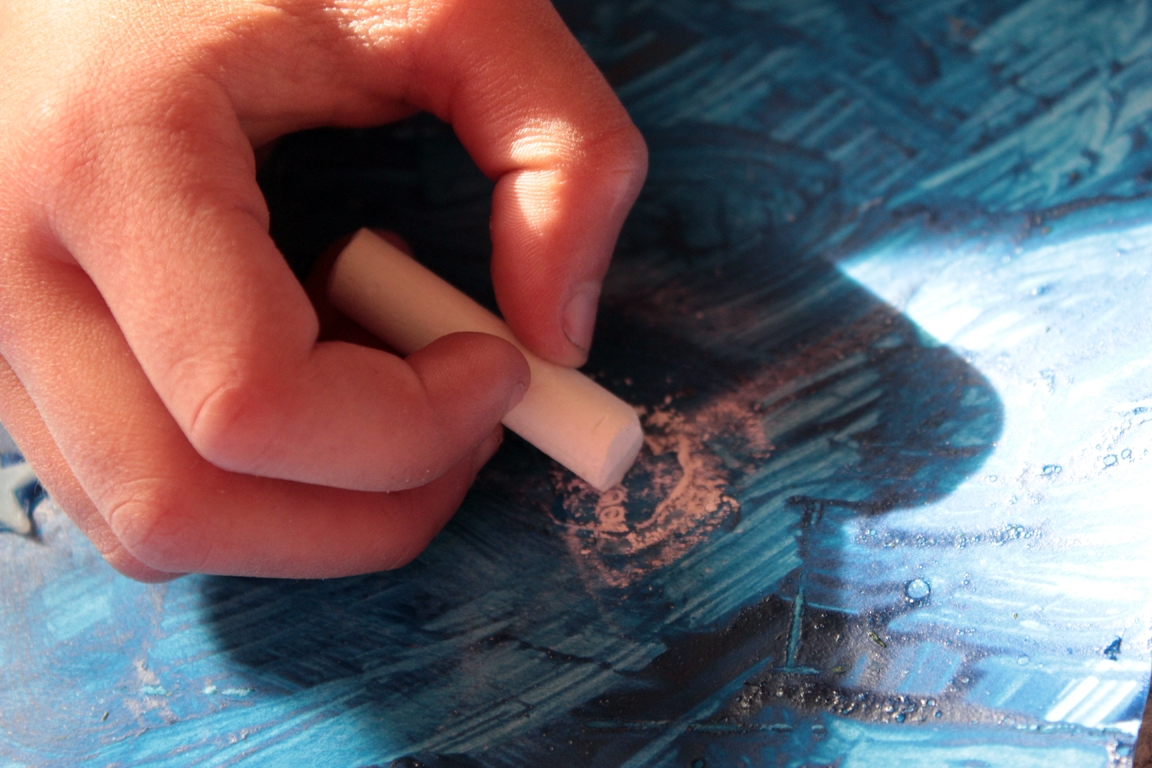
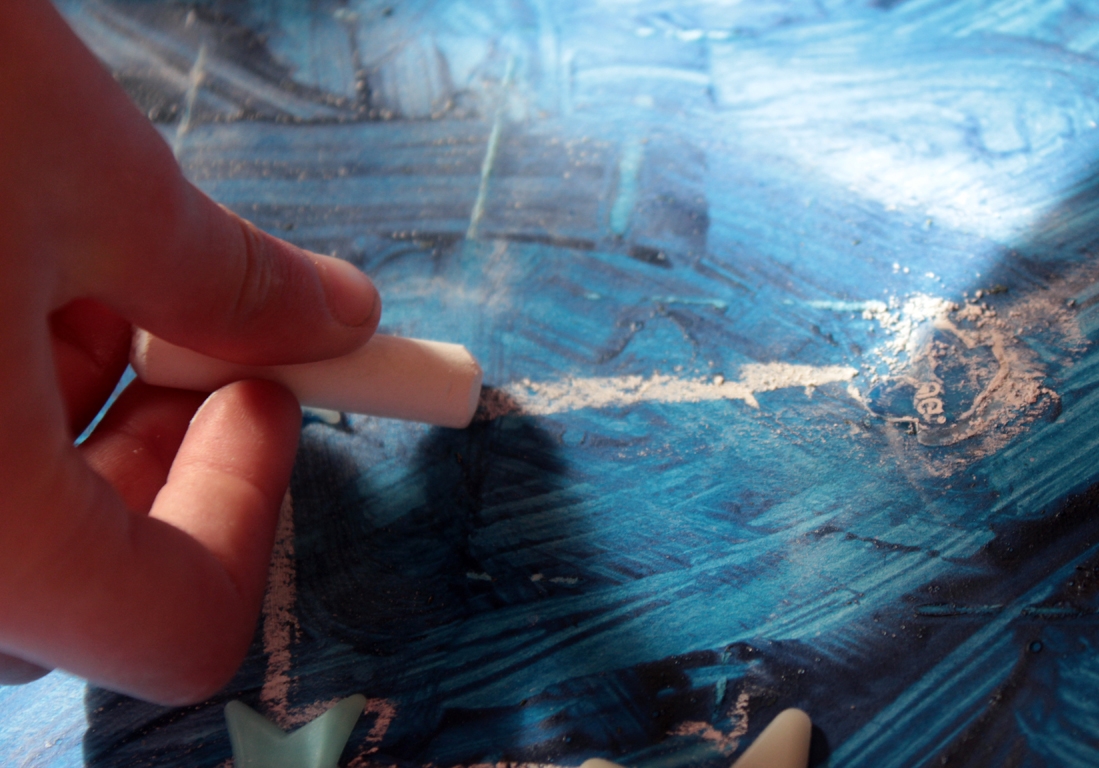
Step 3
First, they decided which stars should be represented by larger stars, and which by smaller ones. (Easier to map them that way, you know!) They drew small and larger circles for the stars with chalk. Chalk works well because it's easy to erase on the paint if you make a mistake. And since we were going to be looking for constellations with these pictures, we wanted them to be accurate.
Step 4
After the stars were drawn we drew lines between them, showing the constellation shape. Sometimes, during this process, they needed help to get the direction and dimensions right. Map-making is a very precise craft!
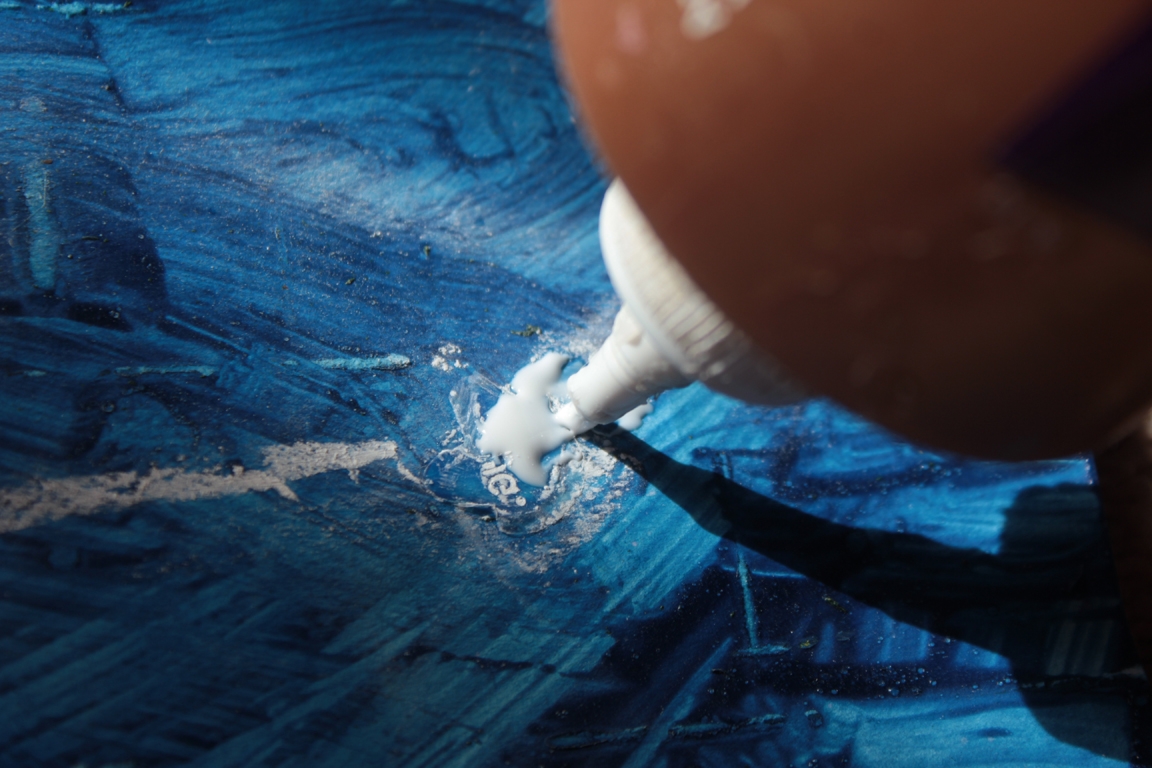
Step 5
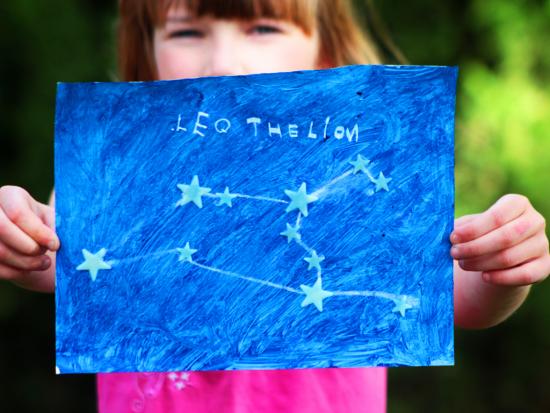
Lastly the stars were glued on where they should go.....
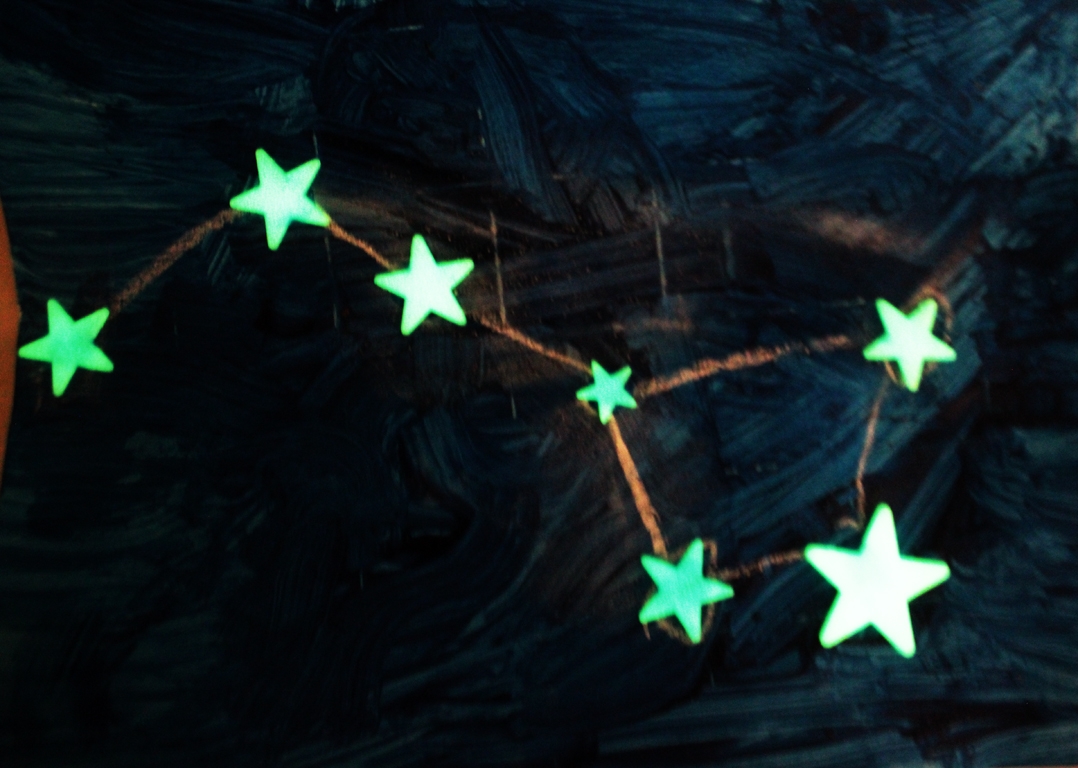
Final result!
and we had a map of the sky ready to go!