Step-by-step tutorial
Step 1
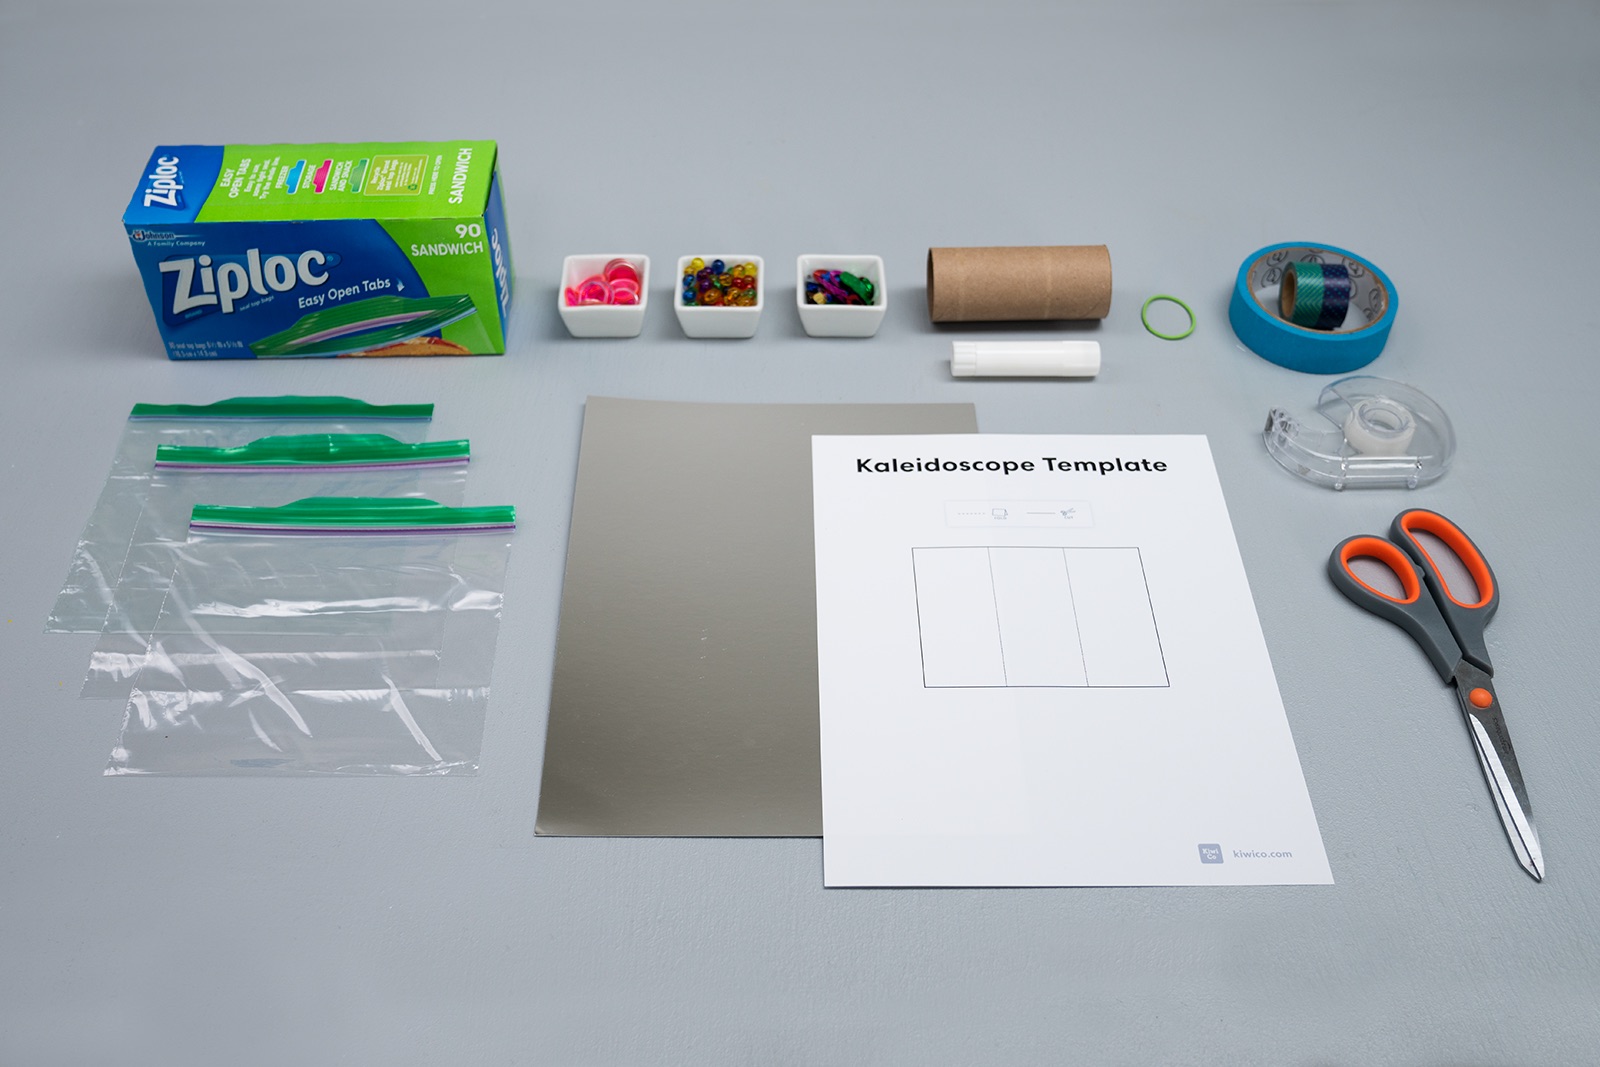
Gather your materials.

Step 2
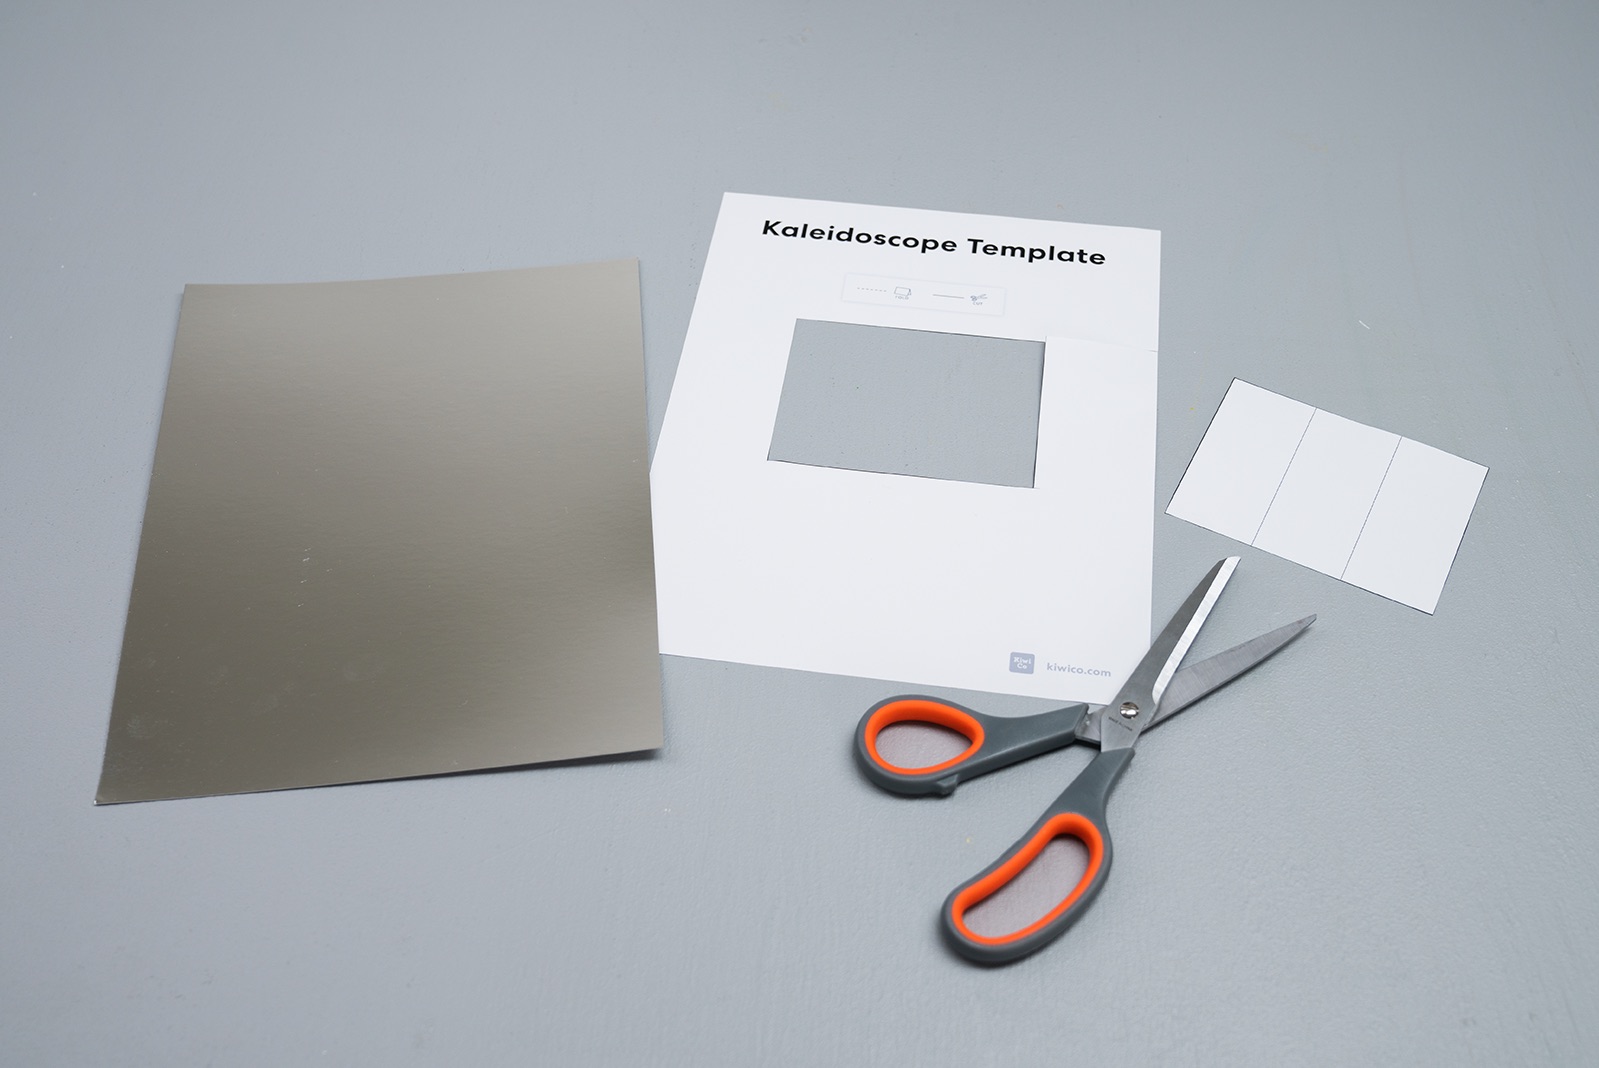
In the kaleidoscope printable, cut along the solid lines to cut out the template. (This will help you form the reflective triangular tube that goes insides the kaleidoscope.)
Step 3
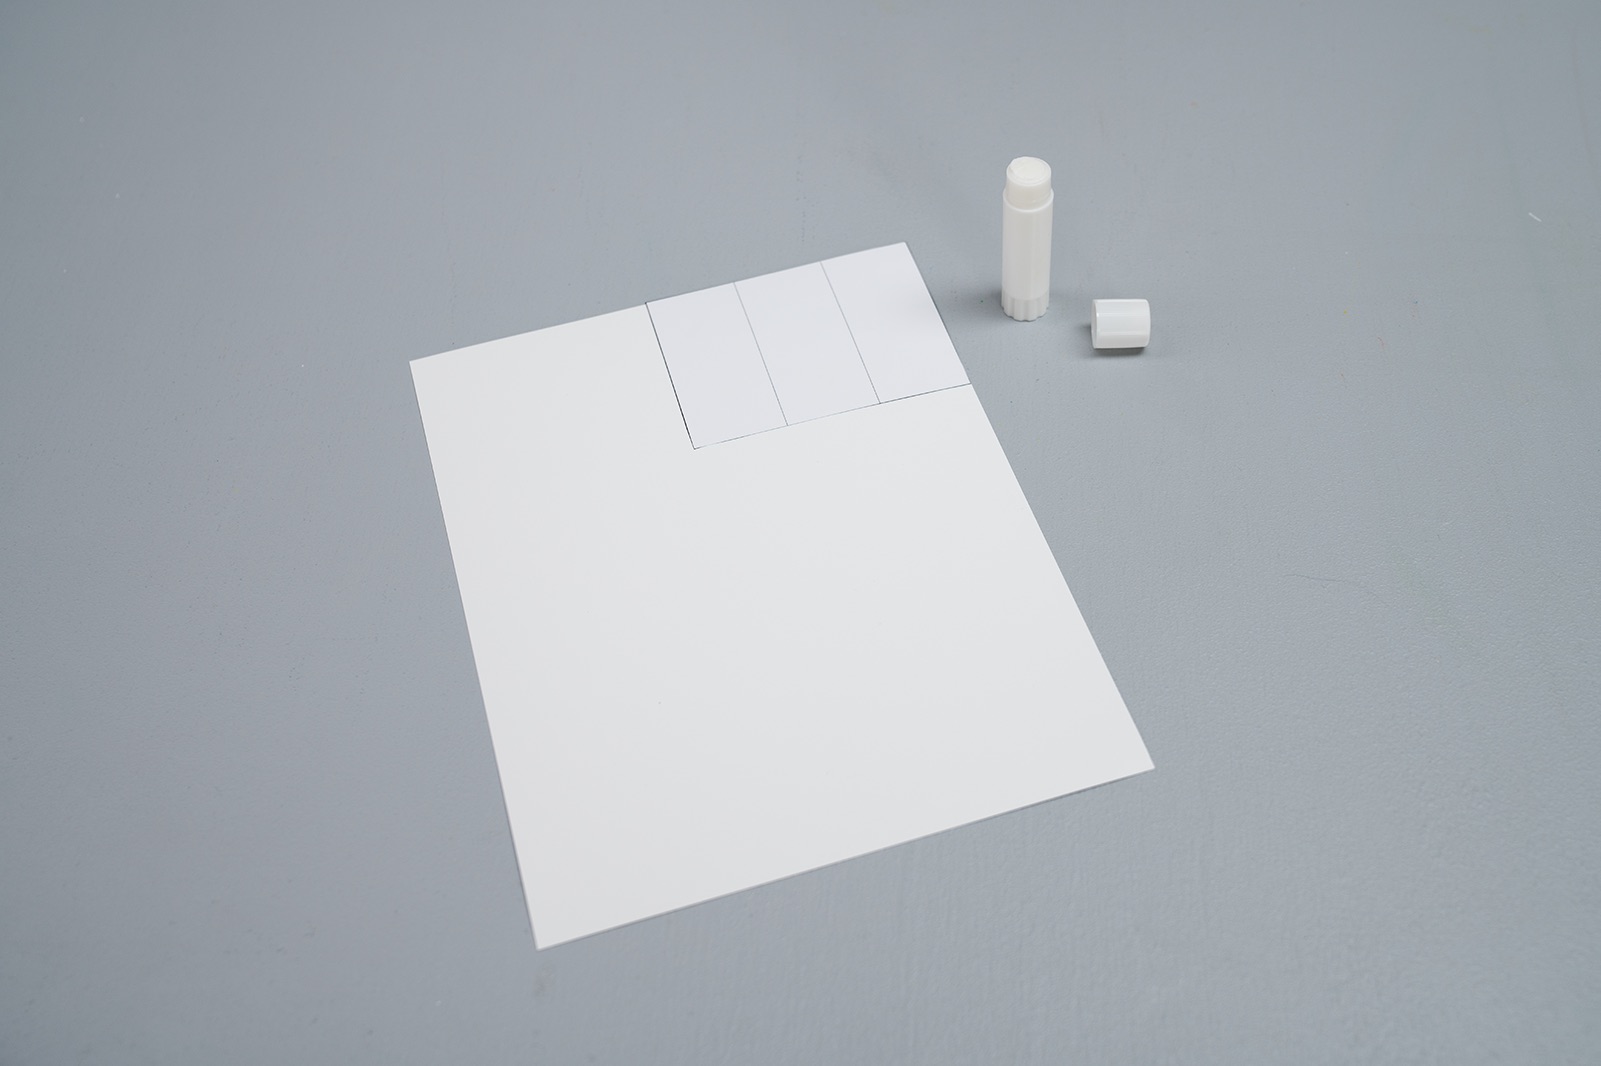
Glue the template onto the back (non-reflective) side of the reflective paper.
Step 4
Cut out the reflective paper along the edges of the template.
Step 5
Fold your reflective paper along the dotted lines of the template. Make sure that the reflective side is facing inside the triangular tube and the plain template is facing the outside.
Step 6
Tape the edges together to make the triangular tube.

Step 7
Insert the triangle into your toilet paper roll. It should fit snugly inside. Push the triangular tube all the way to the end of the roll, so the ends are aligned.
Step 8
Decorate the tube with the colorful tape.
Step 9
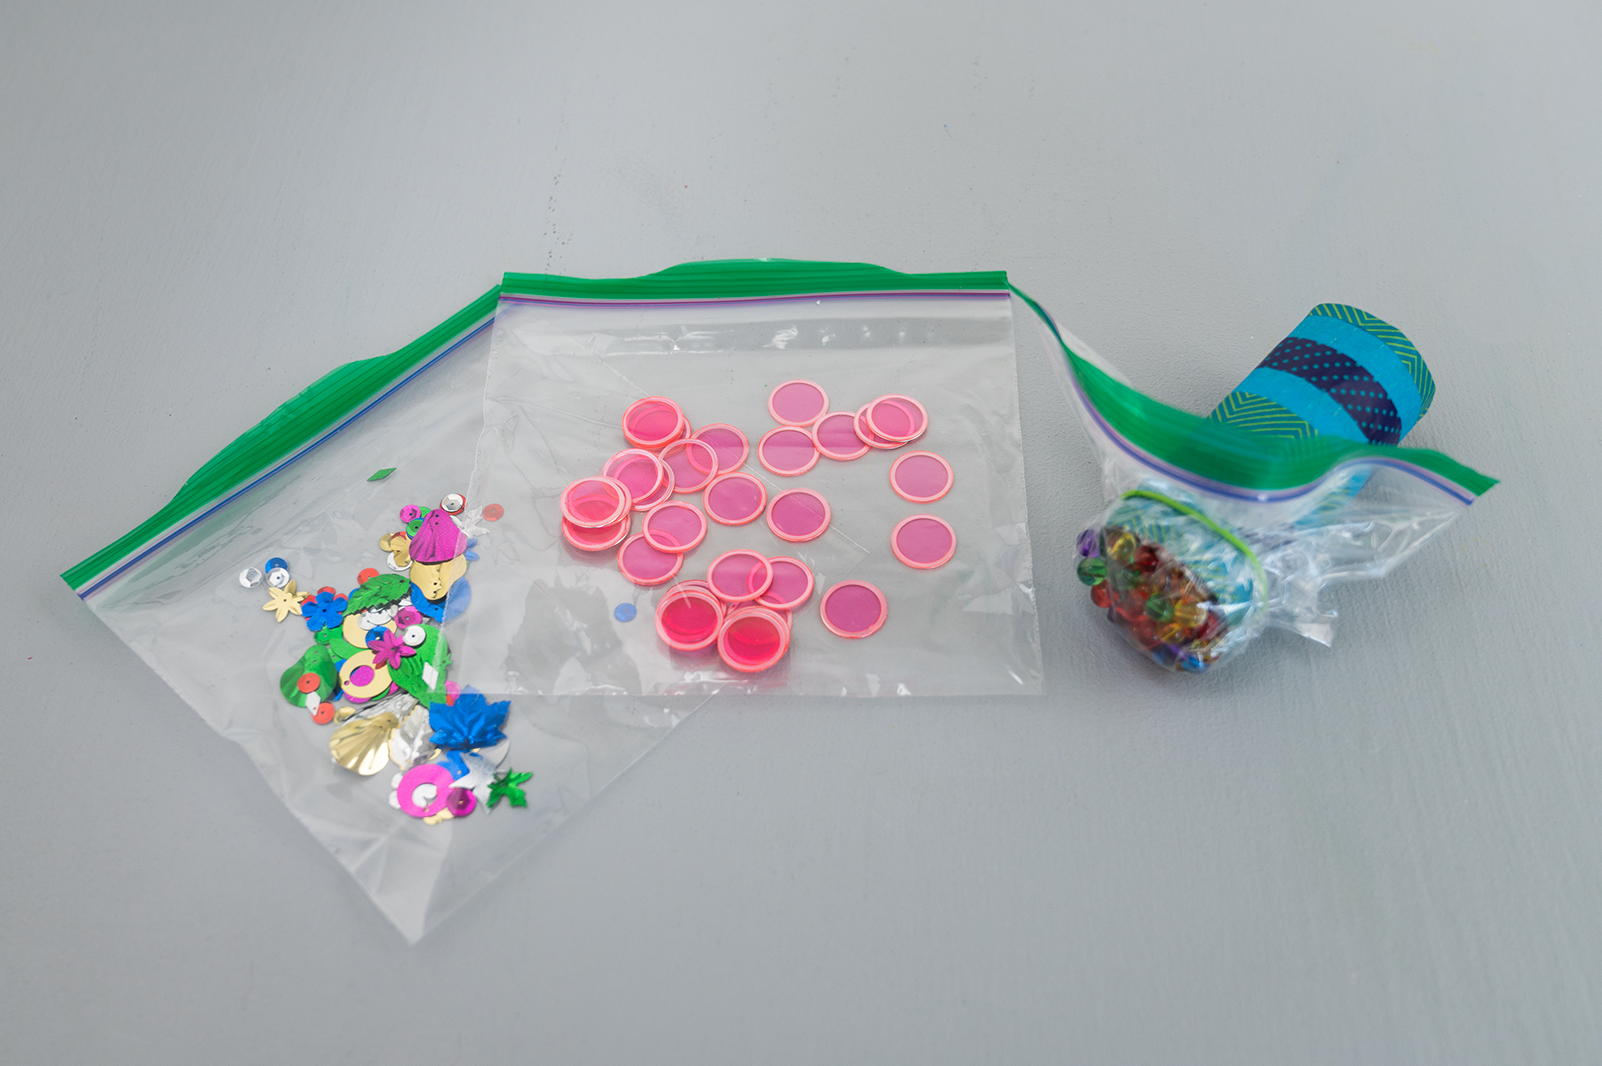
Fill your Ziploc® brand bags with different small items, like sequins or glitter or beads (avoid using any sharp items). Try using some objects that you can see through and some that you can’t. See which type works best. Use a rubber band to securethe bag over the end where the triangular tube and cardboard roll are aligned.
Step 10
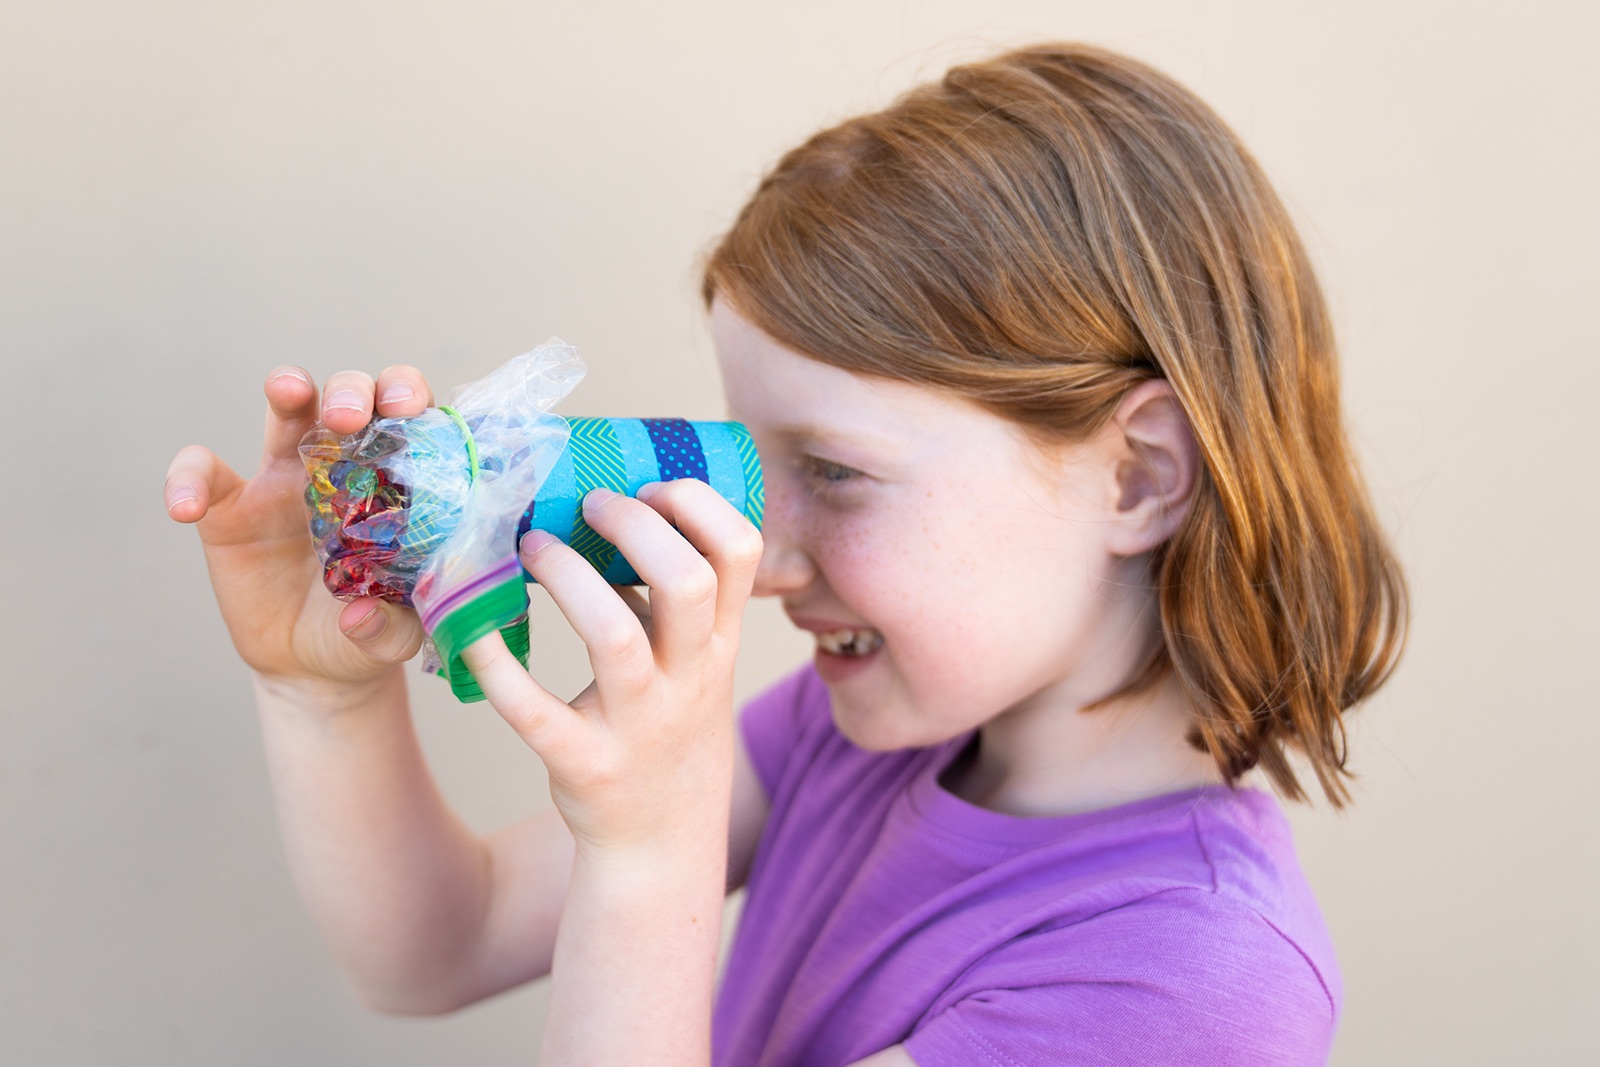
Look through the opposite end and point the kaleidoscope up to the light. Twist the bag around the roll and see the beautiful shapes move around!
Learn more

The mirrors inside our kaleidoscope face each other. So when light enters the colorful side, it bounces off of the mirrors and creates a pattern. If we move the mirrors, we change the angle, and the reflected pattern changes. And if you change the thing that is reflected in the mirror, you get a new pattern. Try placing objects of different materials over the tube. What happens then?


