Step-by-step tutorial
Step 1
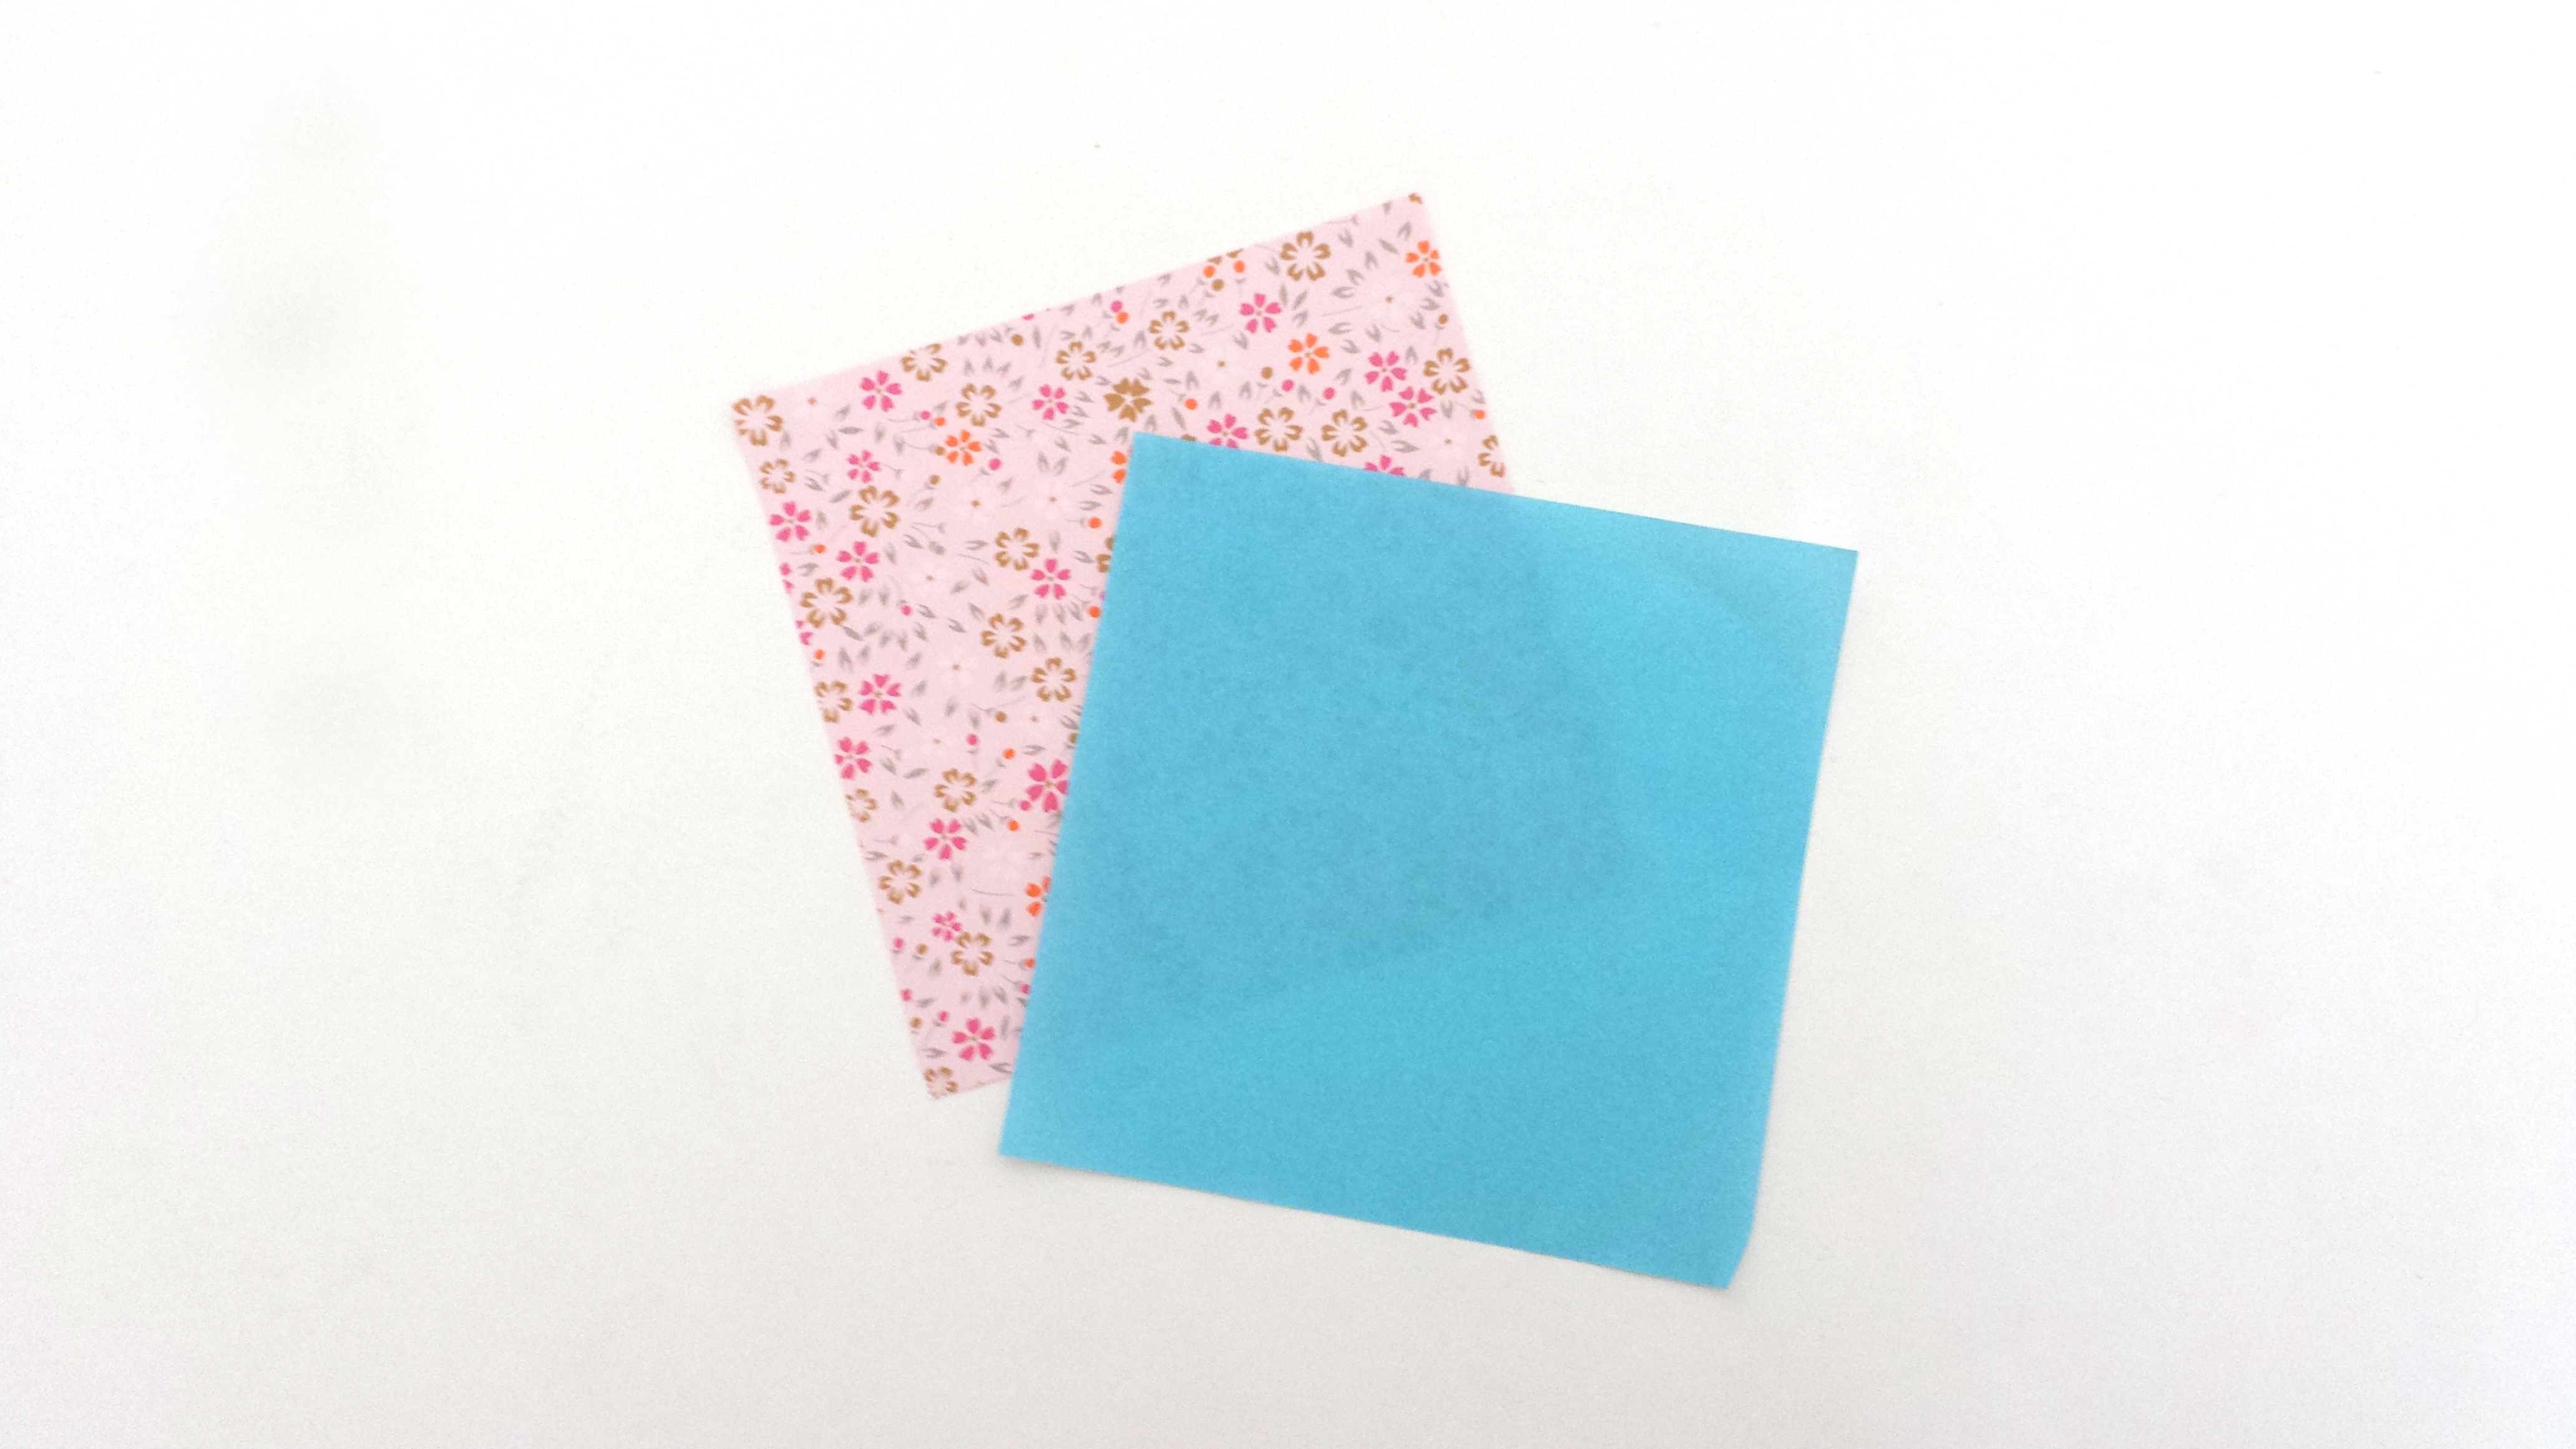
Take 2 pieces of paper. Use different colors for a more whimsical look.

Step 2
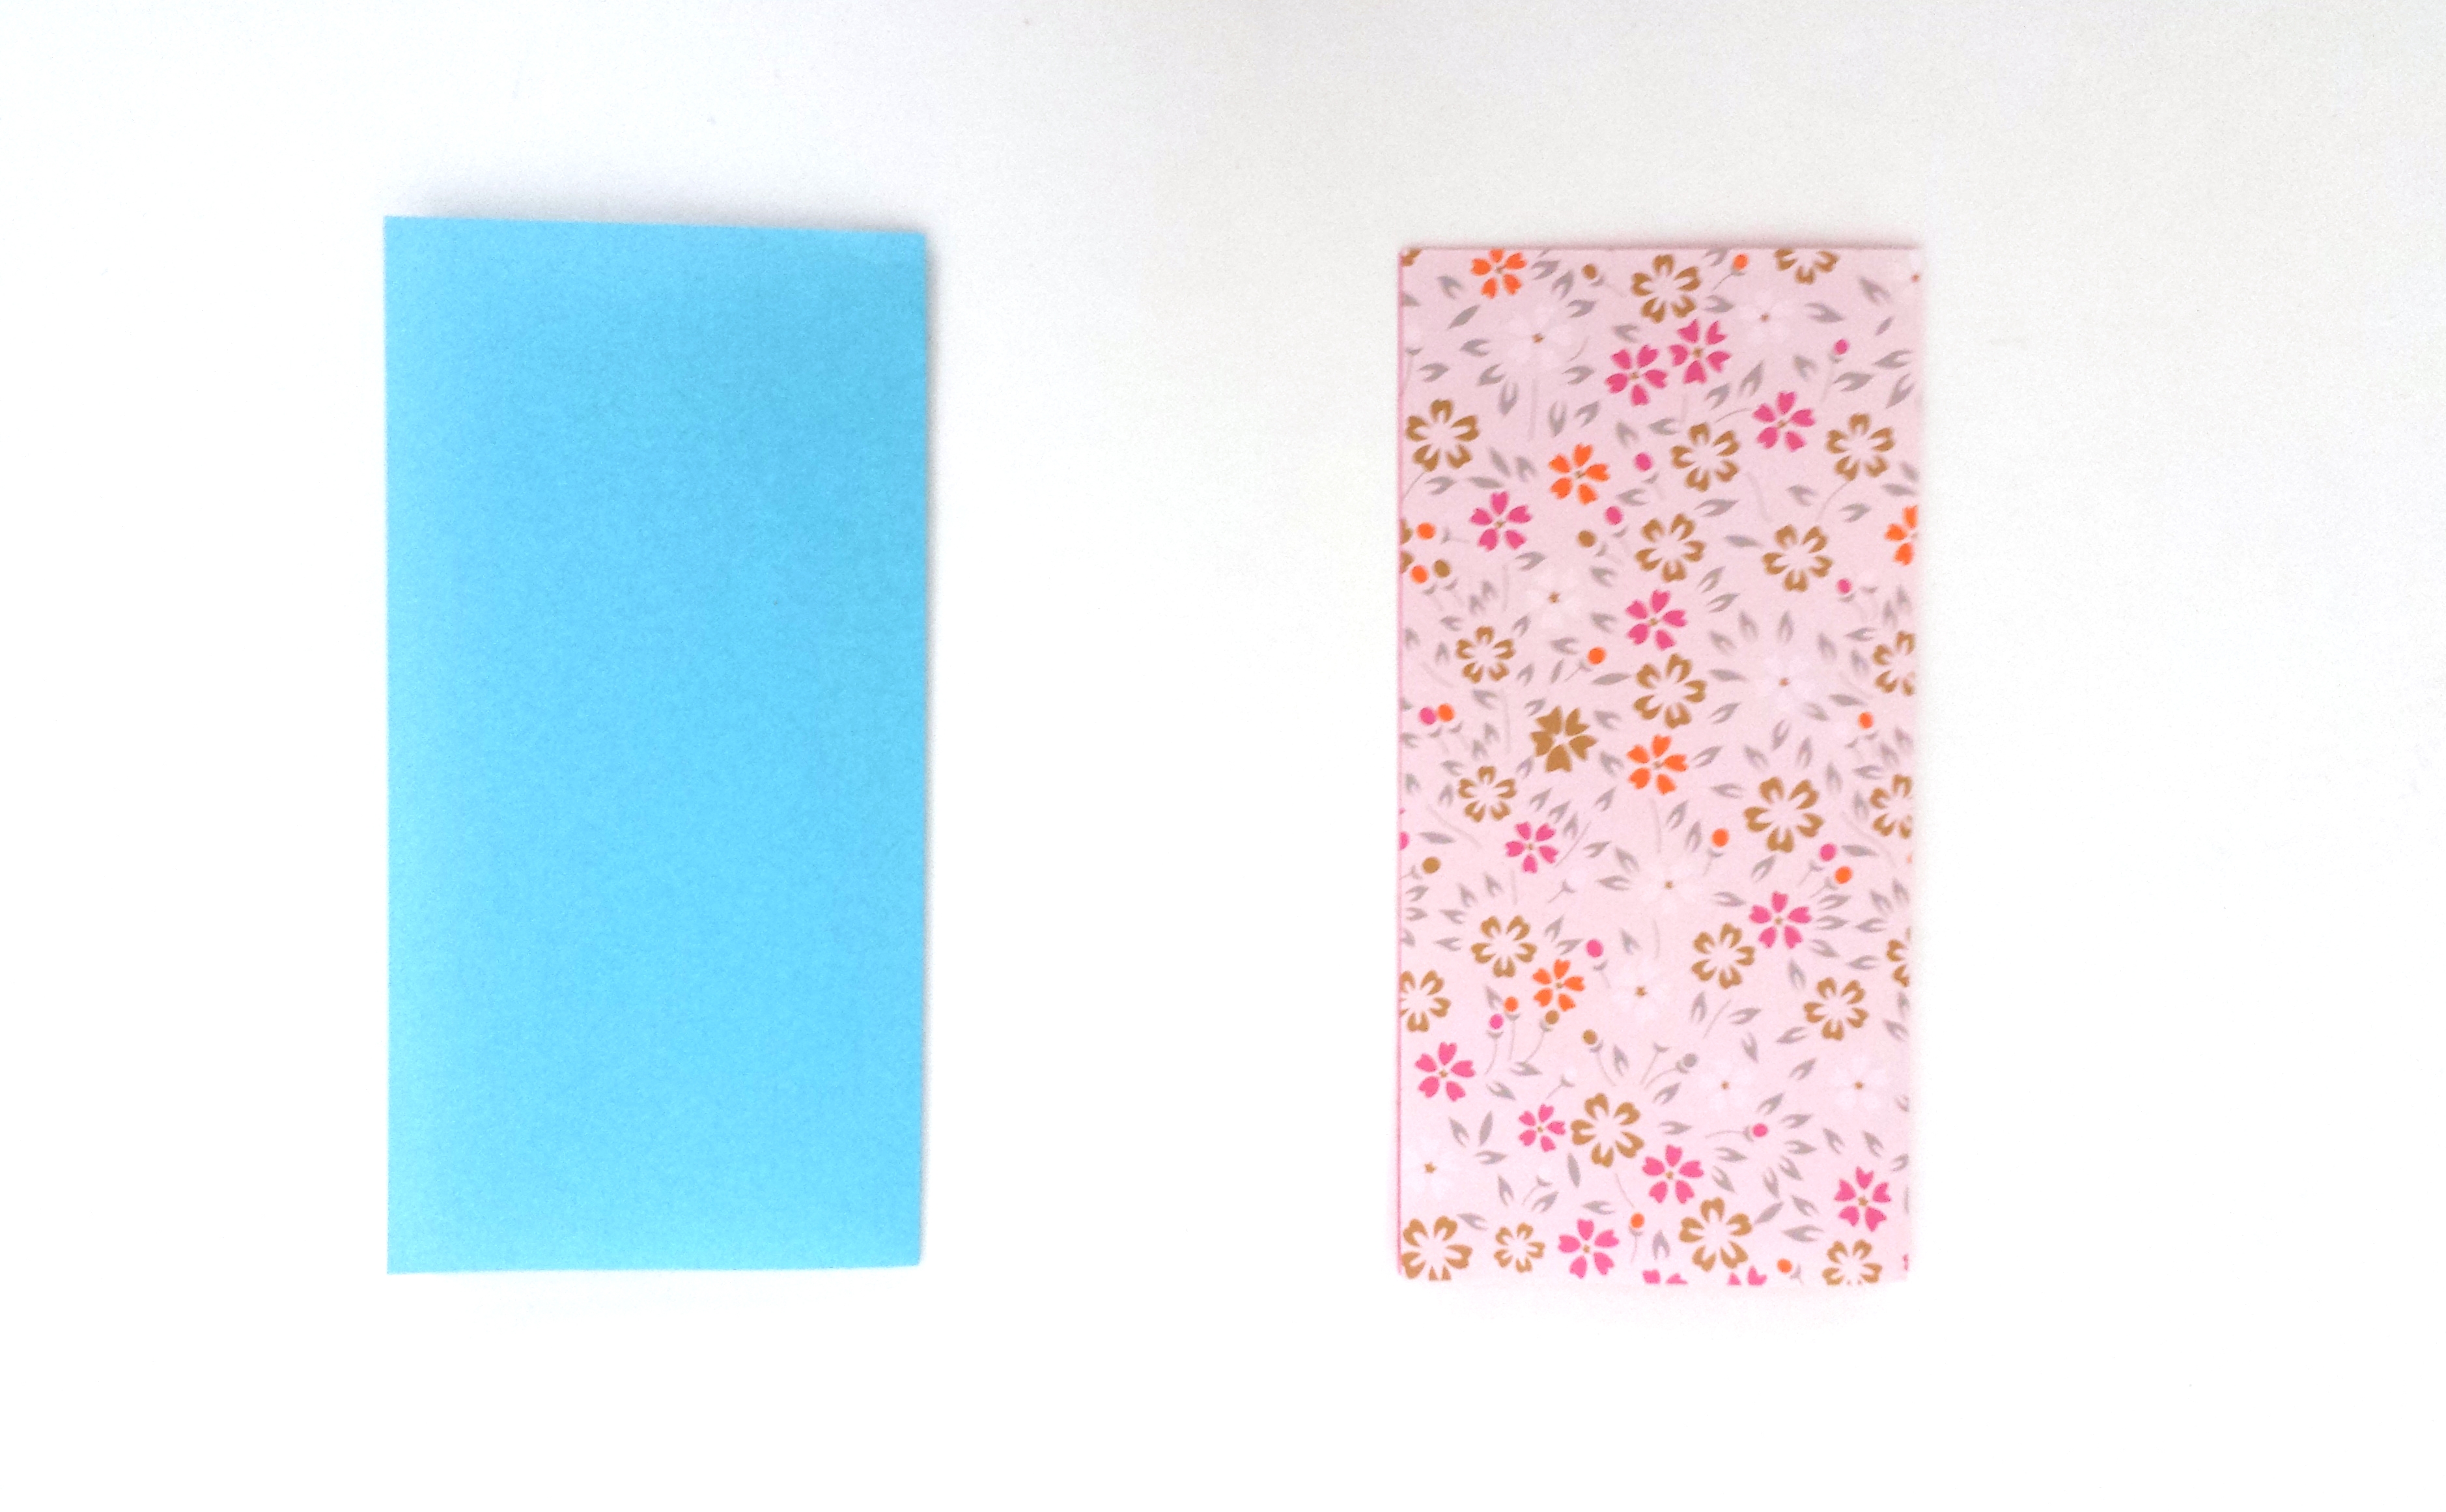
Fold in half, make a crease, then unfold
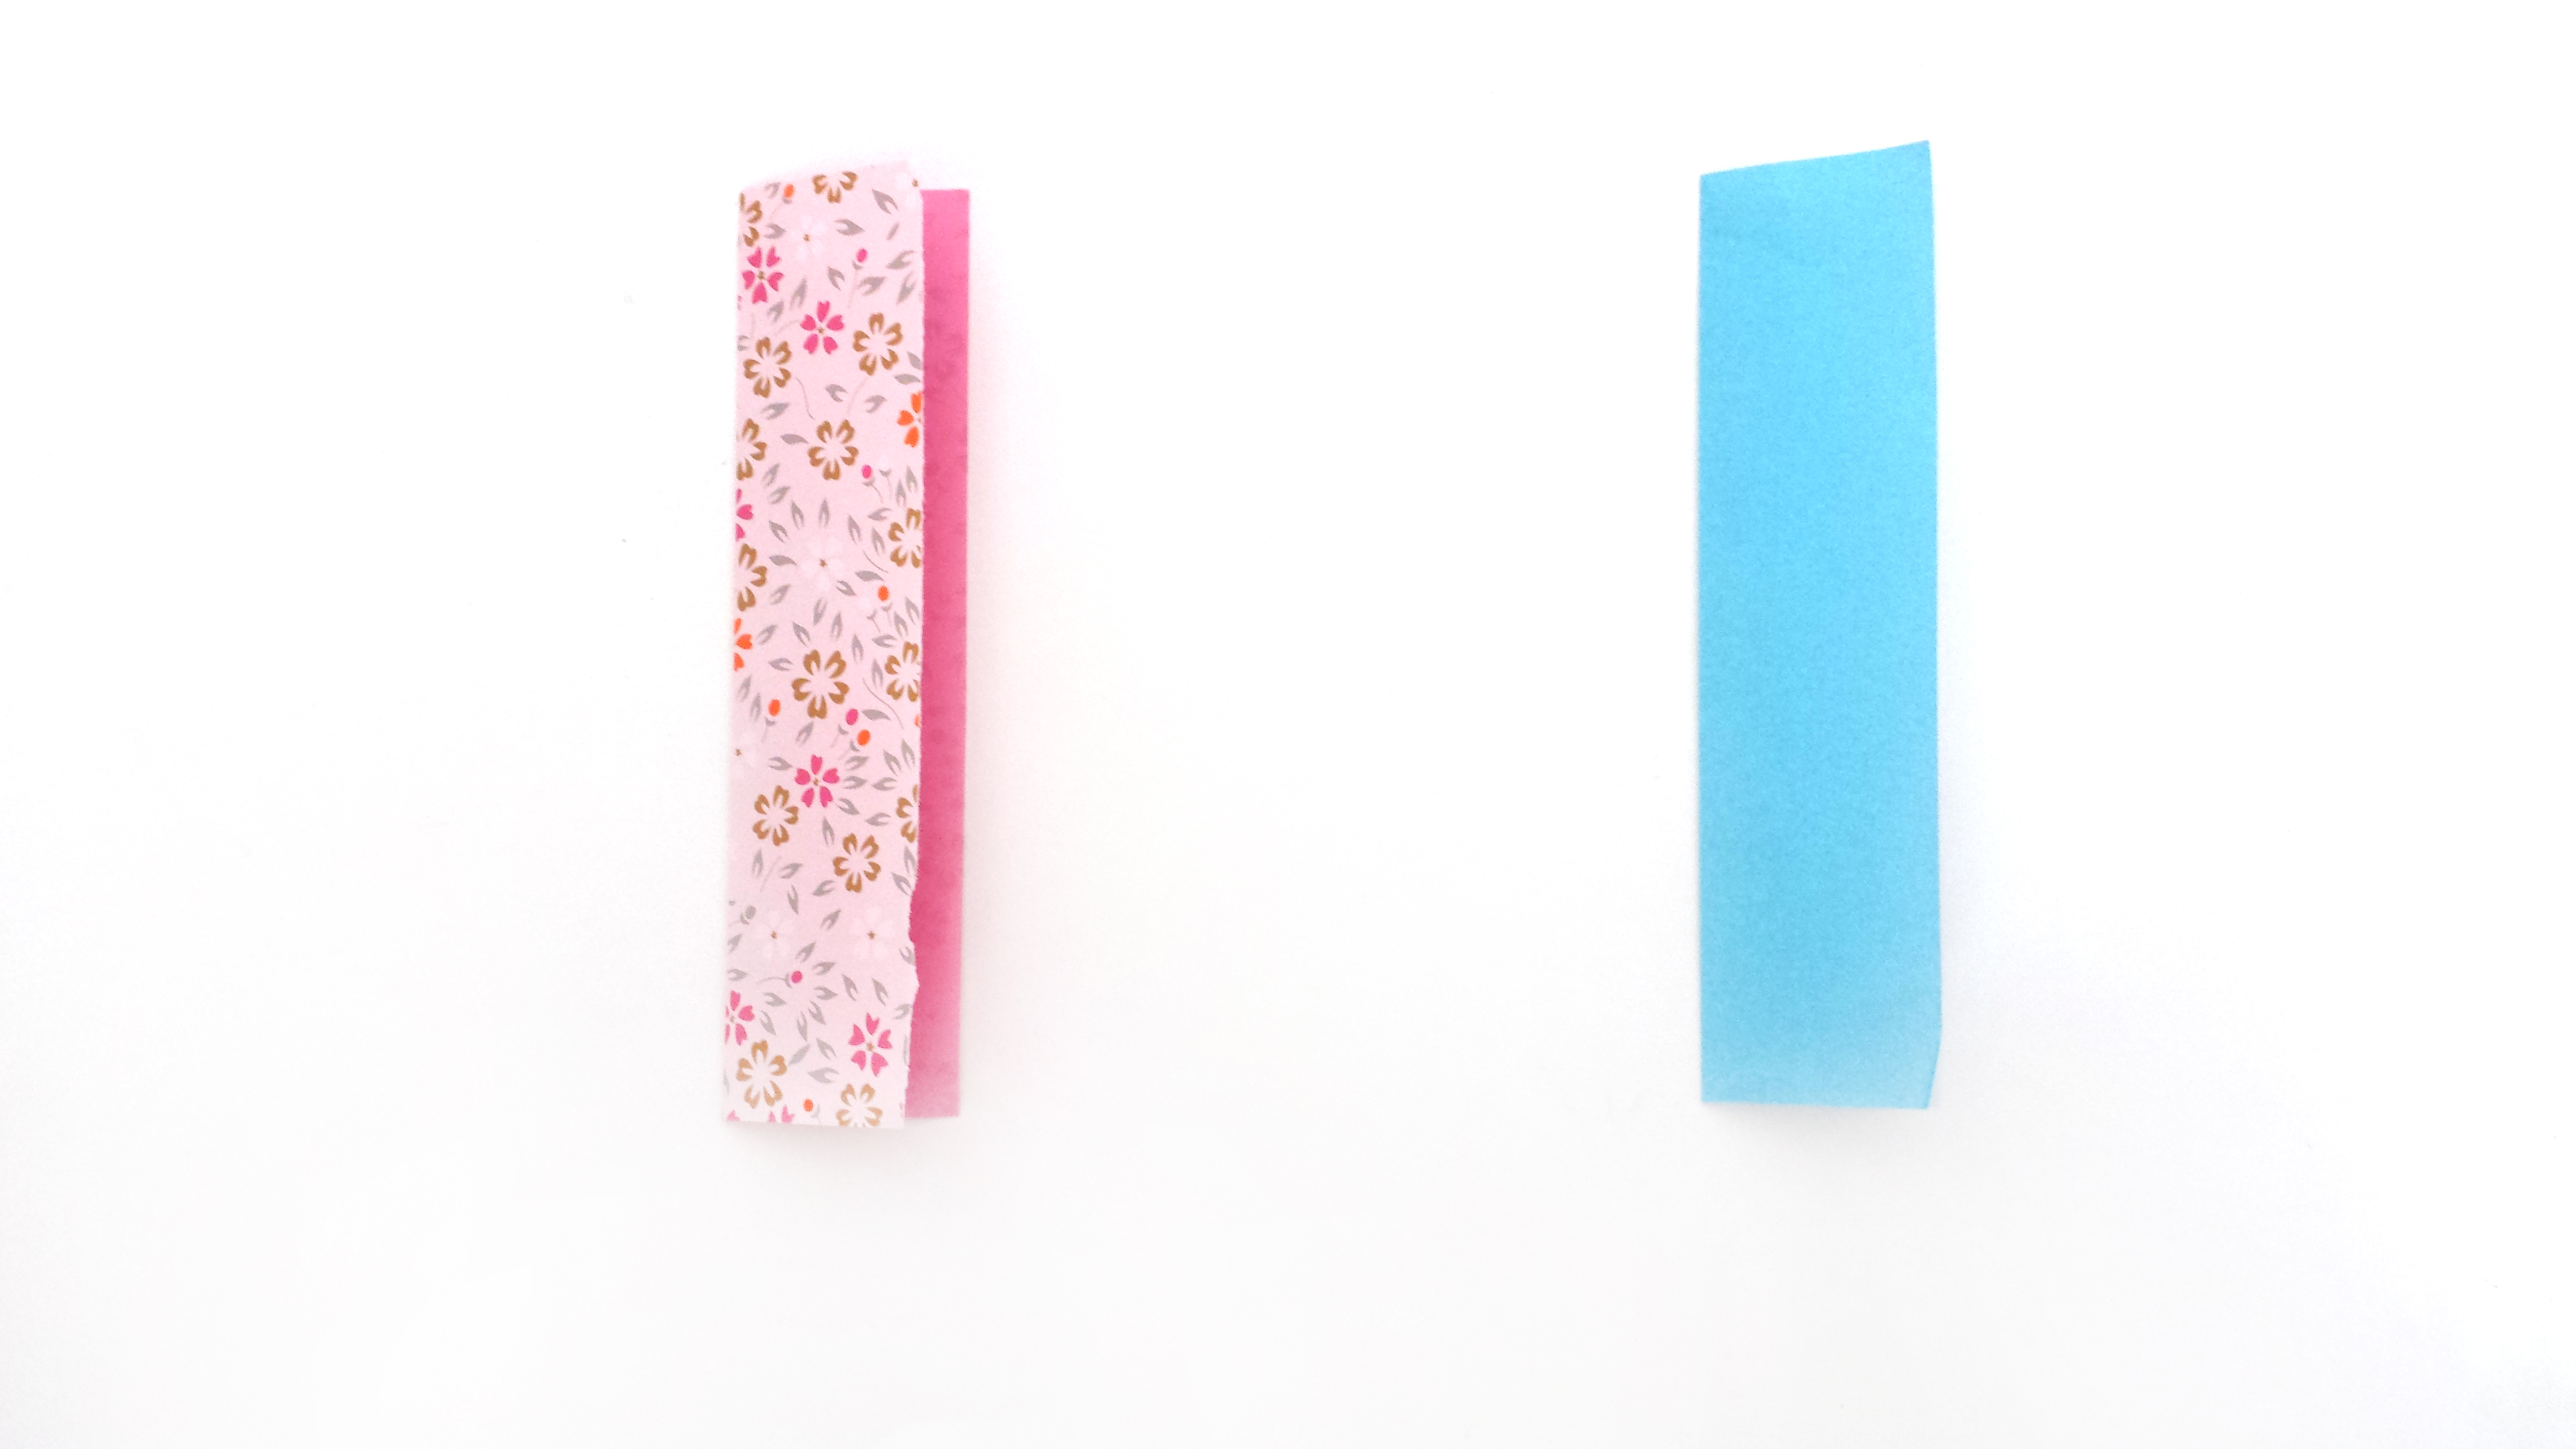
Step 3
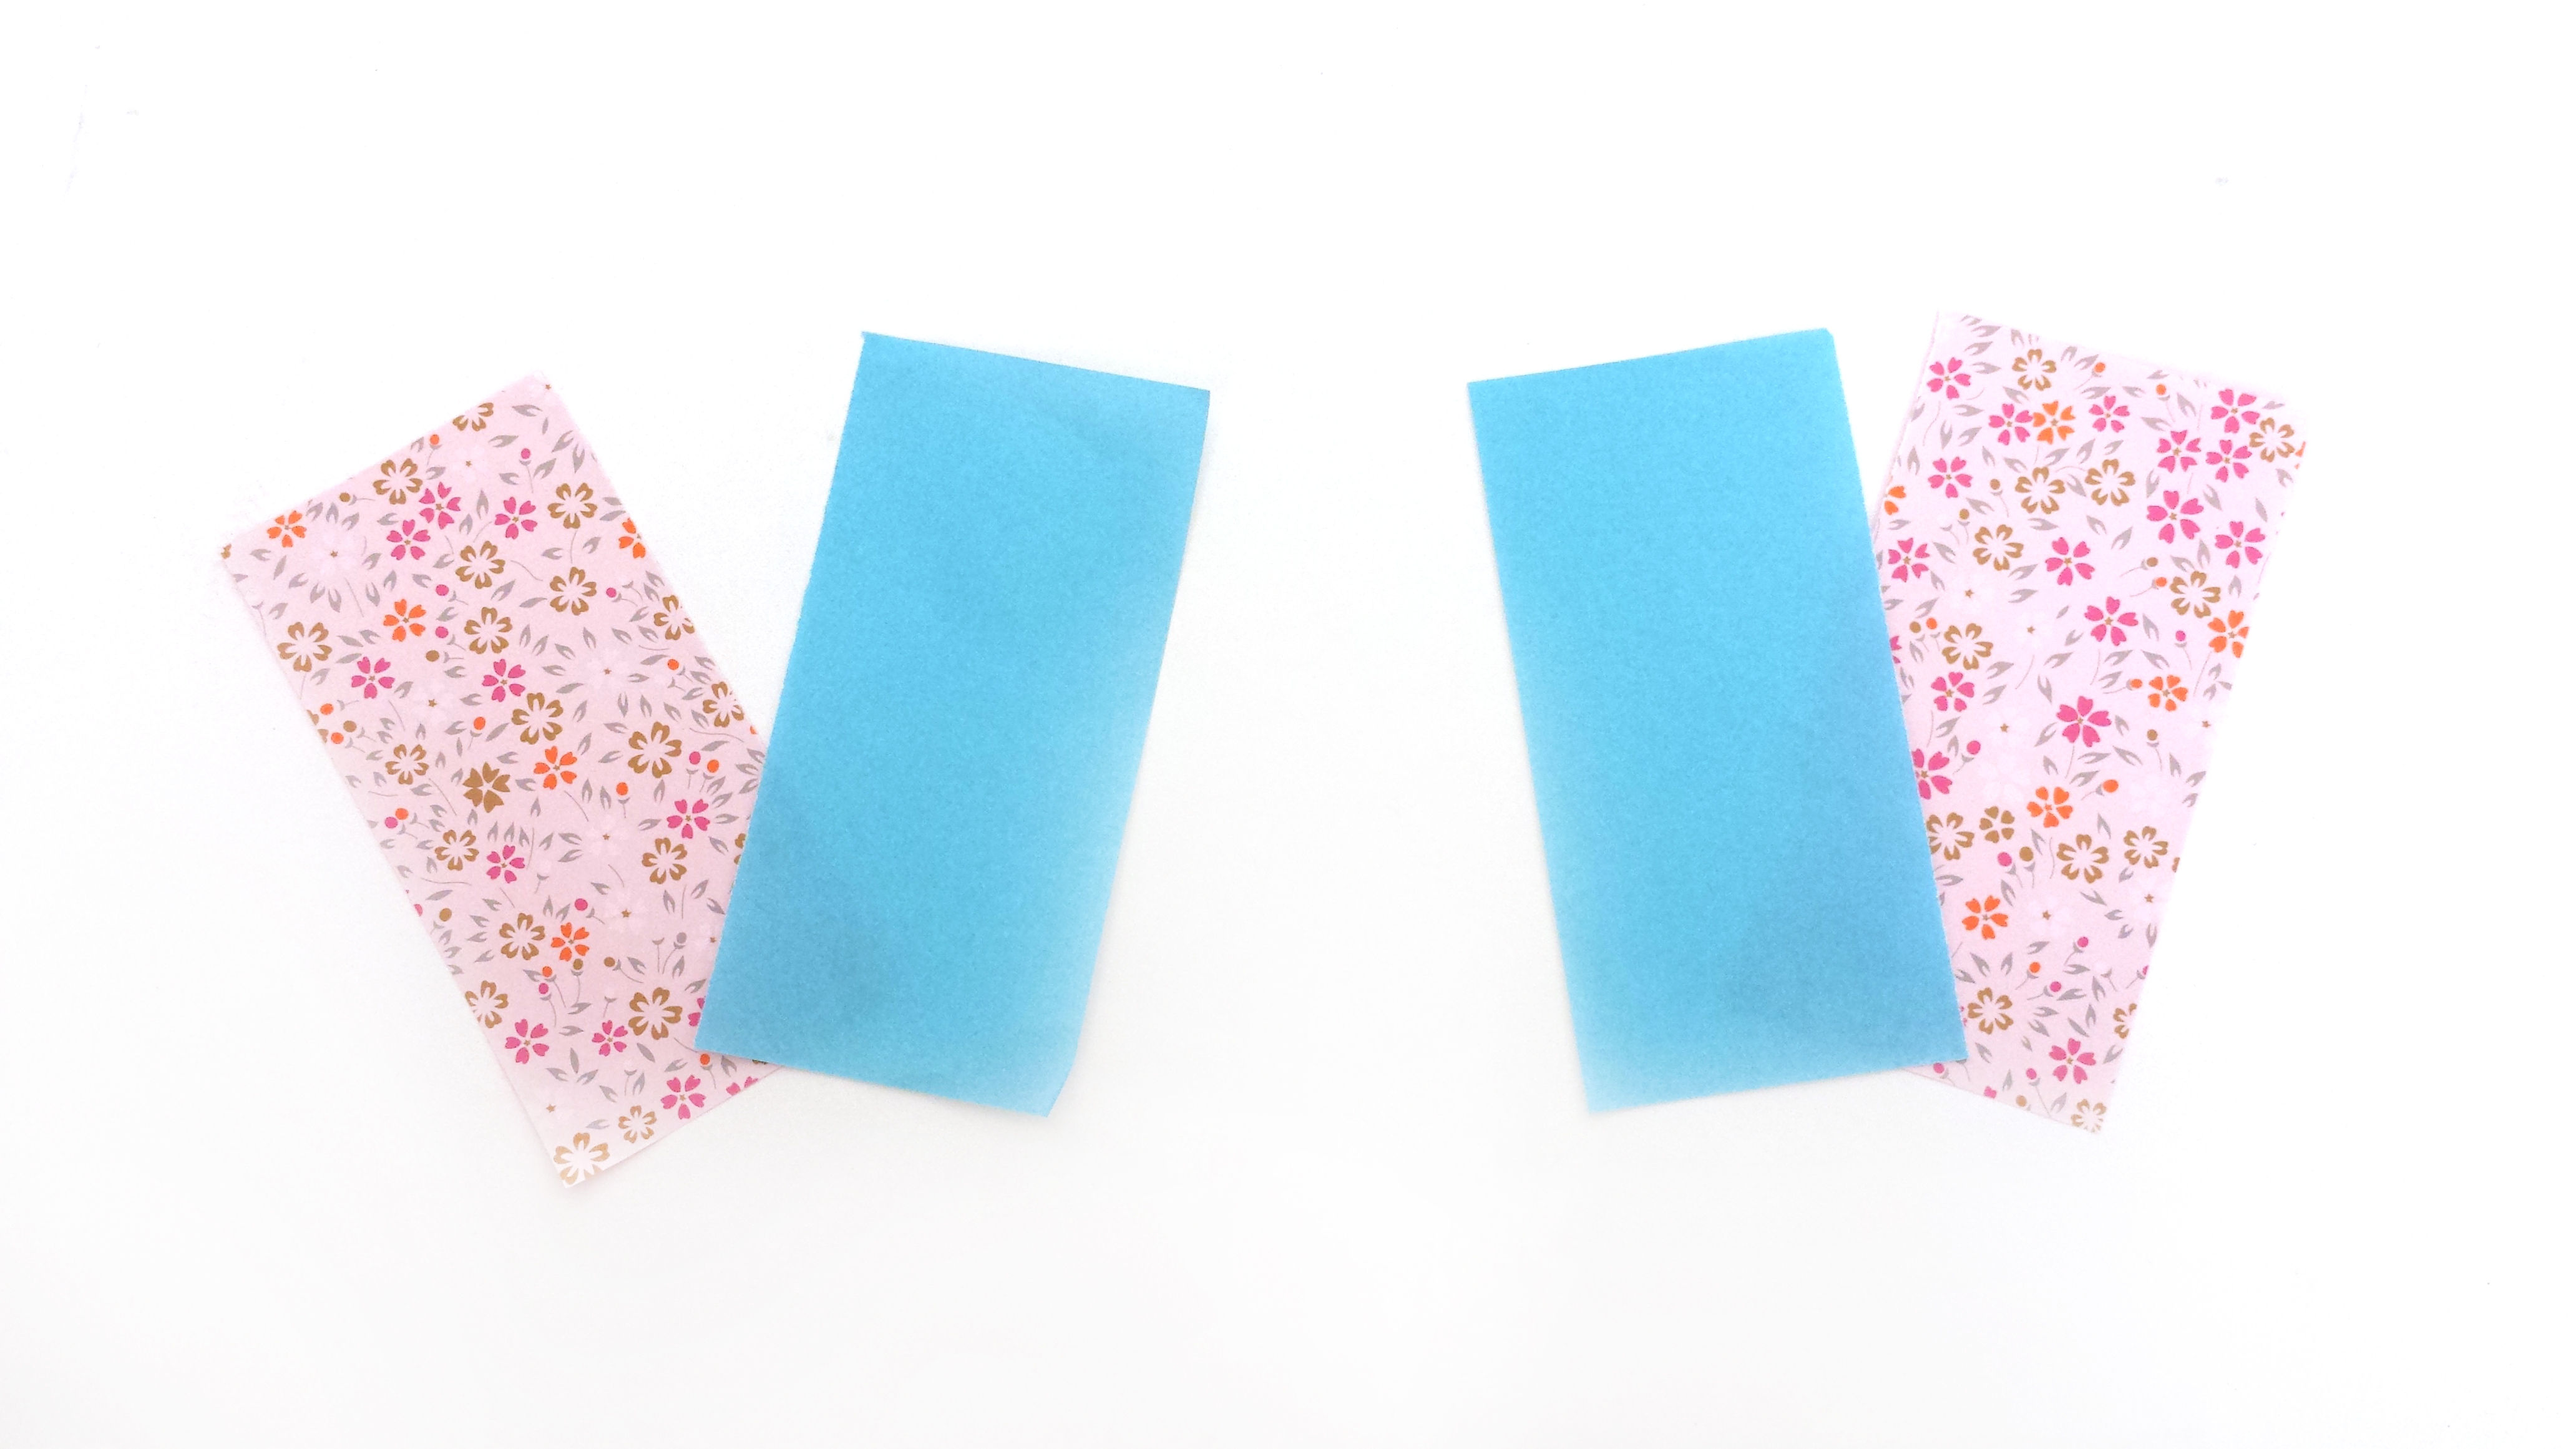
Tear along this crease to get two pieces of each paper. Put aside one set and work with the others first.
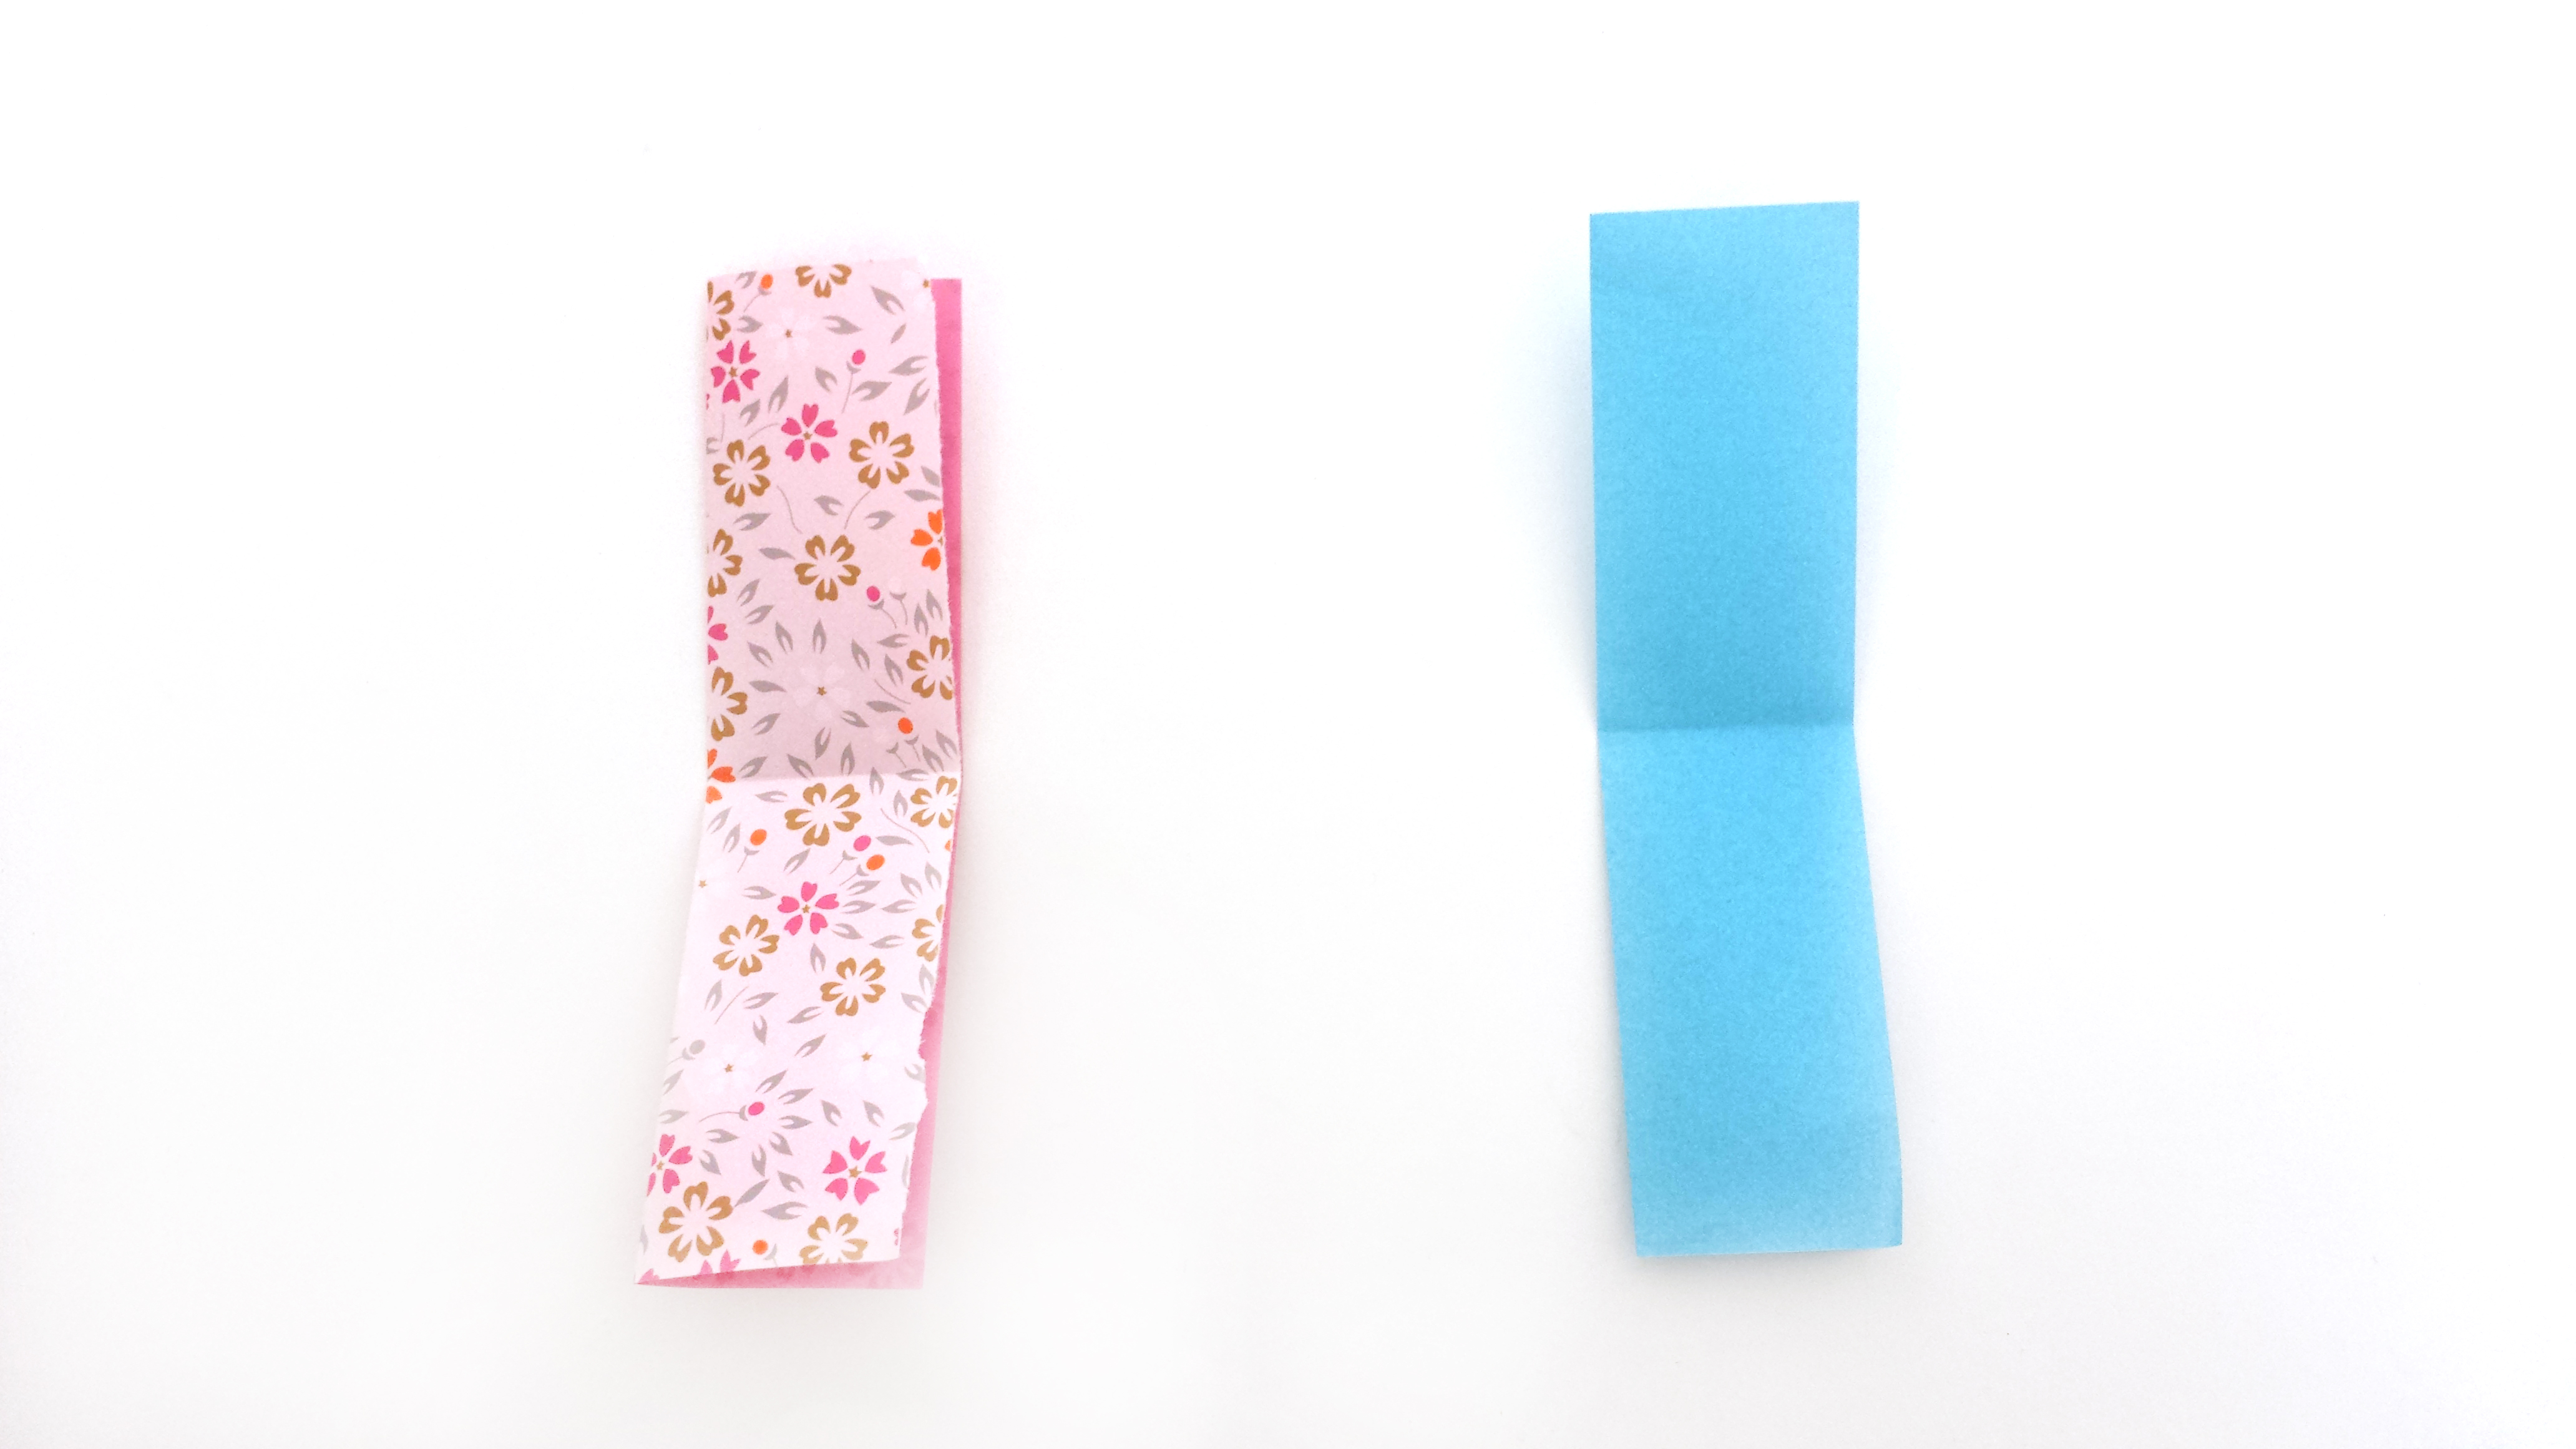
Step 4
Fold lengthwise to get 2 skinny pieces
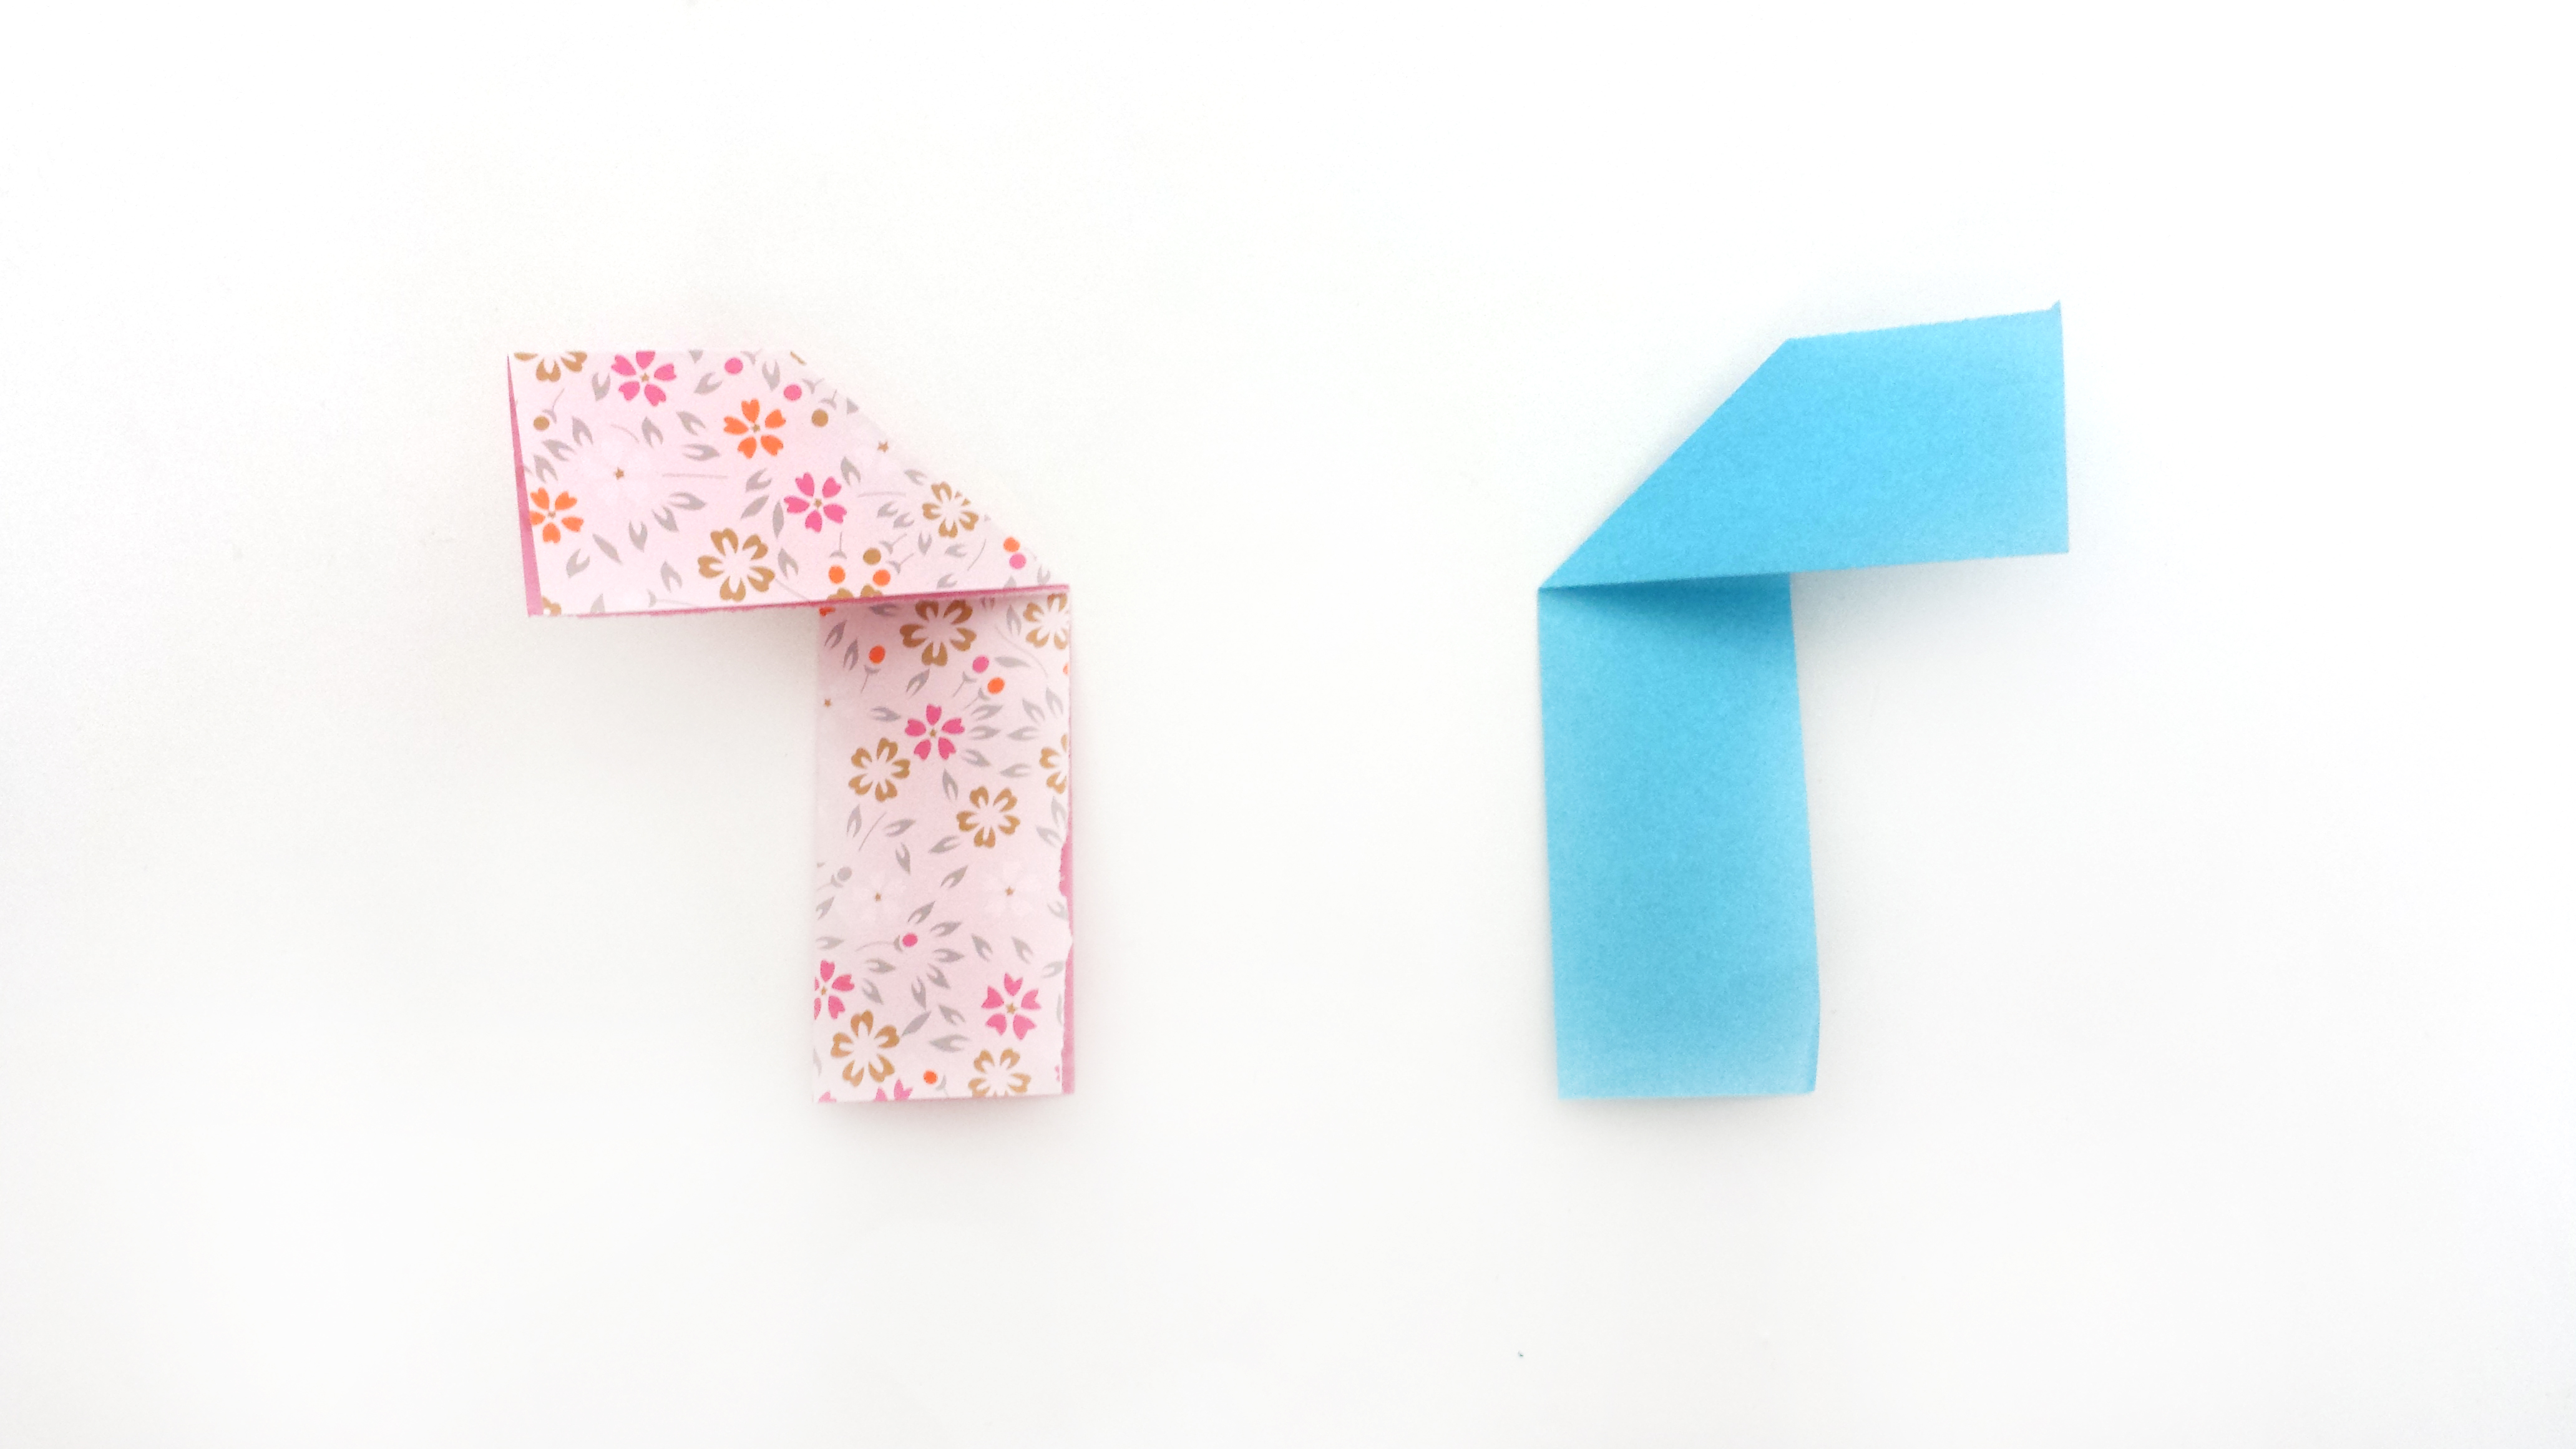
Step 5
Fold down, crease, then unfold
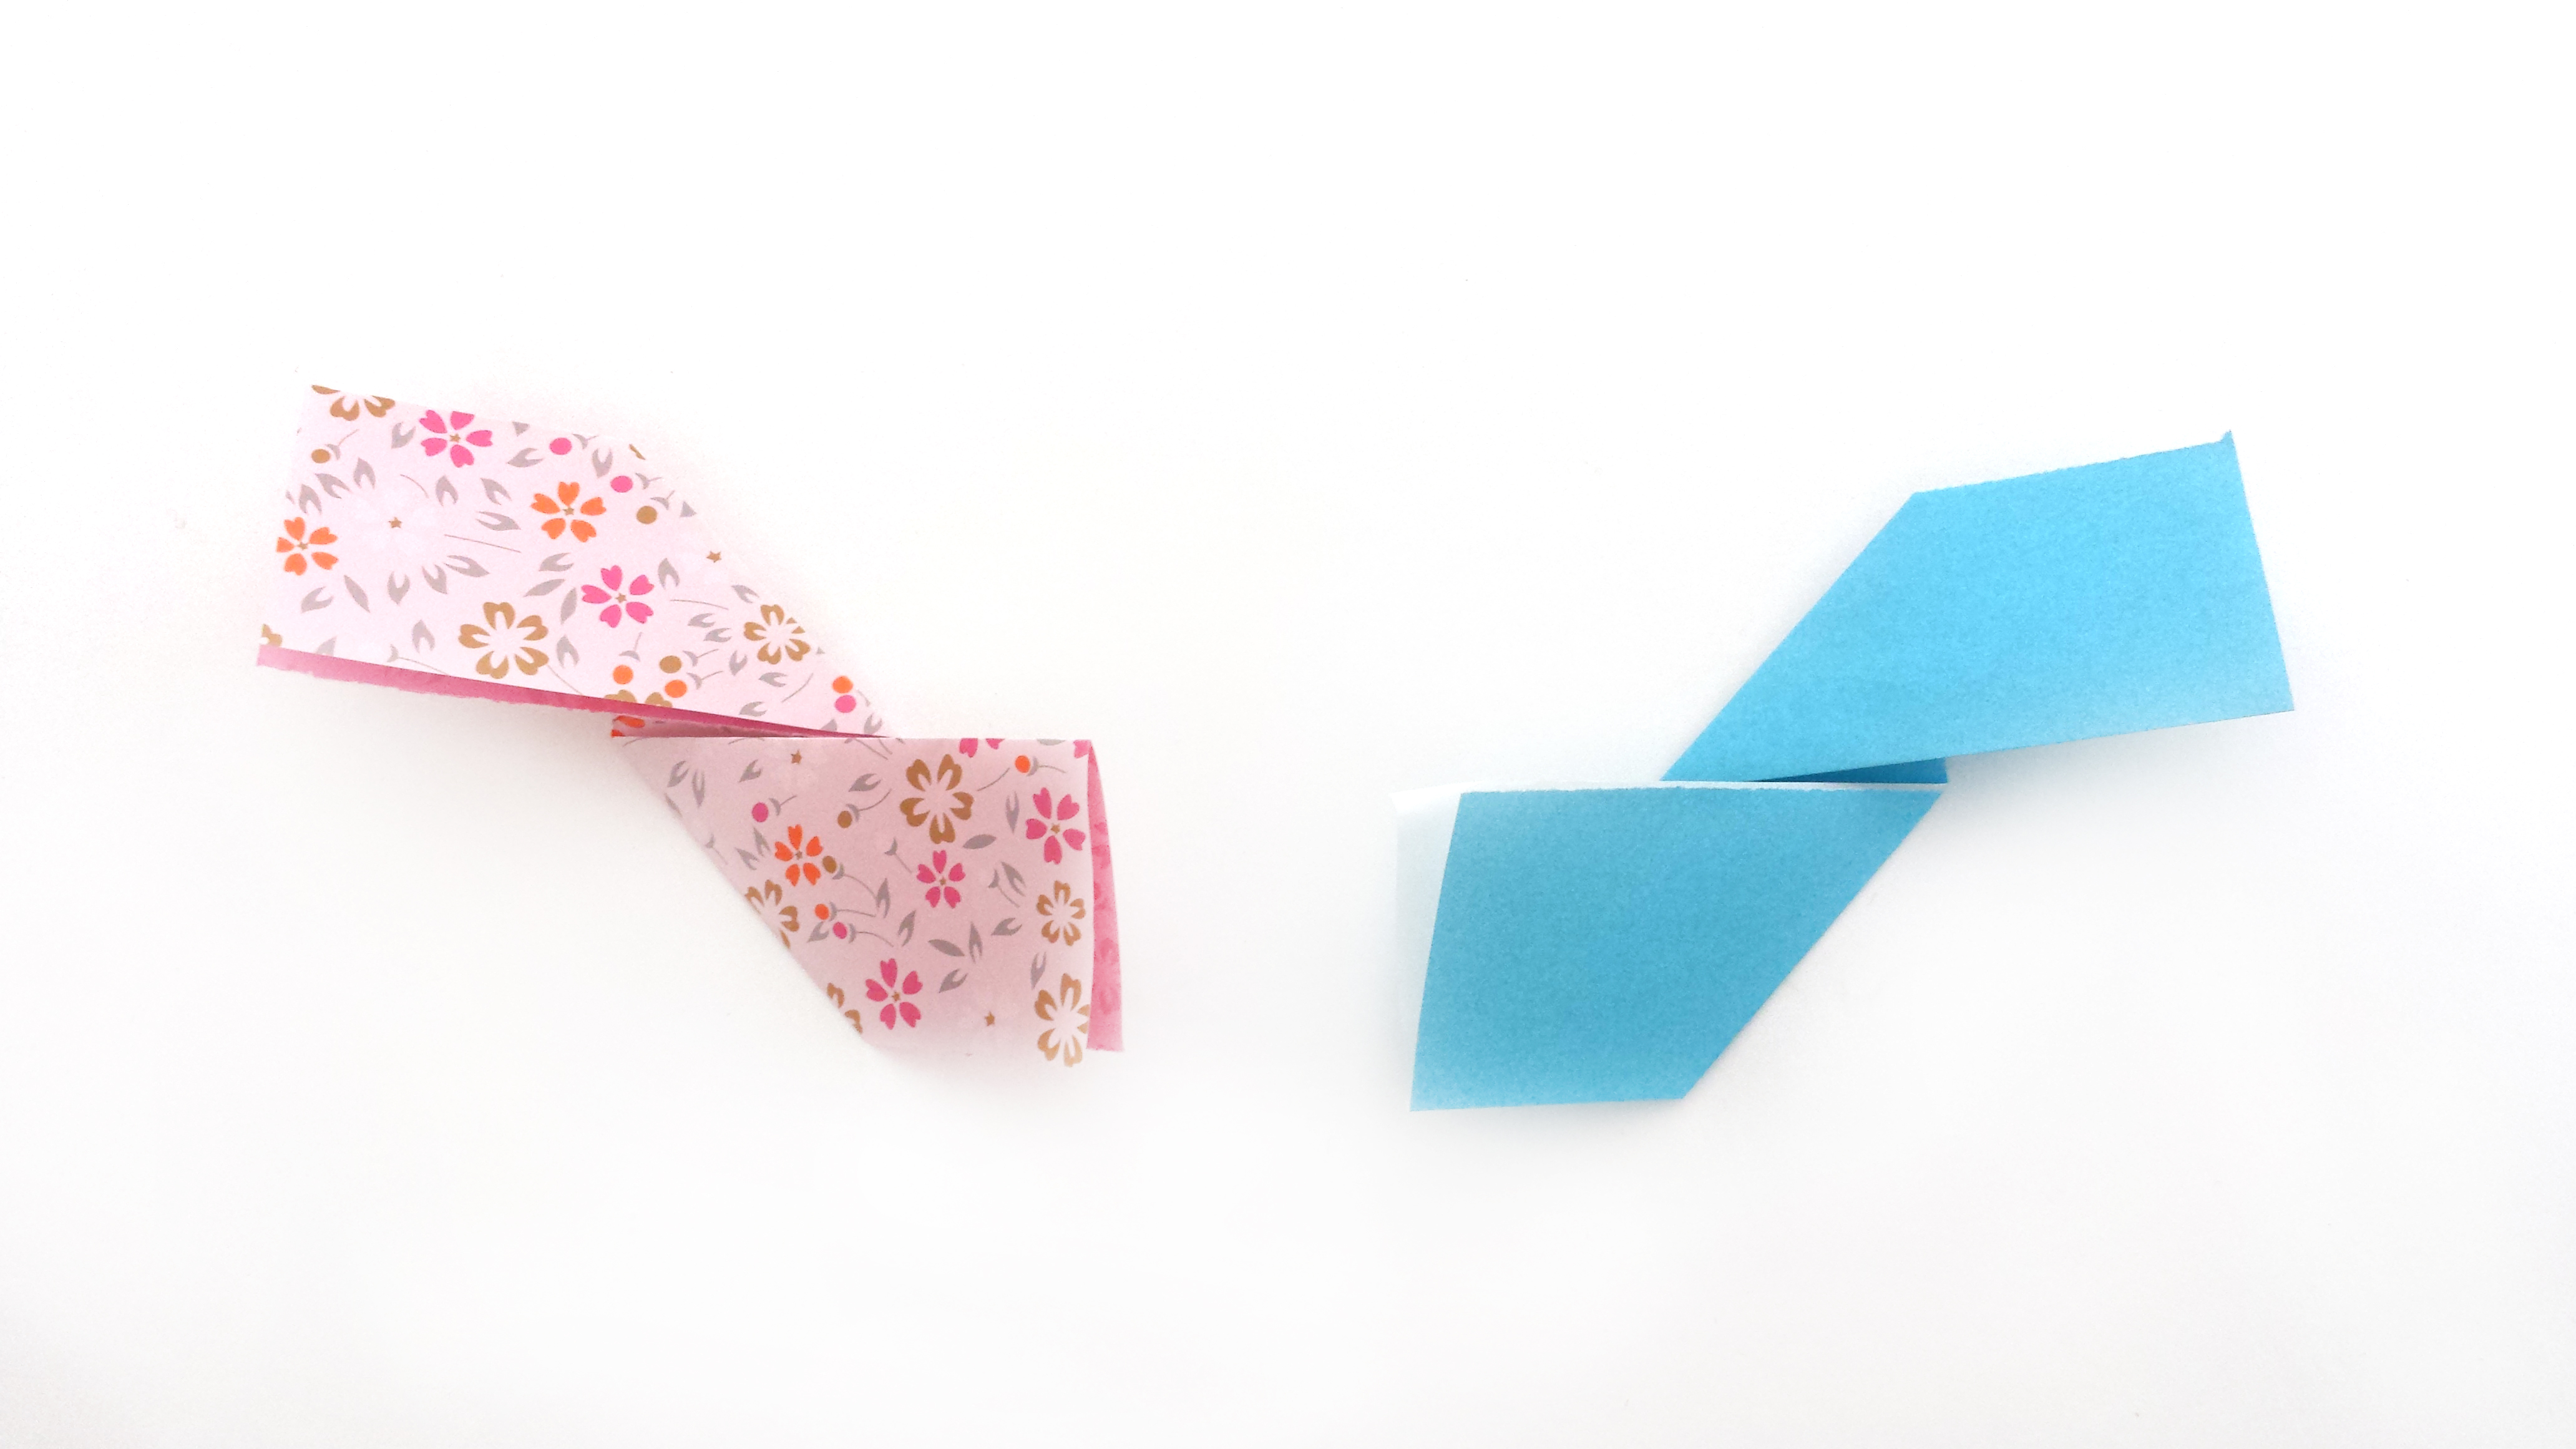
Step 6
Fold the top of the pink piece to the left and the blue piece to the right. Use the previous halfway crease as a guide.
Step 7
Fold the bottom half of the pink piece to the right and the blue piece to the left.
Step 8
Flip both pieces over.

Step 9
For the pink piece, fold the top part of the upper square to the bottom left corner. For the blue piece, fold down the upper square to the bottom right corner.
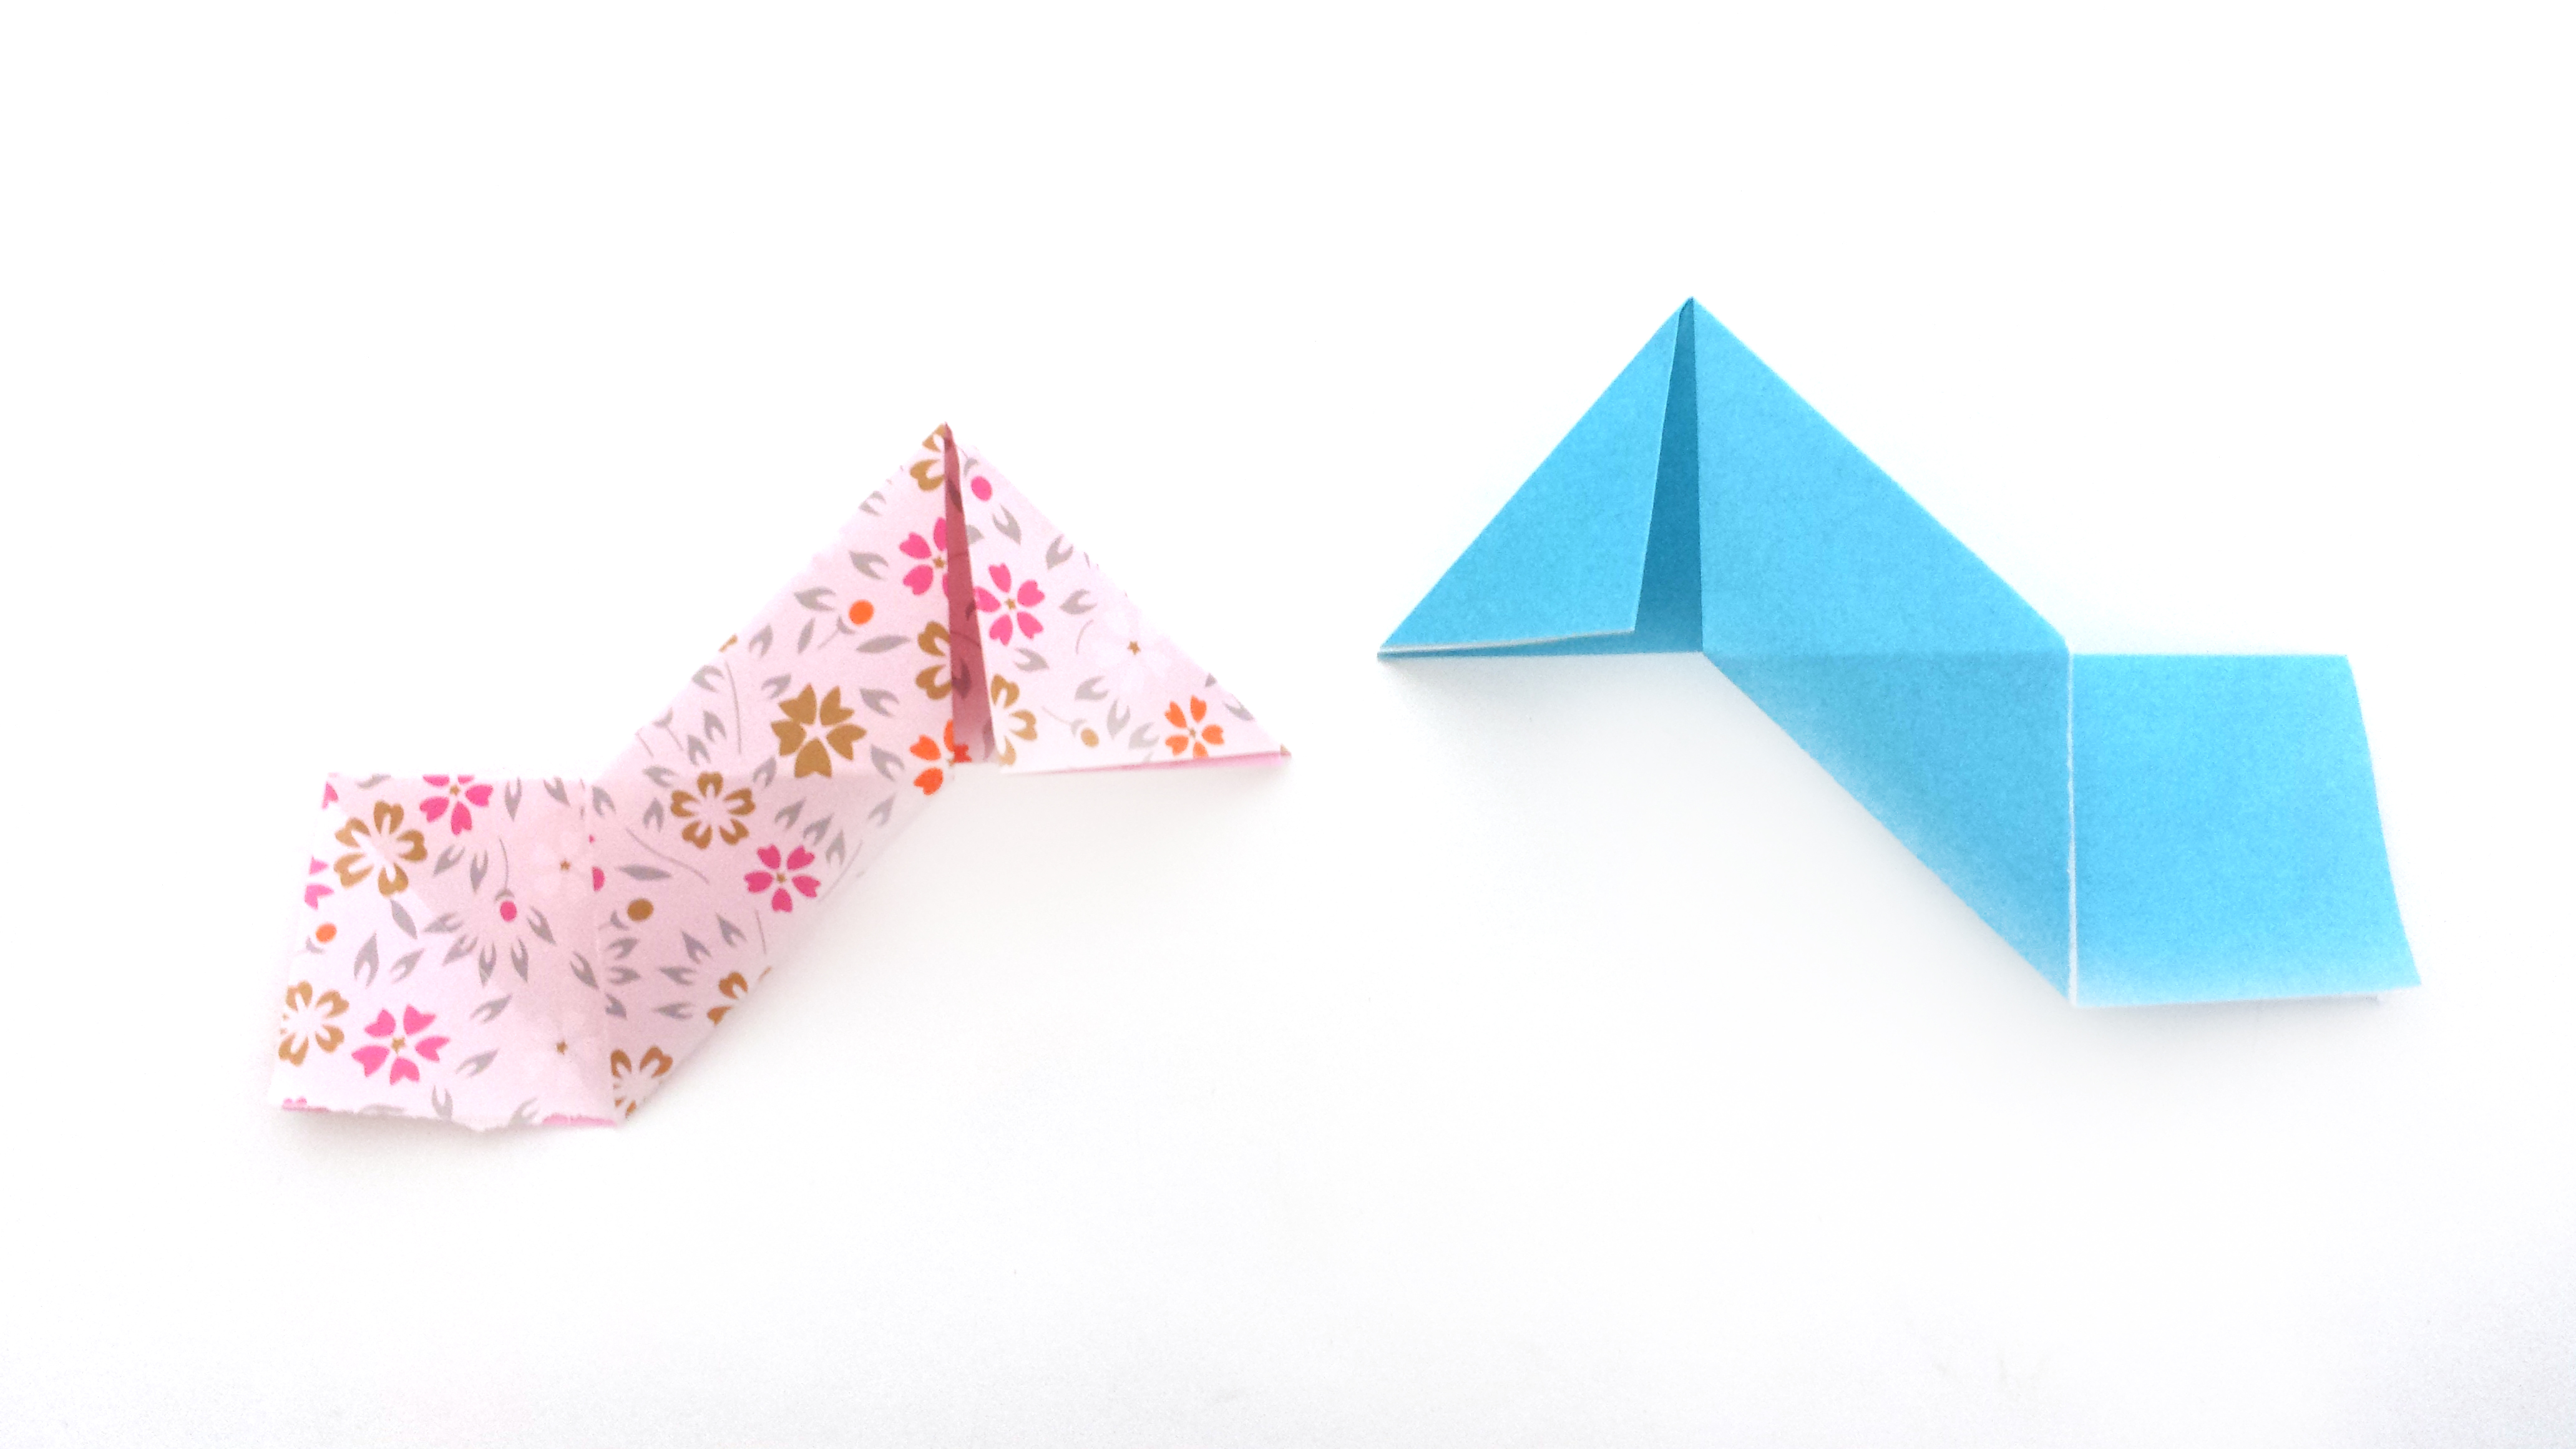
Step 10
For the pink piece, fold the bottom square up to the right corner. For the blue piece, fold up to the left corner.
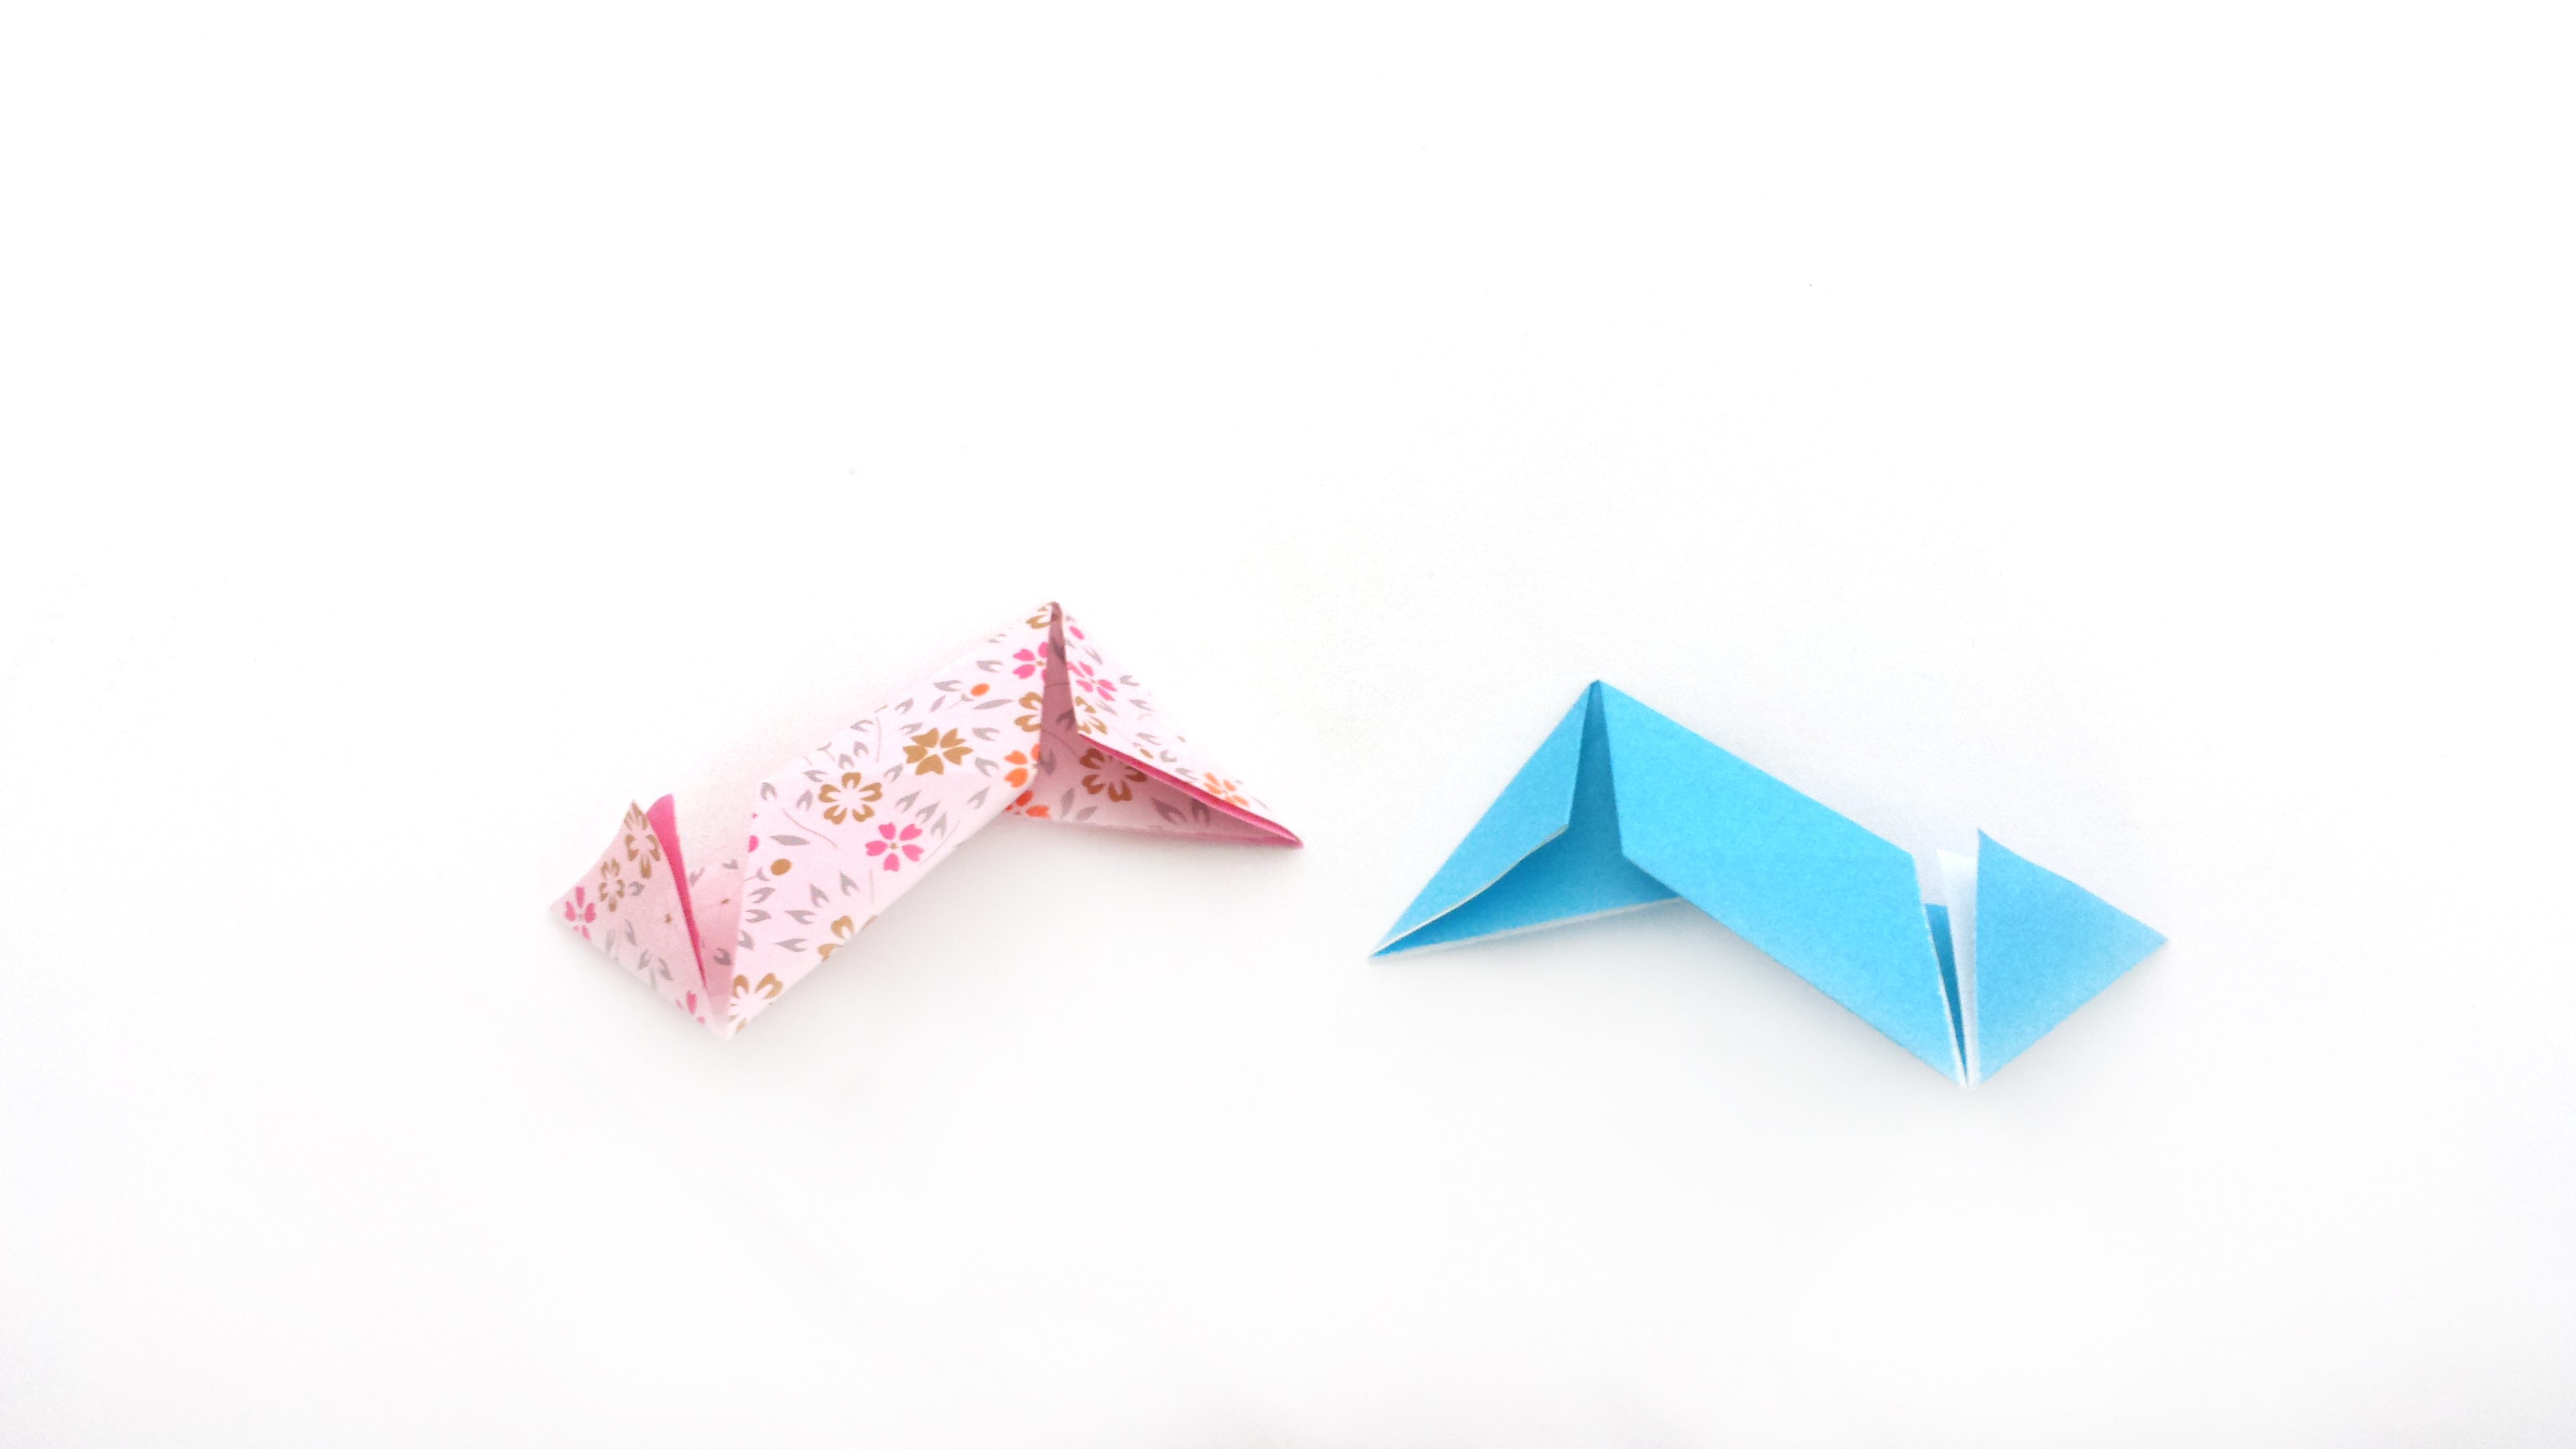
Step 11
For the pink piece, crease the top triangle inwards to the left. For the blue piece, crease inwards to the right.

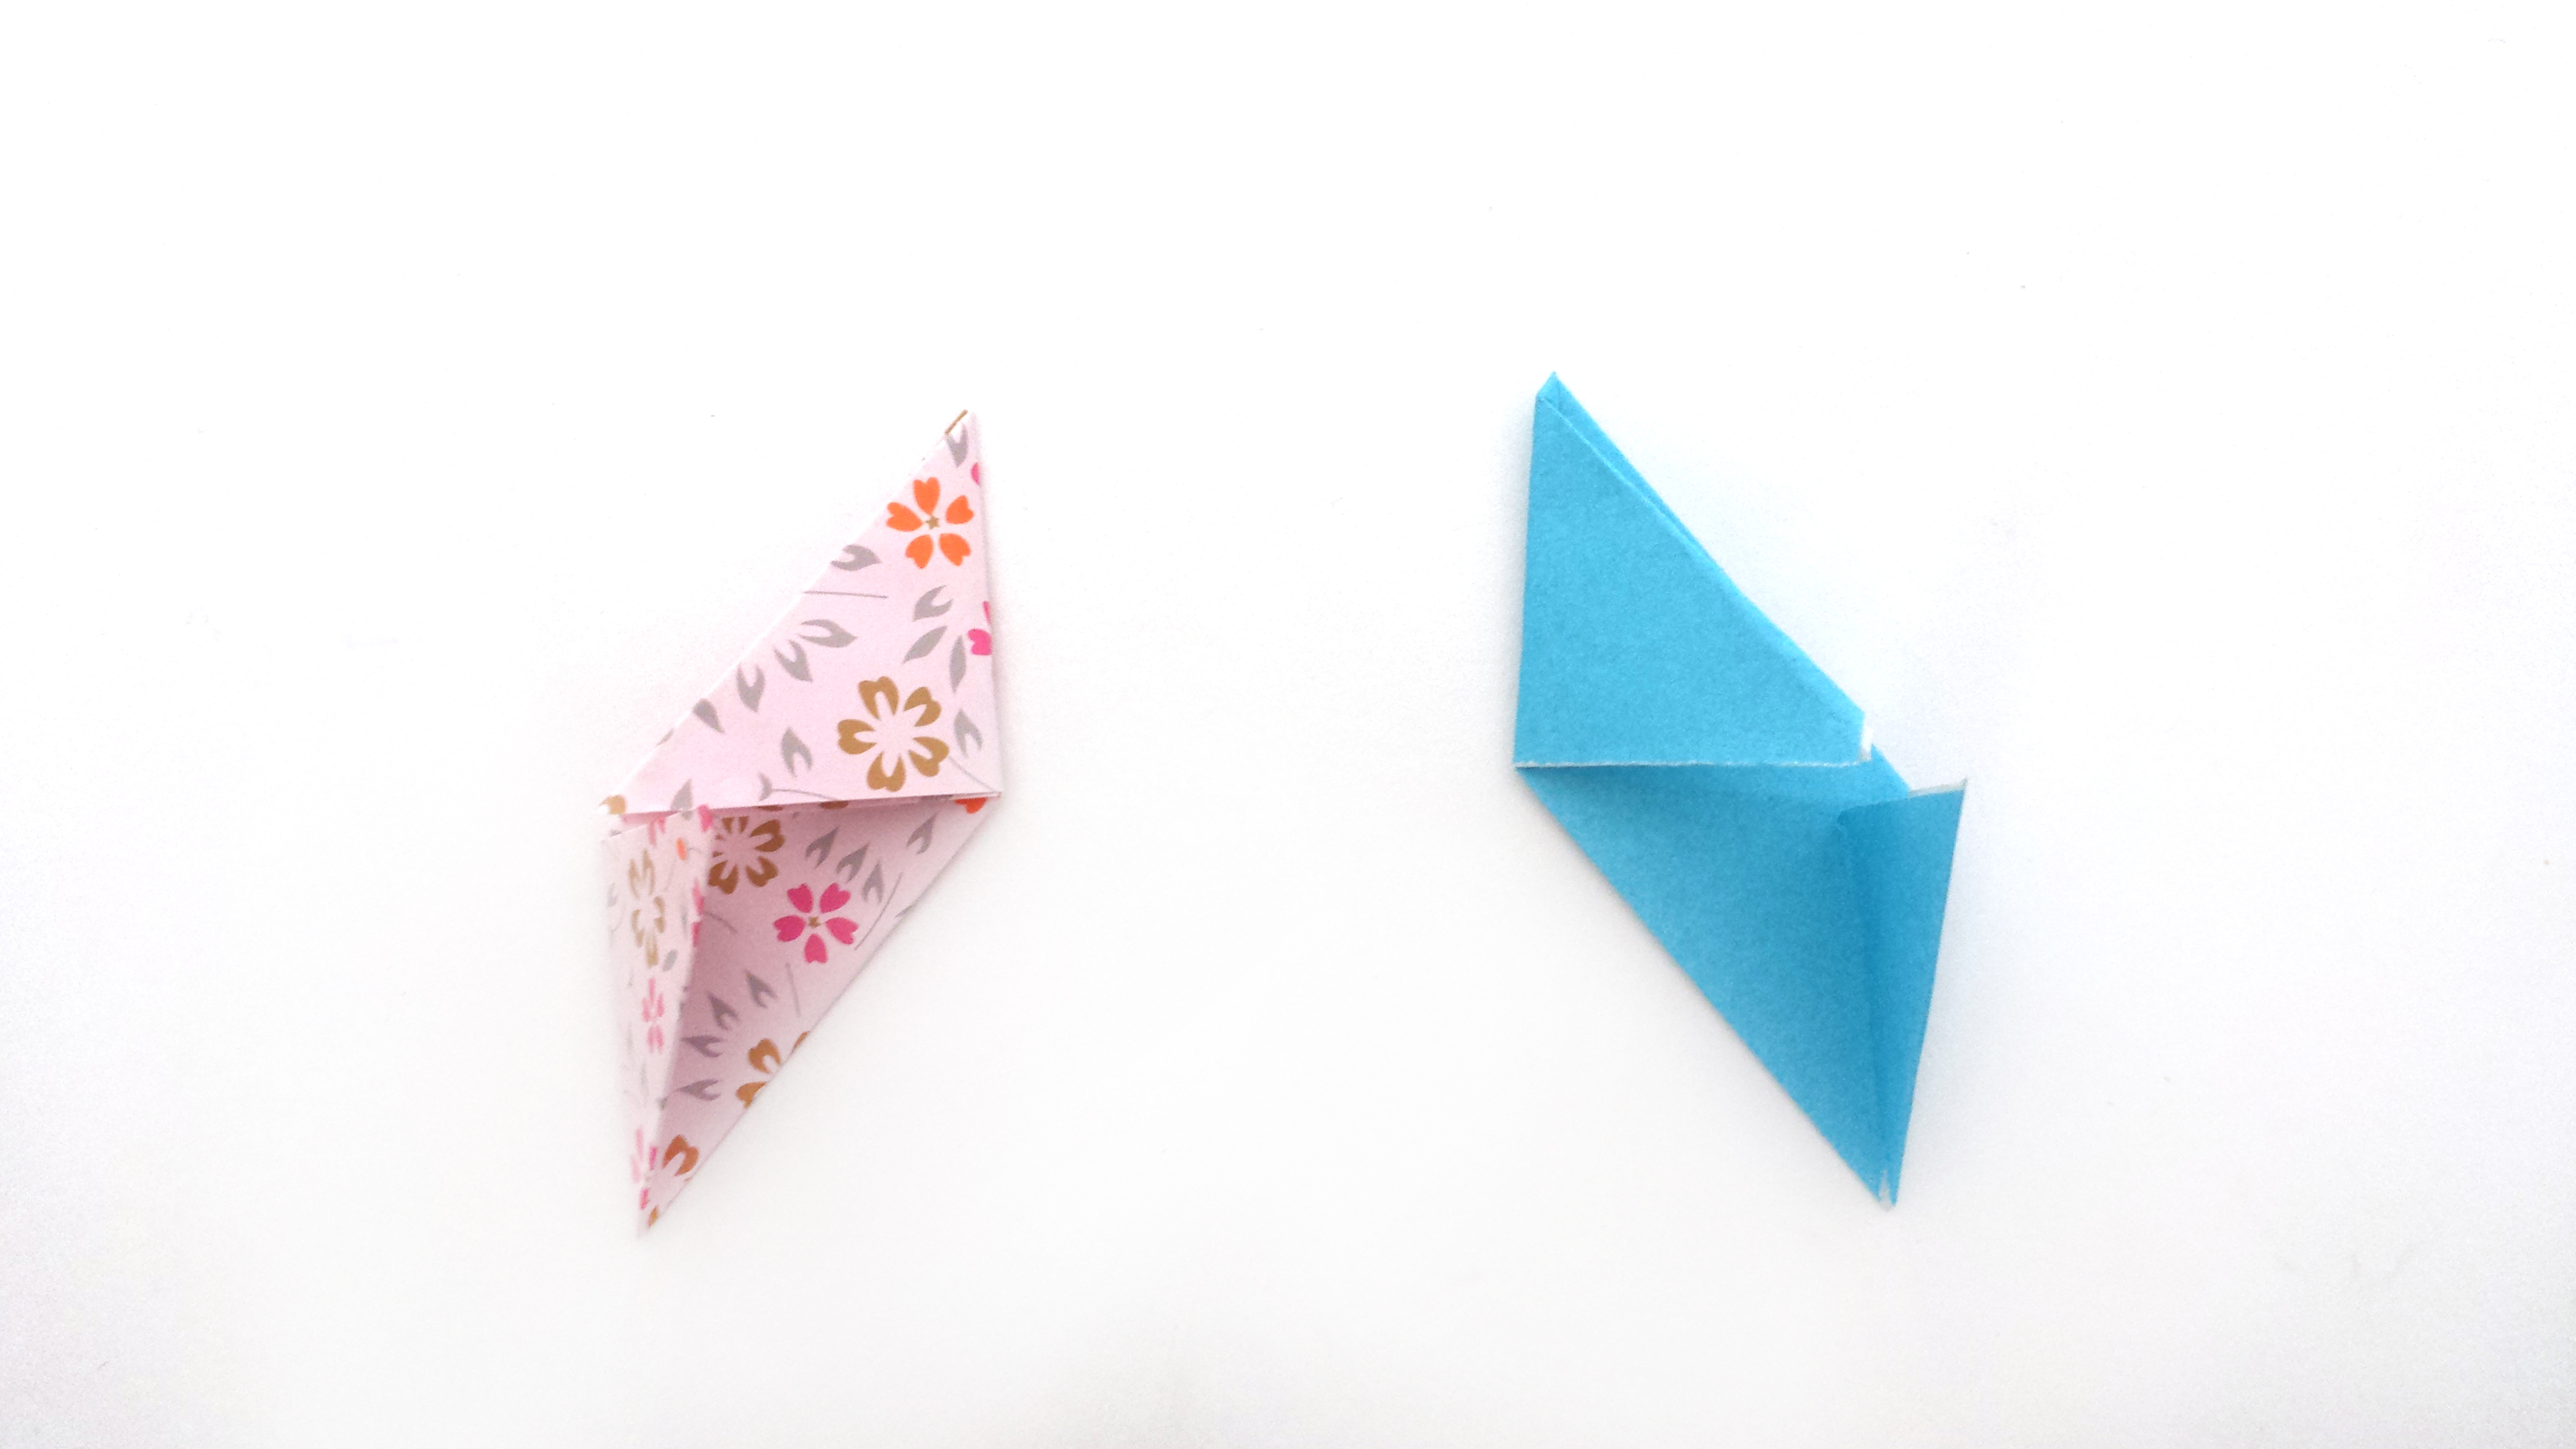
Step 12
For the pink piece, fold the bottom triangle inwards to the right. For the blue piece, fold inwards to the left.
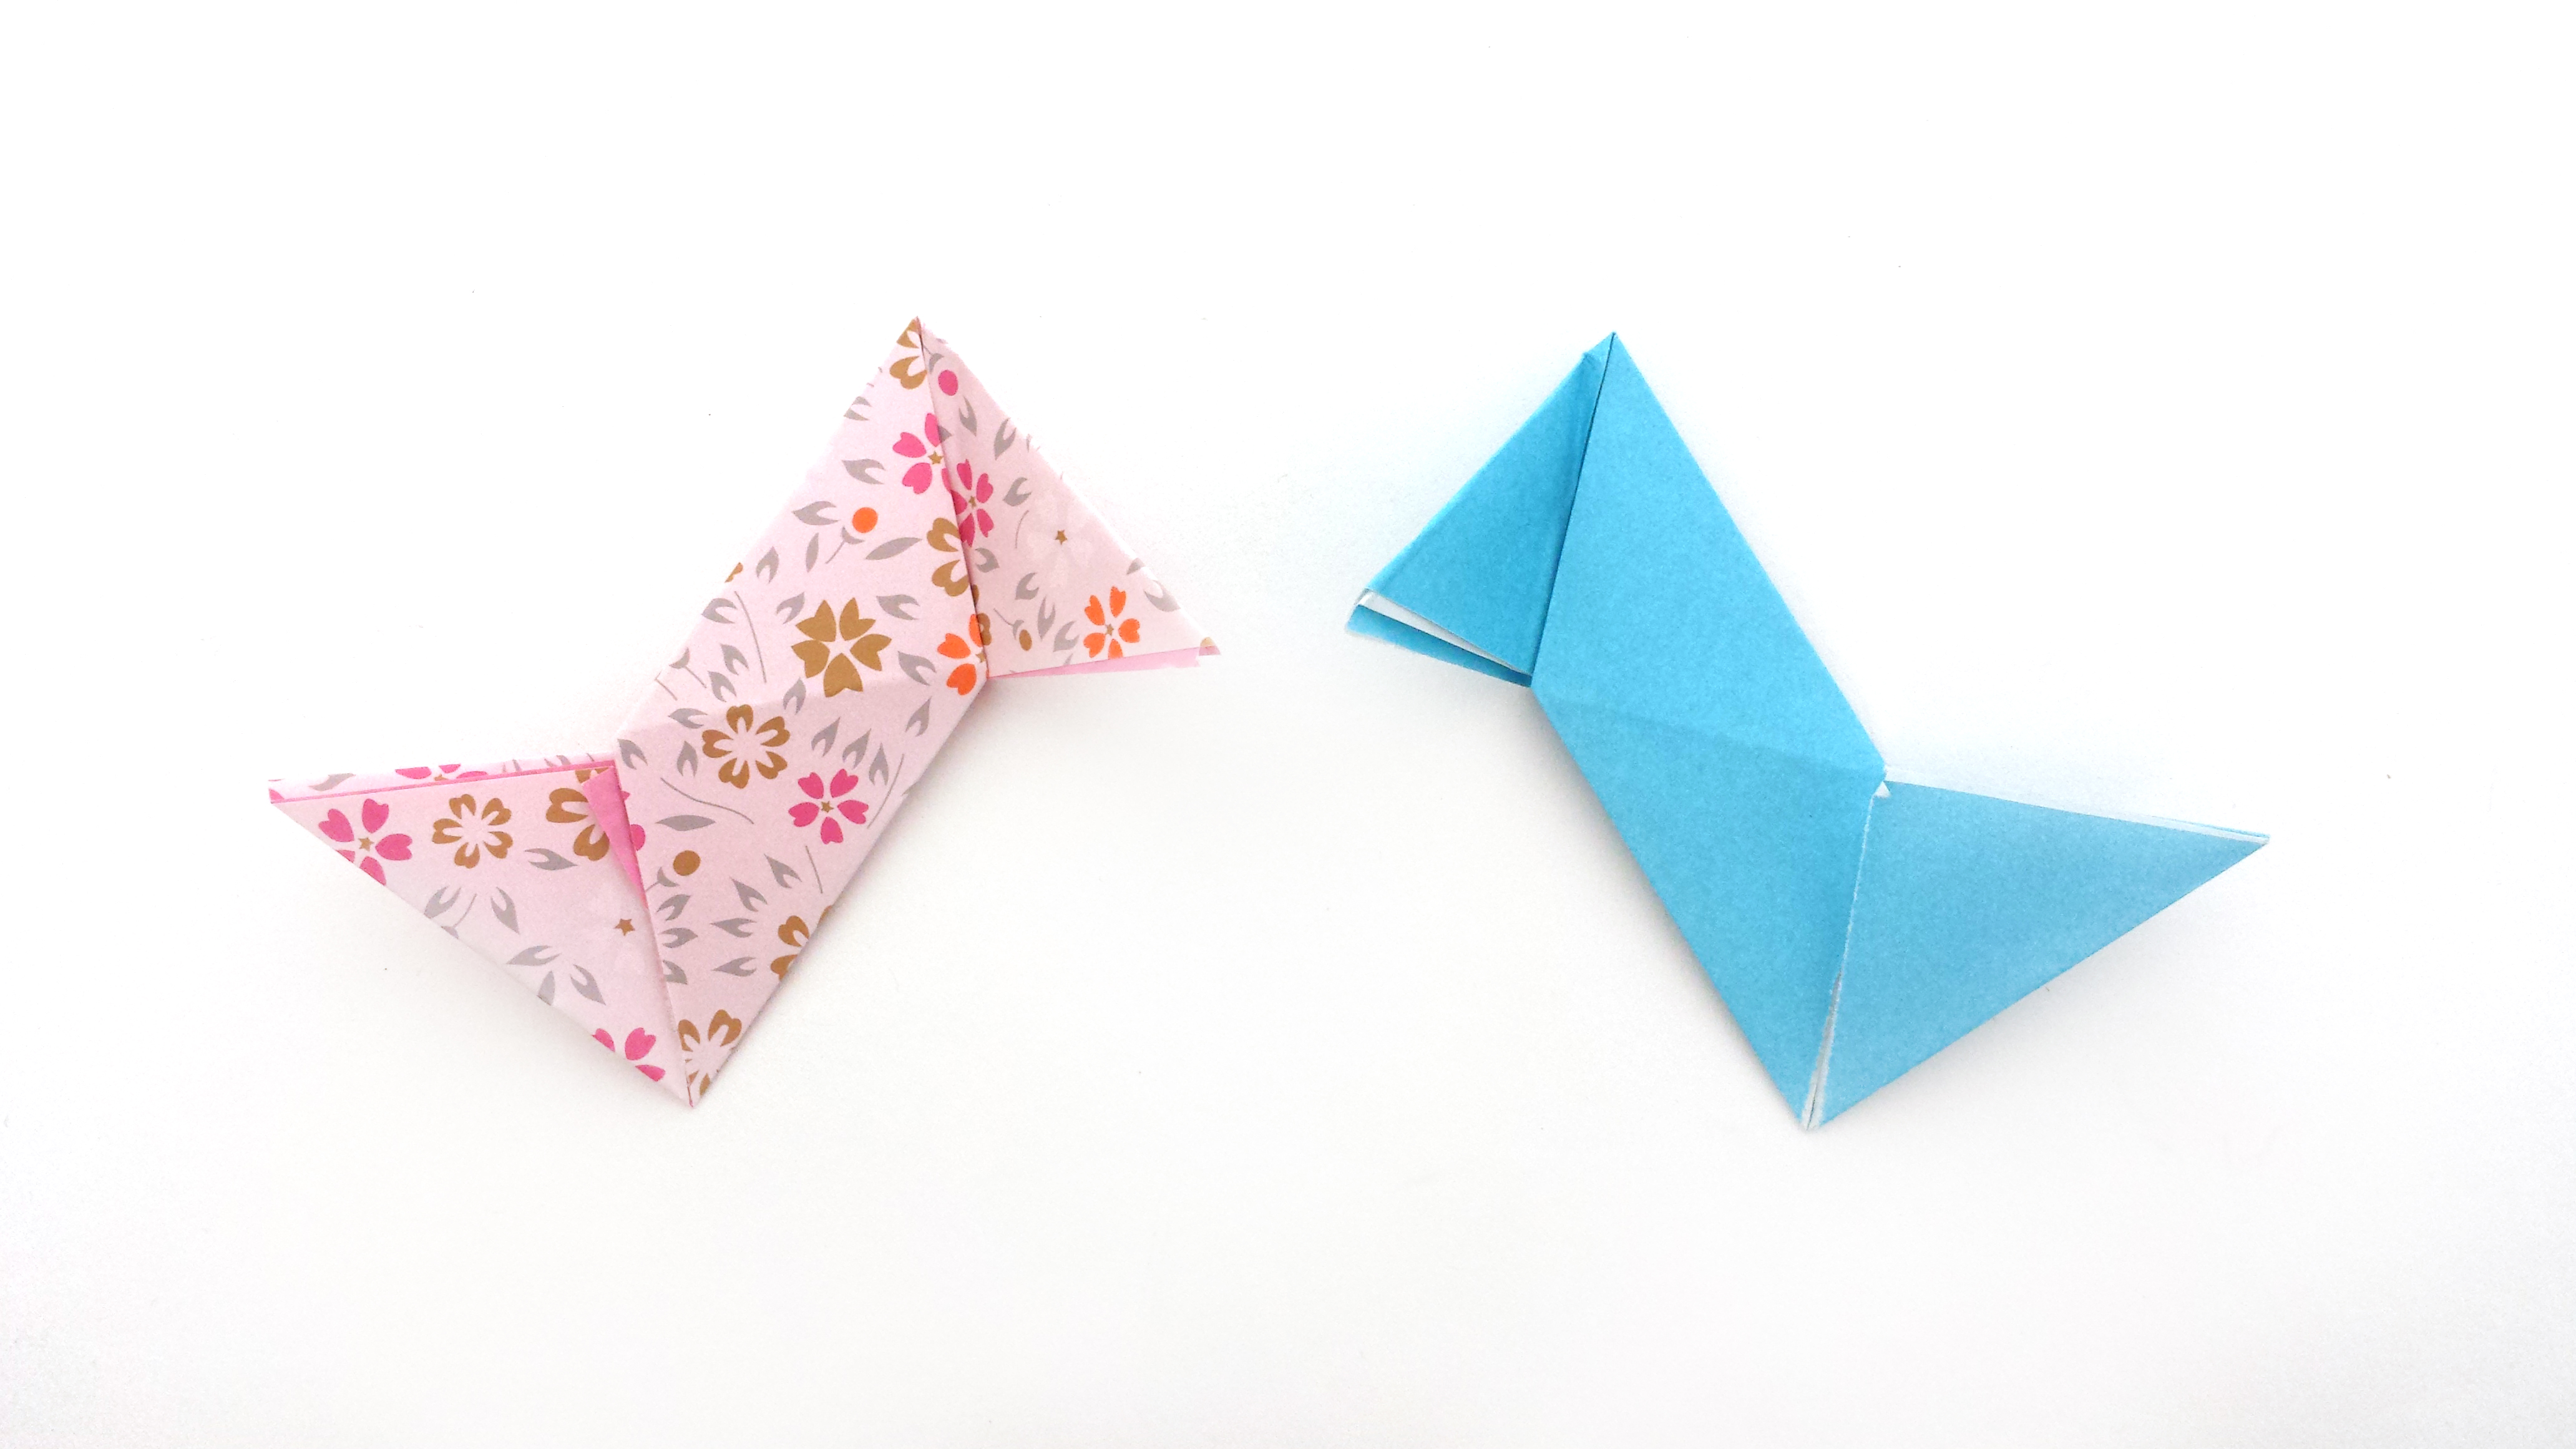
Step 13
Unfold steps 11 and 12. Flip the blue piece over.
Step 14
Center the blue piece over the pink.
Step 15
Tuck the upper right flap of the pink piece left, into the upper triangle of the blue piece.
Step 16
Tuck the bottom left flap of the pink piece right, into the lower triangle of the blue piece. Flip over

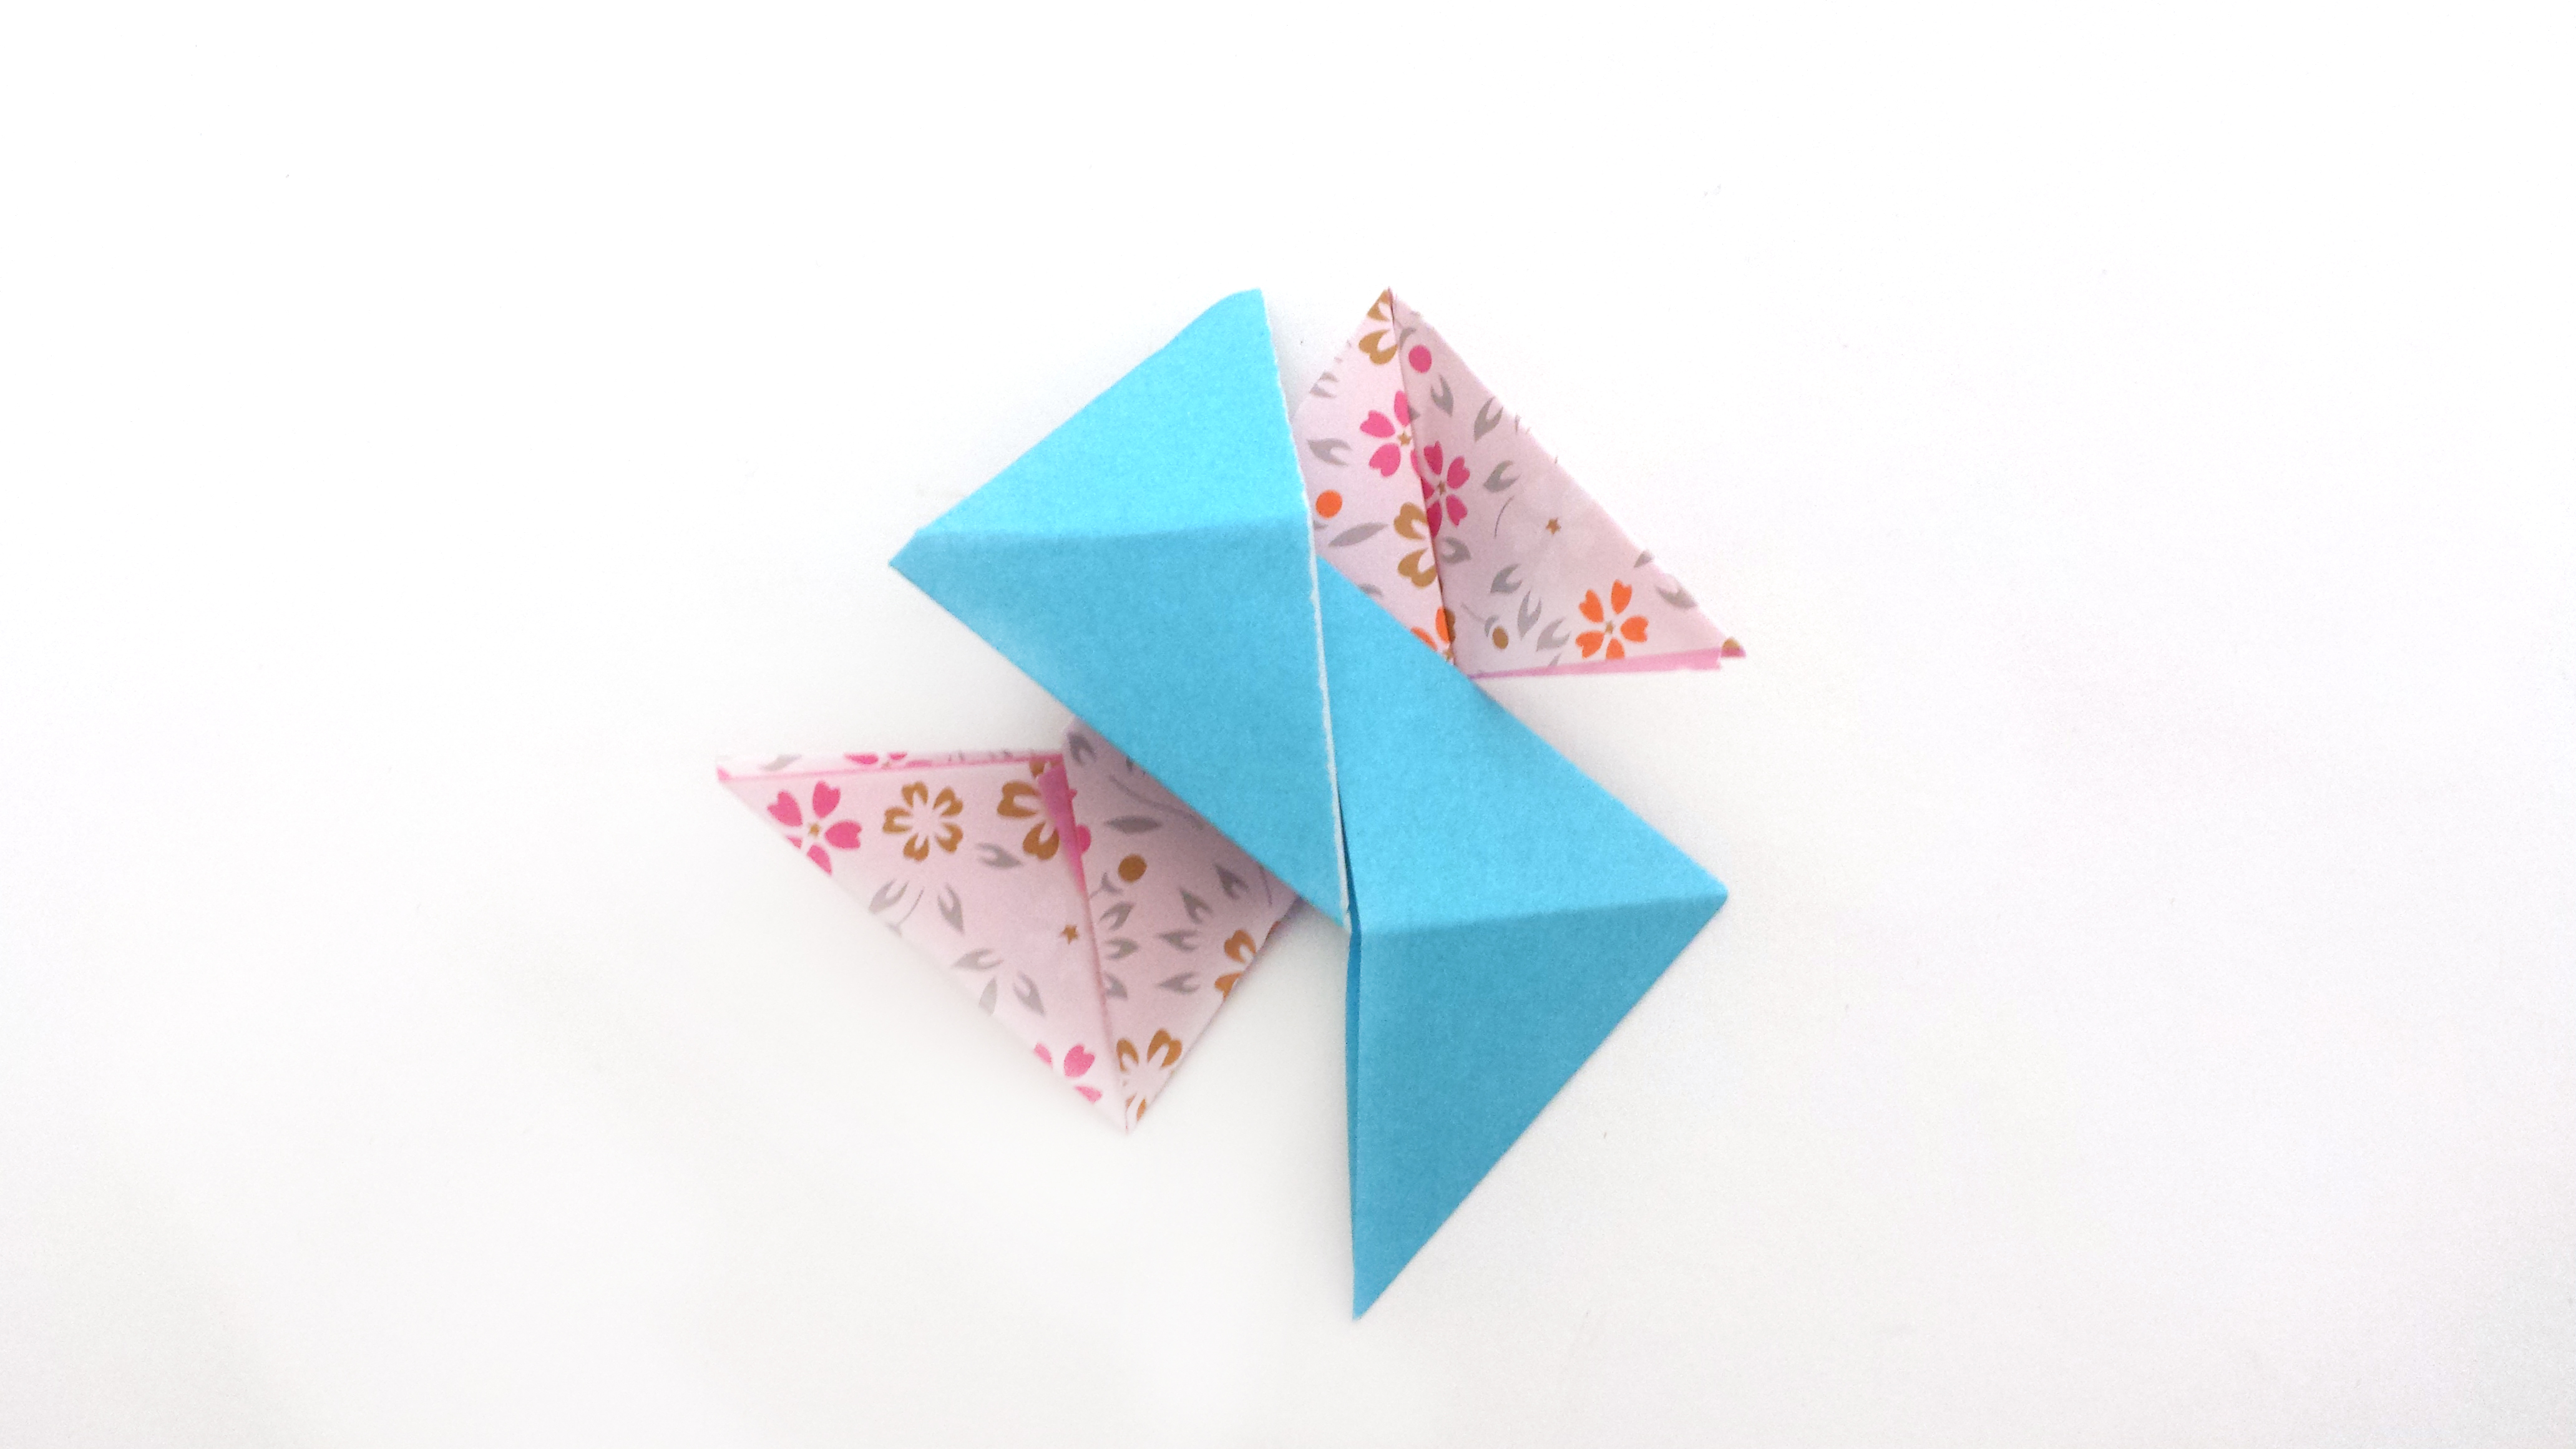
Step 17
Tuck the top flap of the blue piece down into the middle.
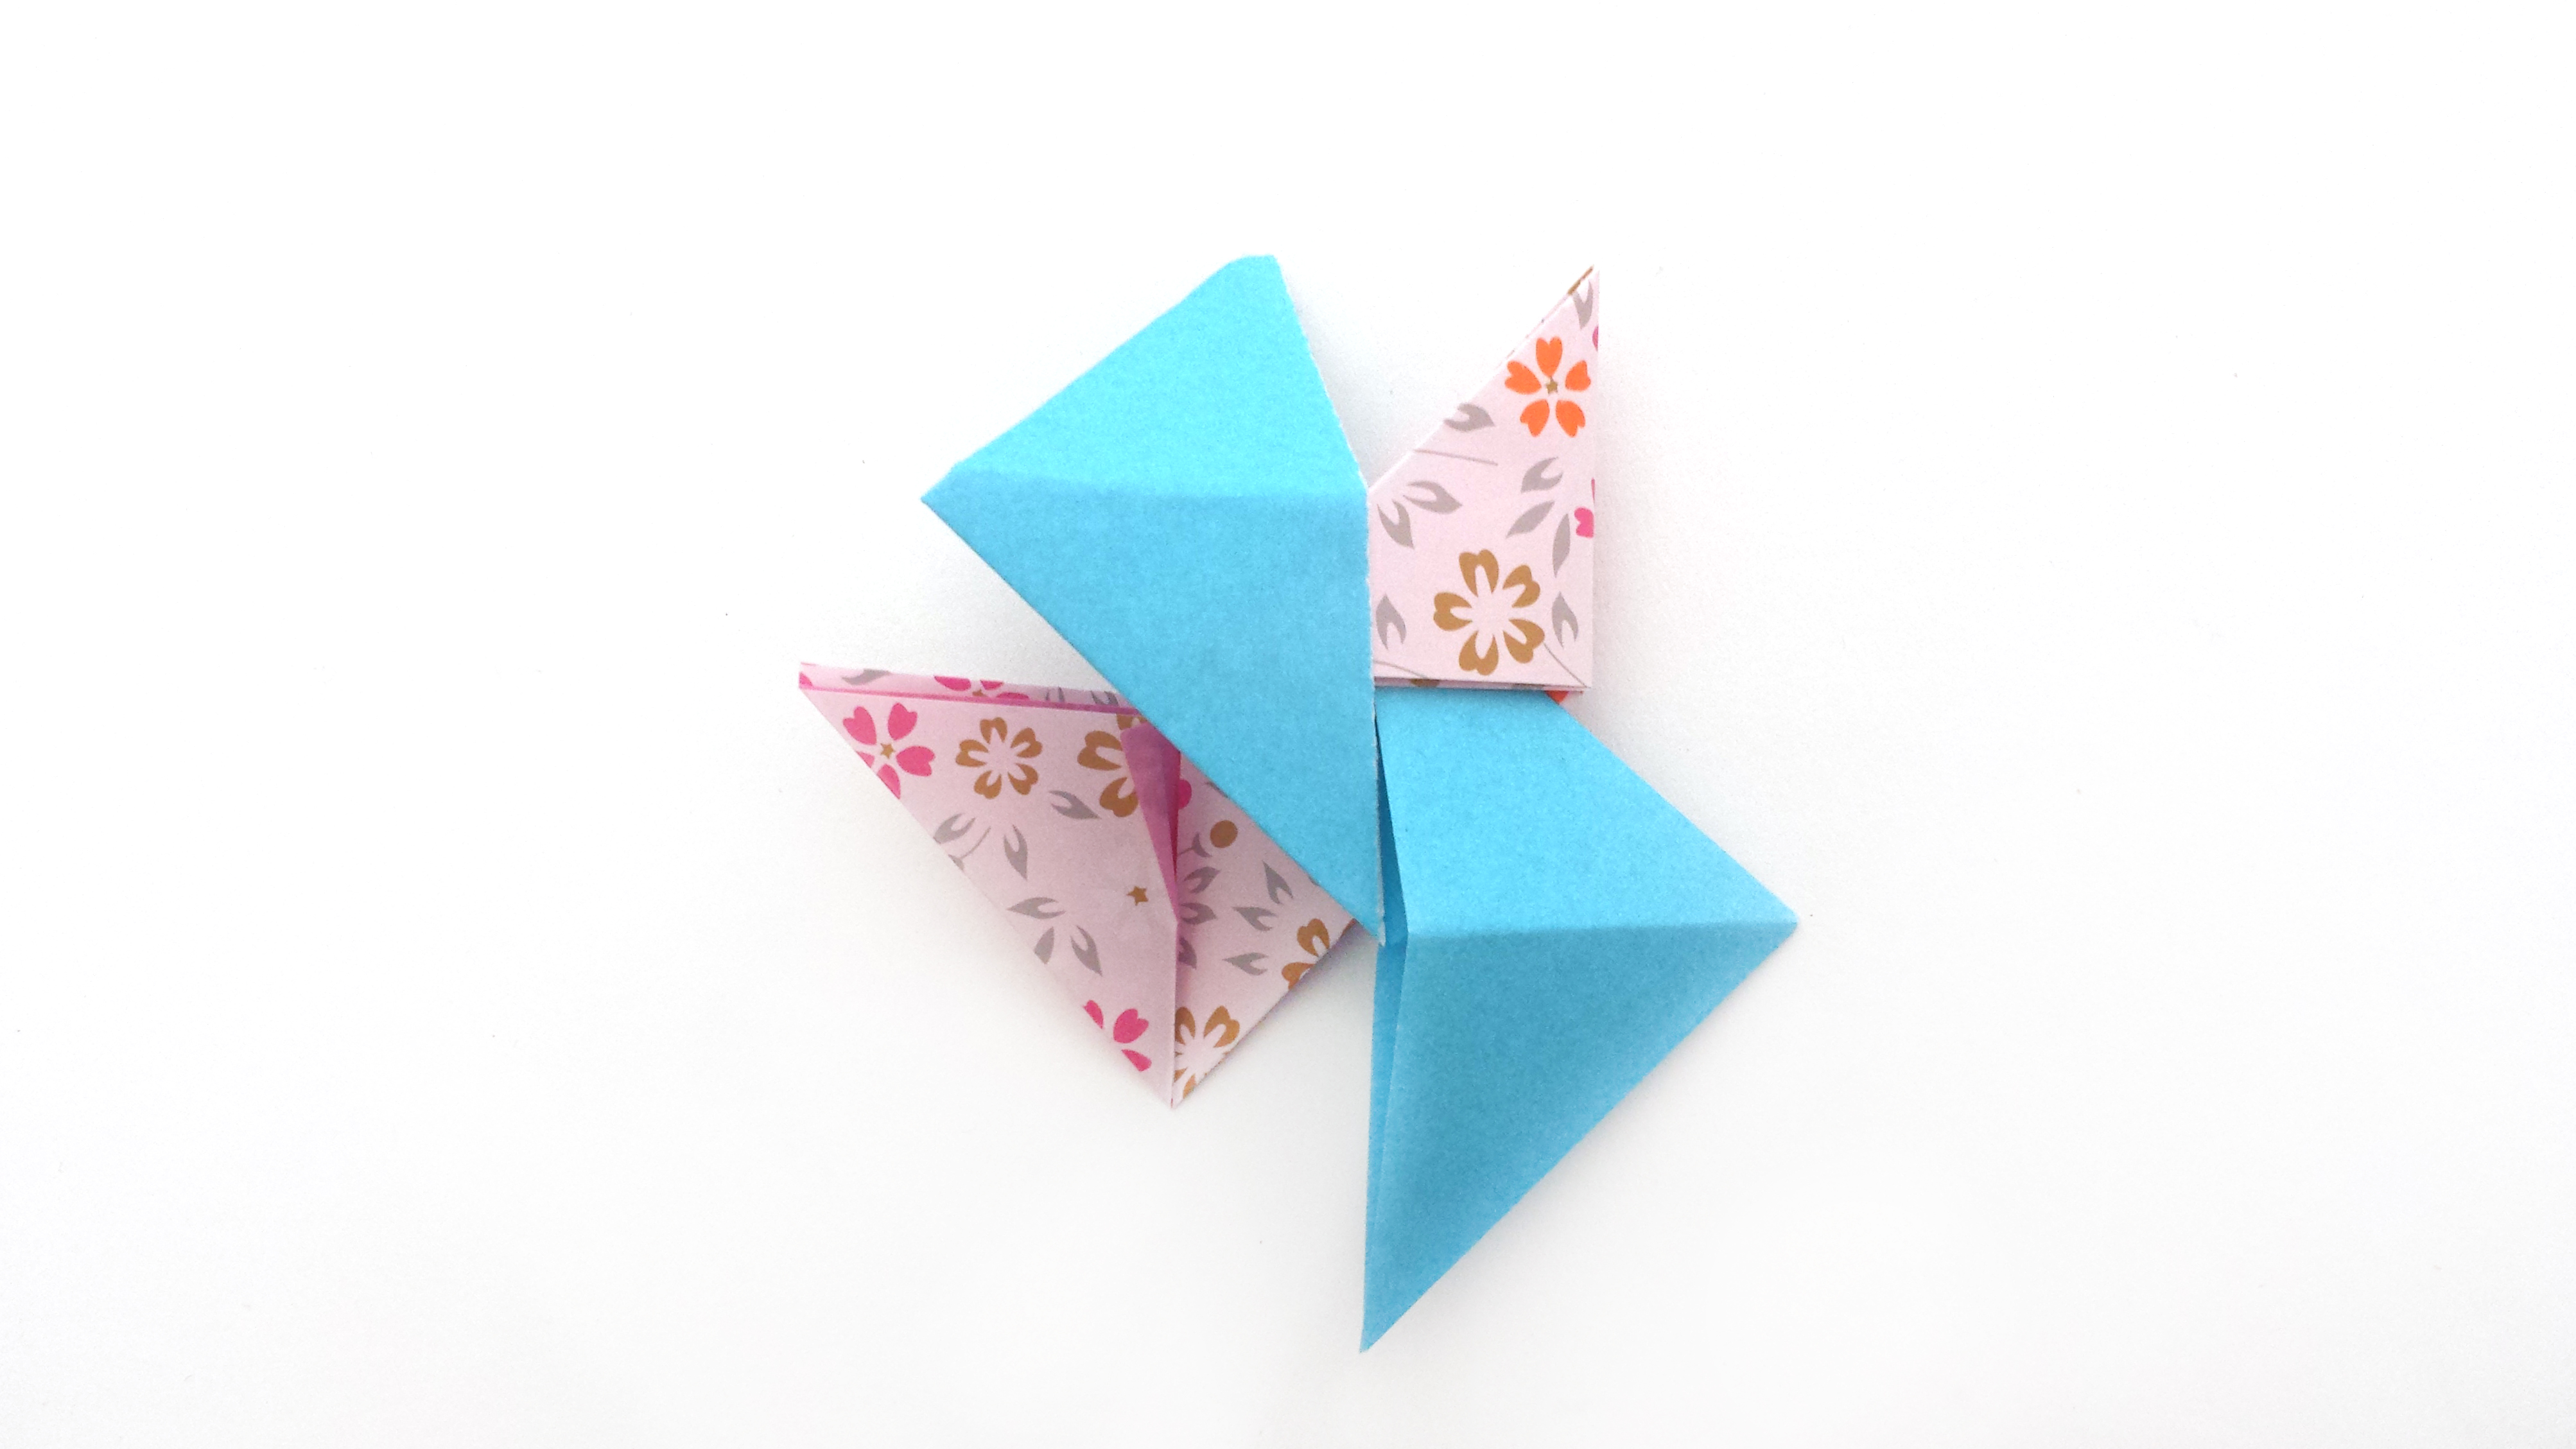
Step 18
Tuck the bottom flap of the blue piece up into the middle. You created the first part of your spinner!
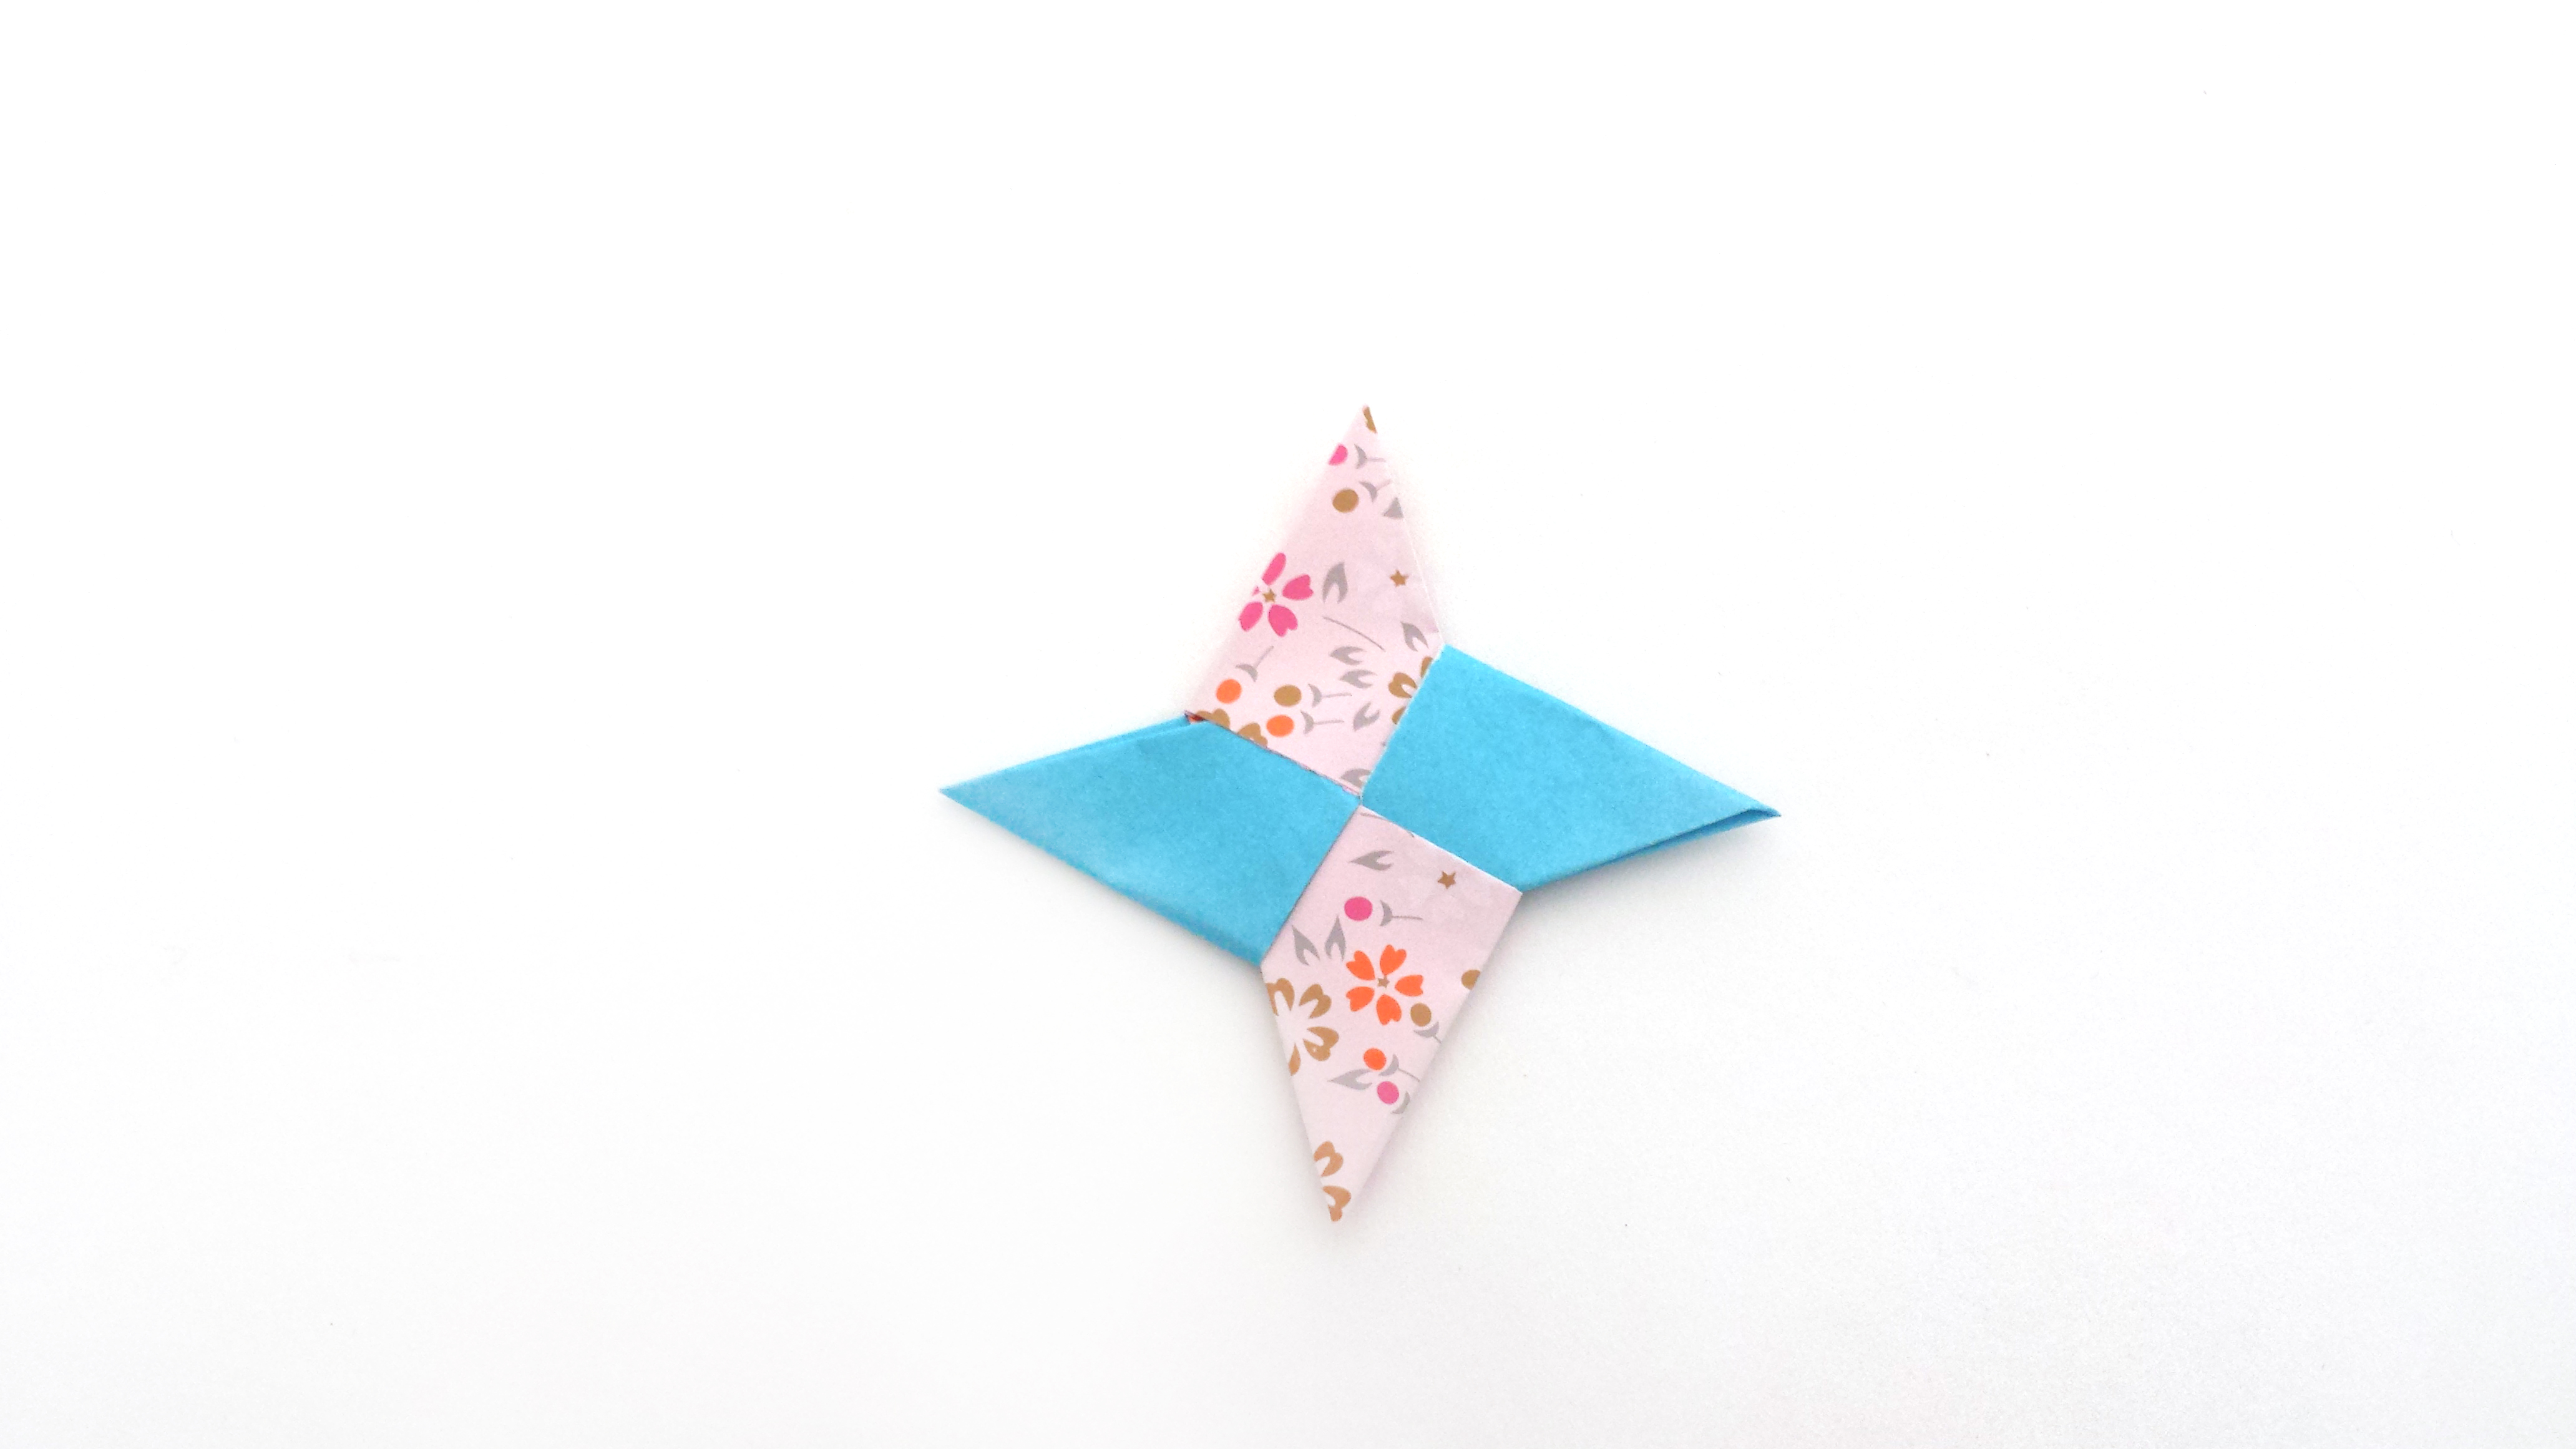
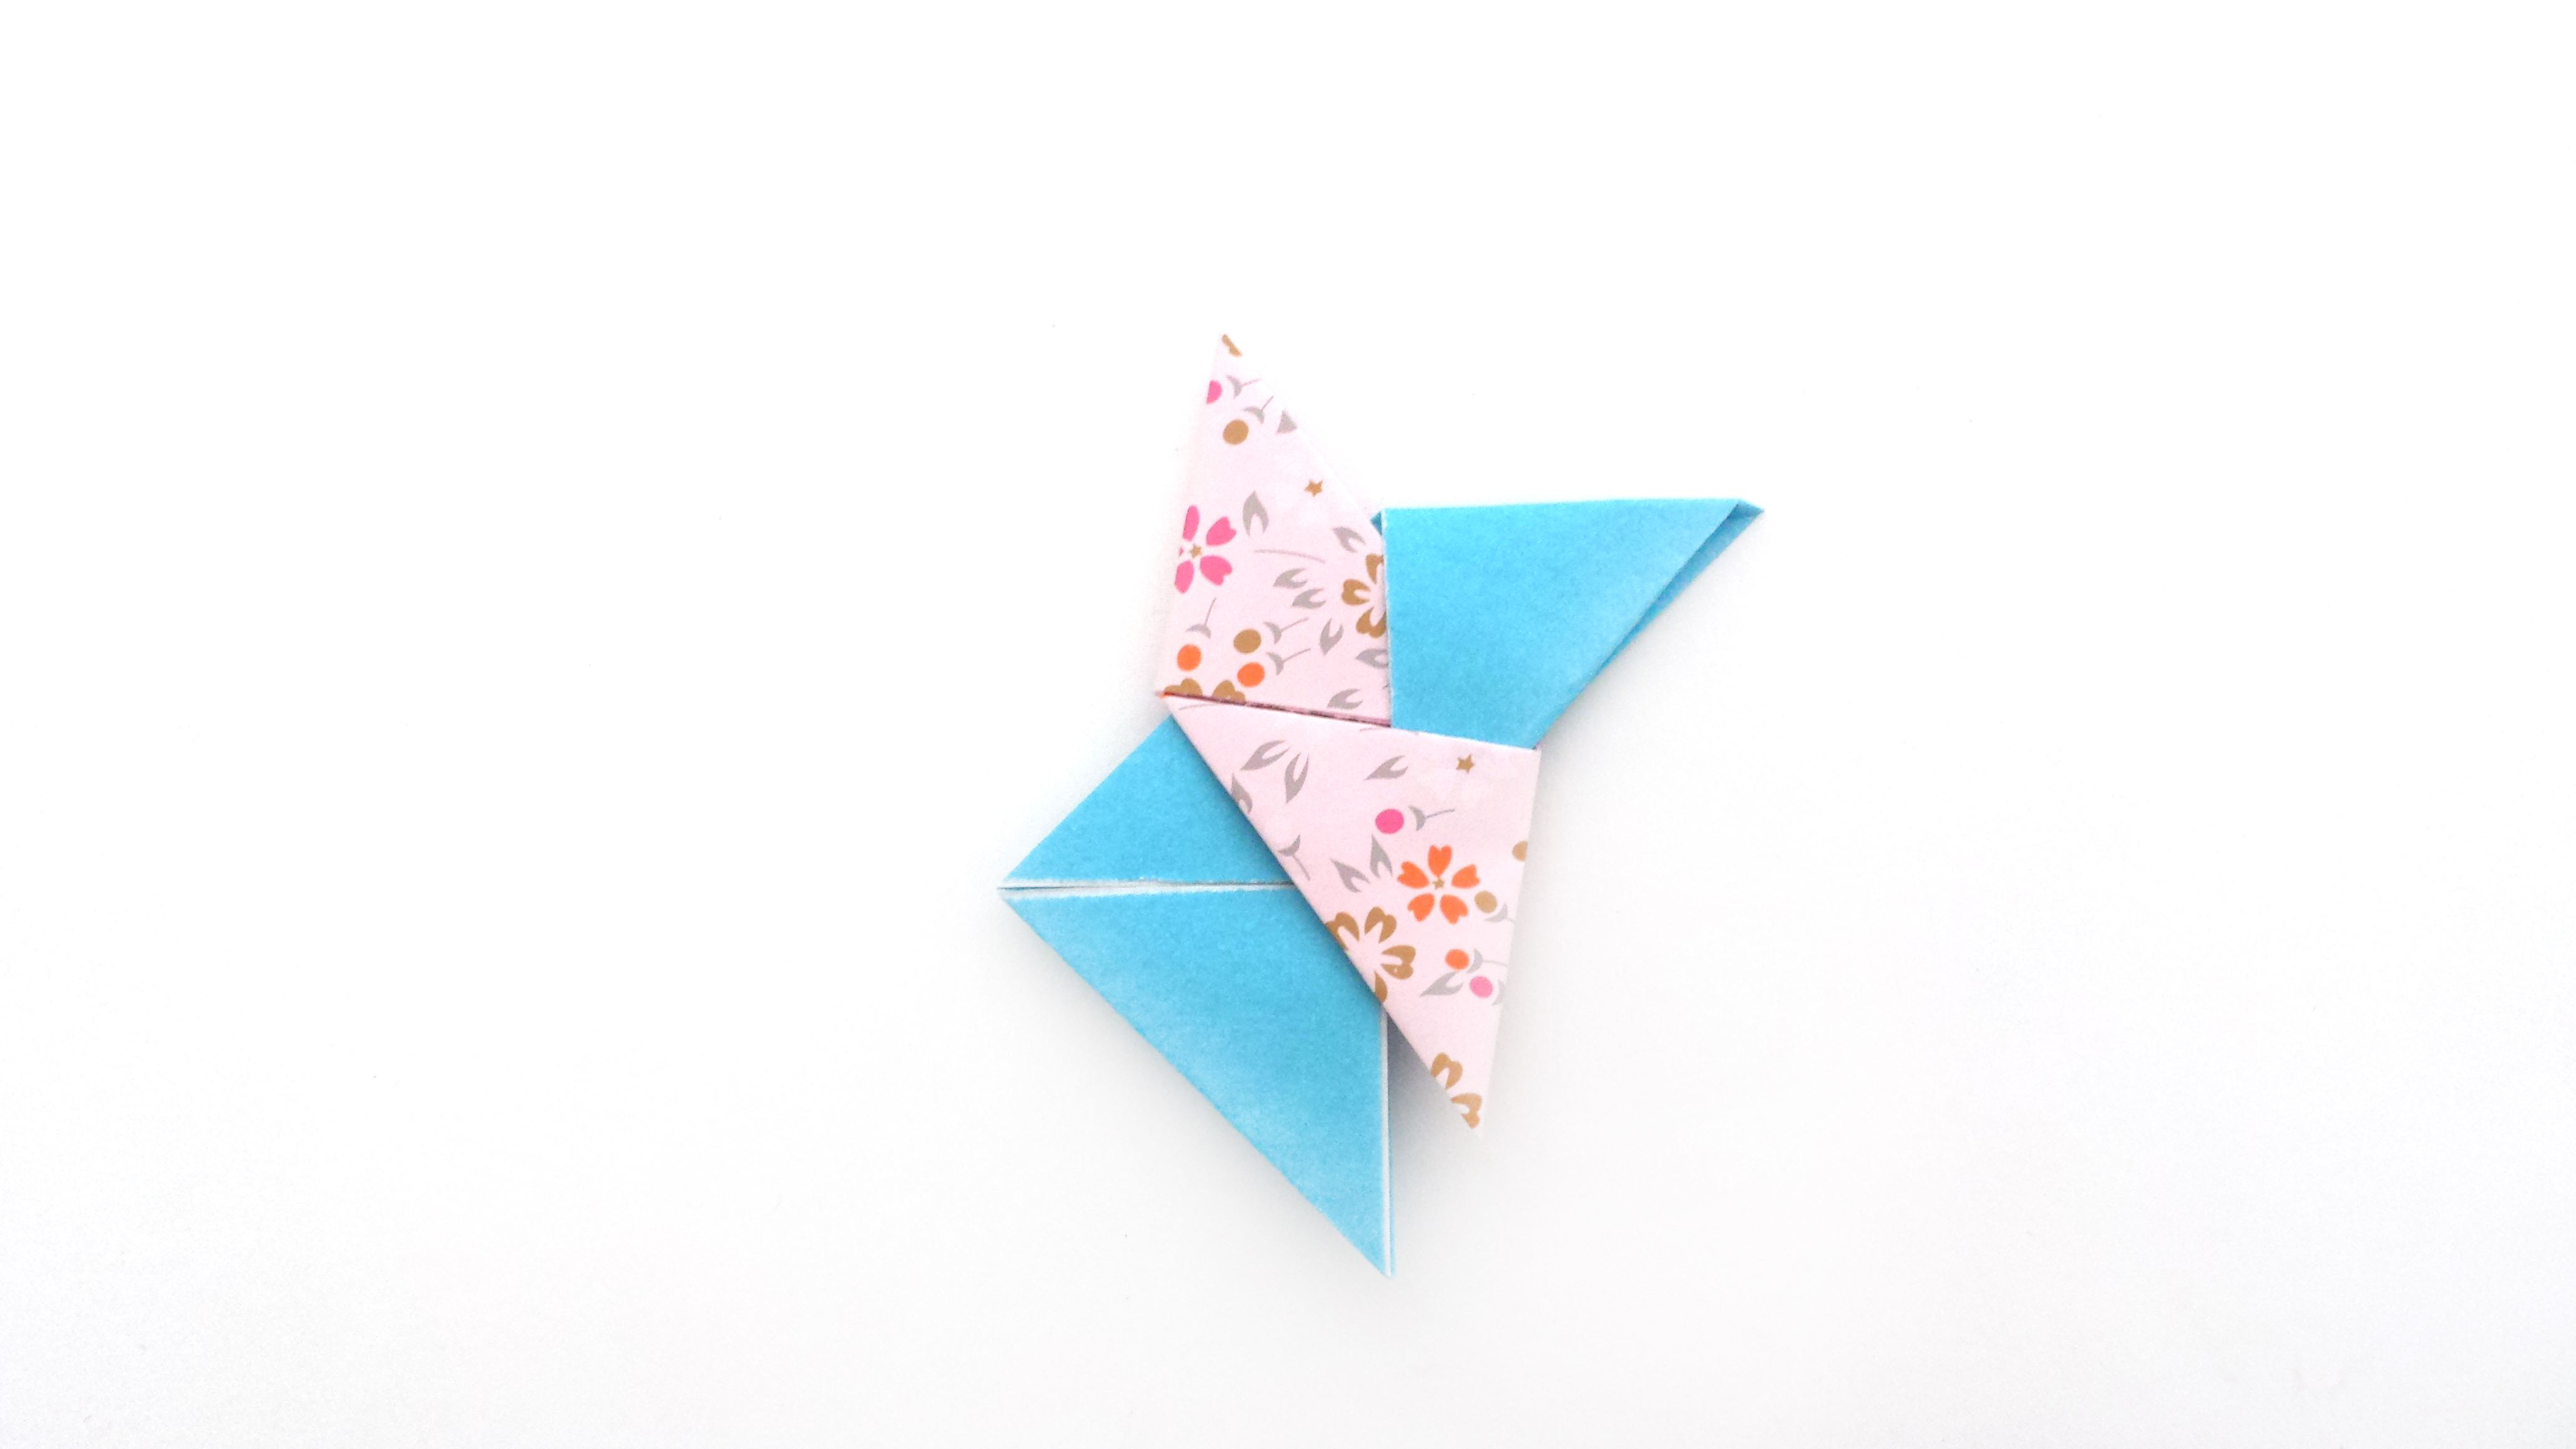
Step 19
Use the thumb tack to poke a hole through the middle
Repeat steps 4-19 to make the other half of the spinner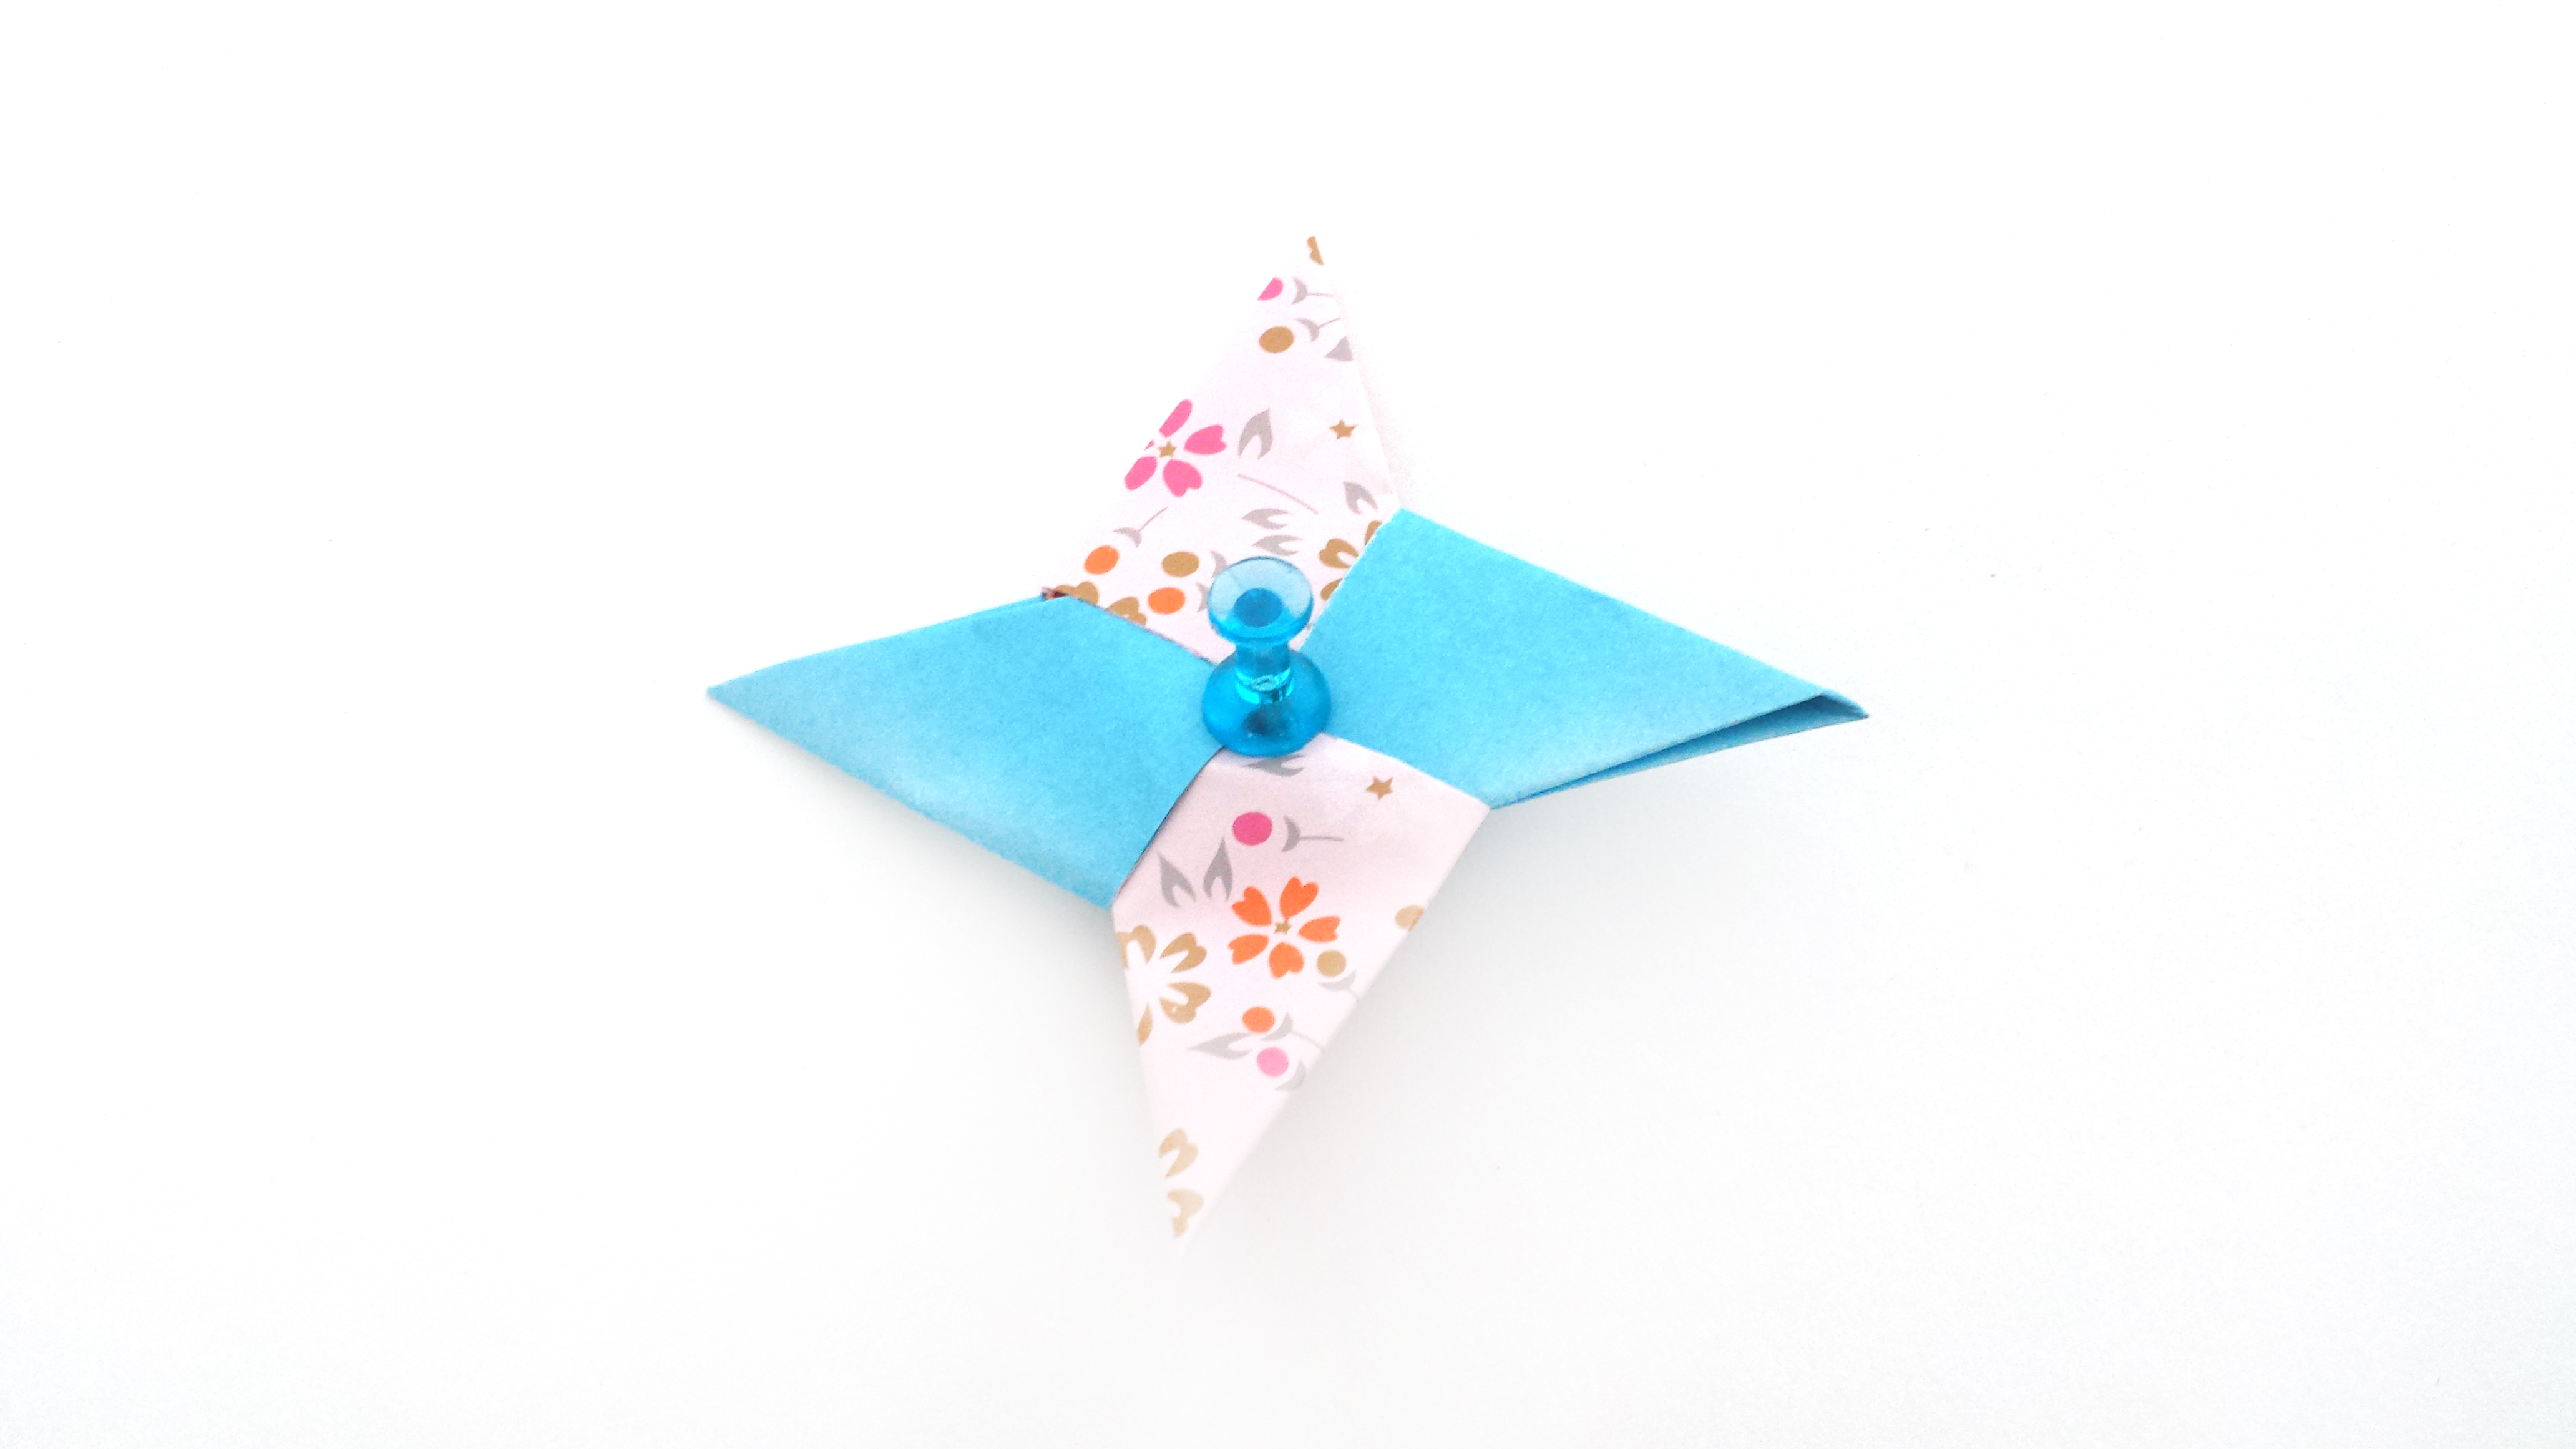
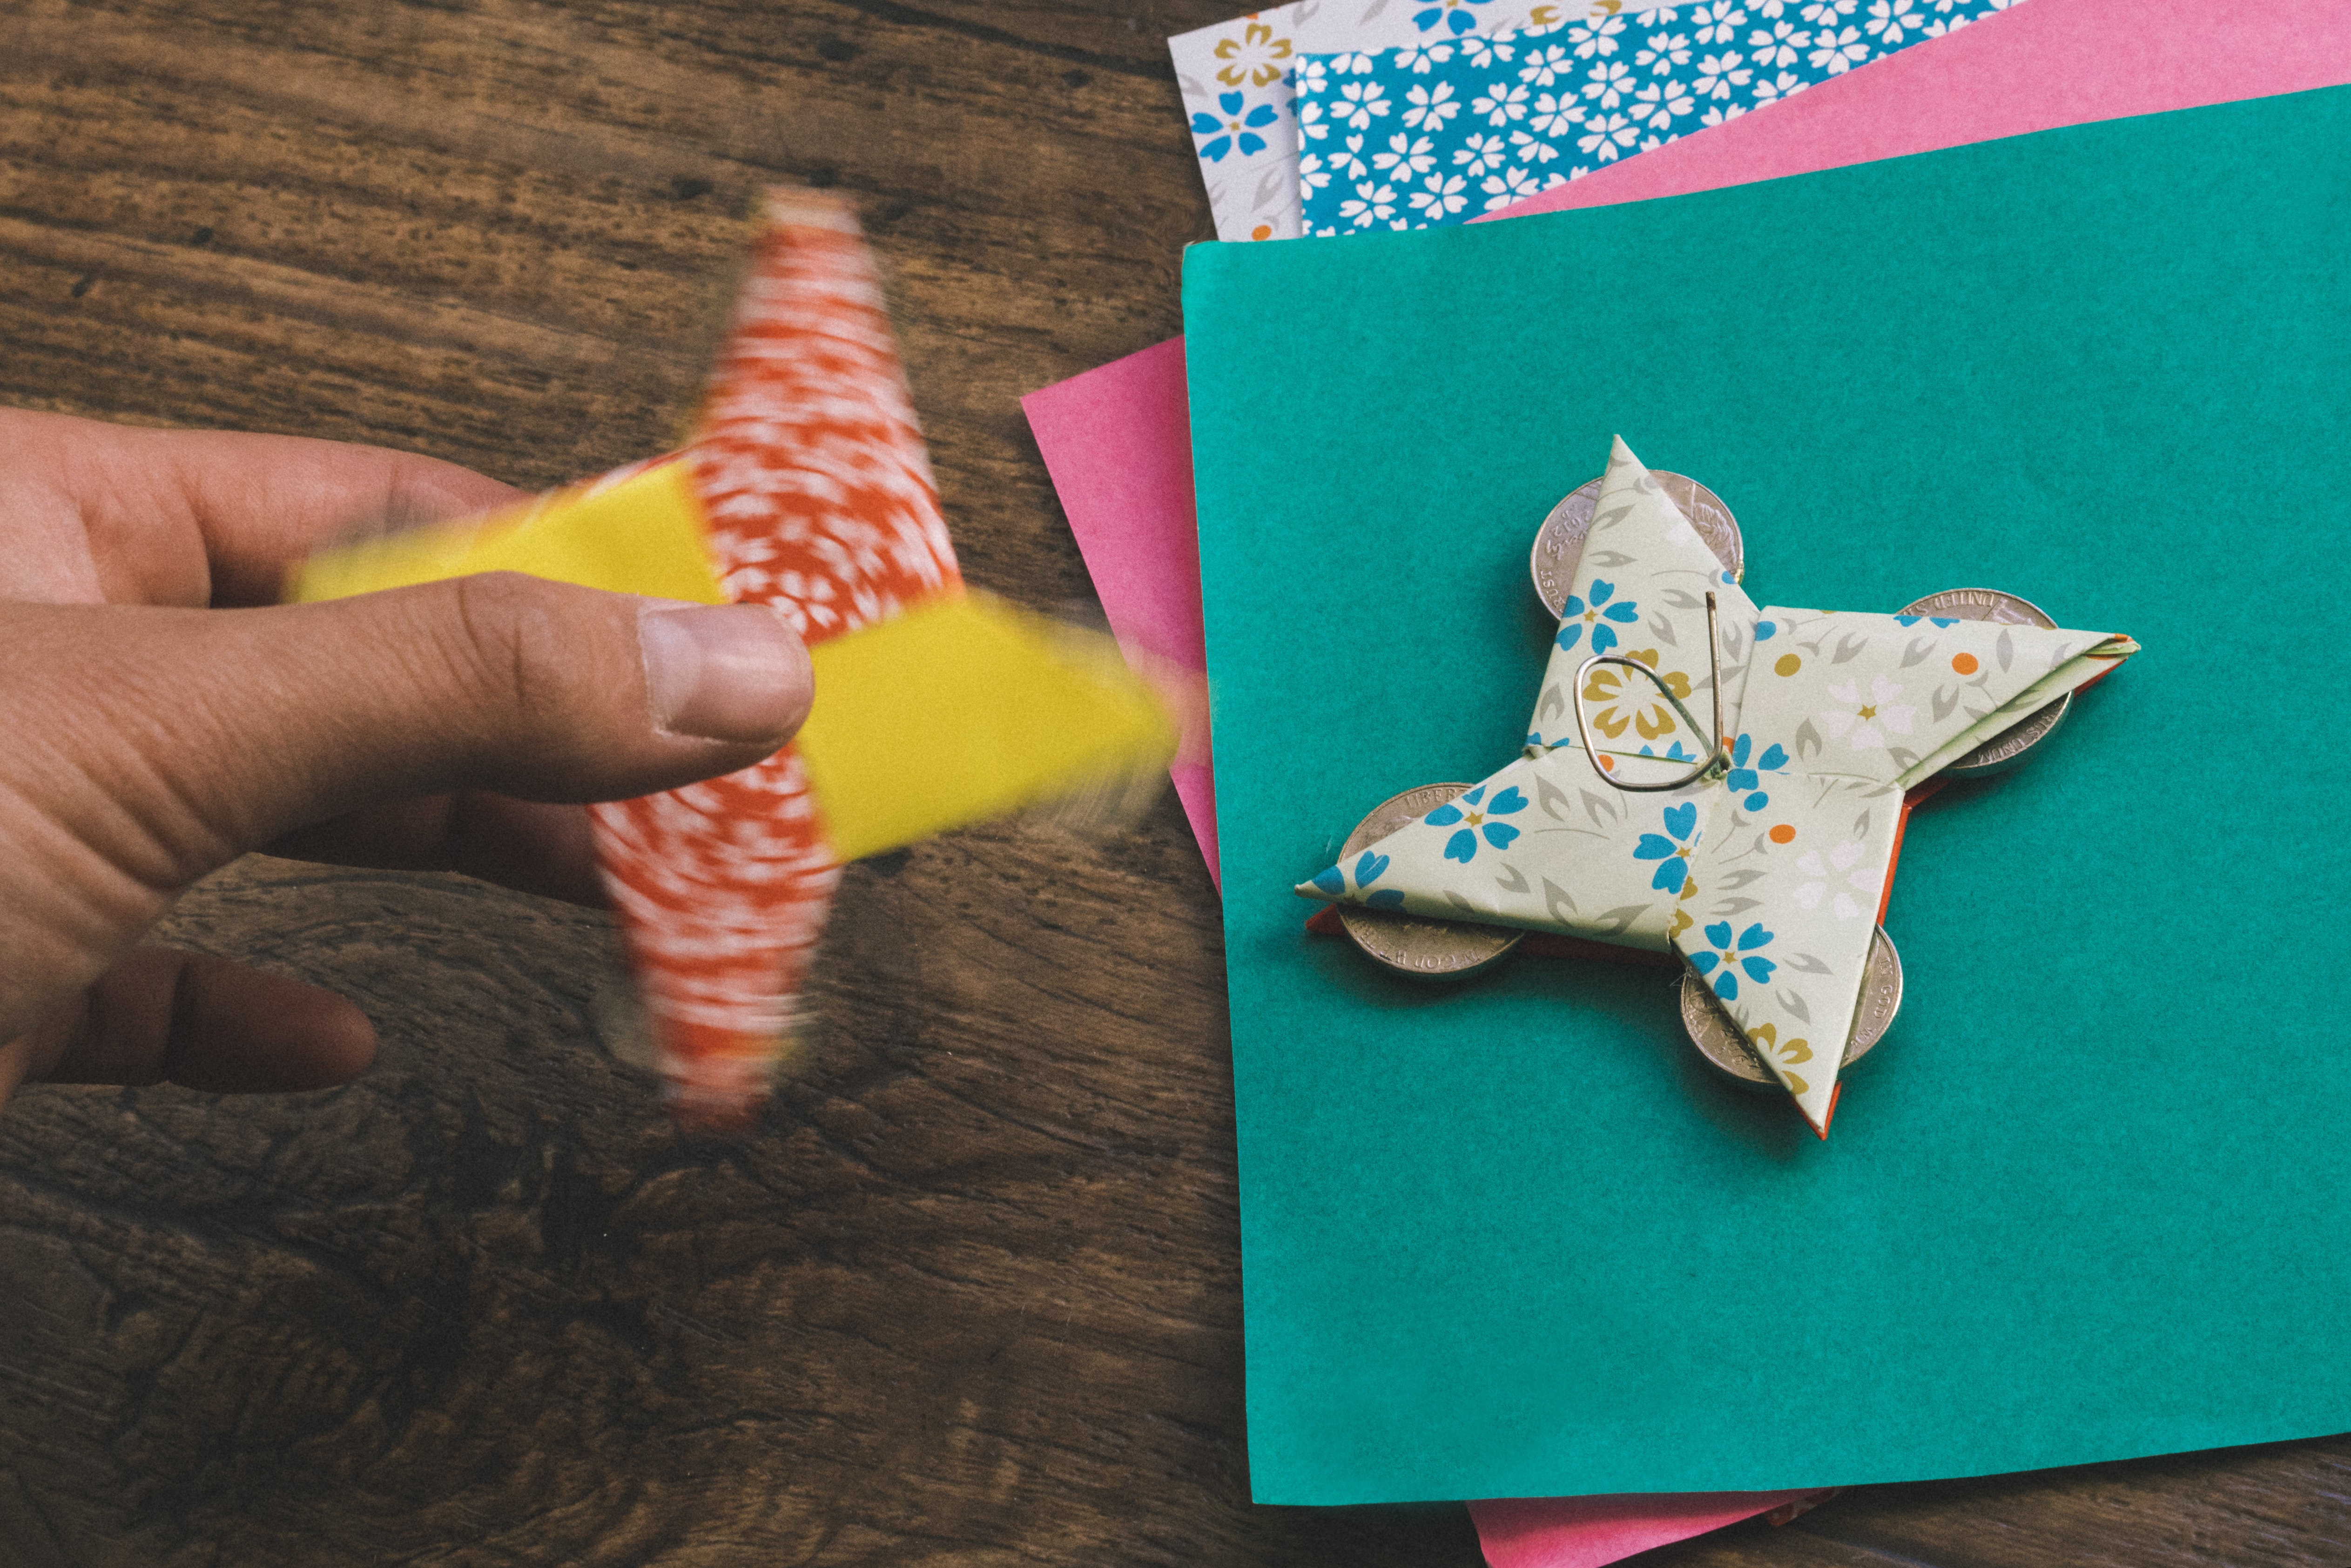
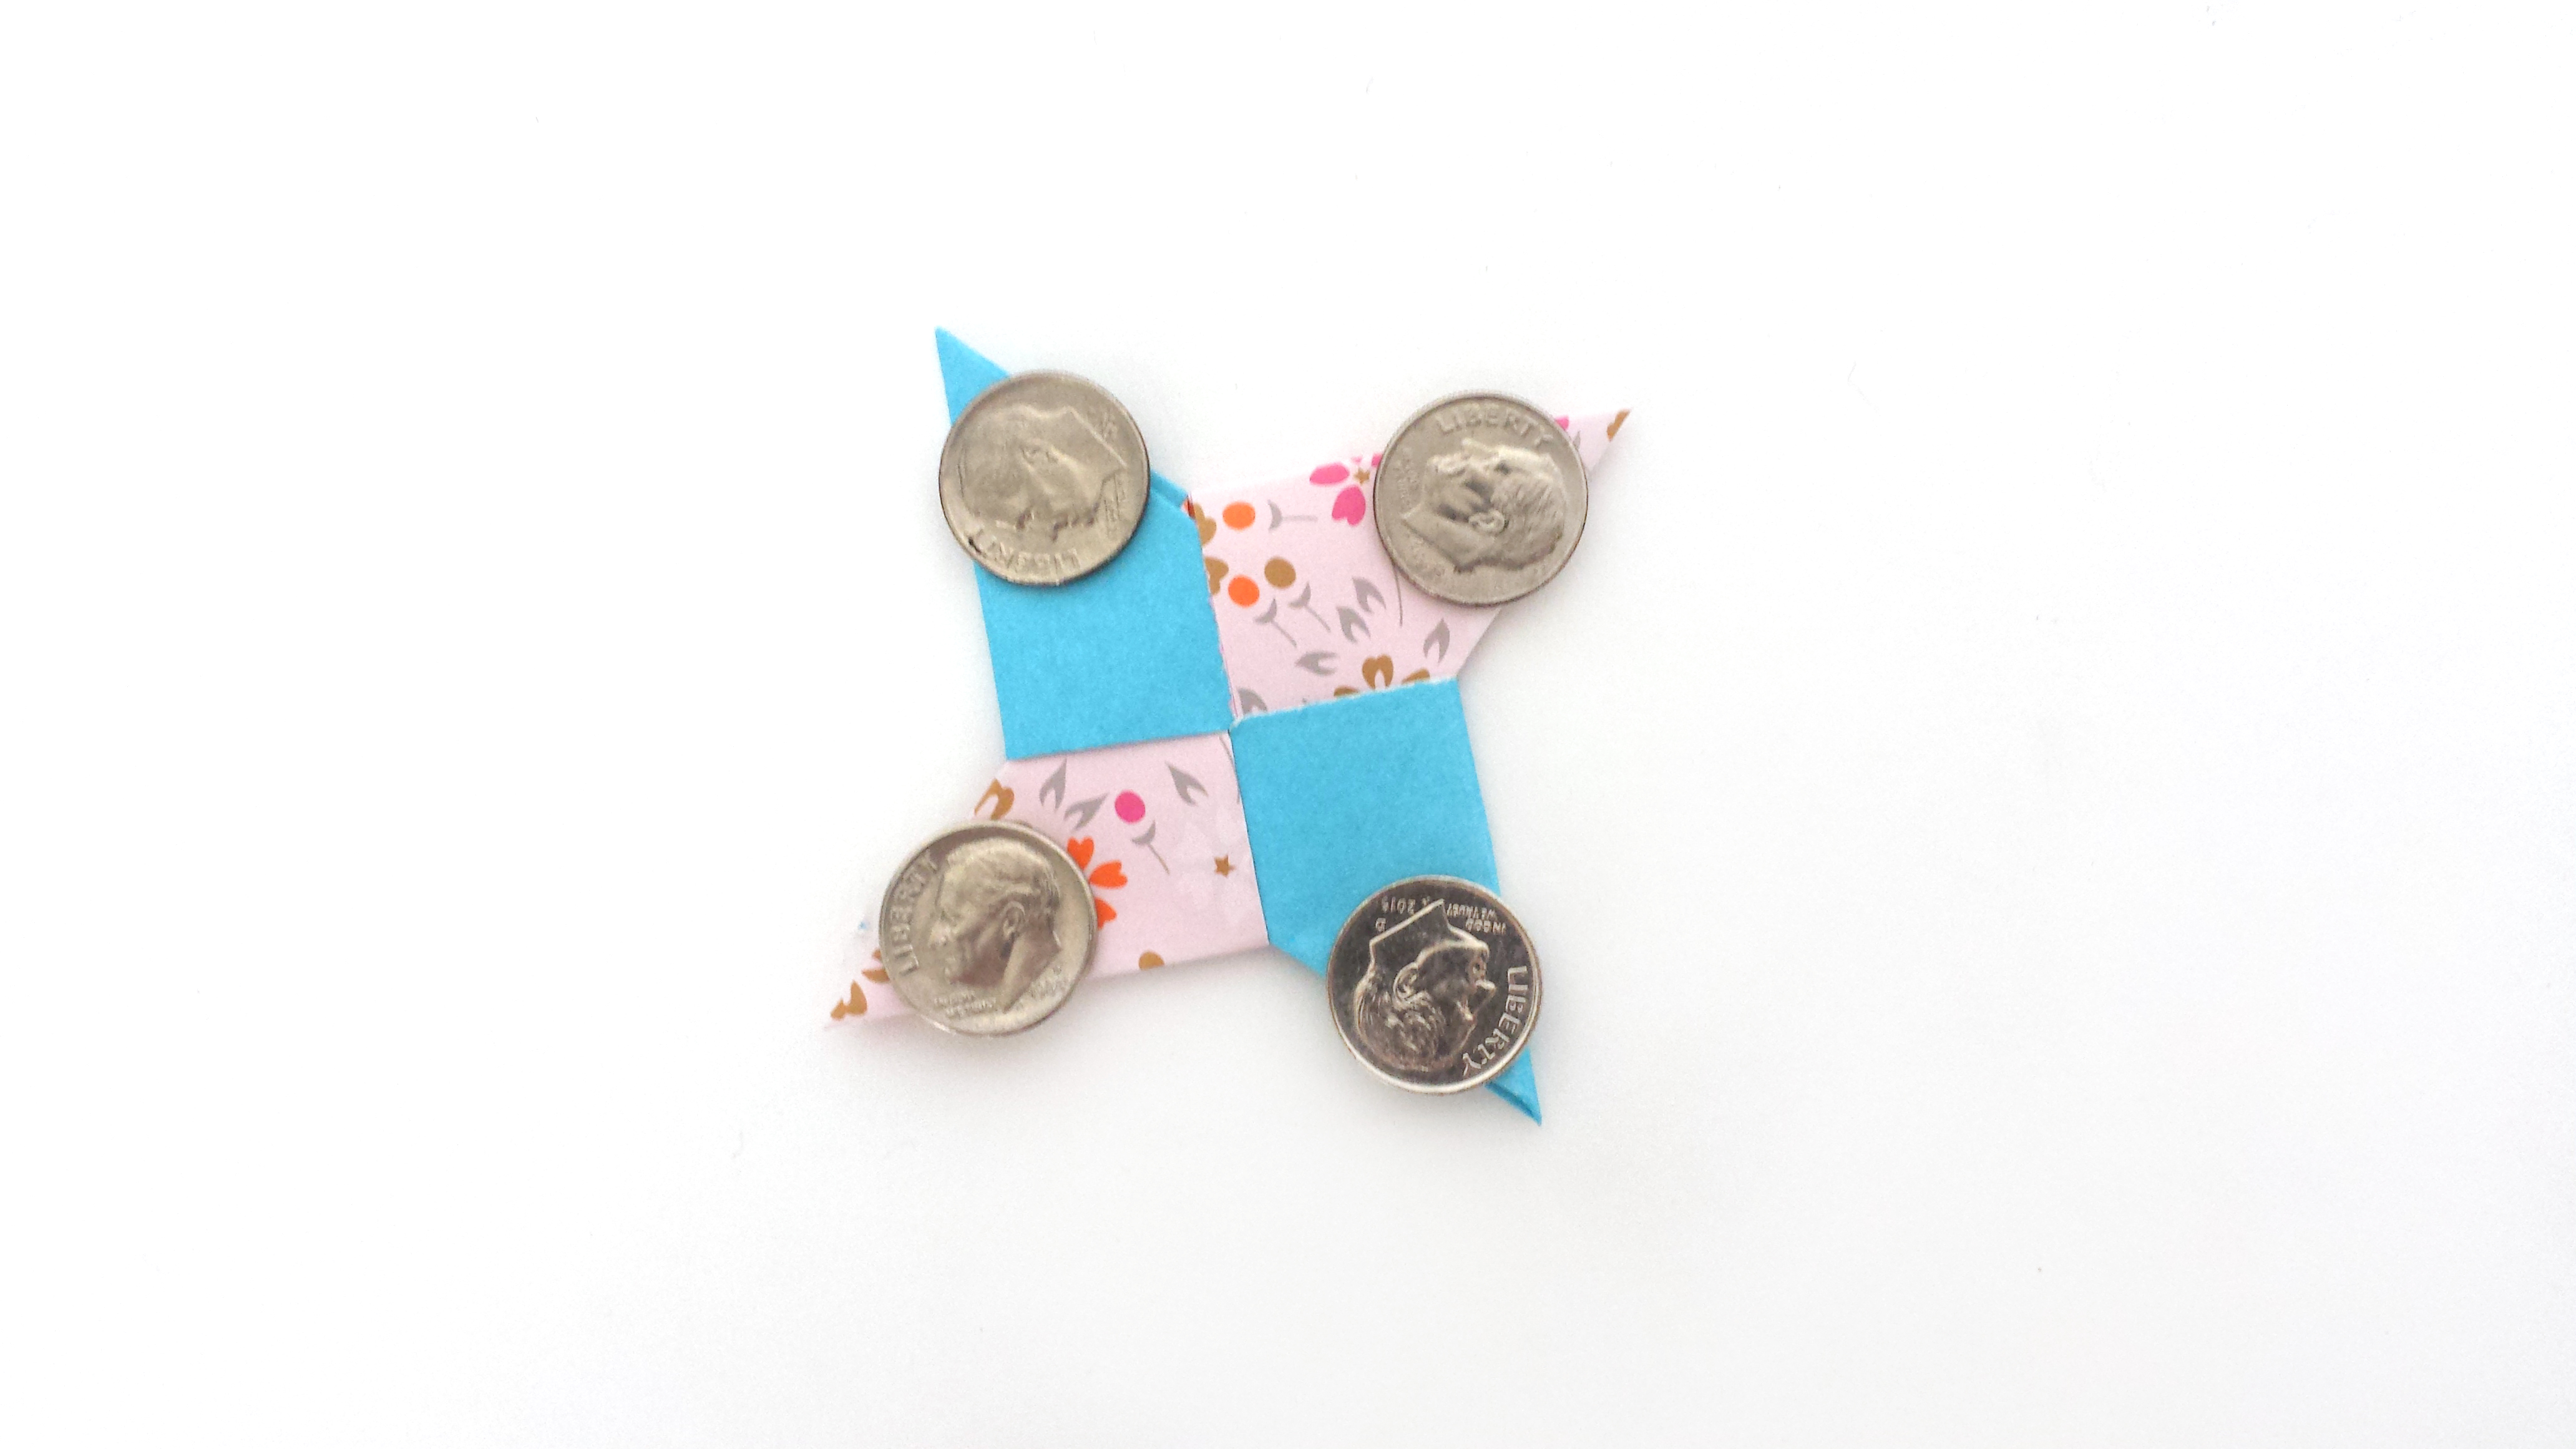
Step 20
Once you have both sides, use a hot glue gun to stick 4 dimes on the edges of one of the origami halves.
Warning
Have caution when using hot equipment. Exercise parental supervision during the gluing stage of this project.
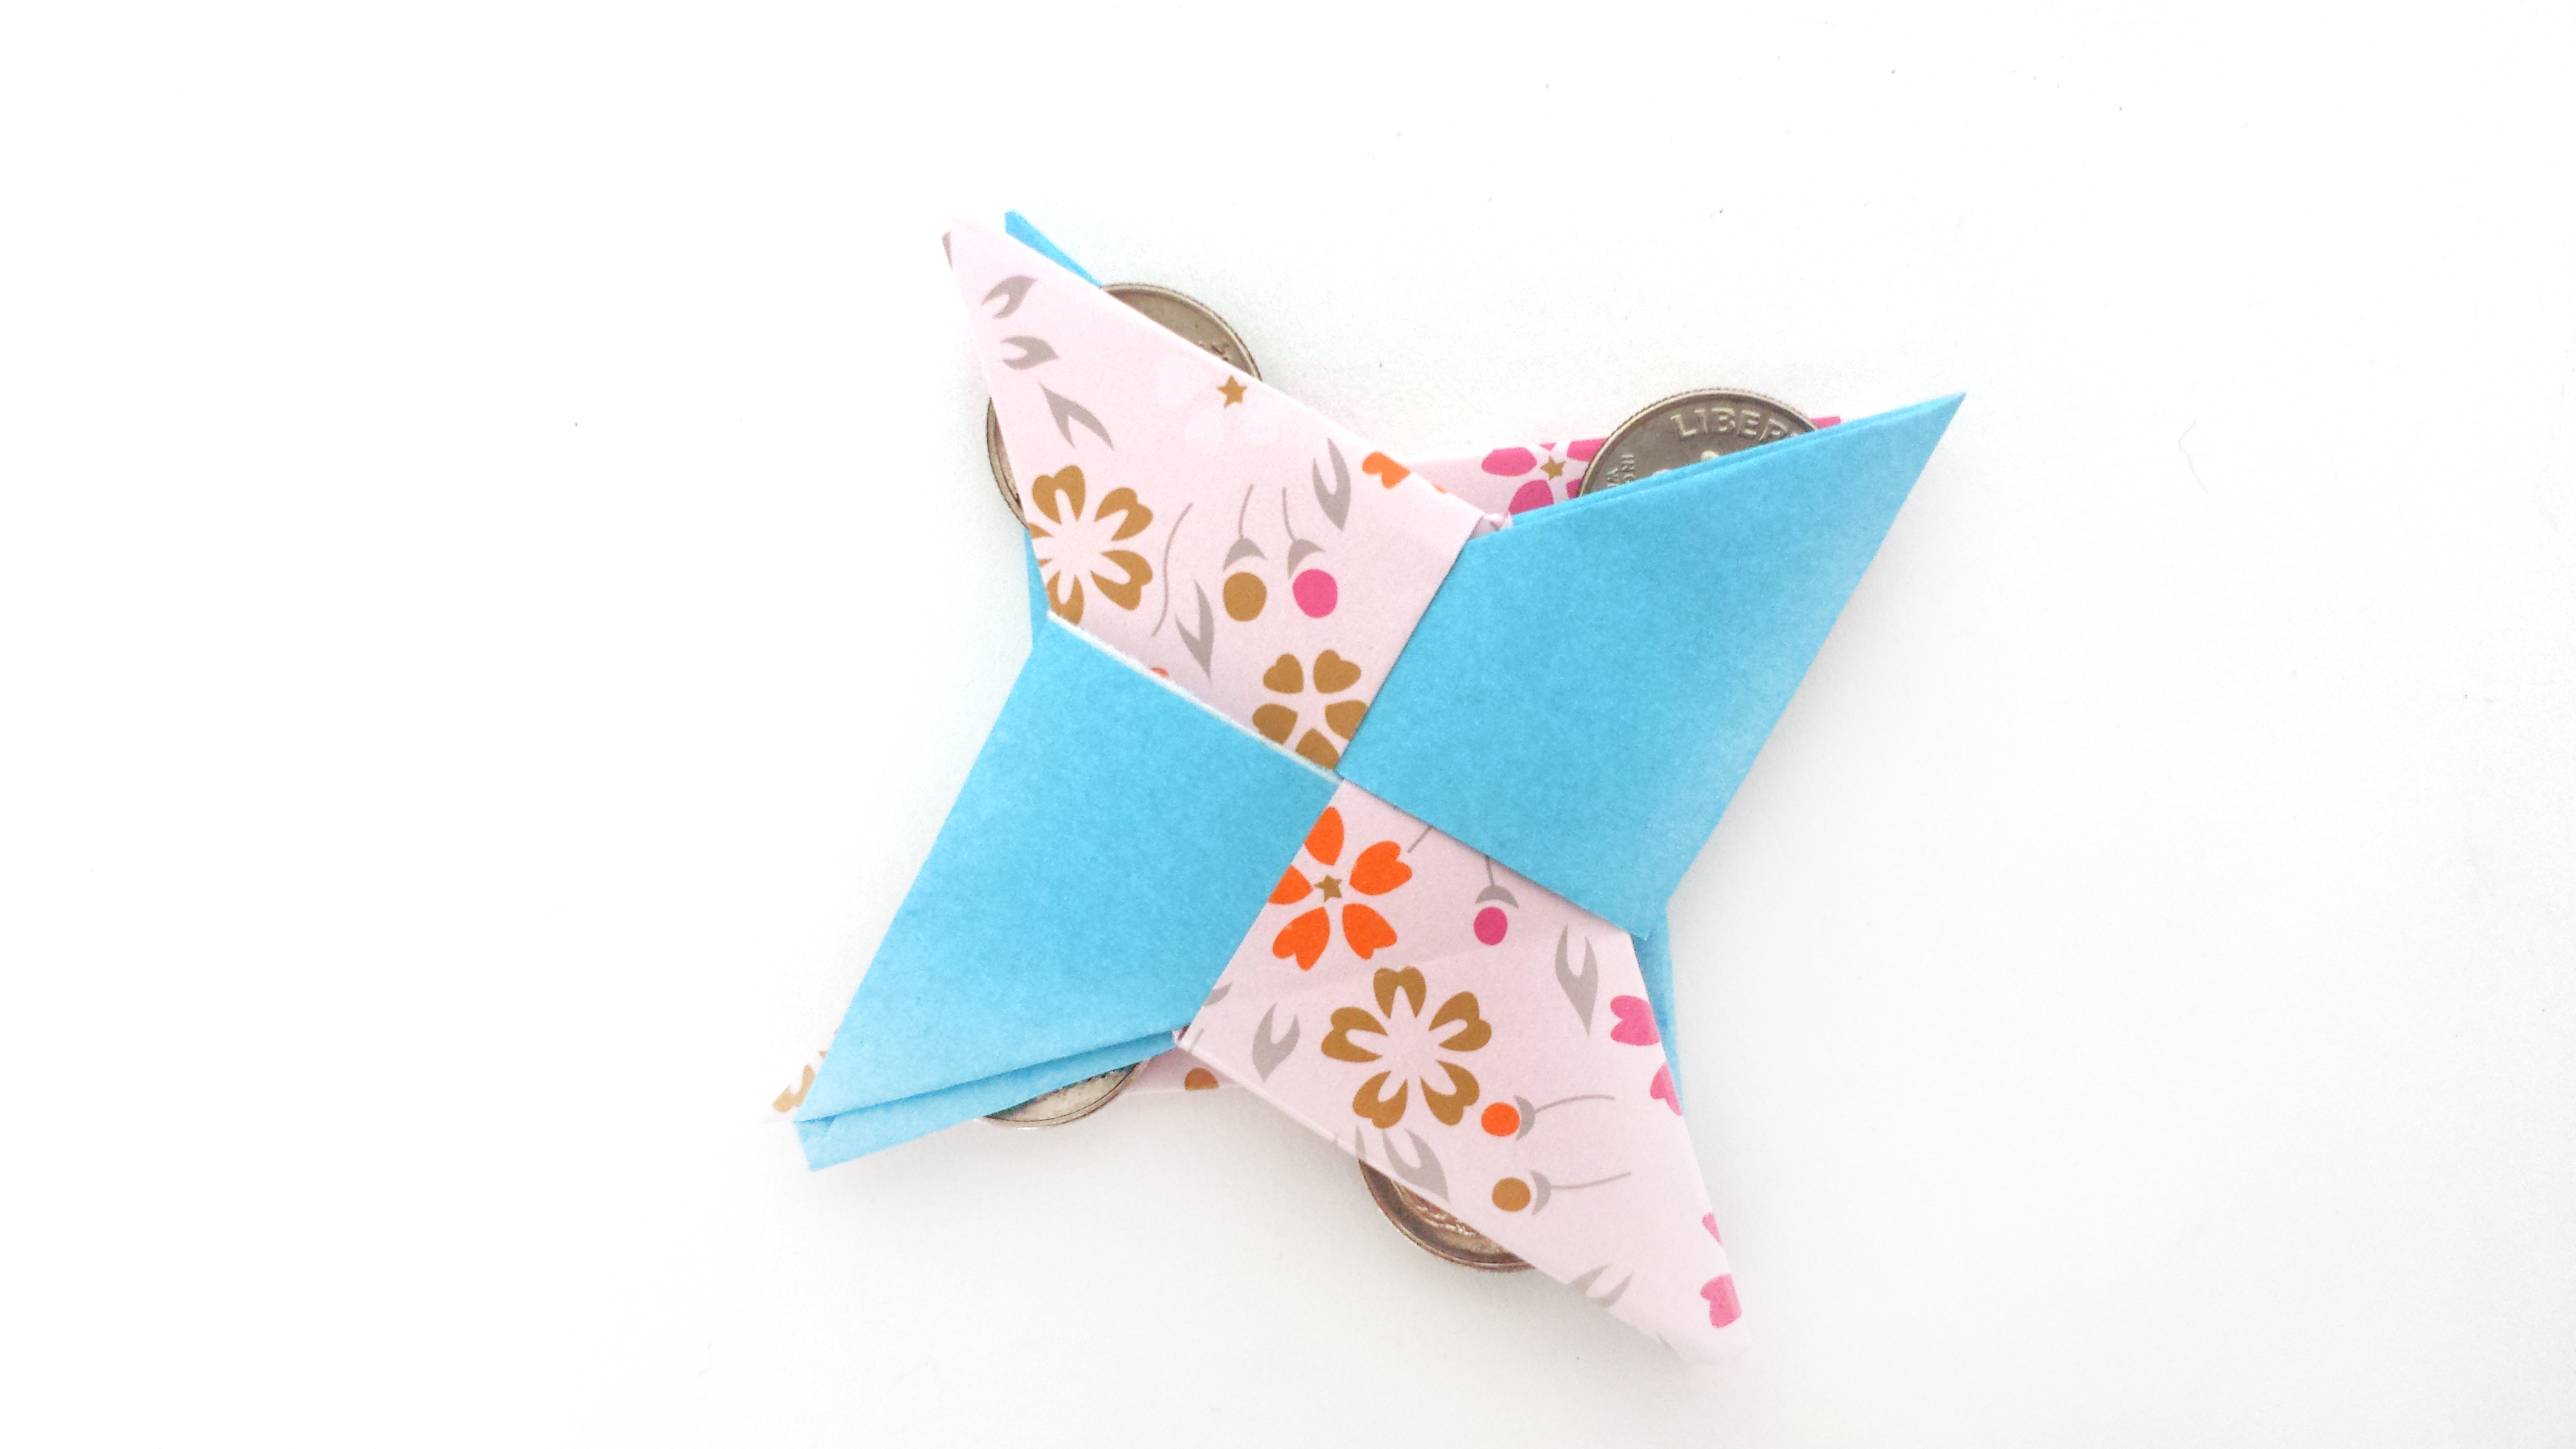
Step 21
Put glue on the top sides of the coins and stick the top half of the origami spinner on.
Step 22
Bend a paperclip so that it is straight in the middle. Feed it through the holes you poked.
Press down on the ends to create finger holds. Flick your spinner and watch the colors dance in the air!
You can experiment with different objects glued to the ends and other papers!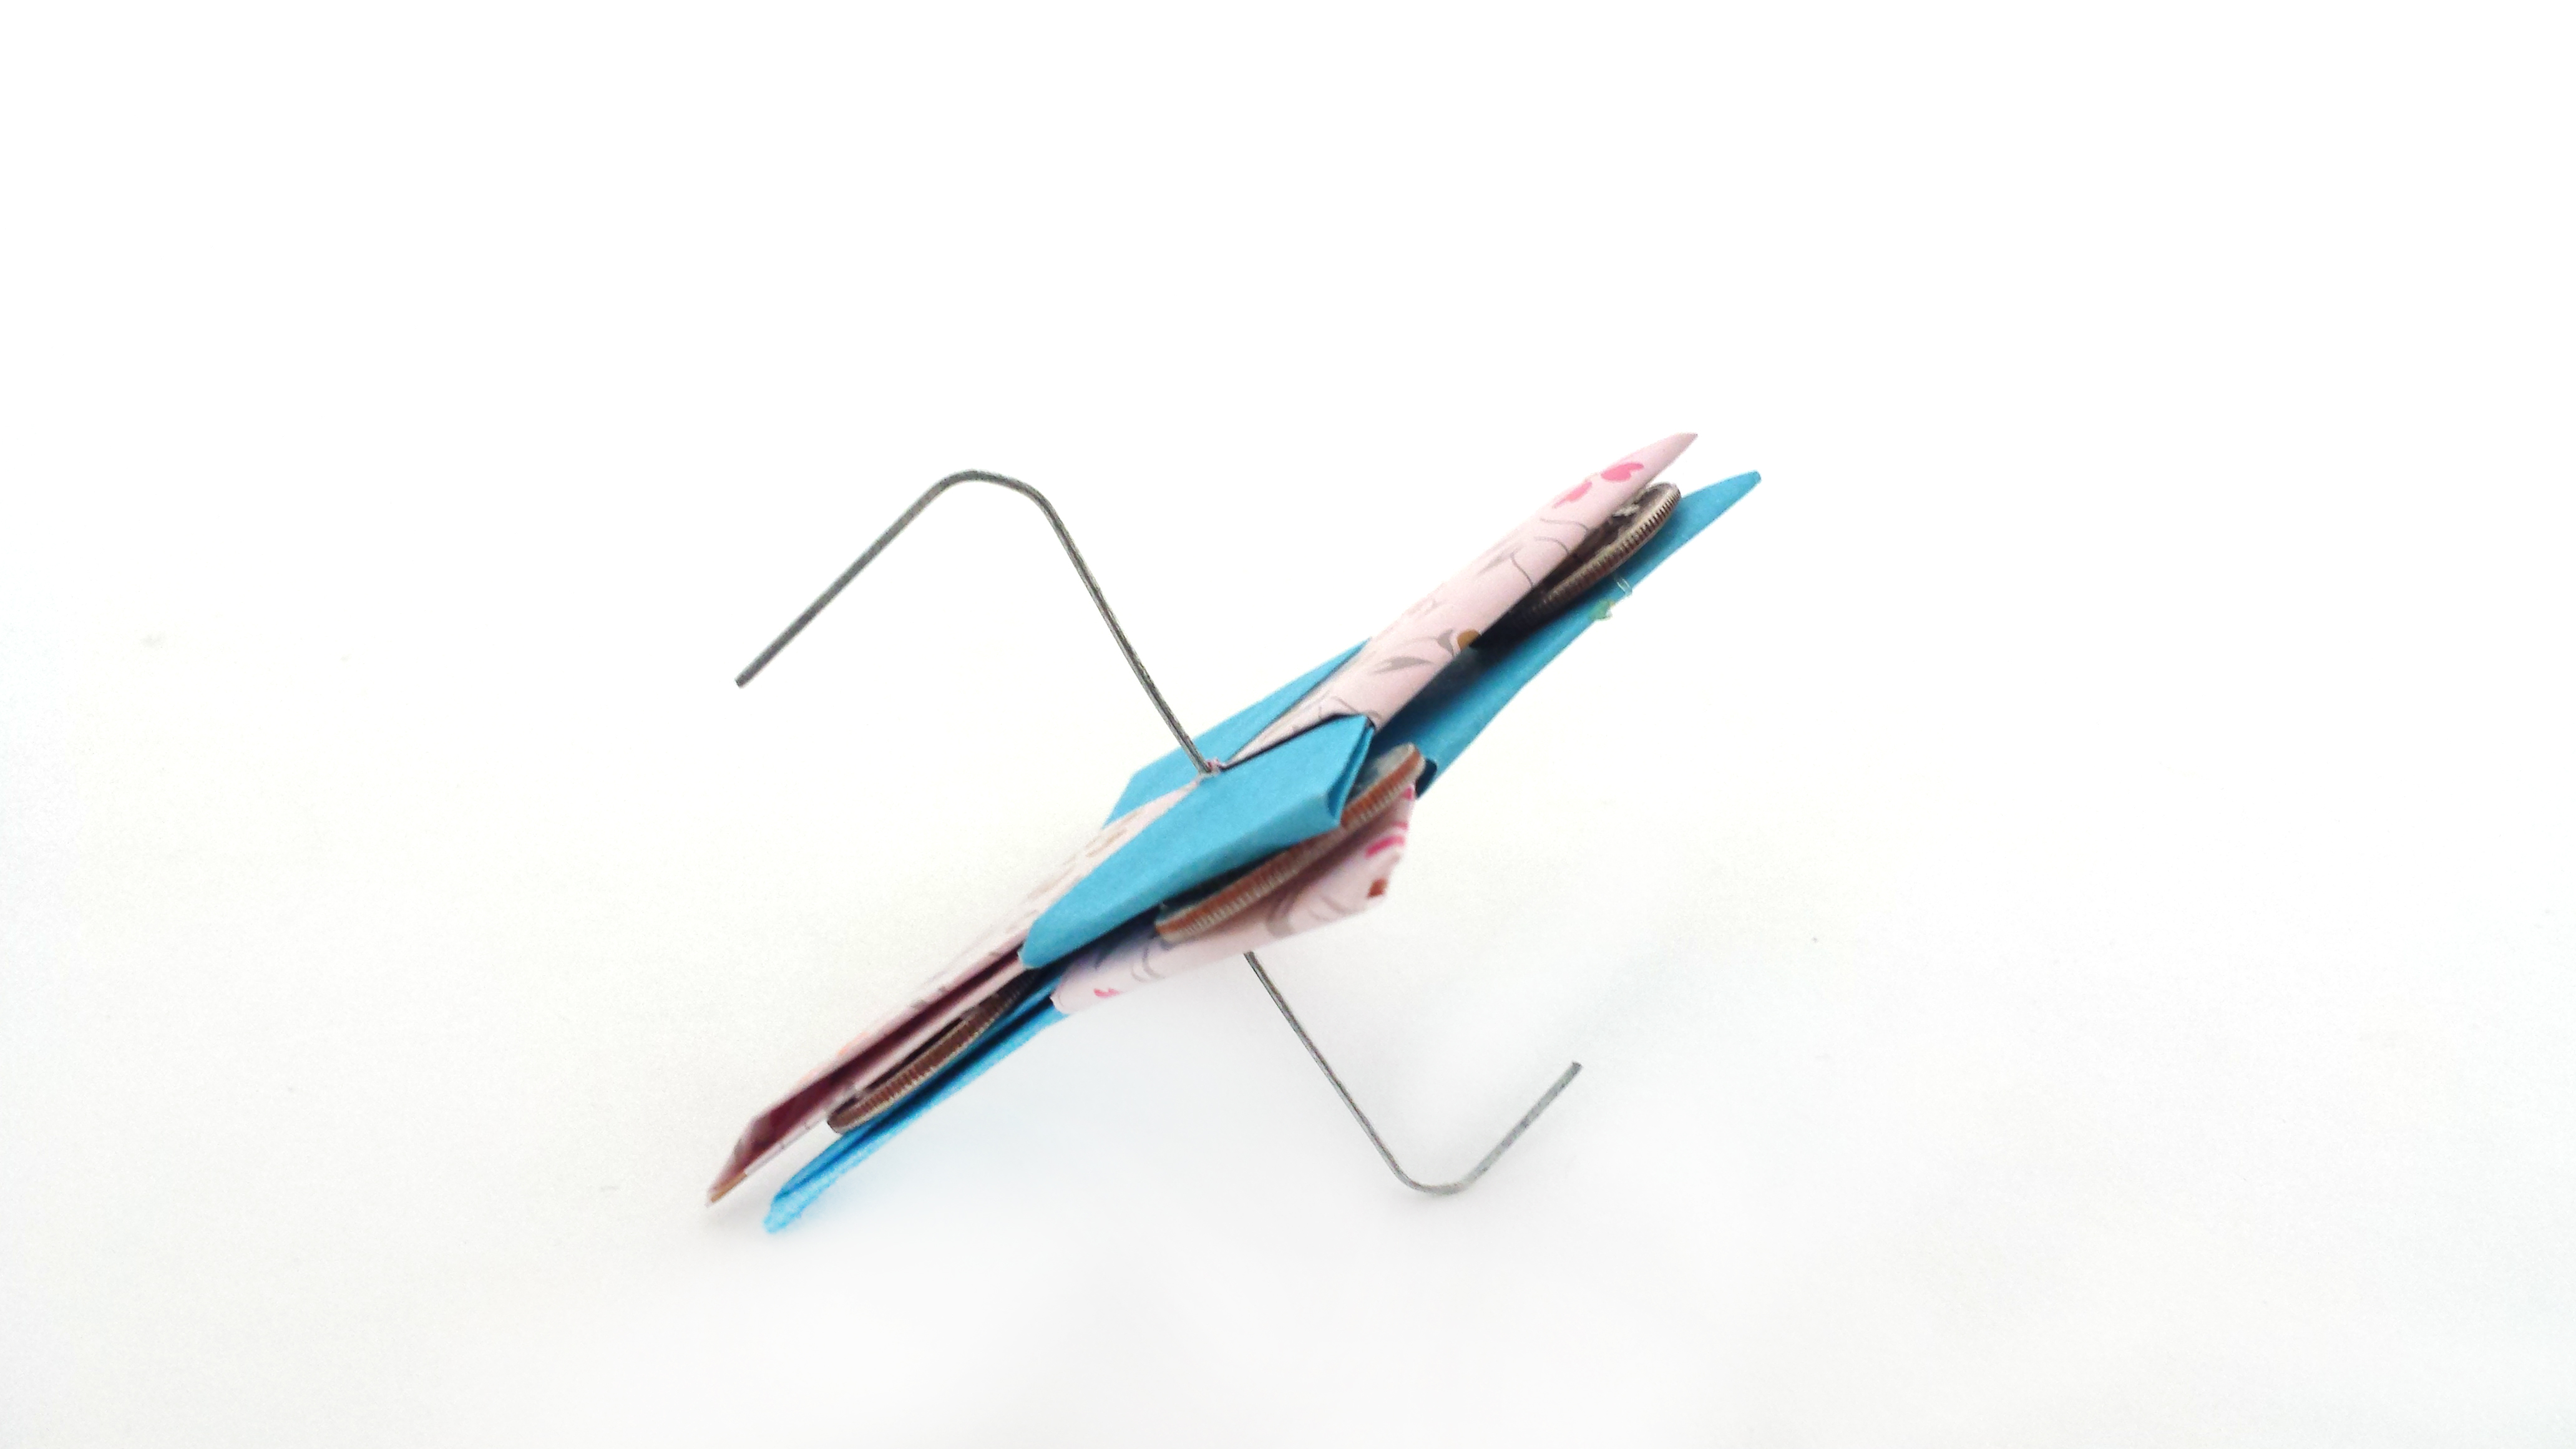
Learn more

What is going on?
Fidget spinners keep spinning for two reasons. First, many fidget spinners have a ball bearing at their center, around which the rest of the spinner rotates. Ball bearings use many small, metal balls to reduce the friction between an axis (the center of the bearing) and the object rotating around it (the spinner). Rolling objects produce less friction than sliding objects, so ball bearings allow fidget spinners to "roll" around their central axis, rather than slide around that axis.
Your DIY spinner doesn't have a ball bearing to reduce friction around its axis (the paperclip), but it does possess the second key trait of a good fidget spinner: a lot of rotational inertia. Inertia refers to an object's resistance to any change in its motion. The four, symmetrically-located dimes in your fidget spinner give the outside of the spinner a lot of inertia, so once it starts spinning, it strongly resists slowing down. By reducing friction and increasing rotational inertia, fidget spinners will continue to spin for some time.
Fact
Fidget spinners act like gyroscopes once they begin to spin, creating torque around the gyroscope's axis of rotation. Torque is a type of force that is created by the rotational movement of an object. If you're looking down at your fidget spinner, and you spin it counter-clockwise, the resulting torque will push the spinner towards you. Try rotating your spinner in different directions after you've given it a good spin, and see if you can feel the resulting torque.


