Step-by-step tutorial
Step 1
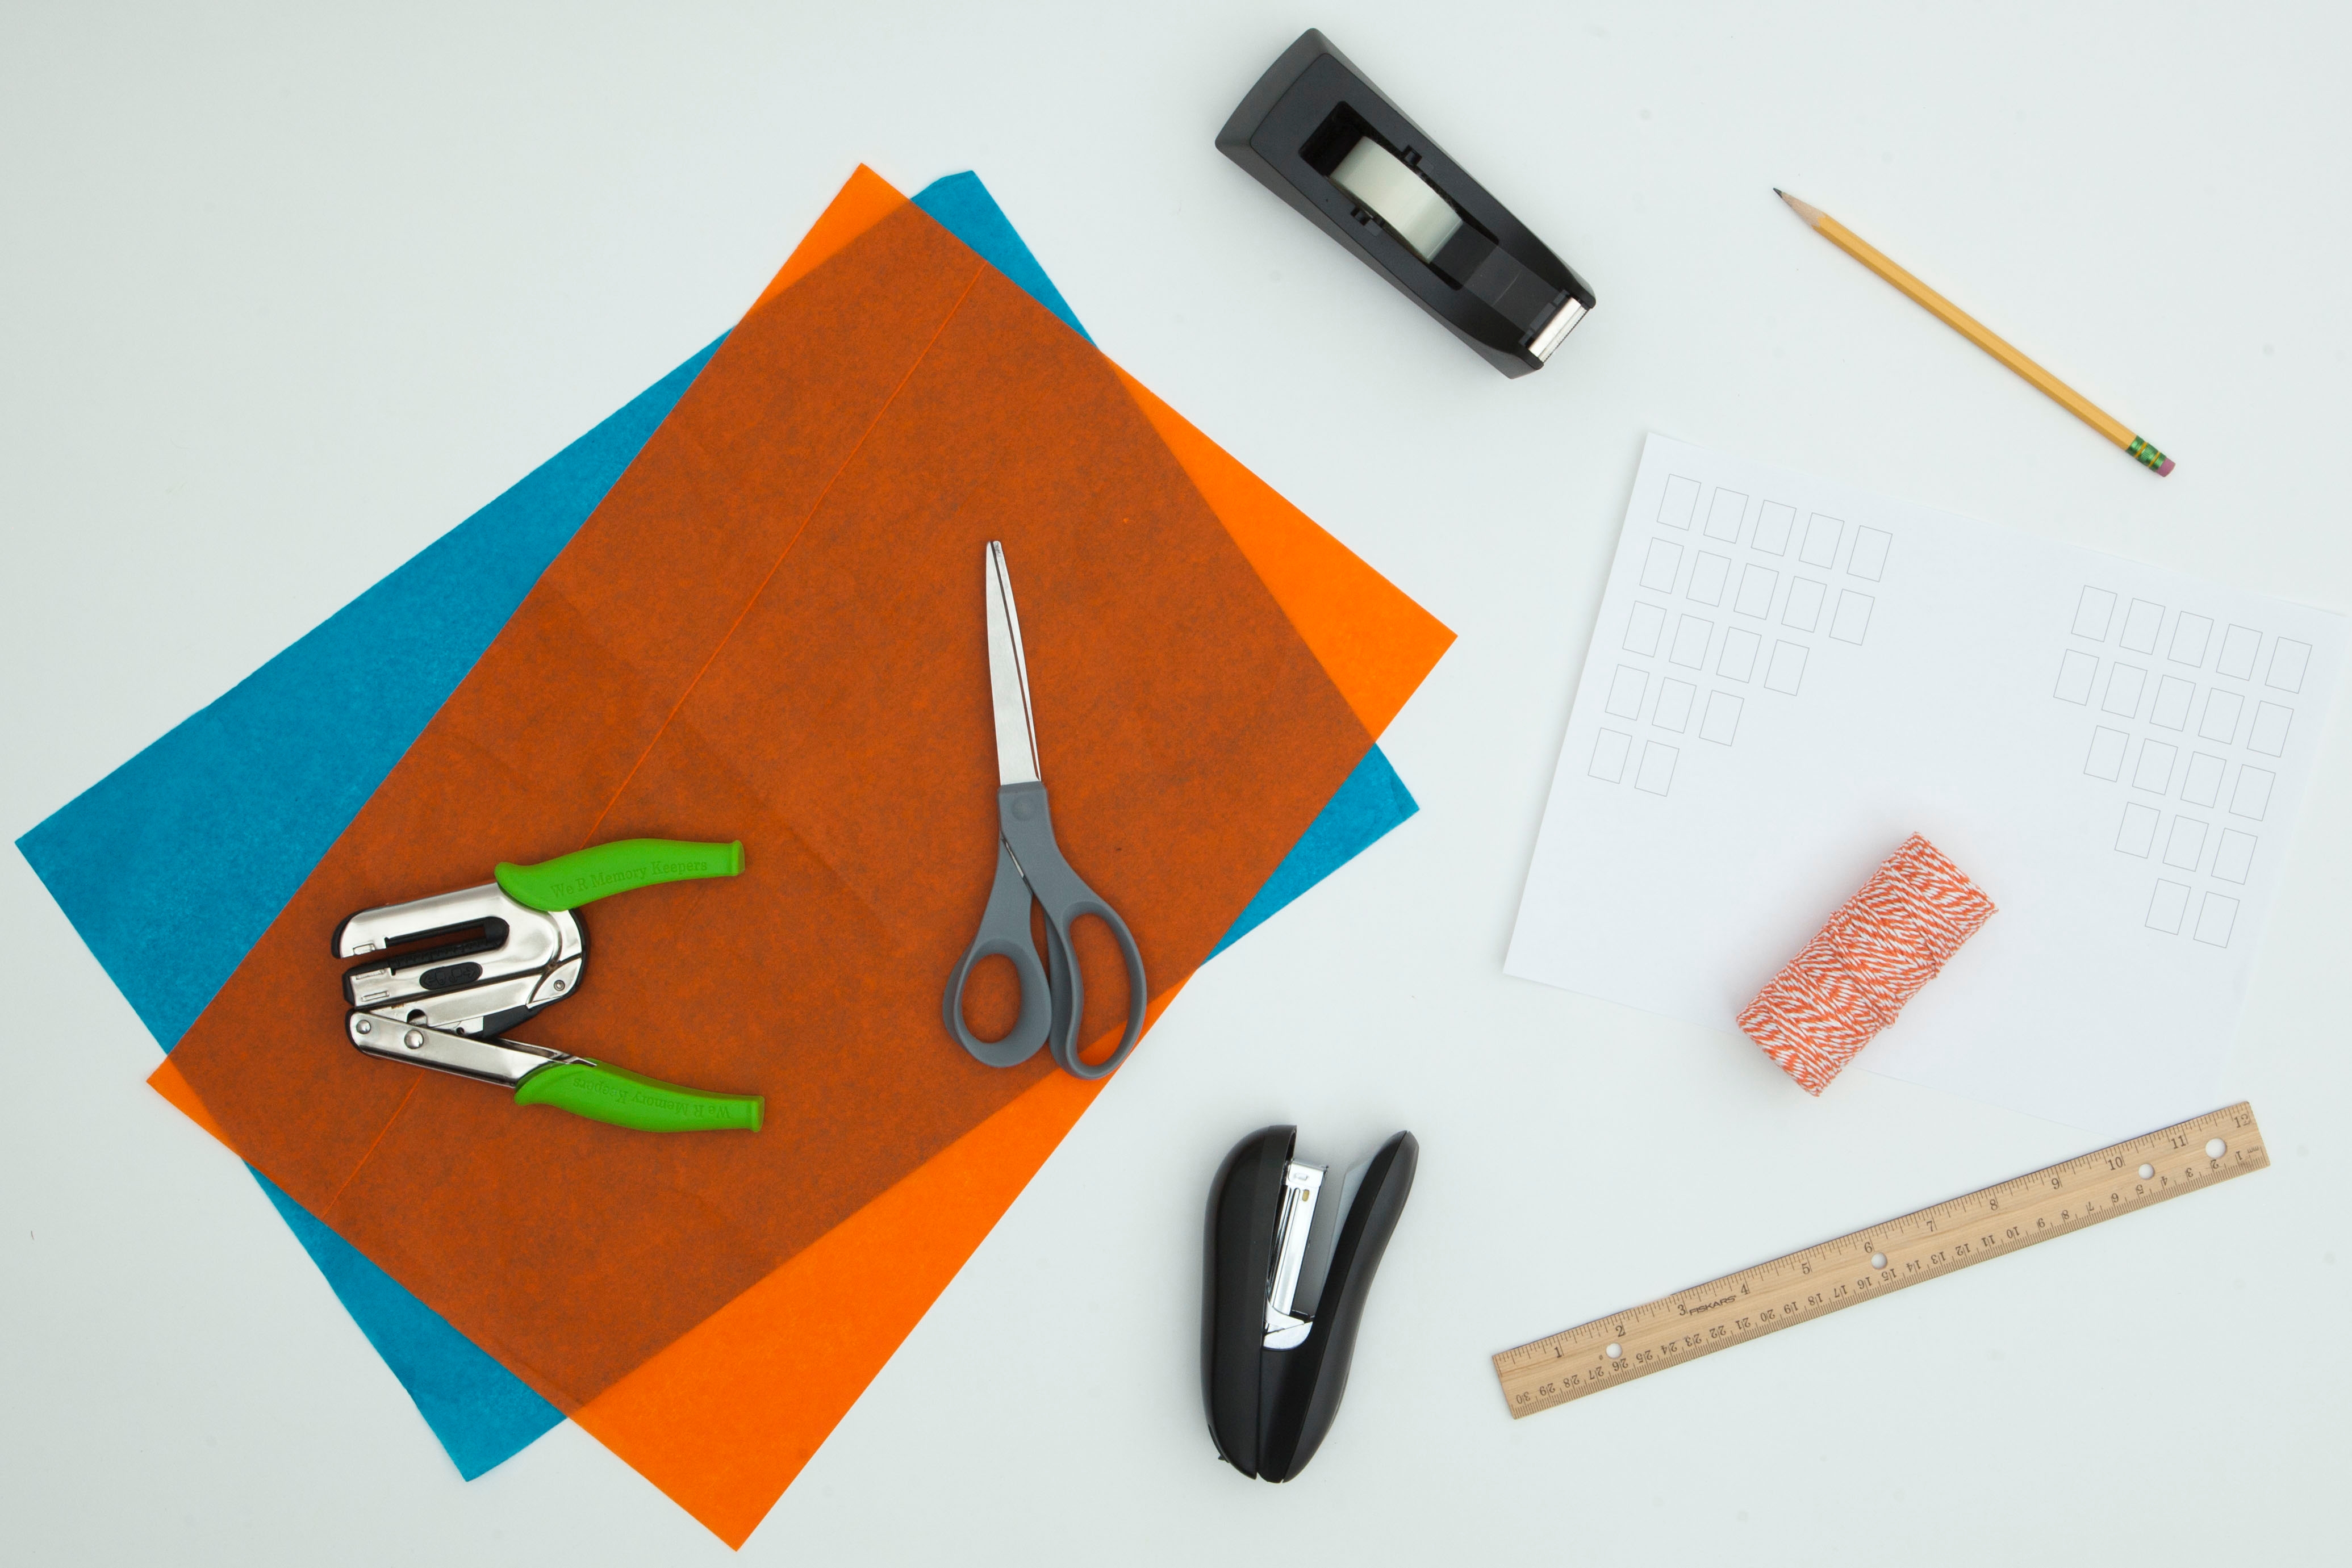
Gather your materials.

Step 2
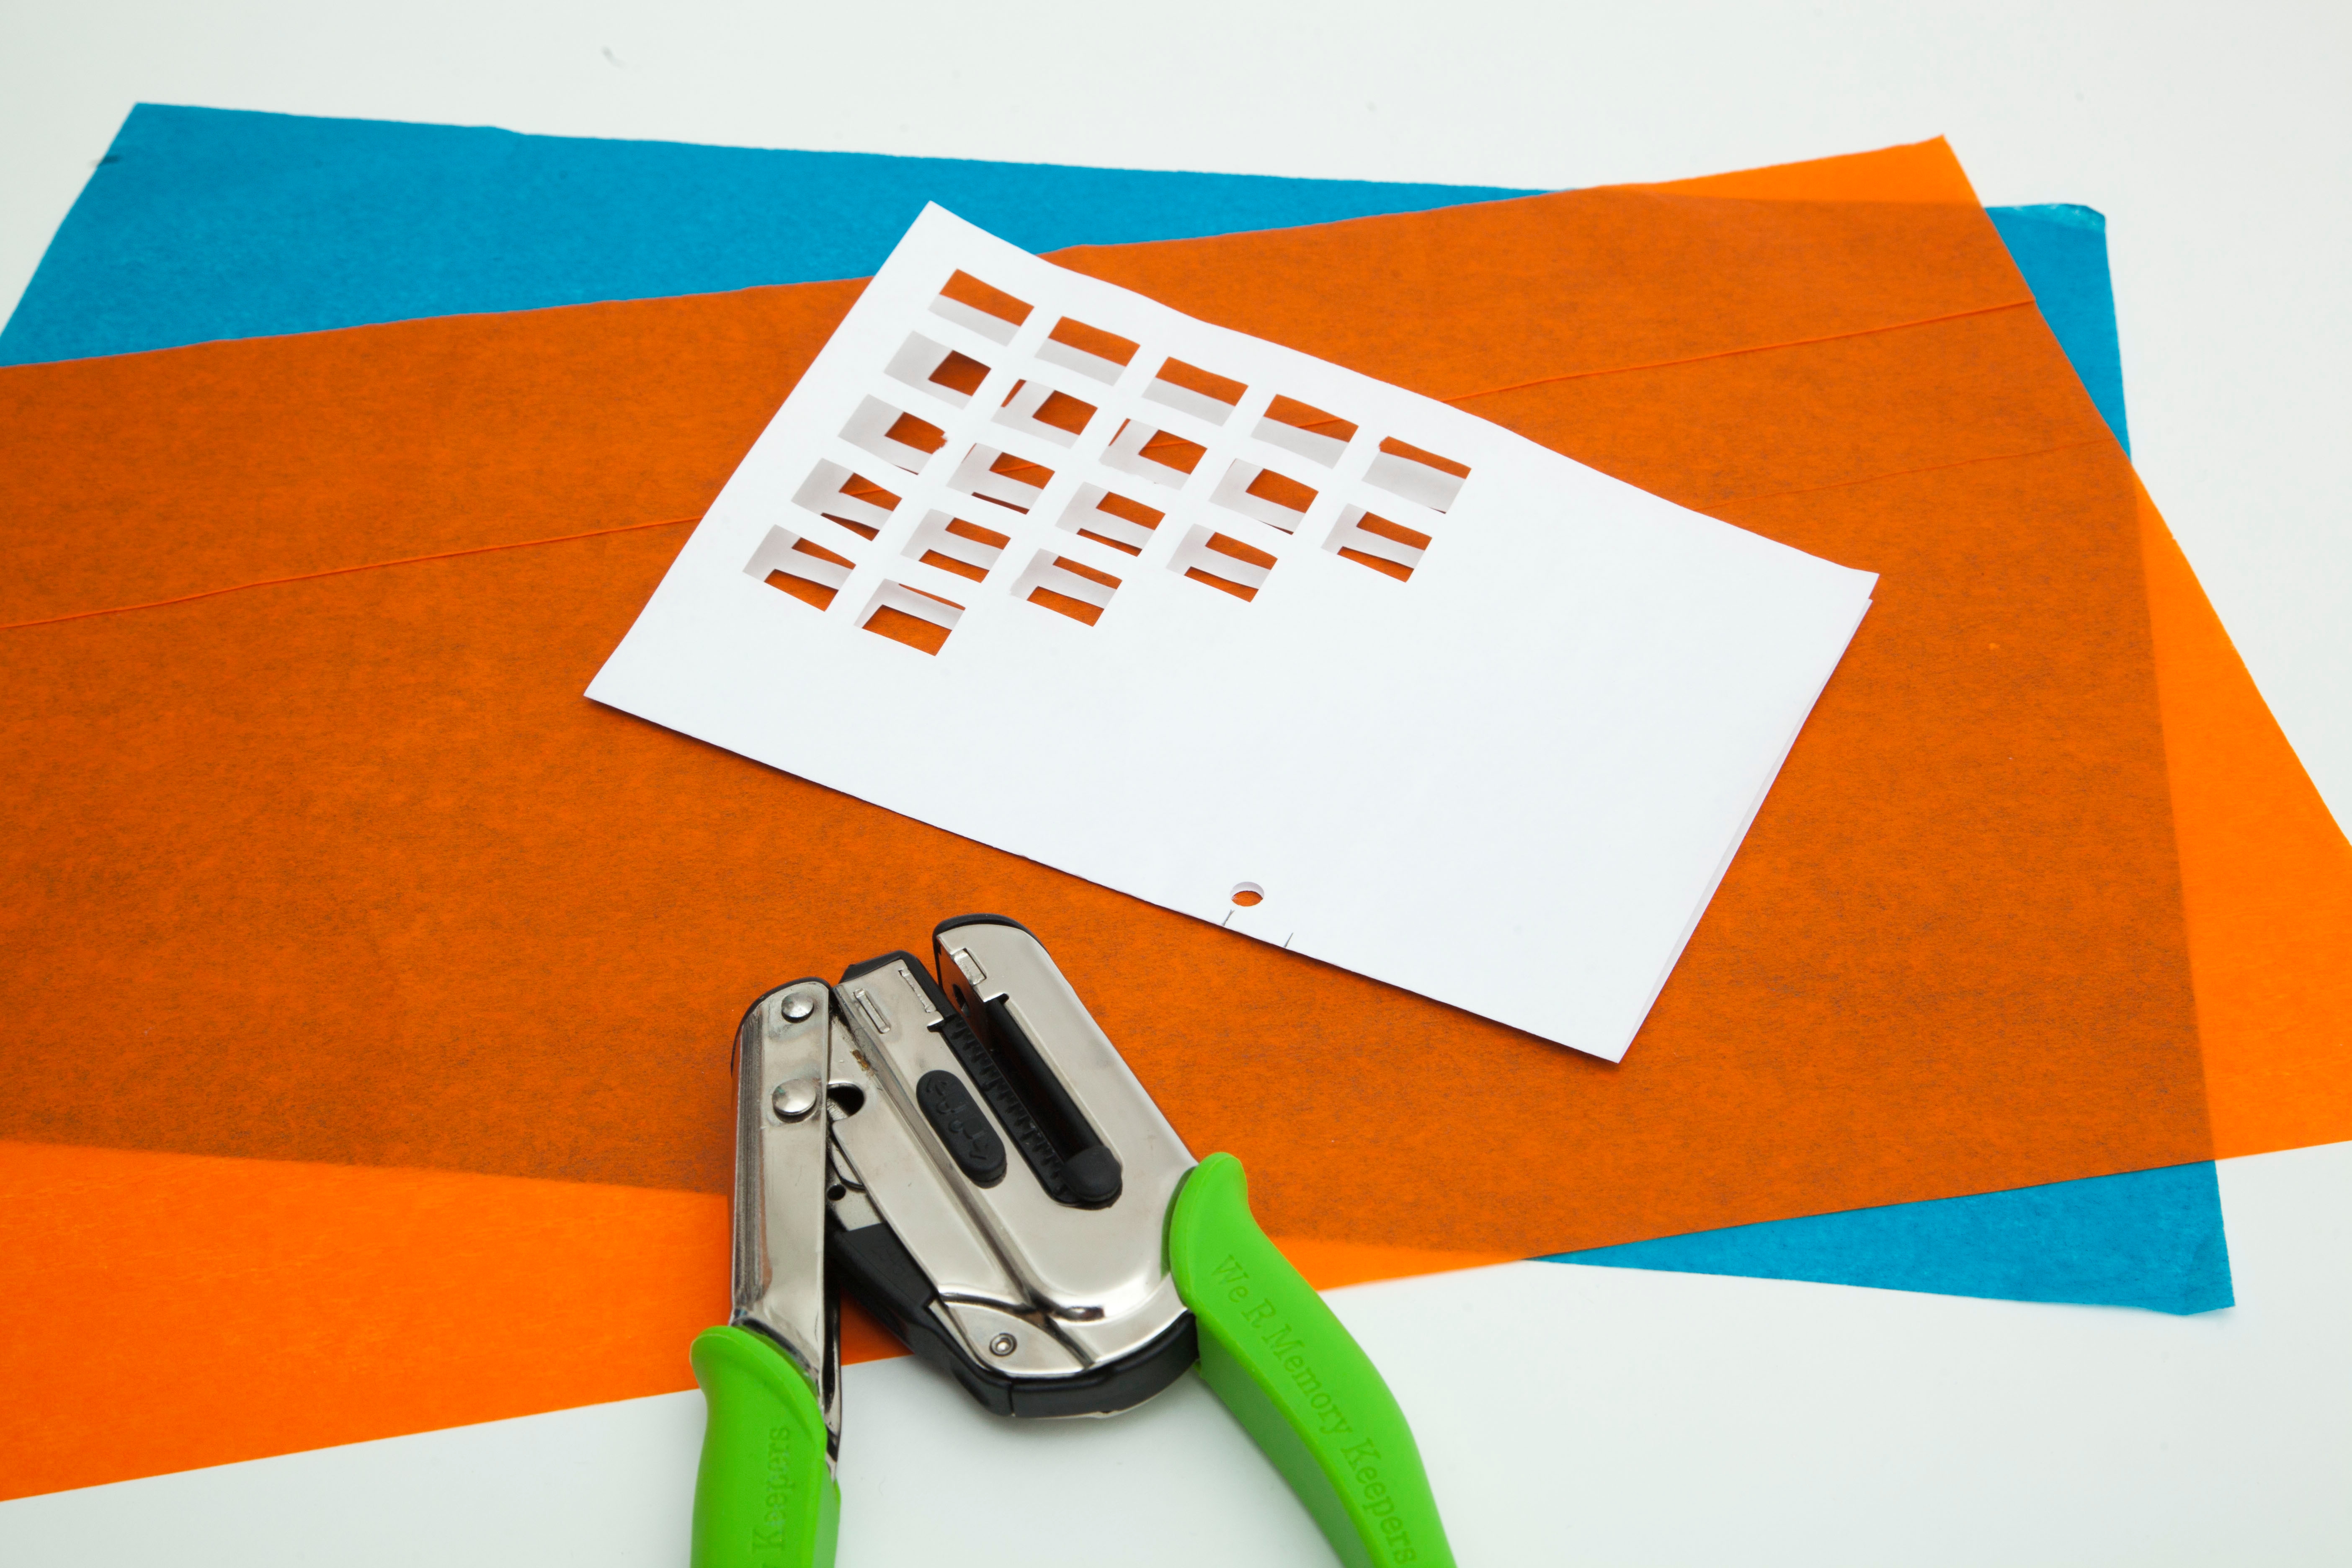
Cut out all of the little squares on the printable. You may need a grownup assistant to help you.

Step 3
Fold the paper in half widthwise.

Step 4
On the creased side that doesn’t have squares cut out, mark the paper with a pencil 2 ½ inches (6.4 cm) and 3 inches (7.6 cm) from the short side.

Step 5
Punch a hole at the 3-inch (7.6 cm) mark about a half-inch away from the edge.
Step 6
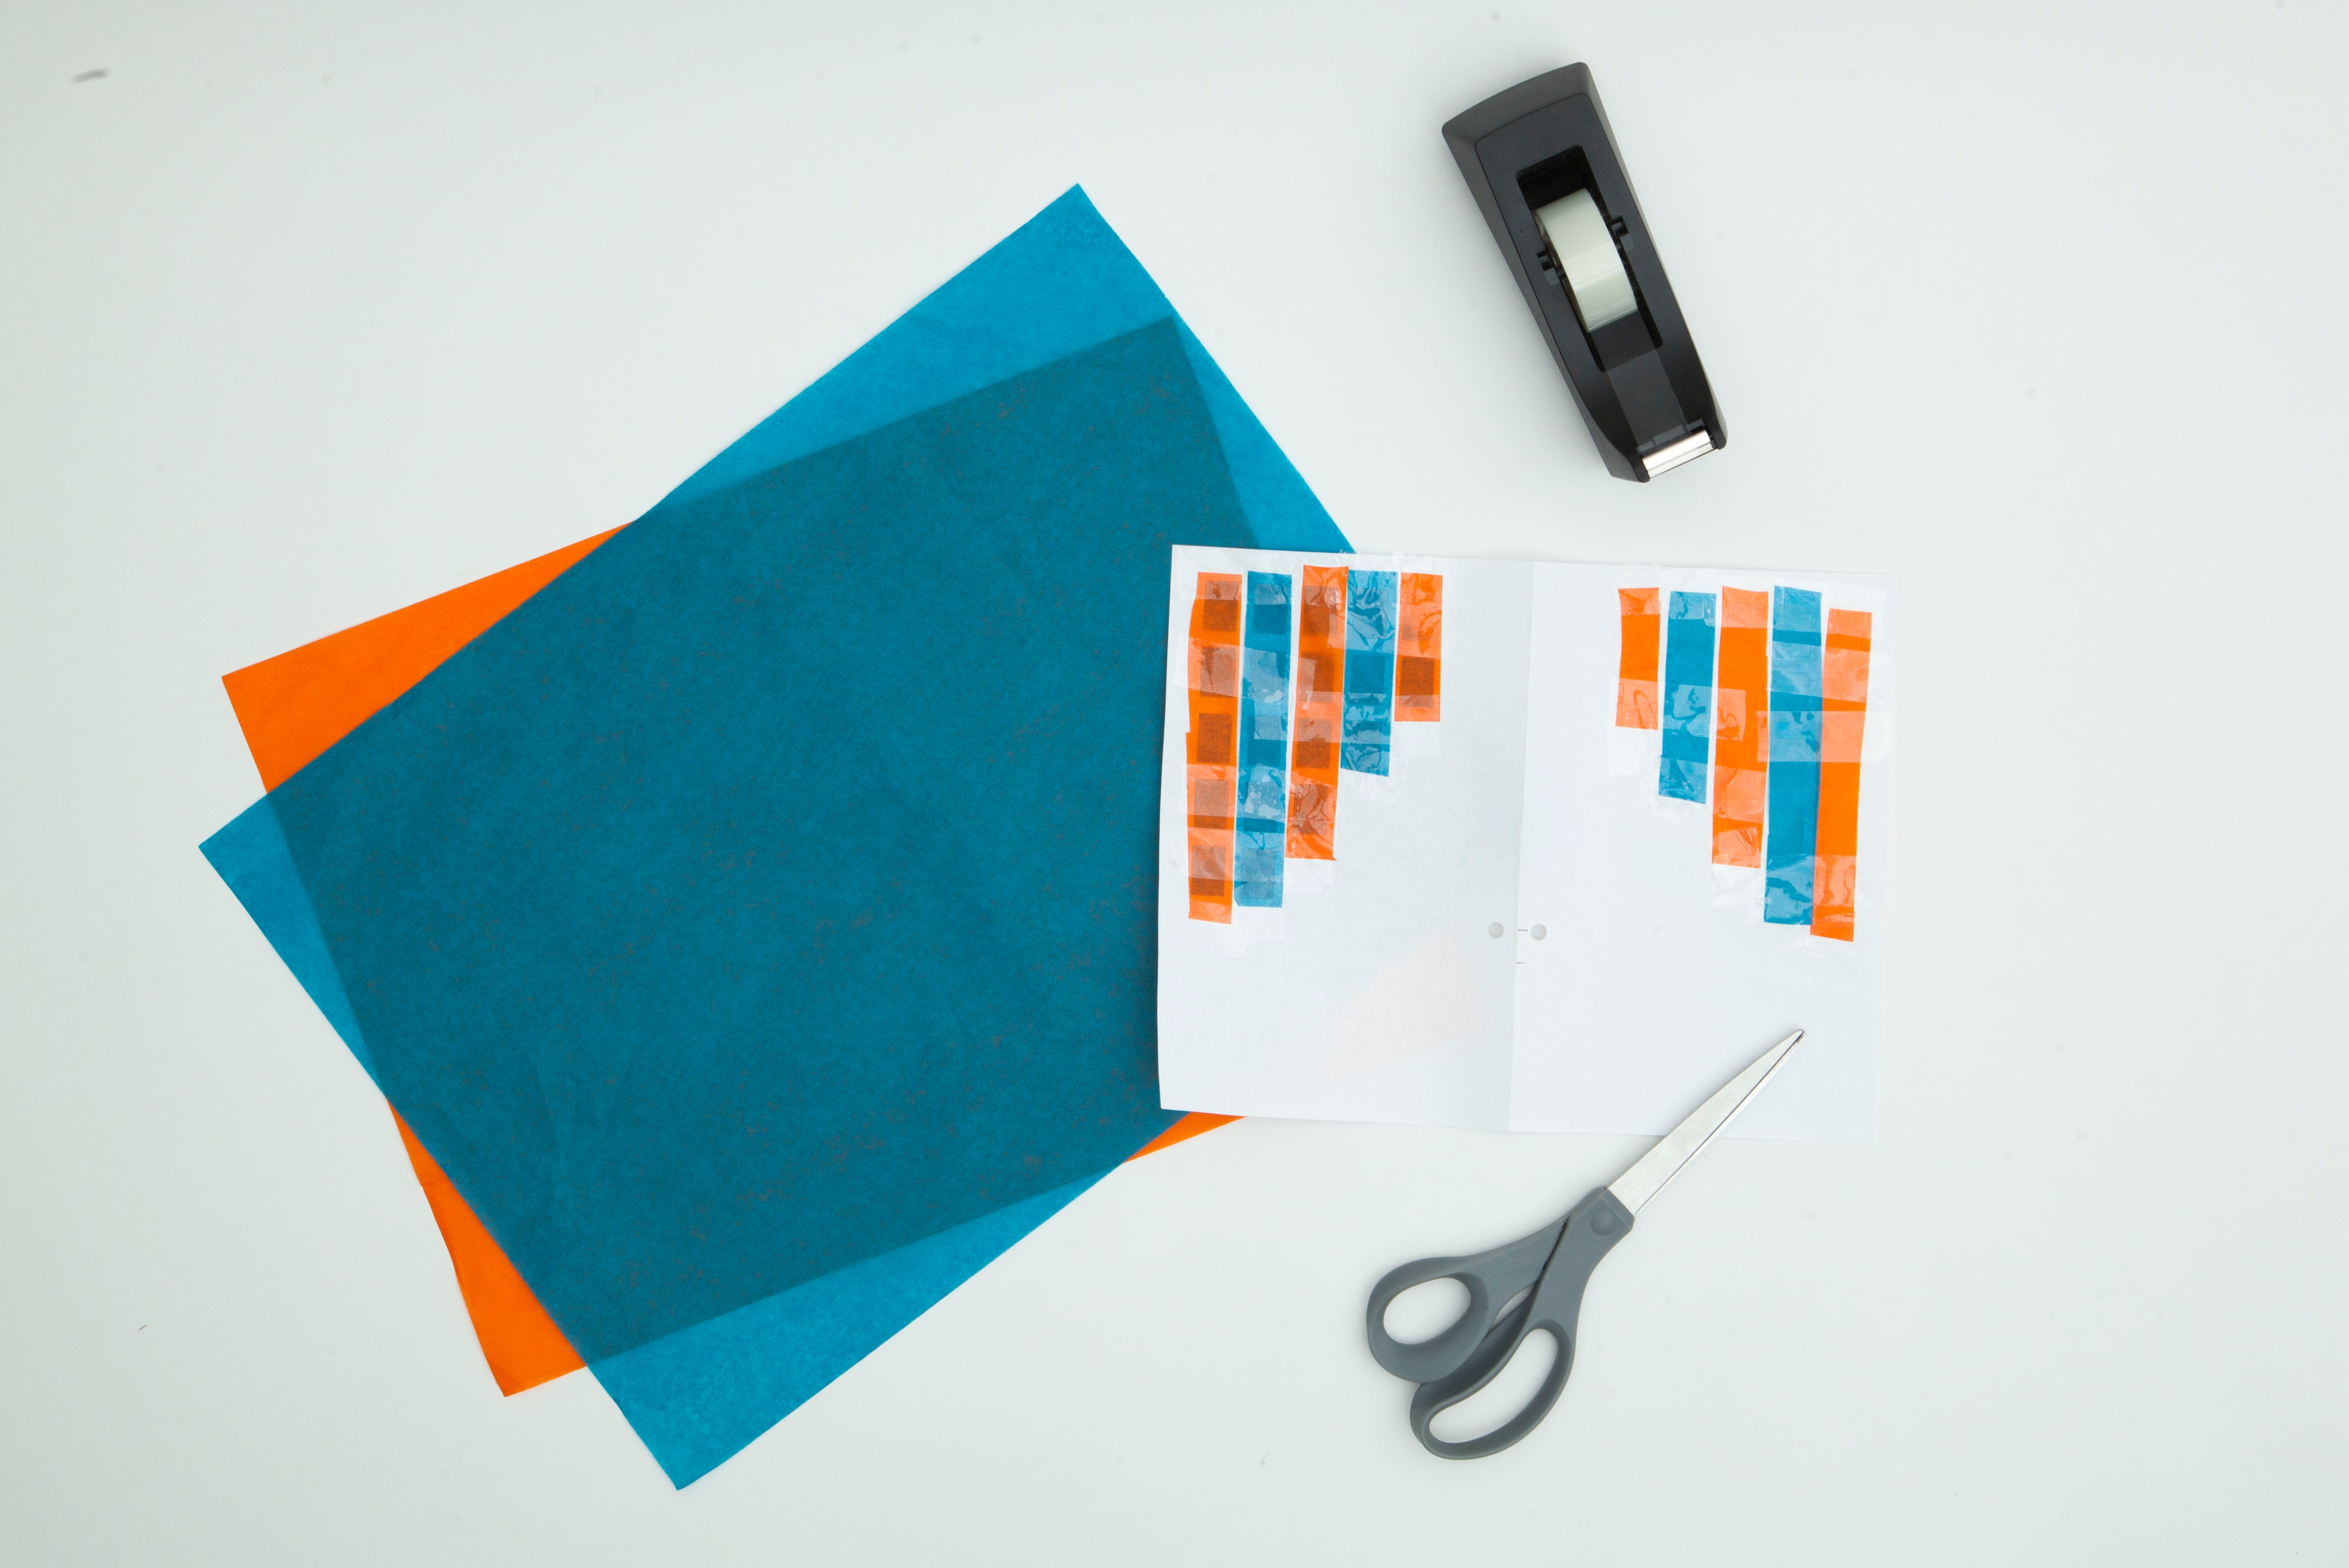
Unfold the paper and turn it over. Then, cut out pieces of tissue paper and use tape to secure it to the back of the kite with tape. Get creative! You’re making your own stained glass window panel, so use as many colors as you want and/or try to make a repeating pattern.
Step 7
Fold the paper back up again.

Step 8
Make your kite wings! On the open side, take the bottom corners and bend them back over to the 2 ½ -inch mark.

Step 9
Staple them together.

Step 10
Tie a string into the hole.

Done!
Go outside and try to fly your kite on a windy day!