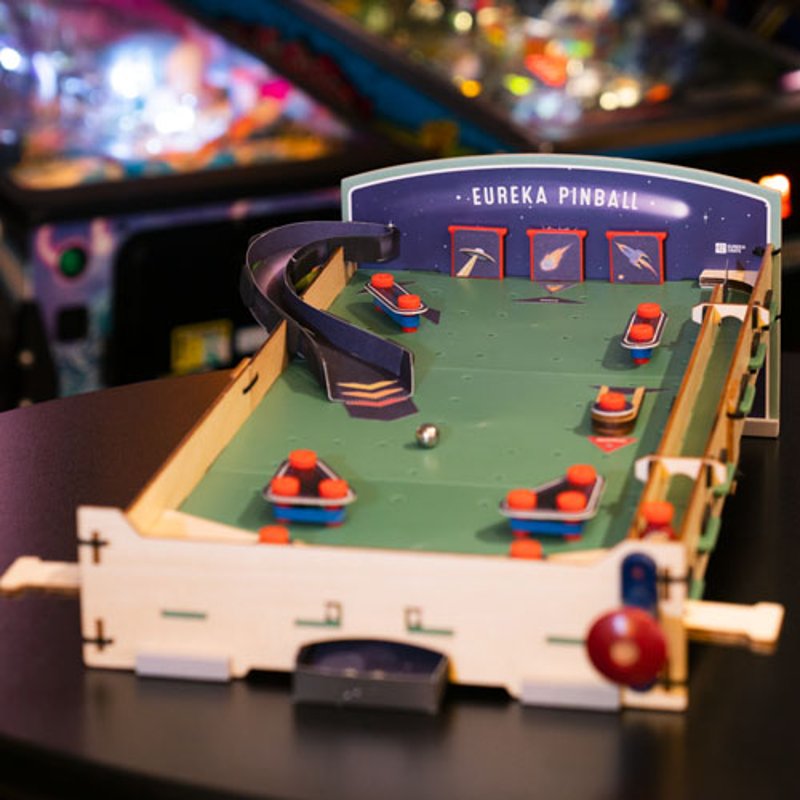
Pinball Machine
In this Eureka Crate, you'll explore the science, engineering, and history behind pinball machines while building one of your own!
Explore:
- Pinball Physics
- History of Arcade Games
- Customizable Game Design
Behind the design
Peek into the KiwiCo product design studio and the design process behind the Eureka Crate Pinball Machine.
- When designing, you don't begin with the full, final product: you start with the simplest form possible as a proof of concept, then you add and improve features in draft after draft. Our proof of concept only had a flipper and two walls to catch the pinball. It wasn't really a game at that point, but it showed that it could be a game eventually.
Proof of Concept
- We explored a bunch of materials for the pinball board, including wood, cardboard, and cardstock, but the ball didn't roll well on them and they all had a tendency to bend or warp. We went with plastic for its smooth rolling surface and how nicely it maintains its shape.
Material Considerations
- Like we talked about in the Maker’s Guide, we drew on the board to figure out where to put the ramp. But that wasn’t the only feature we sketched out. Check out this early playfield design with drawn-on flippers, bumpers, and other obstacles.
Drawing on the Board
- One of our more enthusiastic testers accidentally whacked an early prototype across the table while playing, so we added rubber feet to keep the pinball machine from sliding. We also asked the tester not to hit the paddles so hard.
Rubber Feet

