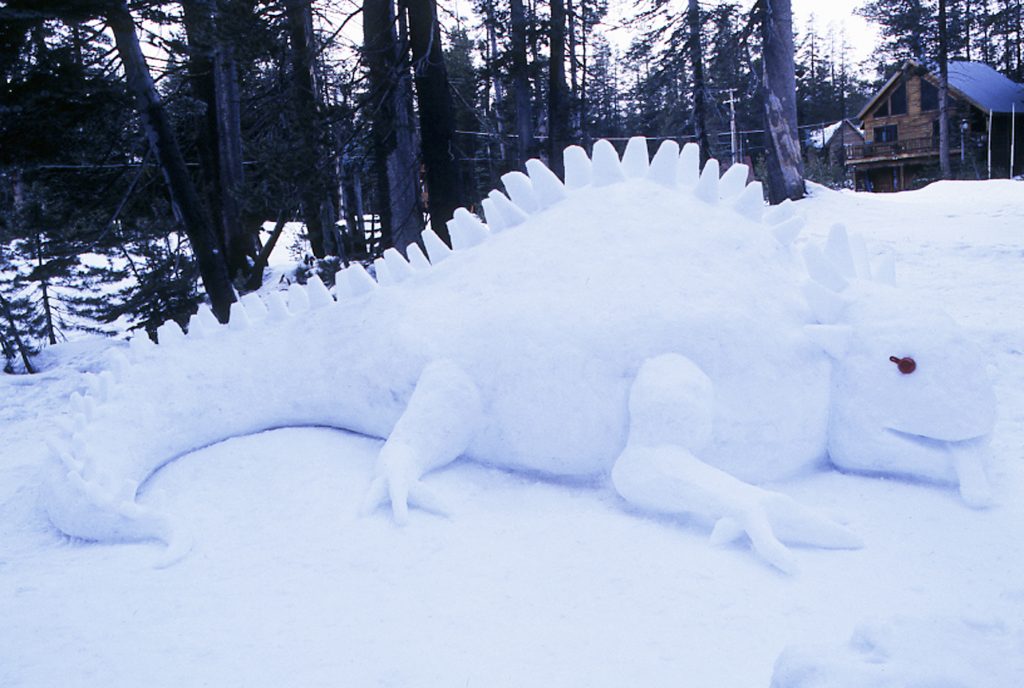
Before you start, get to know your snow. Take inspiration from the landscape and look at the natural mounds an drifts, and snowbanks. Are there any huge lumps that hint at the outlines of a turtle or hippo? Like finding shapes in the clouds, you can find inspiration in what is already there!
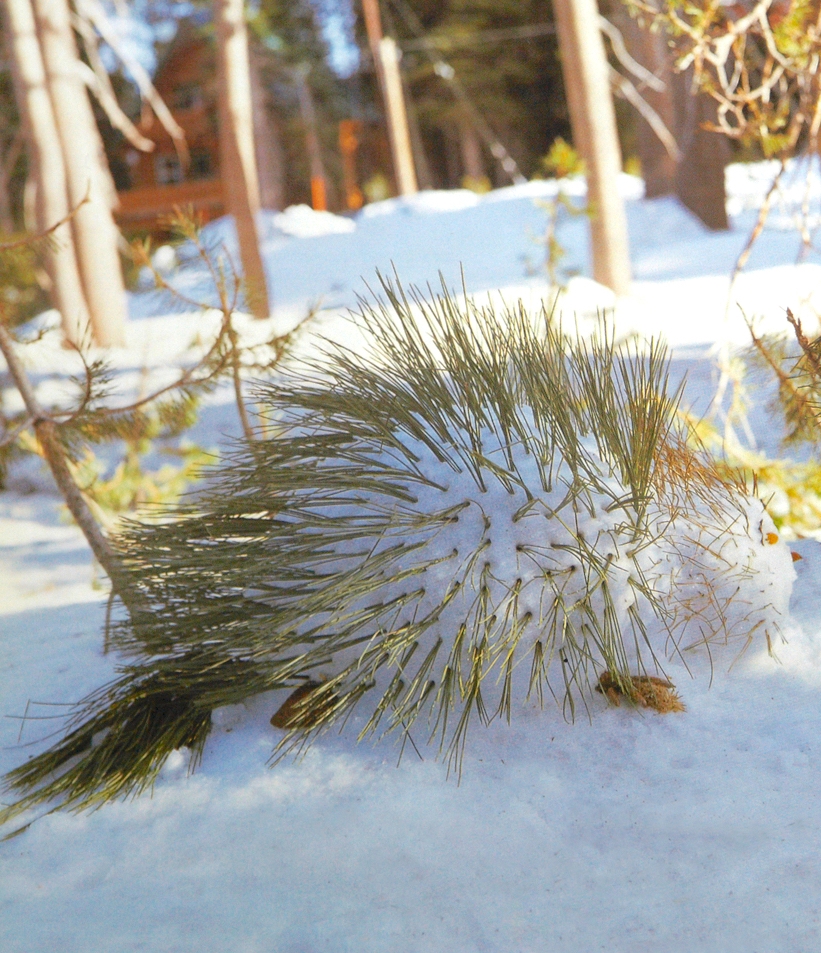
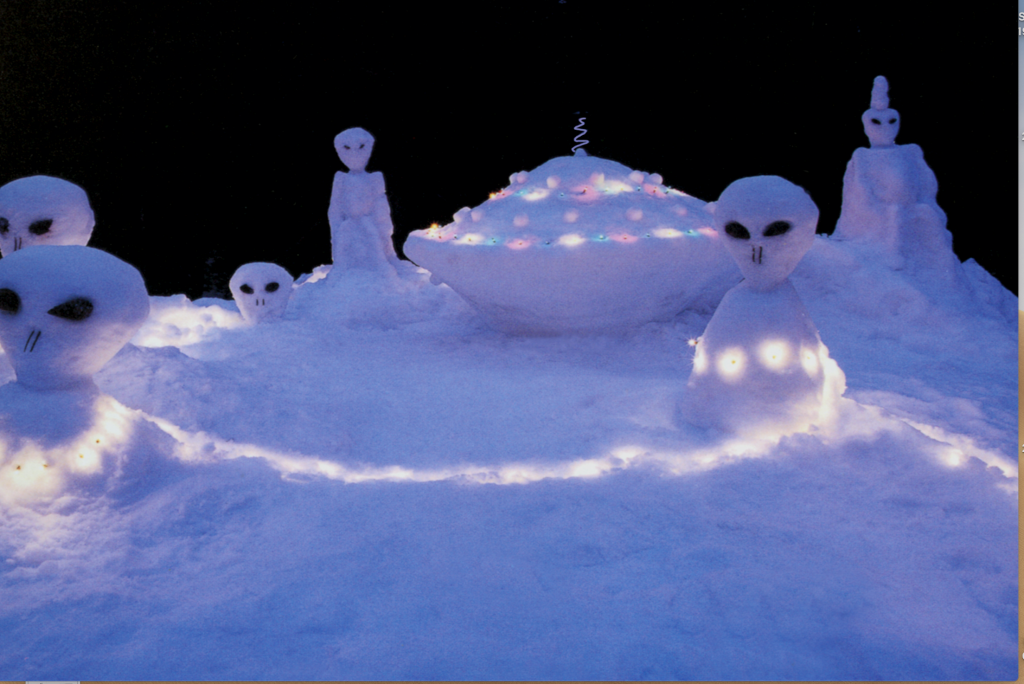
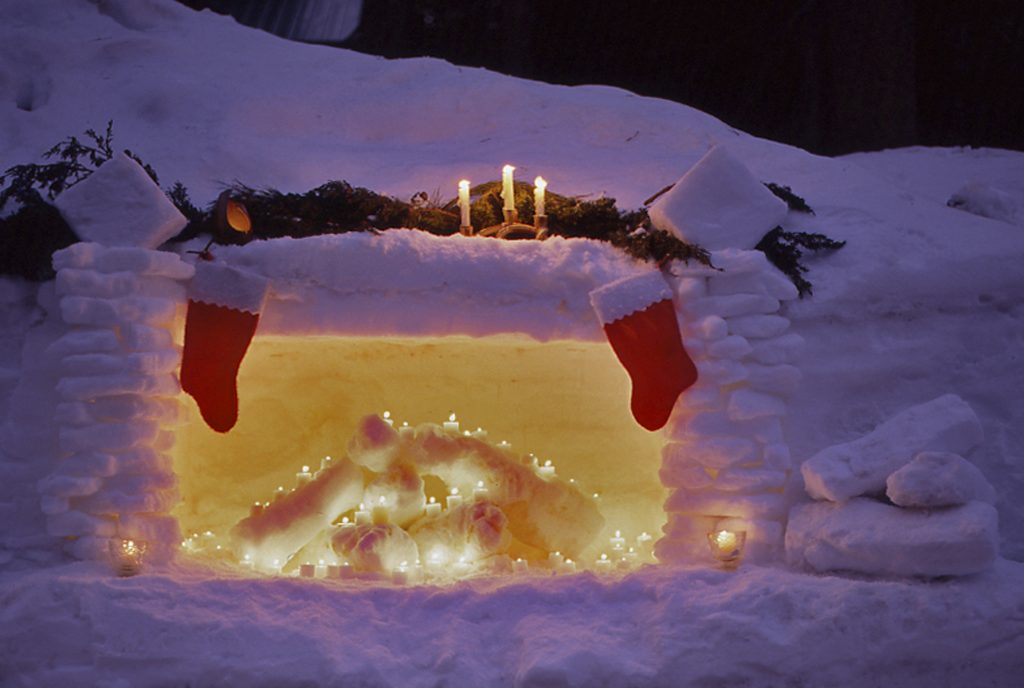
Snow sculpting is only the beginning. Once you create the basic form, it’s time to prop until you drop! Use basic everyday objects to bring your snow sculptures to life: pine cones, pot lids, branches and ideas from your favorite artists. Just remember to retrieve your stuff before there is a meltdown.
Working with Snow

Fresh wet snow is easier to pack and mold, while older snow is easier to sculpt. Most sculptures can be built with any kind of snow using these simple techniques:
- Massing: To make a large mass, gather up snow, packing from the ground up in the shape of a volcano. When massing tall sculptures, start with a wider base than you need. It is easier to overbuild the initial form and carve it down to size.
- Packing: Wet snow is the easiest snow to pack. Grainy, icy, or dry snow will stick to itself better if you use a spray bottle filled with water. You can build structures by stacking rough blocks of old snow, filling the crevices with powder and spraying to freeze shapes into place.
- Carving: This technique is best for old snow that has hardened over a few days. Flat, broad garden trowels and spades are useful for carving larger forms; metal spoons and blunt butter knives can to scoop out holes for eyes and other features.
- Molding: Make snow blocks by pressing wet snow into smooth-side containers such as metal baking pans, mixing bowls, plastic storage containers, plastic cups or Jell-O molds. Dry powder can be moistened using a spray bottle filled with water. Once you have pressed the snow tightly into molds, unmold by turning the molds upside down to free the shape. The blocks can be stacked in various ways to build larger and more intricate forms.
- Staking: Wooden stakes are useful for reinforcing or for adding to larger structure. Build outstretched arms on a figure by carefully packing snow around stakes stuck at right angles into the body or use stakes to hold heads, legs, and any other appendages needing extra support, especially on windy days or on steeper inclines. Wooden Skewers work well for lighter additions.
Excerpted From Snowmen: Snow Creatures, Crafts, and Other Winter Projects by Peter Cole, Frankie Frankeny and Leslie Jonath. Published by Chronicle Books, San Francisco. Photography by Frankie Frankeny.
Looking for gifts to encourage your kids that inspire creativity and curiosity? Stop by our gift guide to see our 100+ gifts for kids of all ages!


