Step-by-step tutorial
Step 1
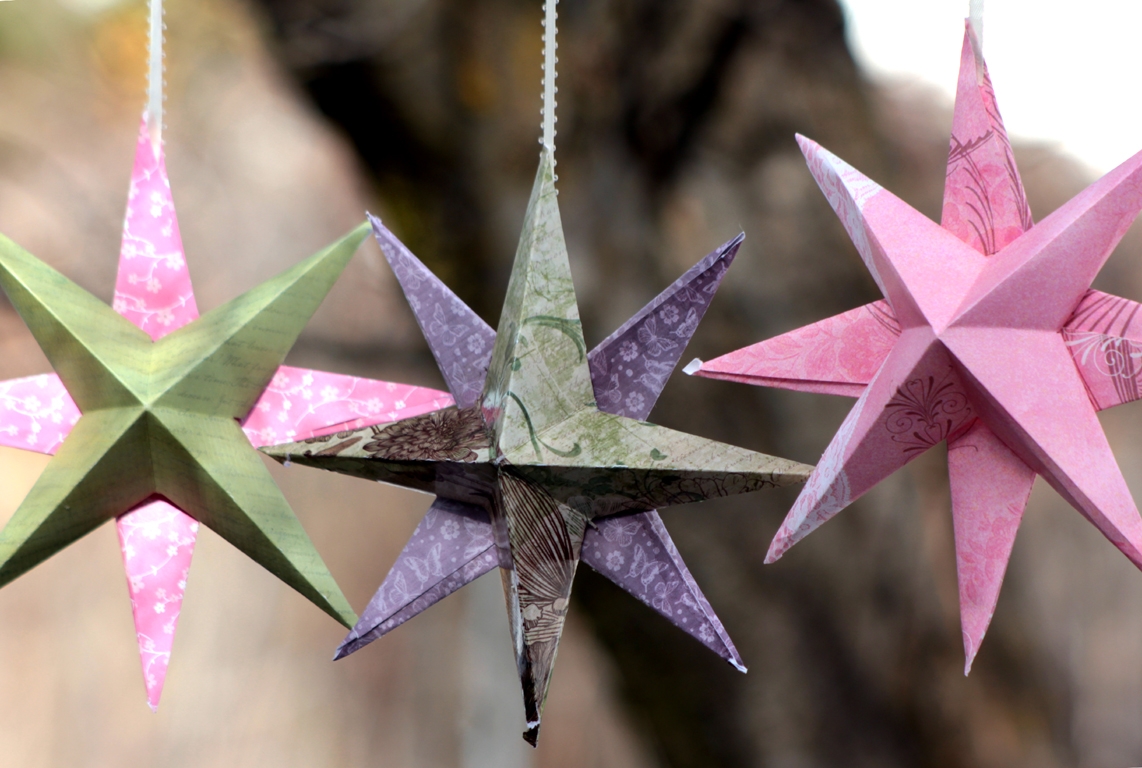
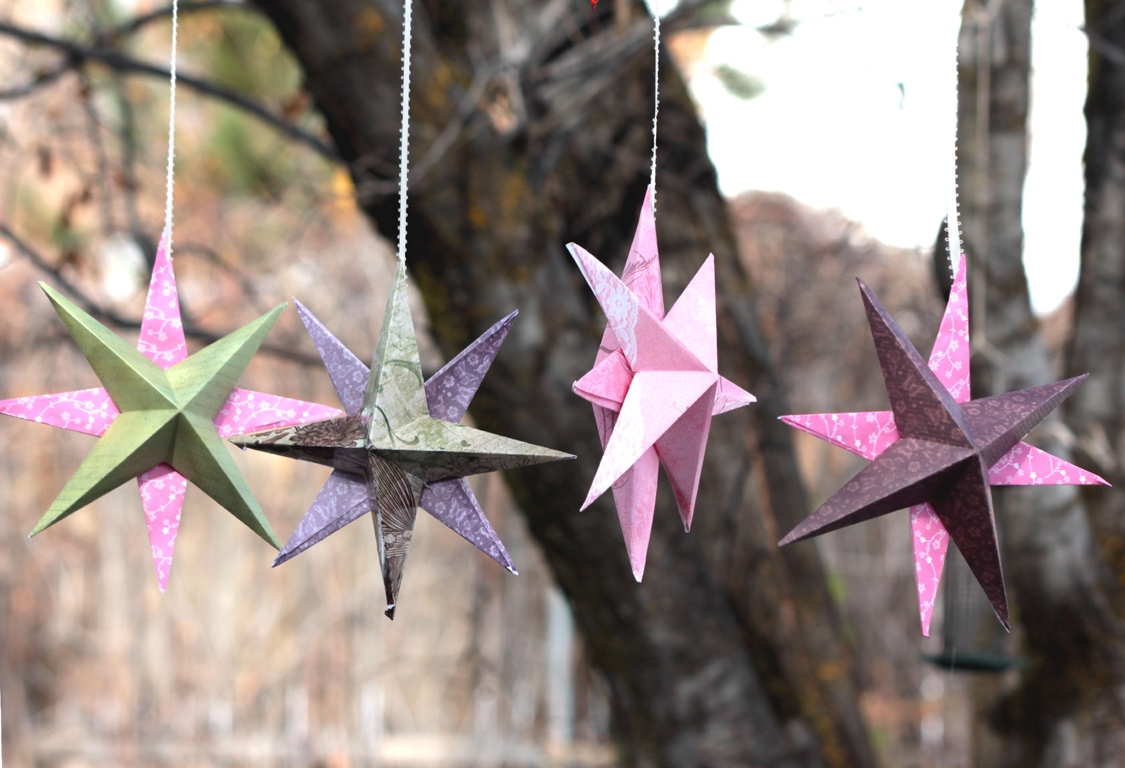
We had so much fun making our stars... and it's so satisfying when they're so easy and you can make a lot of them!

Step 2
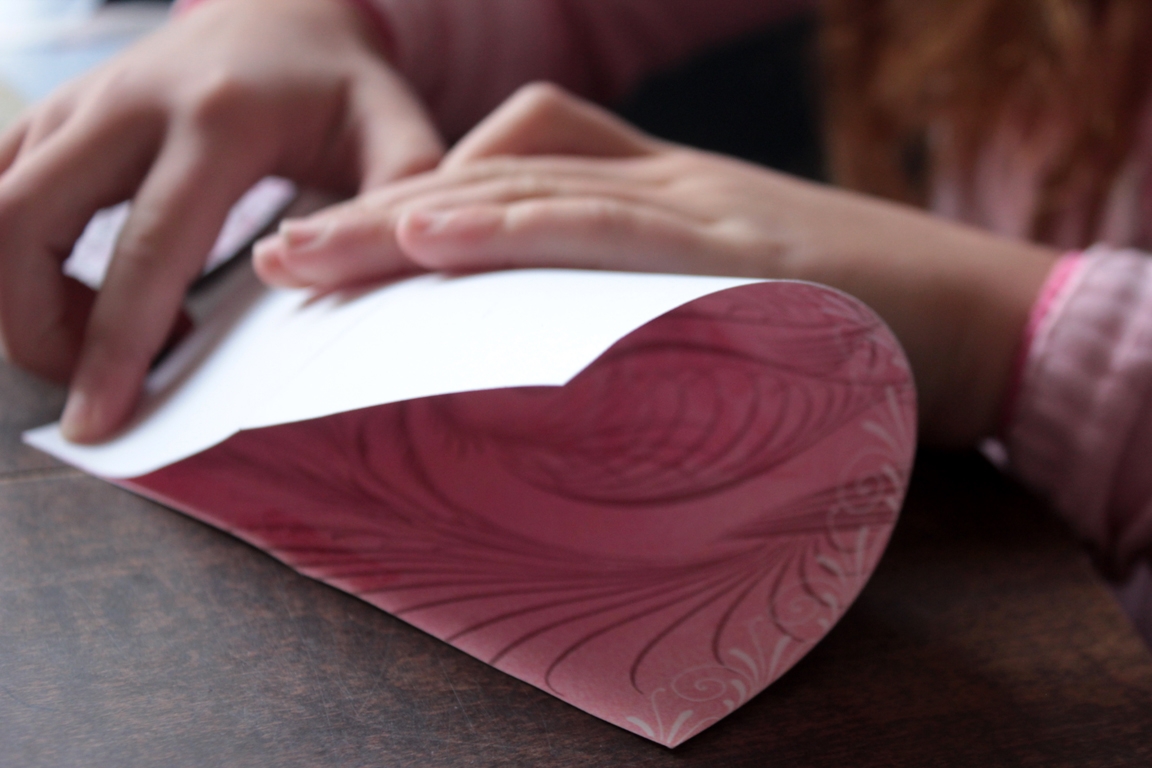
The very first step is to fold the paper in half--design side in.
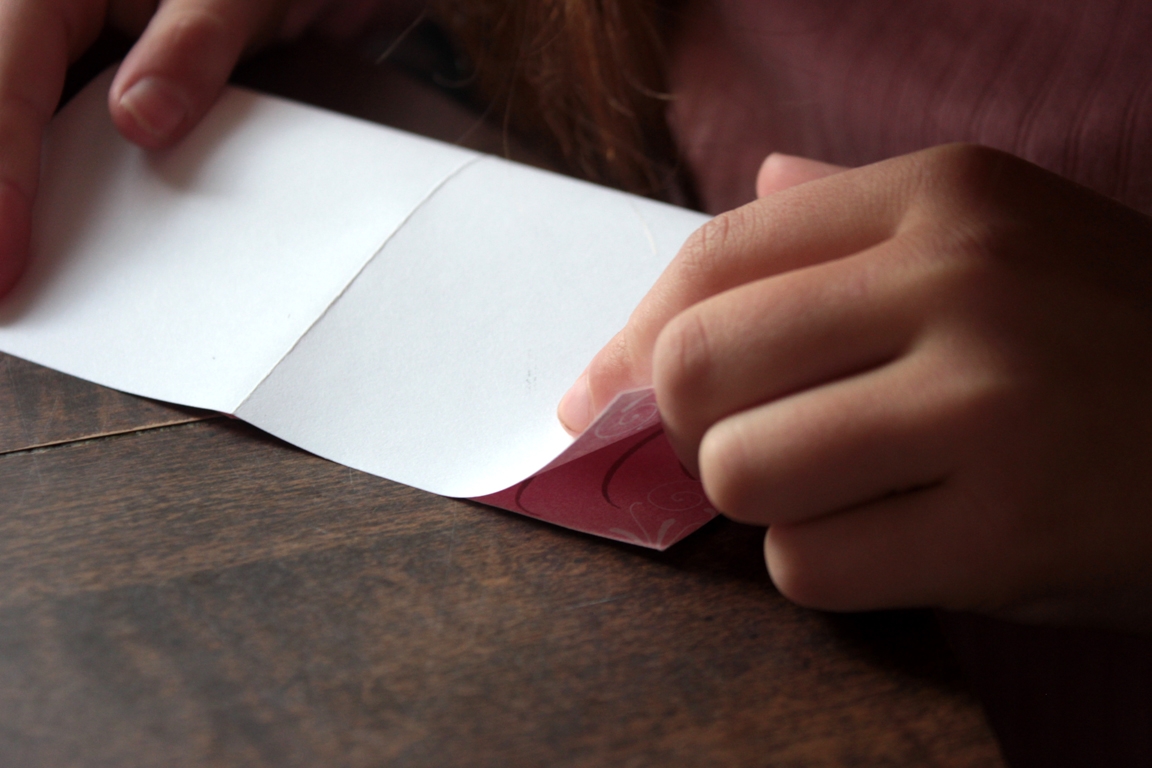
Step 3
Madeleine opened the paper up, and folded it the other way.
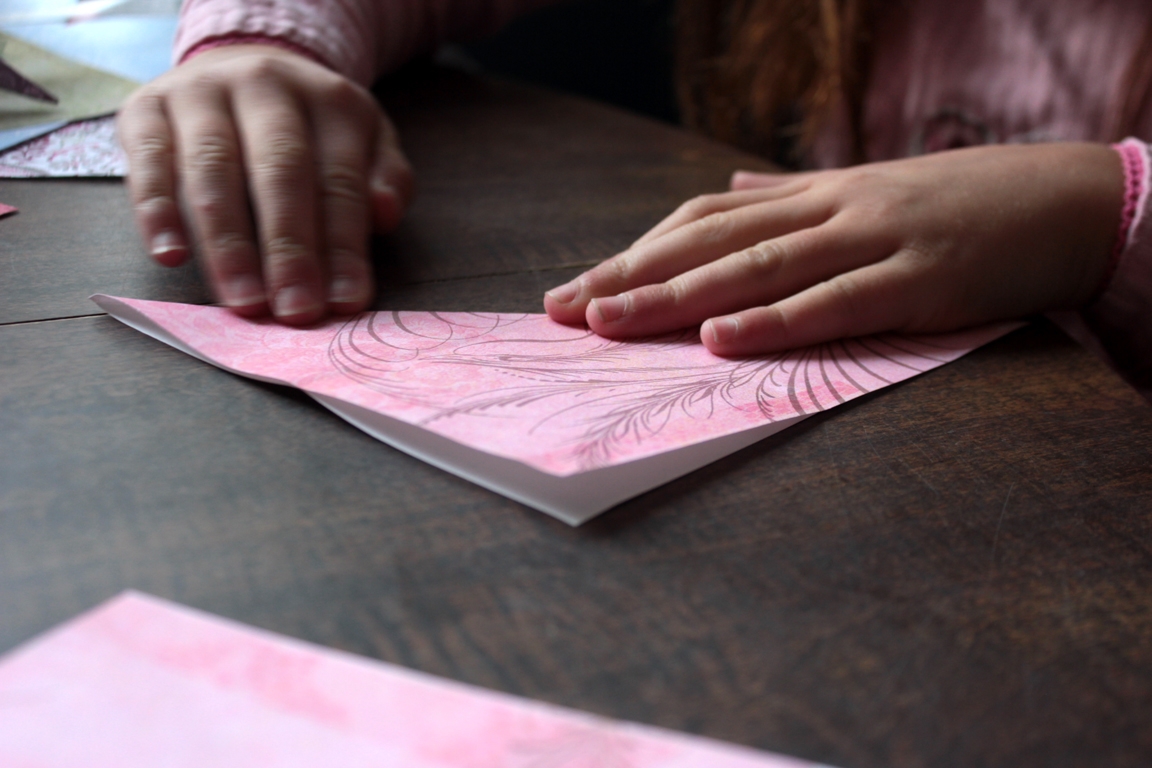
Step 4
She opened it, turned the paper over, and folded it diagonally, corner to corner.
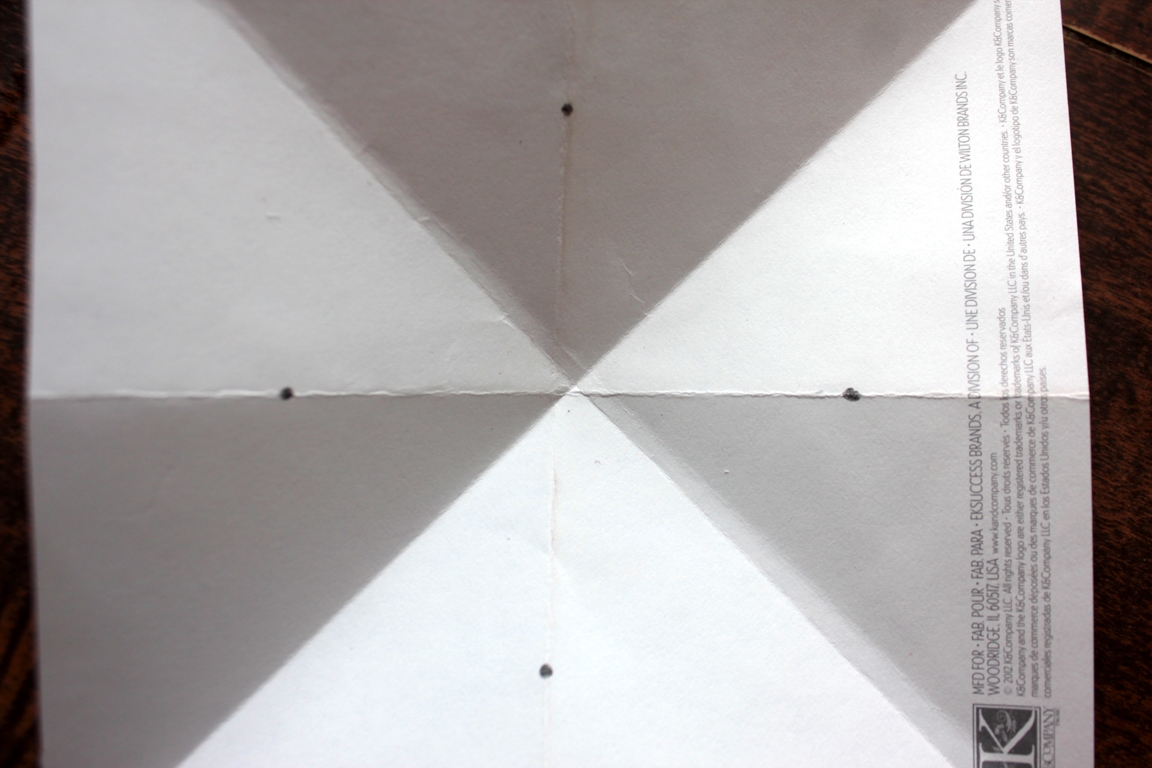
Step 5
Then she opened it again, folded it diagonally the other way too, and then had this. I marked the paper for her by making dots a little under half-way to the center.
Step 6
Maddie cut the folds that had a dot drawn on them. (She only cut up to the dot.) Then she took an edge that she had cut, and folded the paper up to the diagonal line. She went all around the paper, folding up to the diagonal lines.
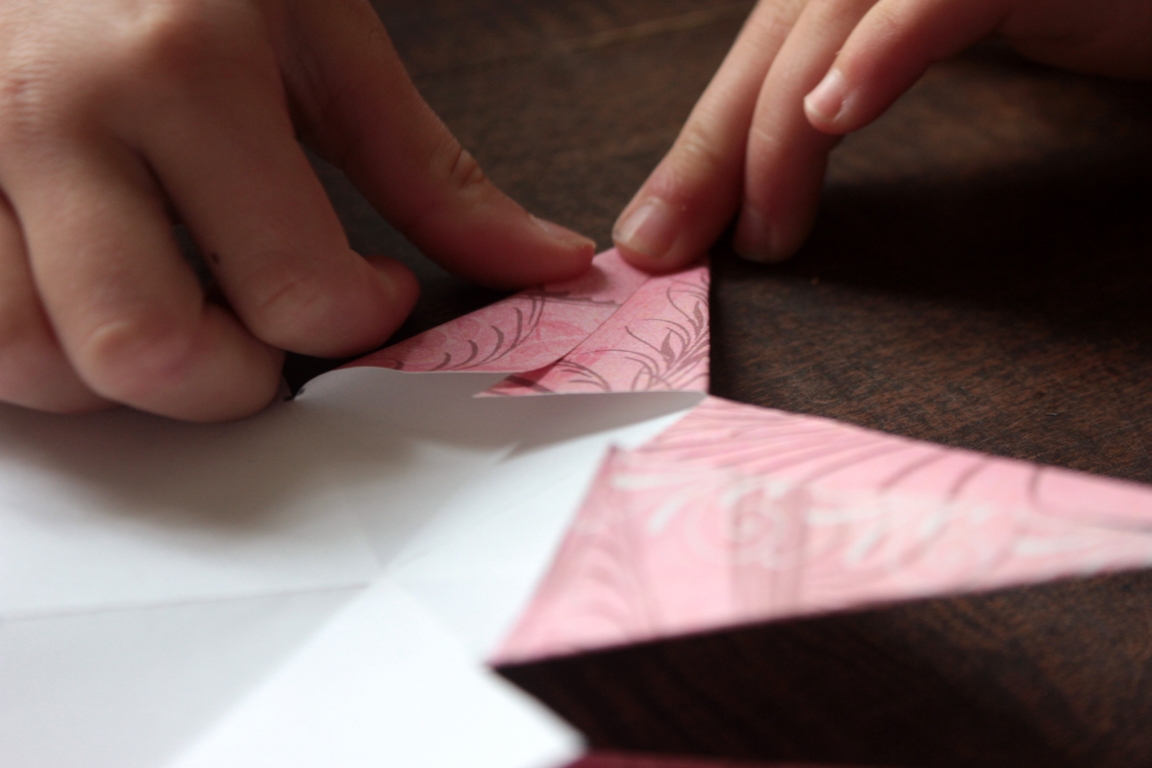
Step 7
Do you see the four triangles? Maddie put a dab of glue on one half of each triangle.
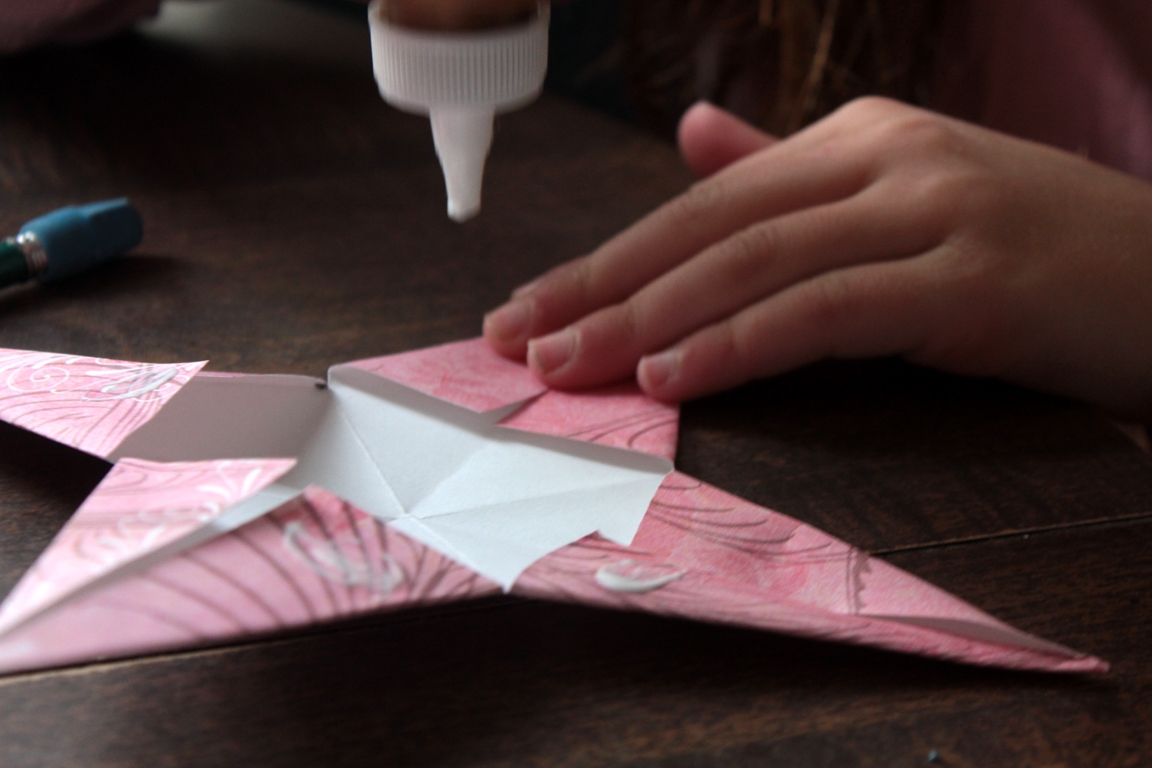
Step 8
Then she folded the second half of each triangle over the first (glued) half. This is easily done if you put one finger inside the star point, and press.
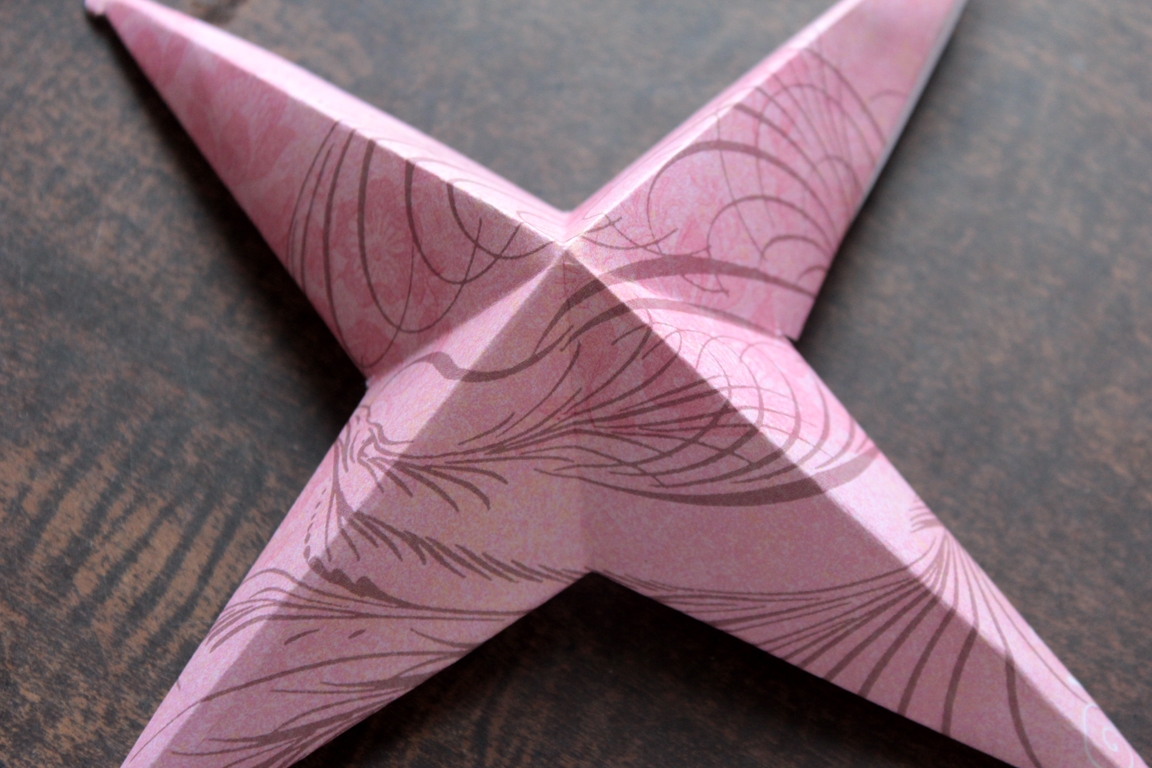
Step 9
The first half is finished! How wonderful! So easy to do!
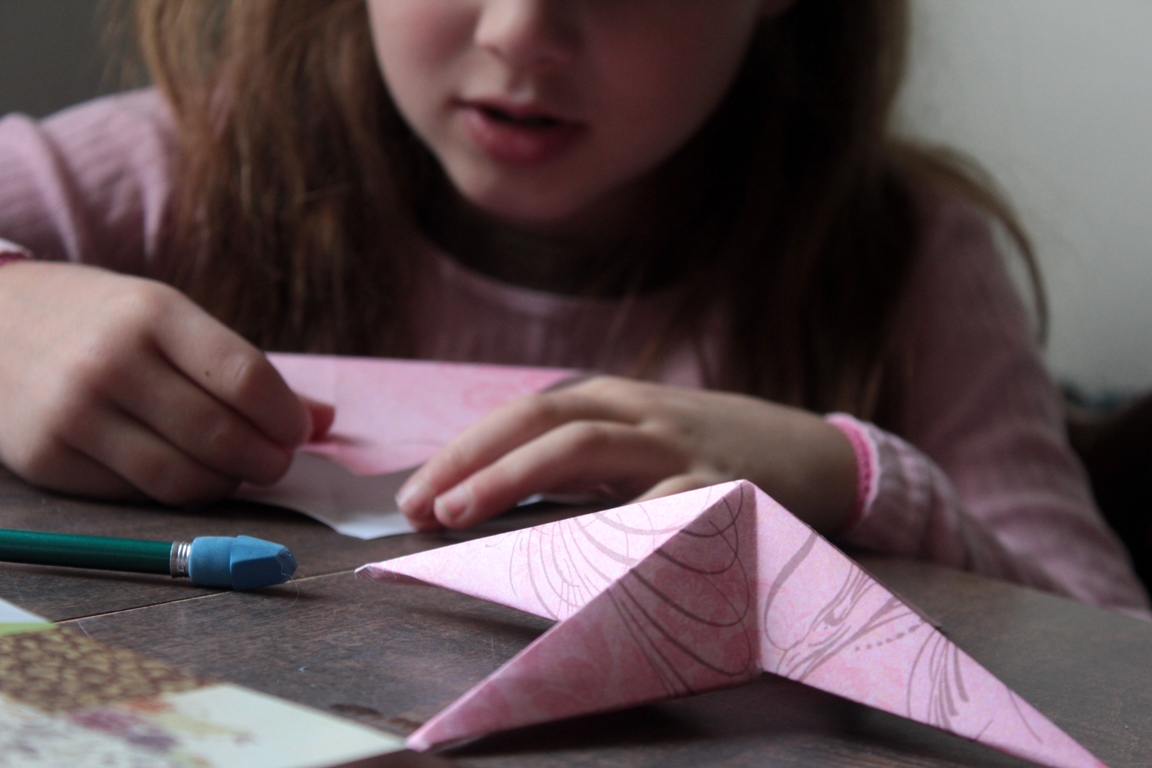
Step 10
Now she made the second half, following these same steps. You could opt for a different colored paper for this side, if you like. Maddie most definitely wanted the same.
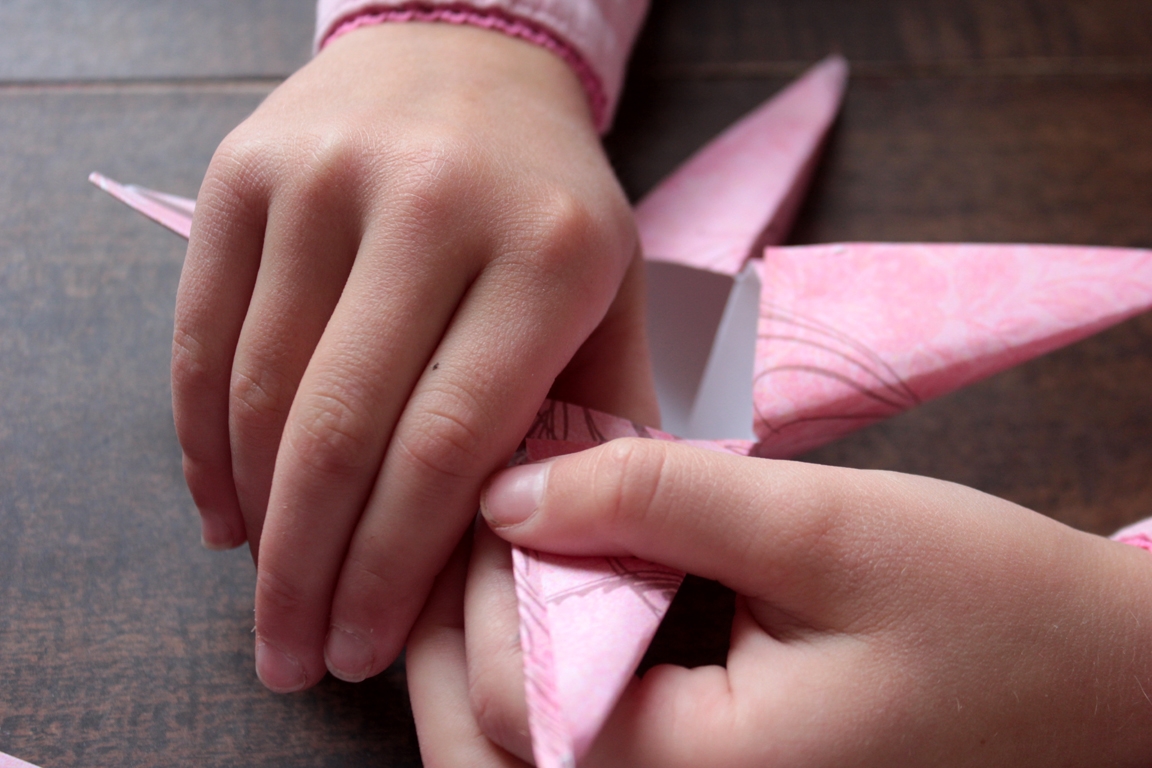
Step 11
When both sides were done, we added on a bit of glue to one side, like so, and just pressed the sides together.
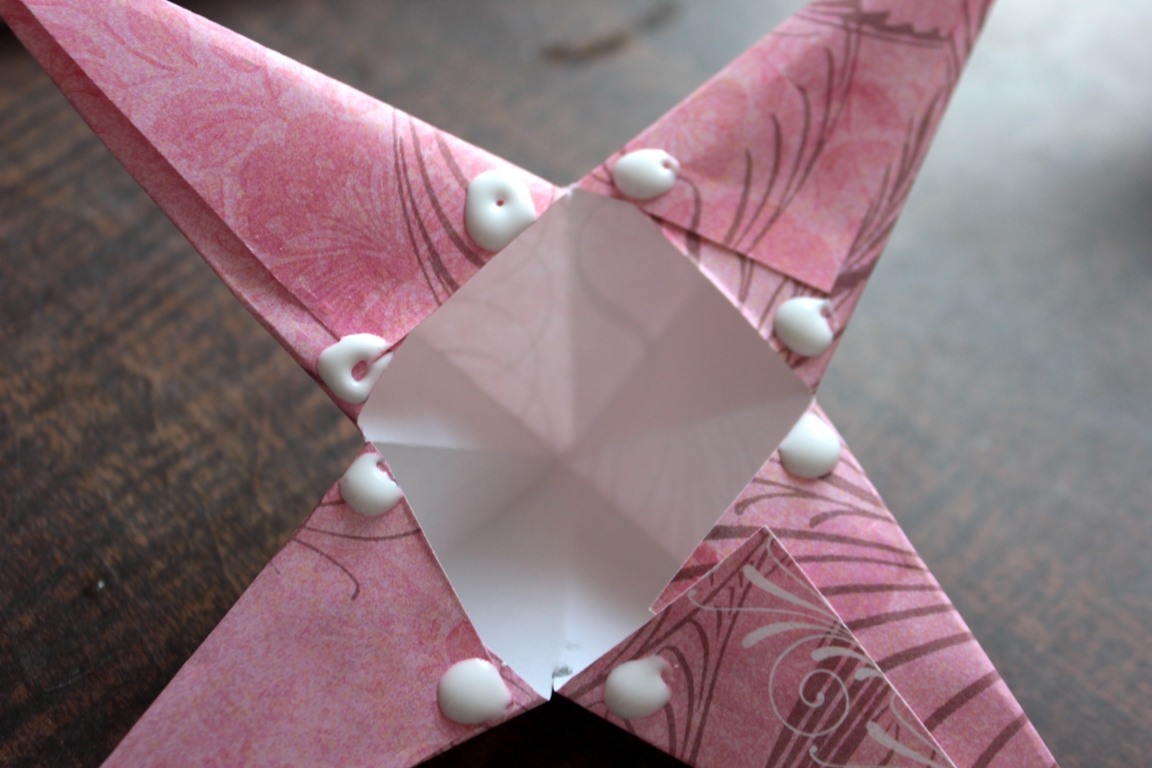
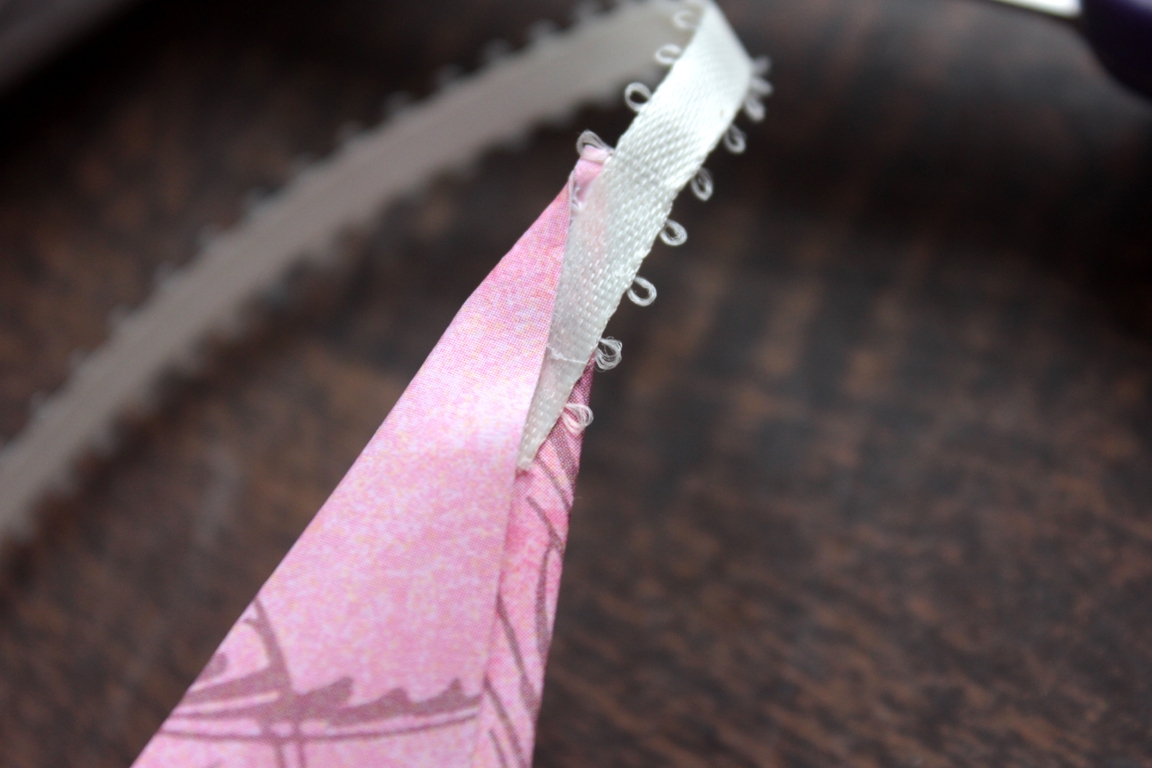
Step 12
For hanging, we found a corner that wasn't very tight, poked a bit of glue in there, and inserted the end of a ribbon, pressing it together.
Done!
All finished! Here are more of Maddie's creations!