Step-by-step tutorial
Step 1
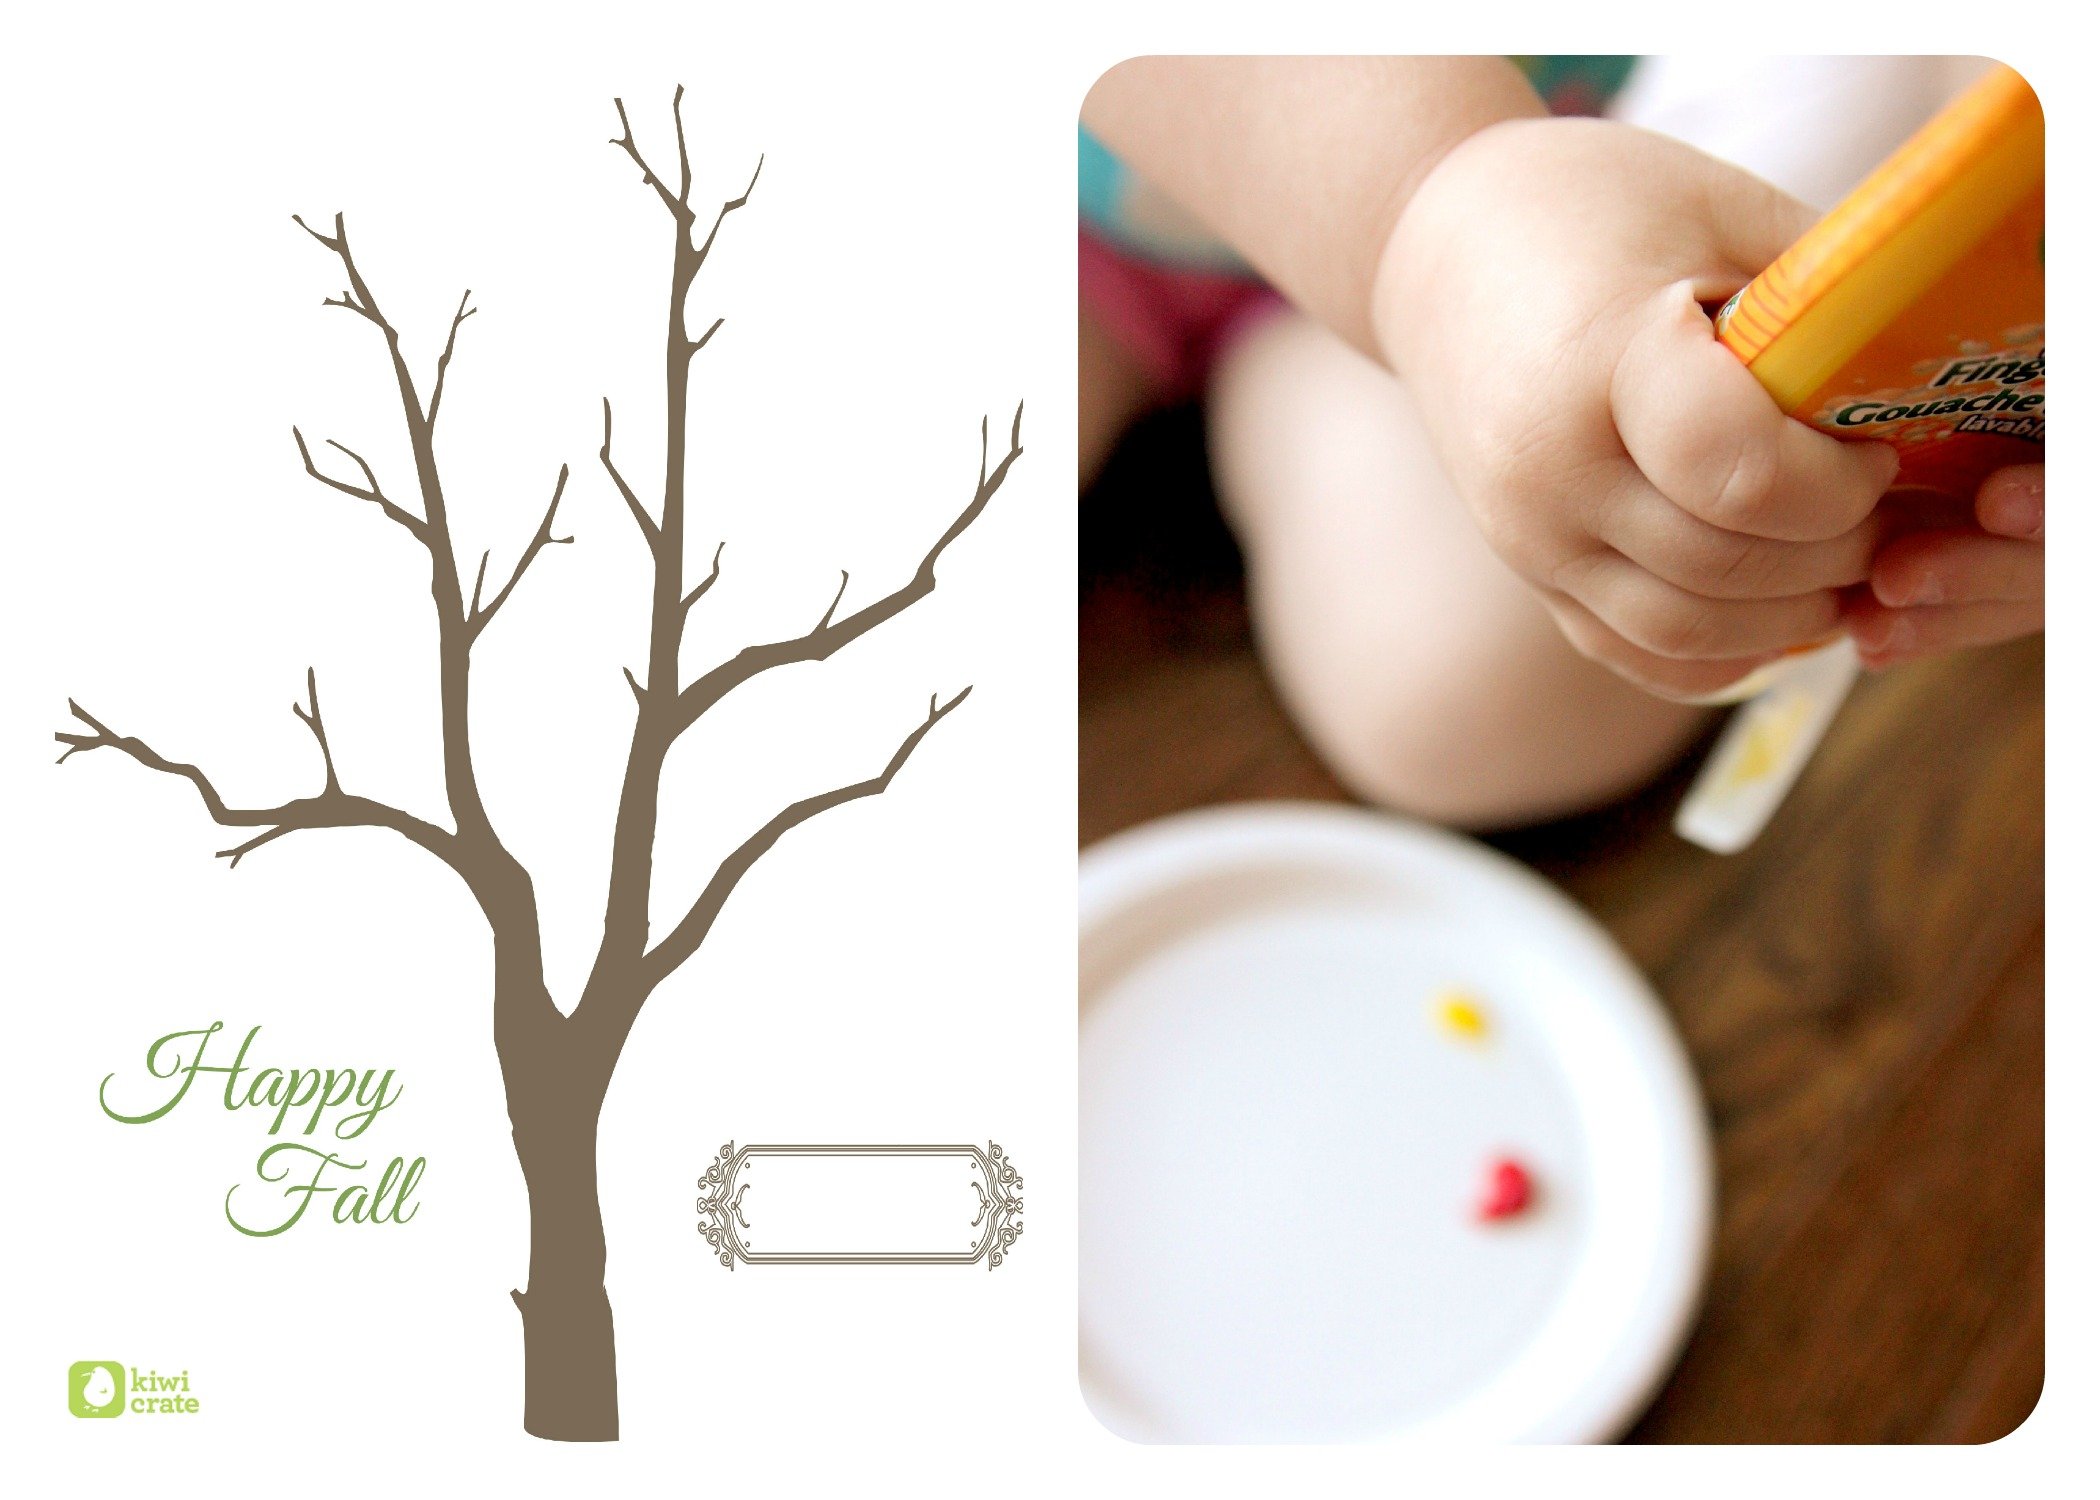
Print out the fall tree printable on cardstock. (My daughter V is so funny--she loves when I make printables. Once she hears the printer making noises, she runs to the printer knowing something fun is going to shoot out for her to make.)

Step 2
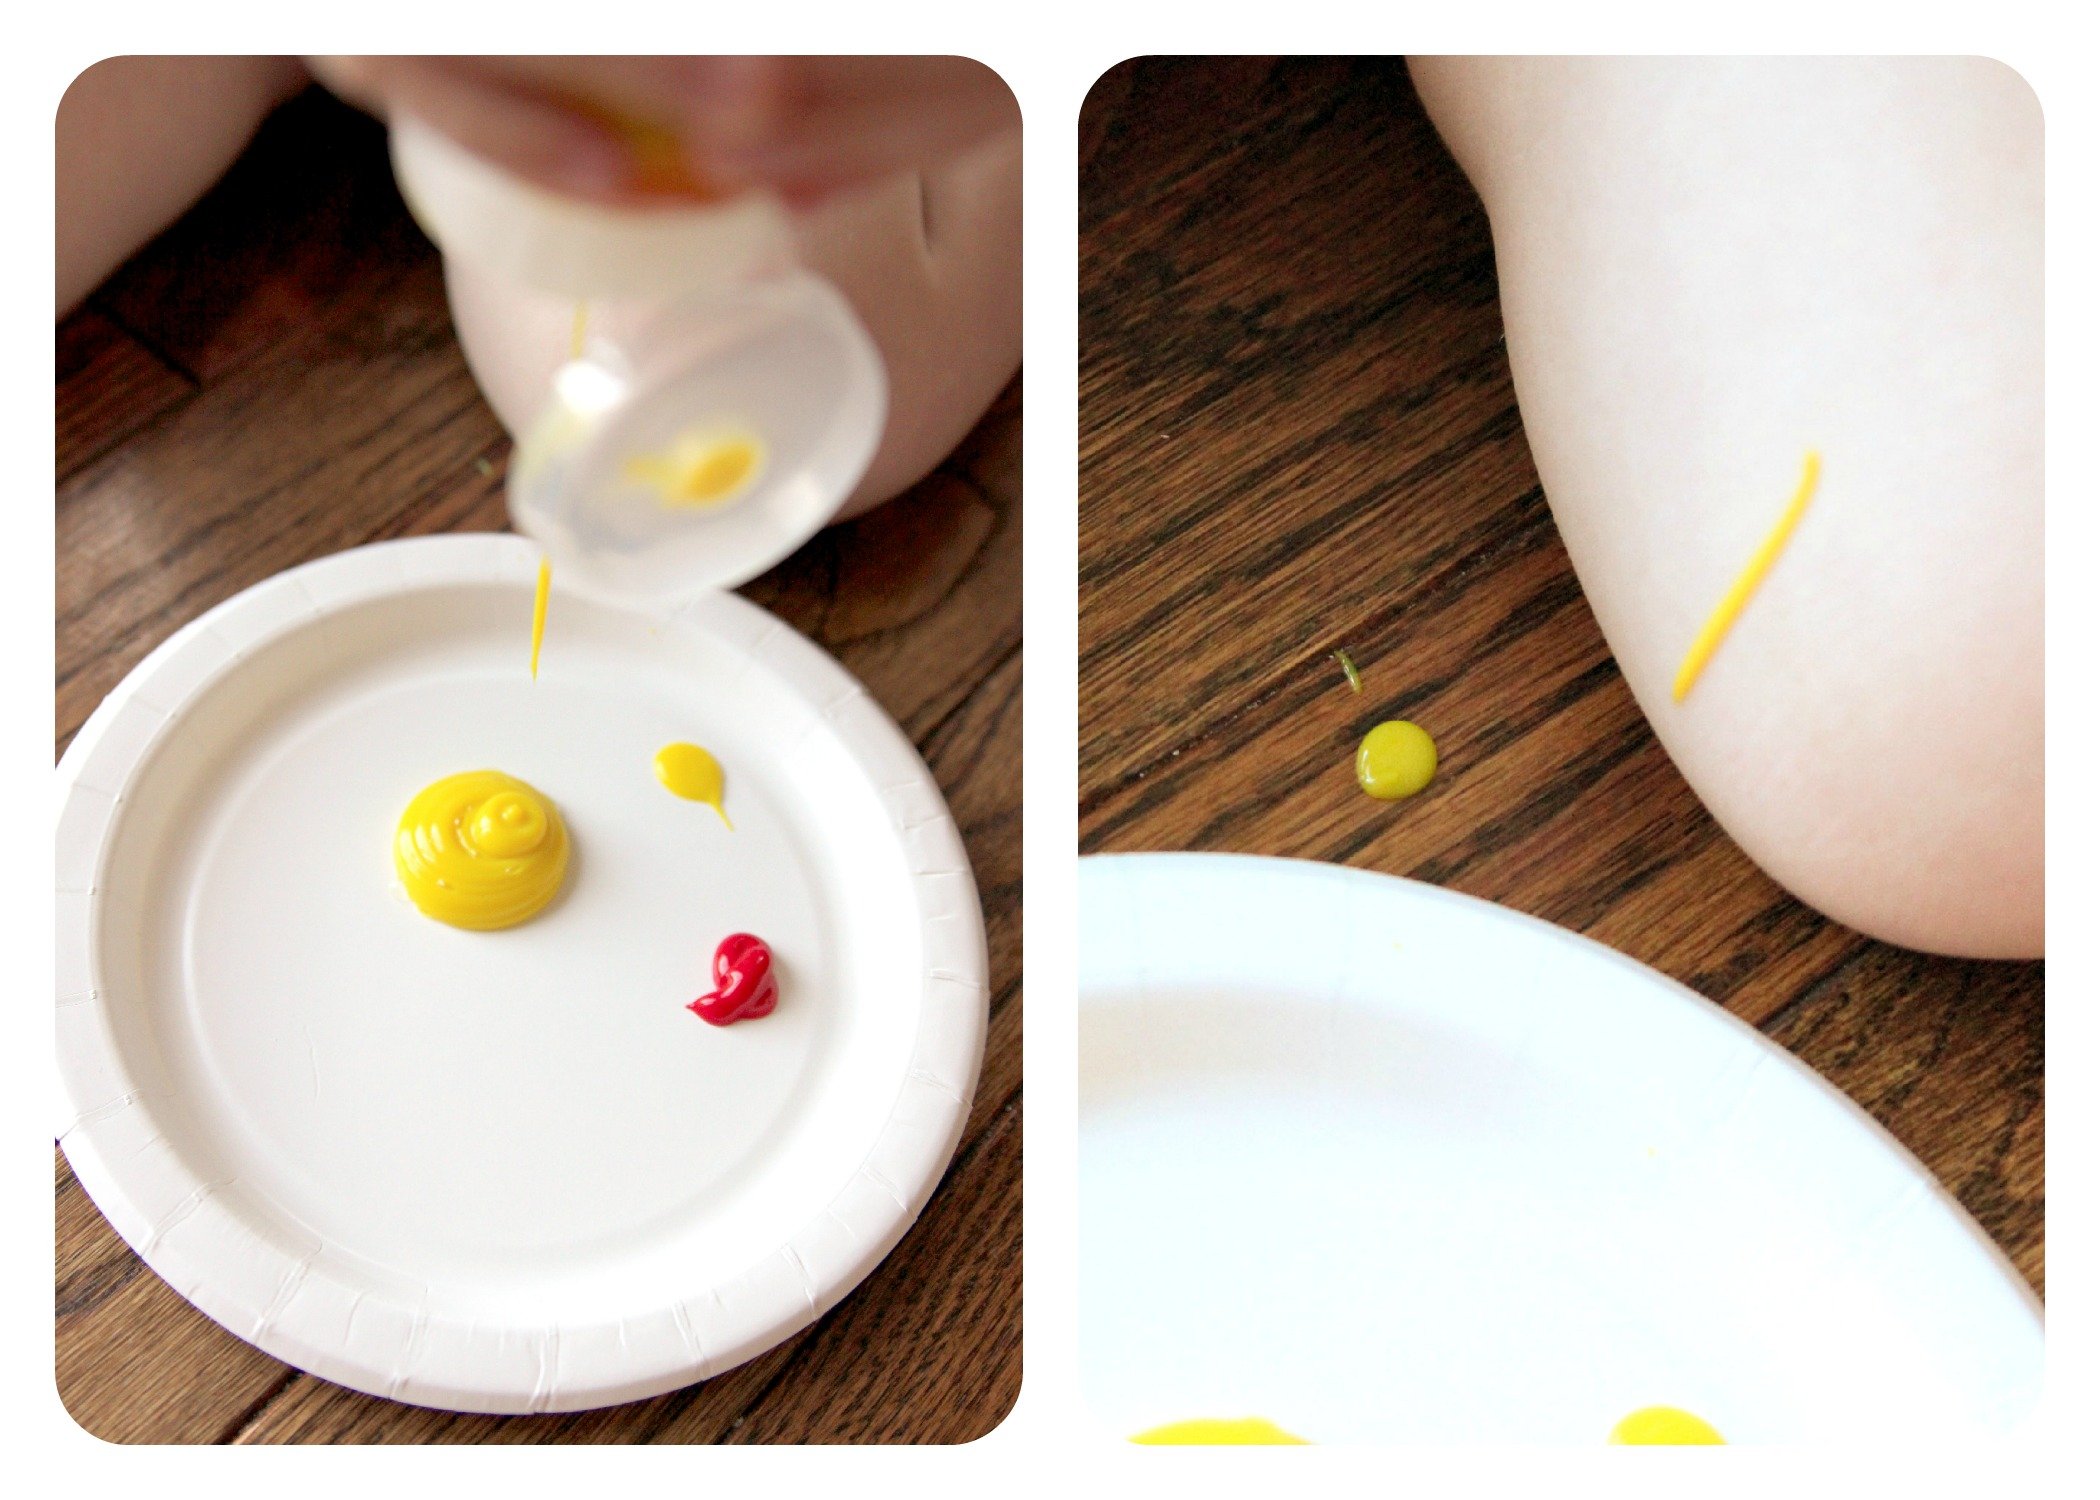
Next, have your child squirt the paint colors onto the paper plate or dish. This may involve a small mess, so you may want to put out a paper bag to protect your workspace. V got a little carried away with the finger paint squirting process!
Step 3
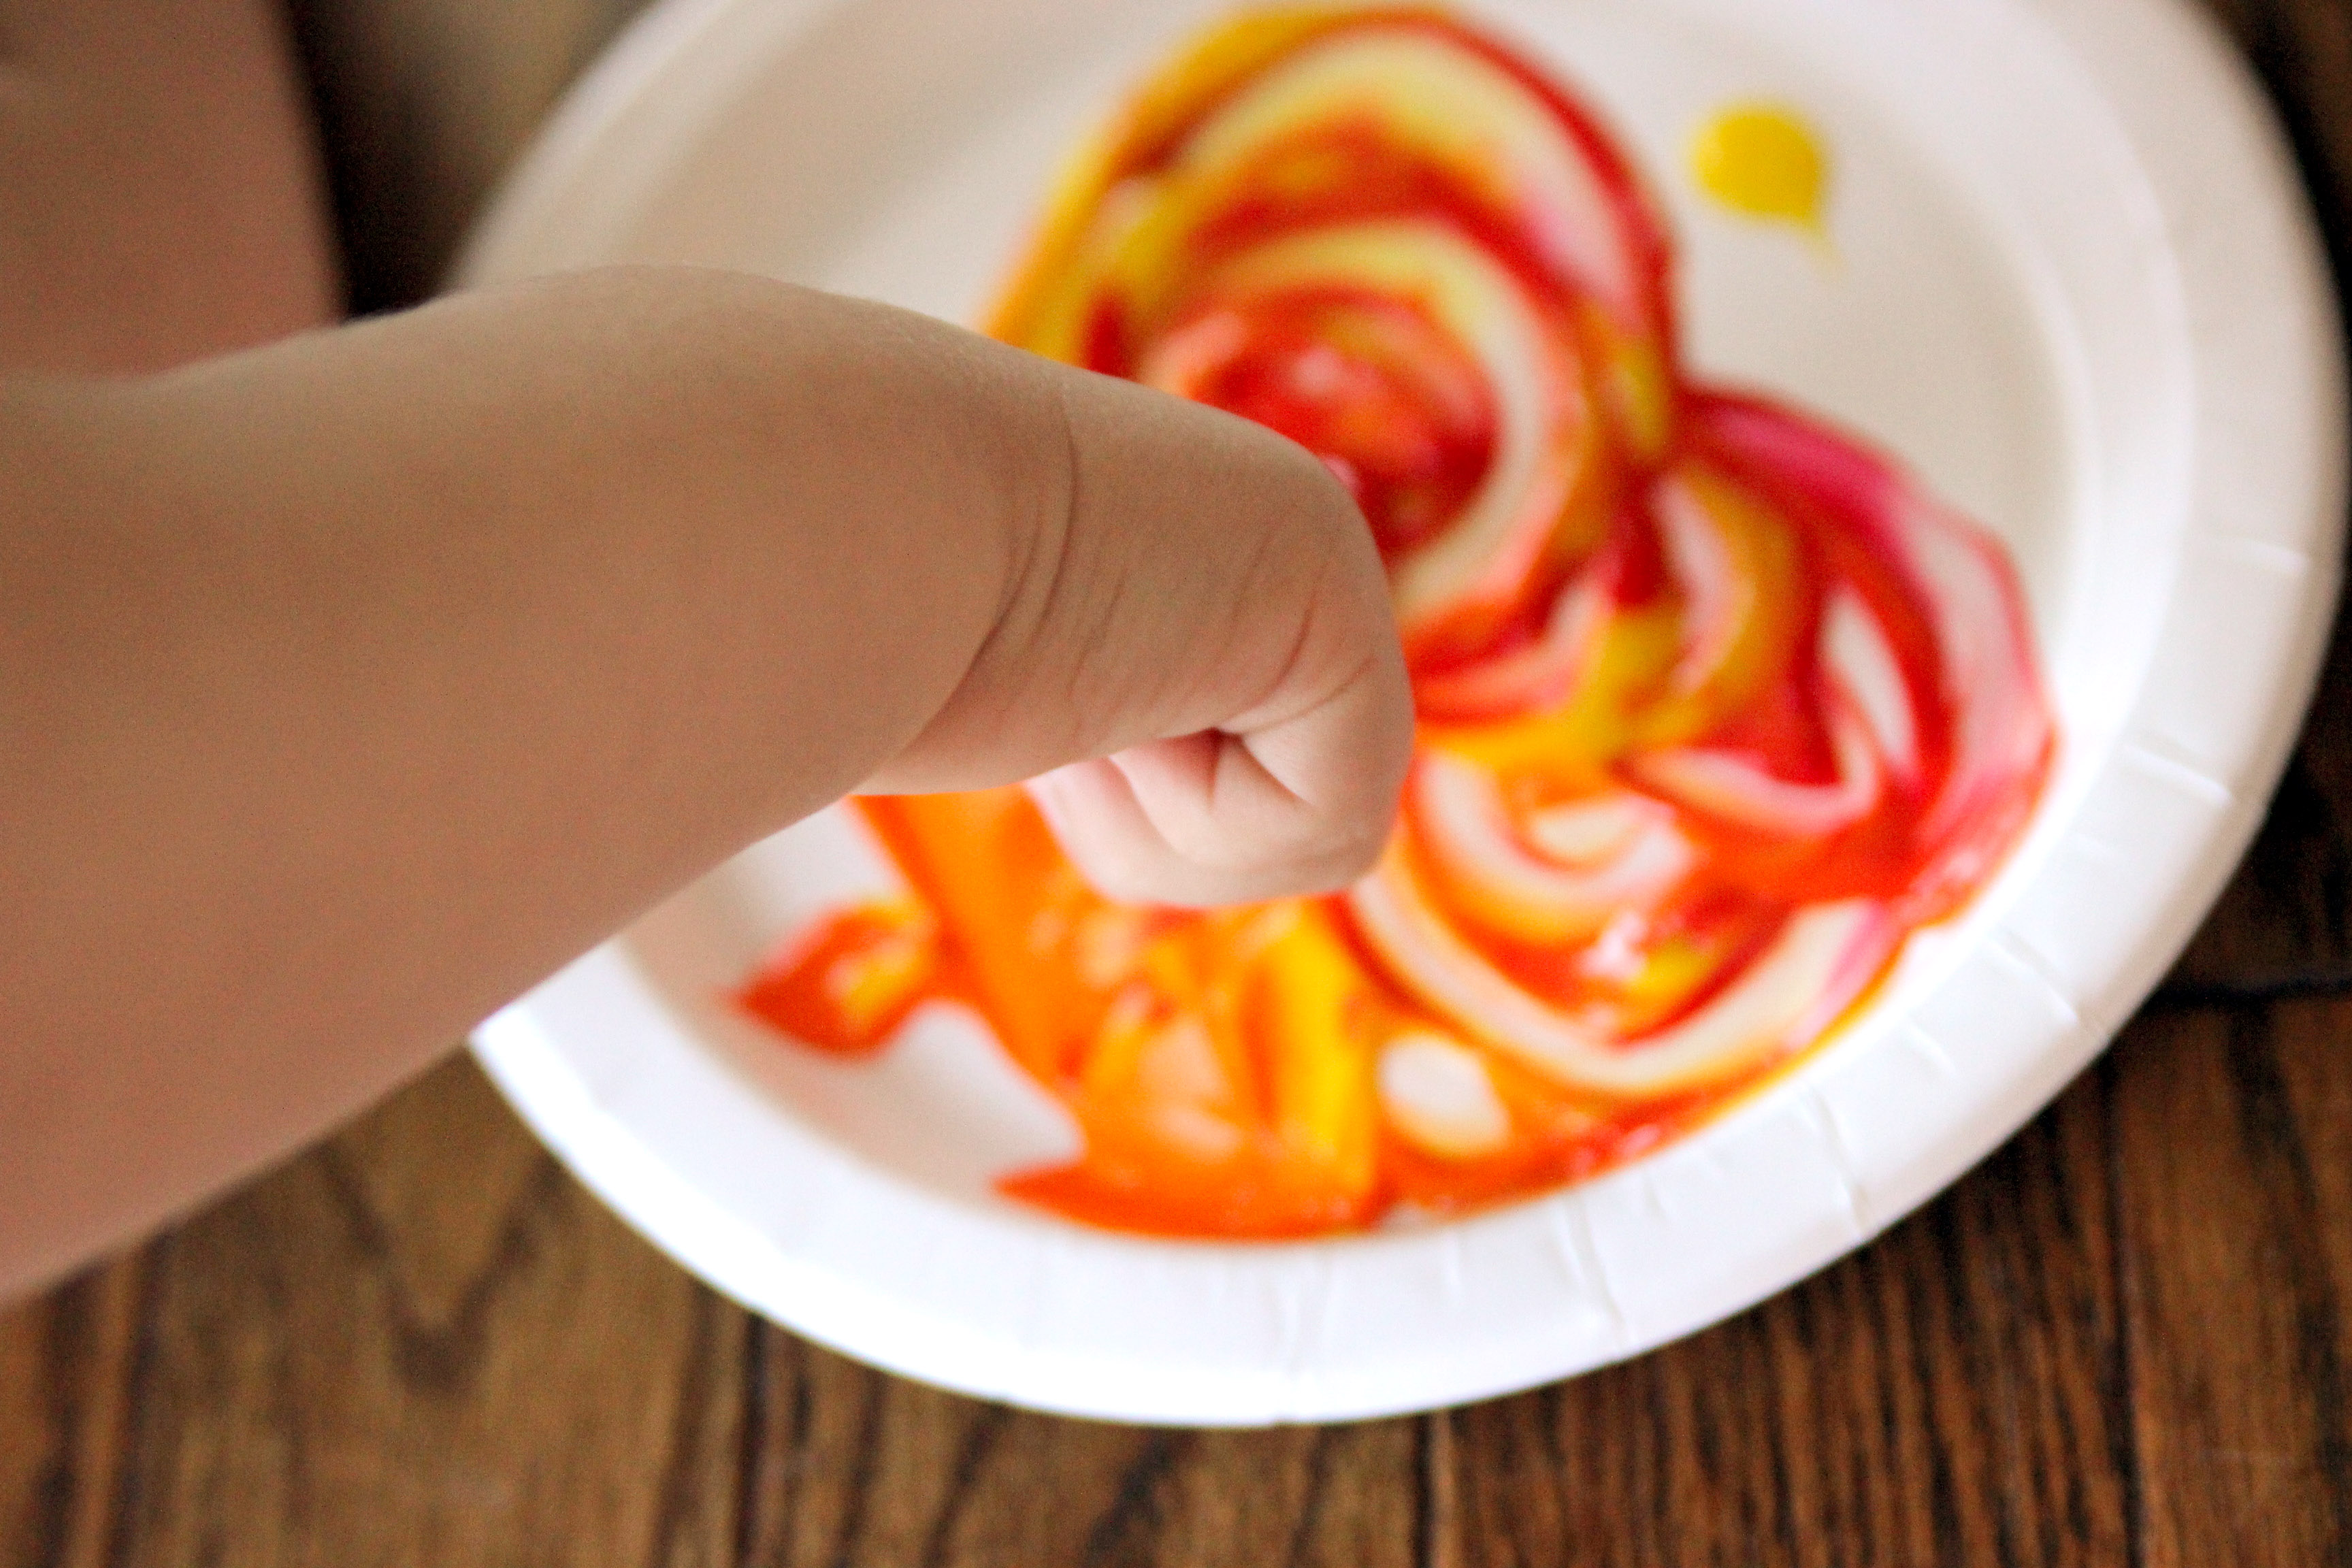
Once the finger paints are contained, have your little one swirl around the paint to create a colorful mixture. By using the mixture as the leaves, it will bring lots of colors onto to each fingerprint leaf, creating a more natural effect.
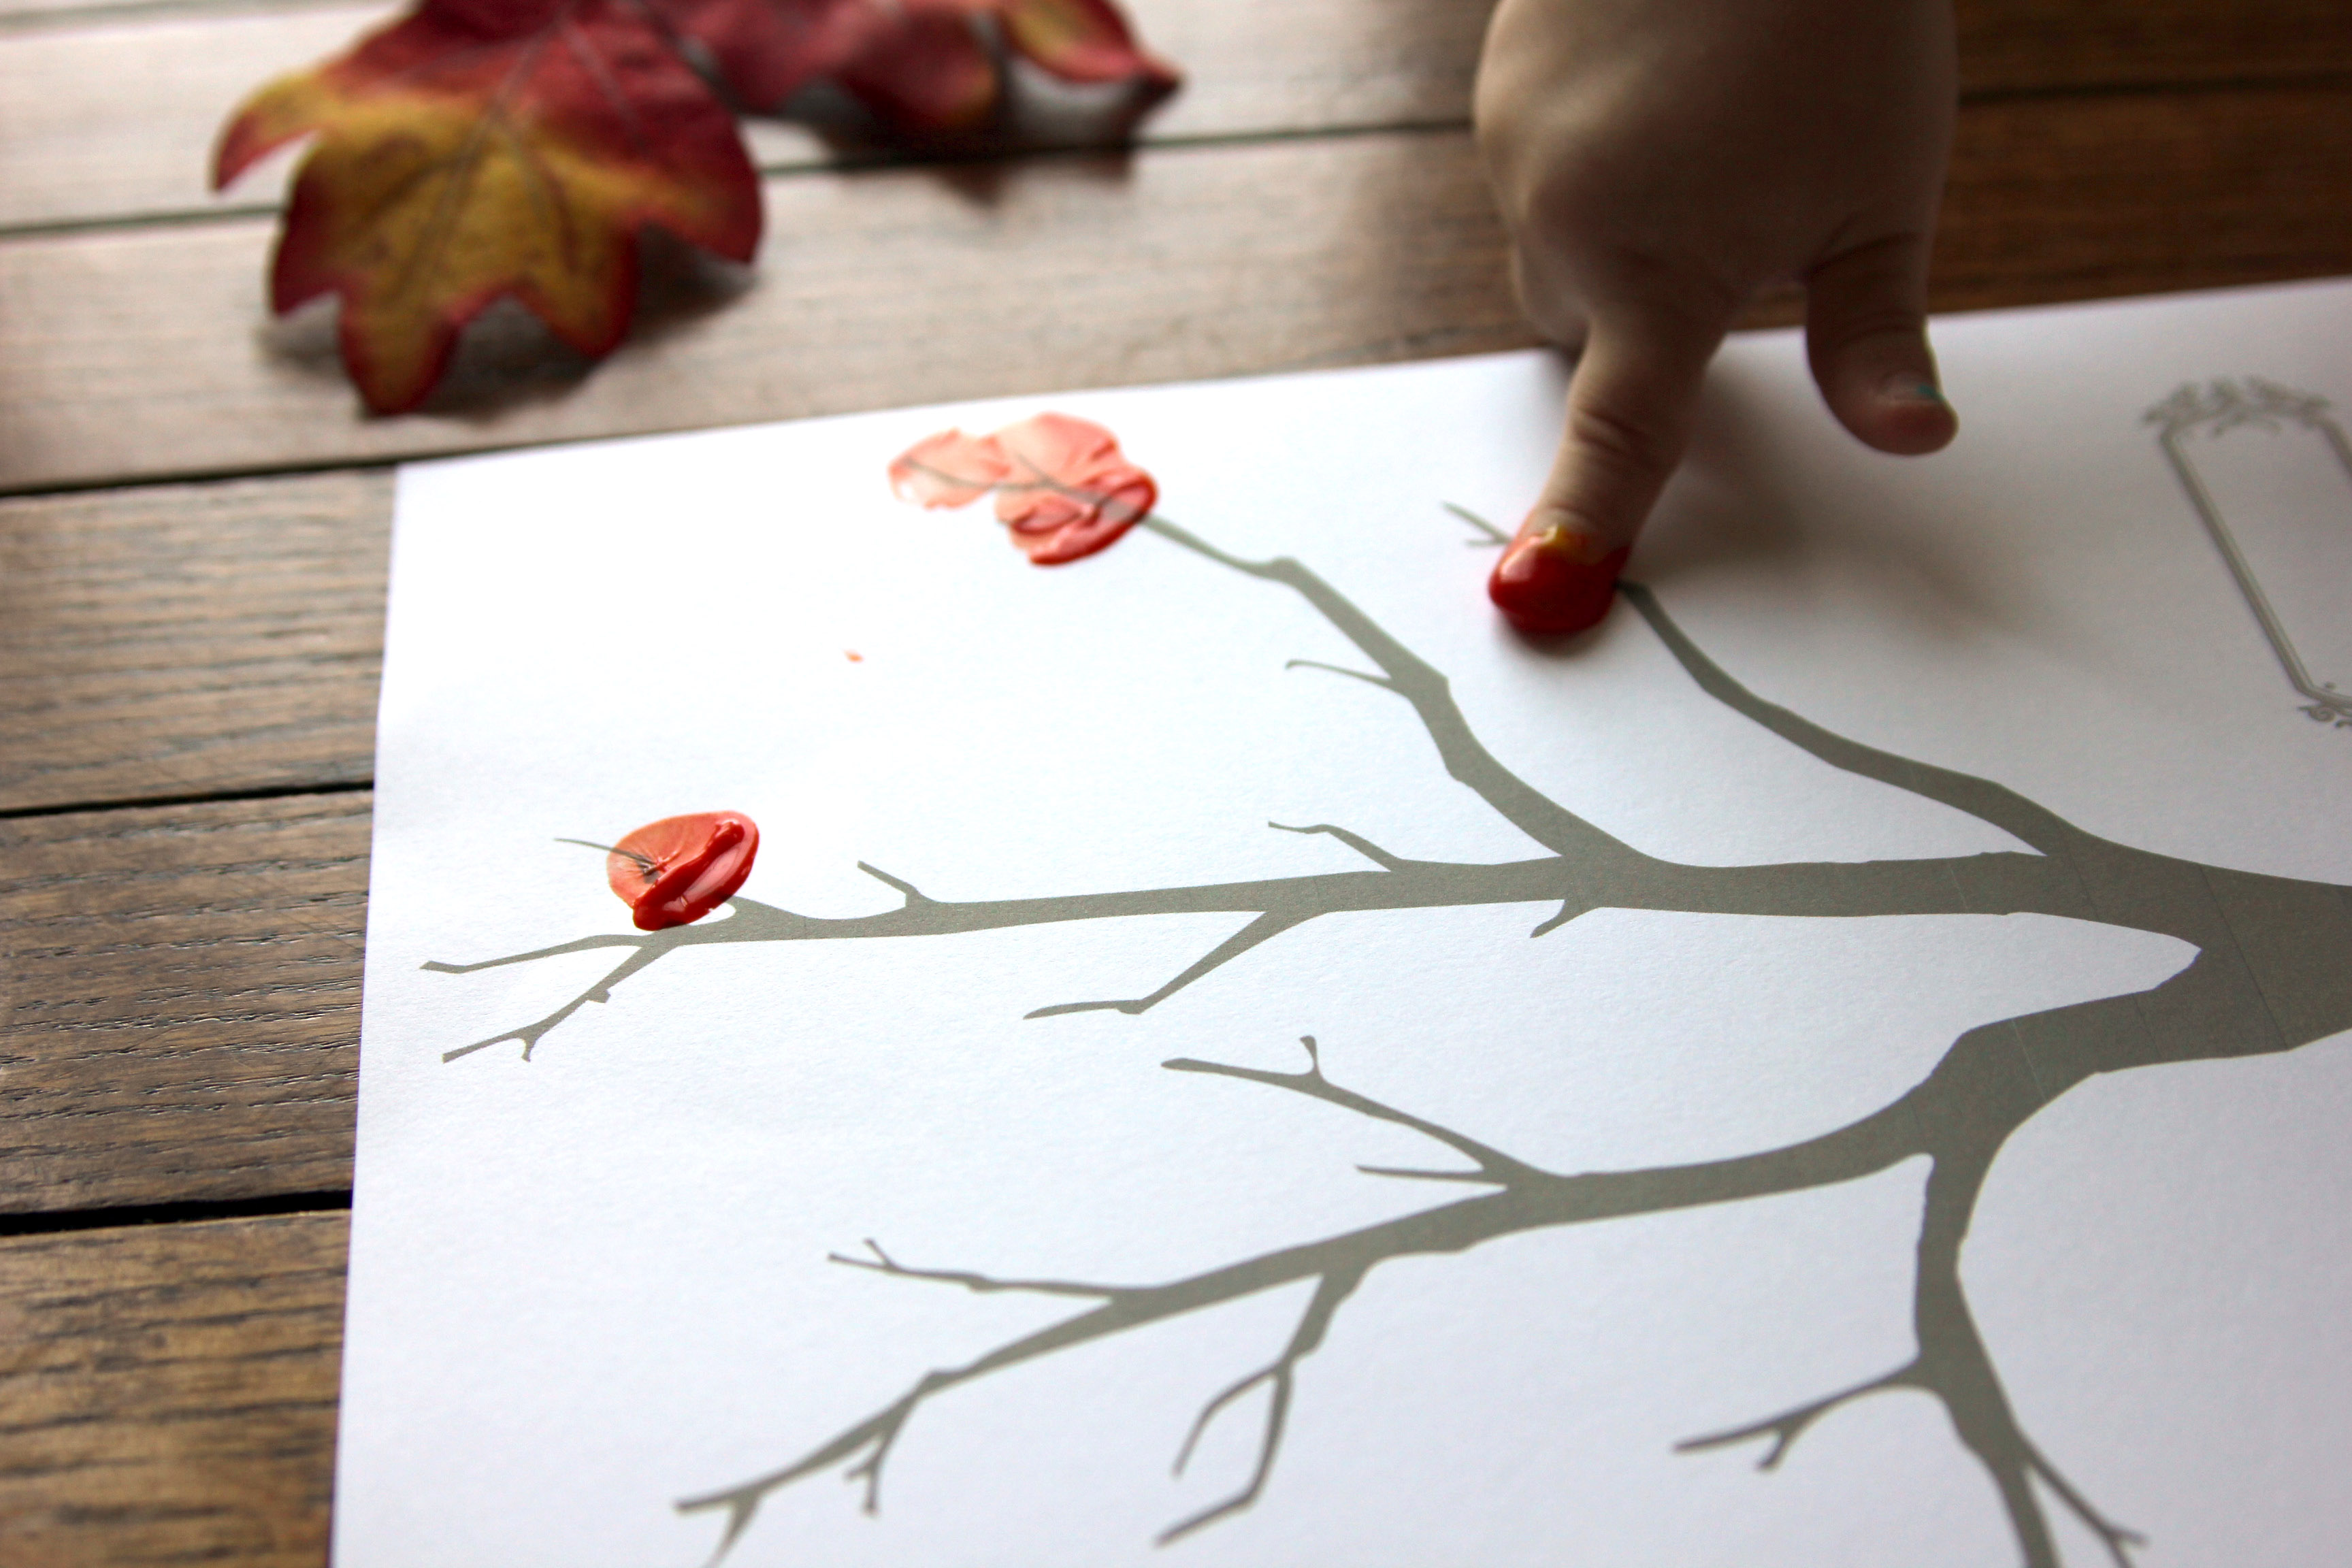
Step 4
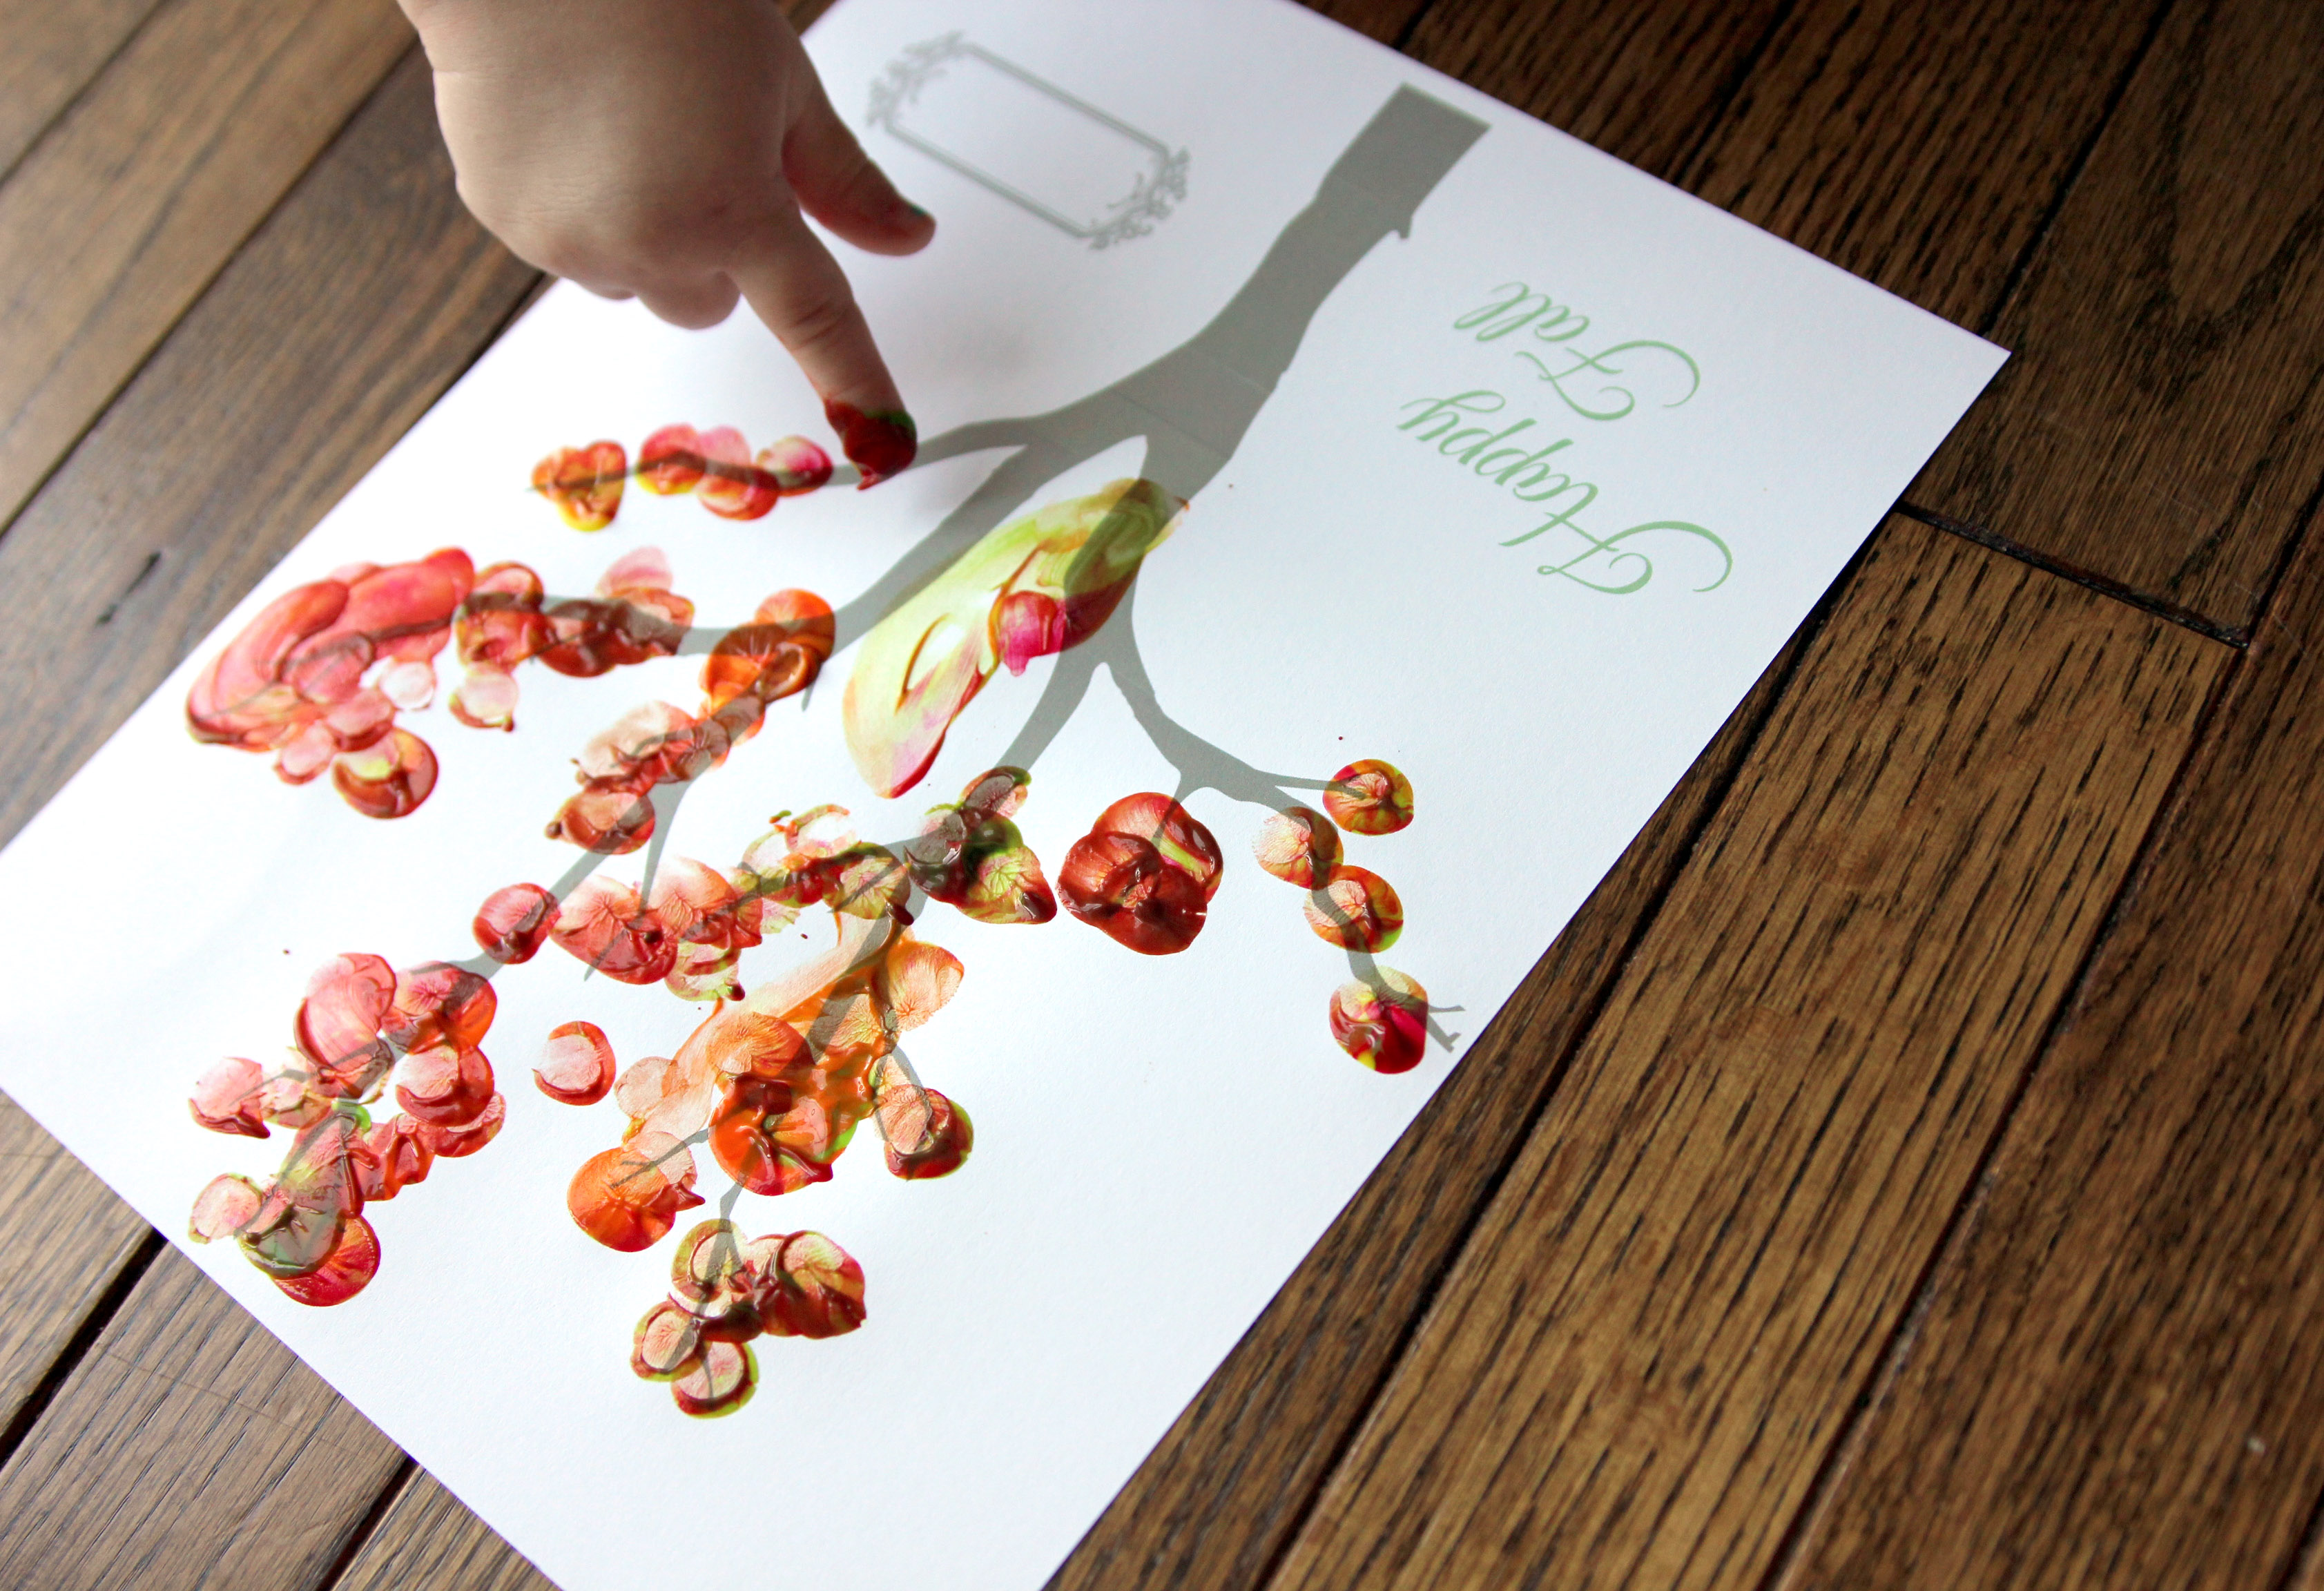
Next, have them dab their fingers on the tree branches creating fall leaves. Repeat this until all the branches are filled with leaves on your tree.
Done!
Let the paint dry, then (if you'd like), write your child's name, date, and age to commemorate the picture. We printed out, painted, and framed two of these fall fingerprint trees--one for each set of grandparents.