Step-by-step tutorial
Step 1
Gather your materials!


Step 2
To start, we painted the bottle white. Given the label on the bottle, this requires a couple of coats. Basically paint the bottle, wait for a little while to allow it to dry, and then paint again. Allow your snowman to dry completely.
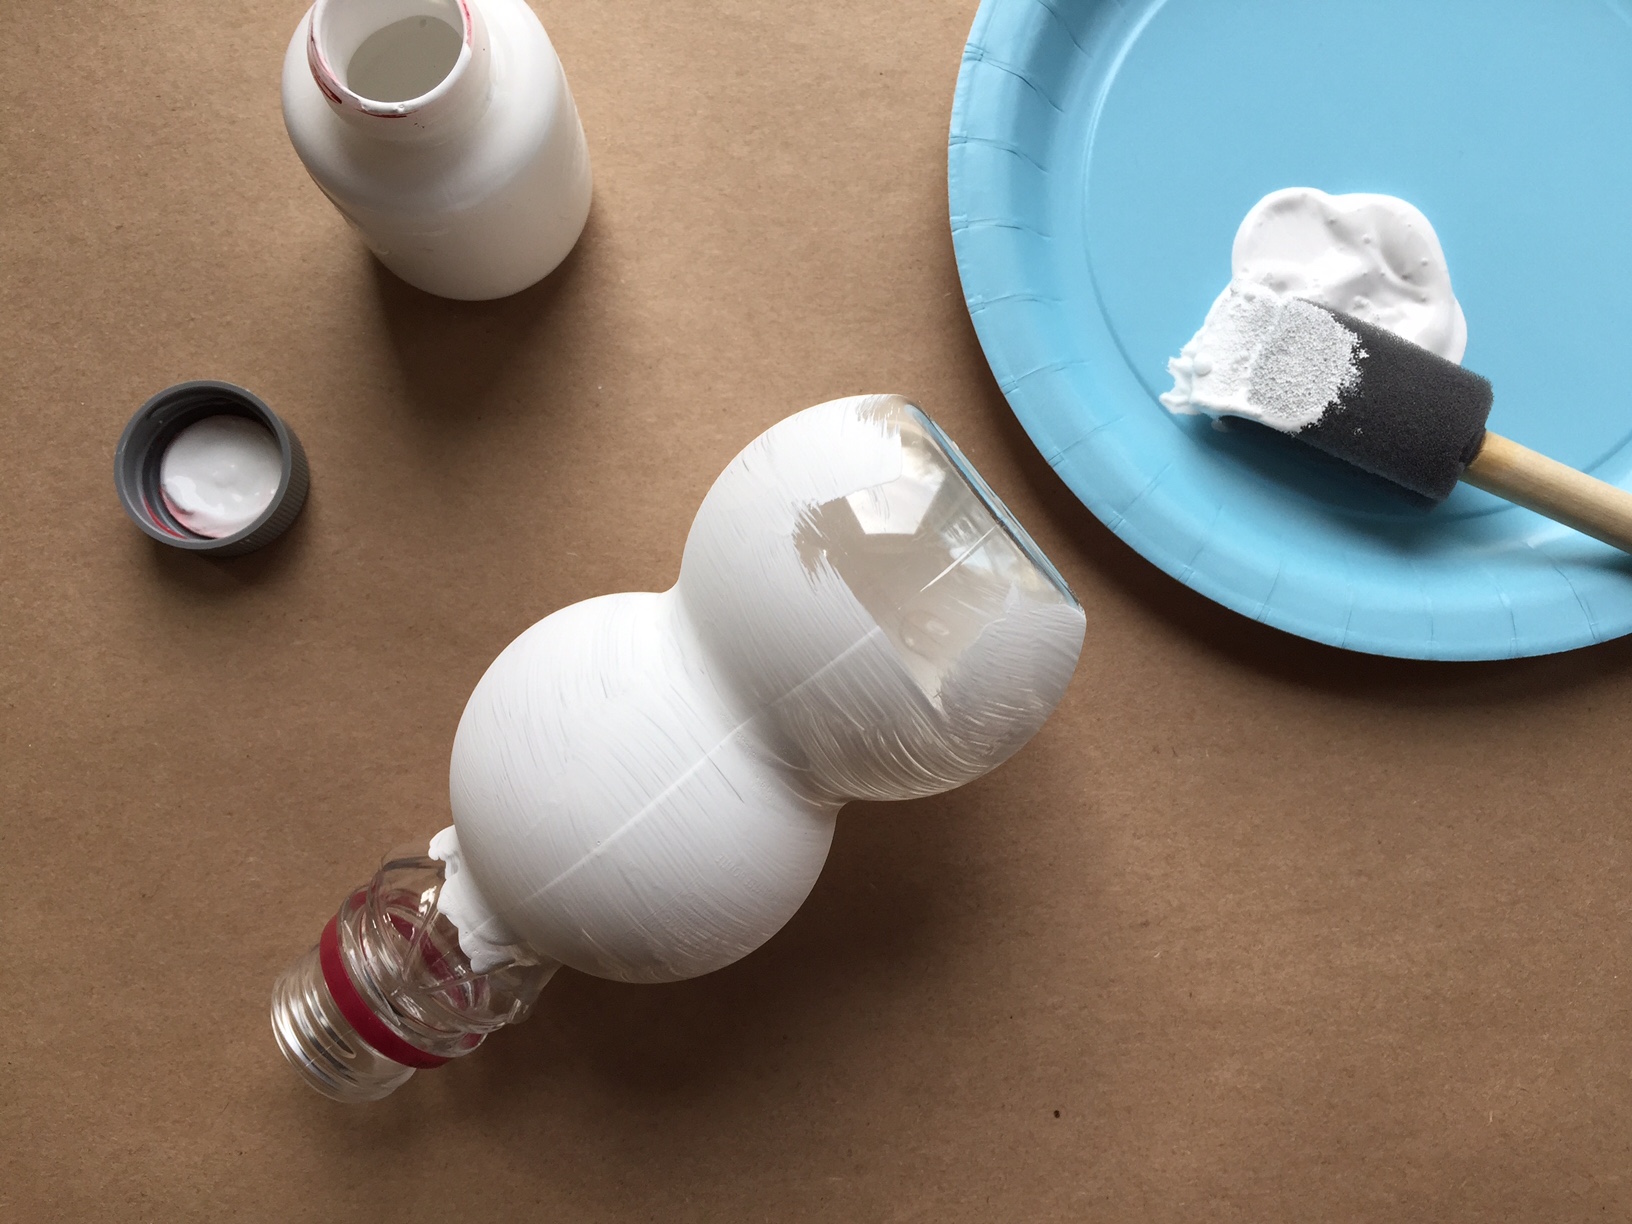
Tip
To allow for maximum glow, do not paint the bottom of the bottle.
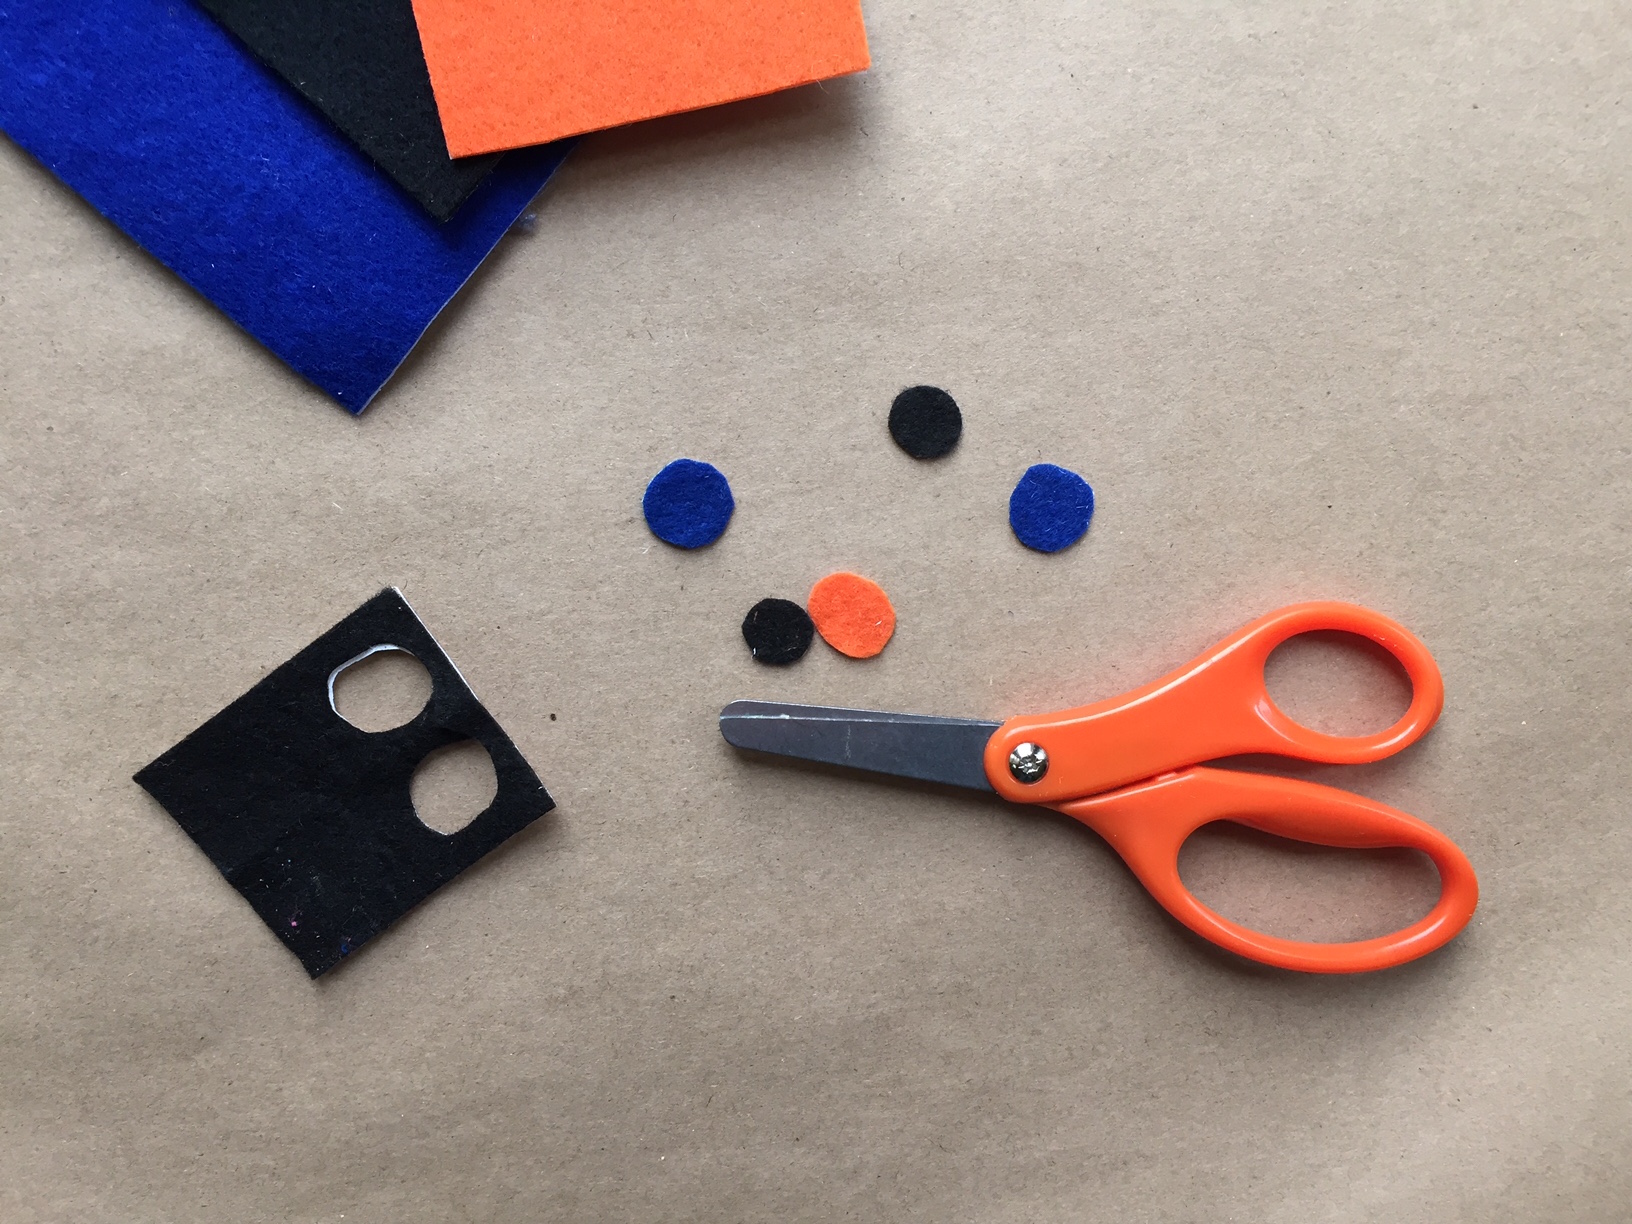
Step 3
Now you can take your sticky felt and cut out eyes, nose, mouth, buttons, etc. Feel free to be creative in accessorizing and designing your snowman. It was a lot of fun to see how different the snowmen - and snowwomen - could be!
Step 4
To make your snowman's hat, trim off the top of a sock. You can line it up with the top of the bottle to approximate how much material you might need for the hat.

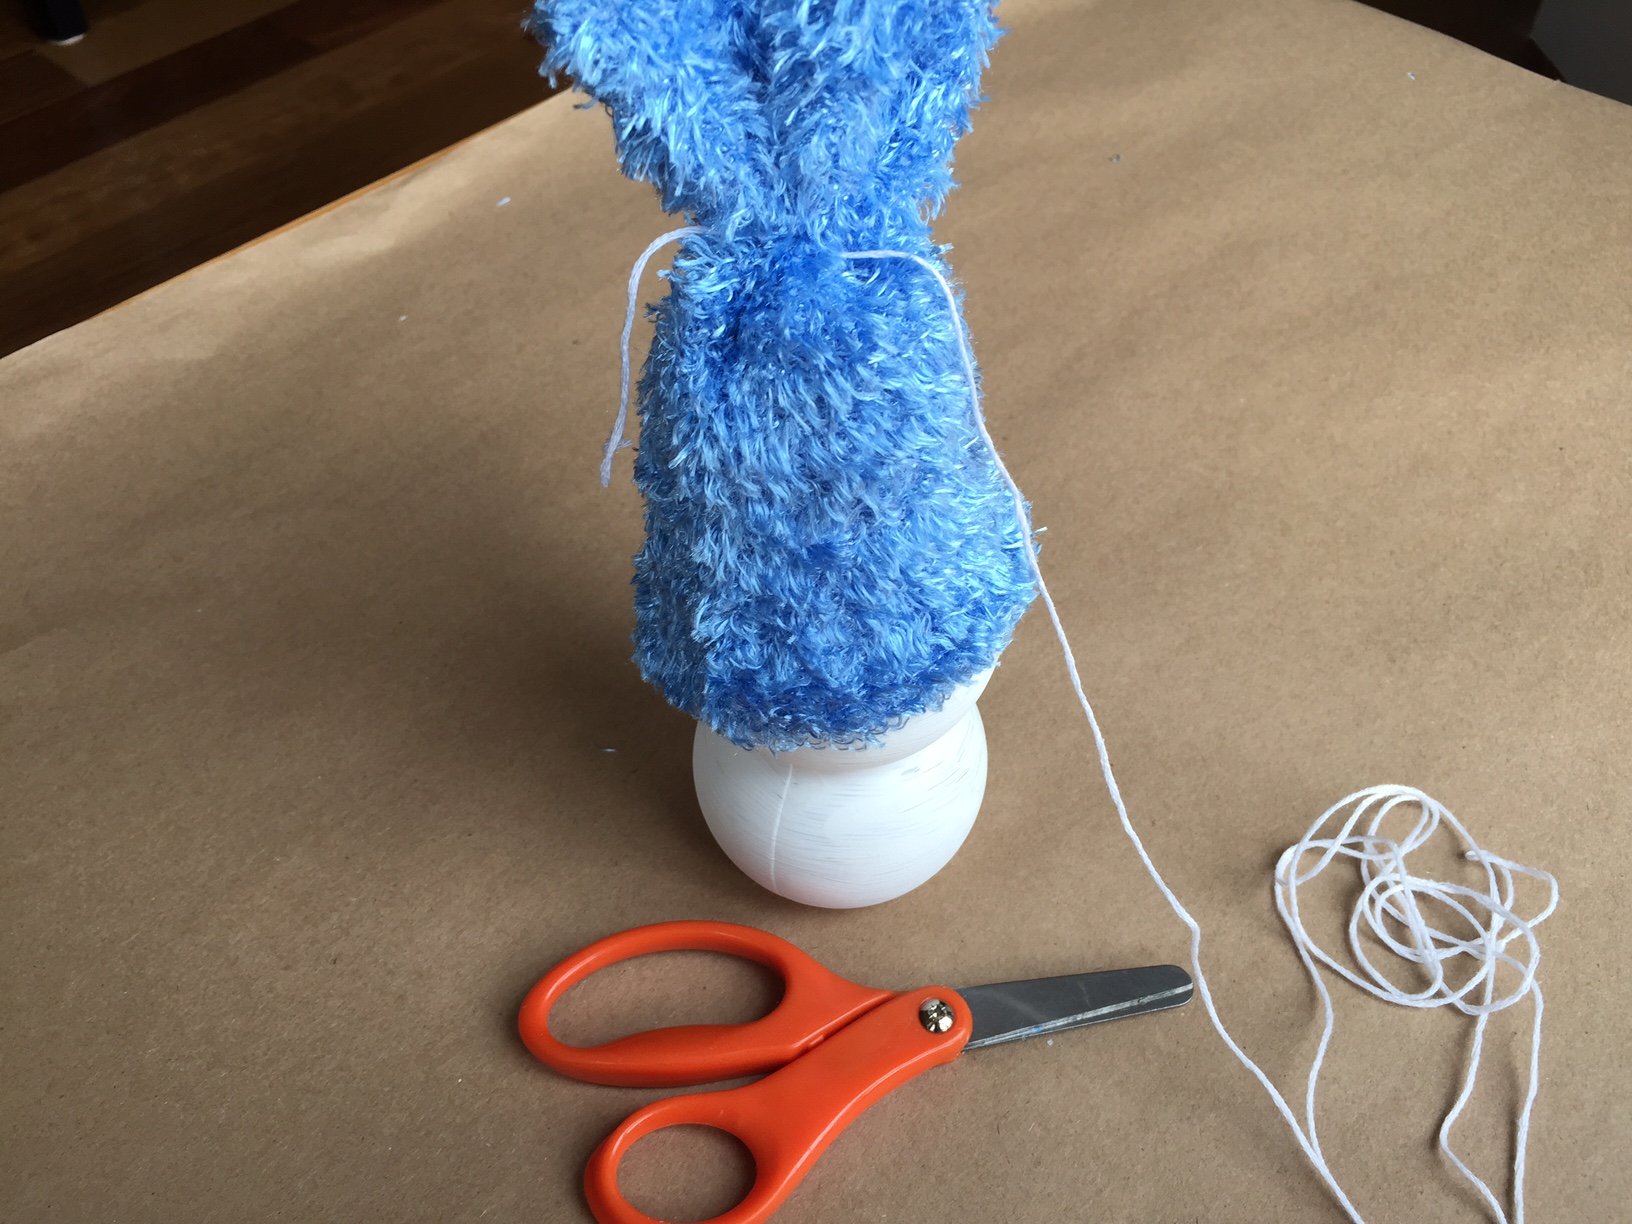
Step 5
Place the sock tube on your snowman's head and tie the string around the top. This brings your hat together. You'll make the top into a pom pom. The bottom will keep your snowman's head nice and warm.
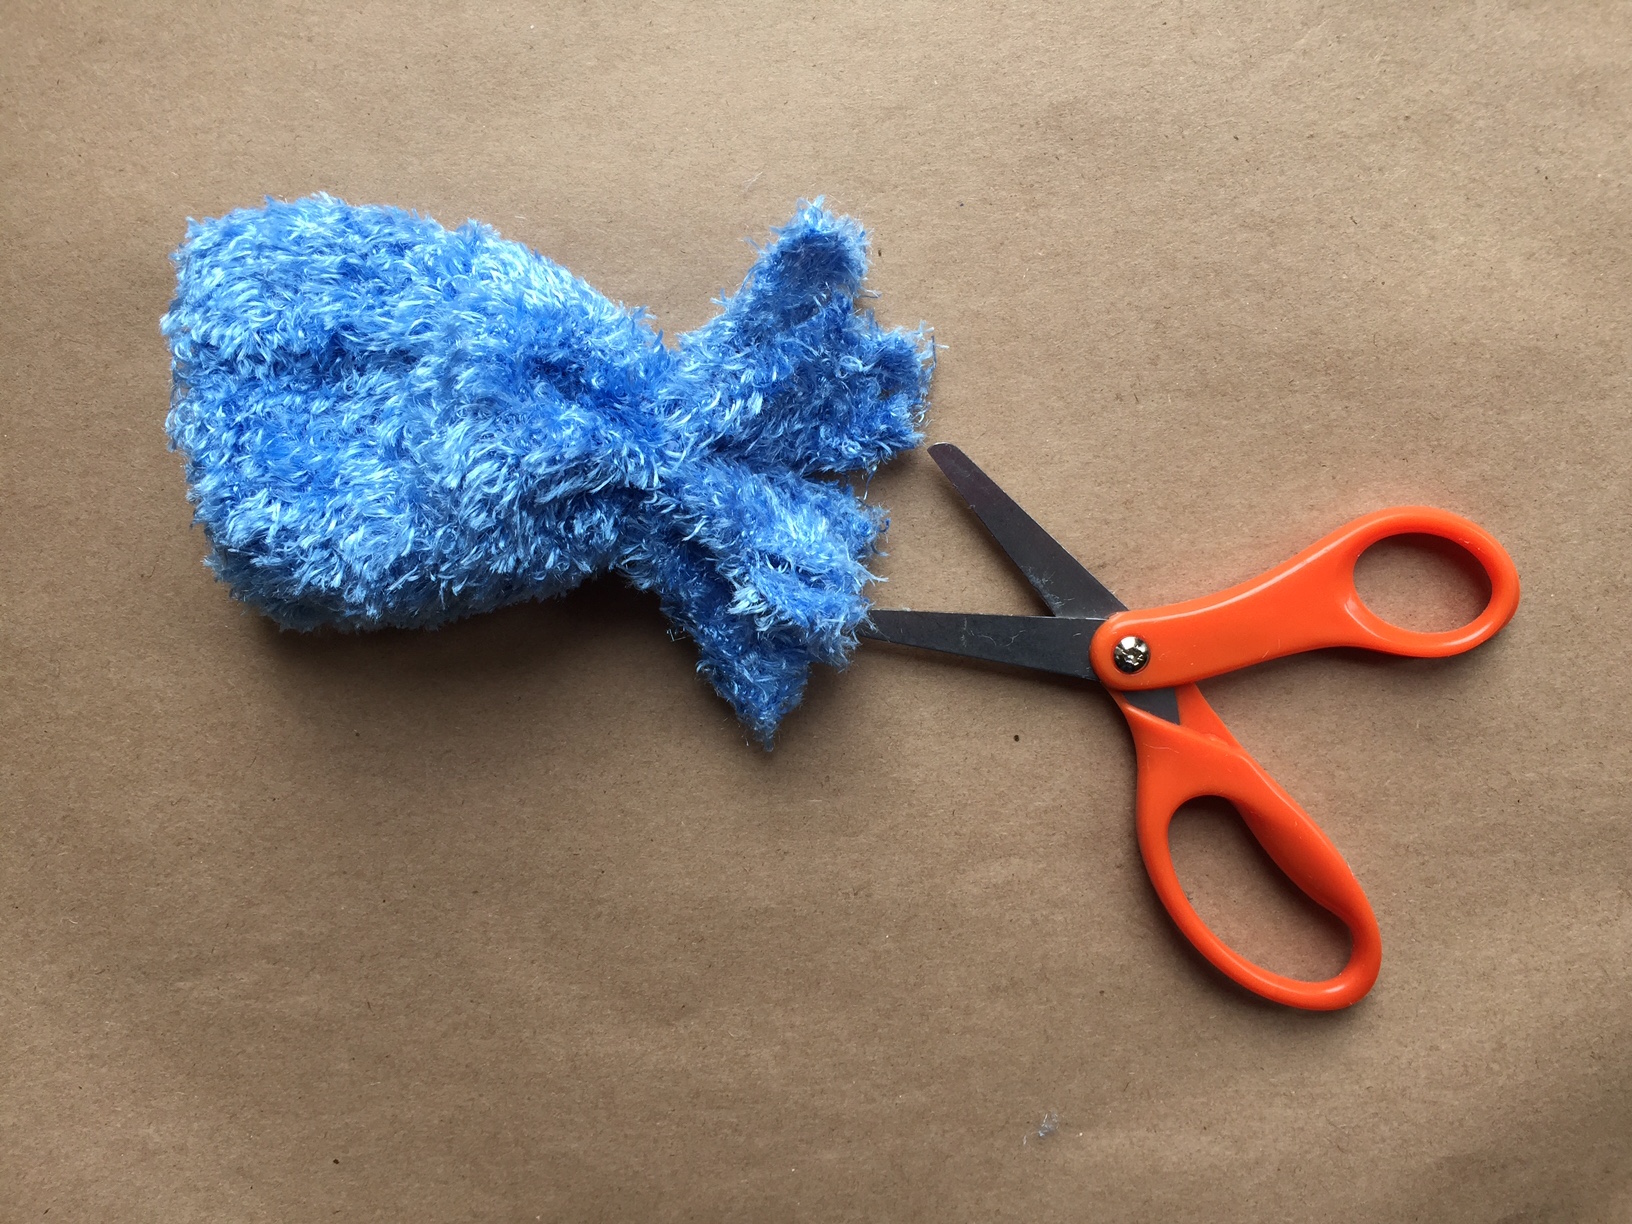
Step 6
Make little slits along the top of the sock (above the string) to create a pompom at the top of the hat.
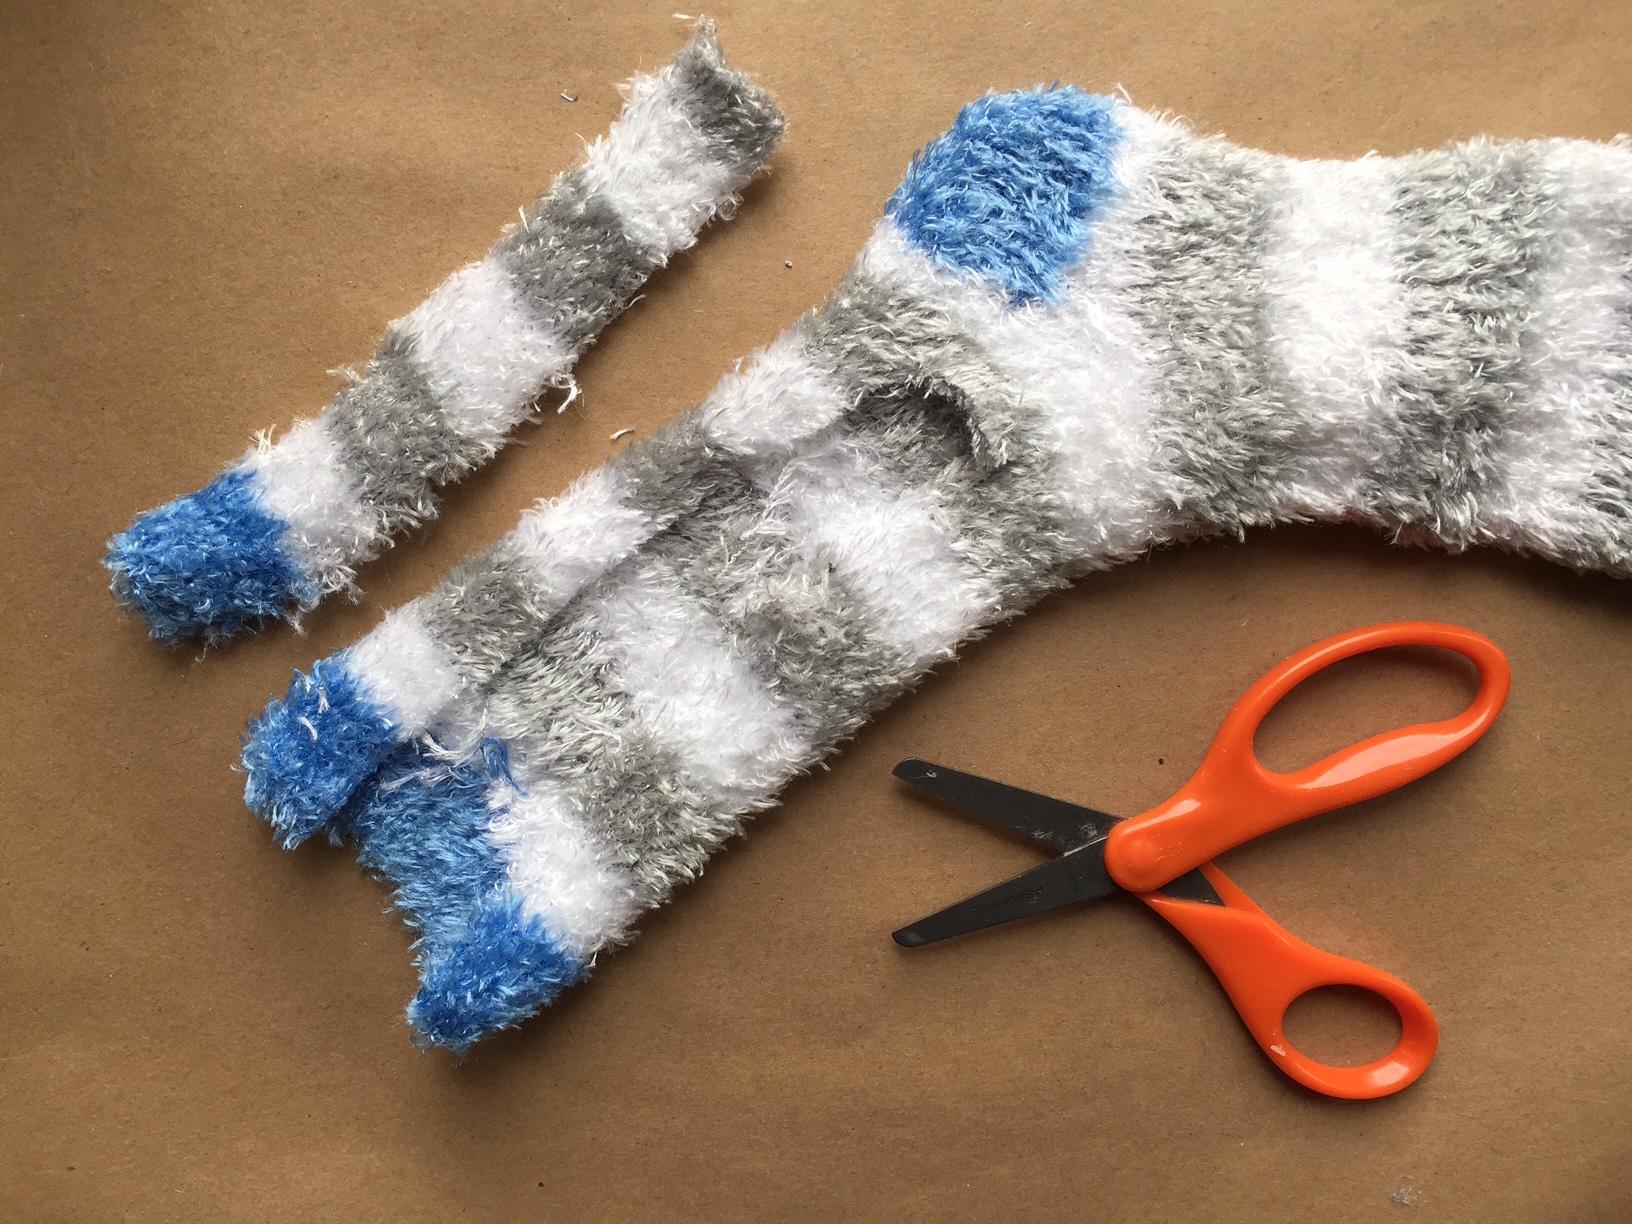
Step 7
If you'd like to give your snowman a scarf, cut a long rectangle of material out of a sock.
Step 8
Now you're ready to bring your snowman to life. We recommend putting the hat on first so you know about where his eyes should go. Stick and tie everything on.

Step 9
Then, your snowman is complete!
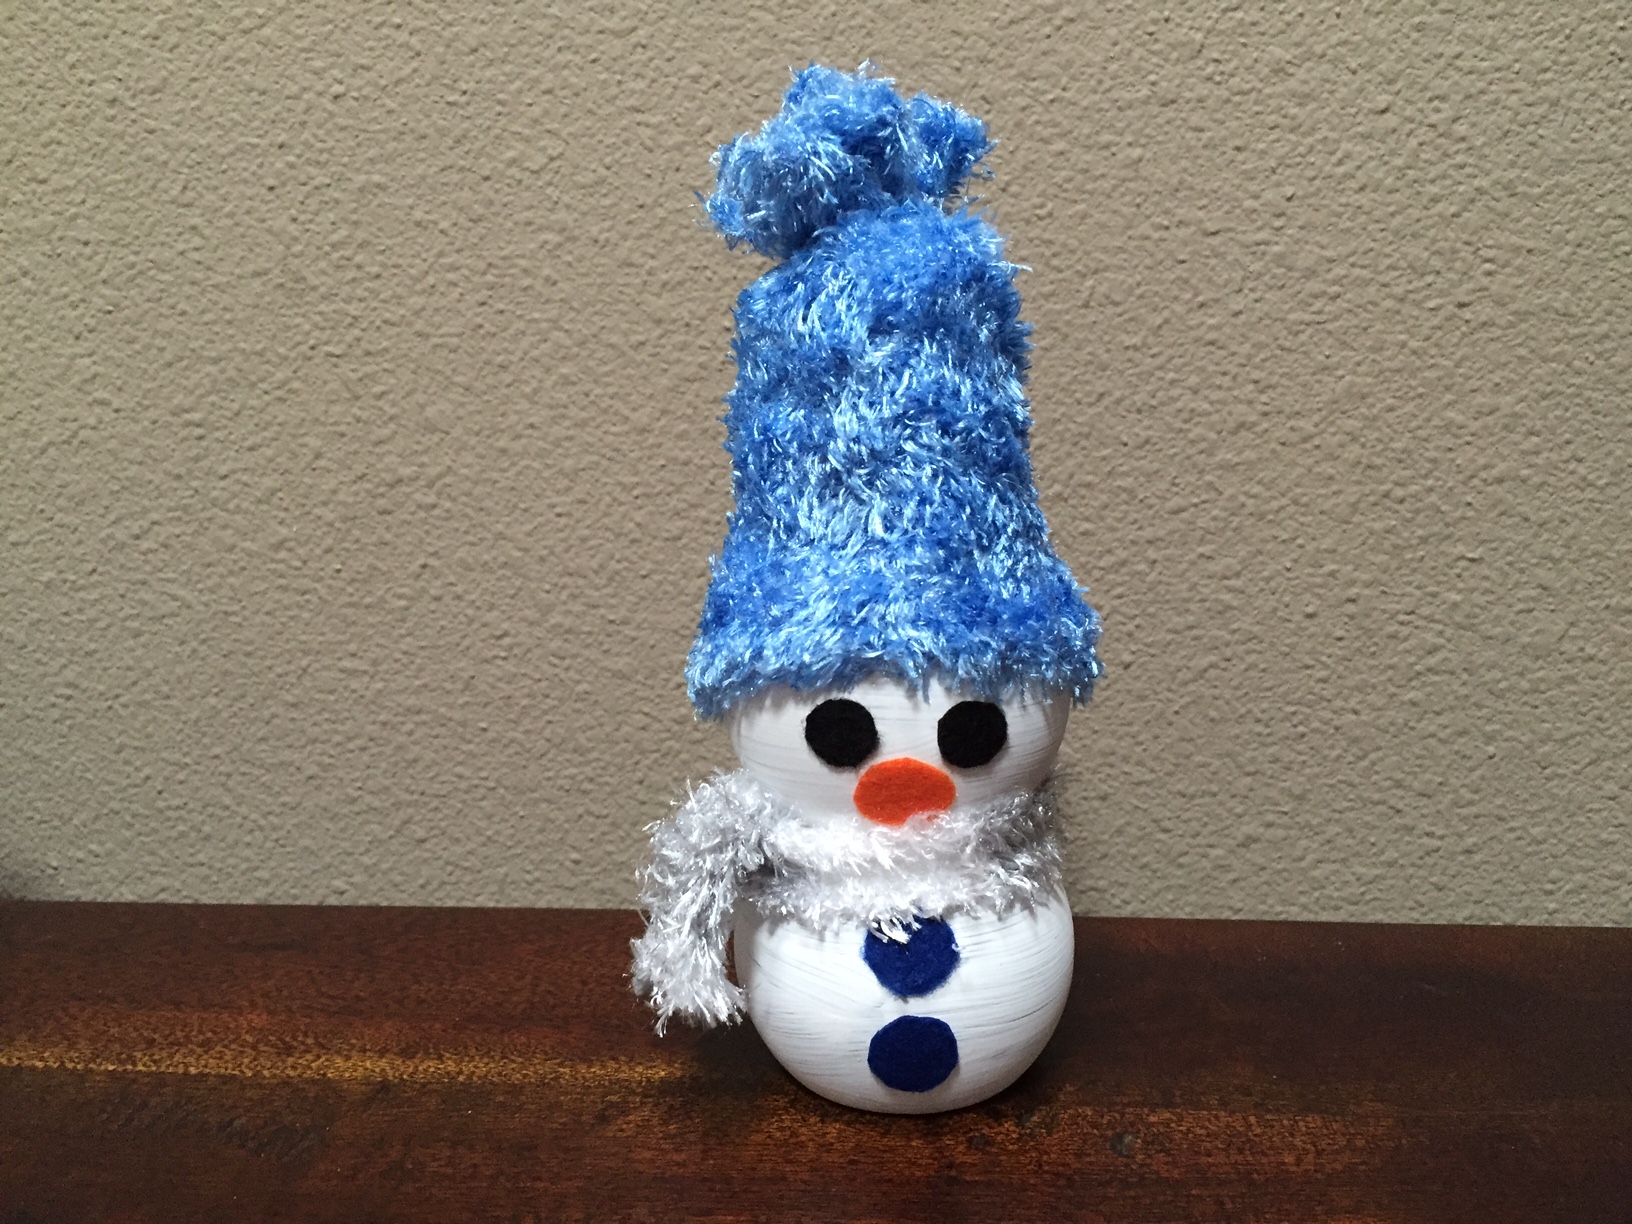
Step 10
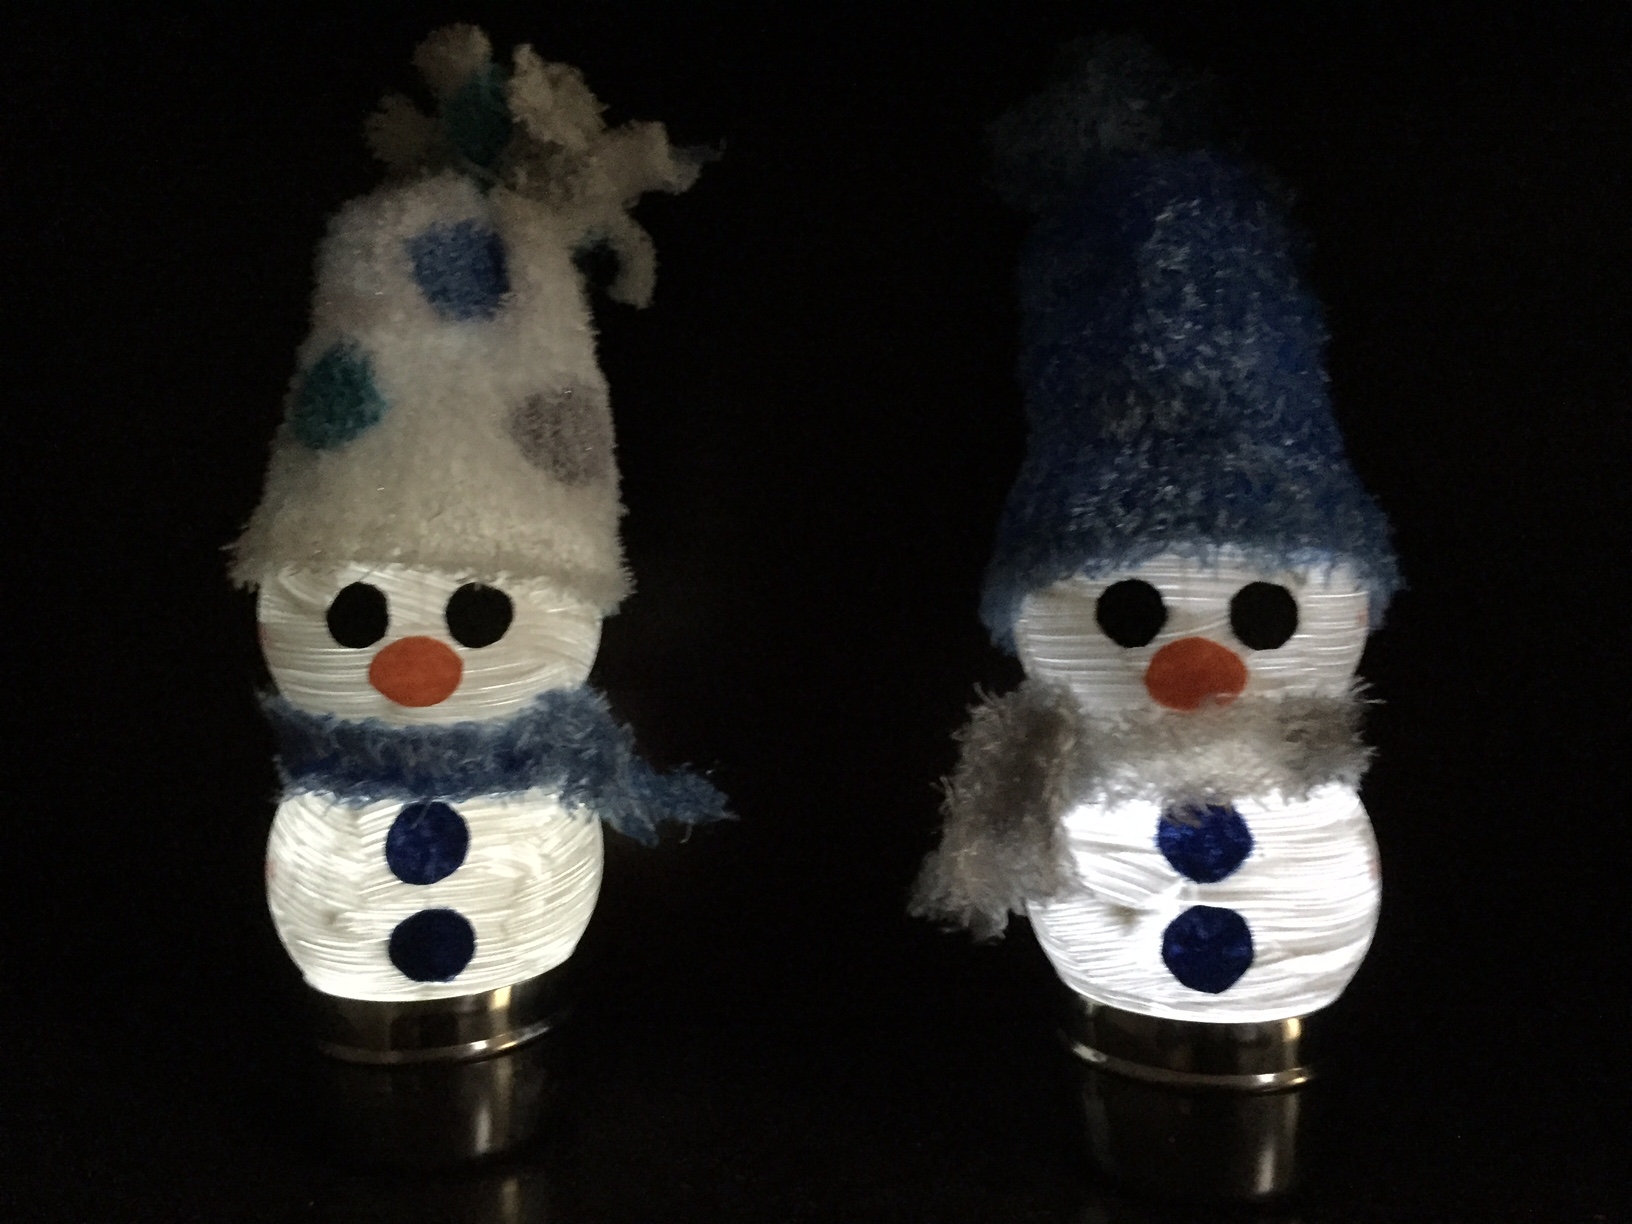
They're pretty adorable by themselves - without being luminaries.

Step 11
To bring your snowman to the next level, put a battery operated tea light in a small container.
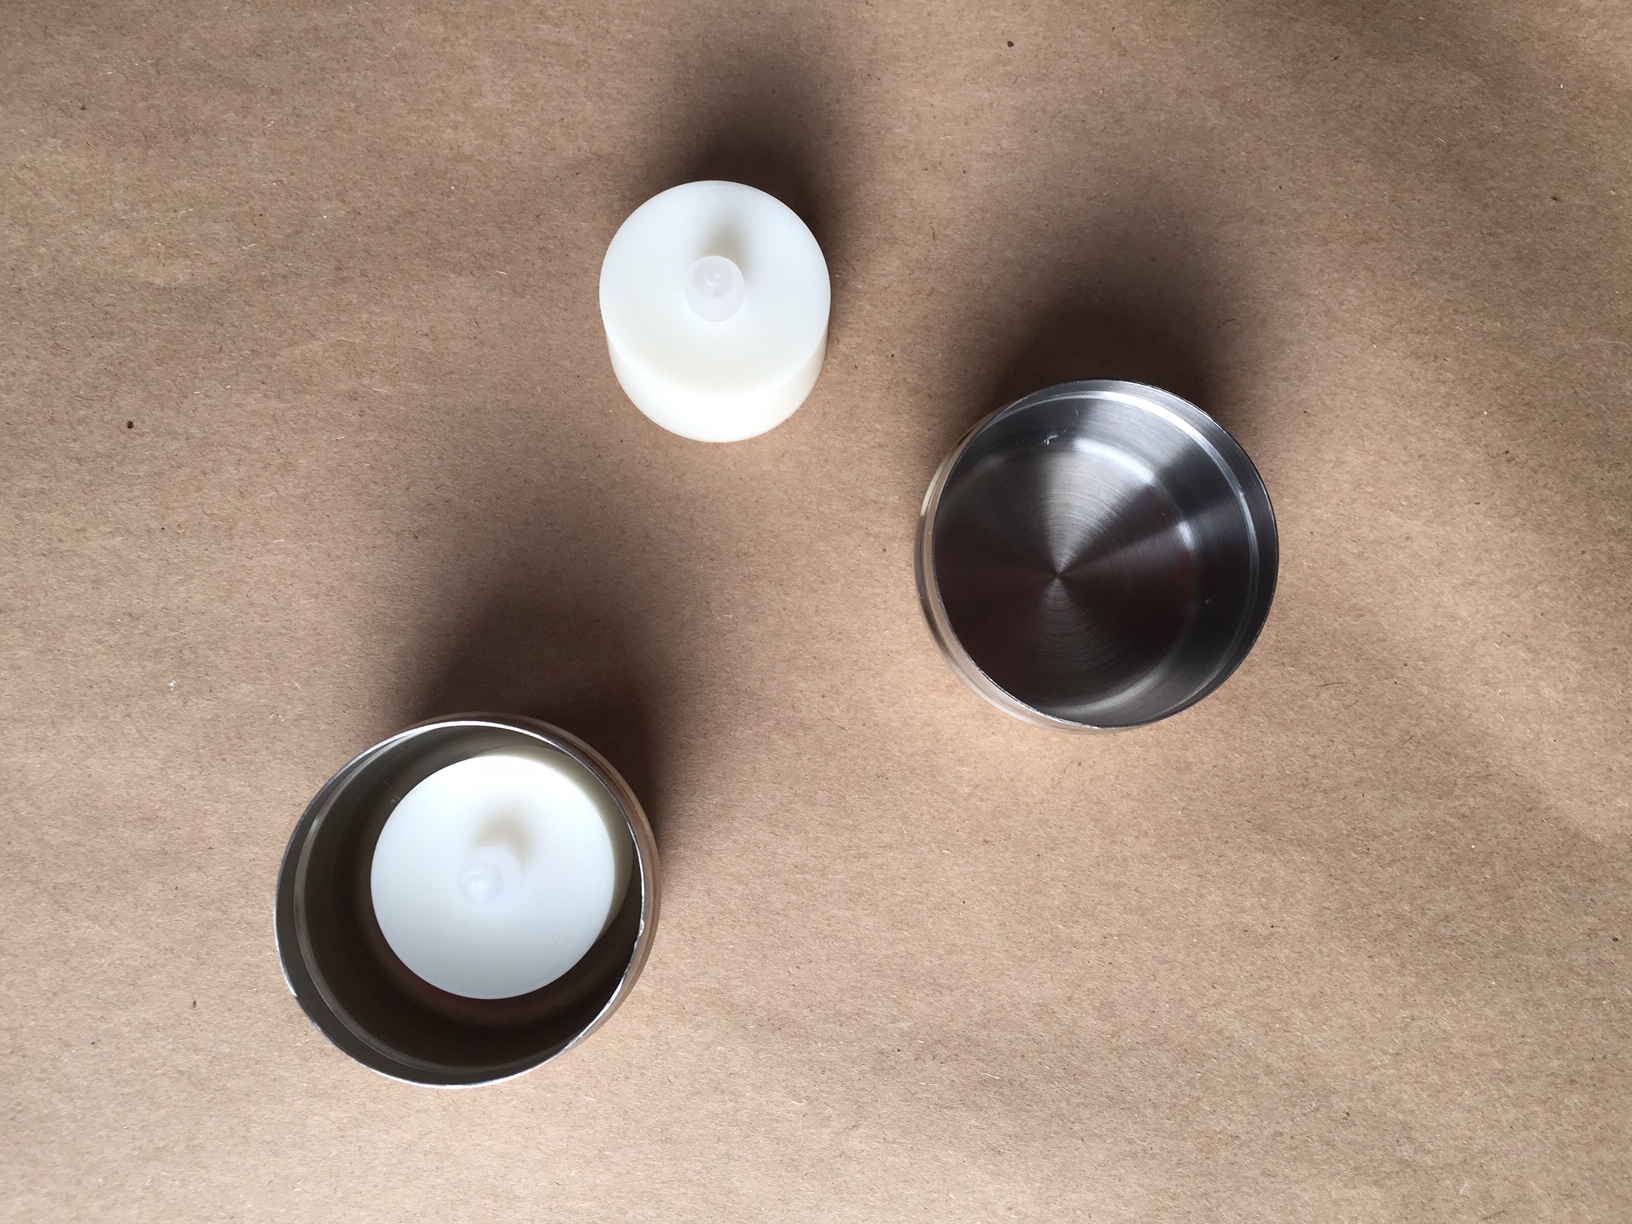
Done!
Place your snowman on top and watch him glow!