Step-by-step tutorial
Step 1
Start by covering your textbook! If you already know how to do this, skip to step 5.
Start by cutting a piece of paper that is is an extra 2" larger than your book cover. Keep in mind that you need to include the thickness of the book!
Step 2
Wrap the side edge of the book by tucking in the extra paper. Make sure the book can close once the paper is tucked into the front and back covers.
Tip
When you wrap your book, push your book down, so the spine touches the kraft paper.
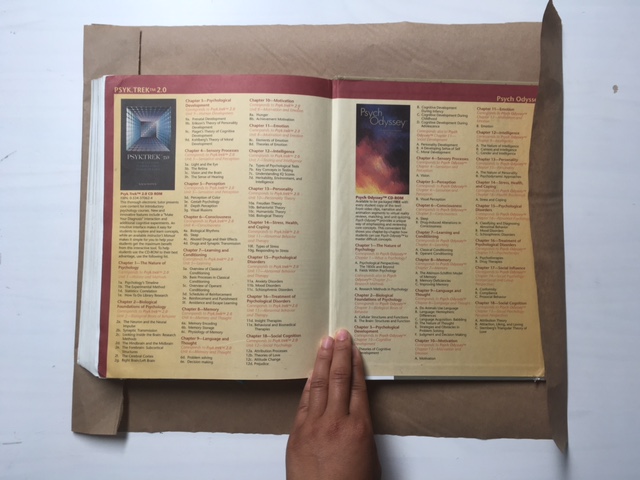
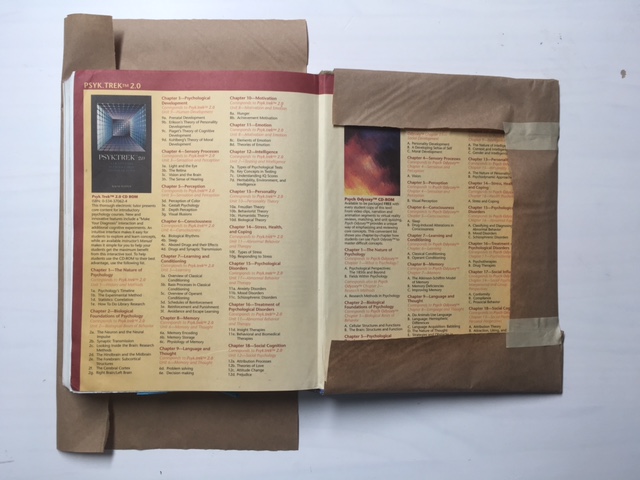
Step 3
There should be about 1-2" of excess paper on top and bottom of the book. Cut 2 slots that match the folded crease along the binding. Cut out the small tab. Tuck in the top and bottom edge of paper and use tape to secure it. (Make sure you don't tape onto the actual book!). Do the same for the other cover.
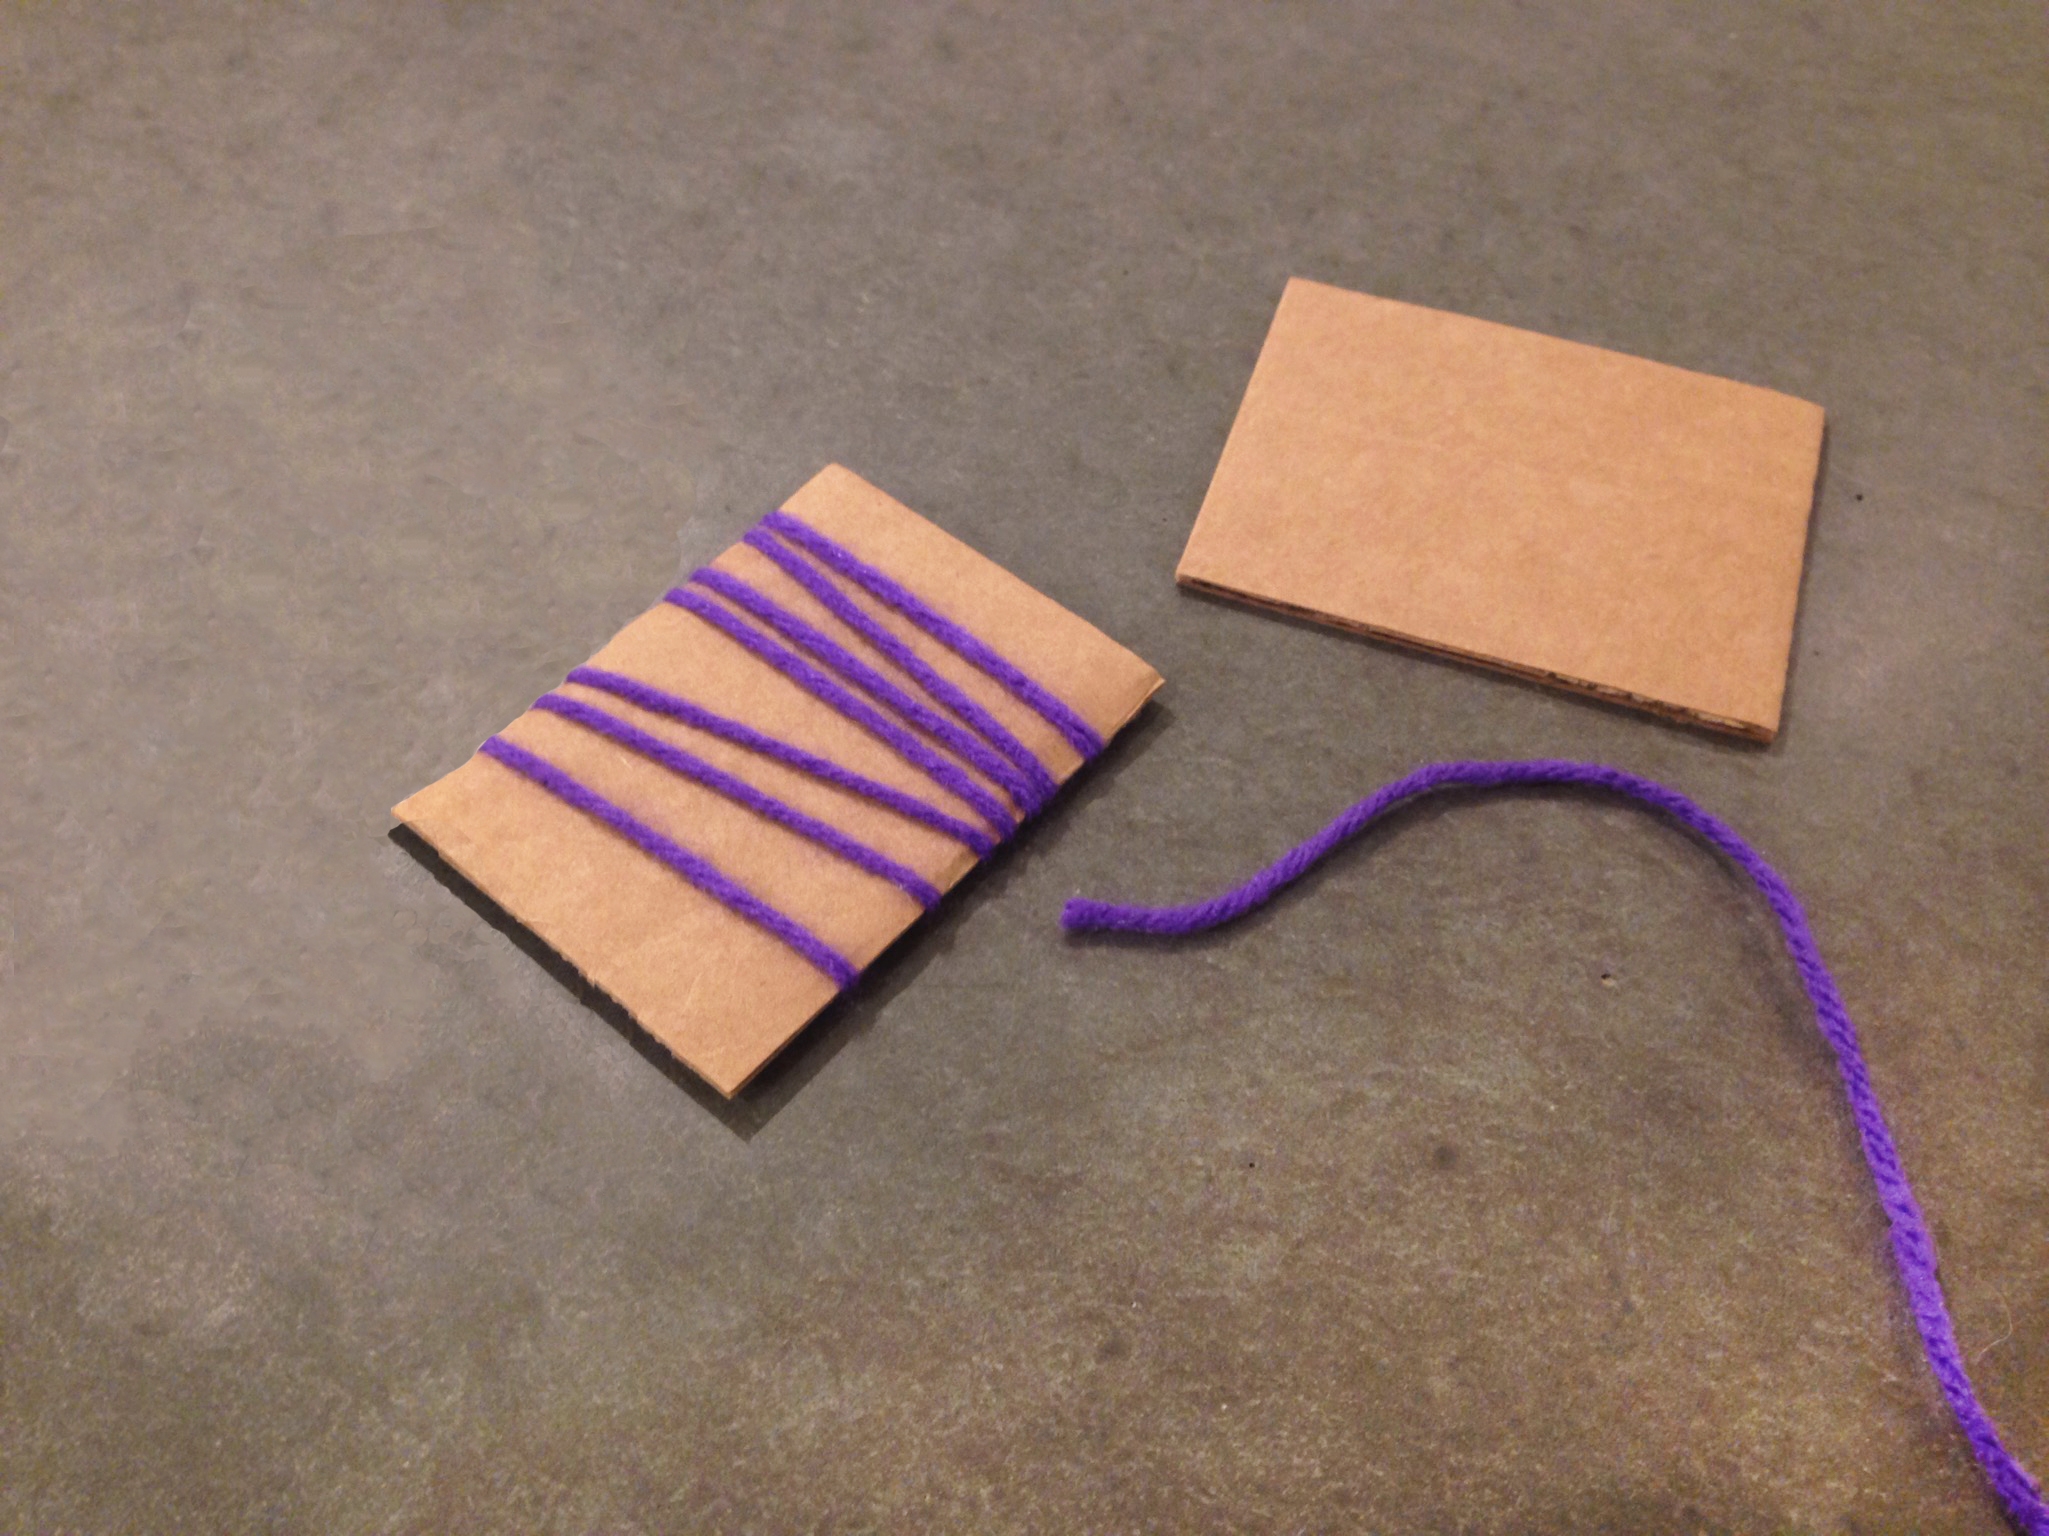
Step 4
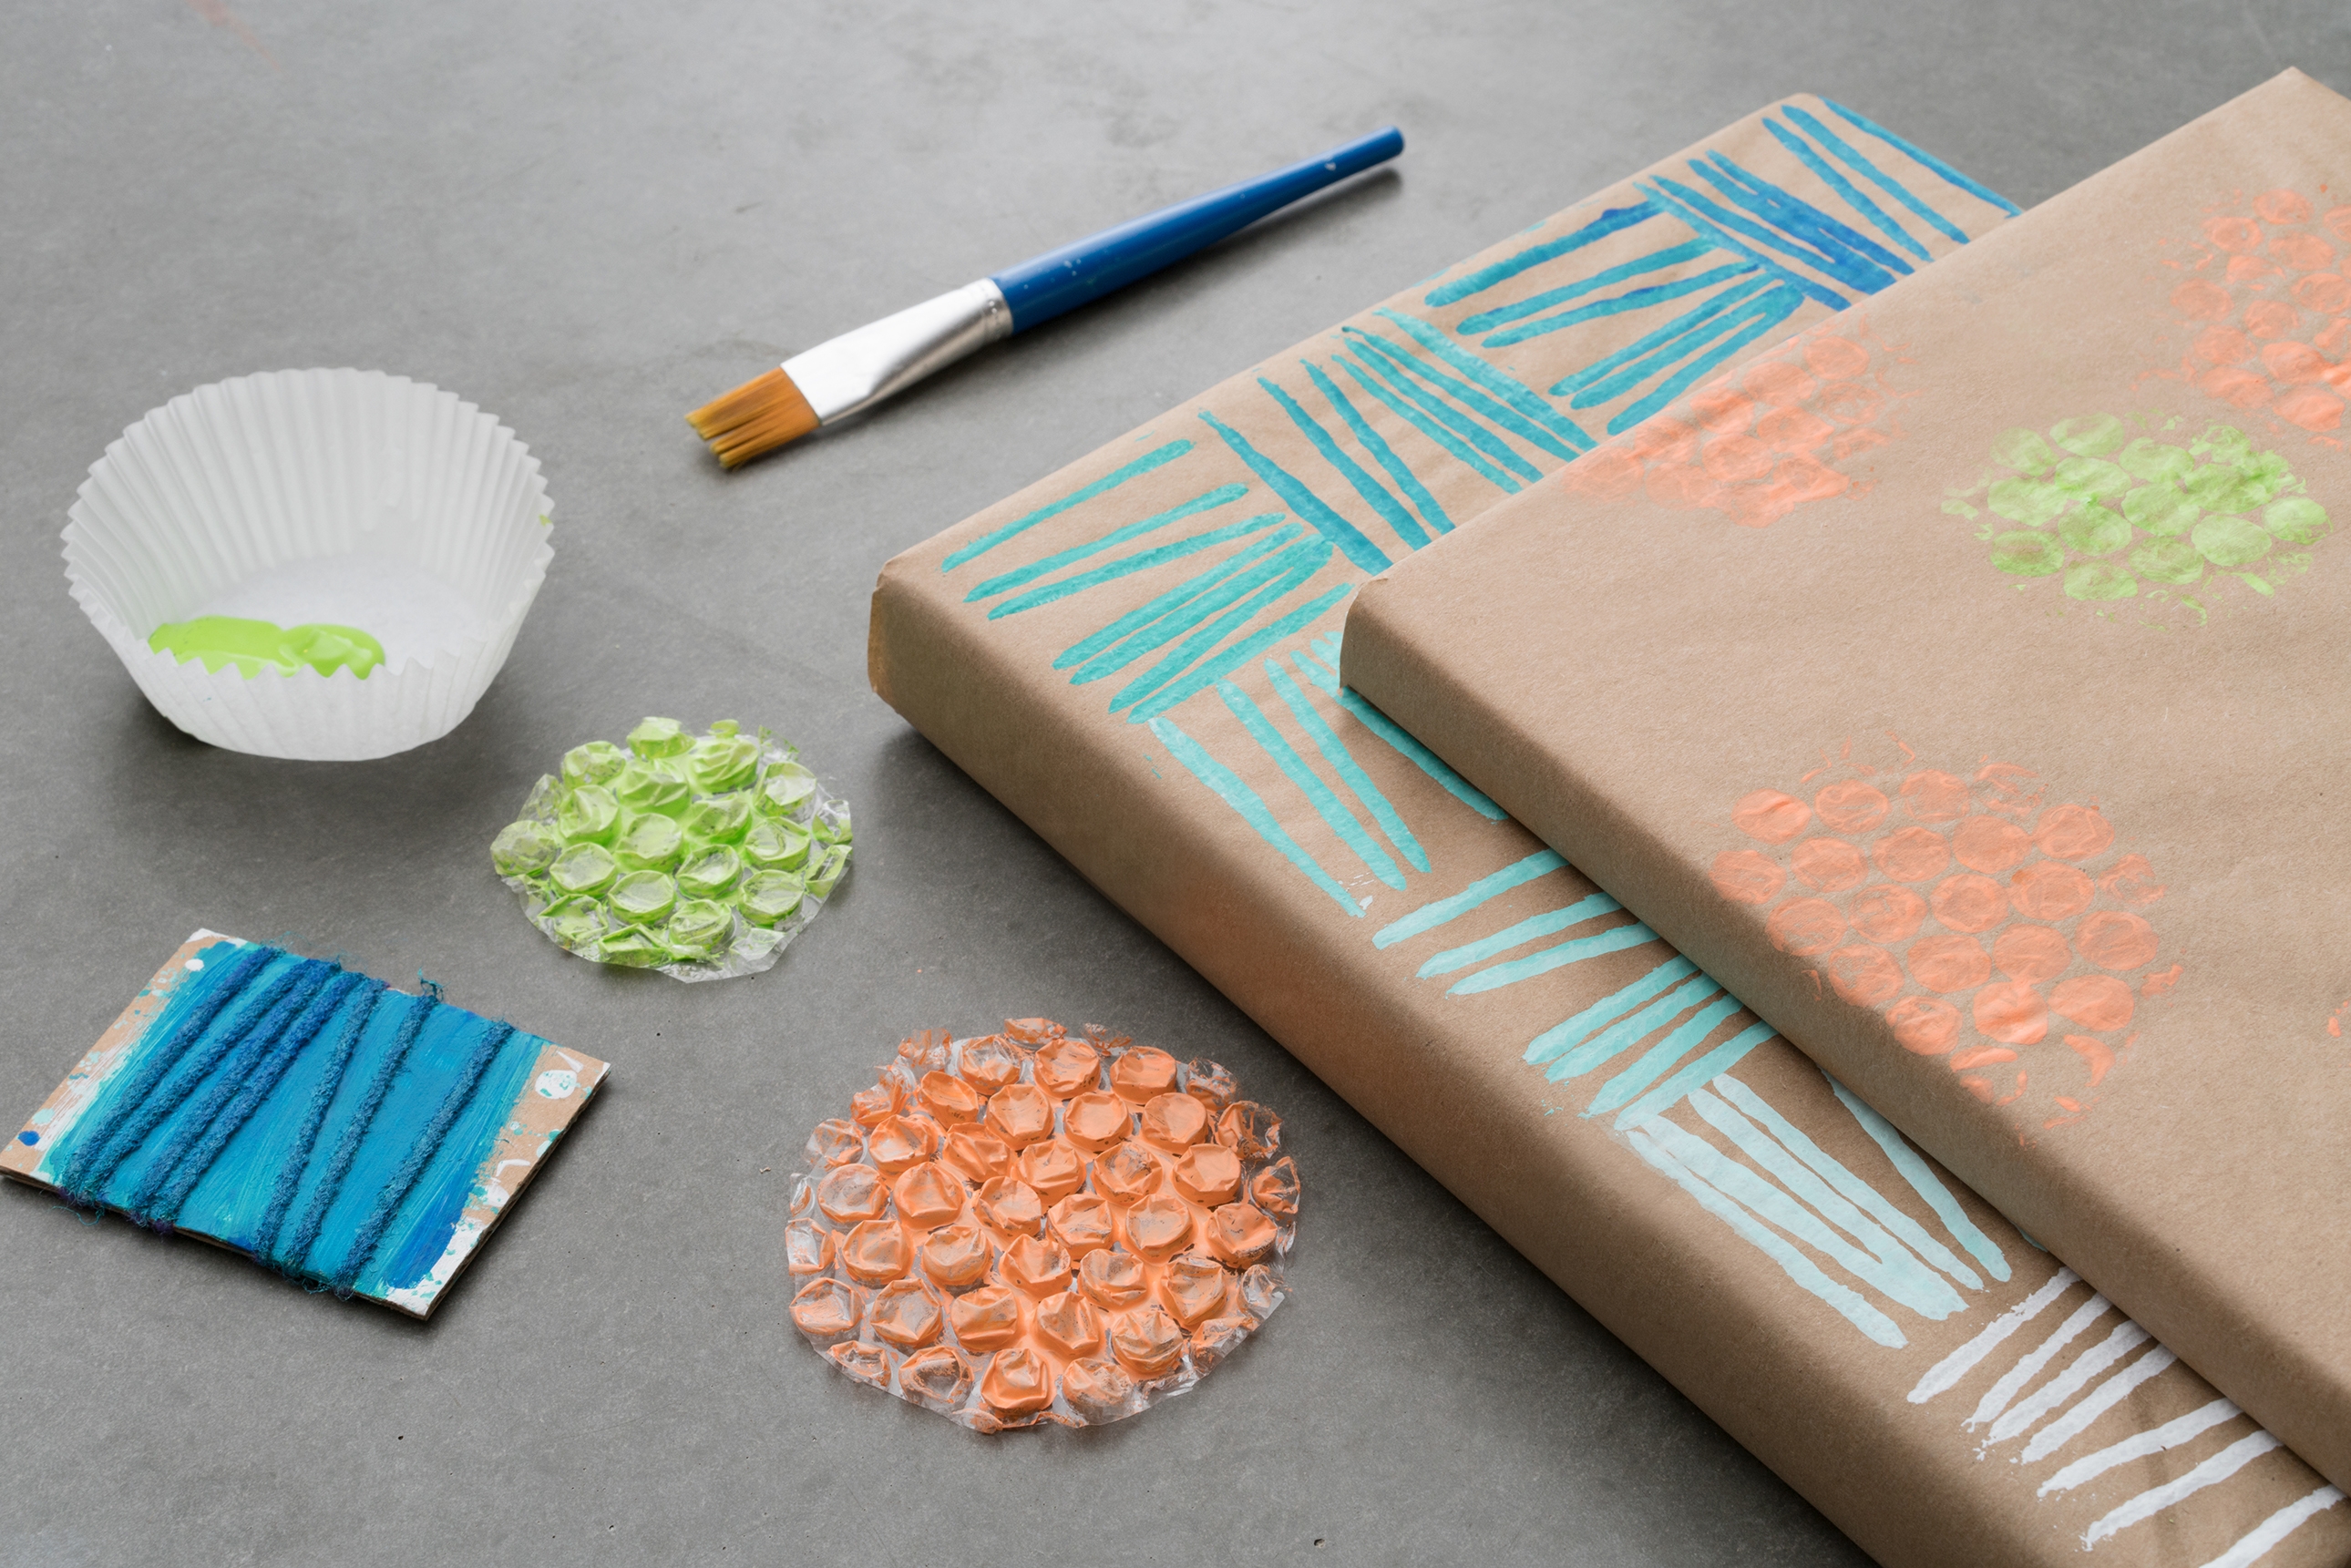
To create your stamps, cut out some cardboard pieces. These will be the bases of your stamps. Use yarn or thick string and wrap the cardboard piece to create a striped pattern. Use tape to secure the yarn on the backside of your cardboard stamp.
Step 5
Use a paintbrush to carefully apply some paint onto your stamp. Test out your stamp on a scrap piece of paper before you stamp onto the book cover.
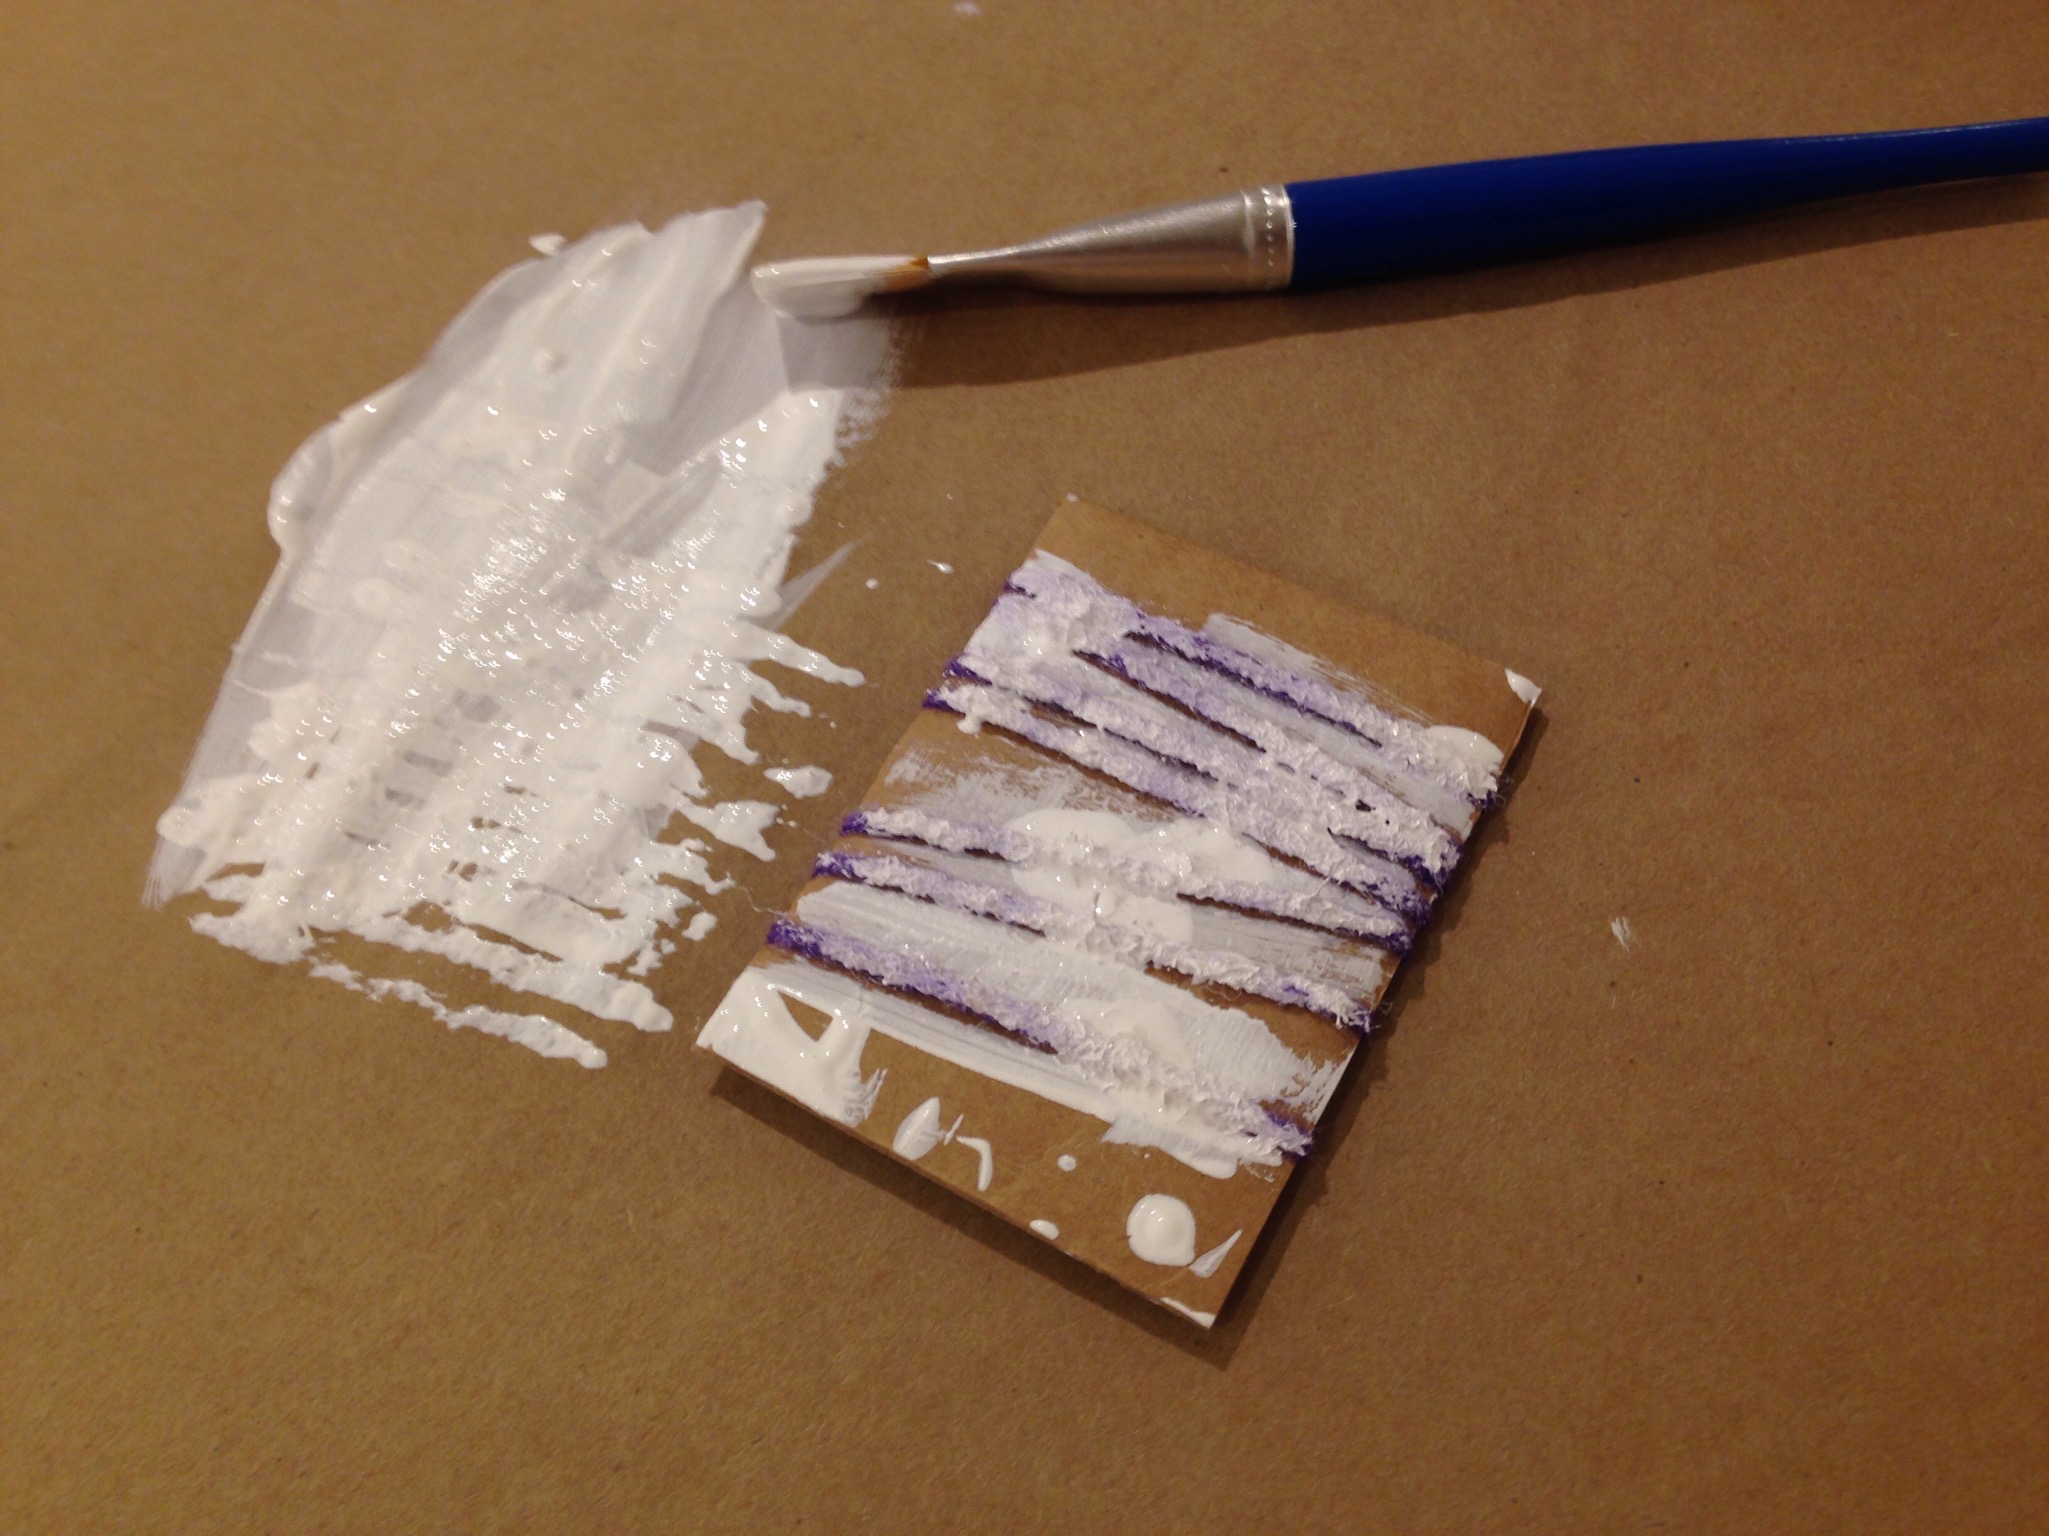
Tip
Cover your workspace since paint can get a little messy!
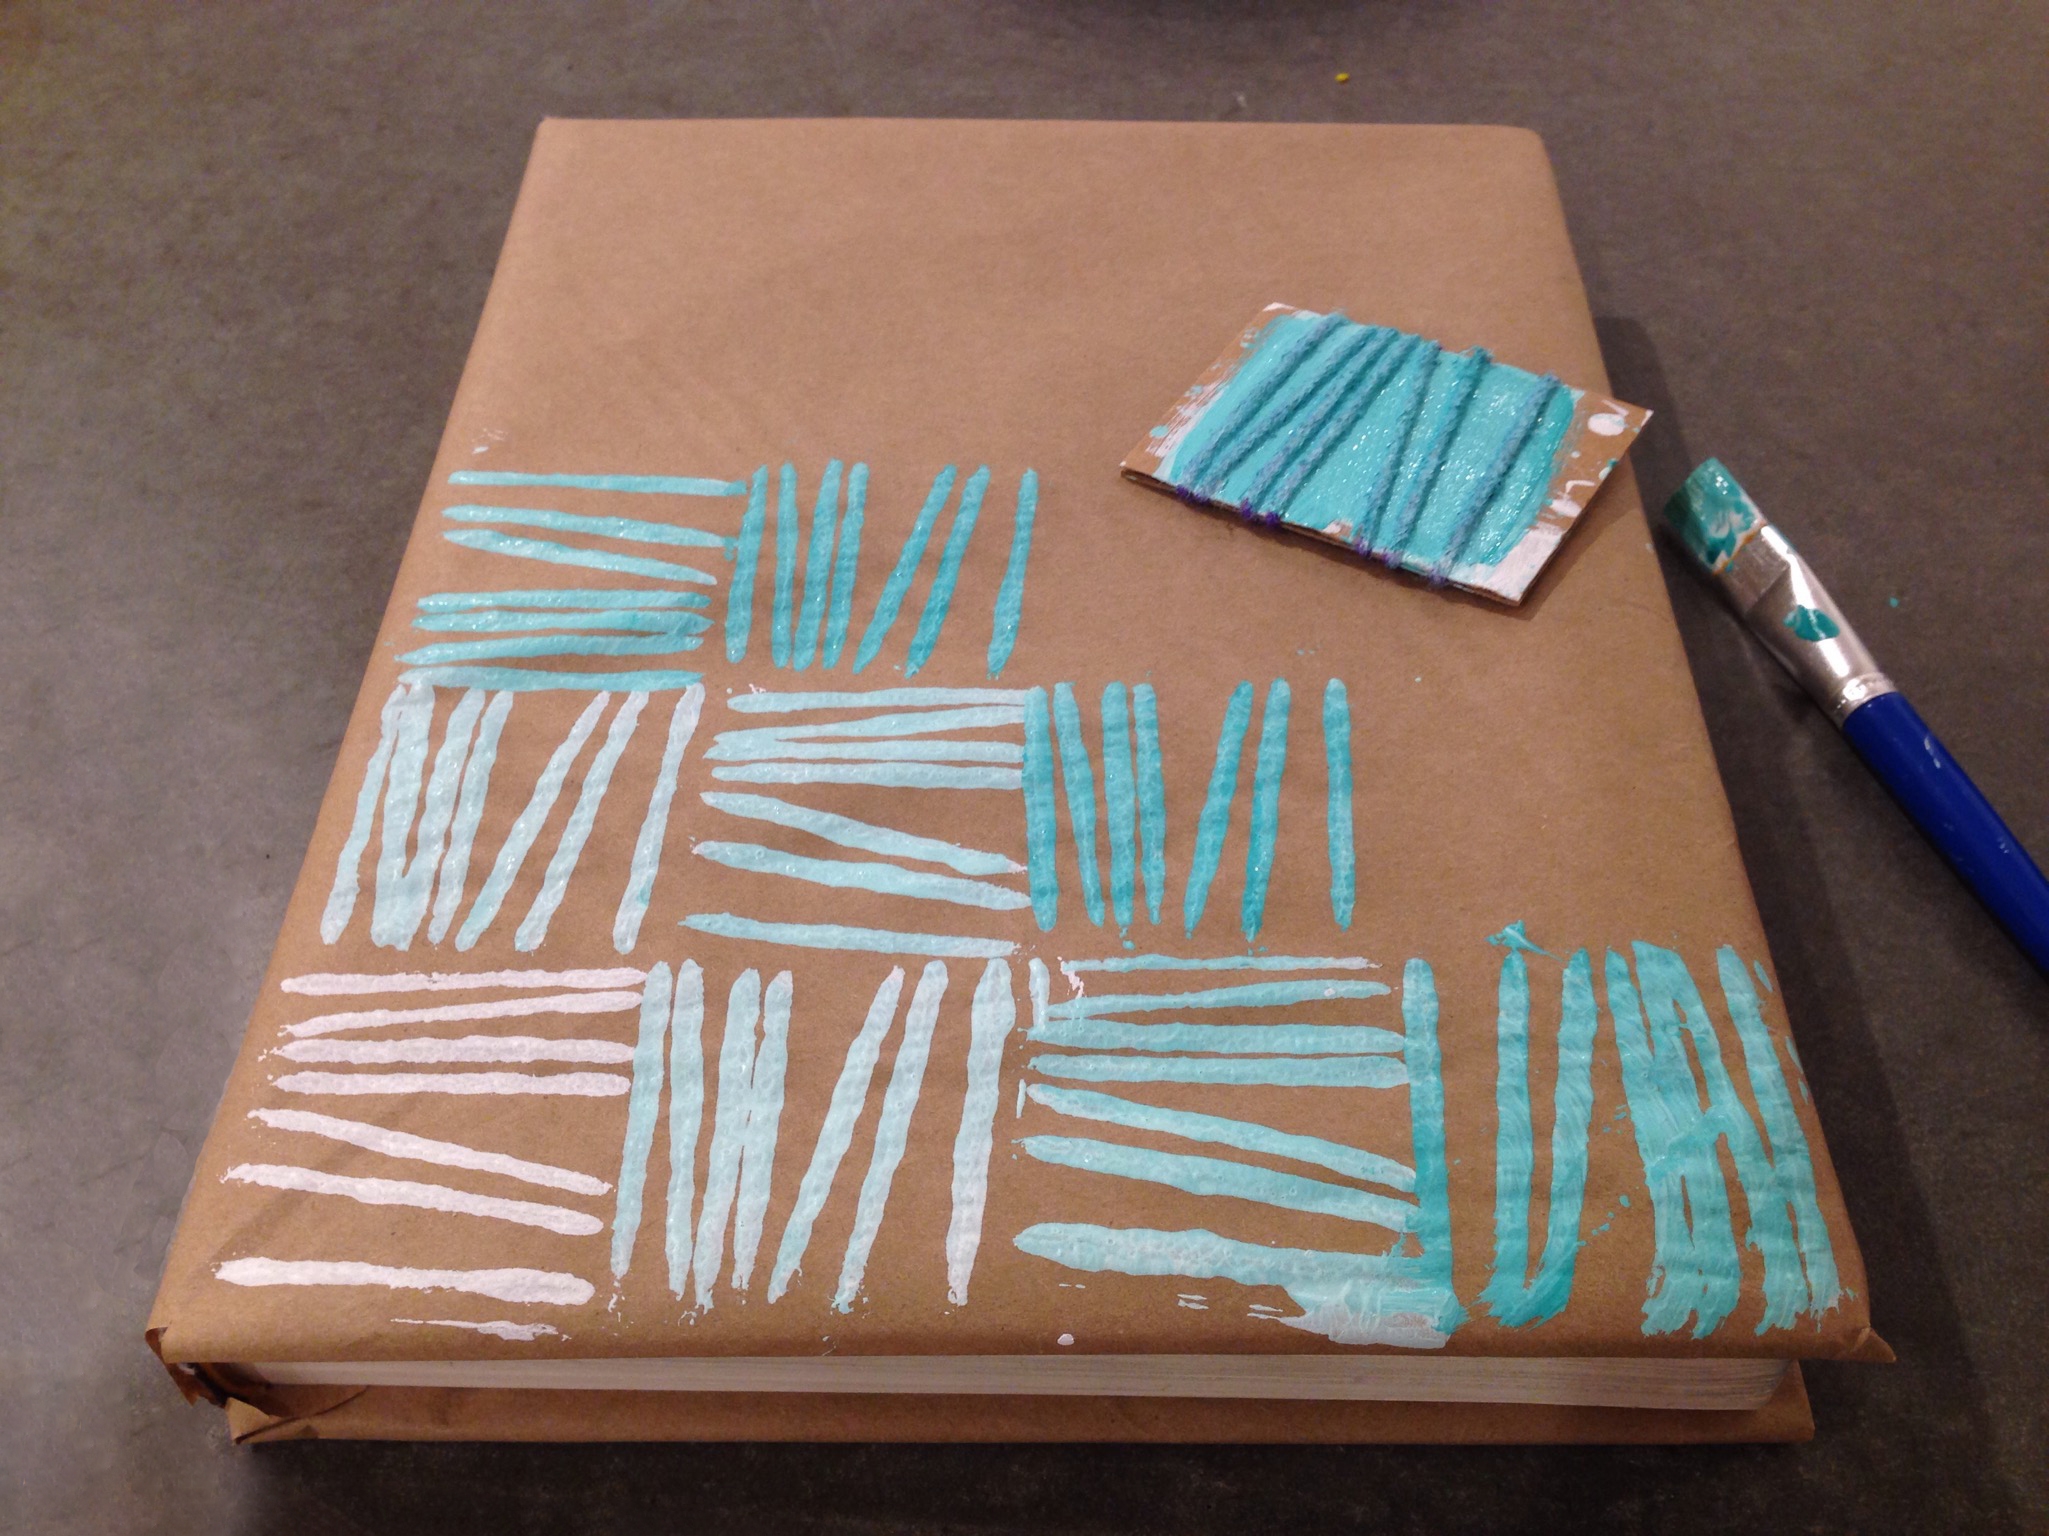
Step 6
Cover your text book in any pattern you want! We decided to try a gradient by mixing in more blue each time we stamped.
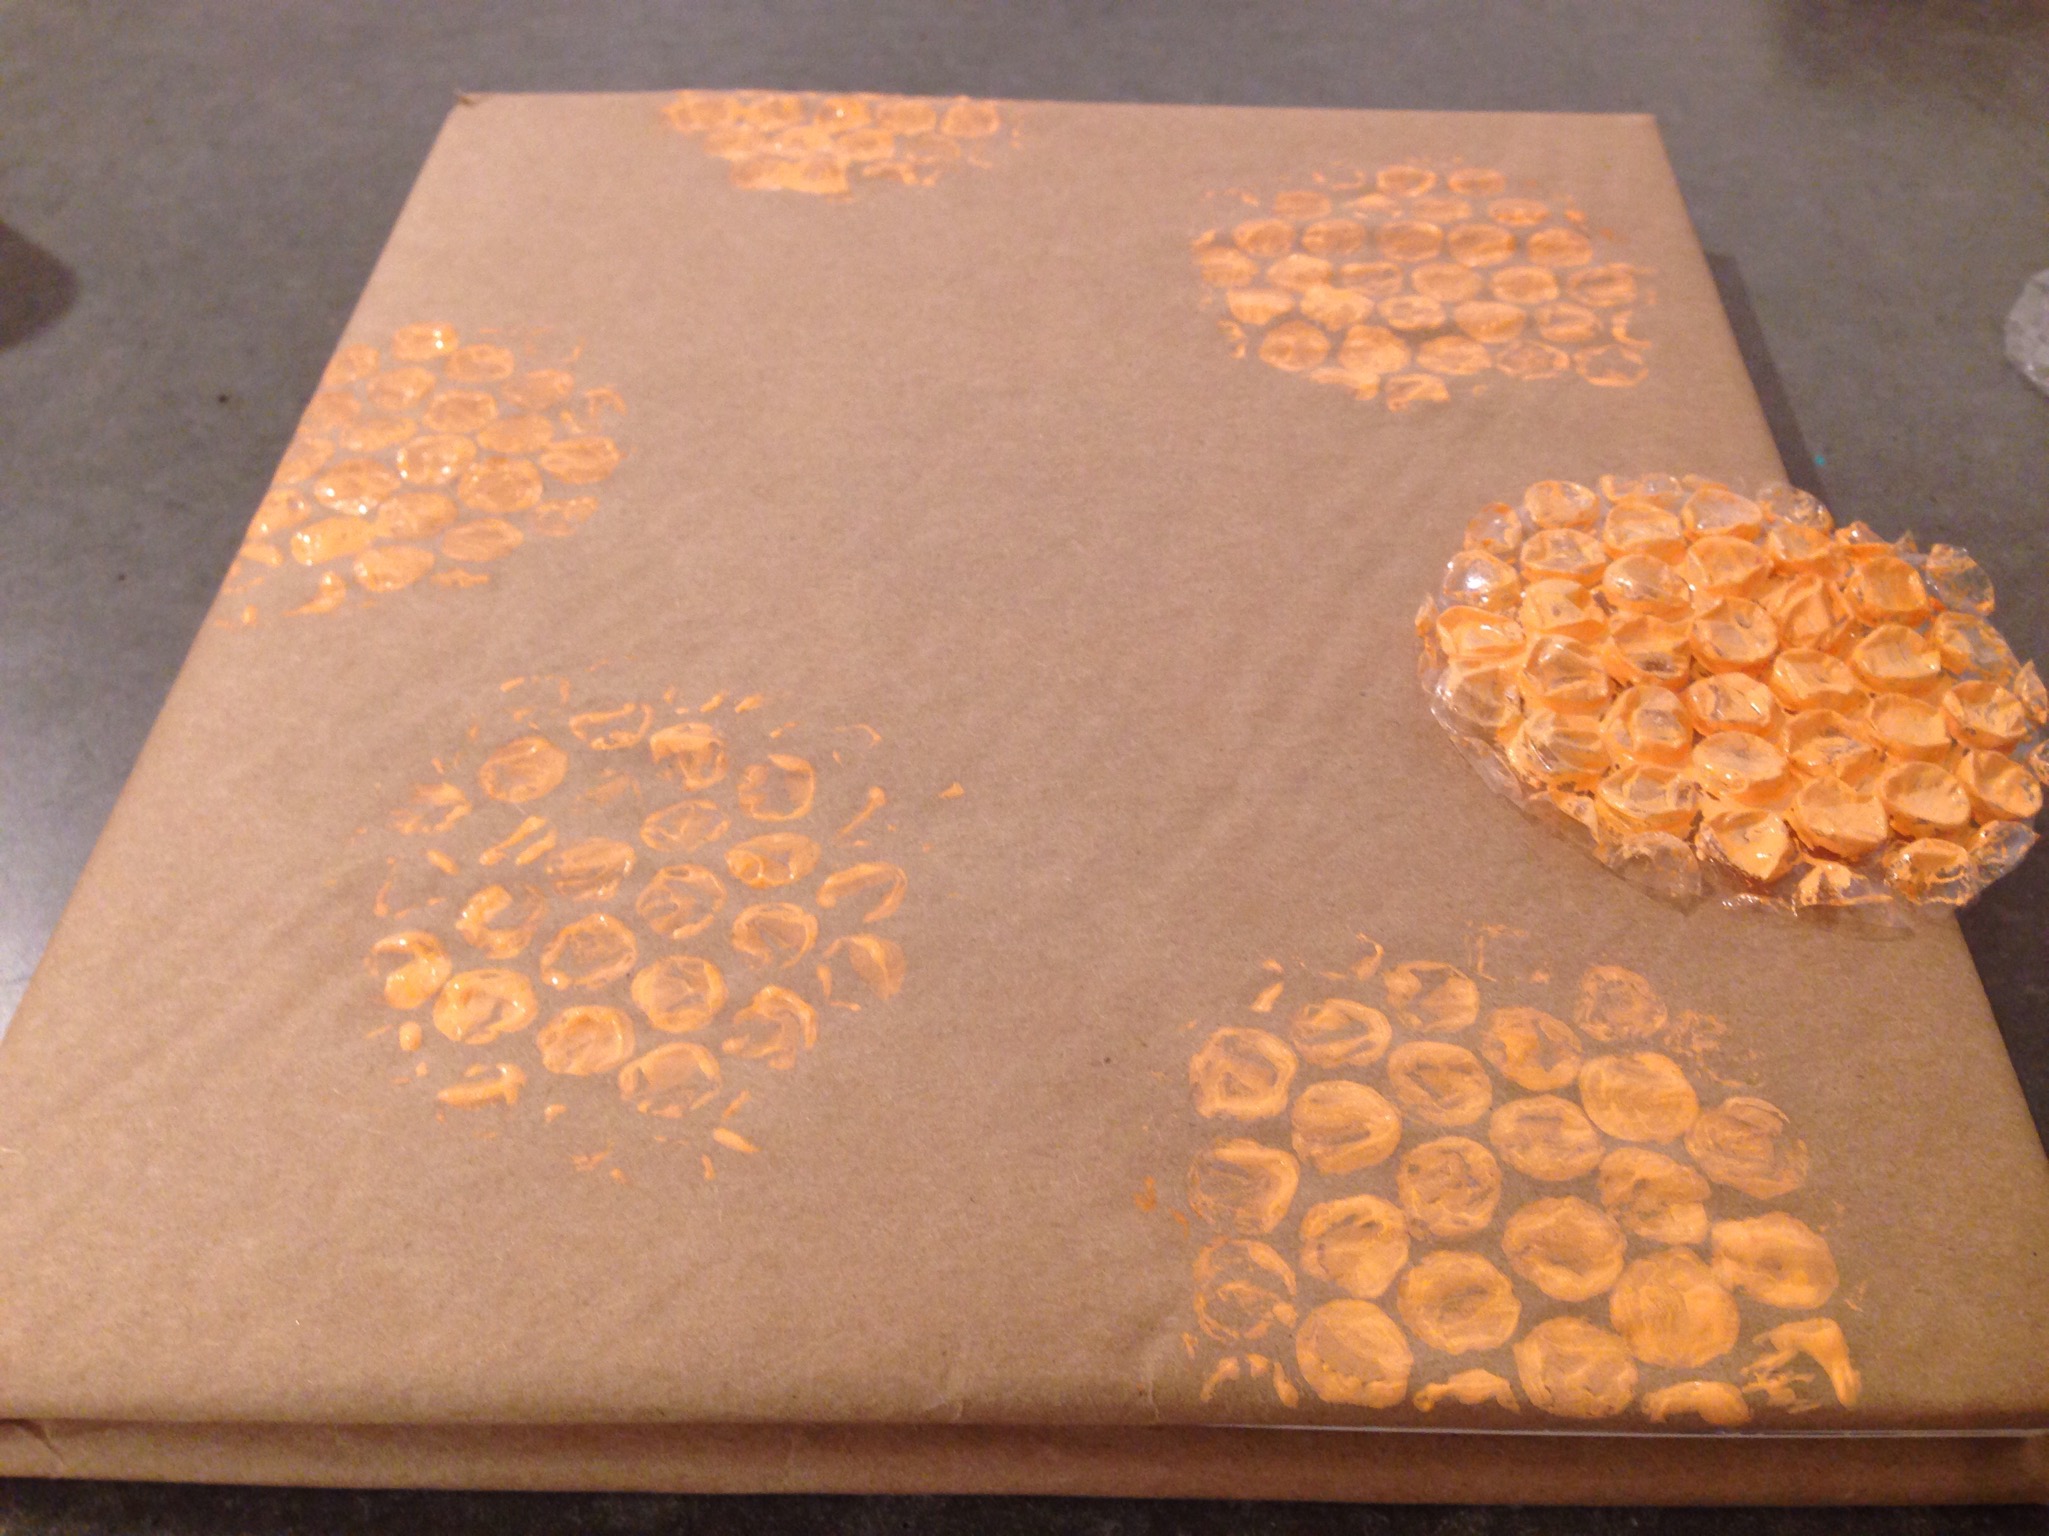
Final result!
Look around the house for other stamping materials! Bubble wrap creates a fun polka dot texture.