Step-by-step tutorial
Step 1
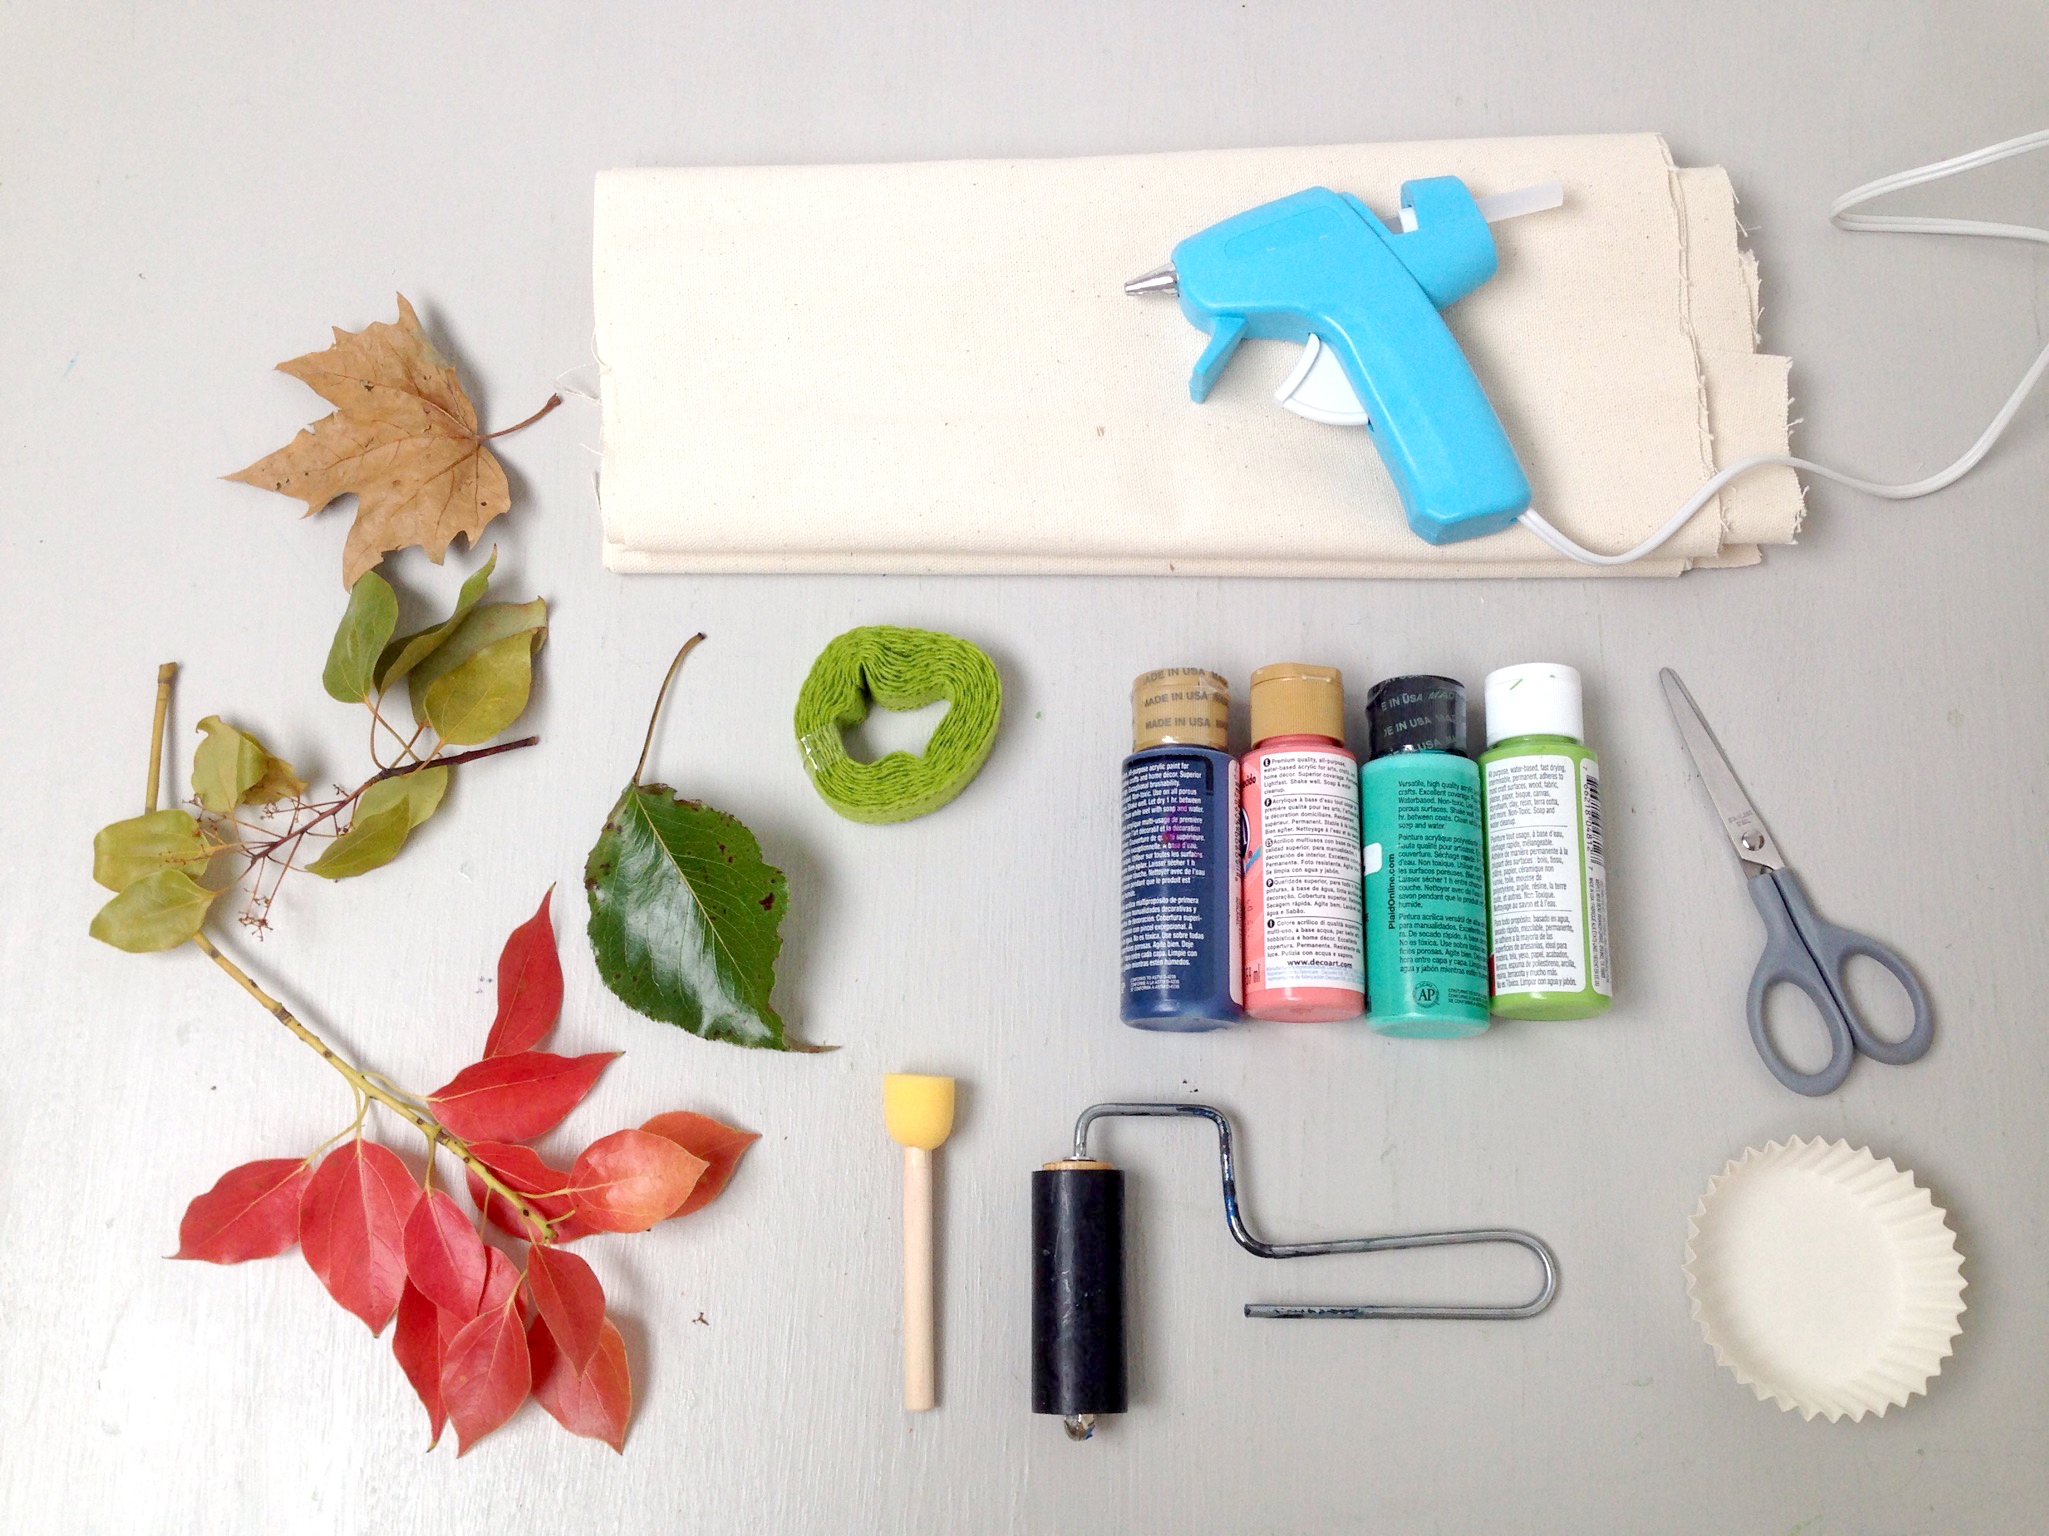
Gather the materials to make your DIY banner.

Step 2
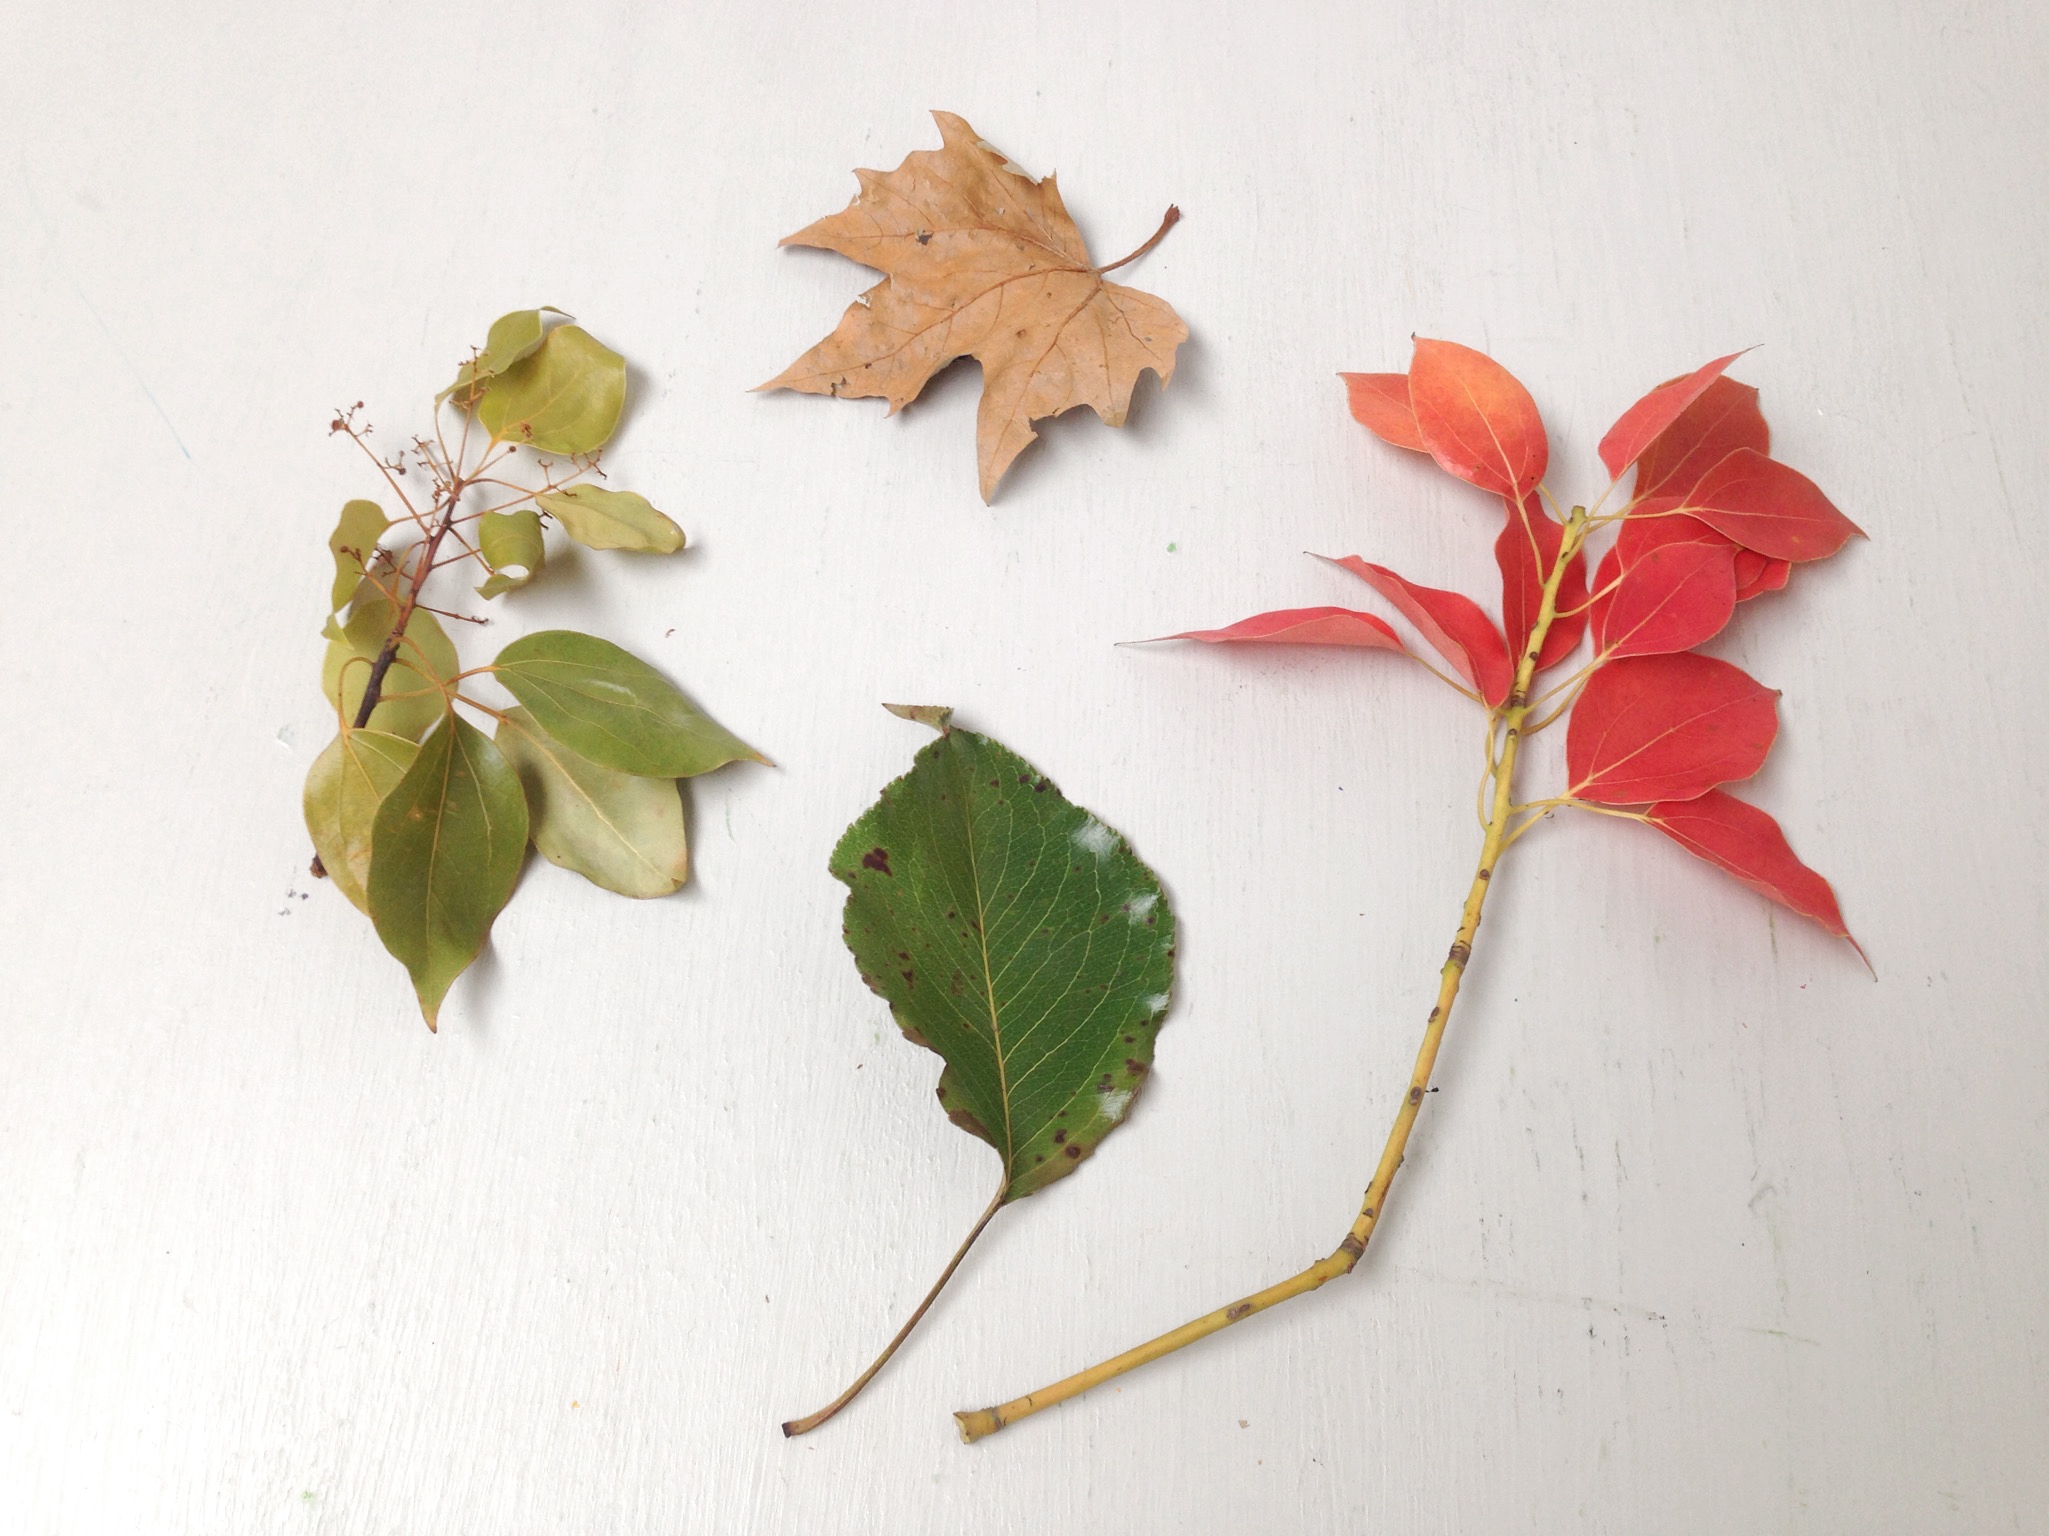
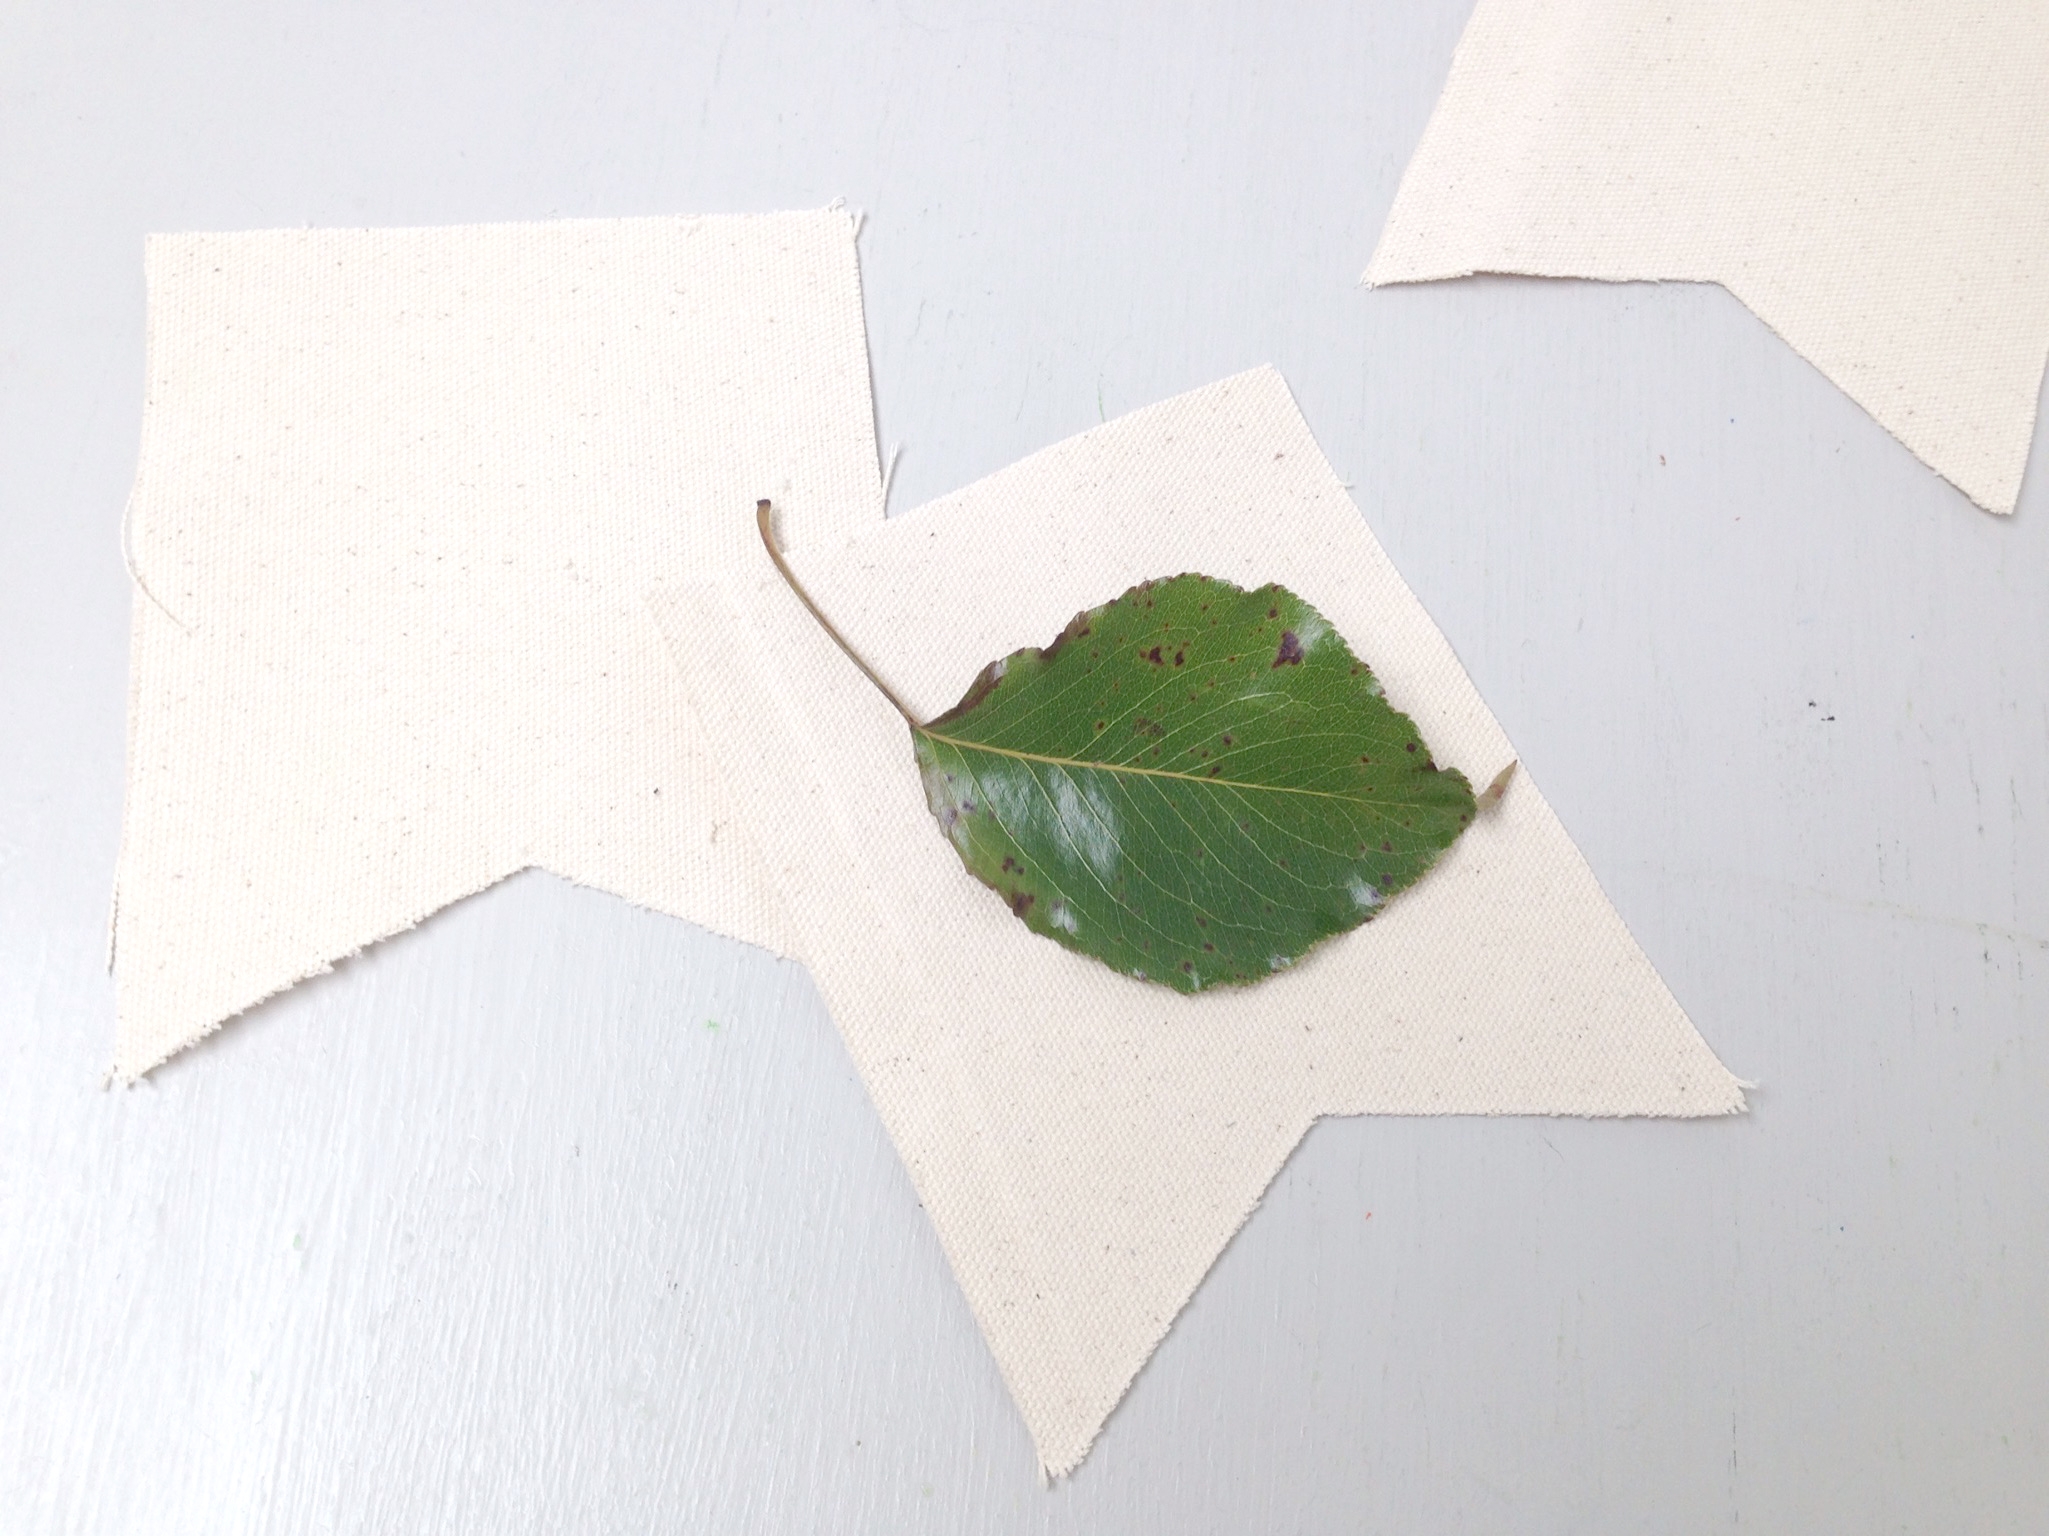
Start by collecting some of your favorite leaves. Look around your house or campsite to find some different shaped leaves. Remember not to pick them off of trees, only off the ground!
Tip
Don't pick the ones that are completely dried out as they will crumble as you try to paint them.
Step 3
Cut out several canvas squares, large enough to fit your leaves. You can also try different shapes, such as triangles or a flag shape like we did.
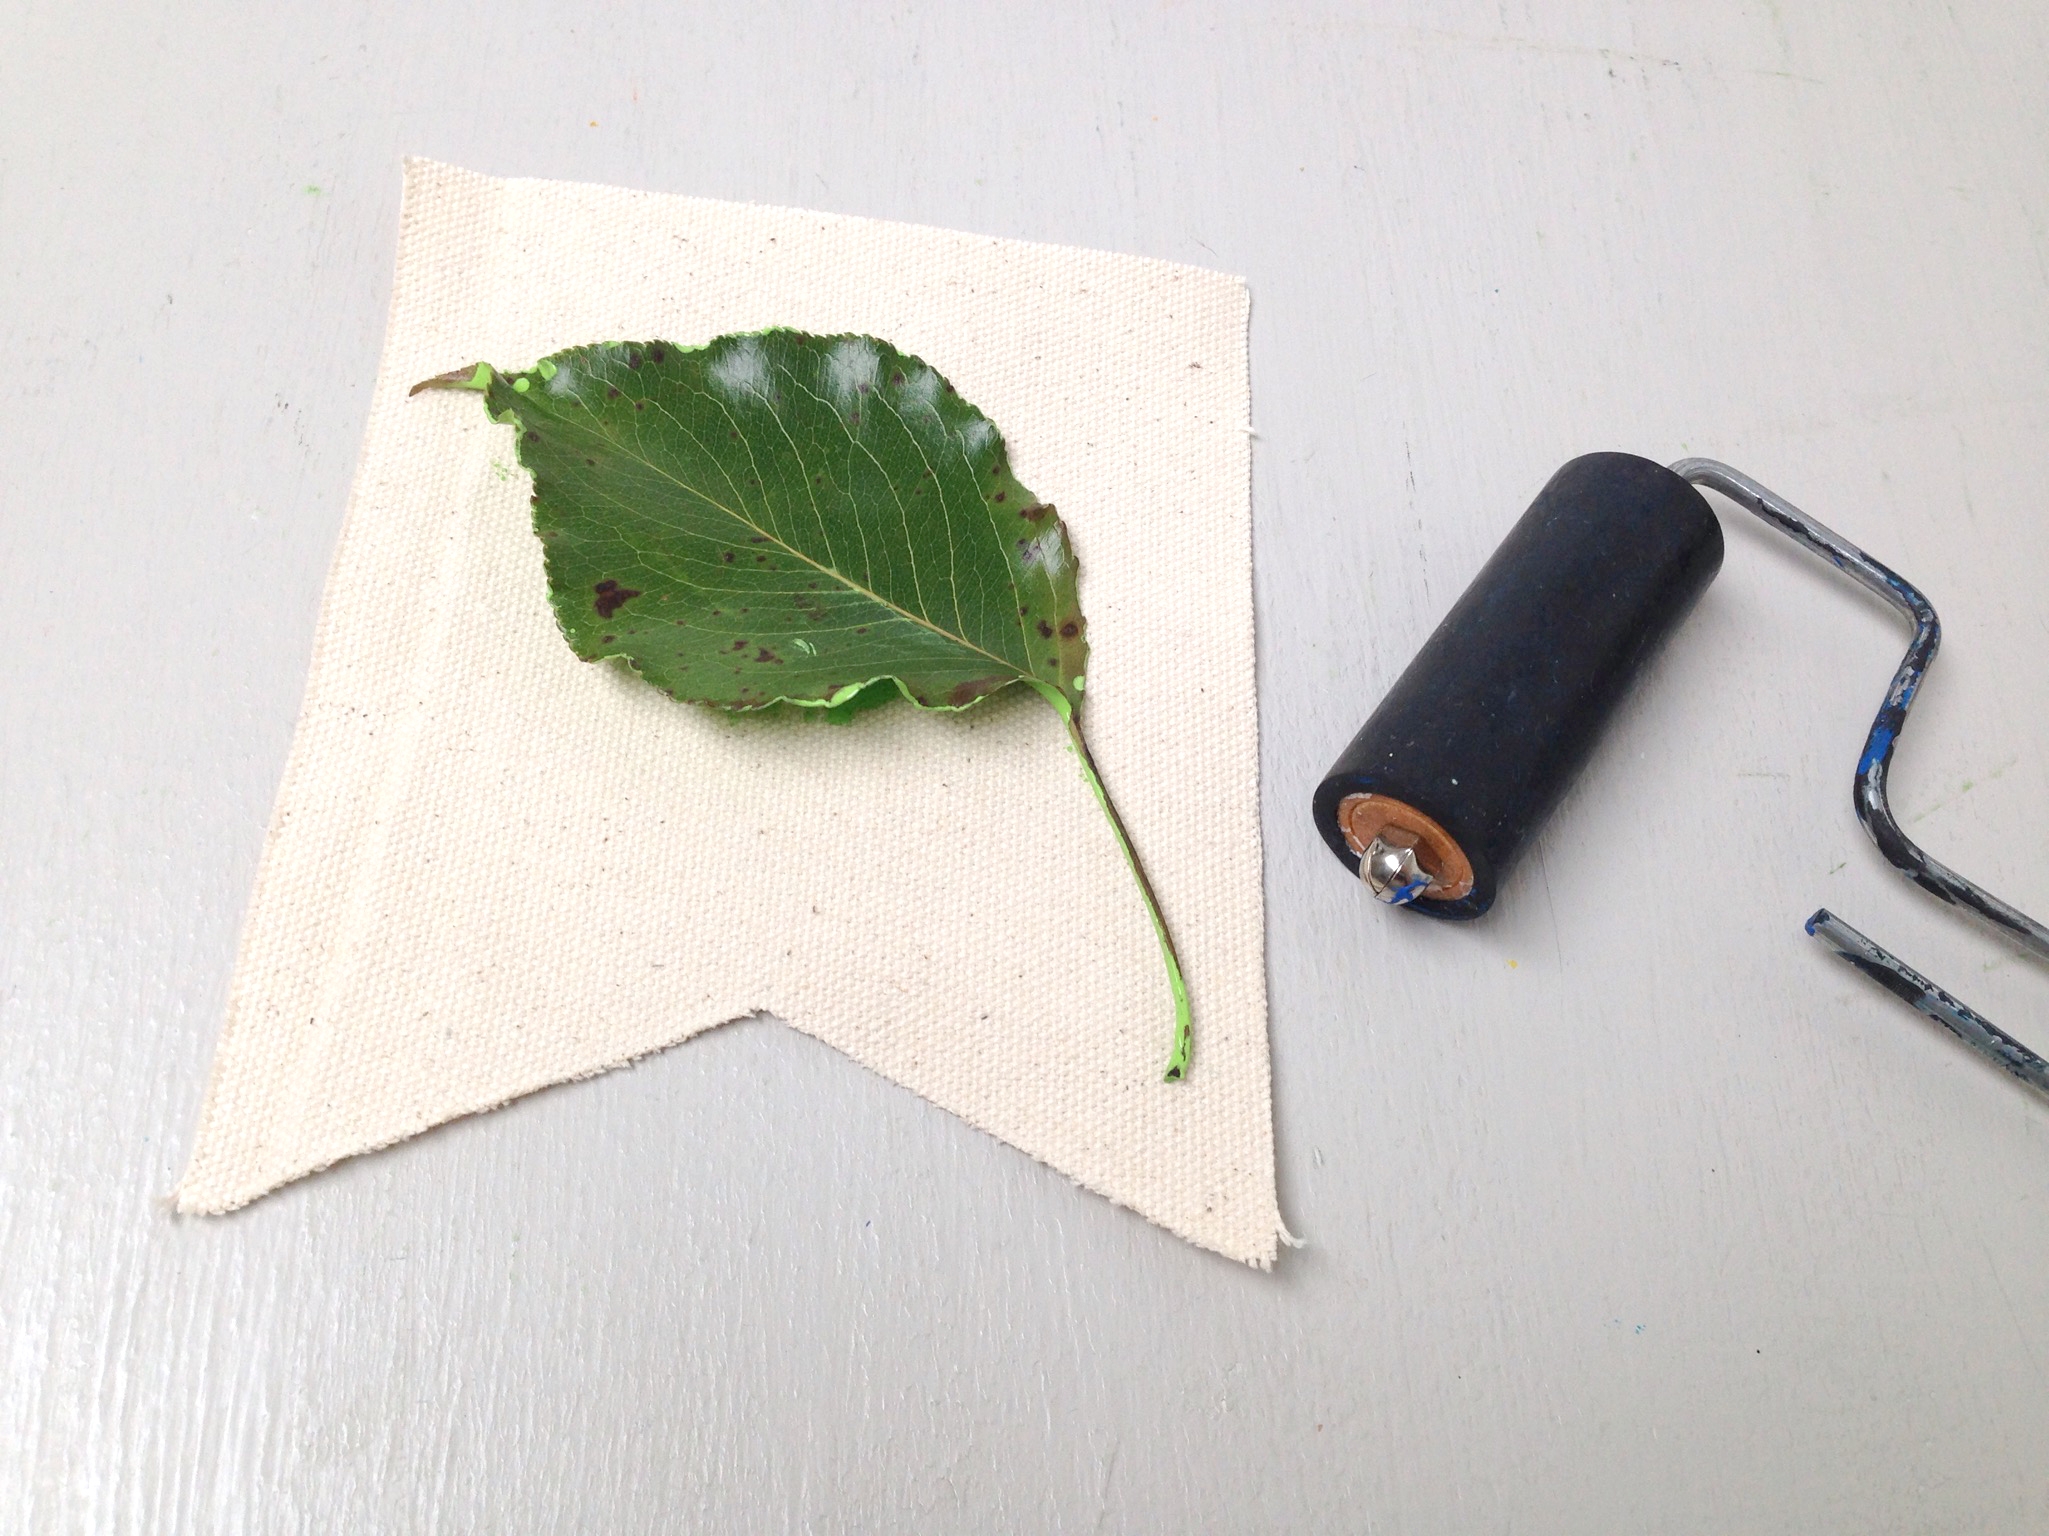
Tip
You may want to cover your work surface for the next few steps. Squeeze some paint into your paint cups or paper plate. Using the spouncer, cover a leaf with an even layer of paint.
Step 4
Press the leaf, paint side down, onto the canvas.
Step 5
Lay another piece of scrap canvas over the leaf and use the paint roller to roll over the leaf and transfer the paint. The extra layer of canvas helps to keep the leaf flat and in place as you roll over it.
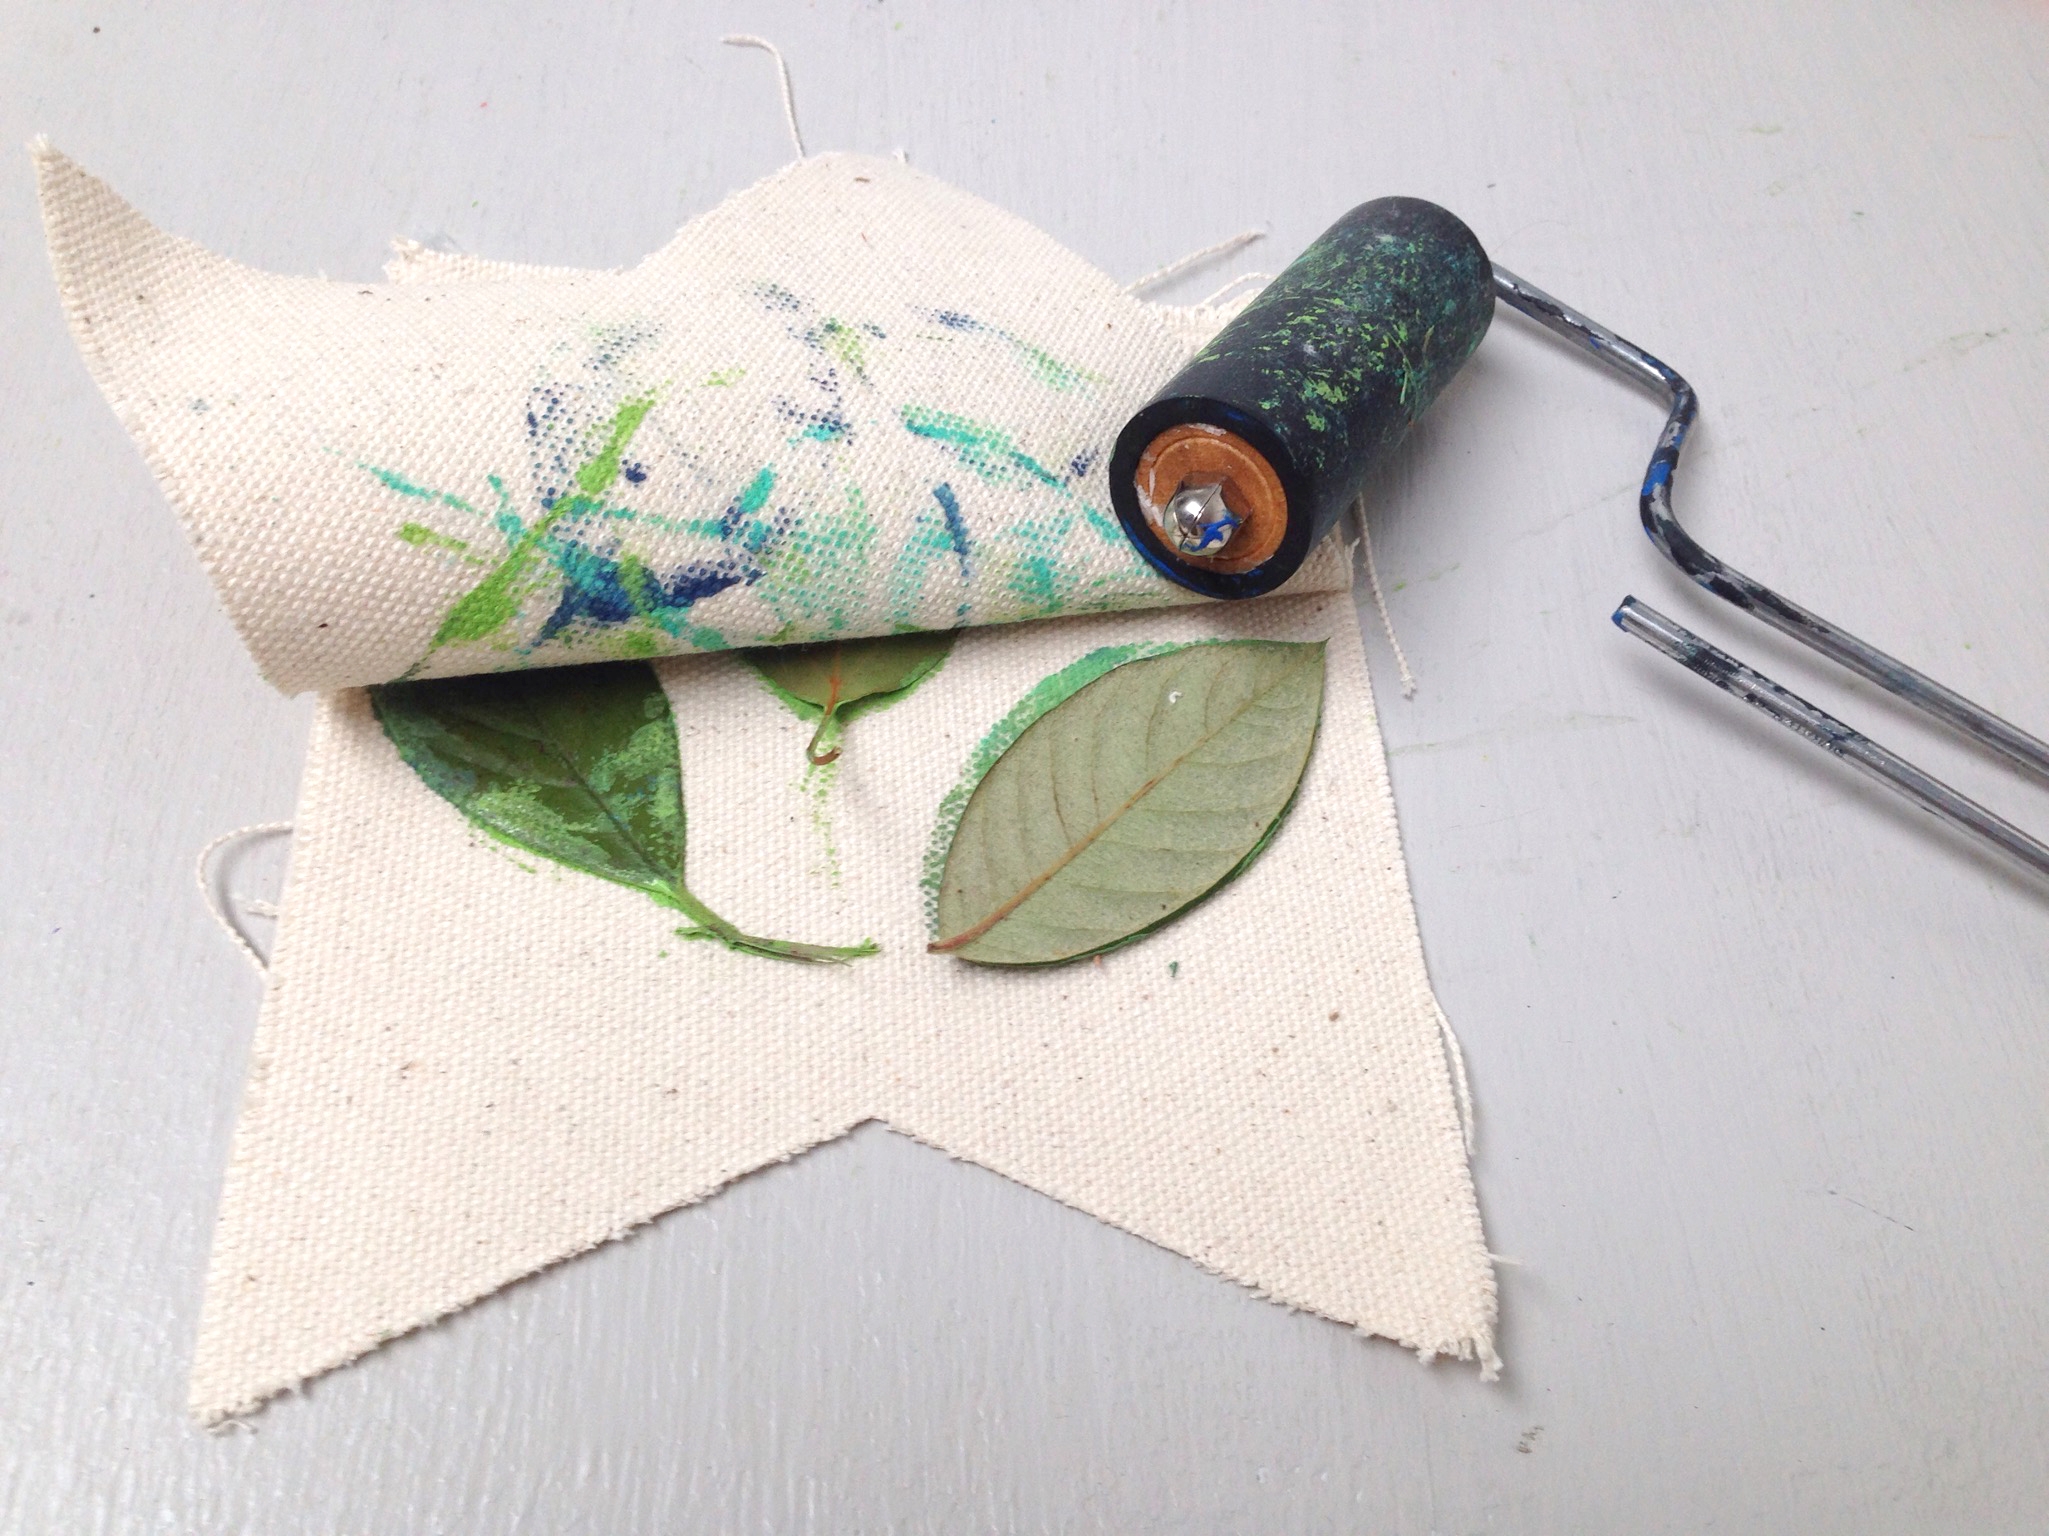
Step 6
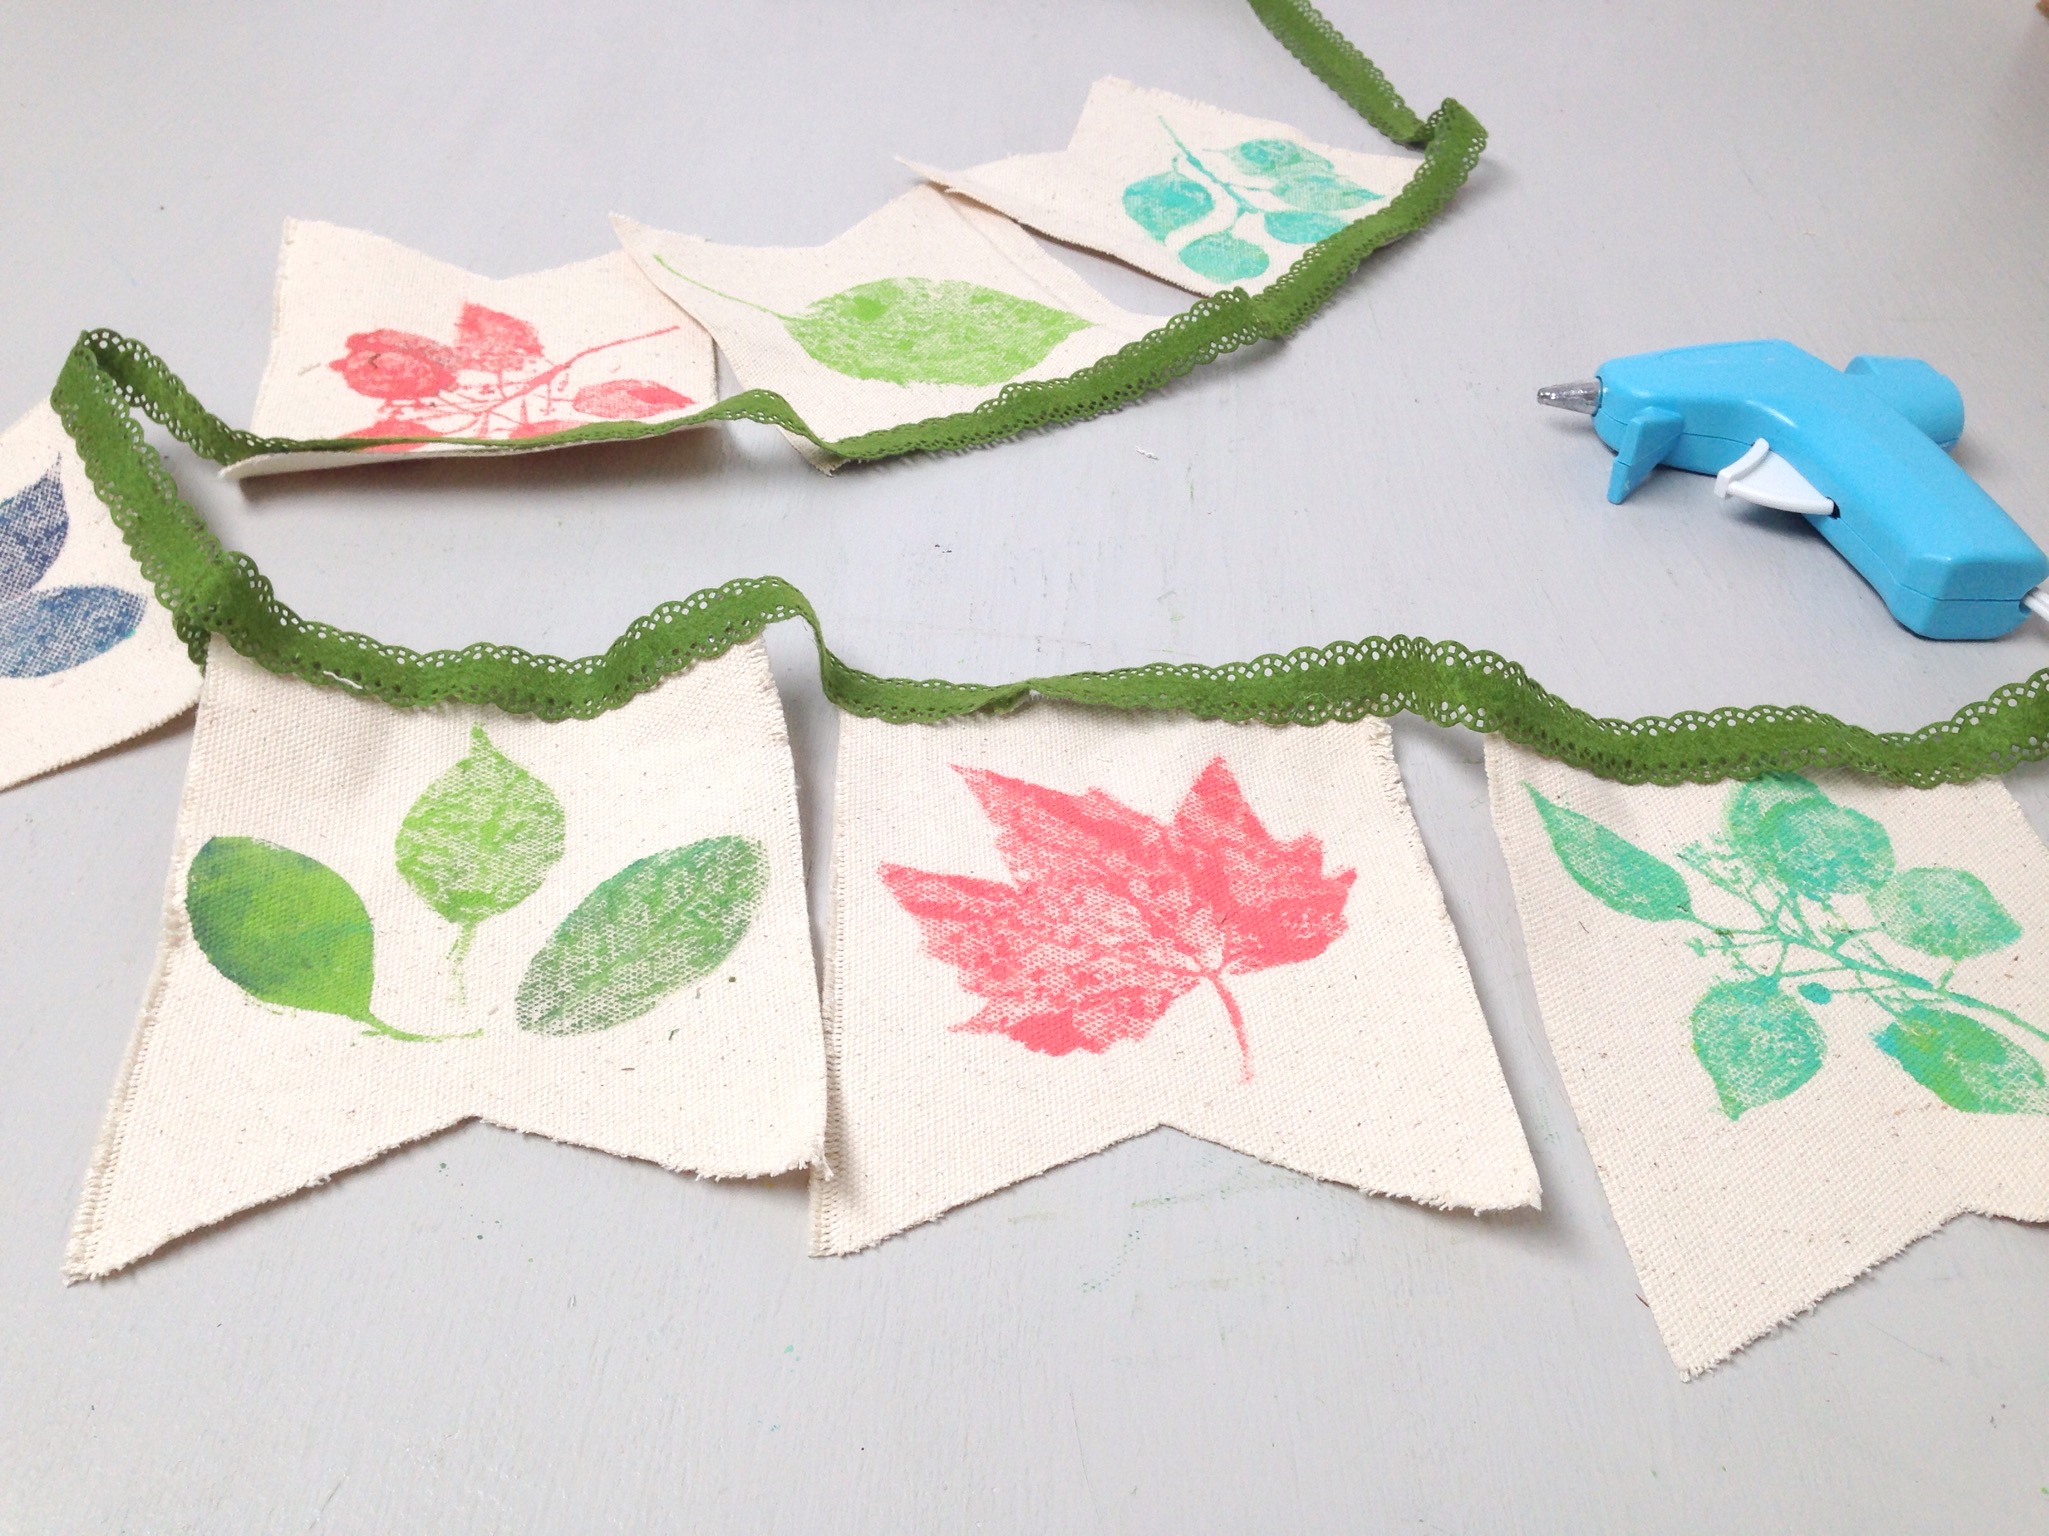
Carefully lift the canvas and the leaf. You should have a cool leaf imprint on the flag! If the imprint looks faint, you can experiment with adding a thicker layer of paint or pressing down harder with the roller. Getting the perfect imprint will take a couple tries.Repeat steps 4–6 until you finish all the flags for your banner.

Done!
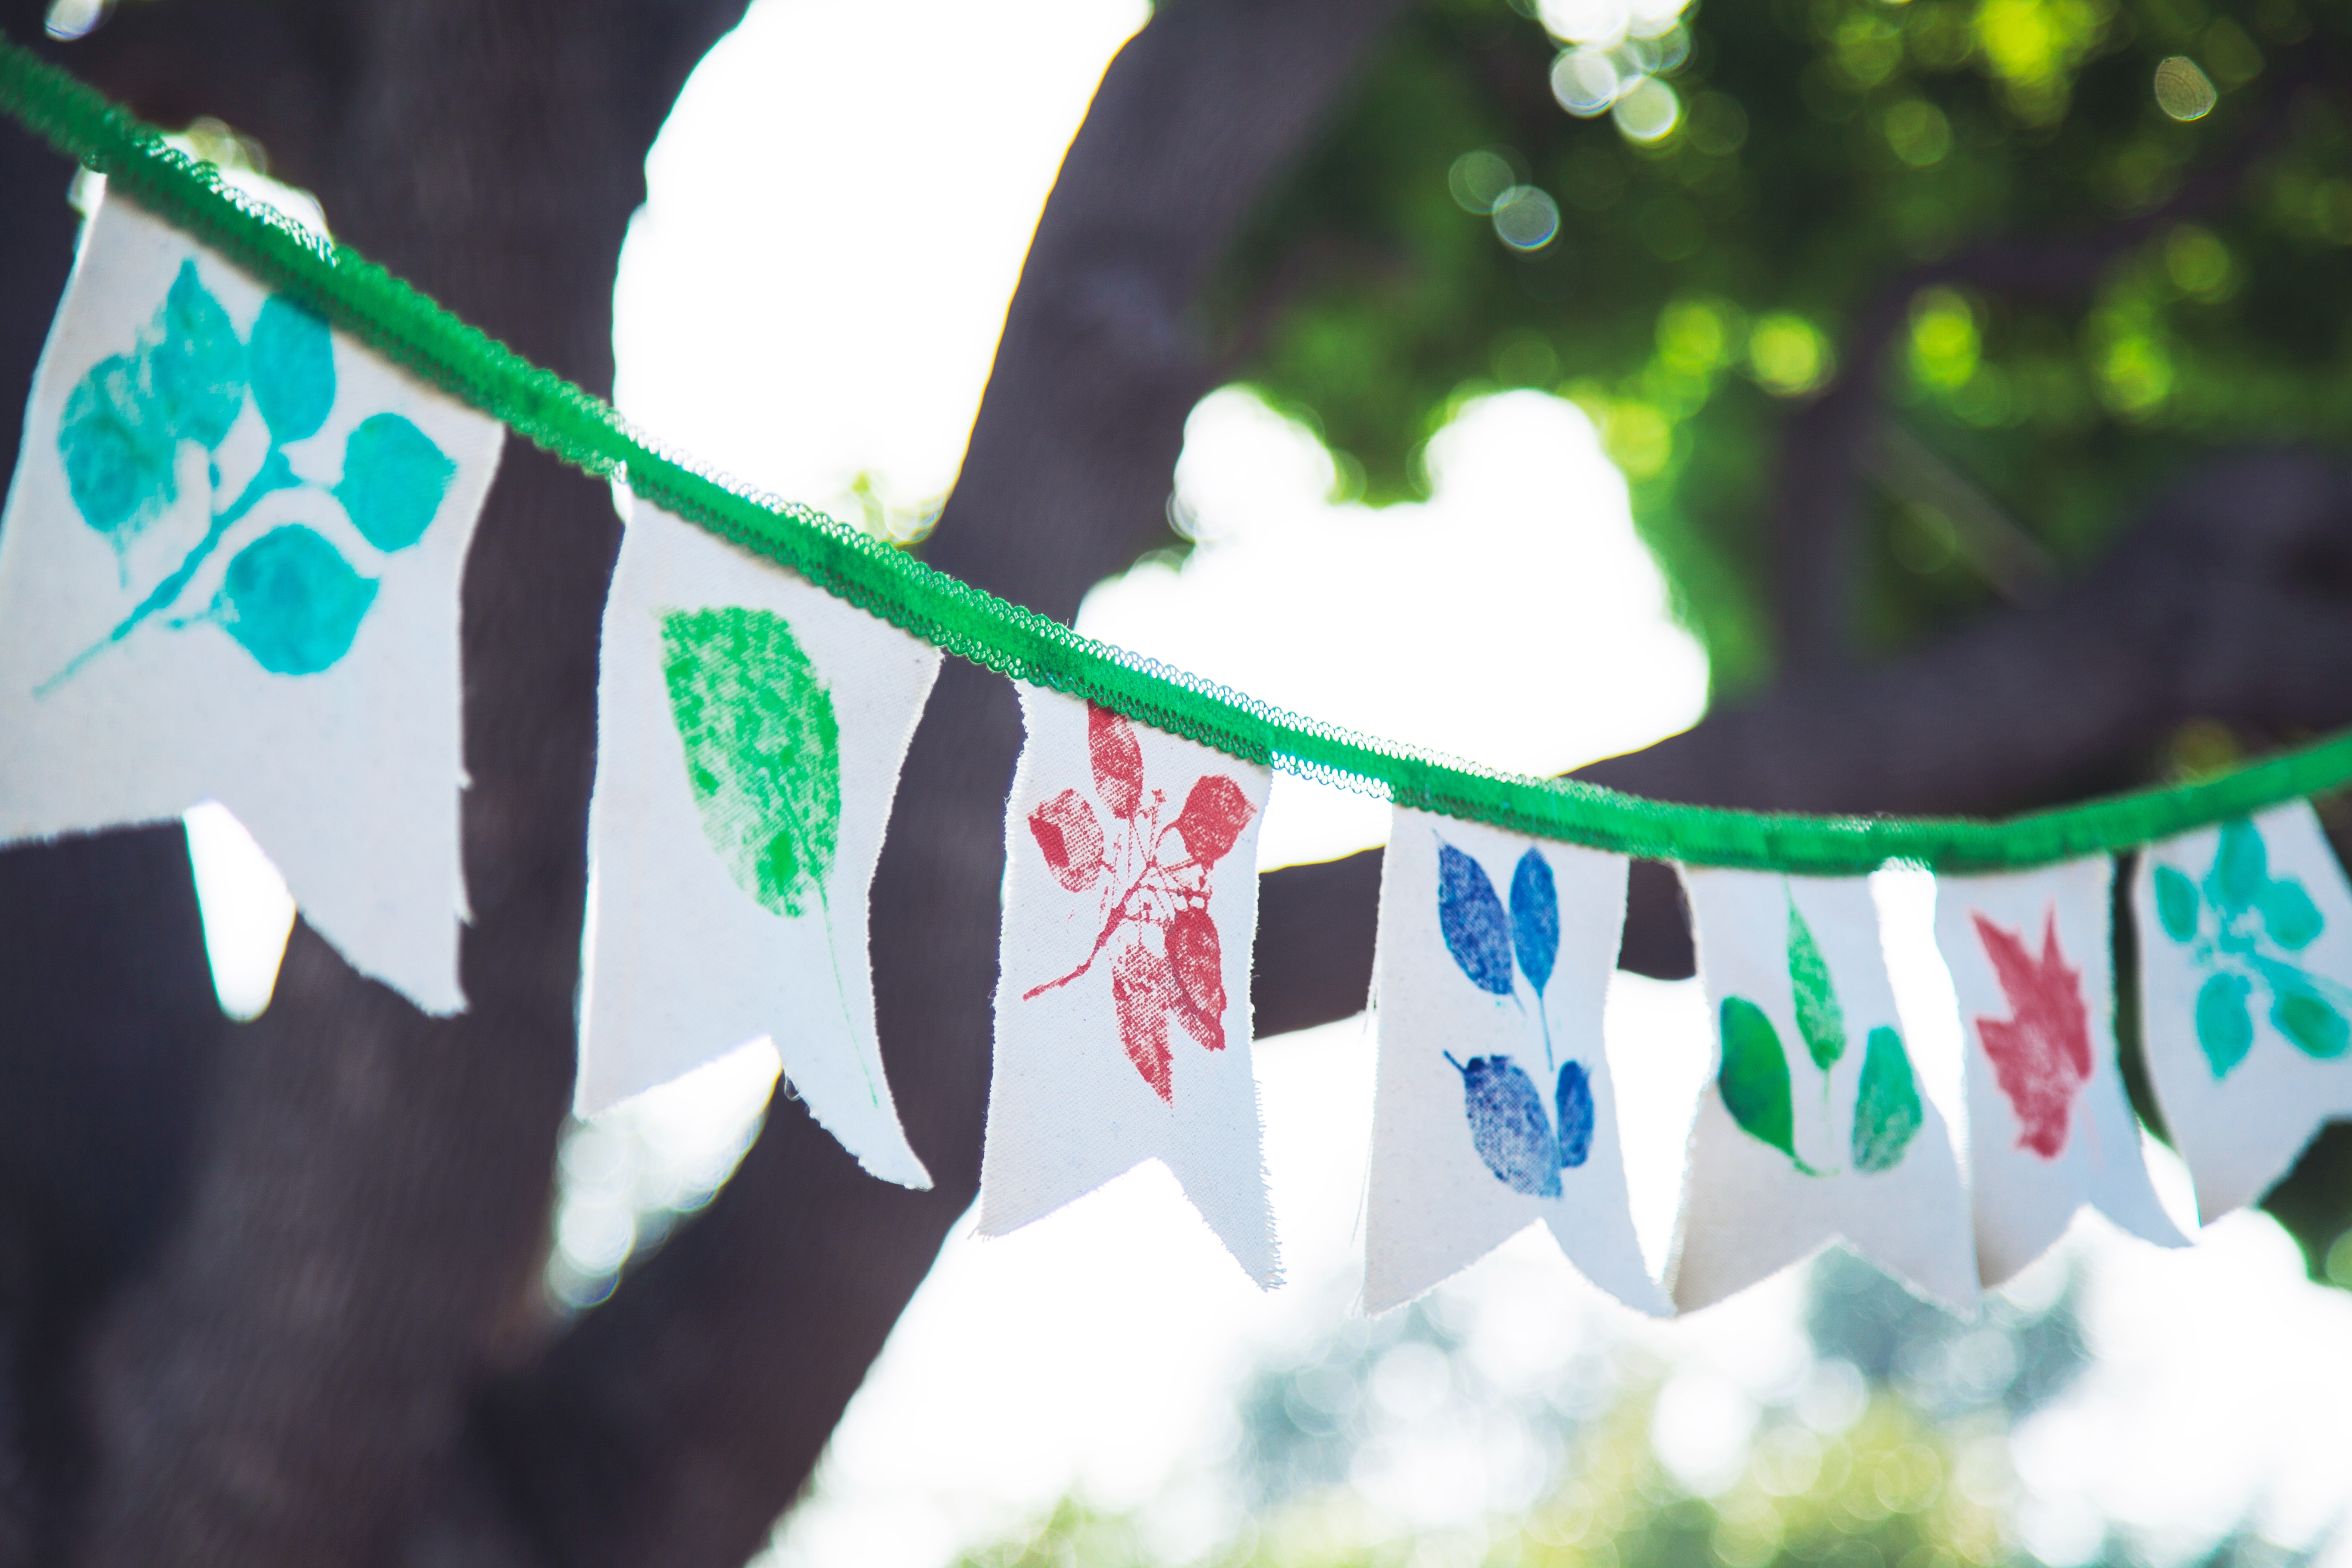
Once your paint is dry, use glue or tape to attach your flags onto a piece of ribbon. Now you can hang your leaf stamping art anywhere you and enjoy your nature-themed decoration!