Step-by-step tutorial
Step 1
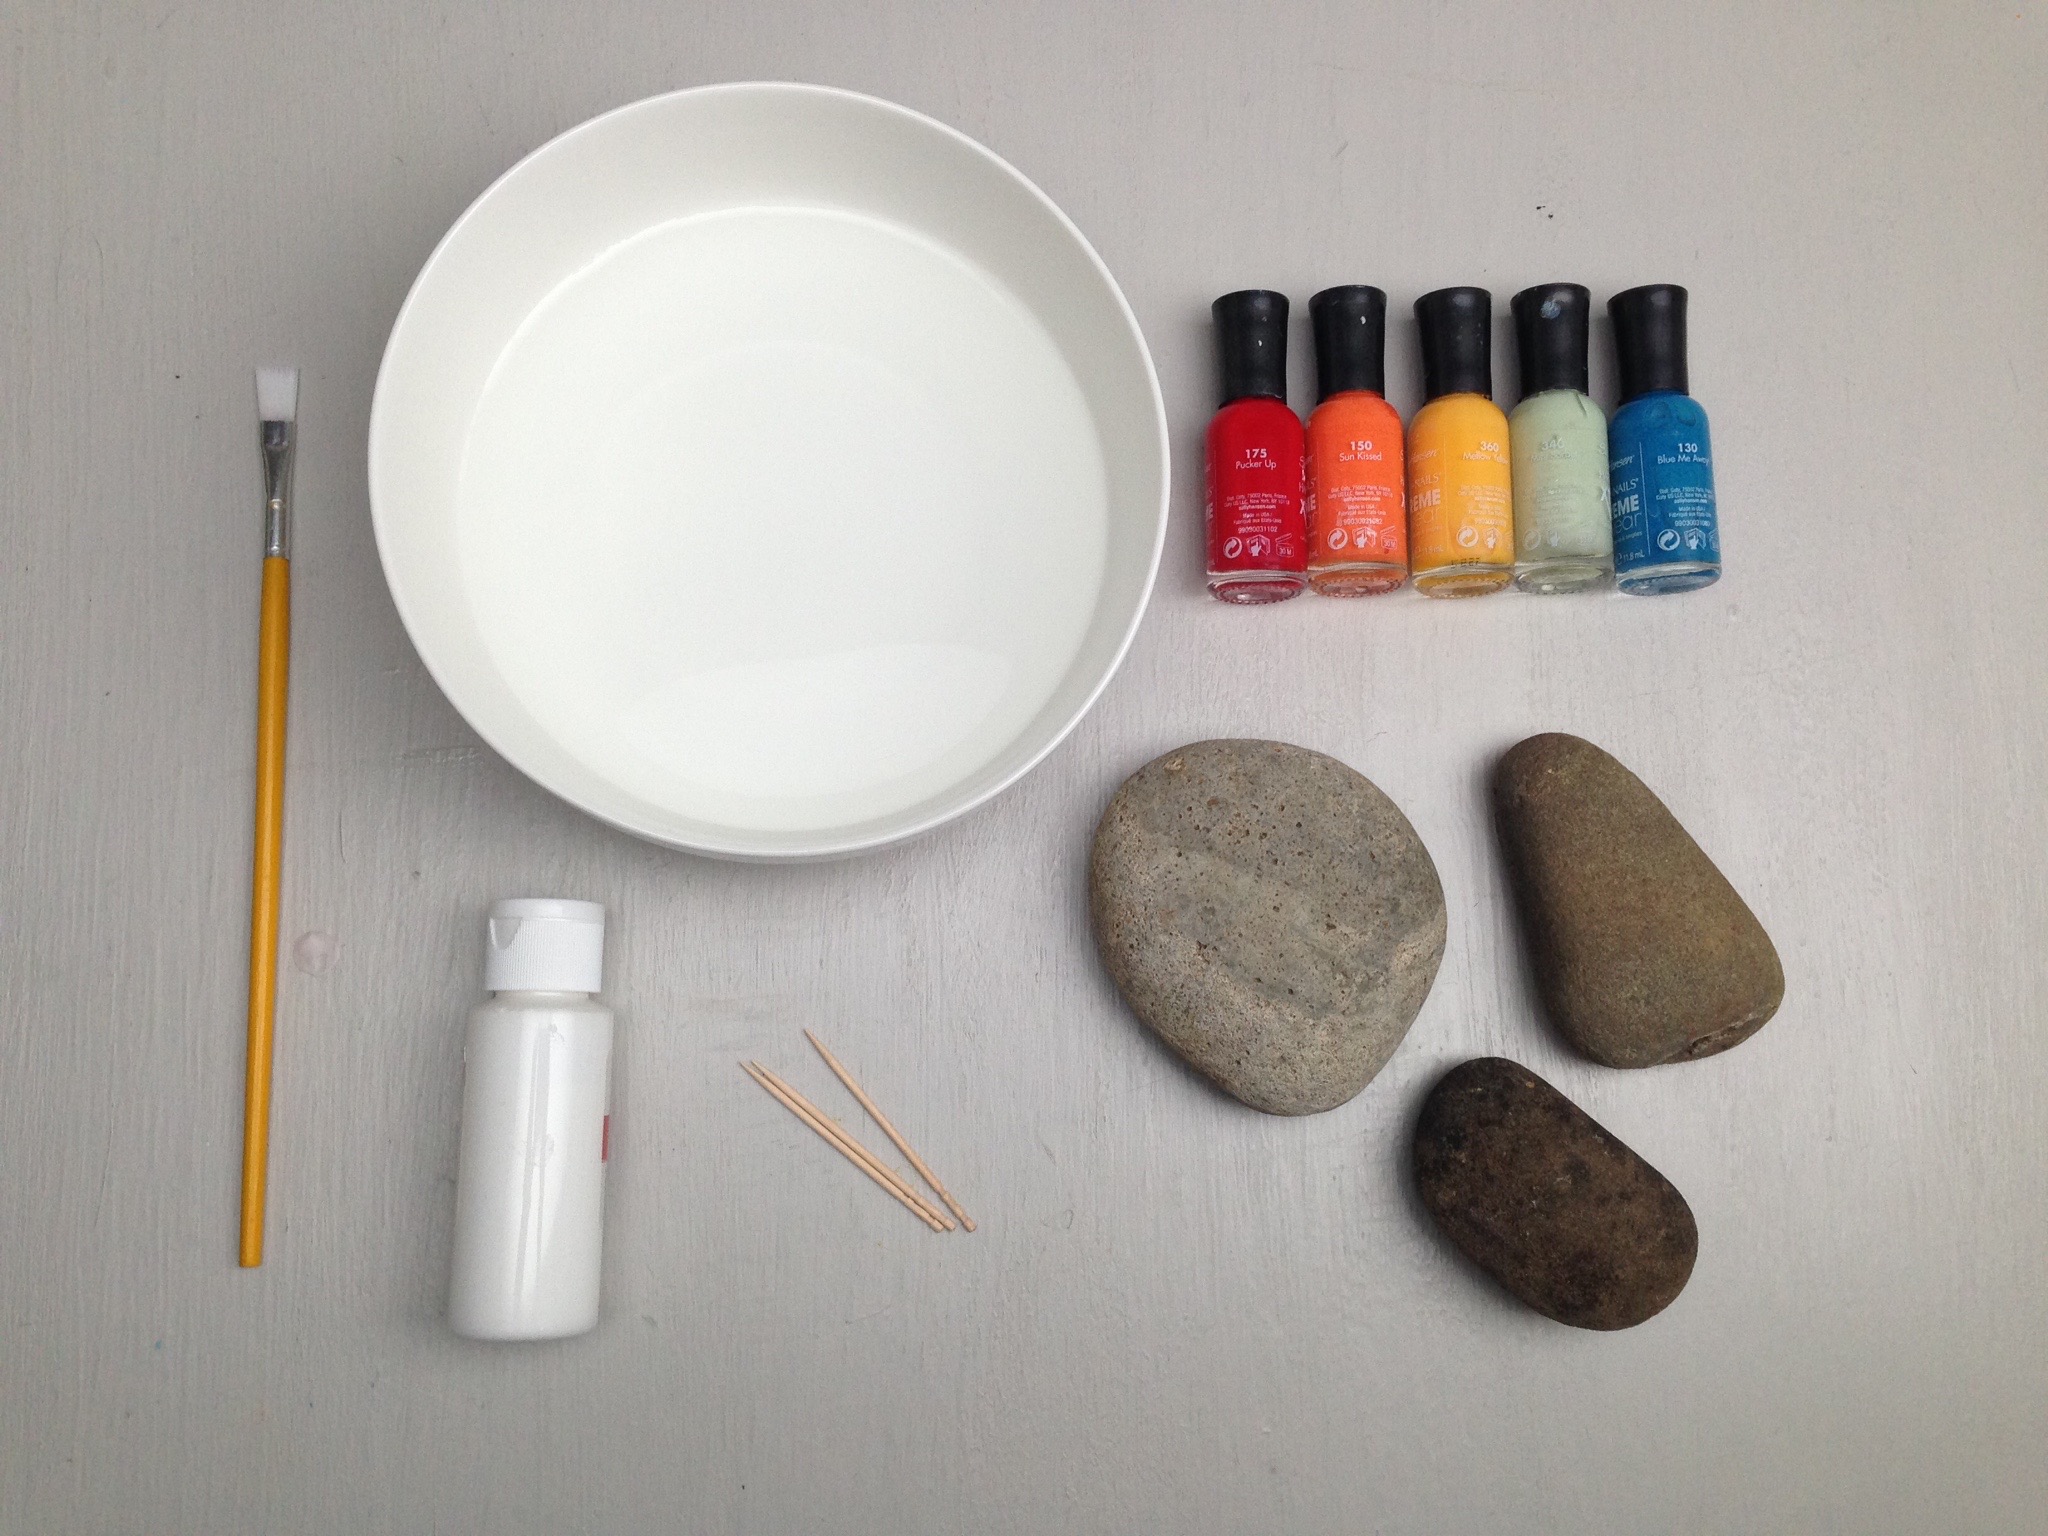
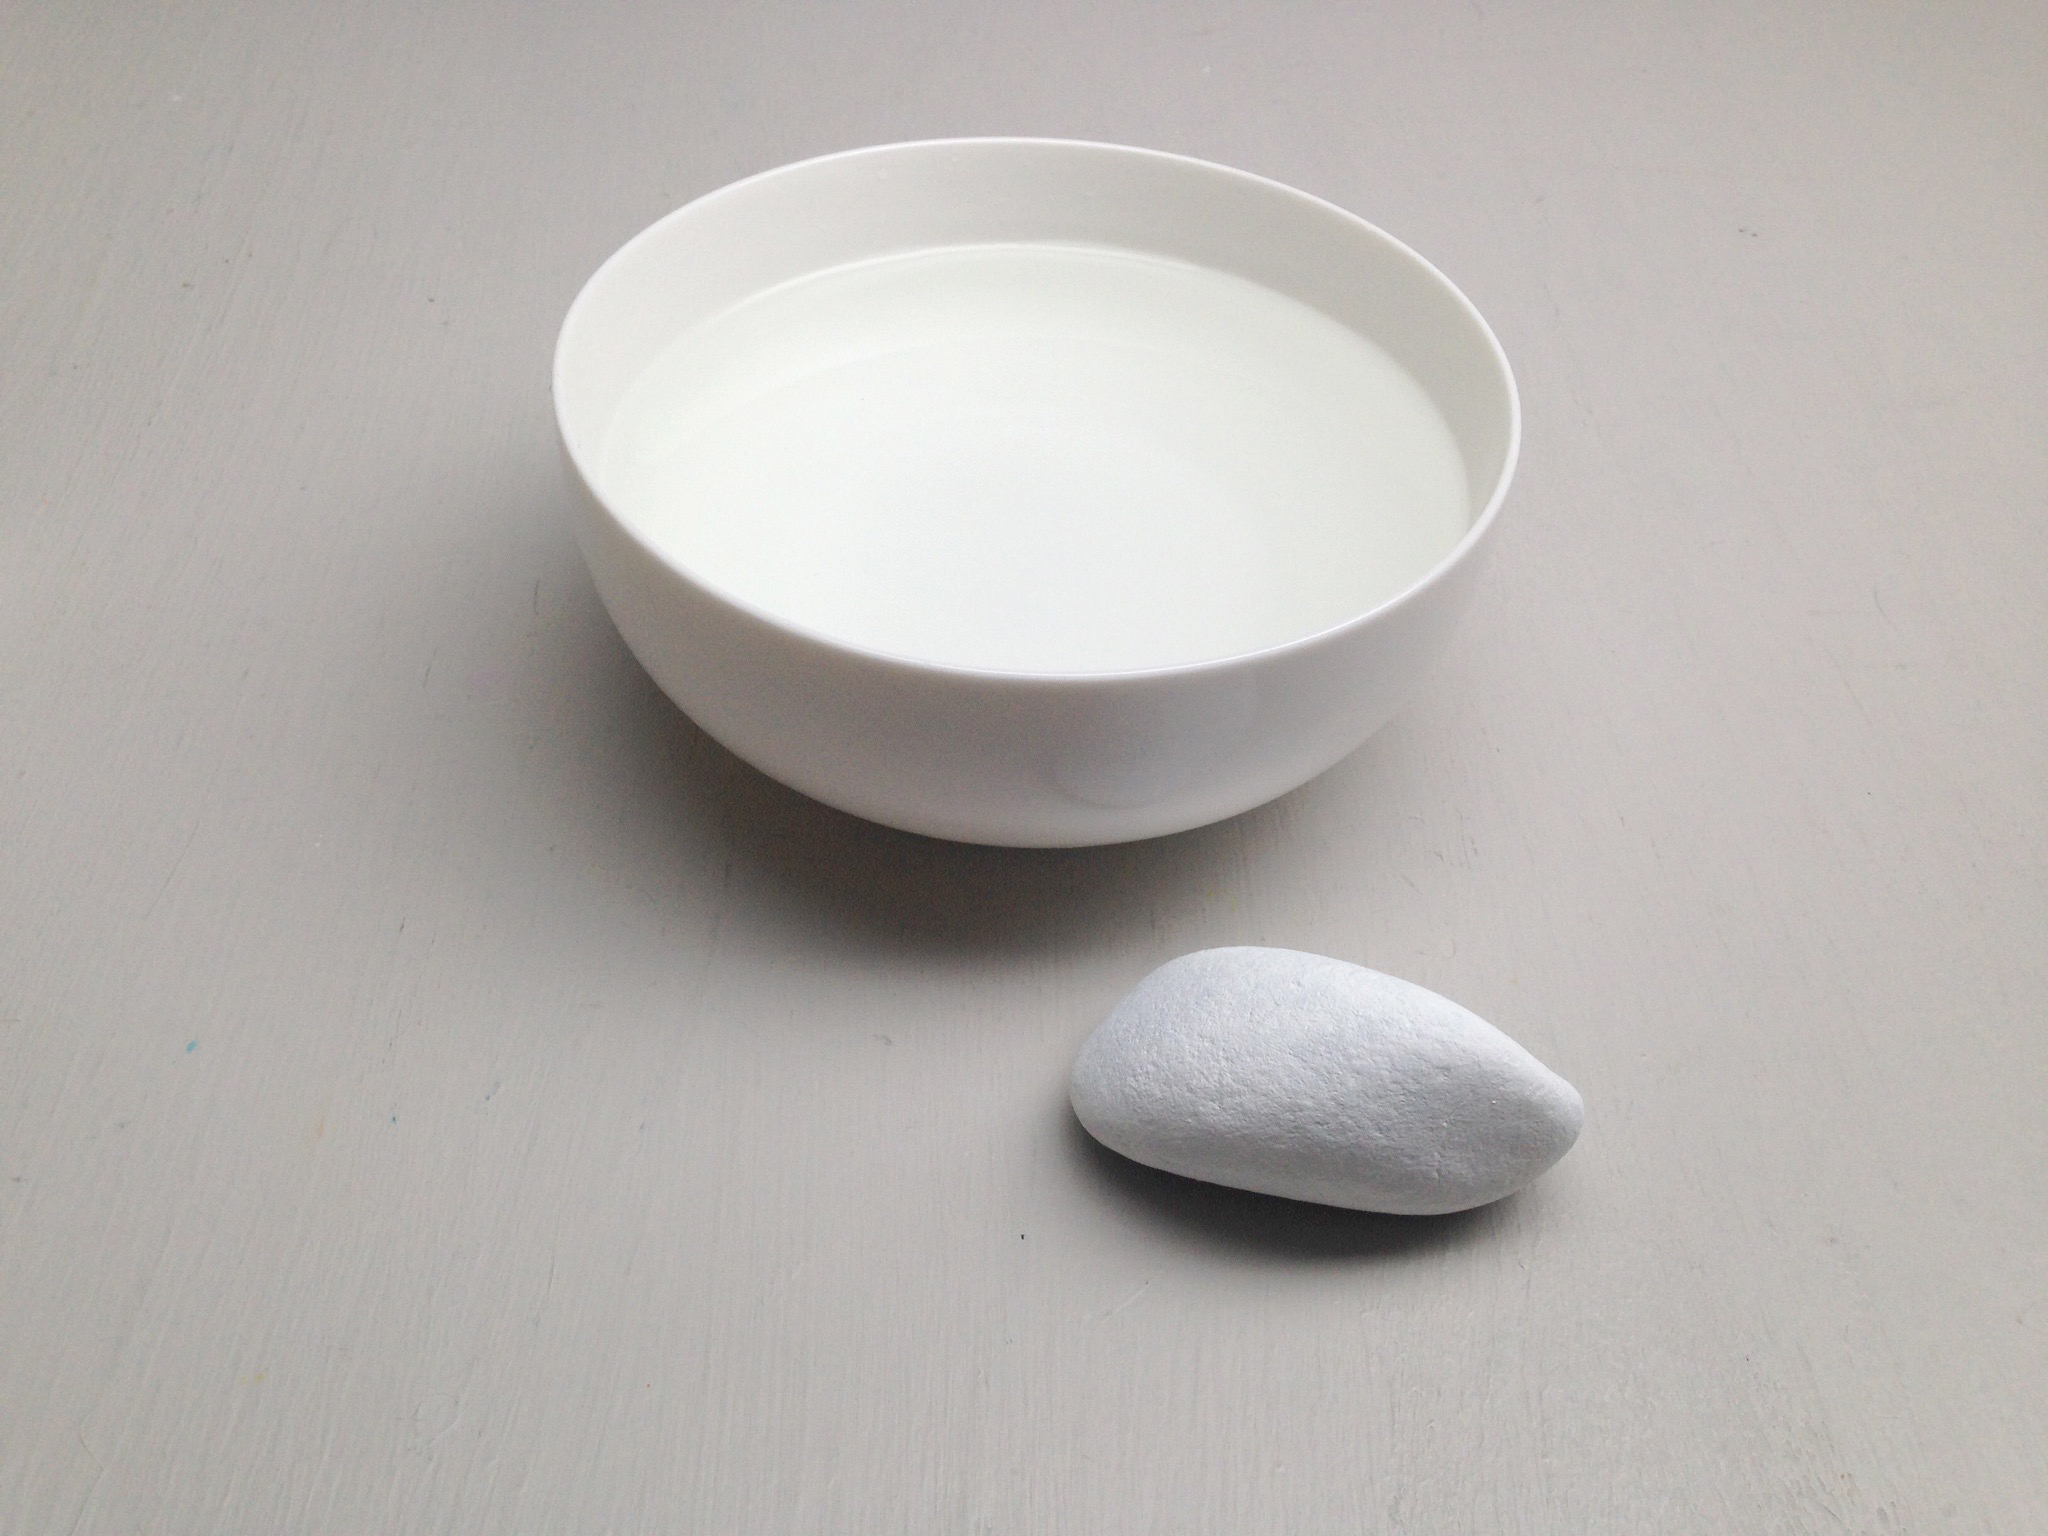
Gather your materials!

Step 2
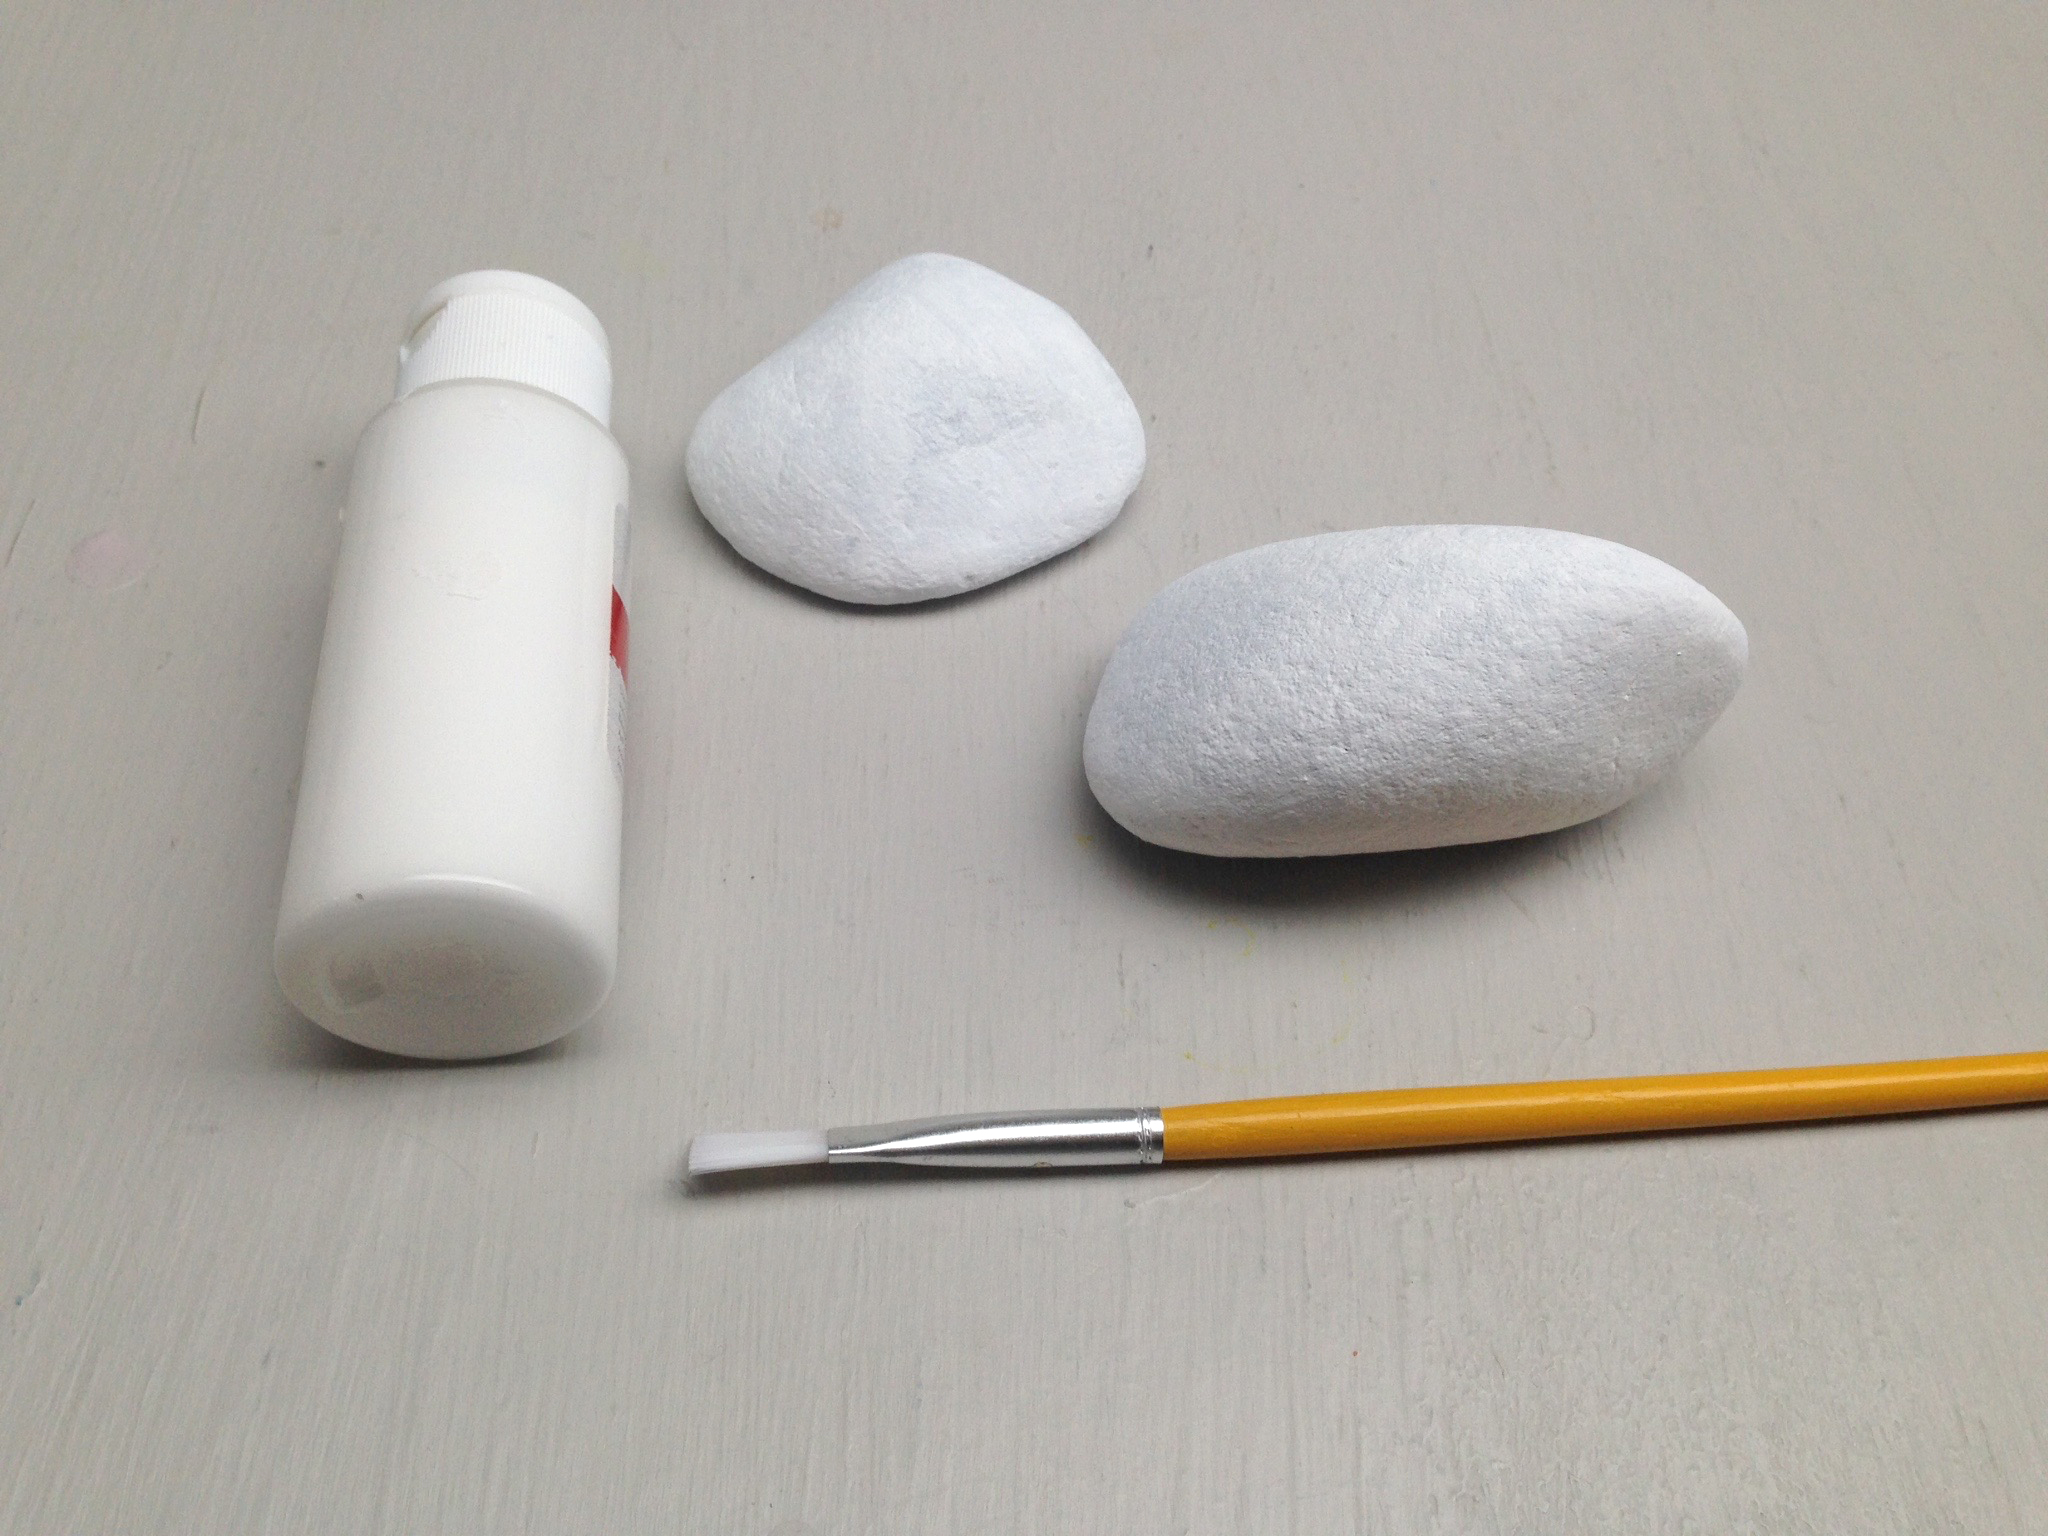
Find an interesting rock outside and clean off the dirt with some water. Once dry, paint the rock white. Allow the first coat of paint to dry, and then apply a second coat.
Optional: For fall fun, buy some mini pumpkins to marble! If you can’t find white ones, just buy orange ones and paint them white or leave them orange and see what cool designs you can make!
Step 3
Fill a bowl with cold water. Make sure your bowl is deep enough and you have enough water to completely submerge your rock.
Step 4
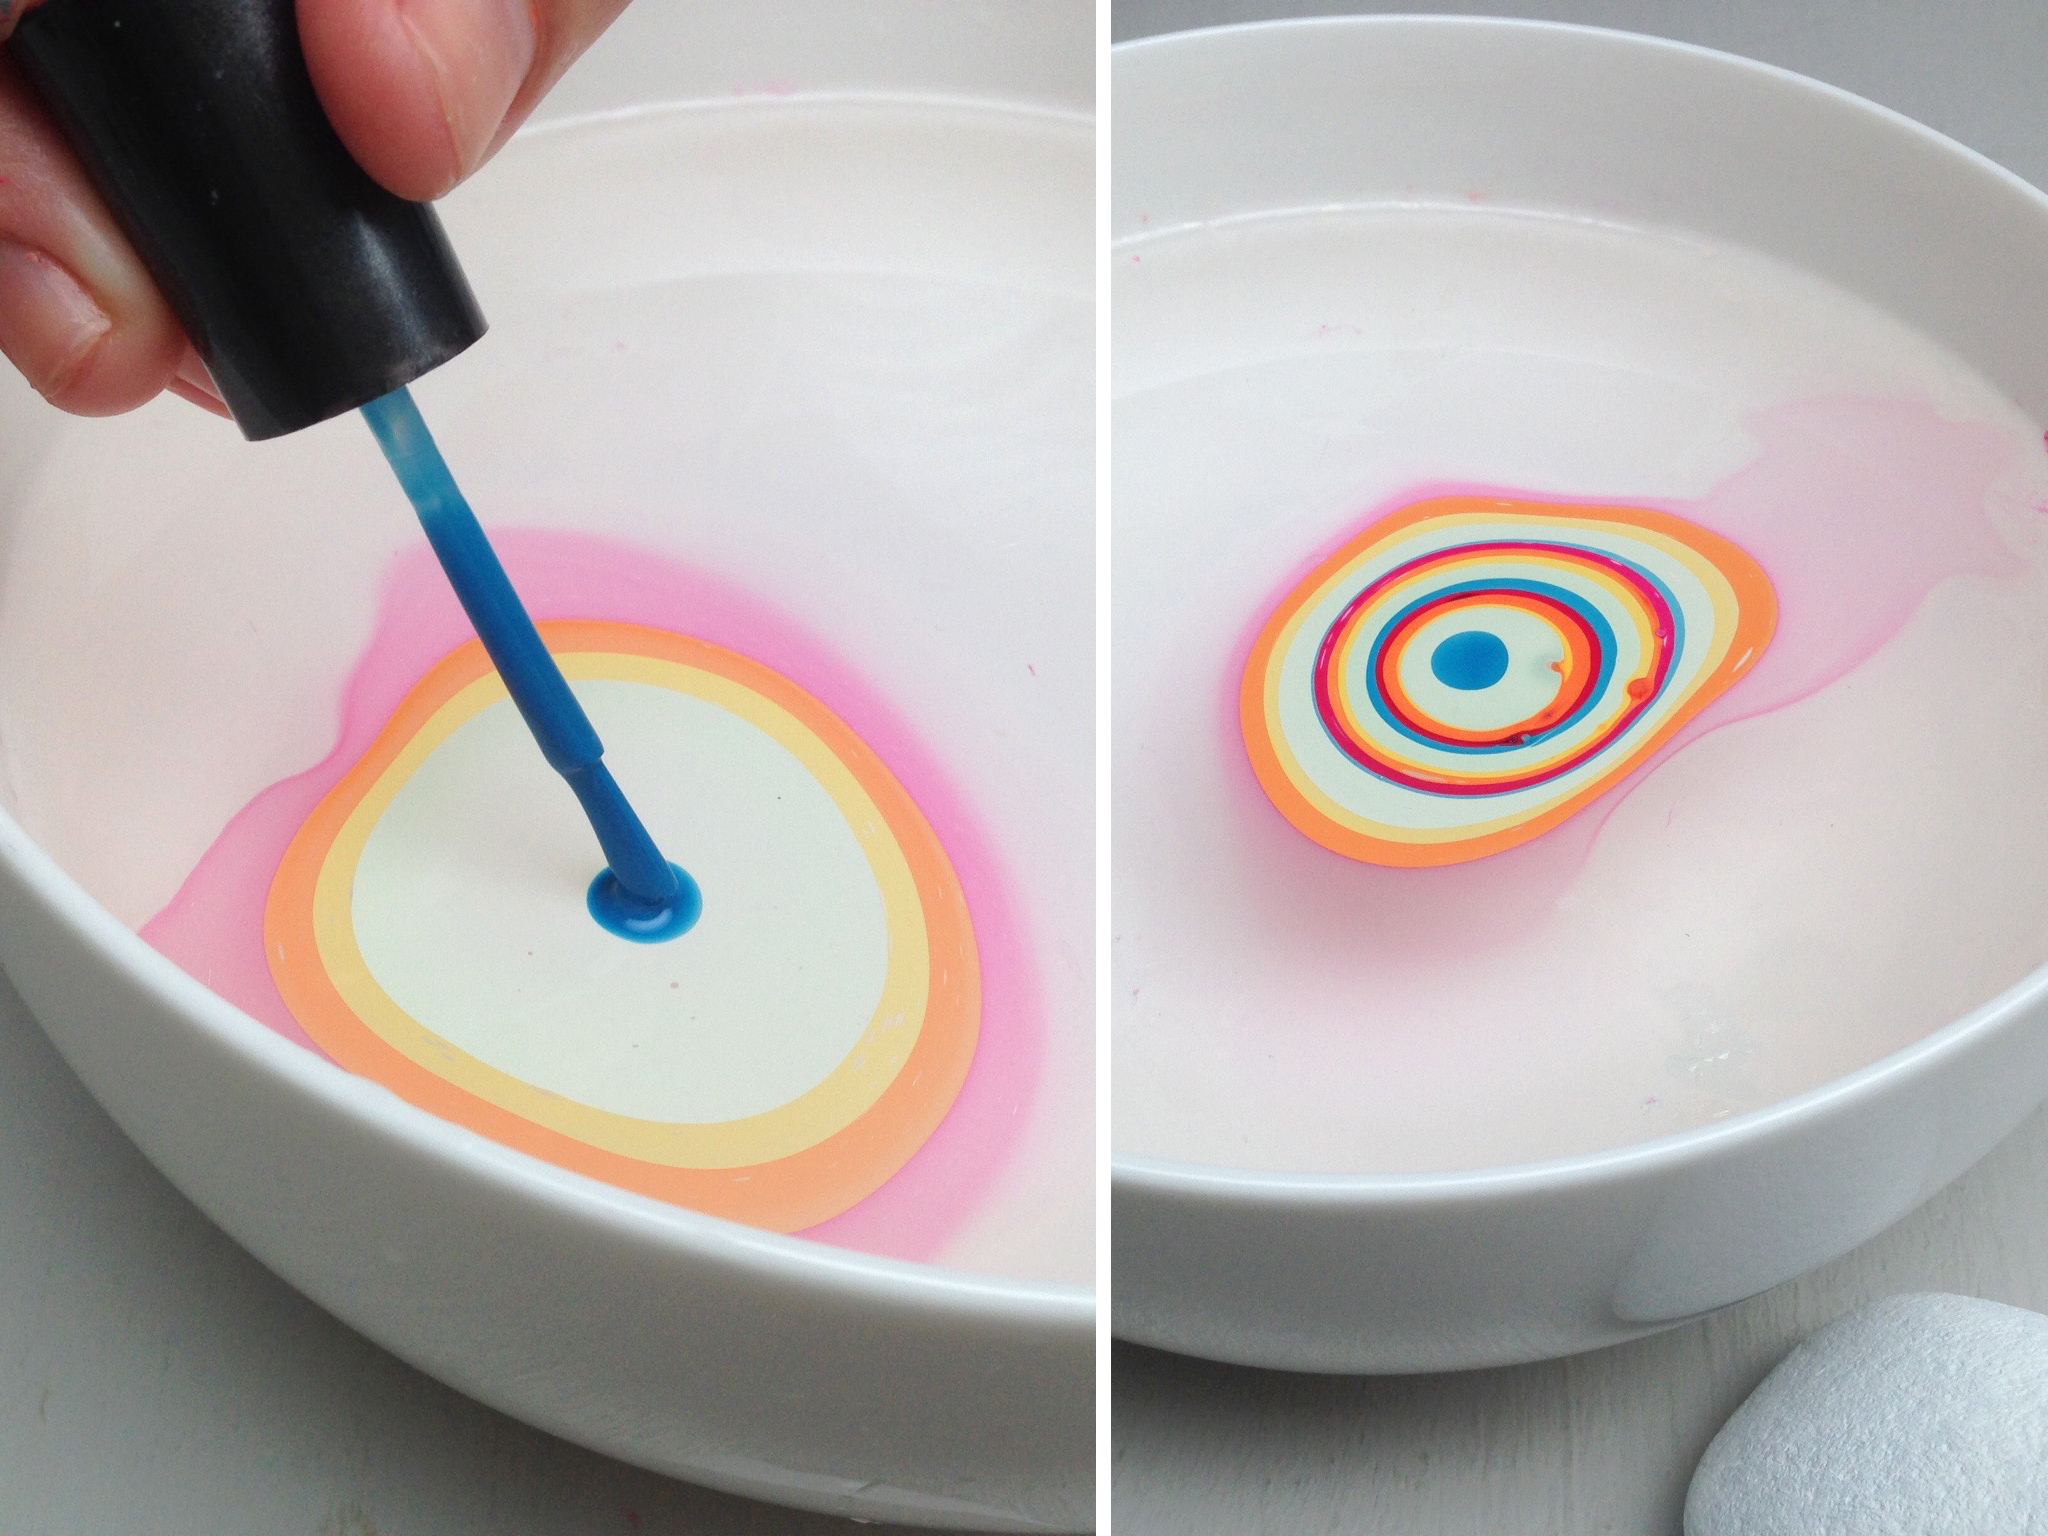
Add one drop of your first color into the bowl. The color will spread out. Then, add another drop of a different color to the center of the first color. Continue to add one drop of color at a time in the center of the previous color. Be quick when adding more colors, nail polish will harden if it sits still for too long.
Tip
Do steps 5 and 6 quickly before your design solidifies.
Step 5
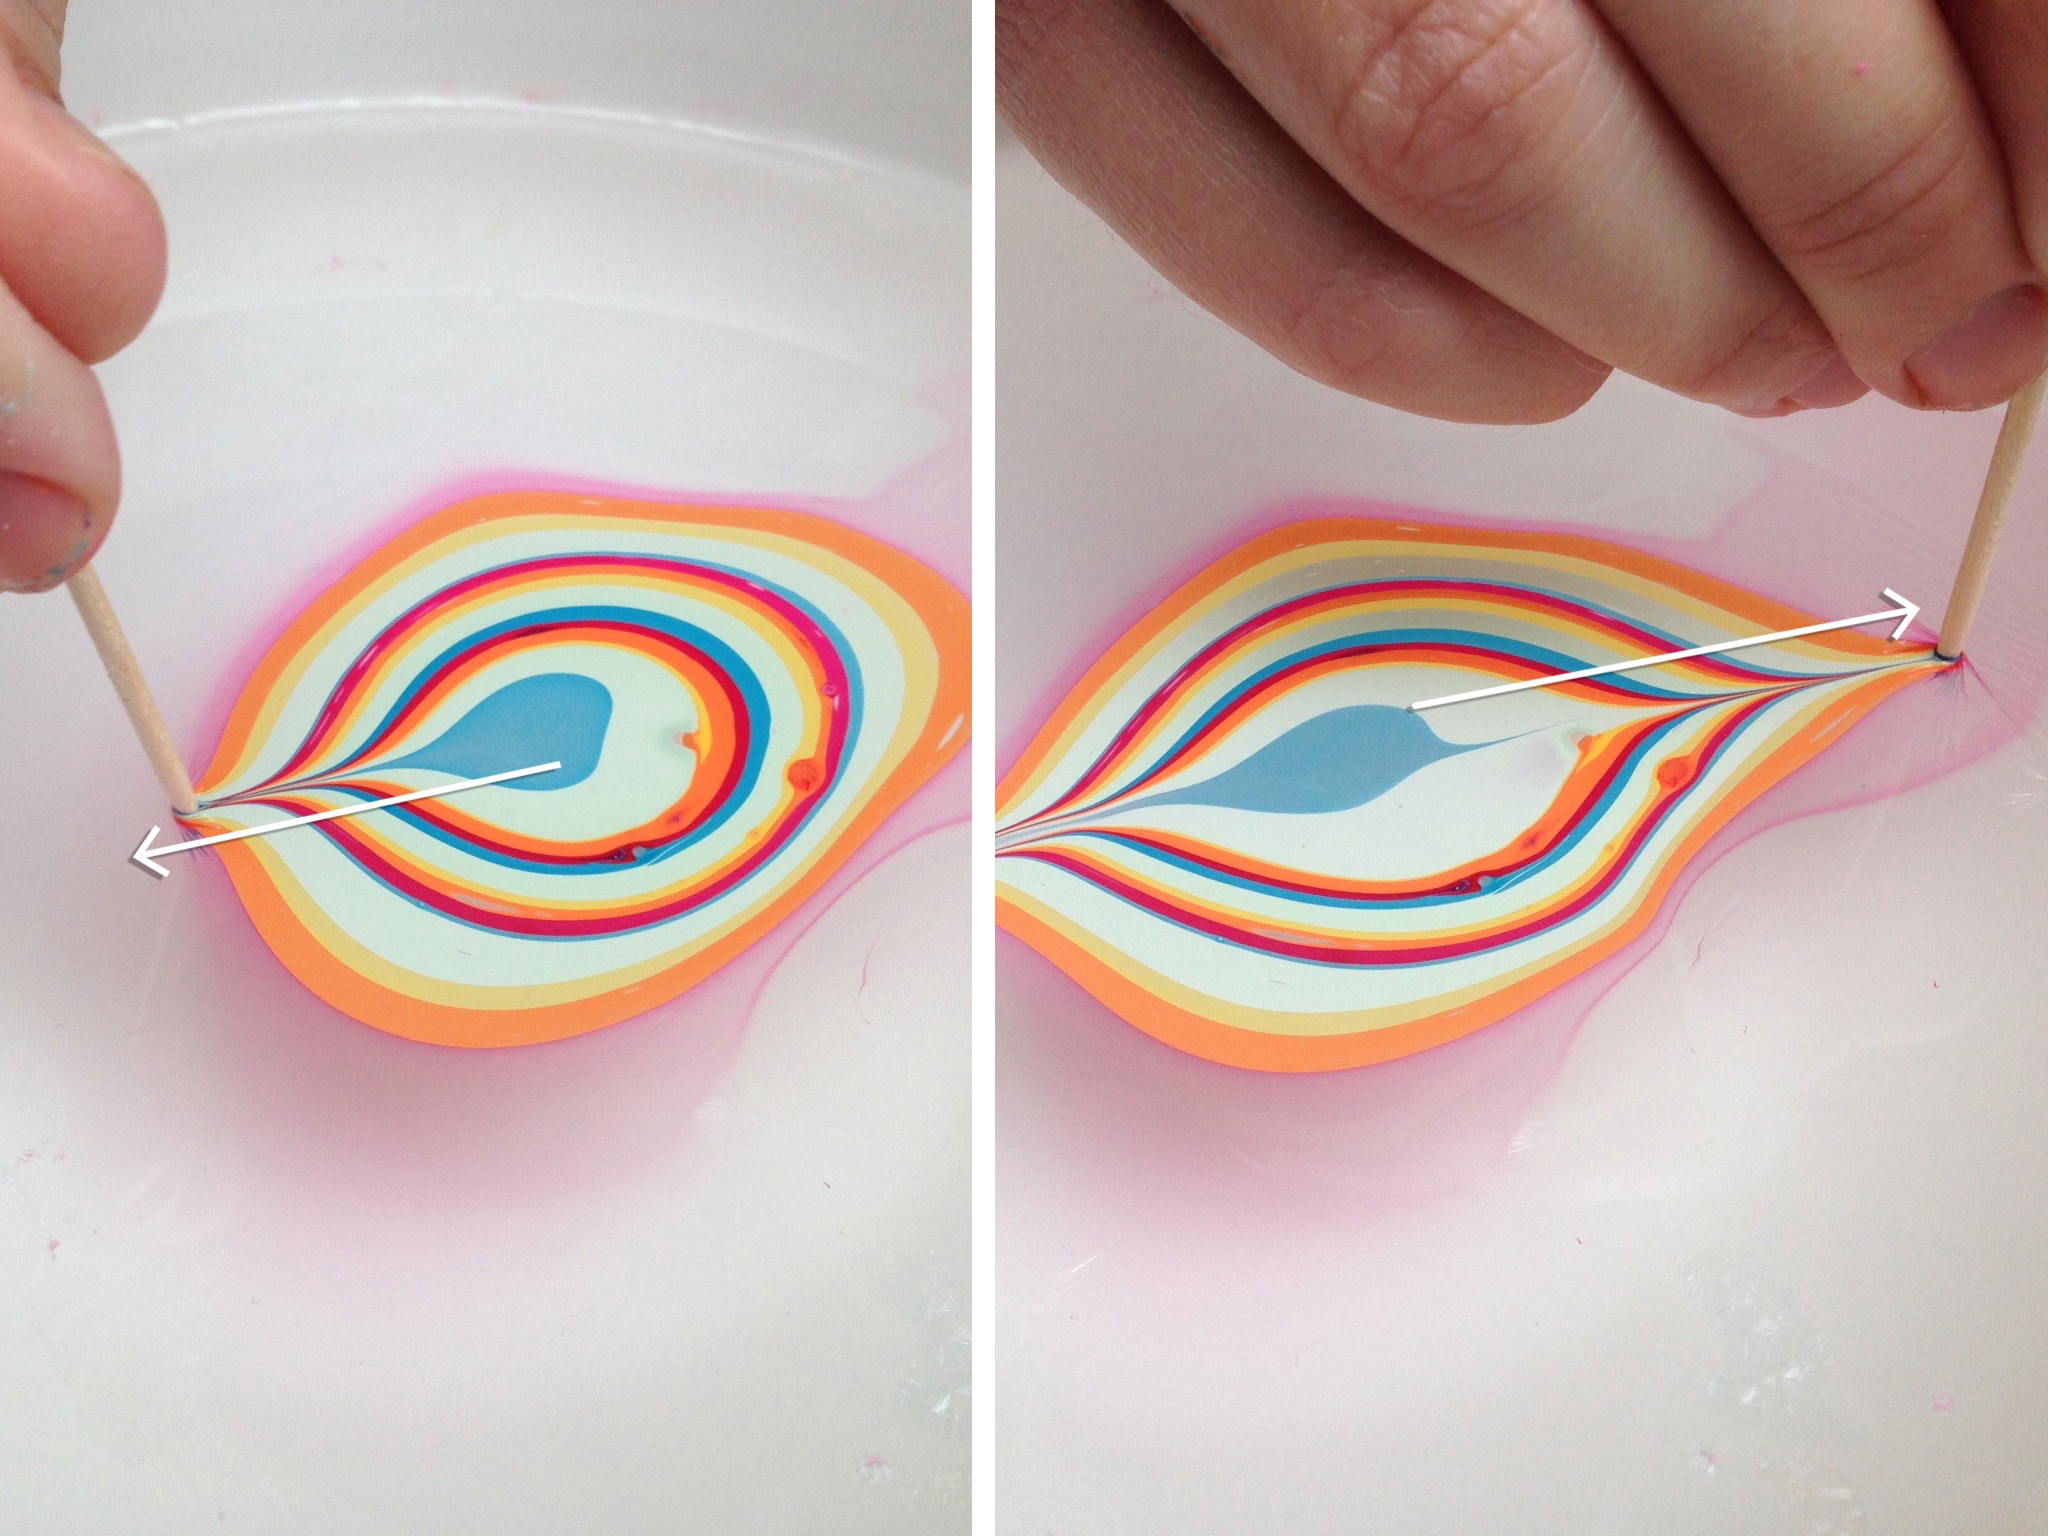
Time to create marble designs with your toothpick! First create a horizontal line through the colors. Start by poking the center and pulling slowly to the right. Then return to the center and pull slowly to the left.
Step 6
Next, make lines from the top to the bottom of the nail polish. For a cool effect, alternate from top to bottom and then from bottom to top.

Tip
To prevent the nail polish film from clumping, it helps to start the lines from the second and third rings of your outer colors.
Step 7
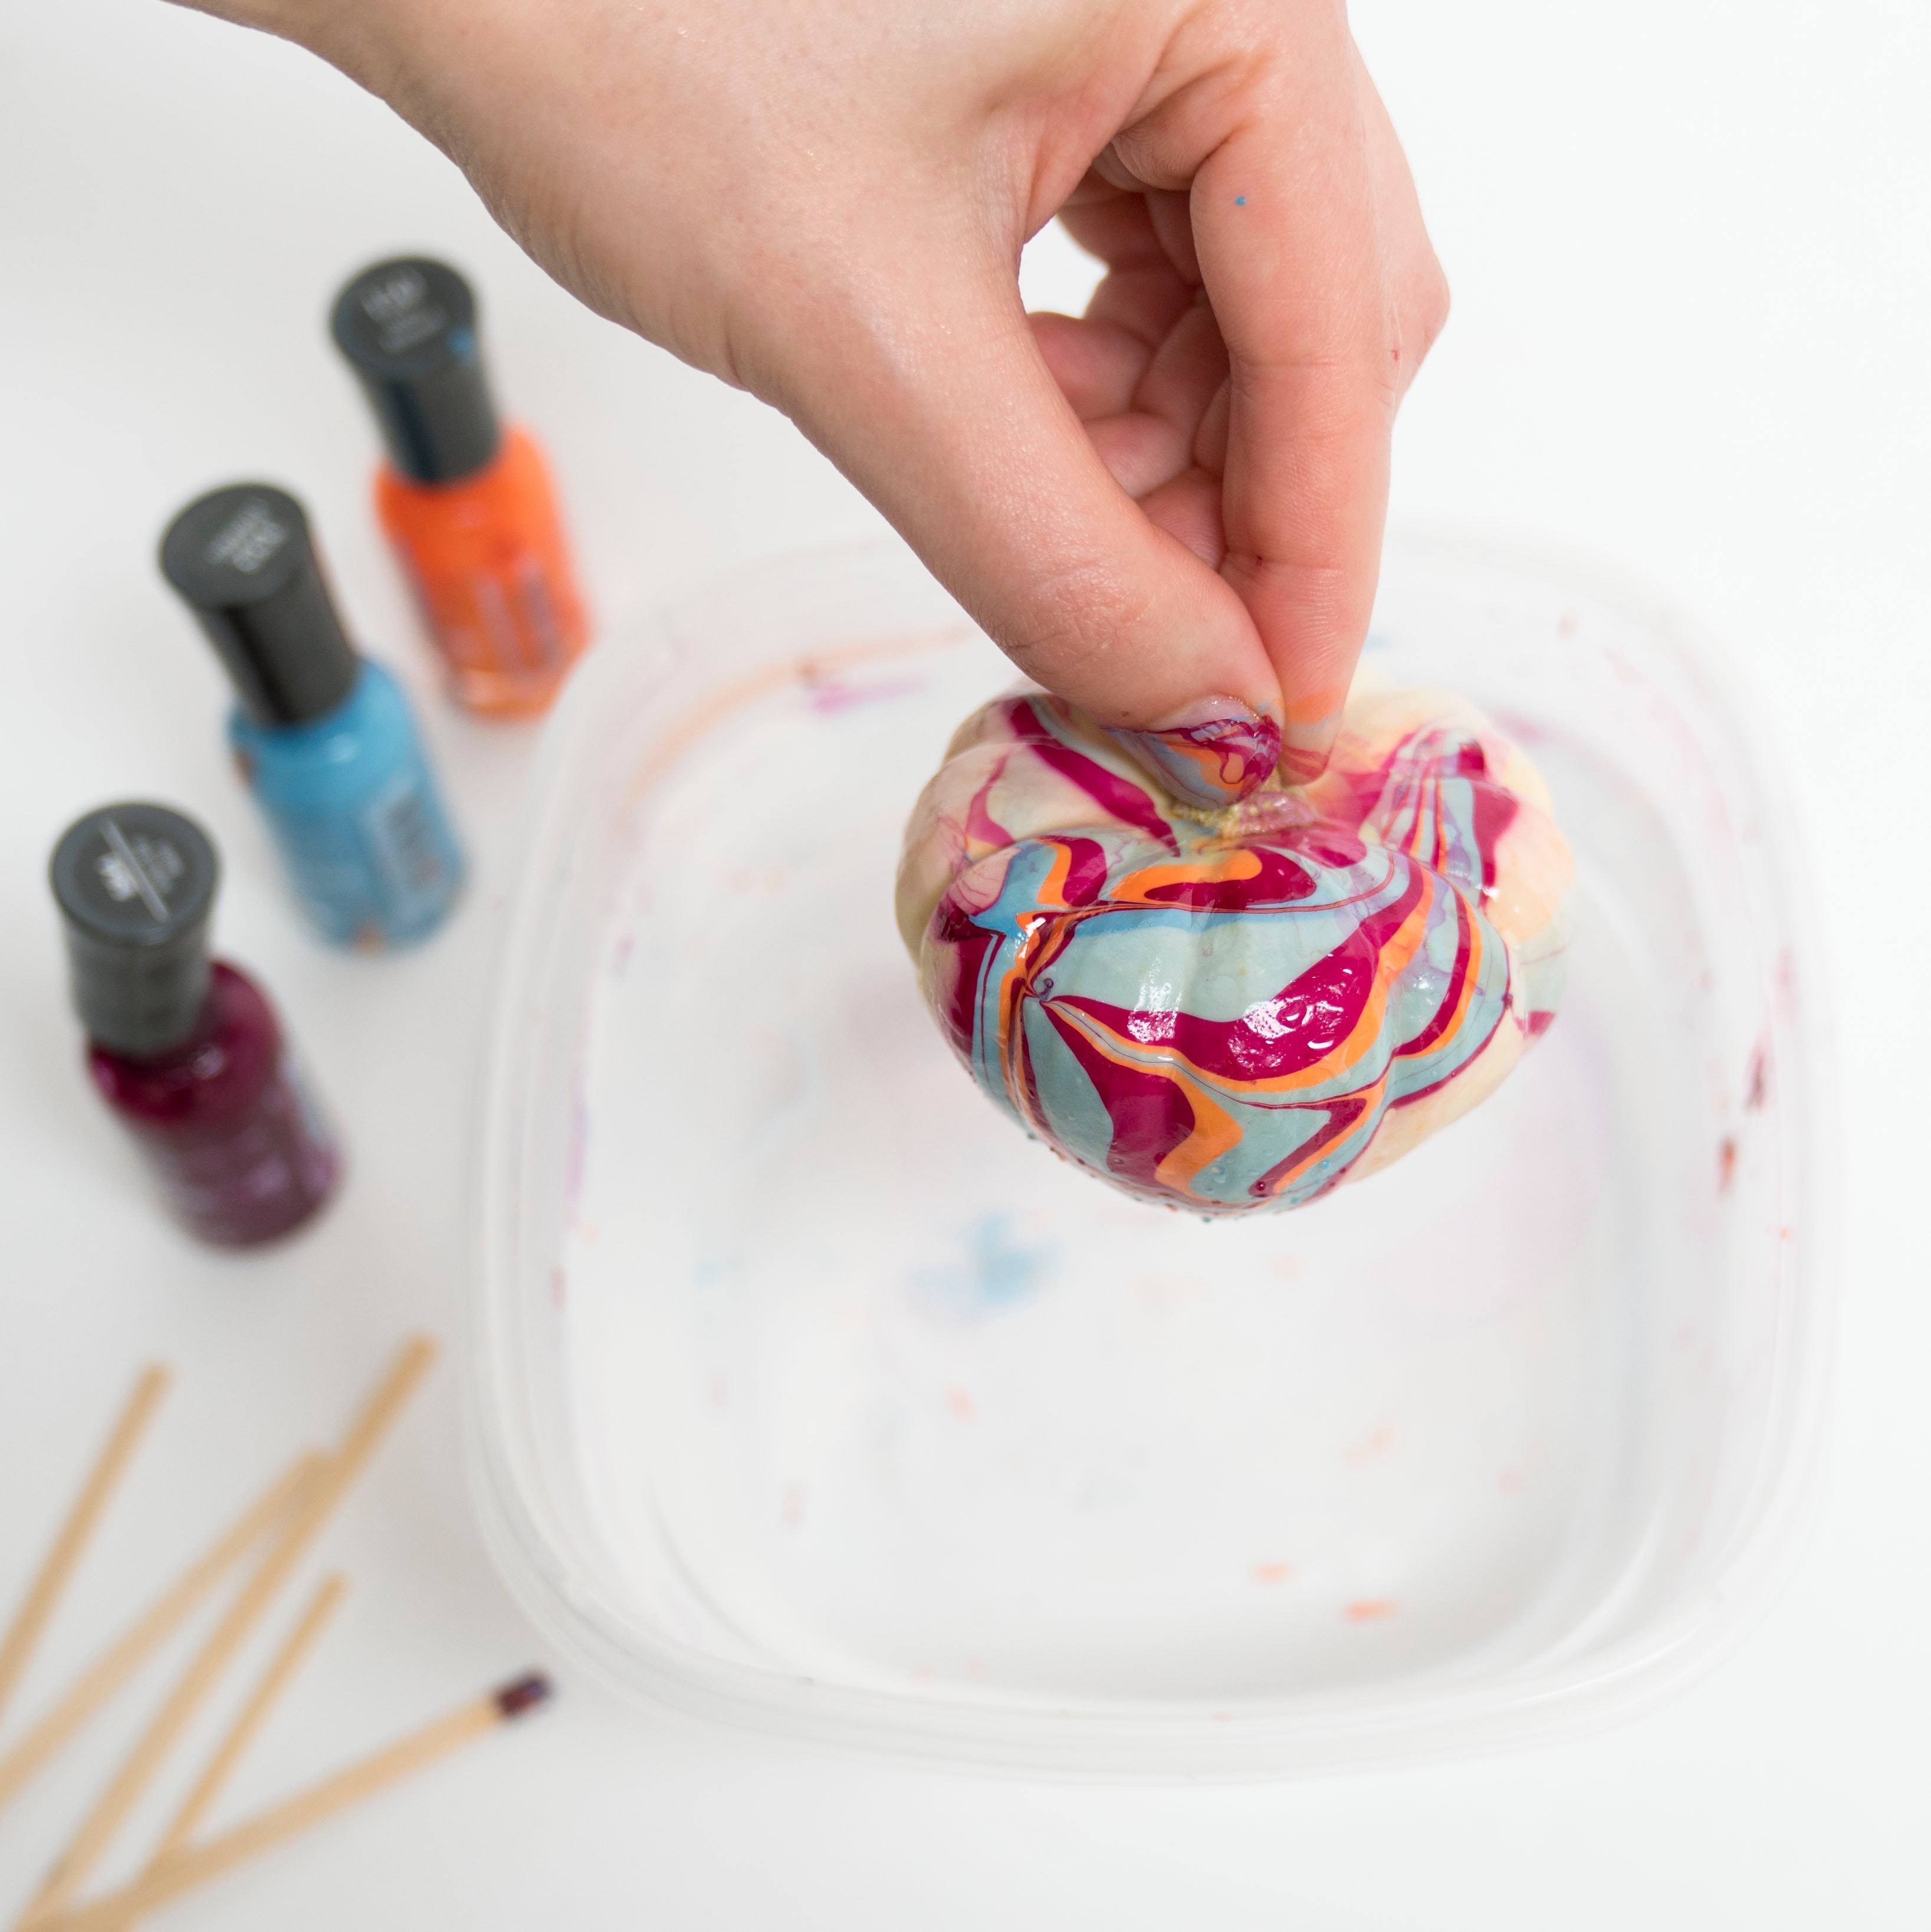
When you are done marbling the nail polish, dip your rock slowly in the center of your nail polish design. Submerge the rock underwater and then slowly remove it. Optional: If you’re dipping a pumpkin, hold the pumpkin by its stem and dip it into the water left side first, then bottom, then right side. Your hand should make the shape of a U in the air as you do this. You can also try dipping it in stem first!

Tip
For a clean result, remove excess nail polish with your finger or toothpick before you remove the rock from the water. This will prevent it from sticking to your rock as you pull it out.
Step 8
Set your rock or pumpkin to the side to dry. See the immediate and colorful result of your marble design! Now you can enjoy it on your desk or gift it to a friend.
Done!
What else can you marble? Have fun experimenting!