Step-by-step tutorial
Step 1
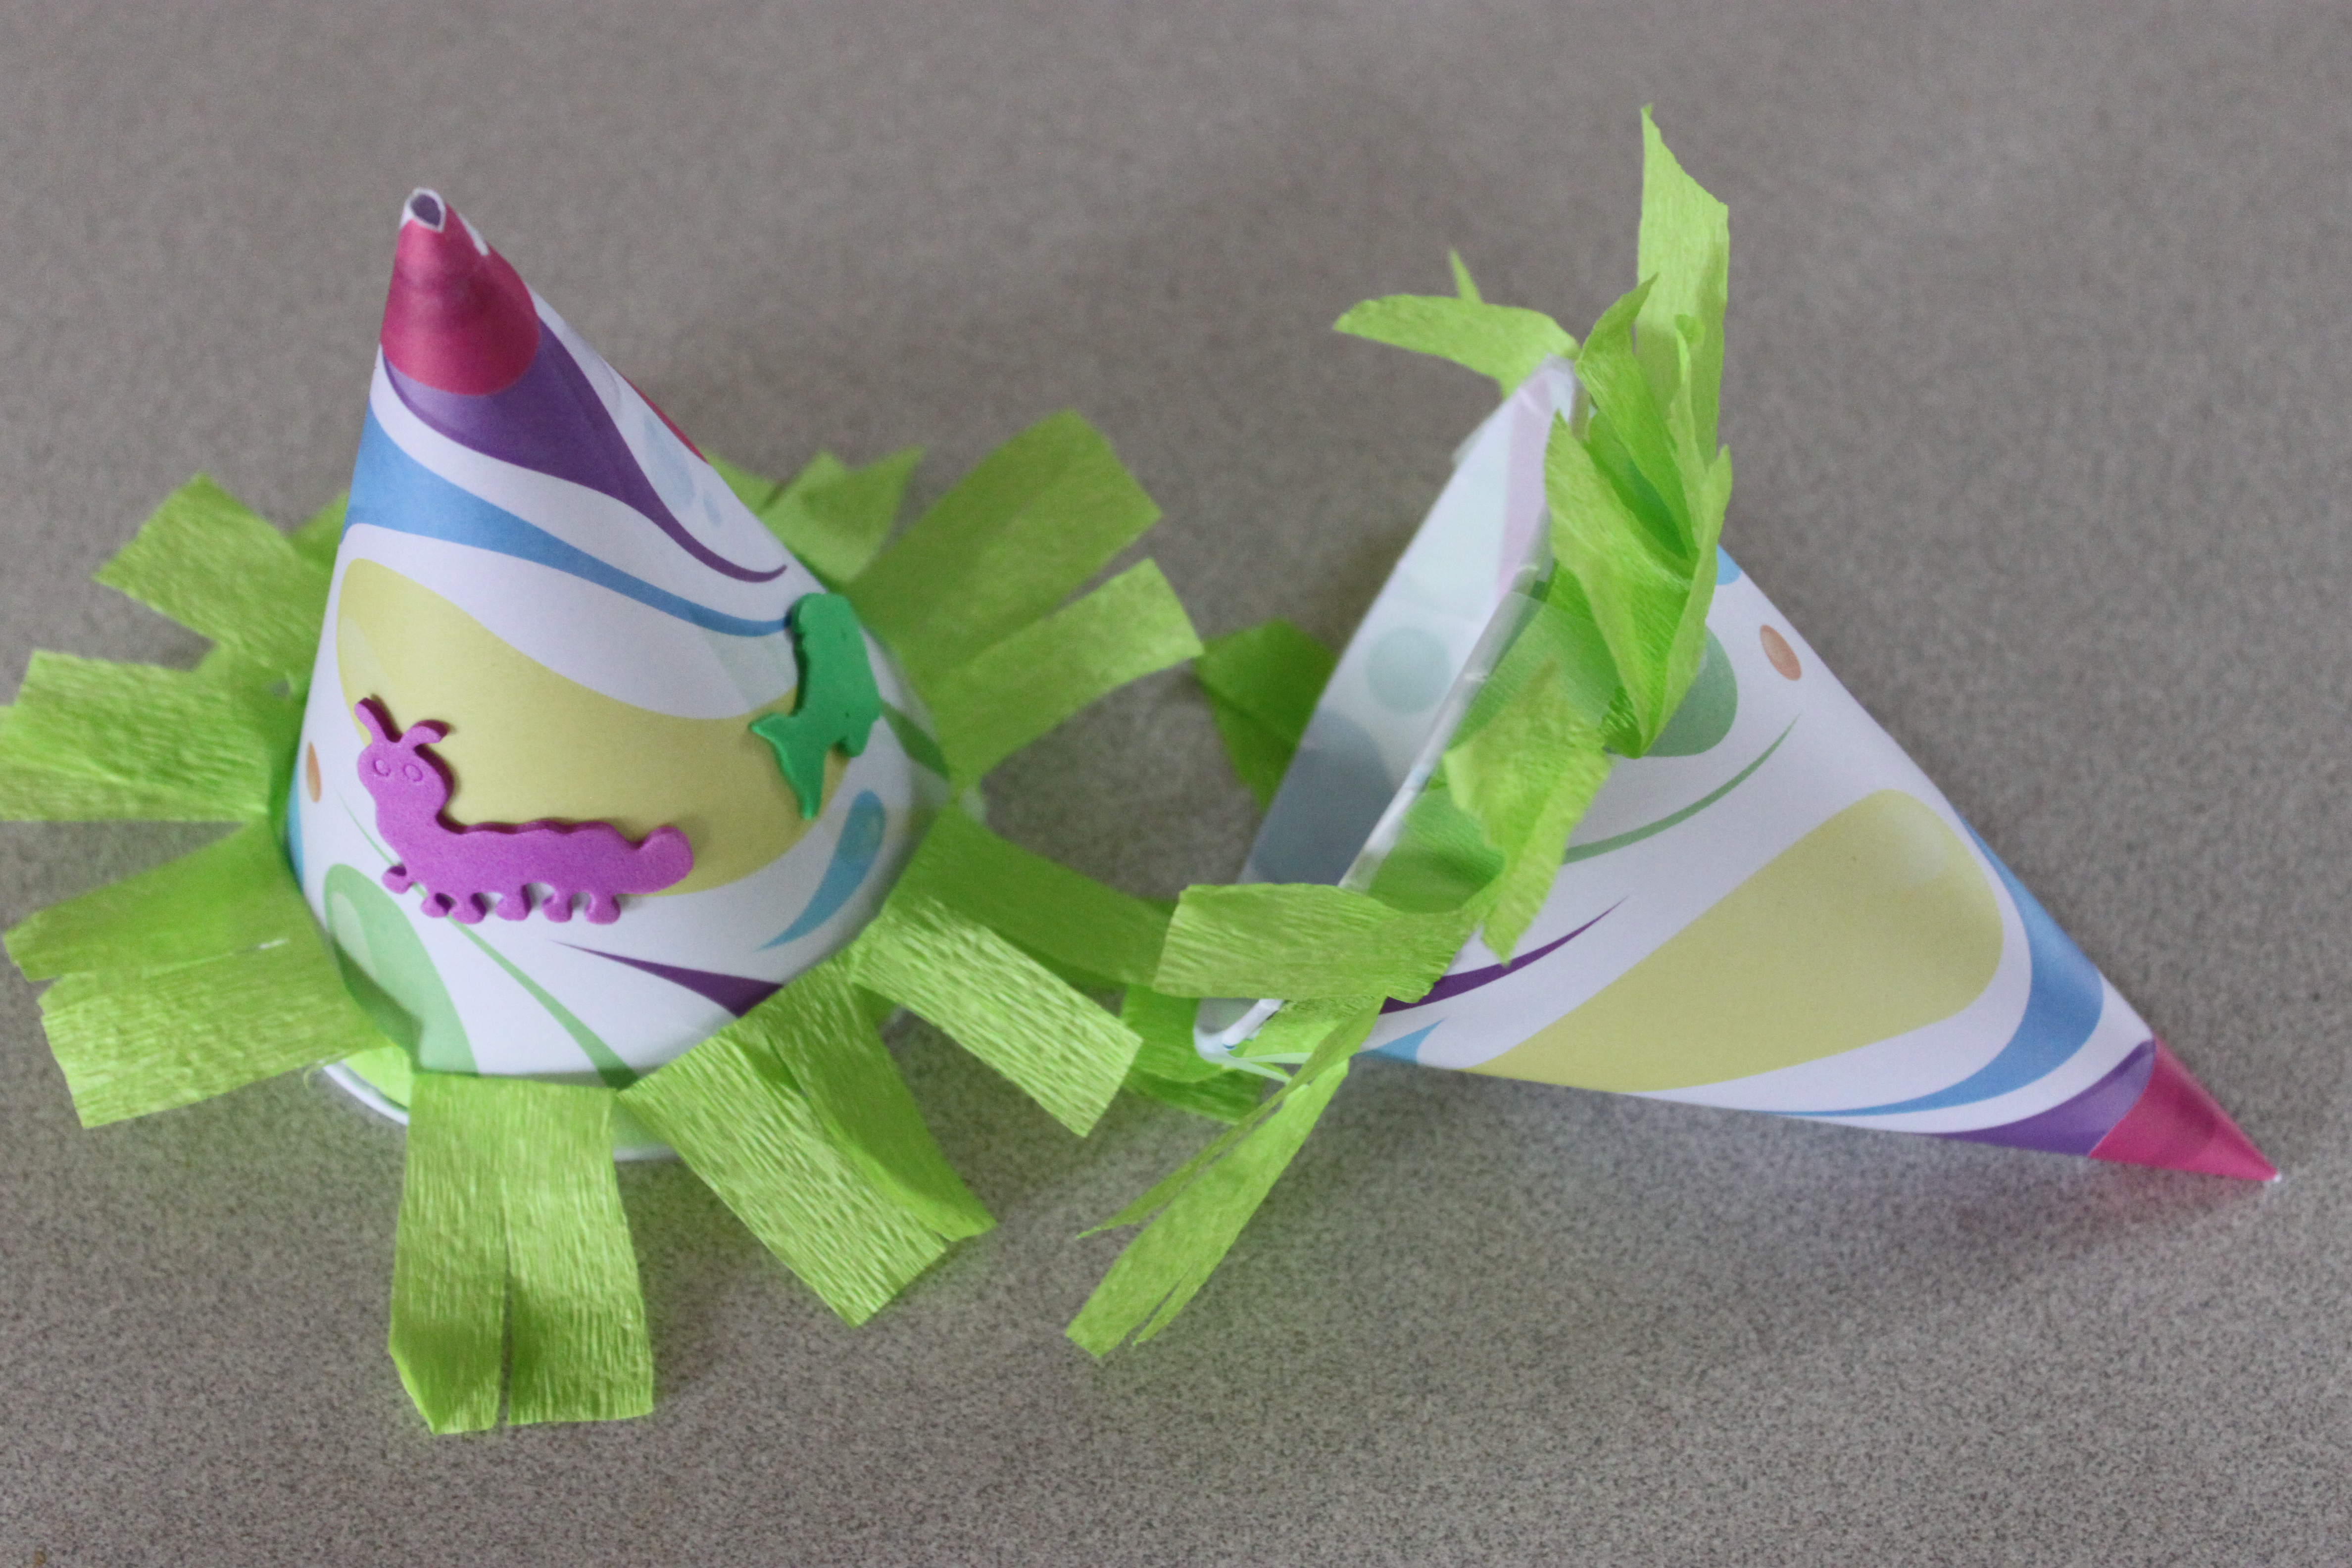
I found these decorative paper cones (originally used for snow cones) and knew they would be perfect for our mini piñatas. Party hats will also work. Decorate two cones with stickers, markers, crepe paper, tissue paper, or other materials. I had fun decorating right along with the kids!

Step 2
Cut a very small piece off of the end of one cone. Use a piece of ribbon, string, or yarn to make a loop and put the ends in the hole at the top. Tie the ends of the string in a large knot inside the cone so that you can hold the piñata by the loop and the knot keeps it from sliding through.
Step 3
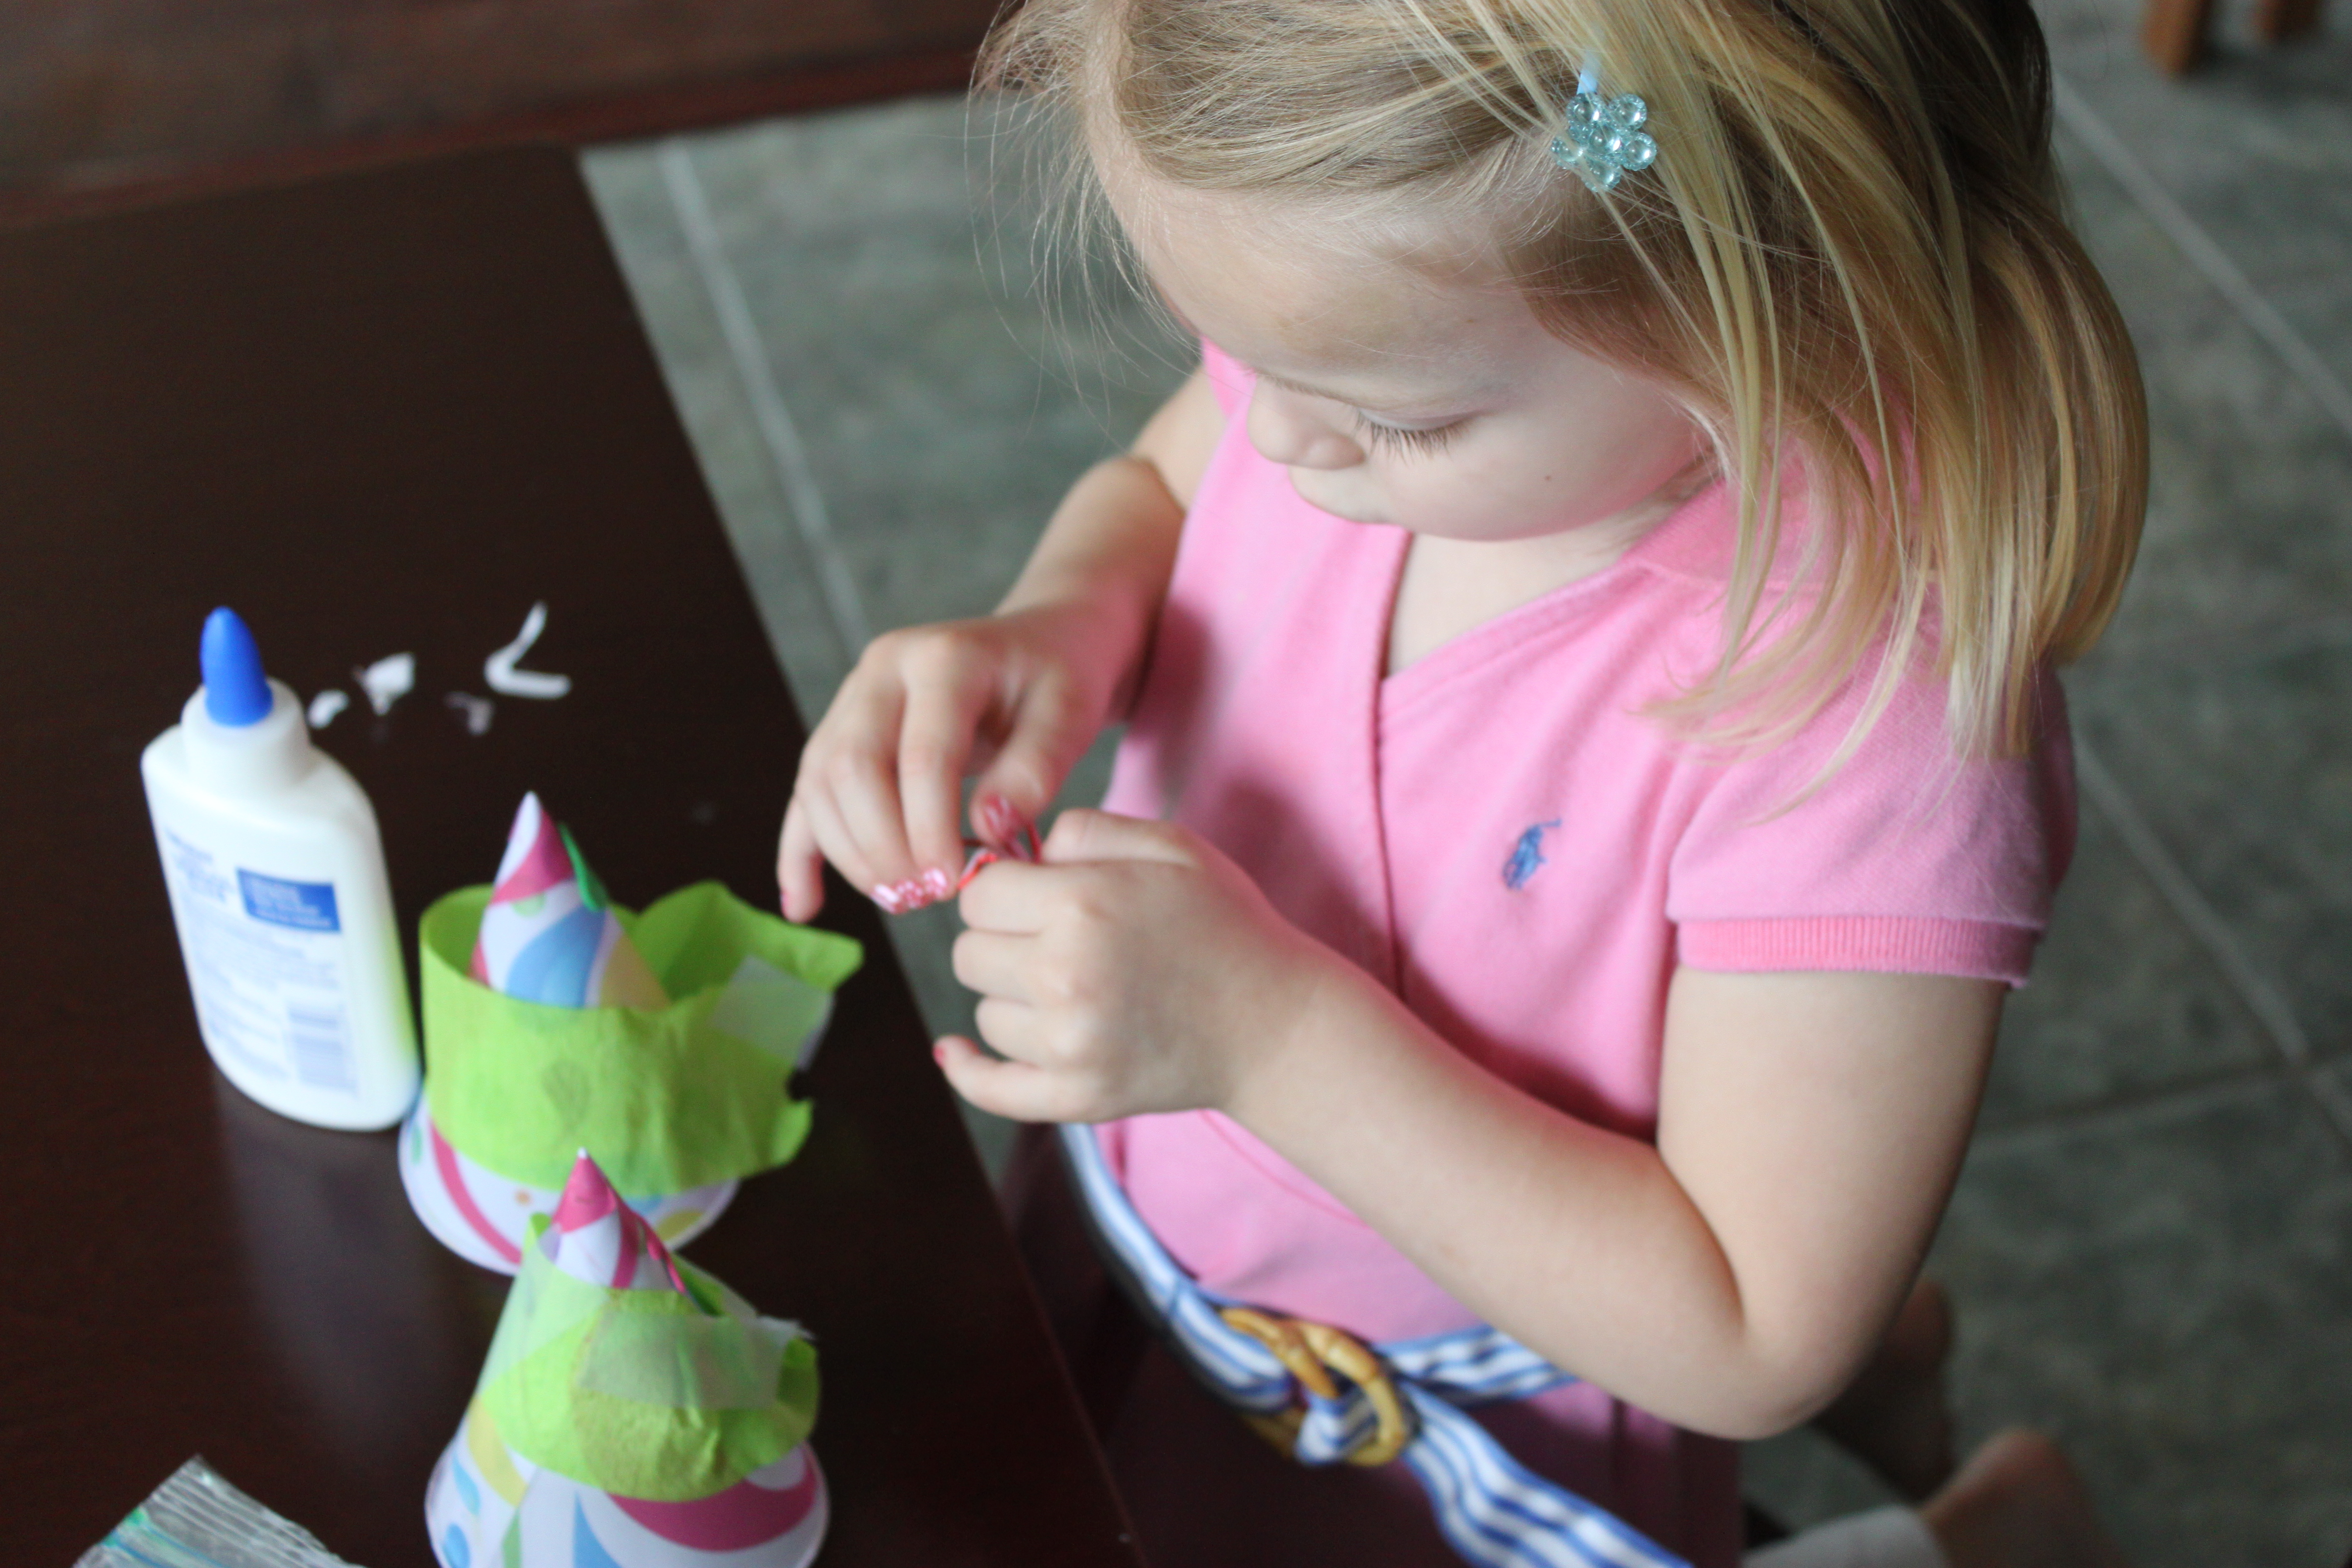
Put pieces of candy in the bottom cone. (Selecting the candy was my kids' favorite part.) Put a line of hot glue around the rim of the cone and seal the two cones together. You may also want to use a dot of hot glue to secure the knot inside the top cone.
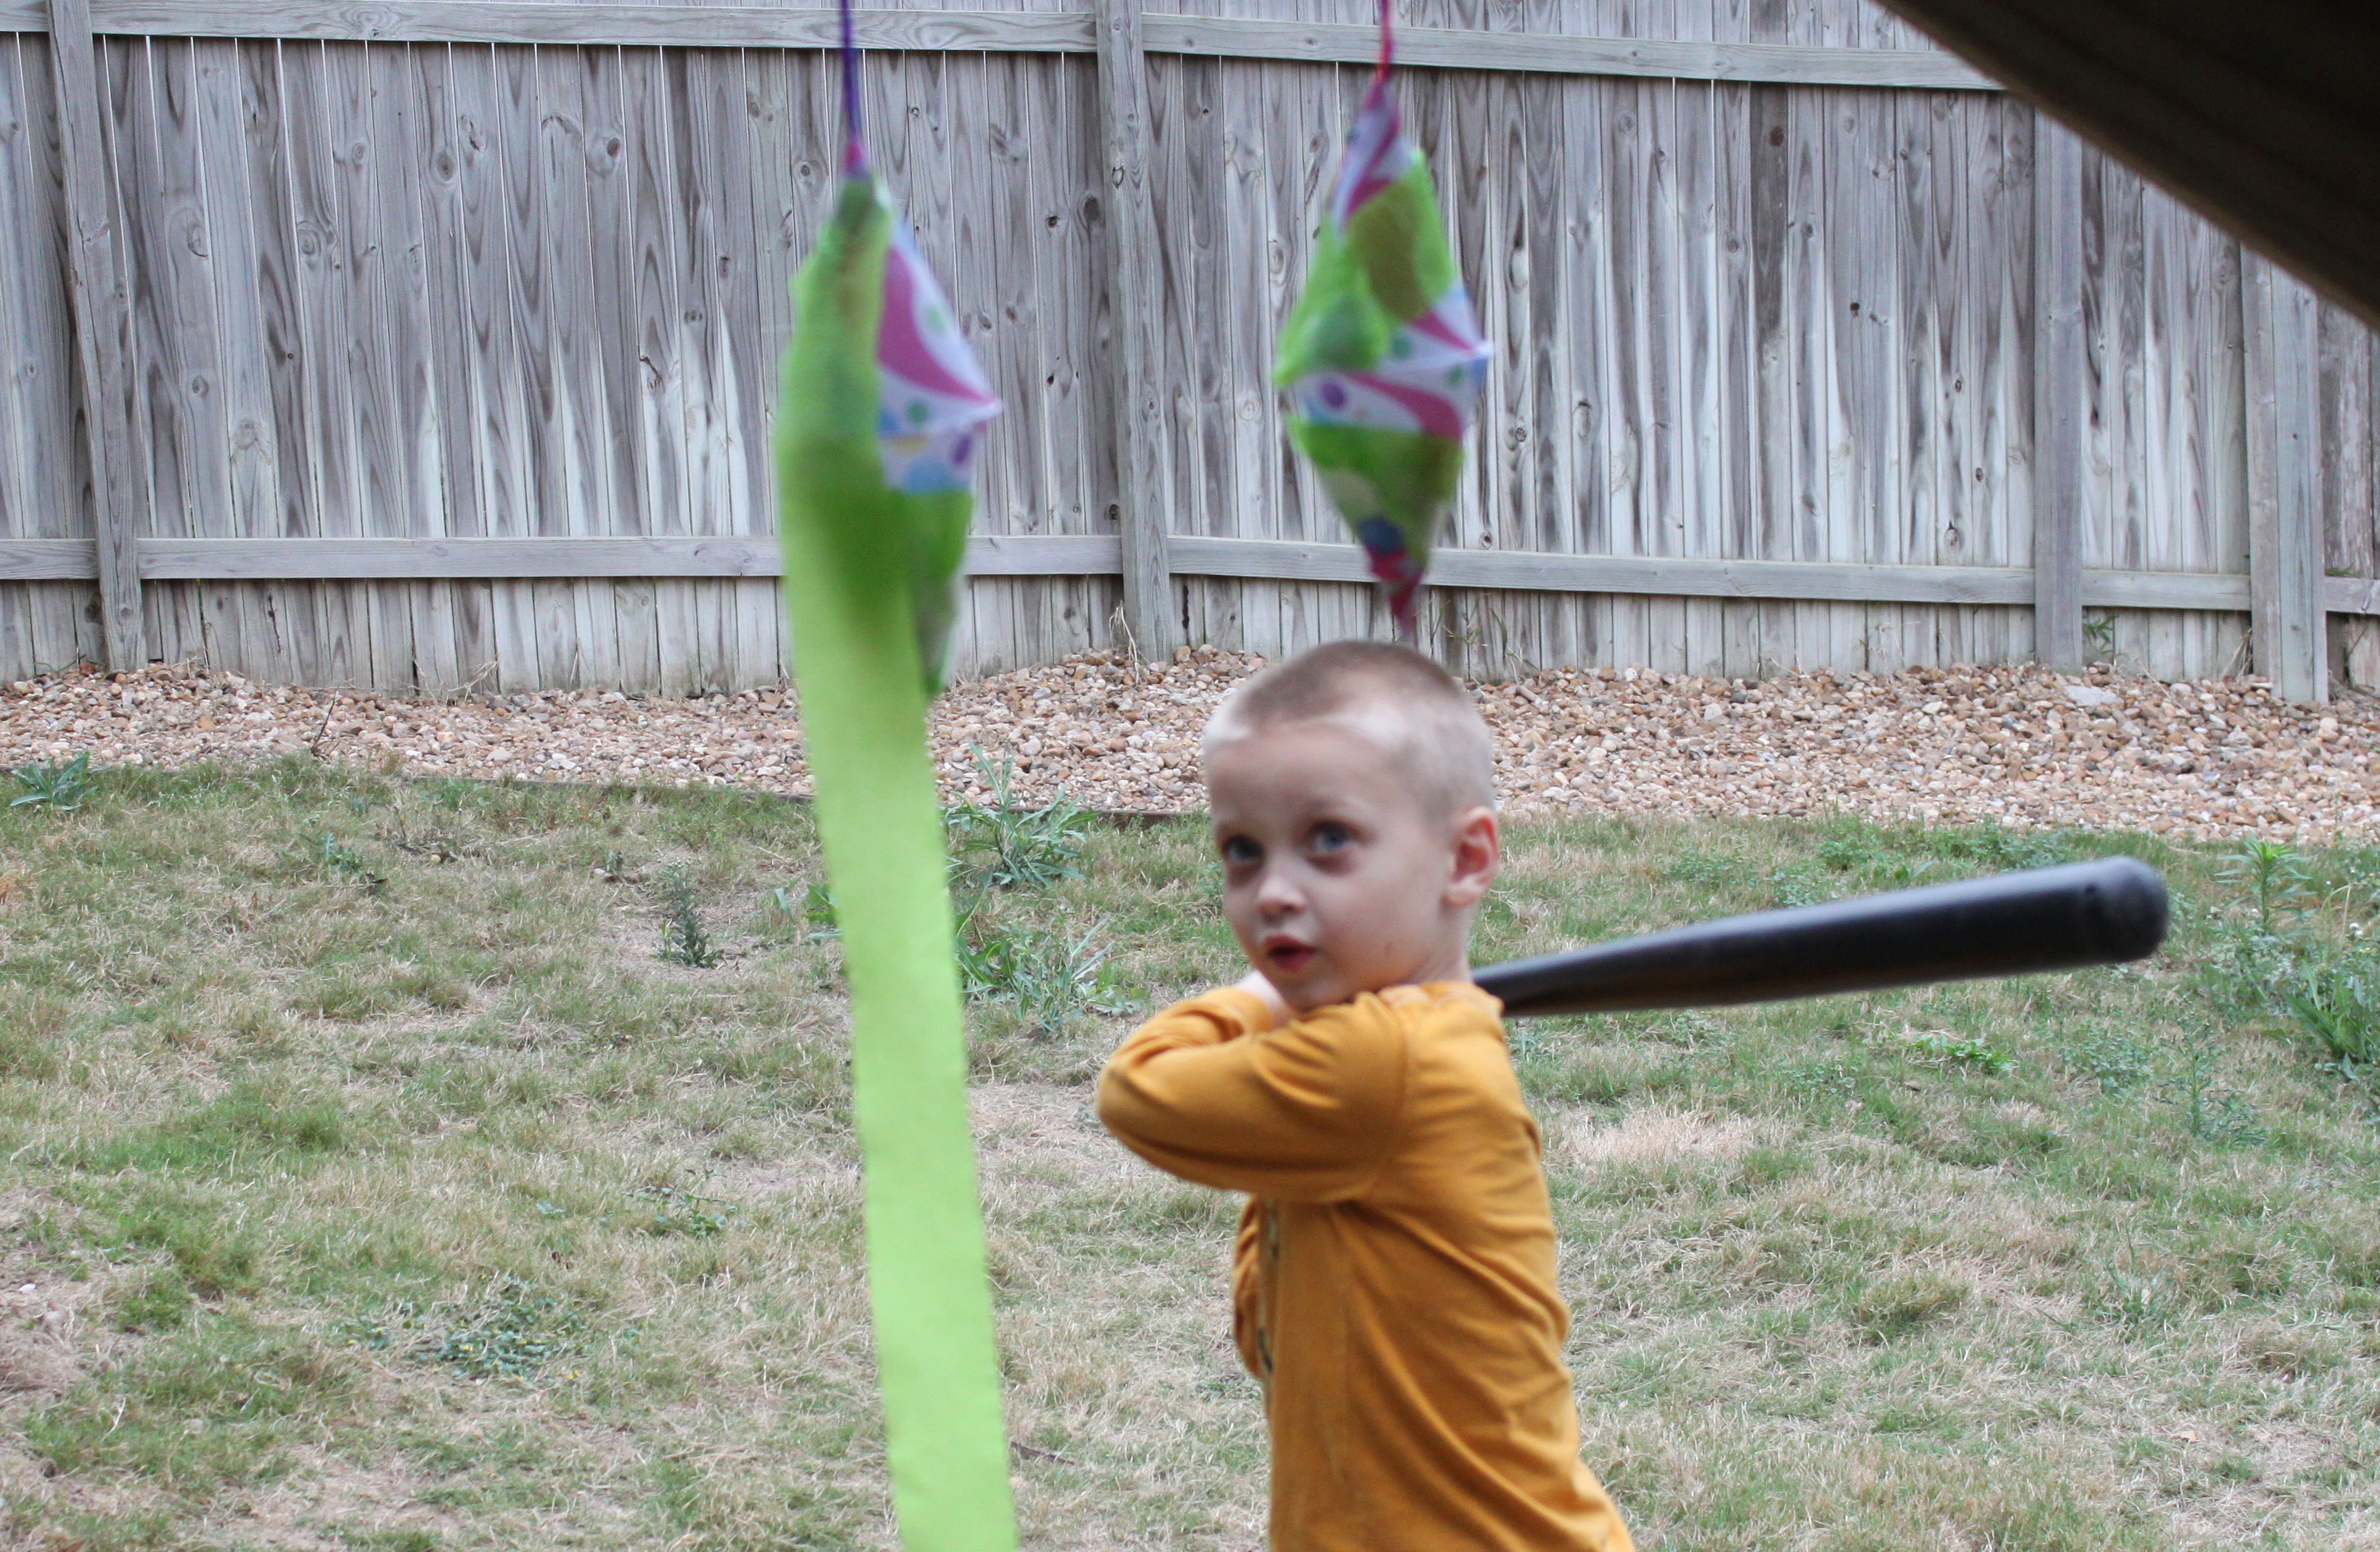
Step 4
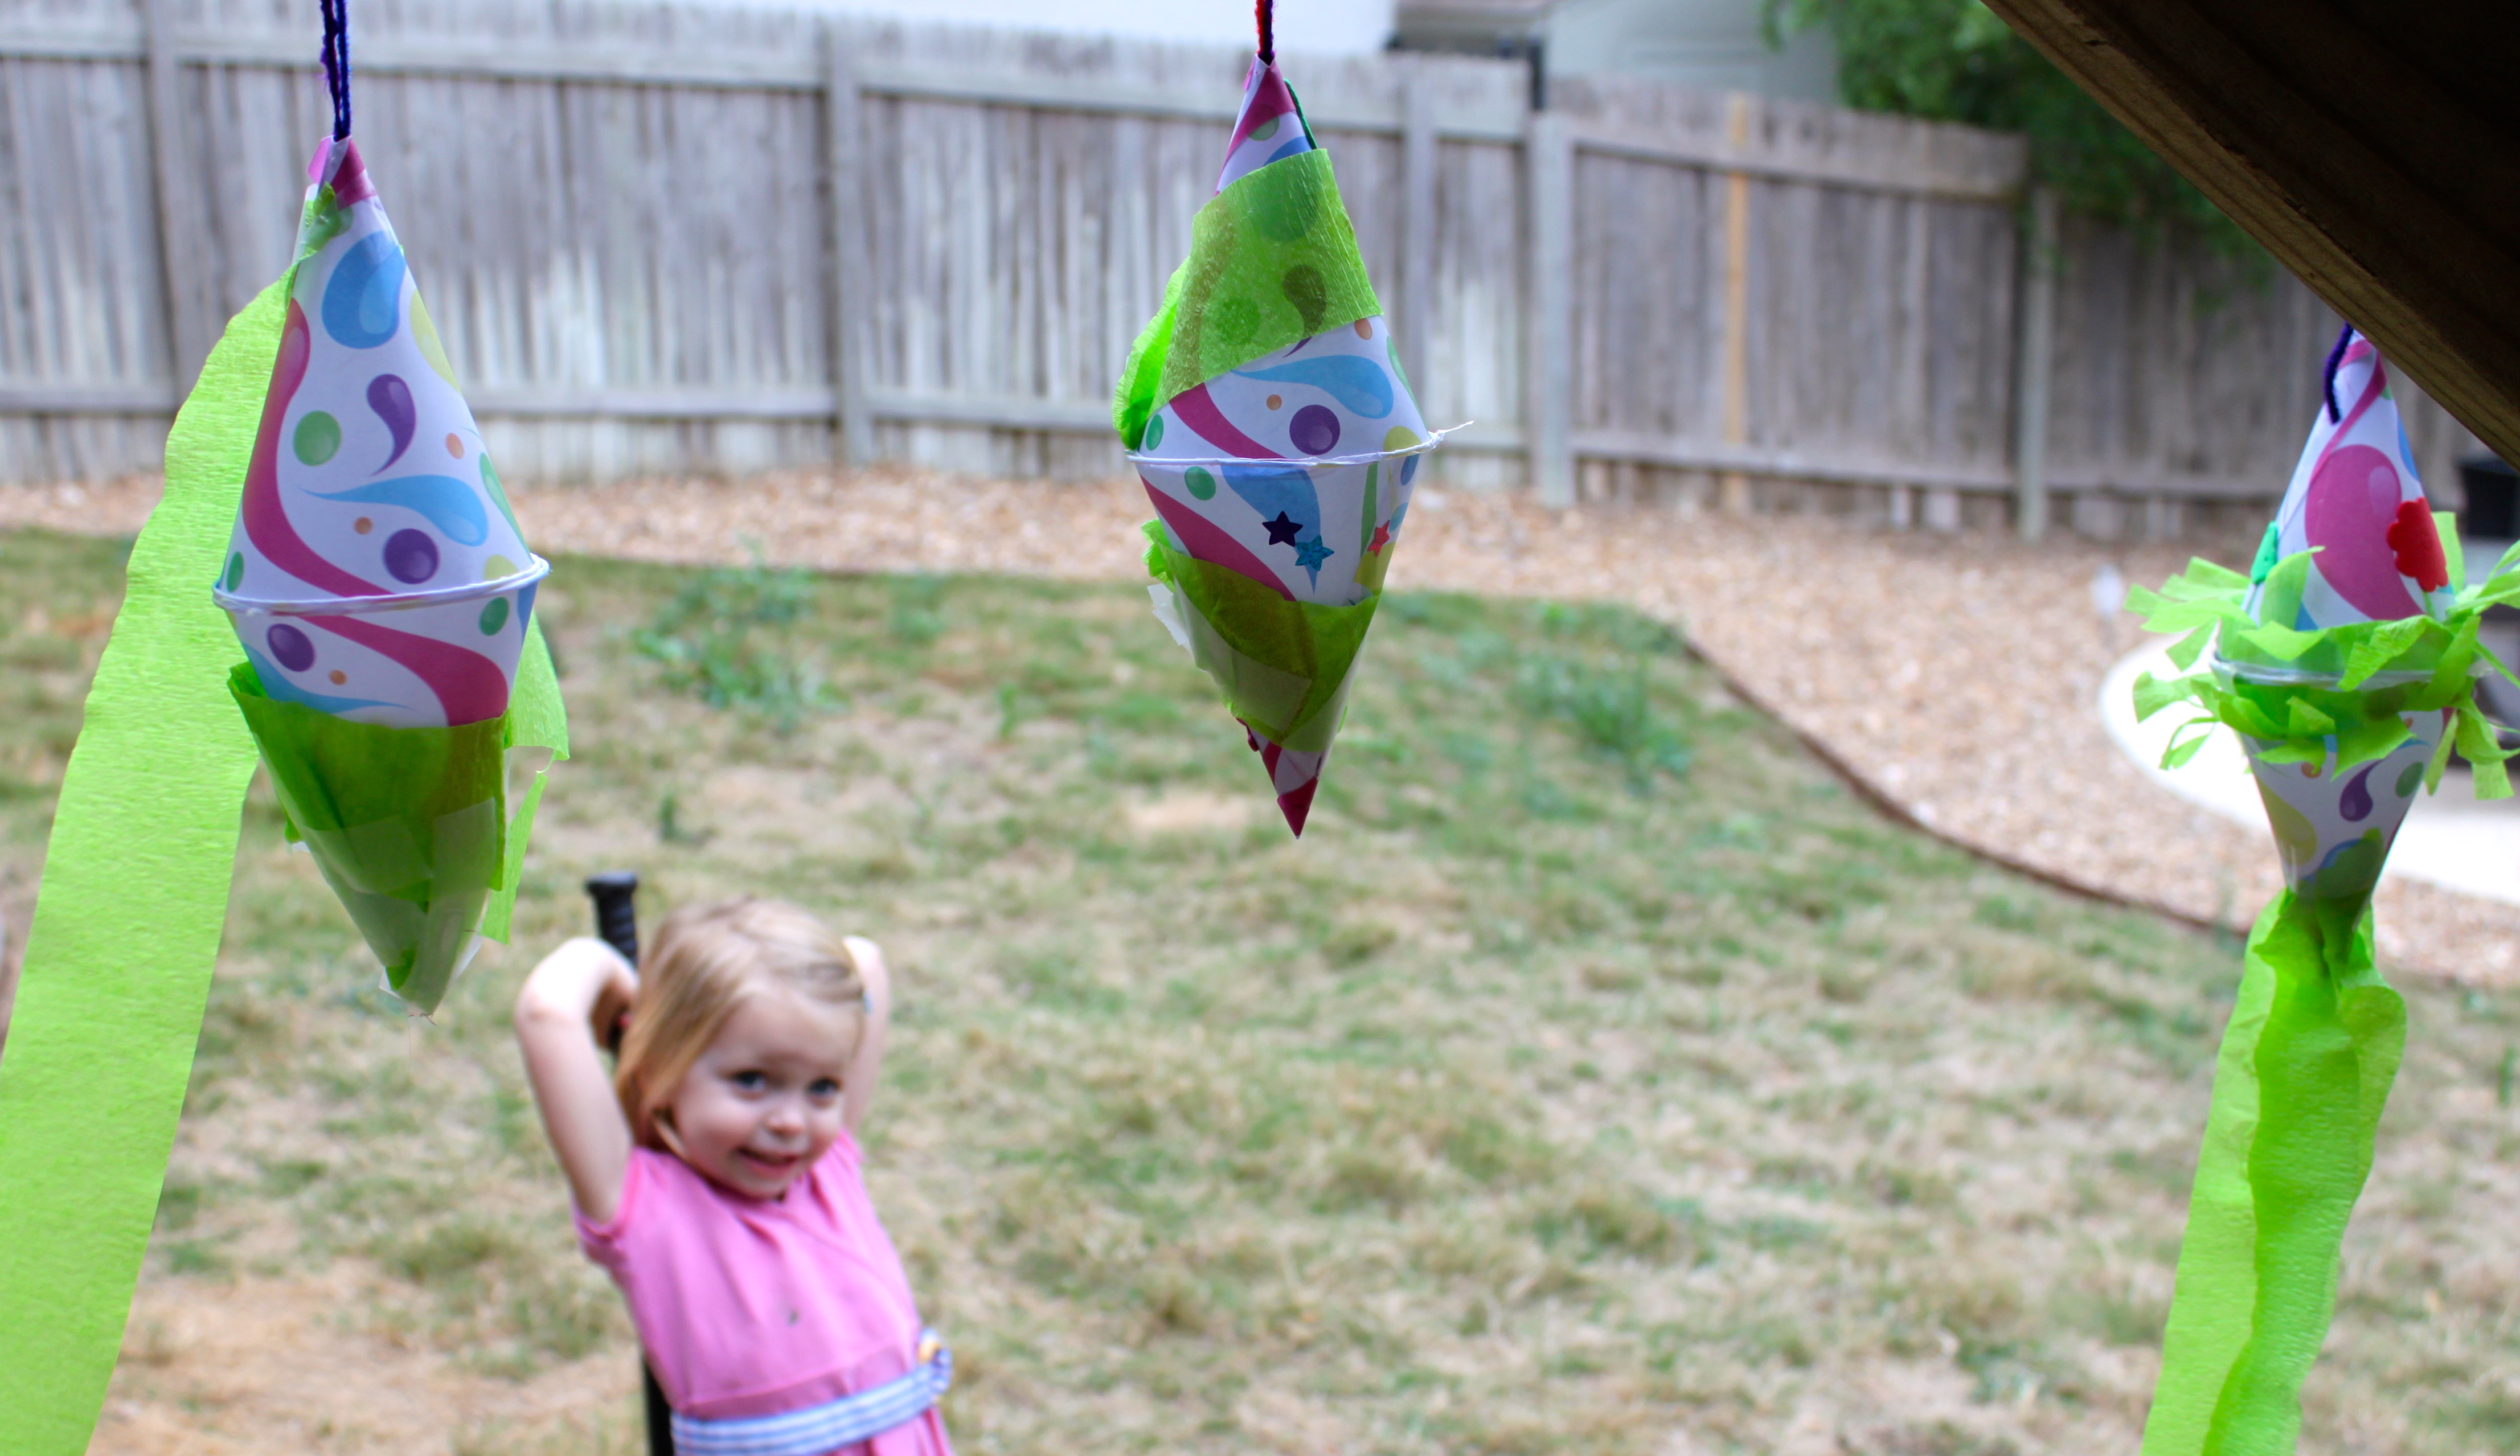
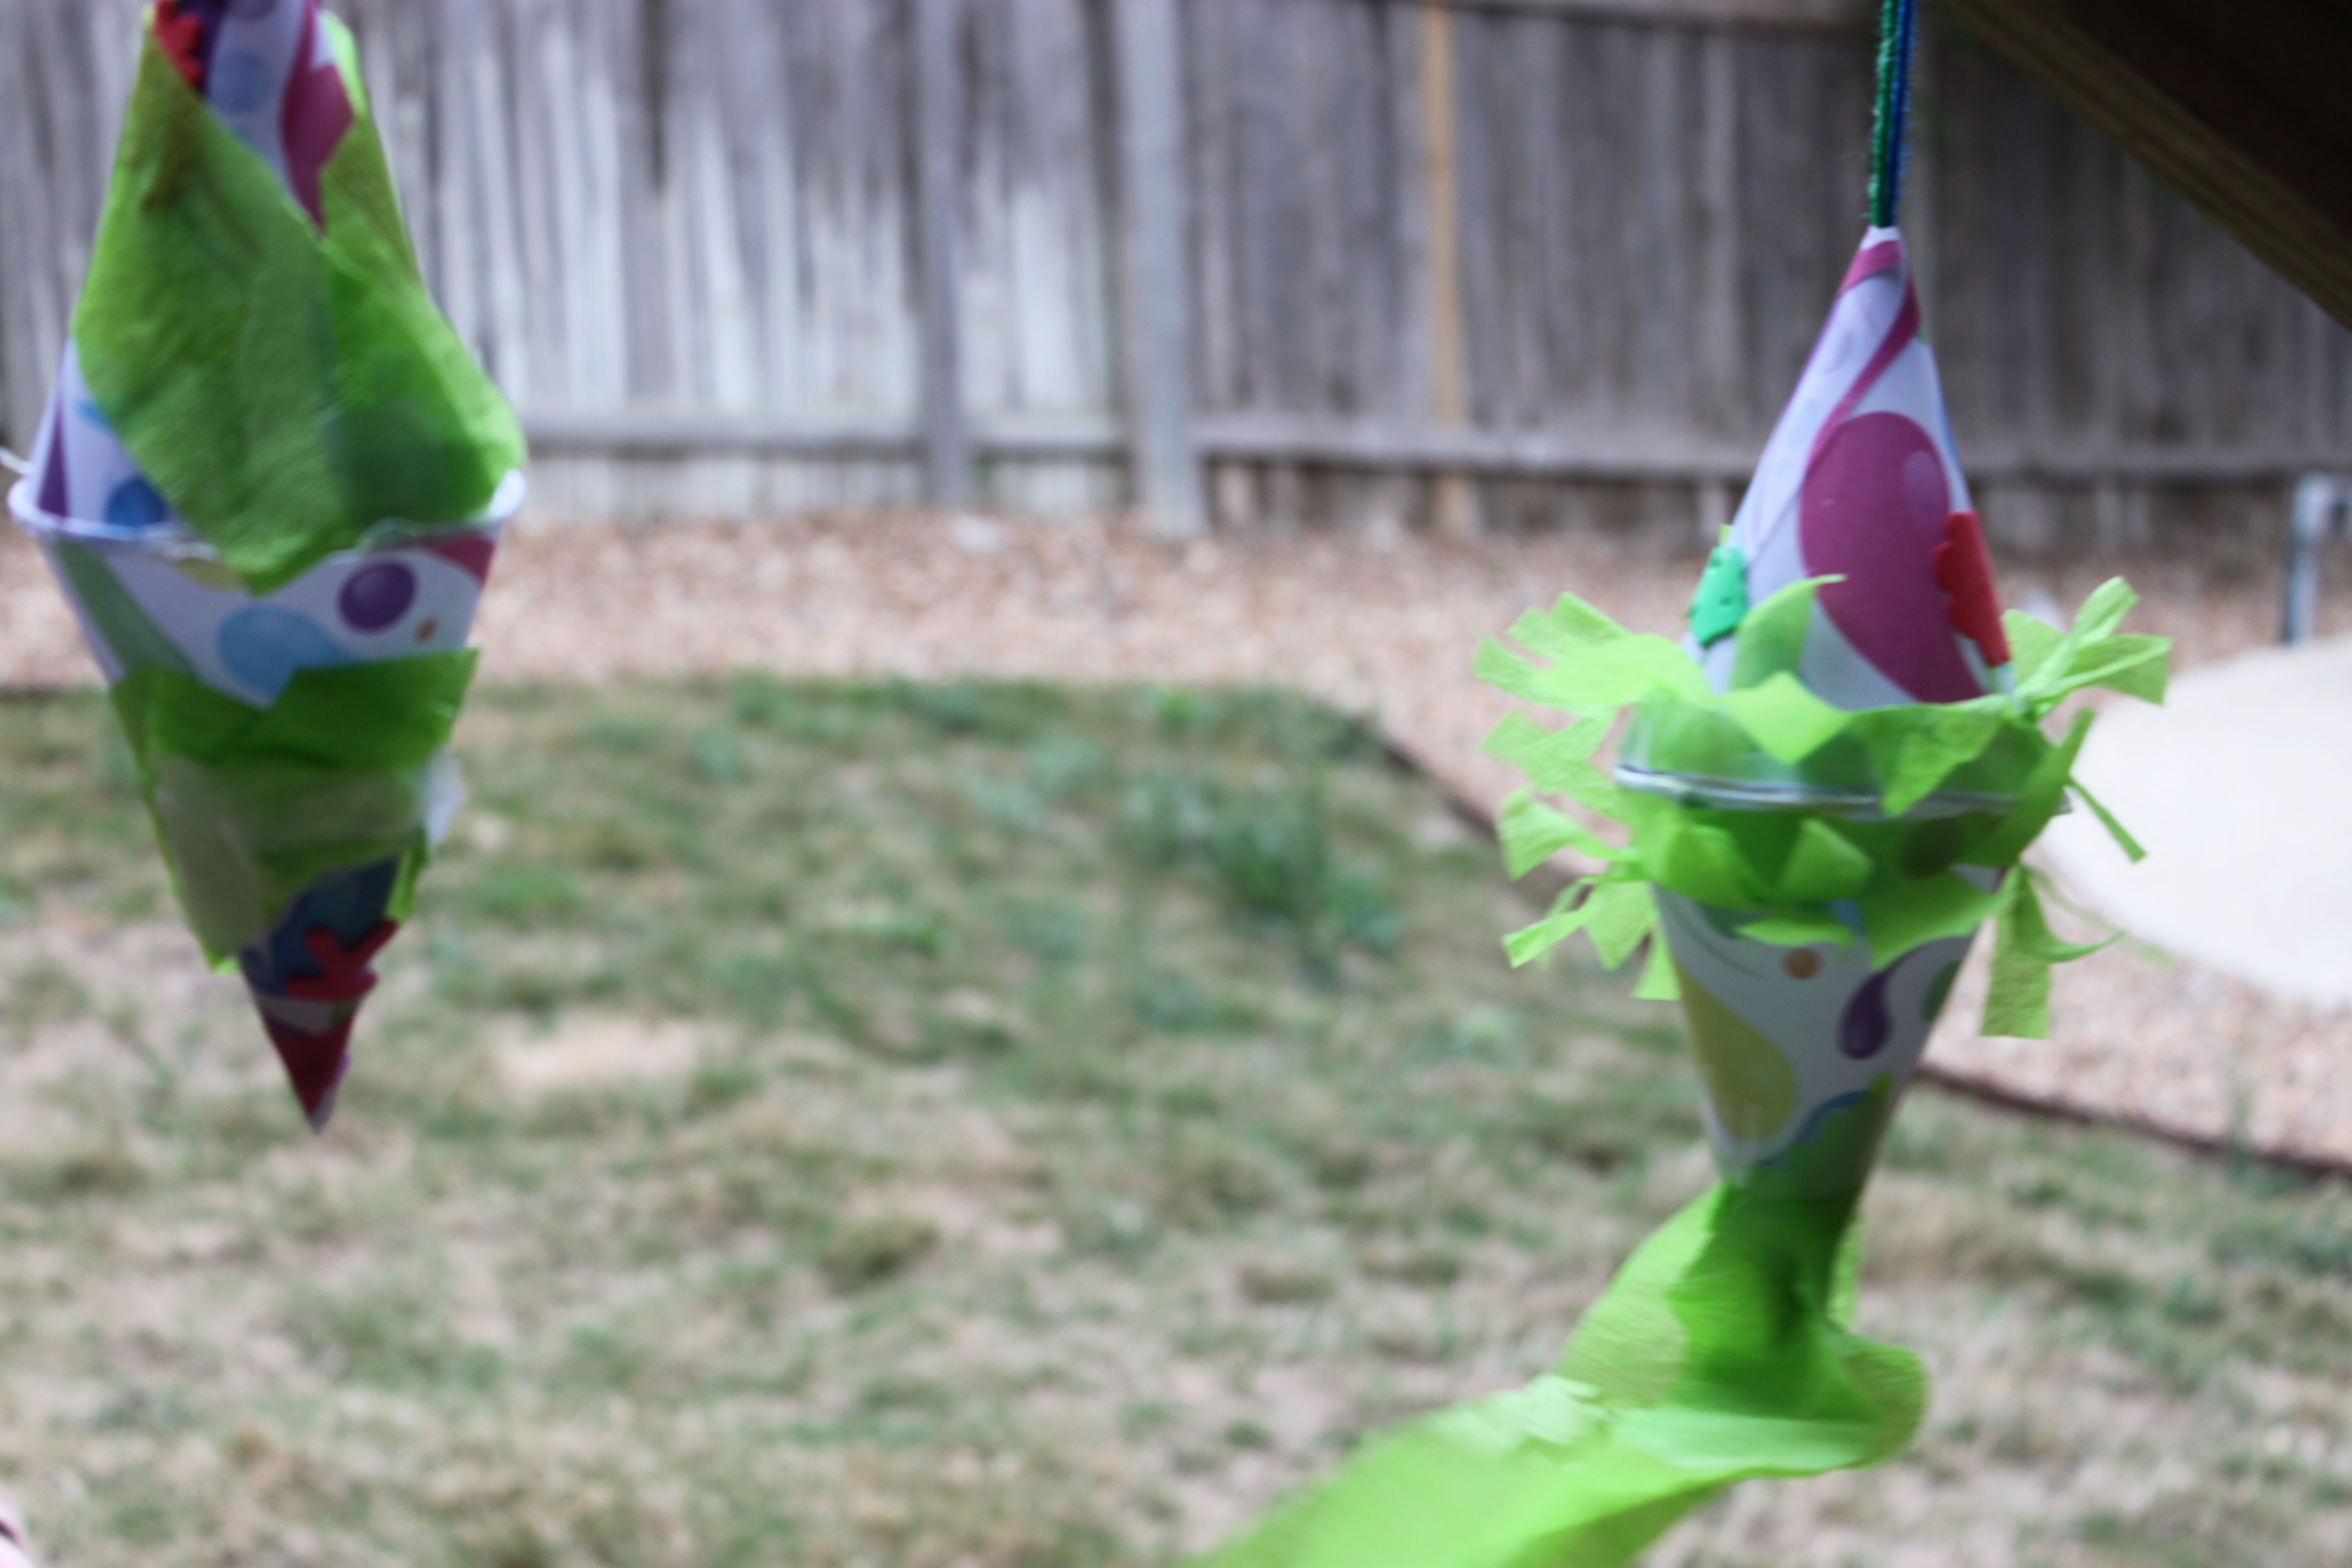
Hang your mini piñata using the loop and extra string. Get ready for action!
Done!
I'm glad we each made one because it gave everyone an opportunity to take a swing at a piñata. It only took a few swings to crack it open. These are a great addition to any party!