Step-by-step tutorial
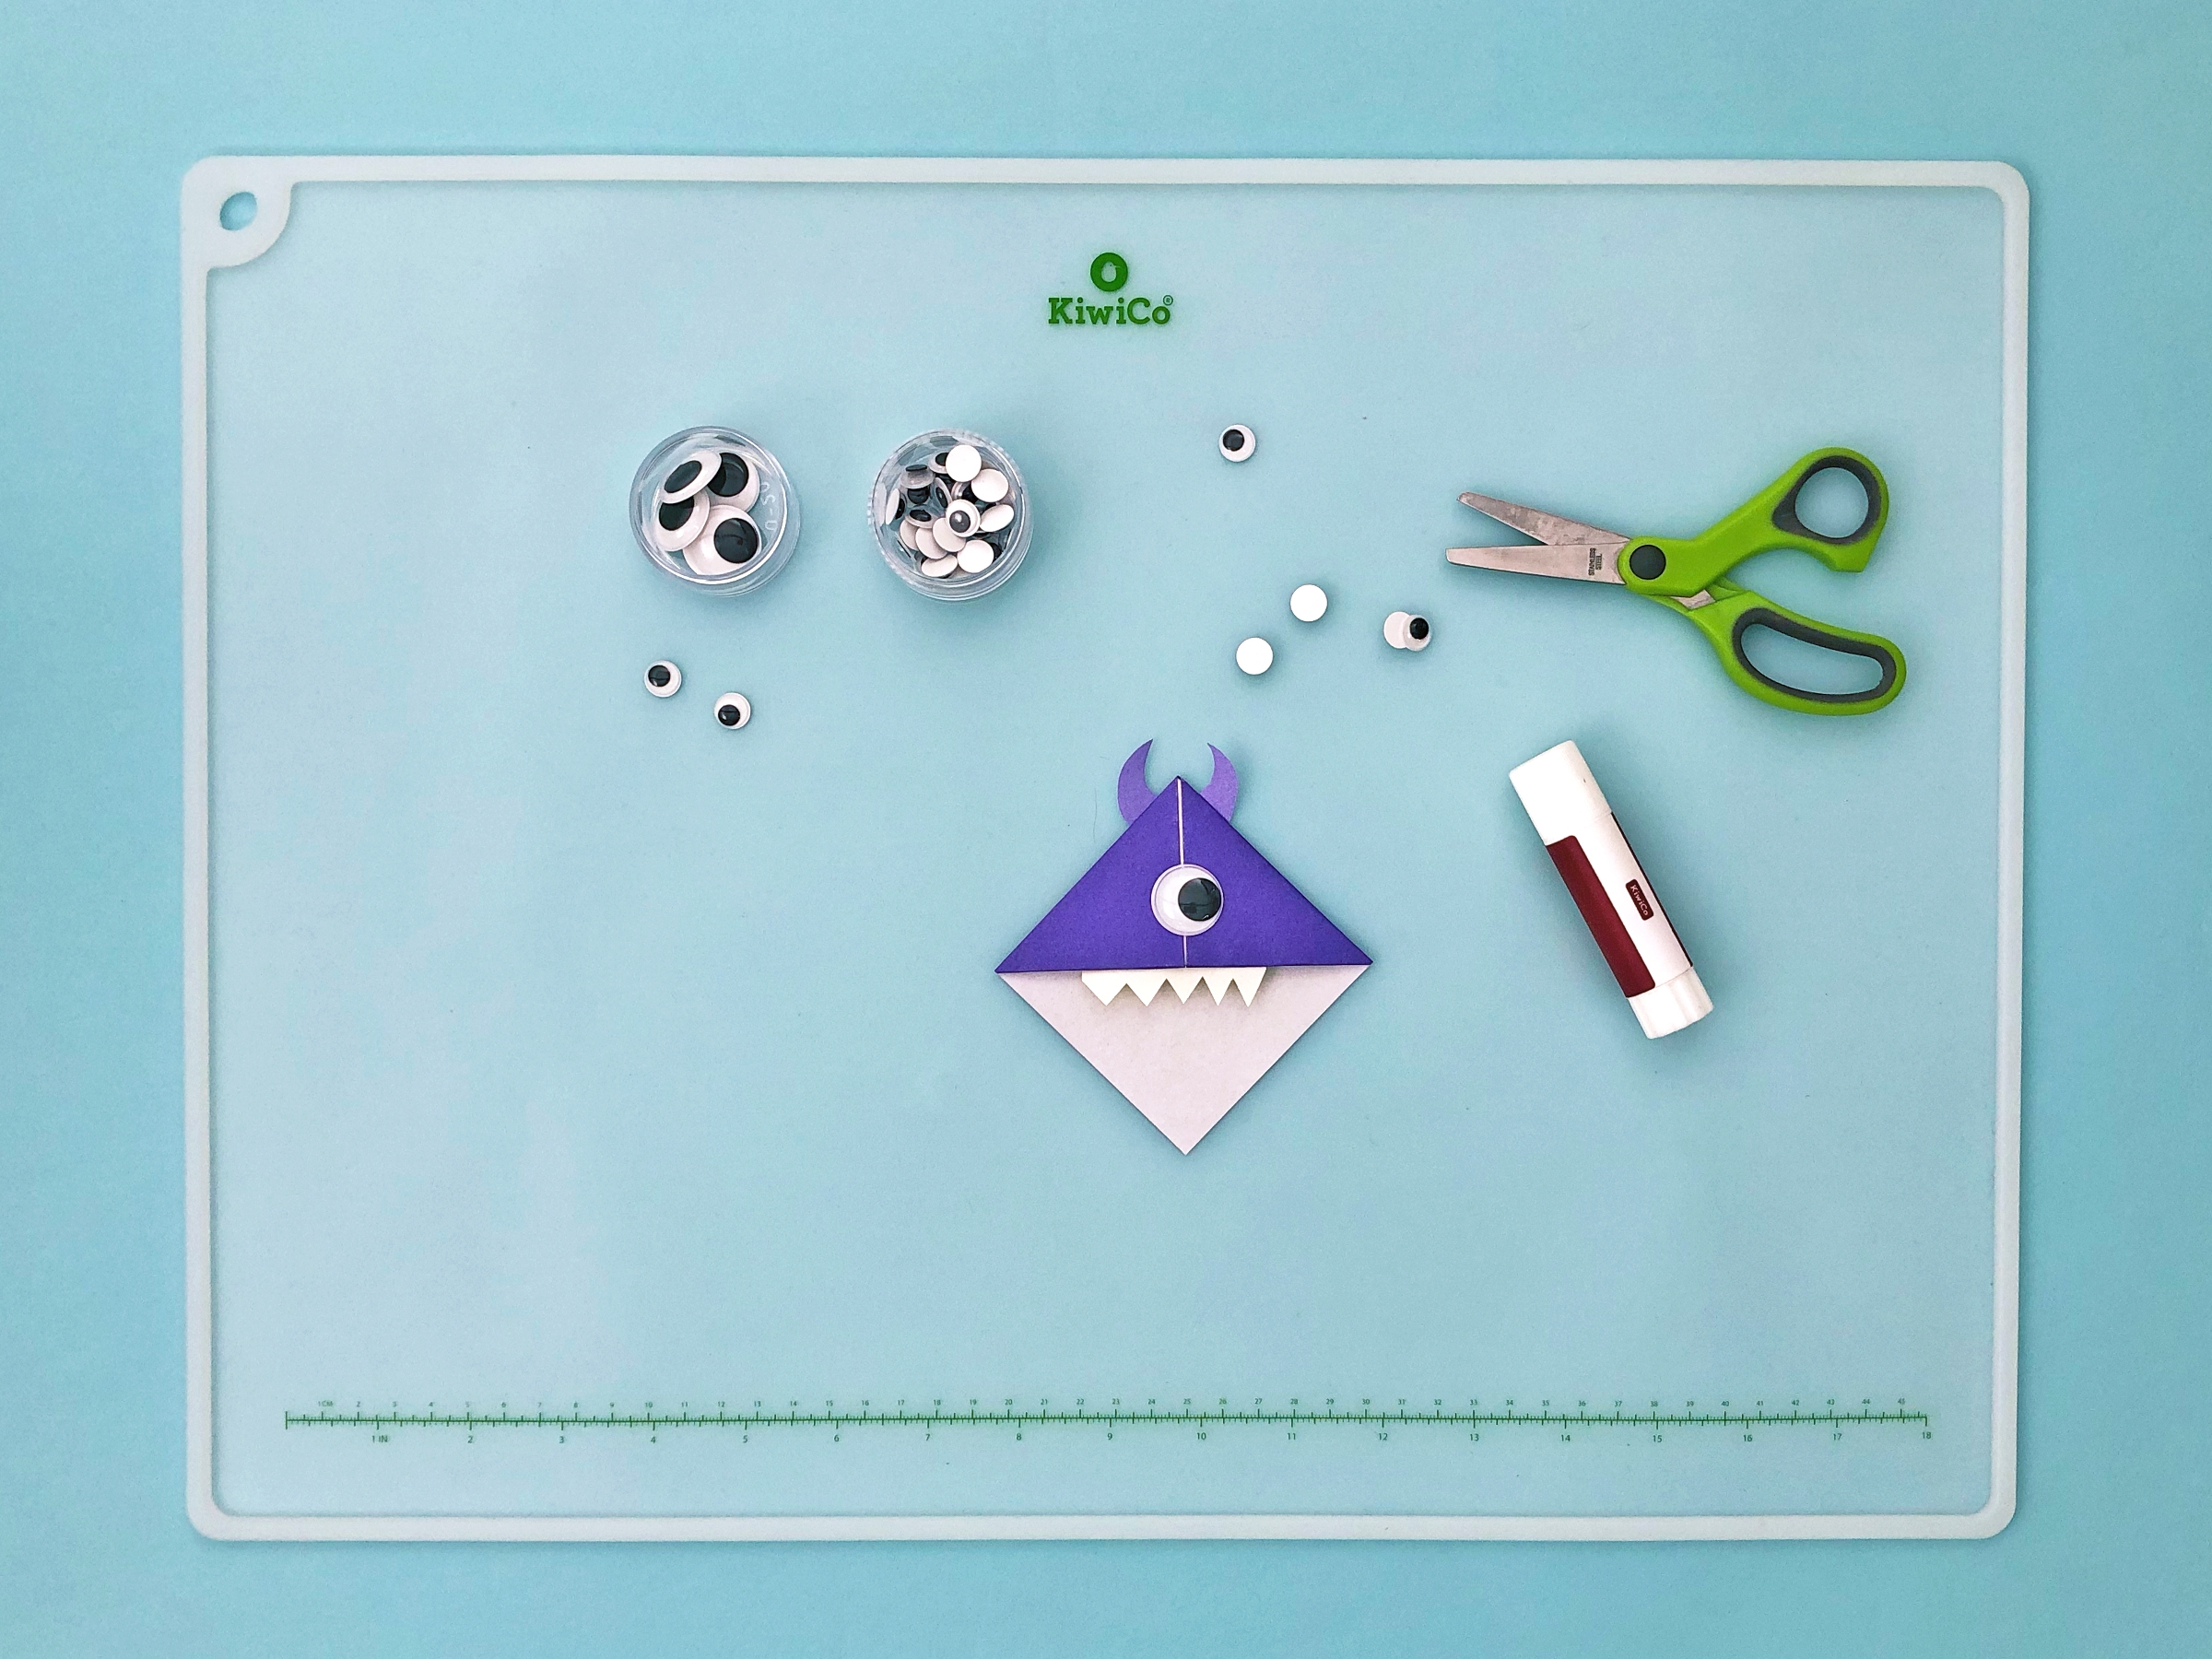
Step 1
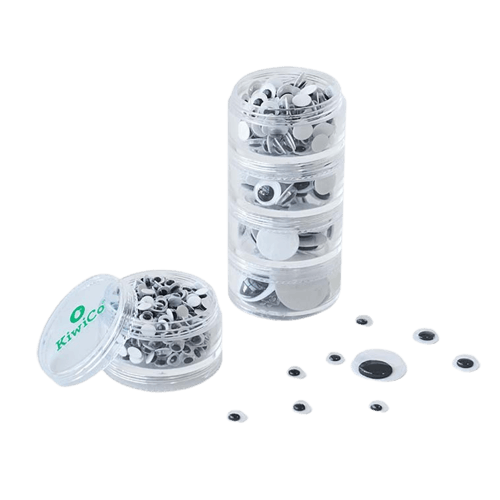
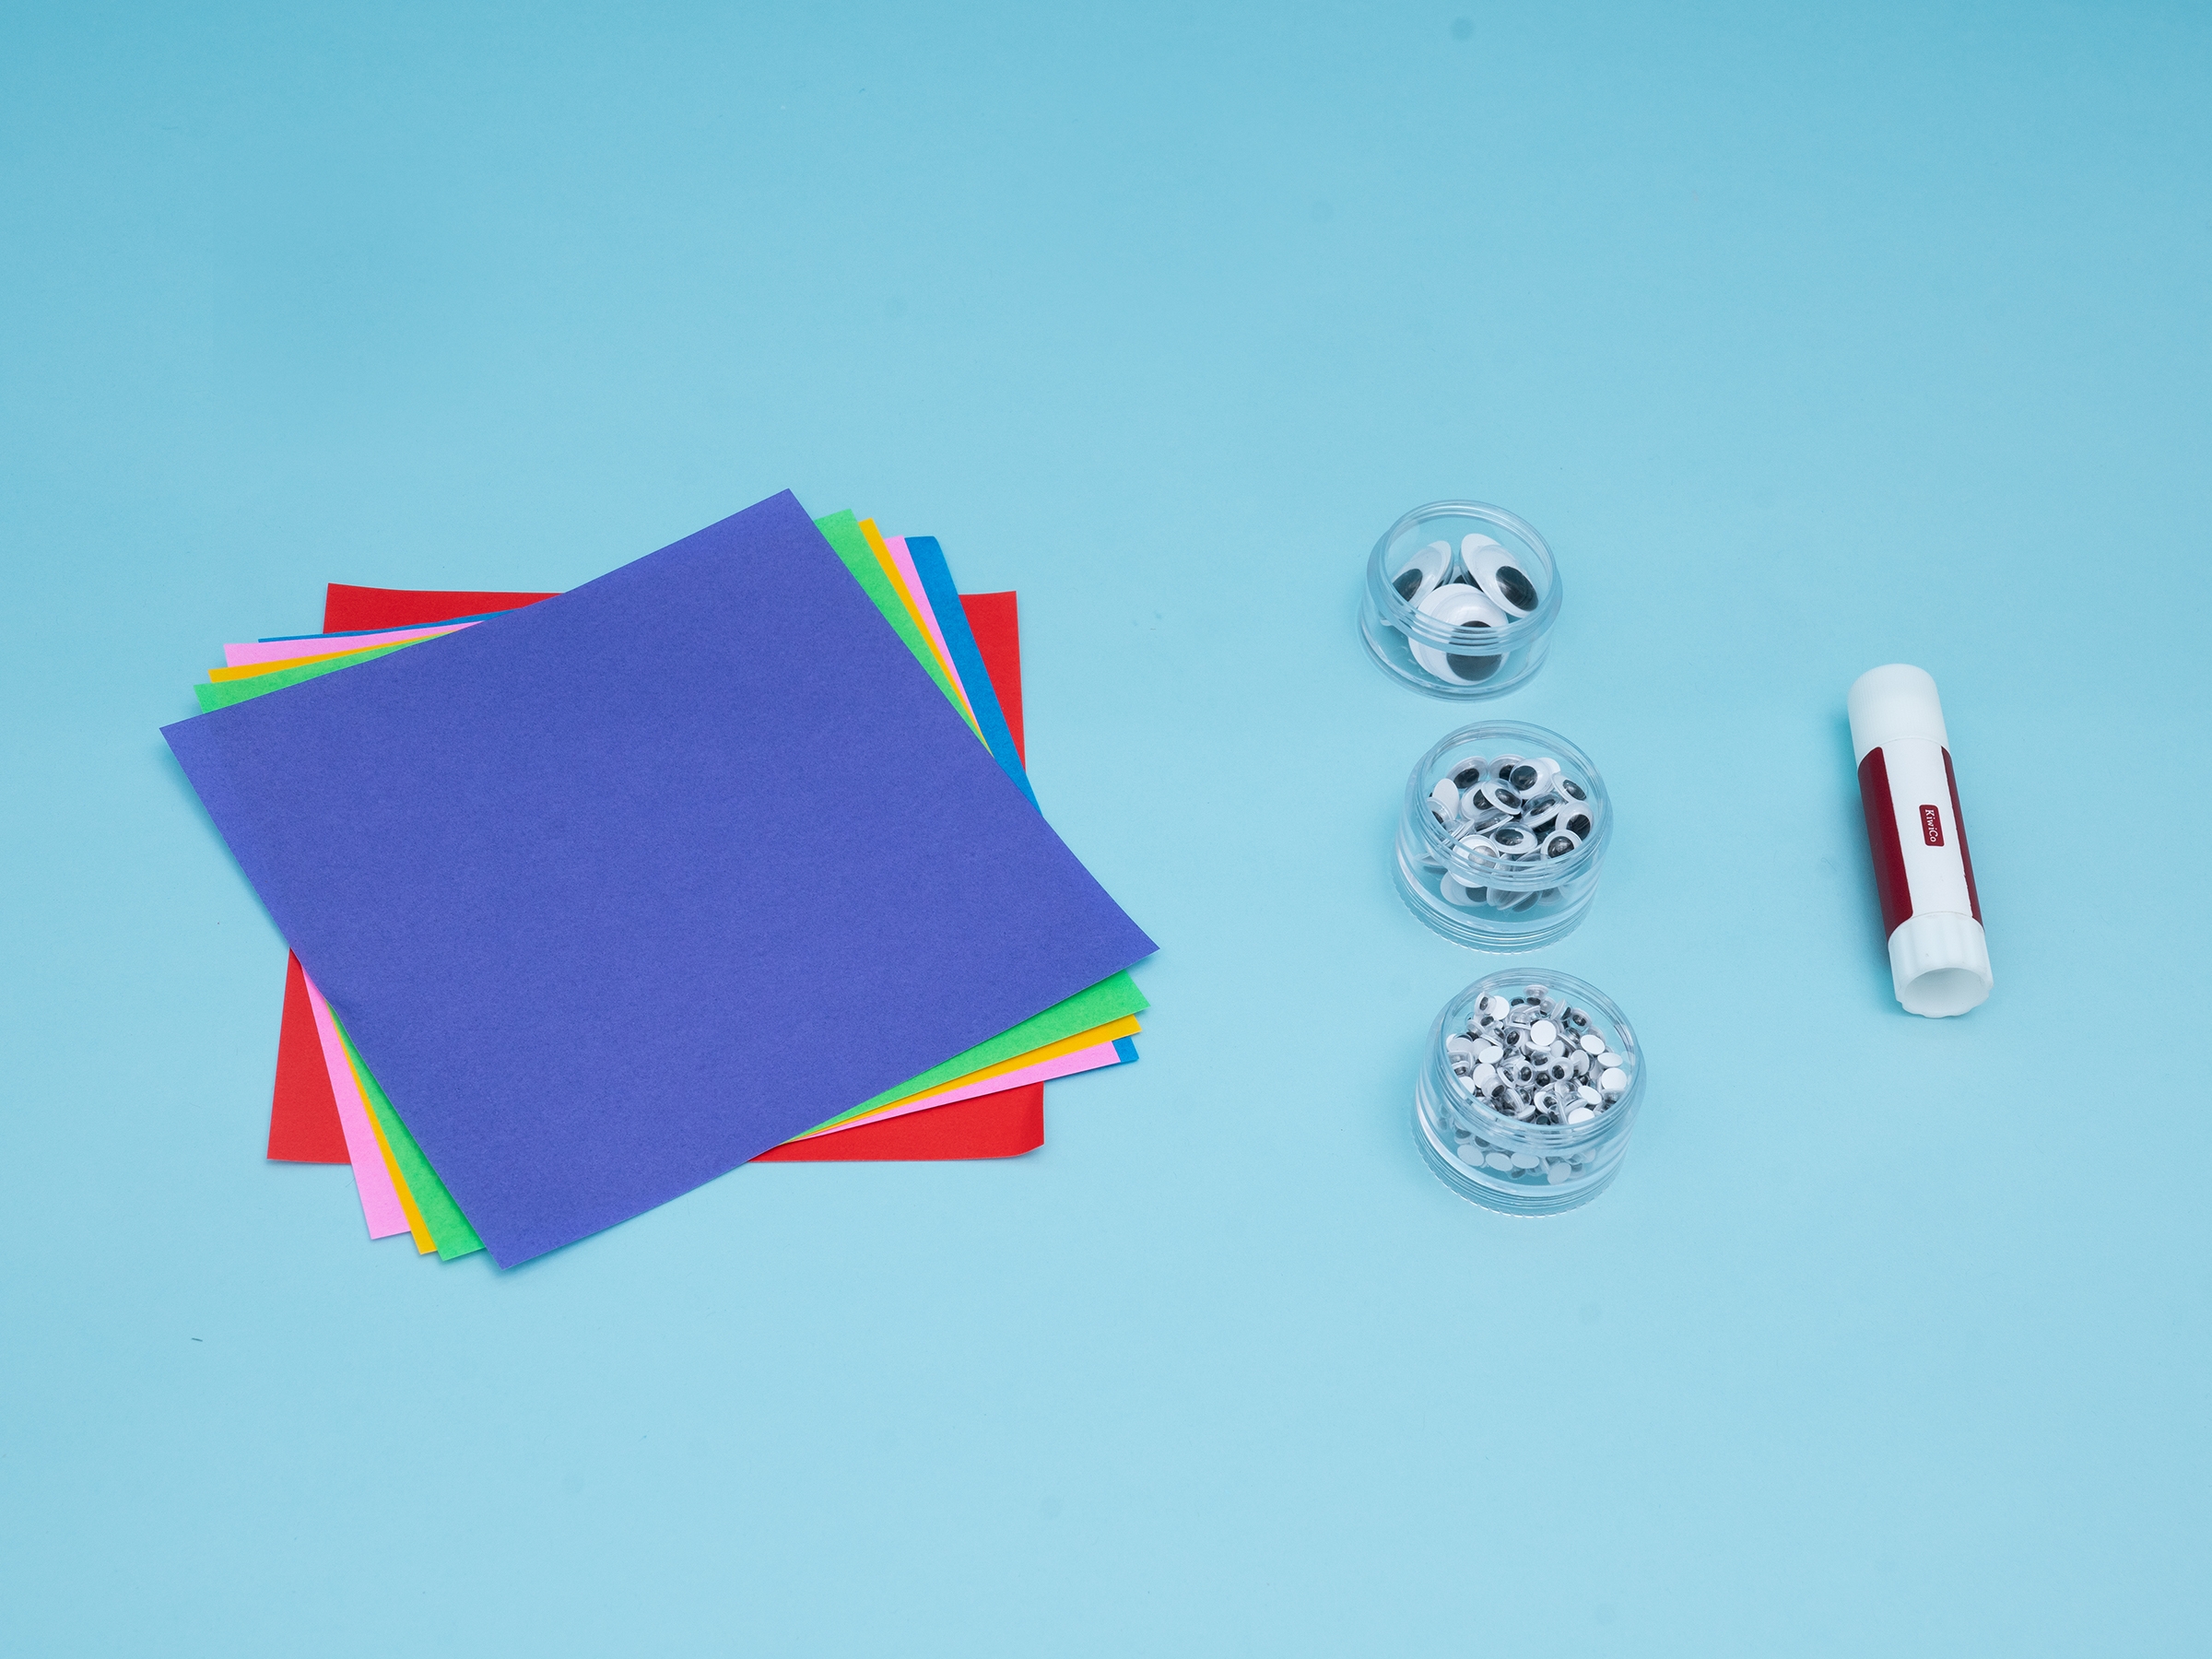
Gather your materials.

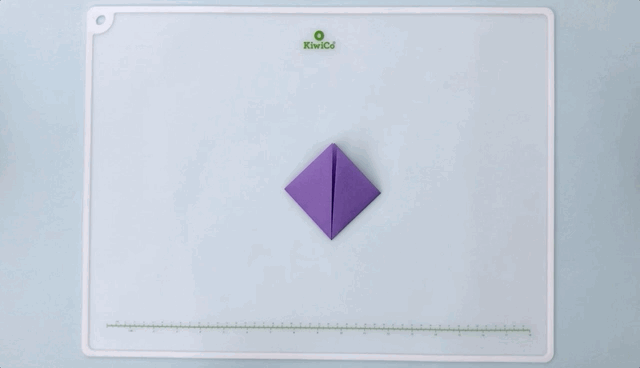
Step 2
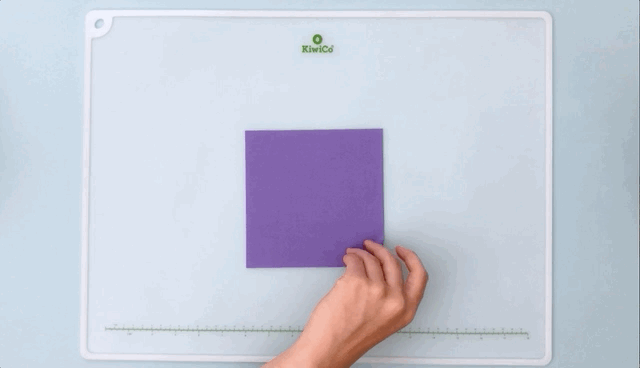
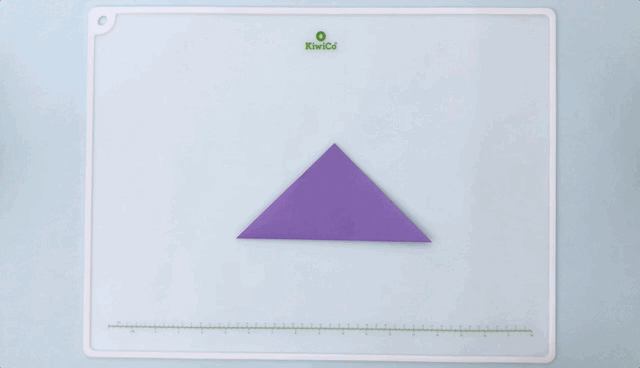
With the back side of the origami paper facing up, fold the paper in half along the diagonal to form a triangle.
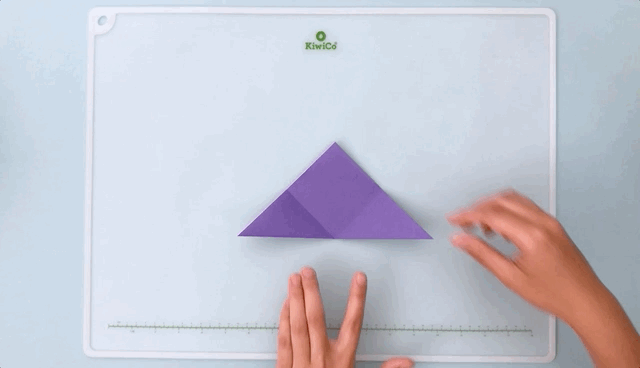
Step 3
Fold up the corners of the long end of the triangle so that they meet the middle corner of the triangle. This should form a square.
Step 4
Unfold the folds you just made. You should have a triangle again.
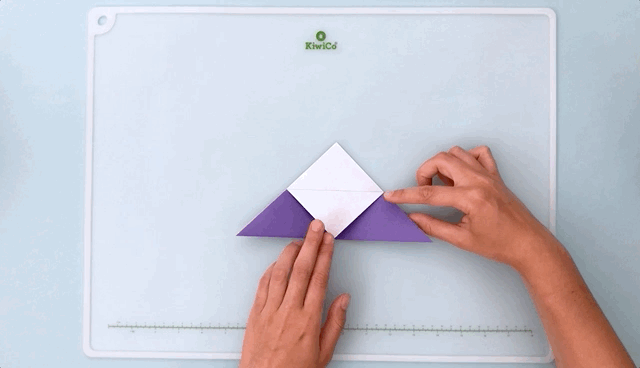
Step 5
Take the top flap of the top-middle corner and fold it down so that it meets the long edge of the triangle. The edges of the folded-down flap should line up with the fold lines from step 4.
Step 6
One corner at a time, fold up the corners of the long end of the triangle (the same ones from step 4, along the same fold line), and then tuck them into the space behind the flap formed in step 5. Fold along the folded edge of the flap to secure. Your origami bookmark is constructed!
Step 7
Decorate your bookmark! Add wiggly eyes for a fun touch. We made ours into a monster!
Tip
Make sure not to glue the pocket closed!
Step 8
To use your bookmark, slide your page into the pocket in your bookmark to mark your place.

Learn more

Origami is the art of paper folding, which originated in Japan almost 1500 years ago. In Japanese, “ori” means “to fold”, and “kami” means “paper”. Today, people all over the globe practice origami and create their own patterns that turn 2D paper into 3D masterpieces. NASA engineers have even used origami techniques to design self-assembling spacecraft!
For more origami projects, try folding up a paper bracelet, a fortune cookie, or even a fidget spinner!
Done!