Step-by-step tutorial

Fact

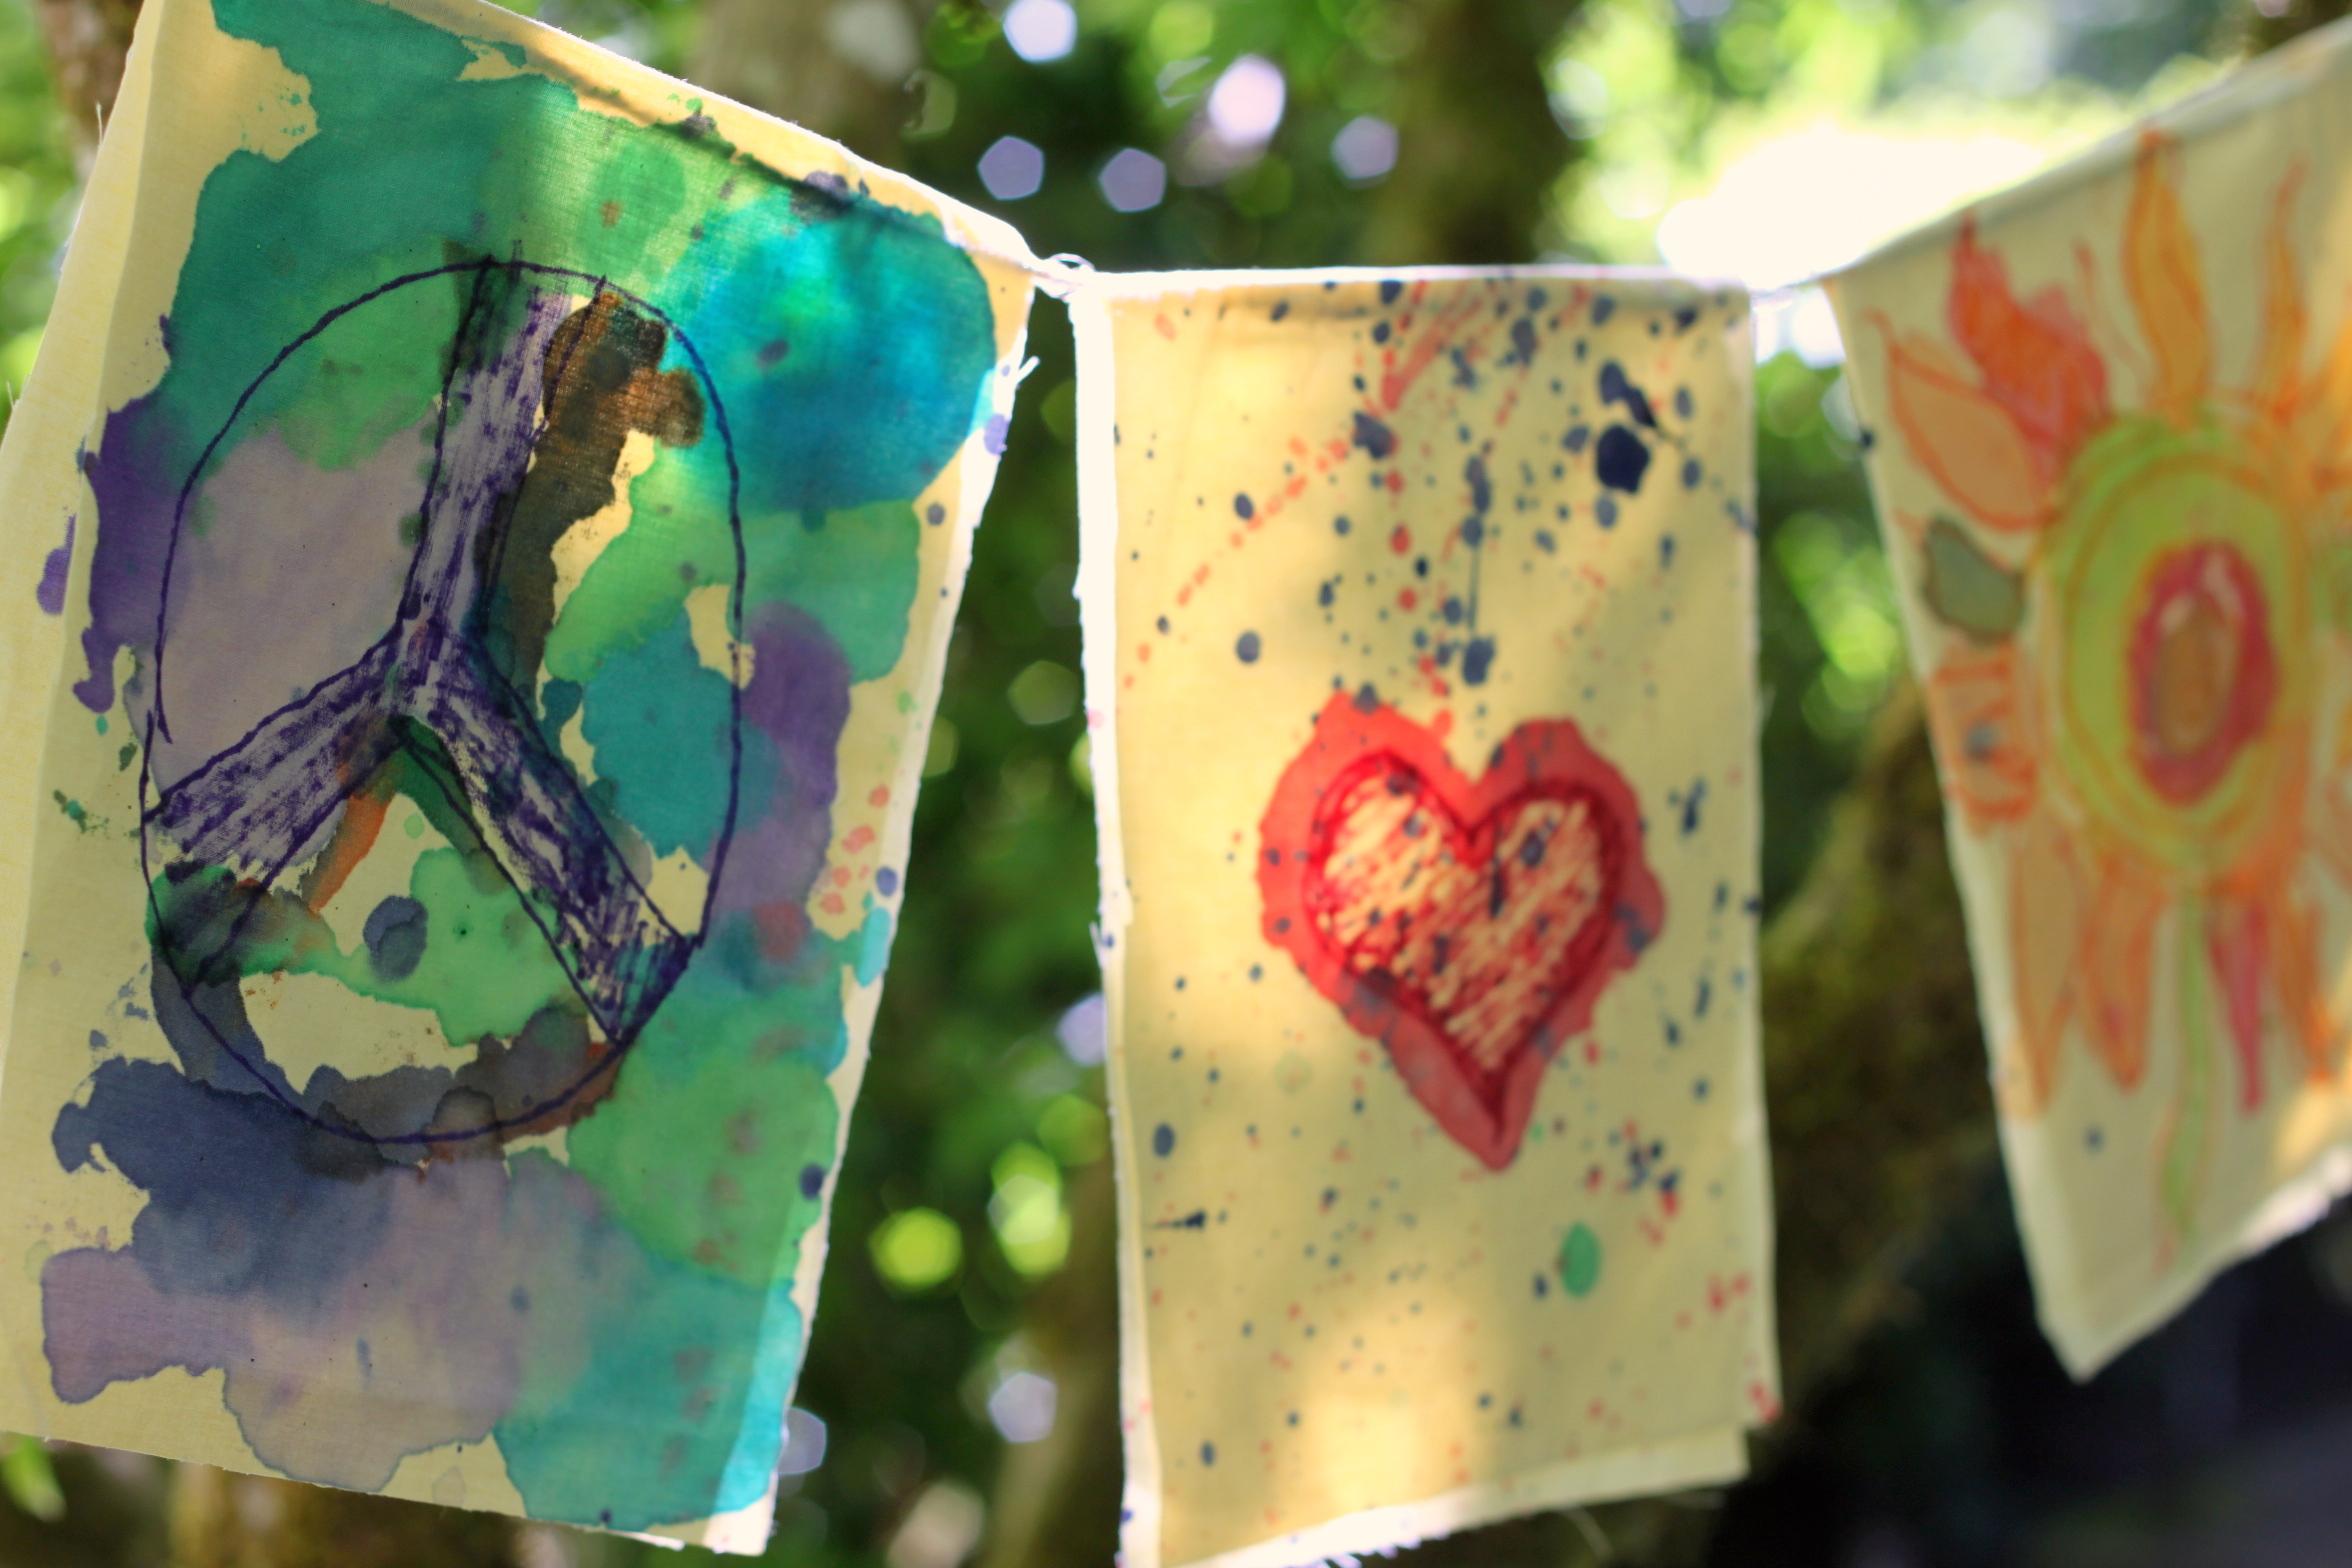
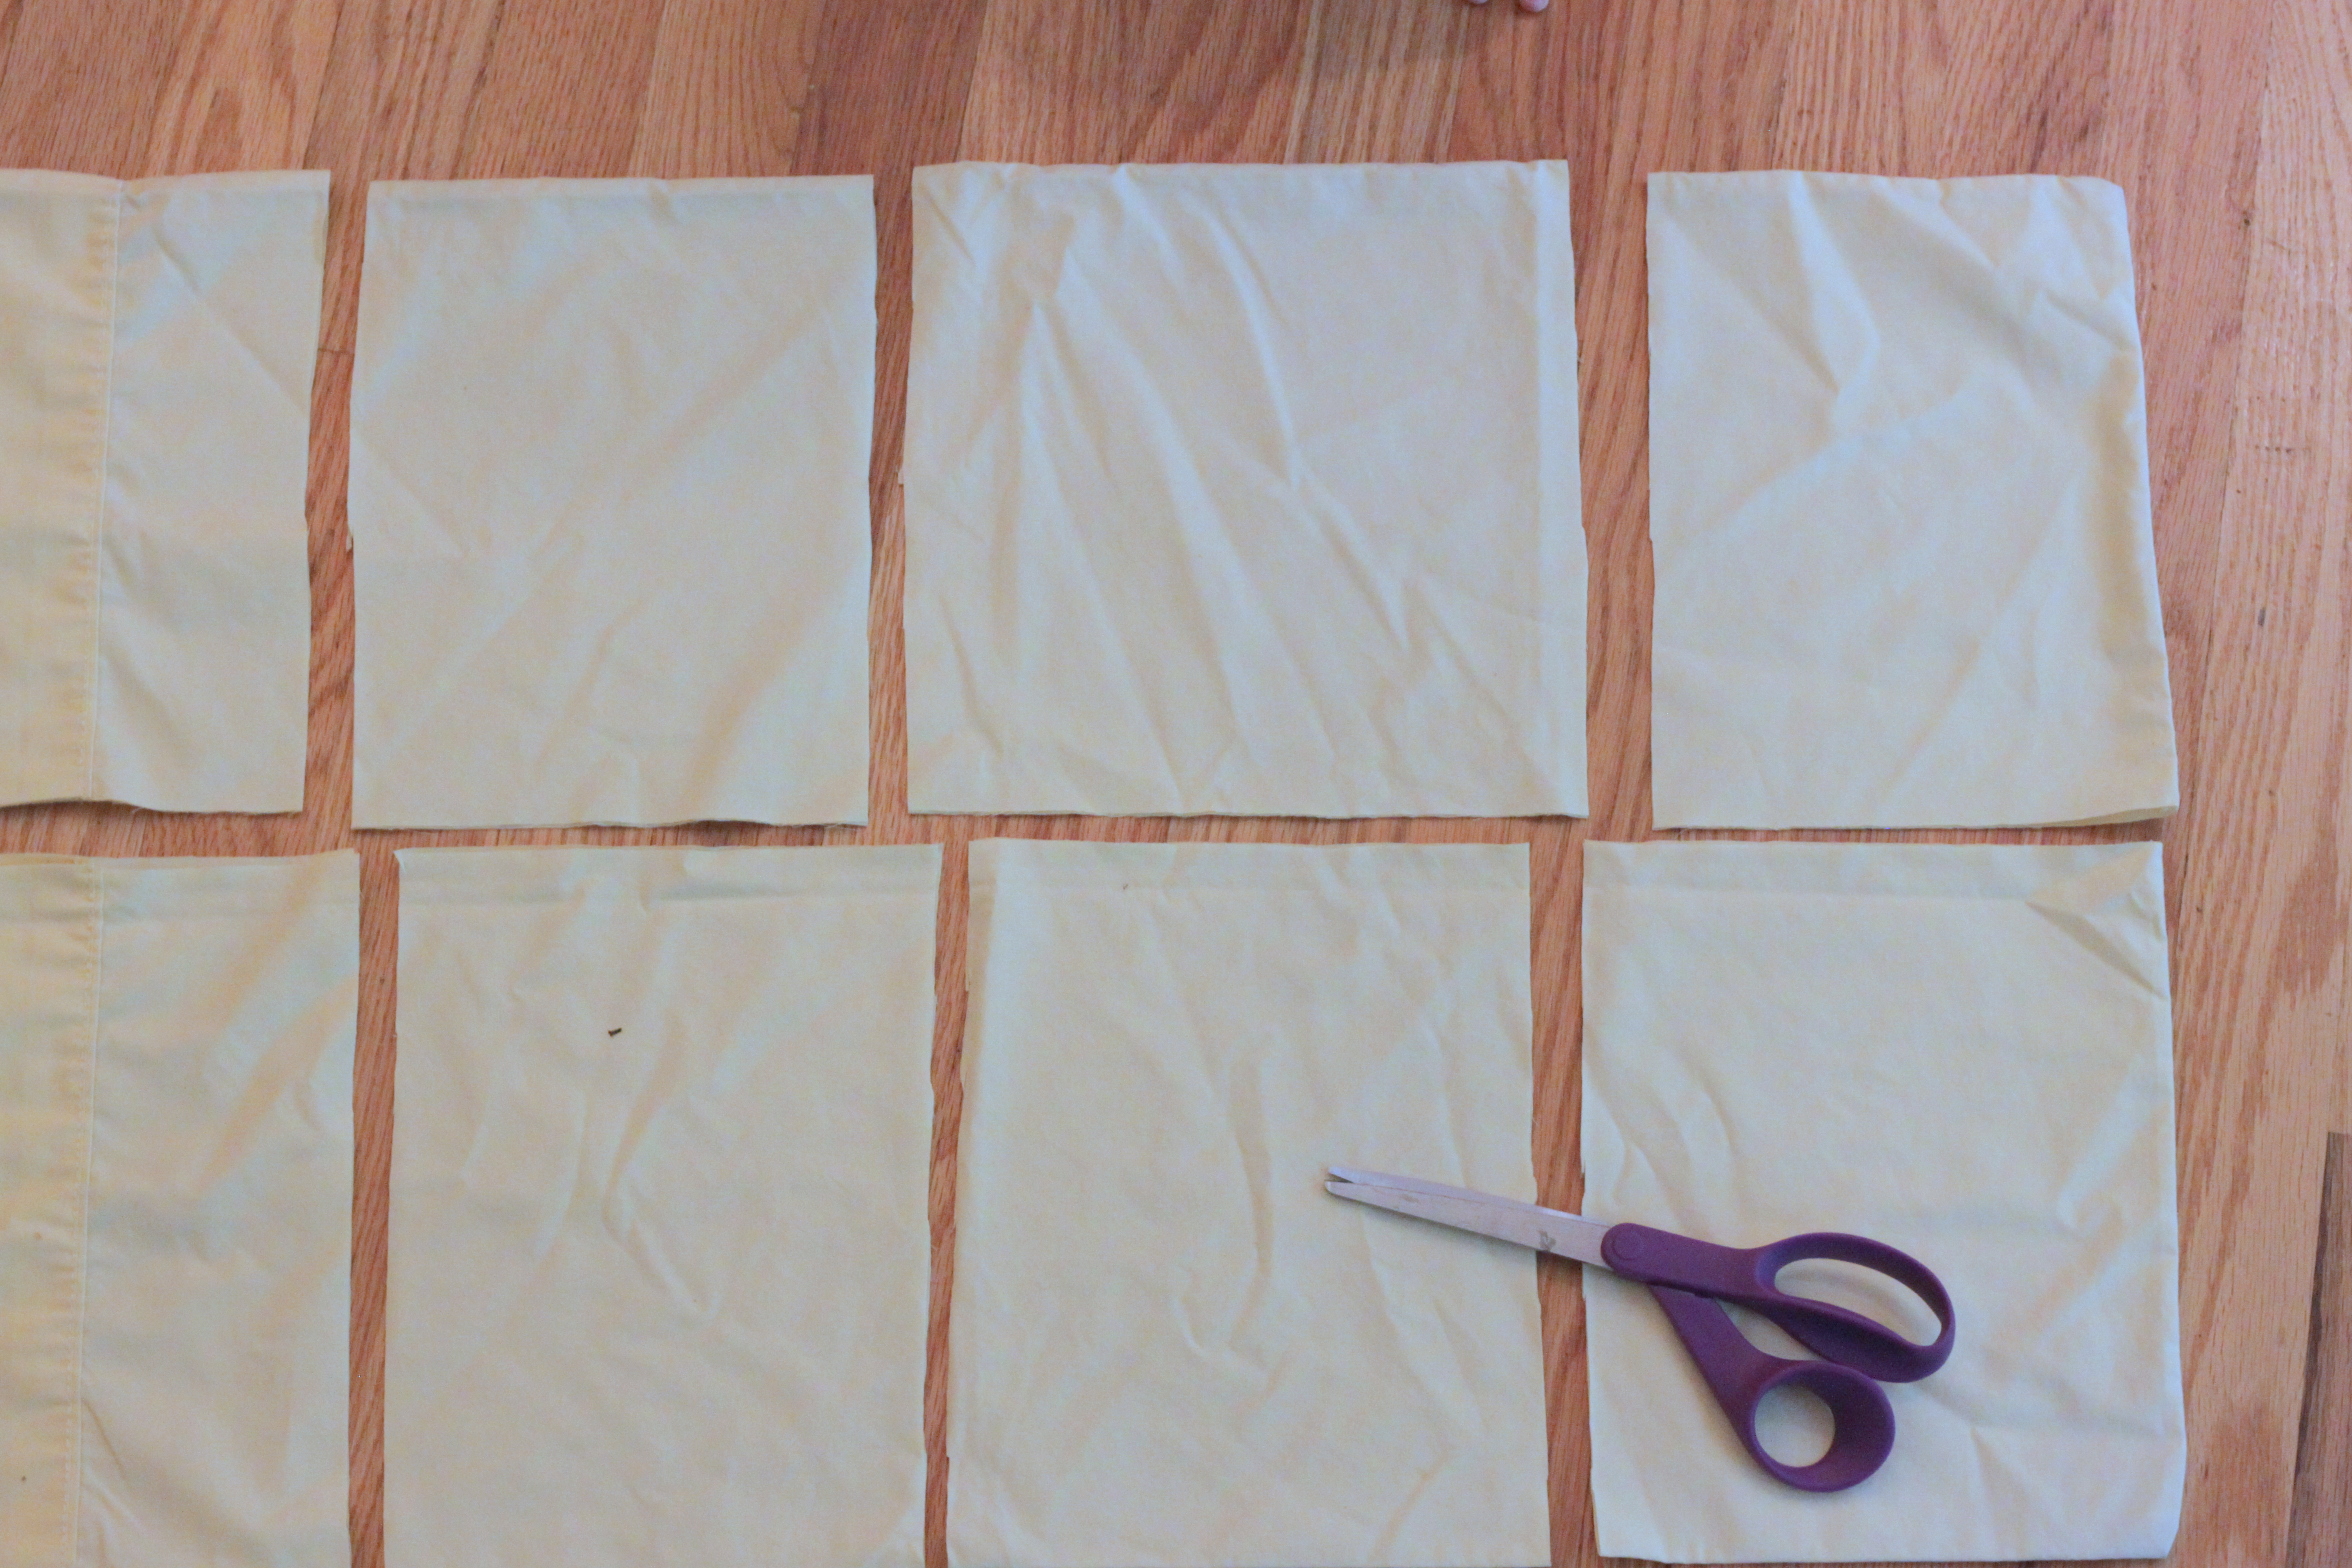
Here's some background on prayer flags. They really are so beautiful... "A prayer flag is a colorful rectangular cloth, often found strung along mountain ridges and peaks high in the Himalayas. They are used to bless the surrounding countryside and for other purposes. Prayer flags are believed to have originated with Bon, which predated Buddhism in Tibet. In Bon, shamanistic Bonpo used primary-colored plain flags in healing ceremonies in Nepal."If you don't have an old pillowcase to use you can easily find one for under $1 at a thrift shop.
Step 1
I started by cutting the pillowcase into 8 rectangles (an older child could do this step on their own.) Next, I broke the seal of the bottom 2 rectangles. You want them to be attached only at the tops to lay over the twine.
Step 2
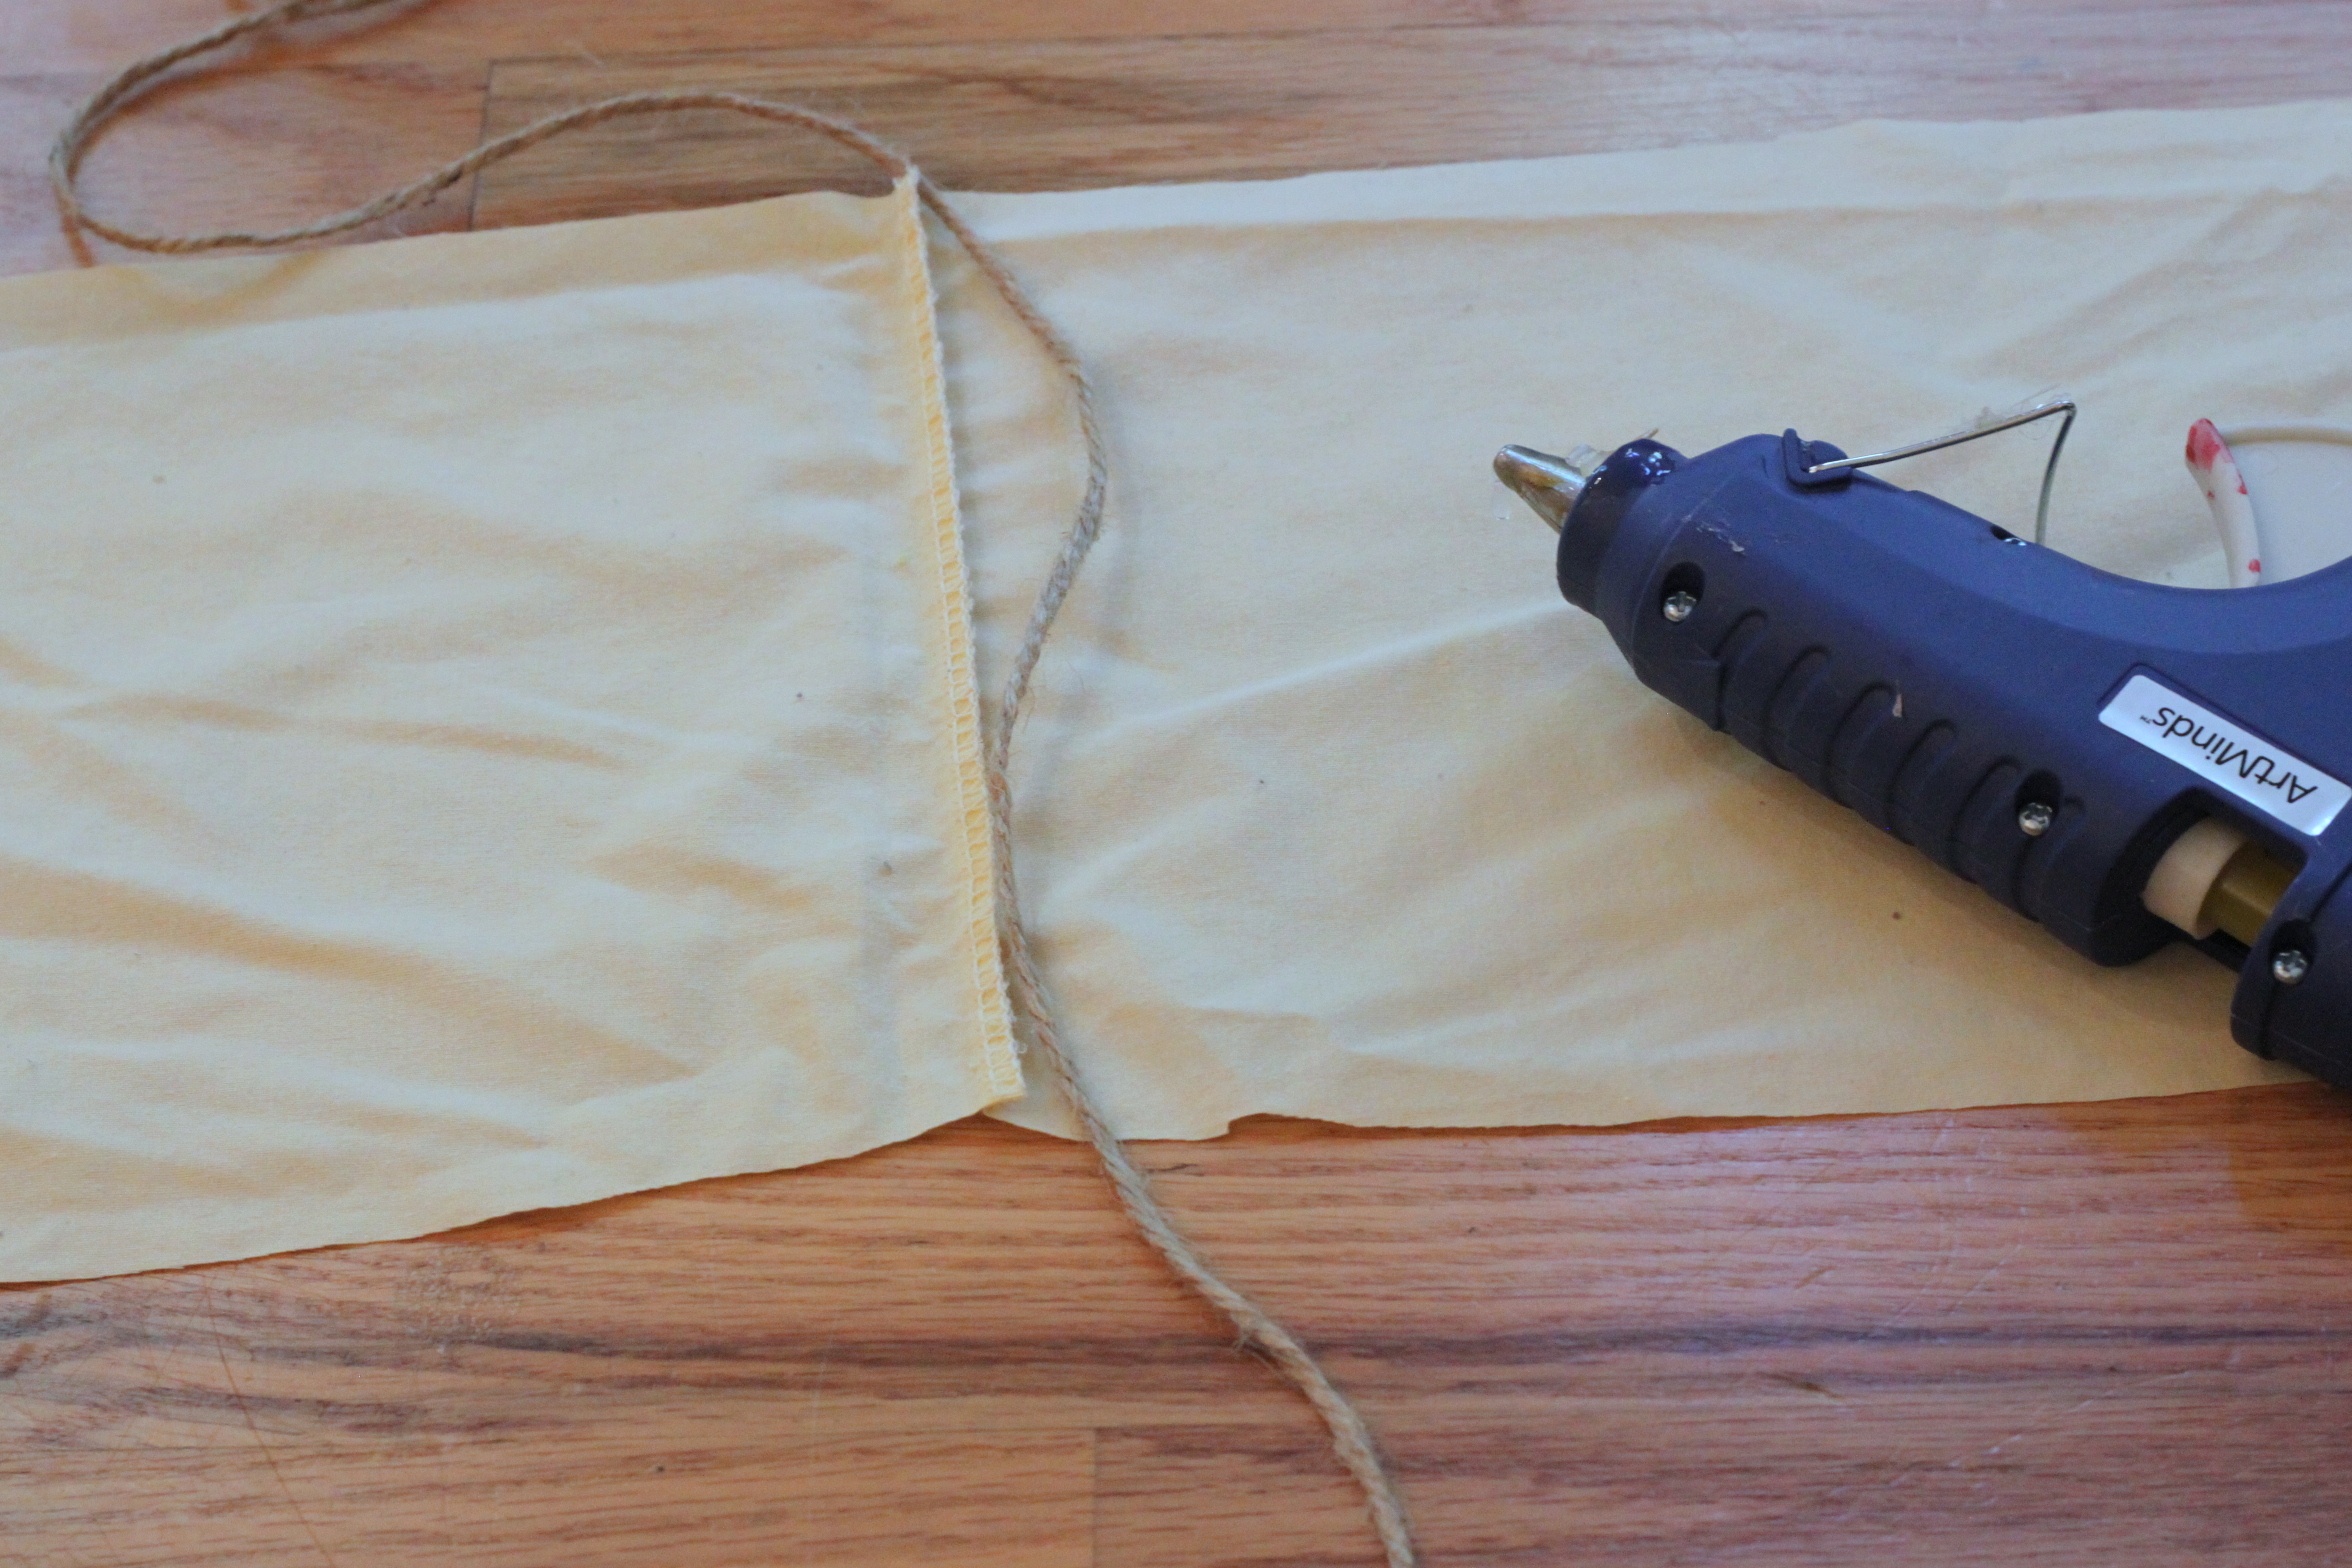
I decided to attach our flags to the twine before the kids got busy creating their art. I opened up all of the flags and laid a long piece of twine down the center of them. A little hot glue kept the twine in place.
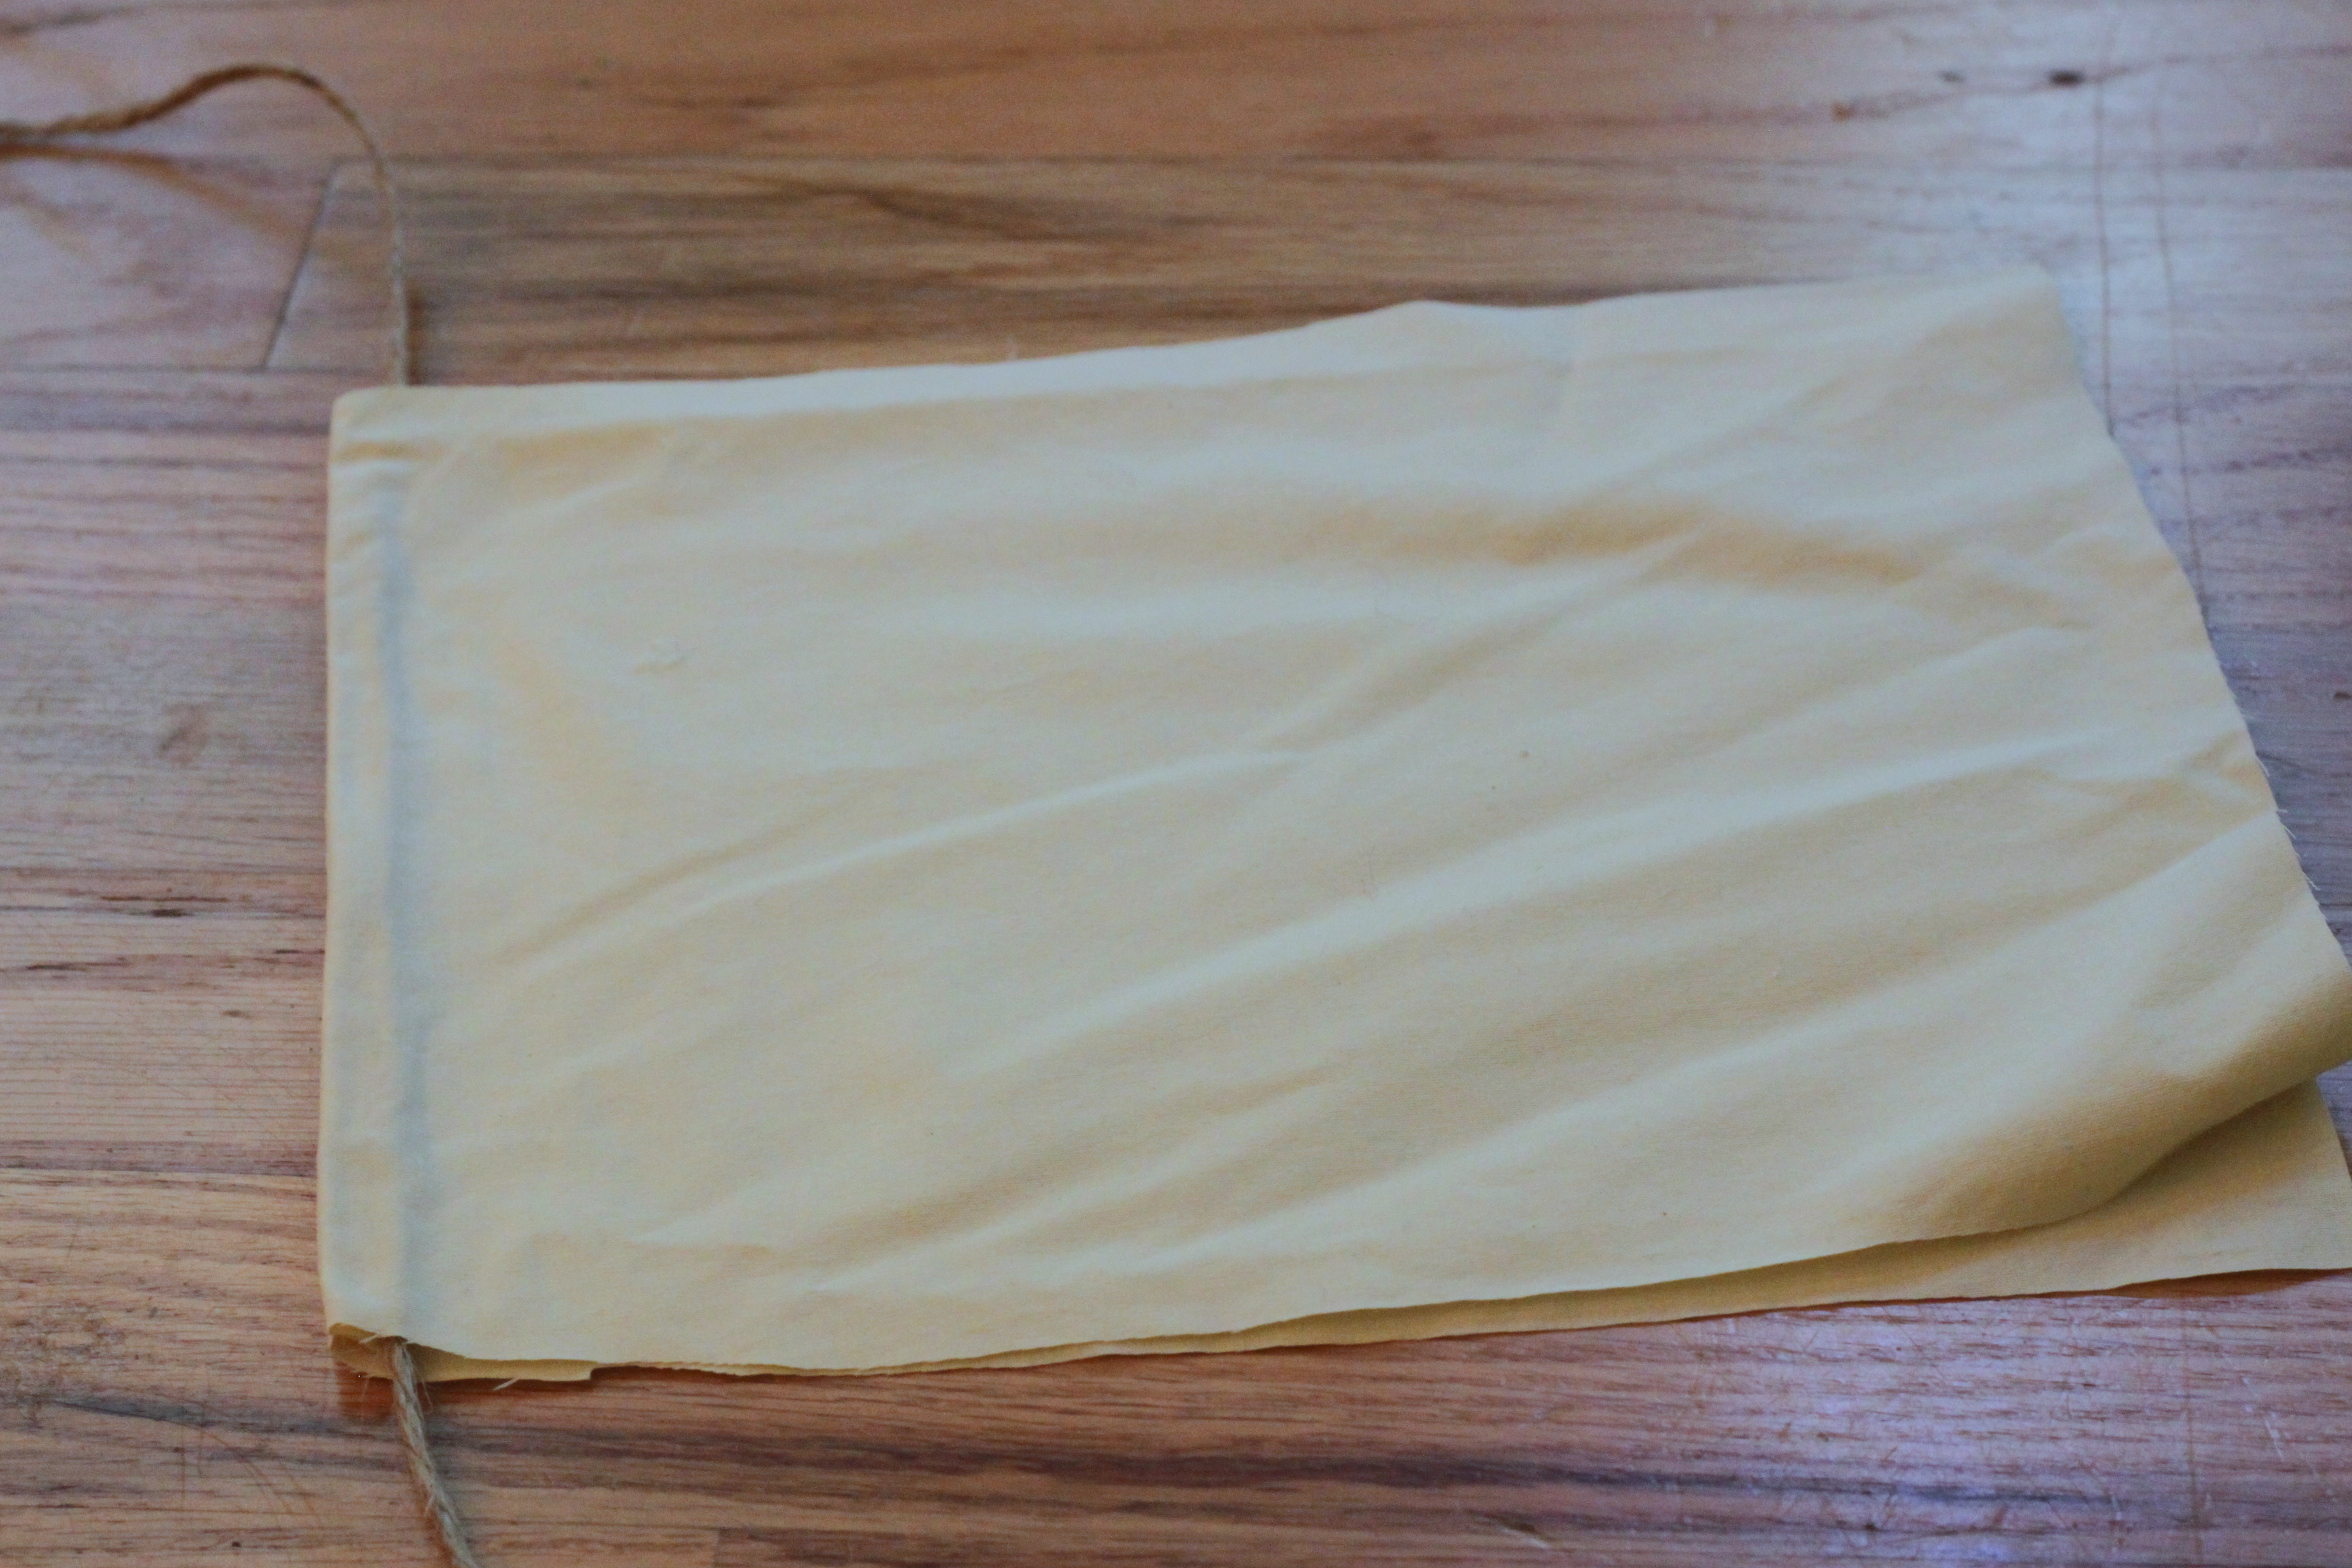
Step 3
Next, I folded over each flag (do this while the glue is still hot.)
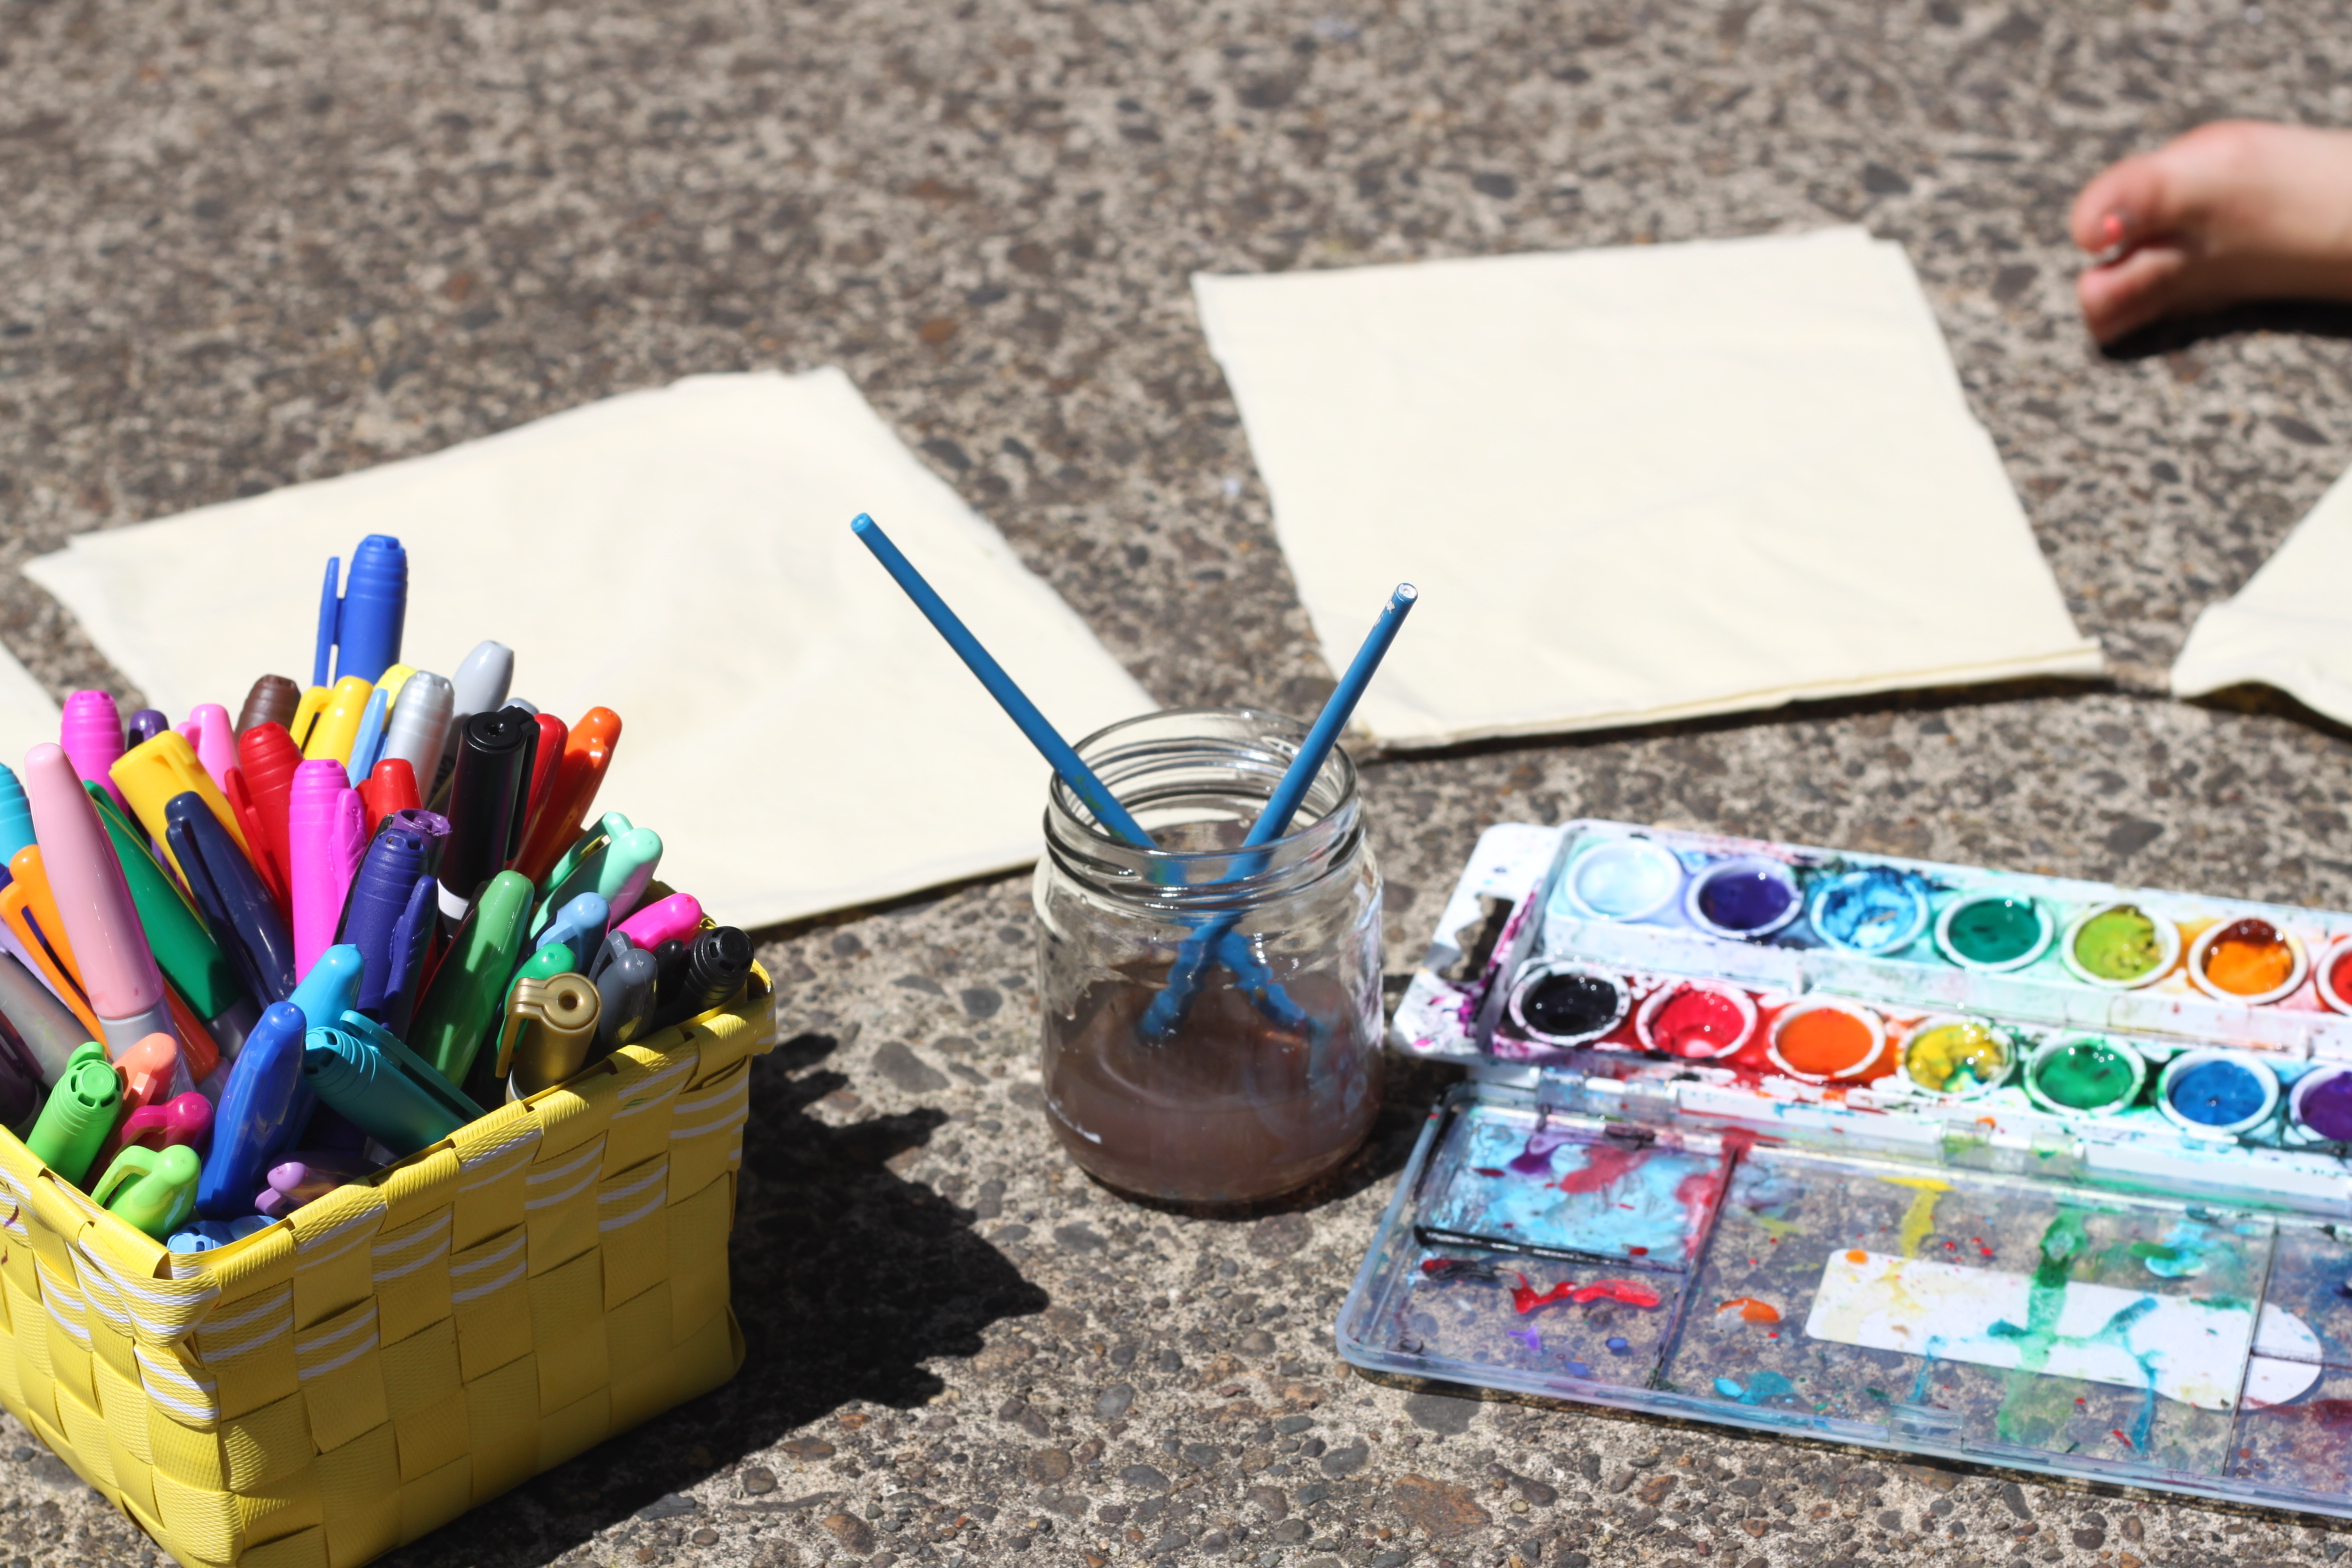
Step 4
Now we were ready for the fun! I took my kids and flags outside. We chatted about prayer flags for a bit and I asked my kids to think about some prayers, hopes, wishes and dreams they had.
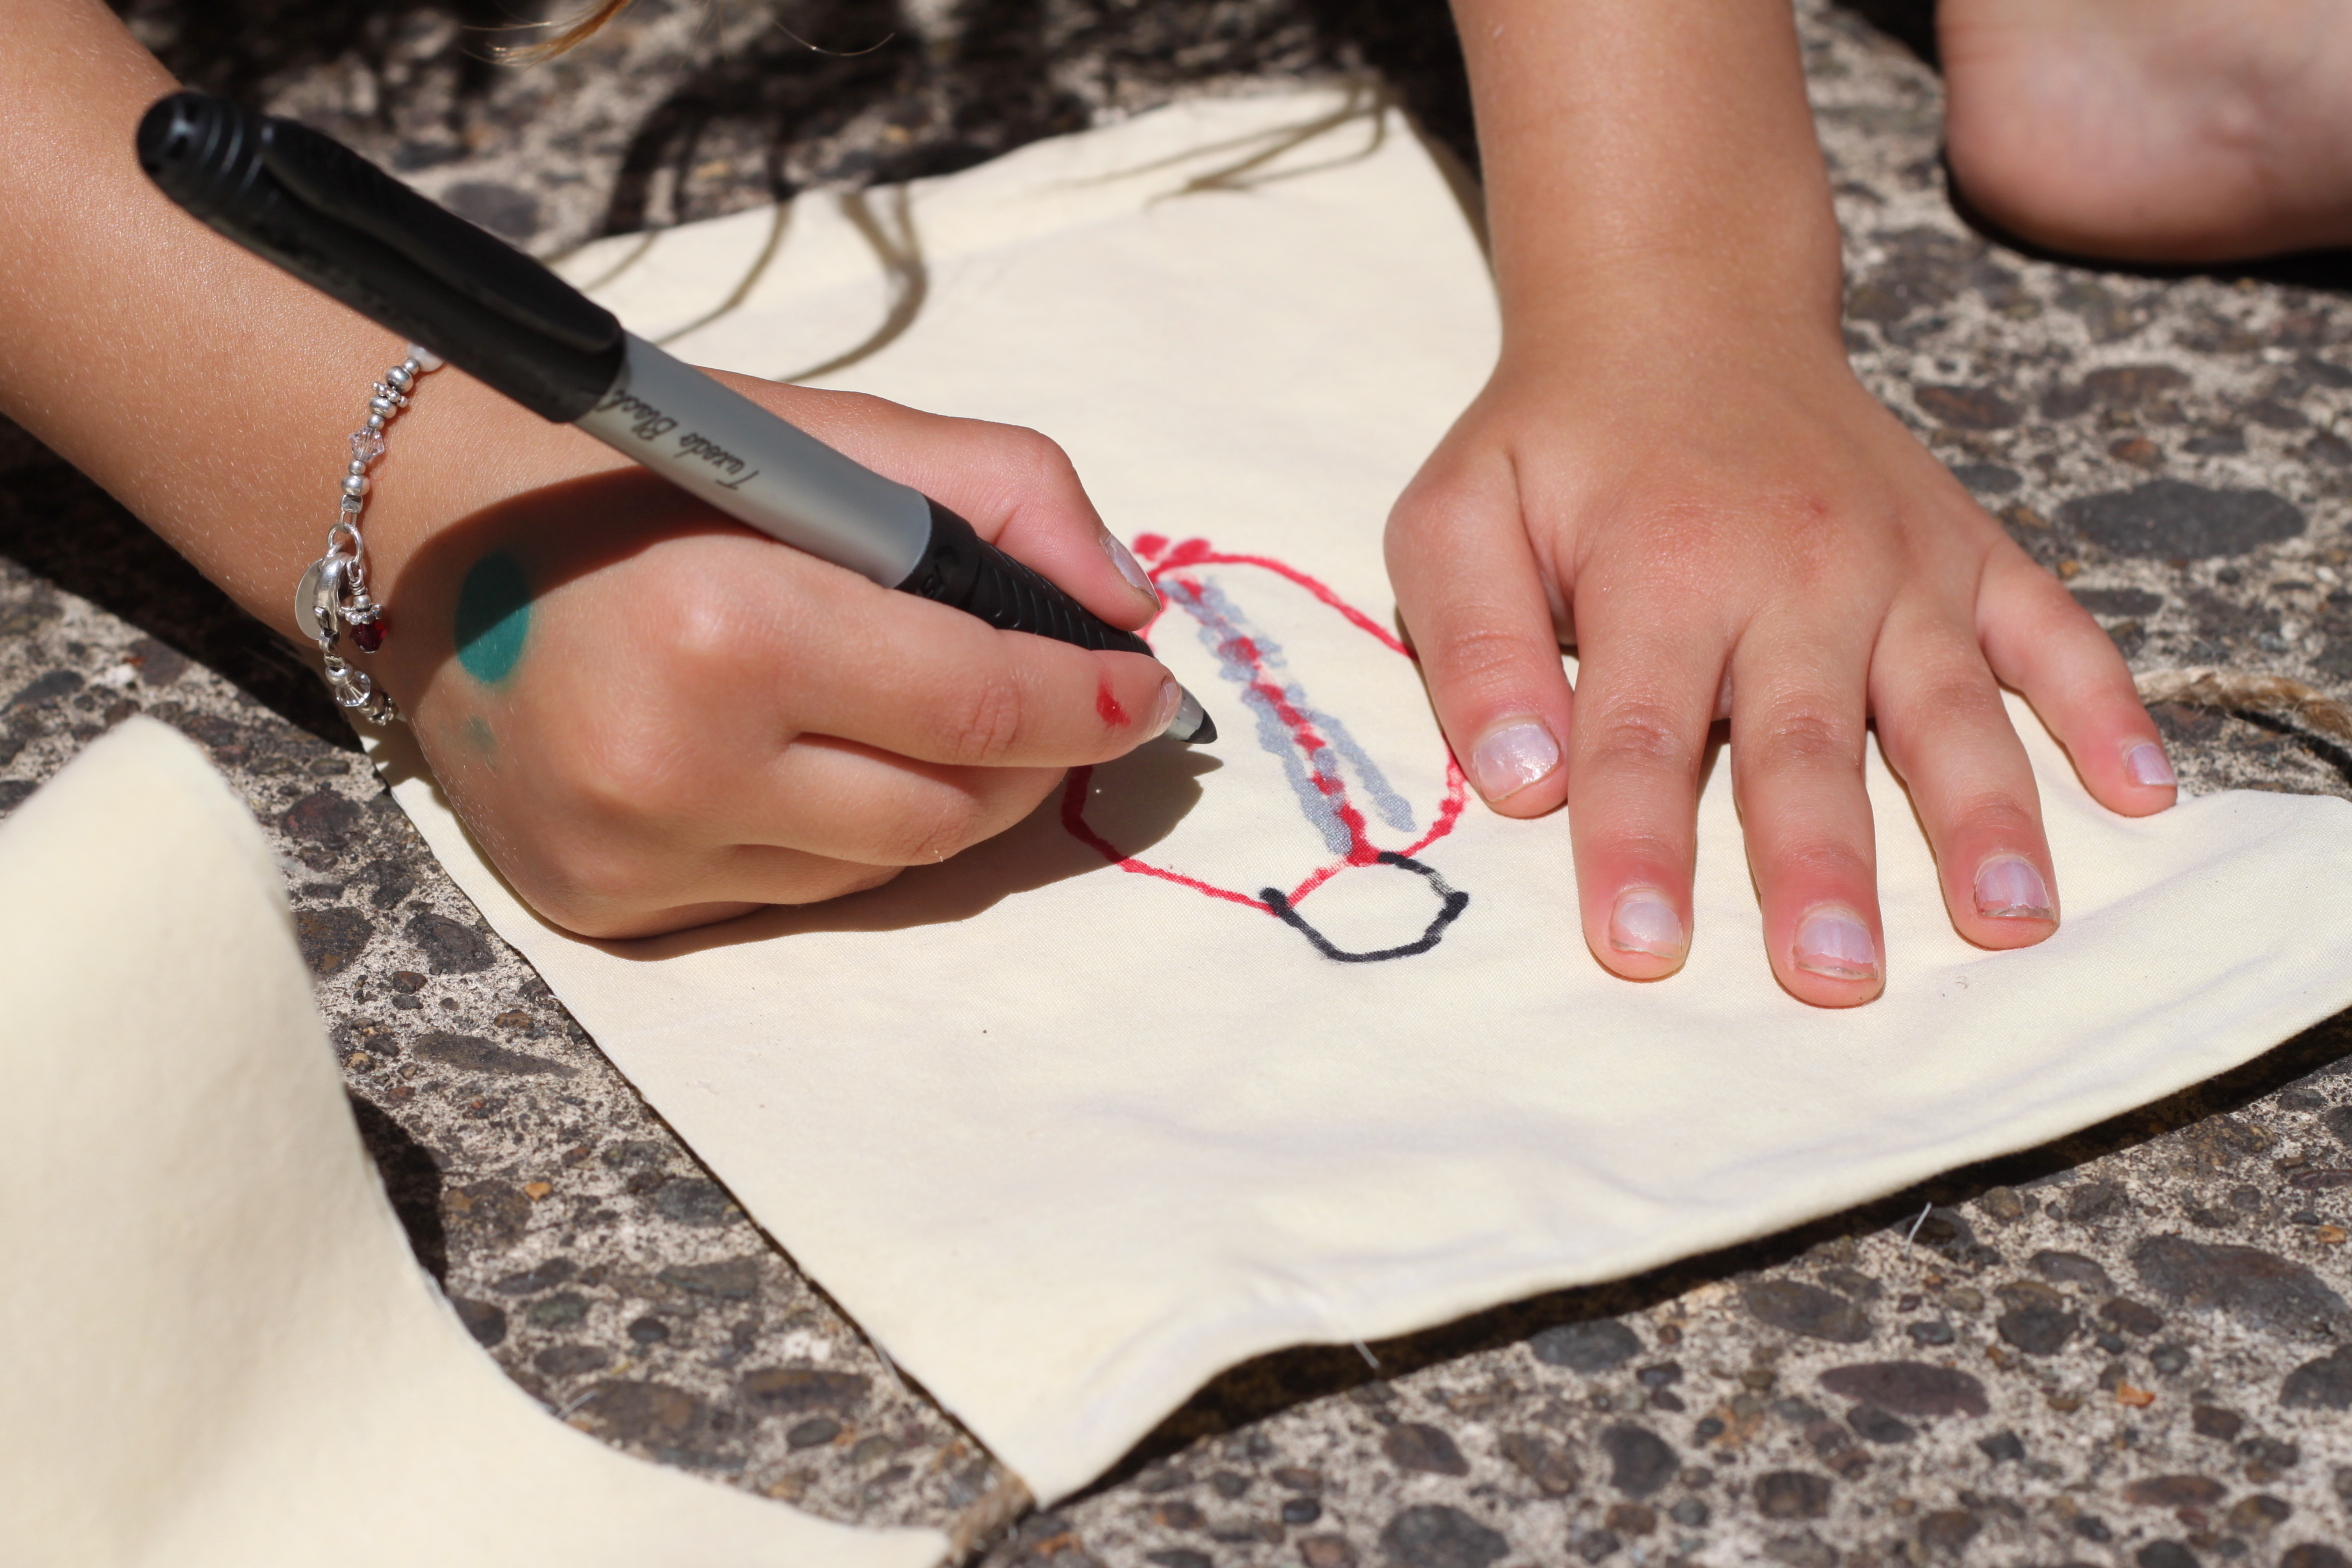
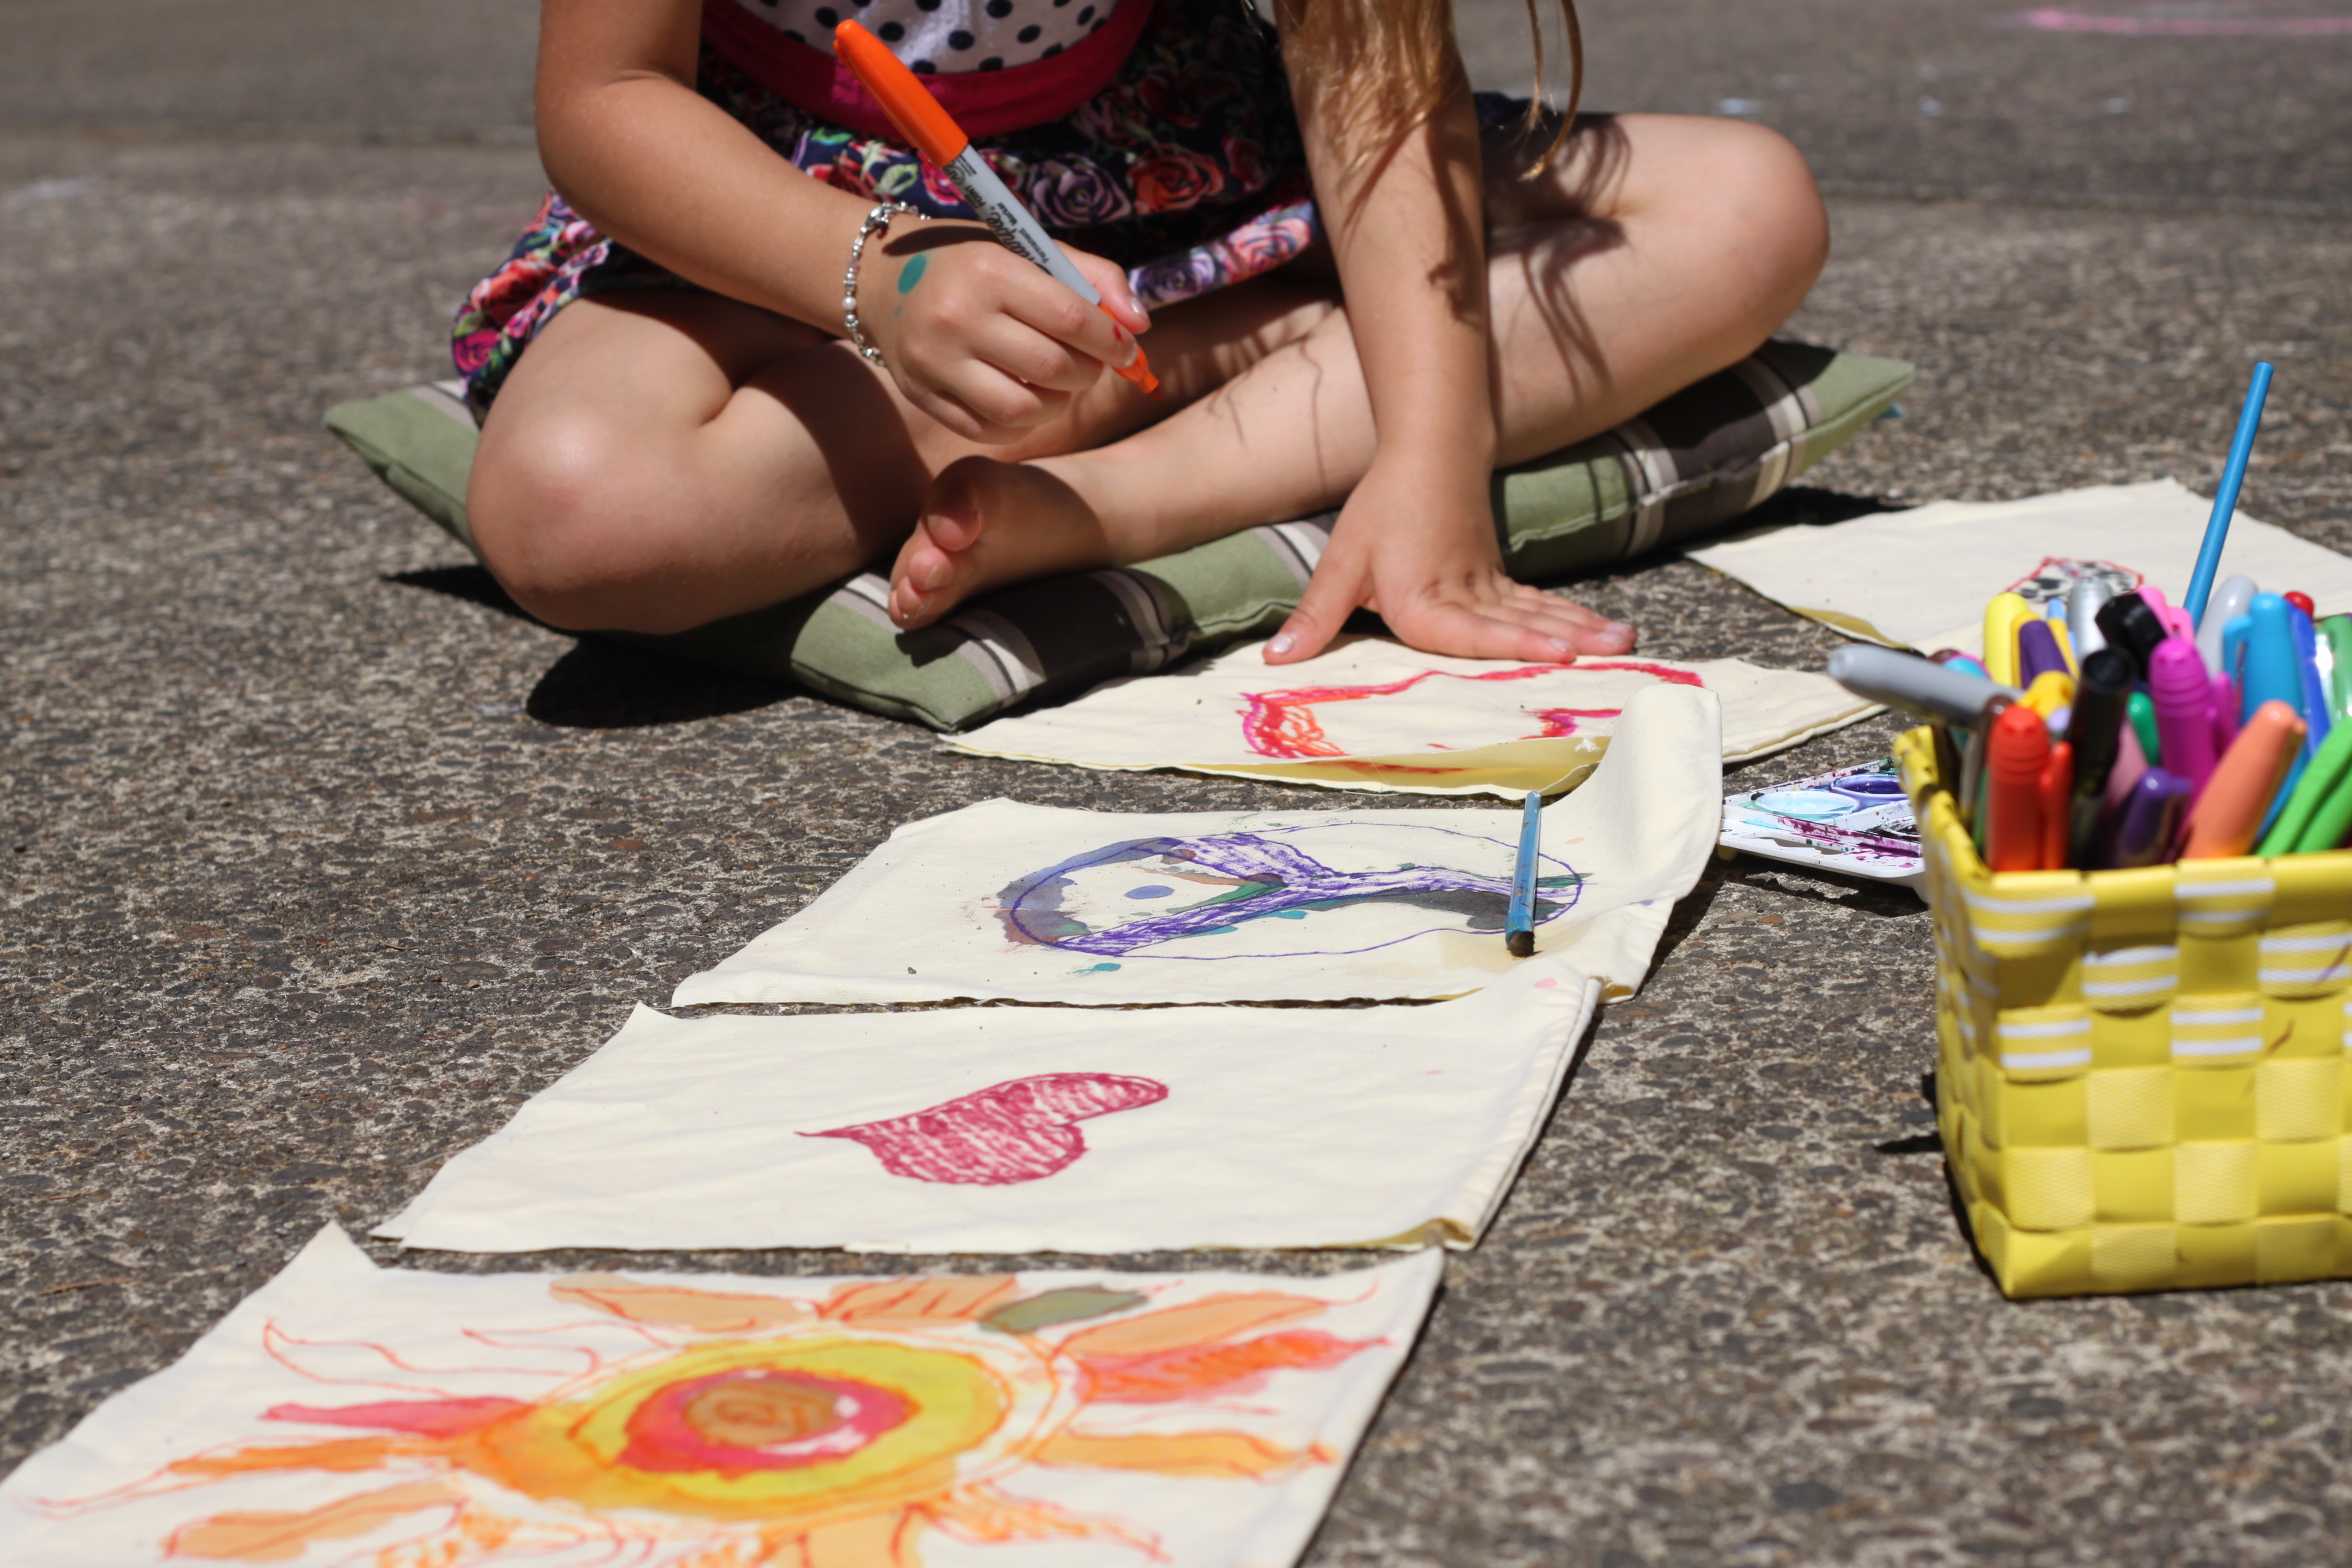
Step 5
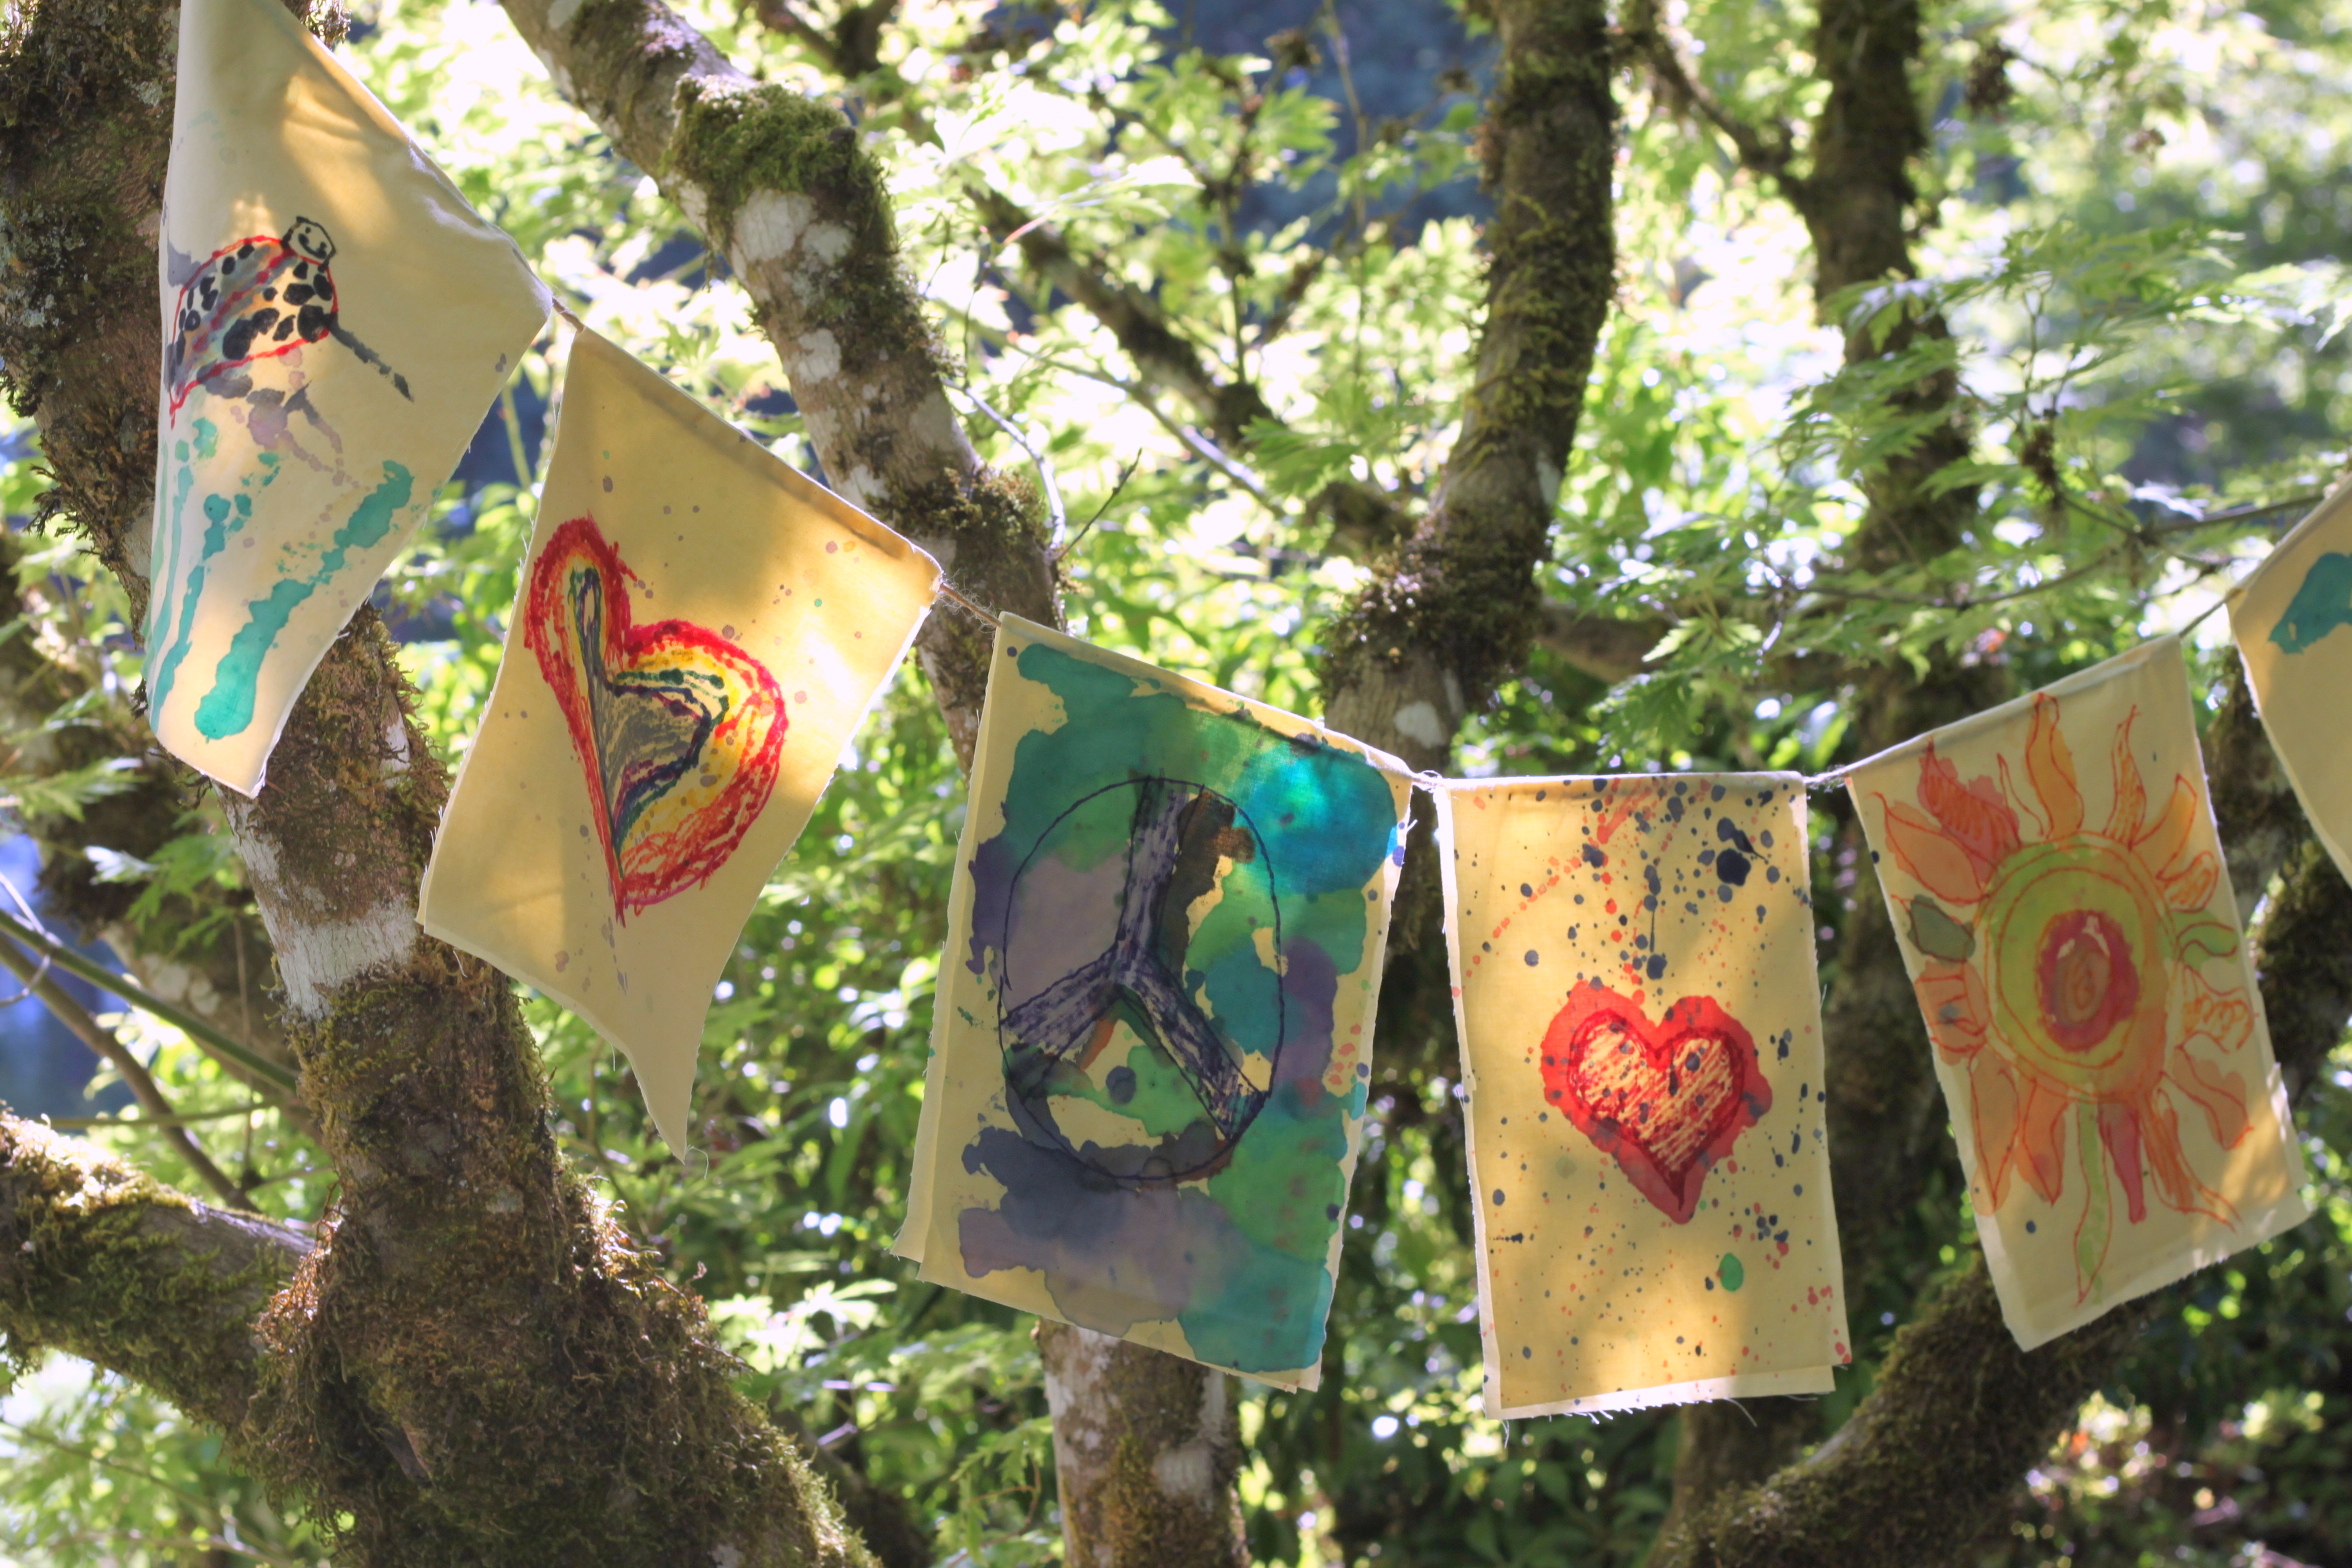
Once they had their ideas ready they got to work adding them to the flags. My daughter drew a lady bug (that she hopes she will become in a camp play).
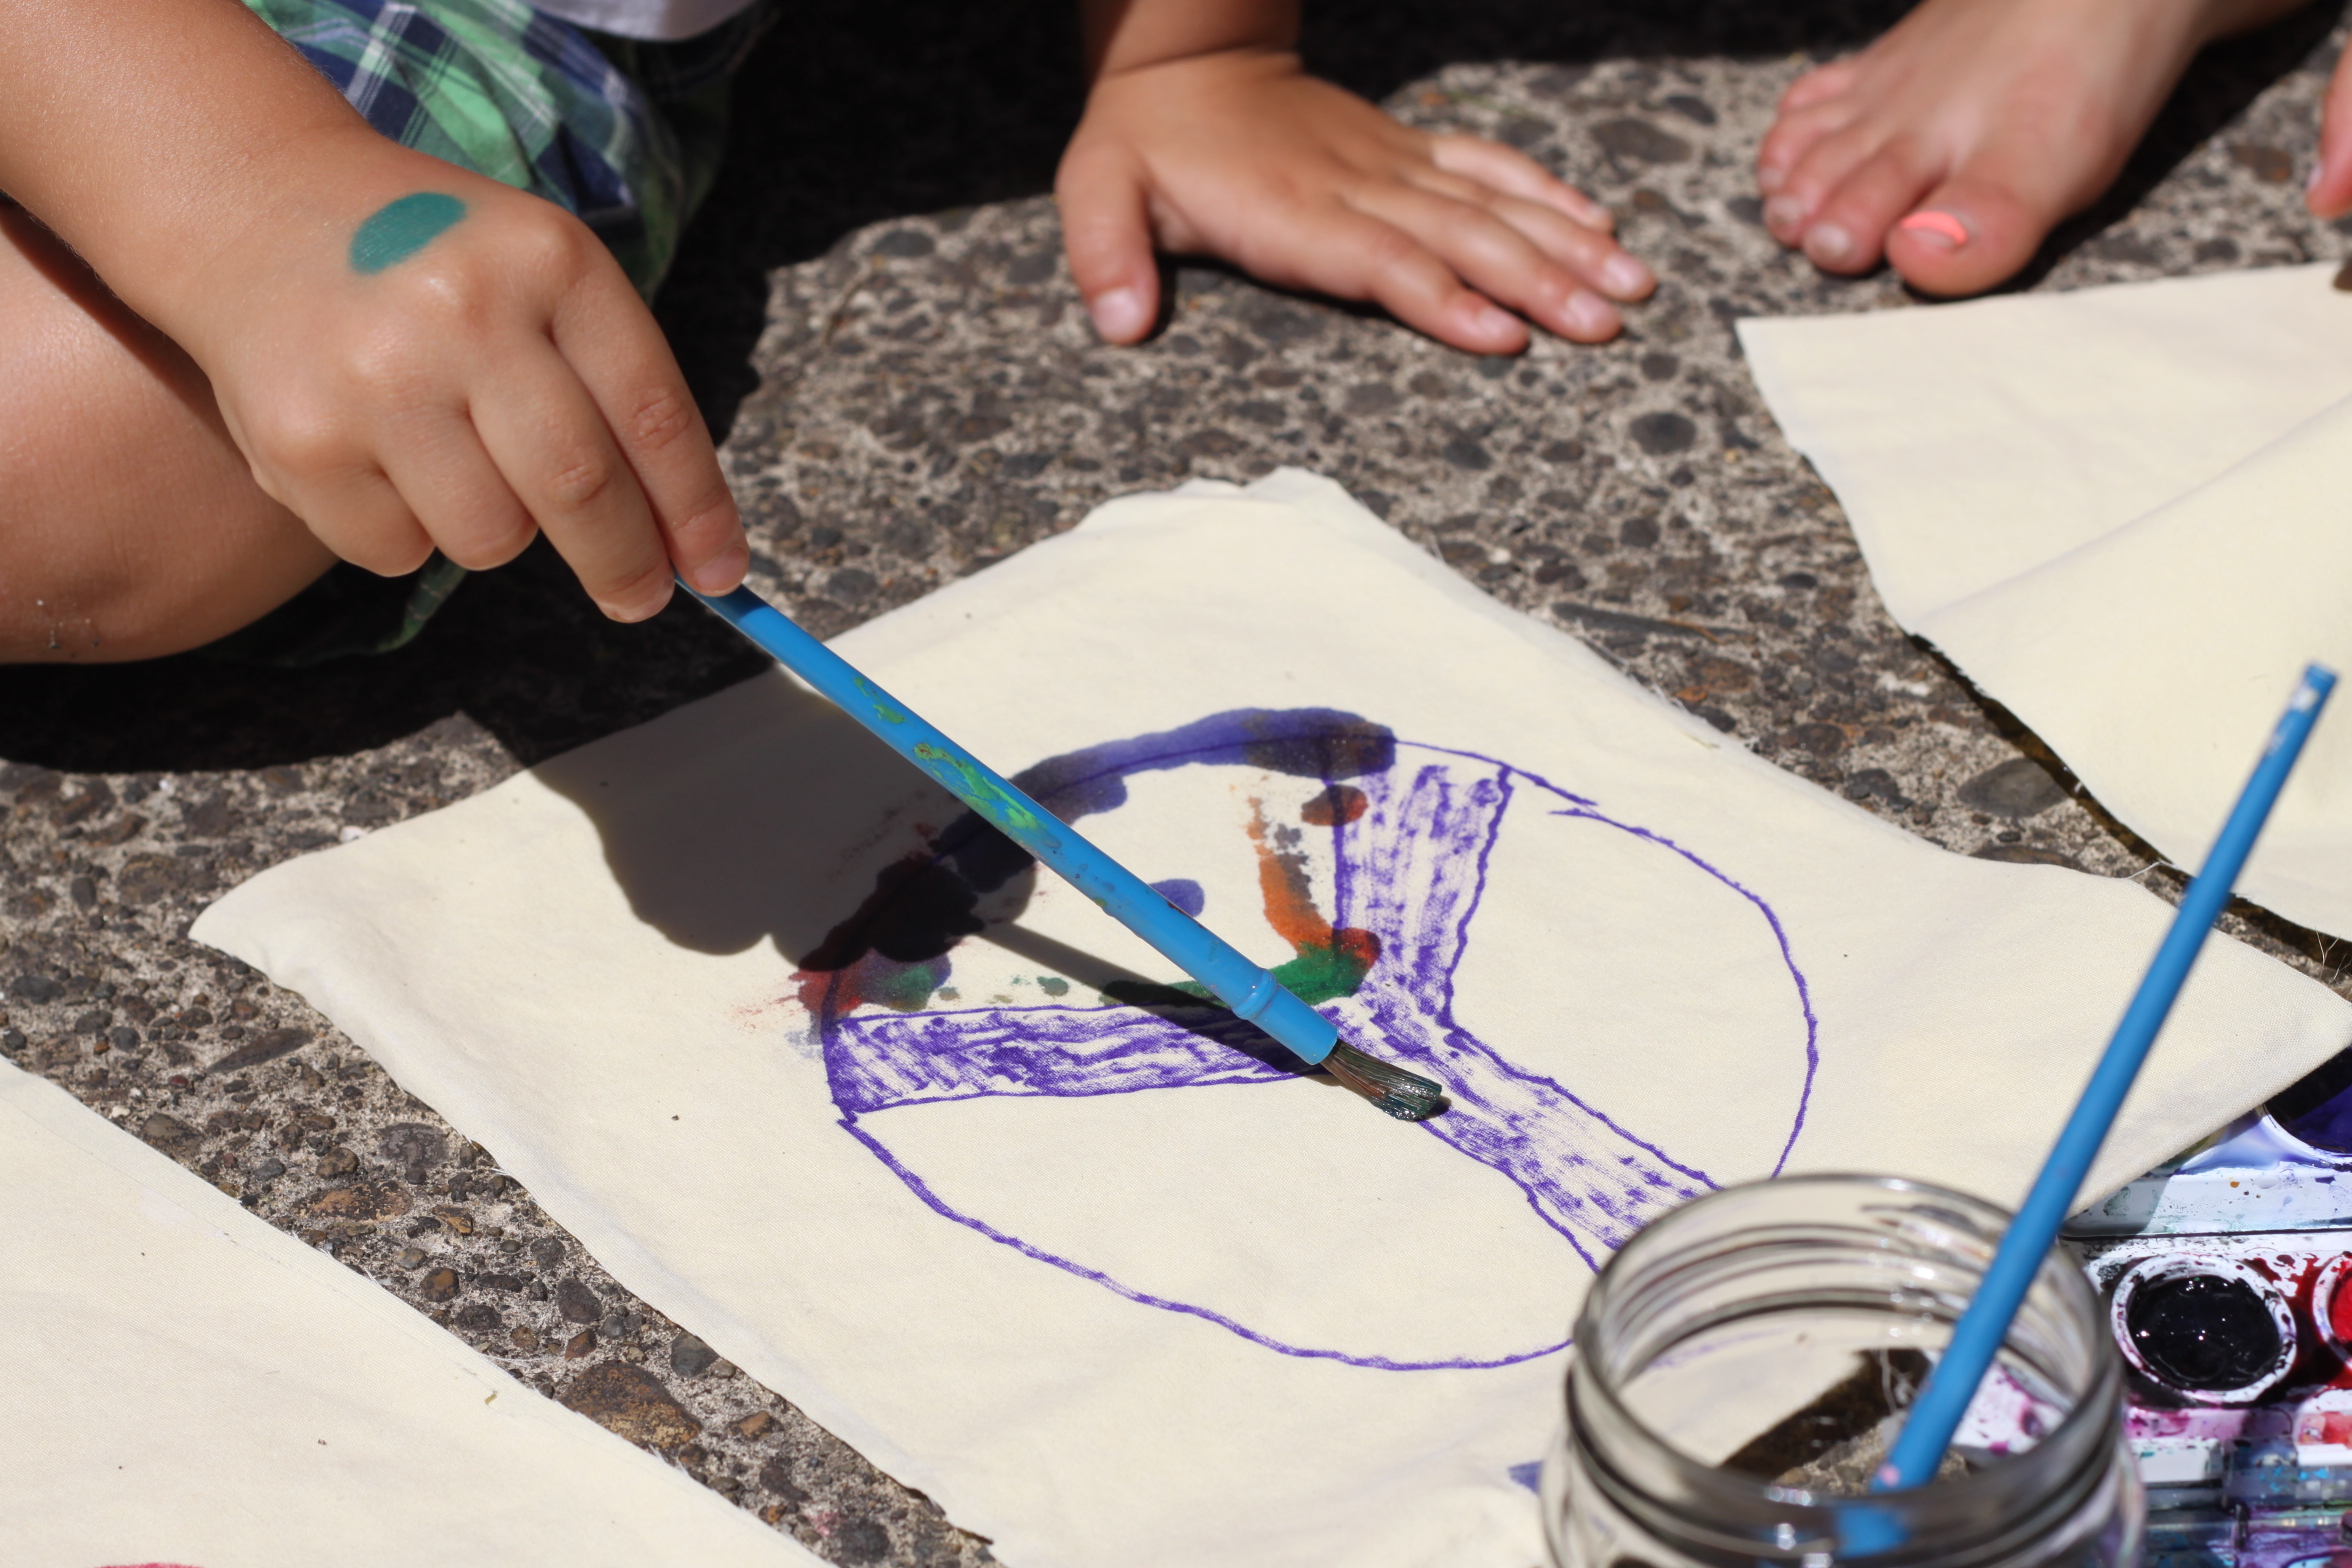
Step 6
After they finished up with the drawings we painted right on top with watercolor paints (I went with watercolors since my two-year-old was participating, but for a more permanent paint you could water down some acrylic paints).
Step 7
My five-year-old spent a lot of time on each flag and really put some thought into each.
Done!
This turned out so beautiful and will be very special to us for years to come. Wouldn't this be a great way to decorate for a birthday party, too?