Step-by-step tutorial
Step 1
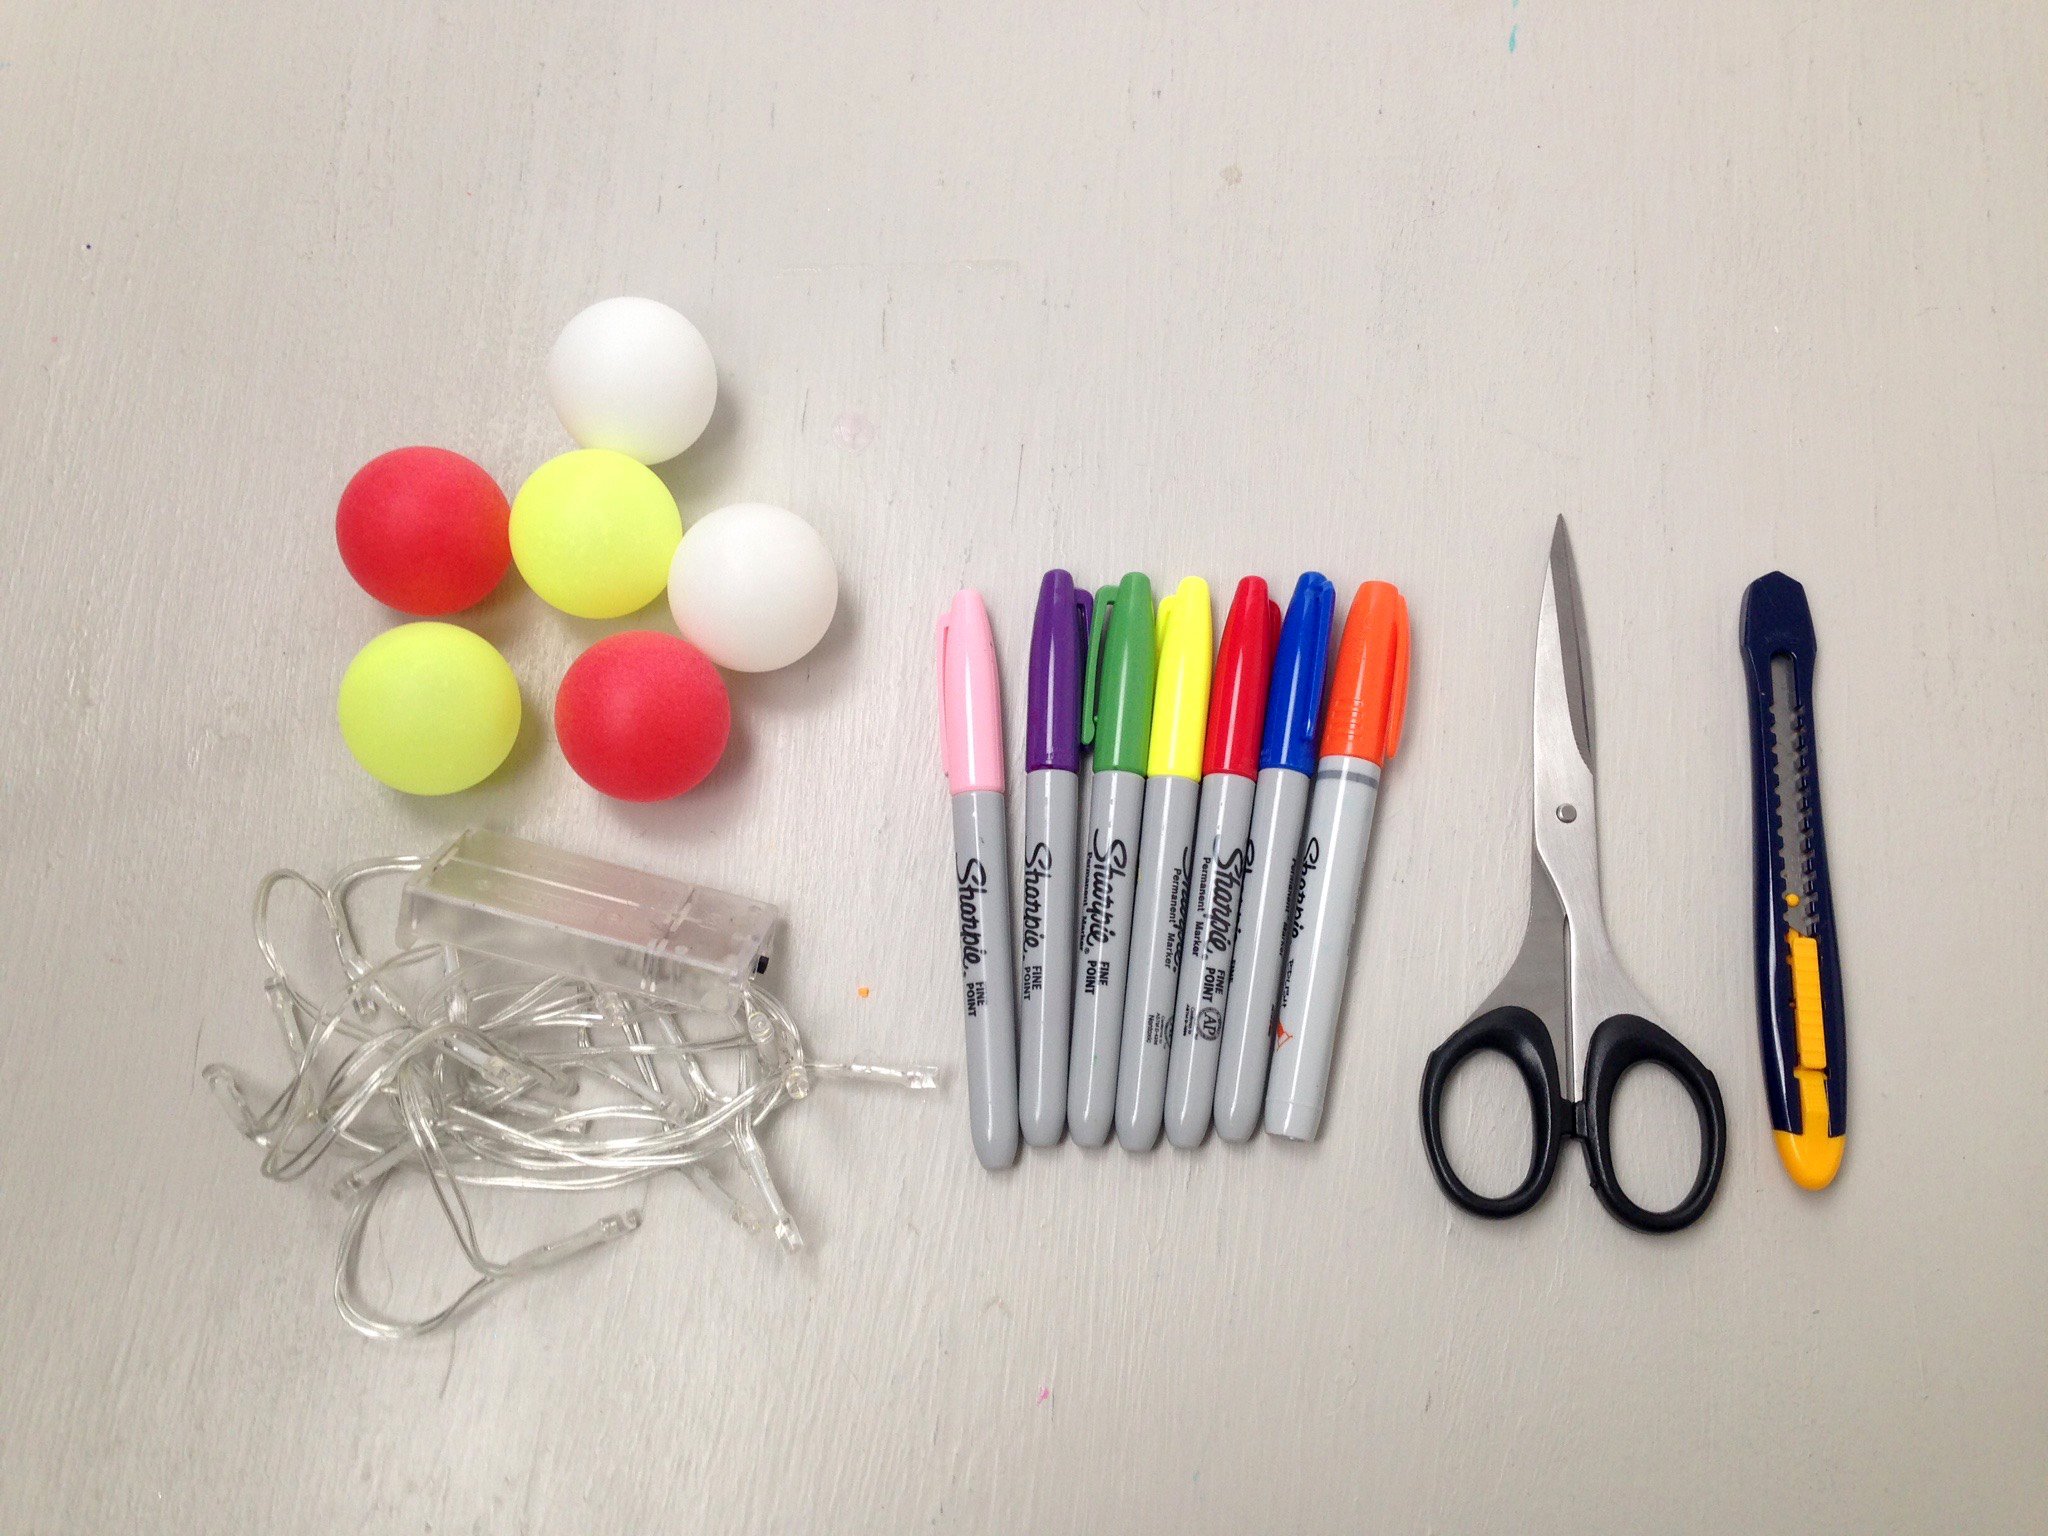
Gather your materials!

Tip
It is important to use LED lights because these do not get hot when used with the ping-pong balls.
Step 2
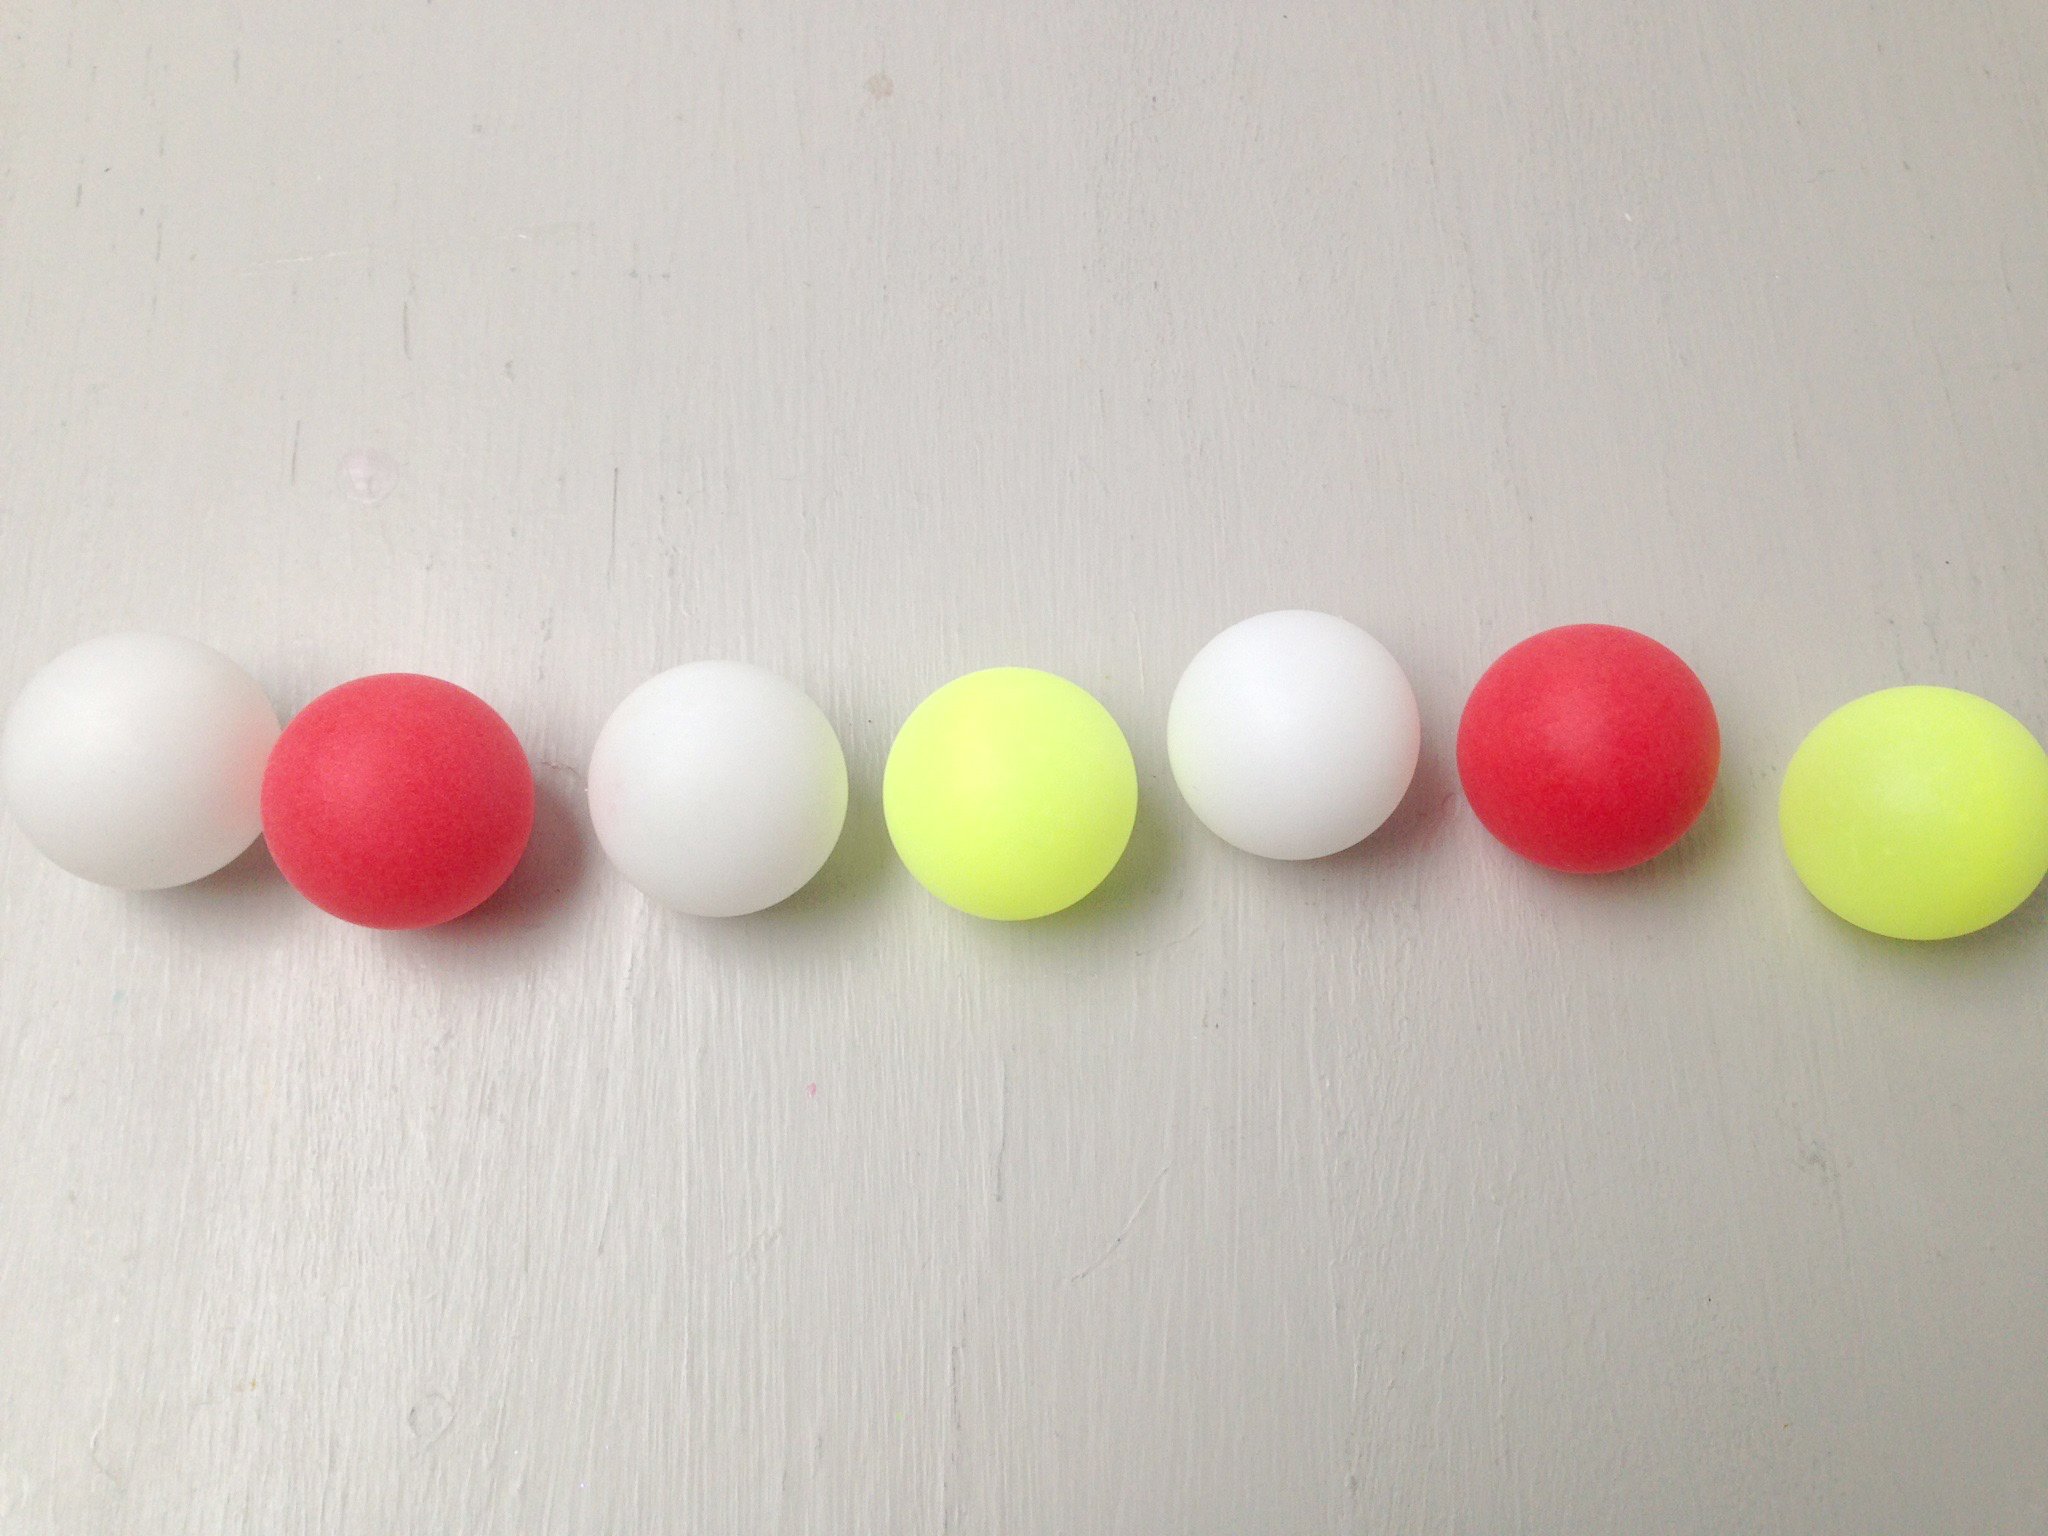
If you have multi-colored ping-pong balls, plan out a pattern for your light string before attaching your ping-pong balls to the LEDs. Make sure you have enough ping-pong balls for the project.
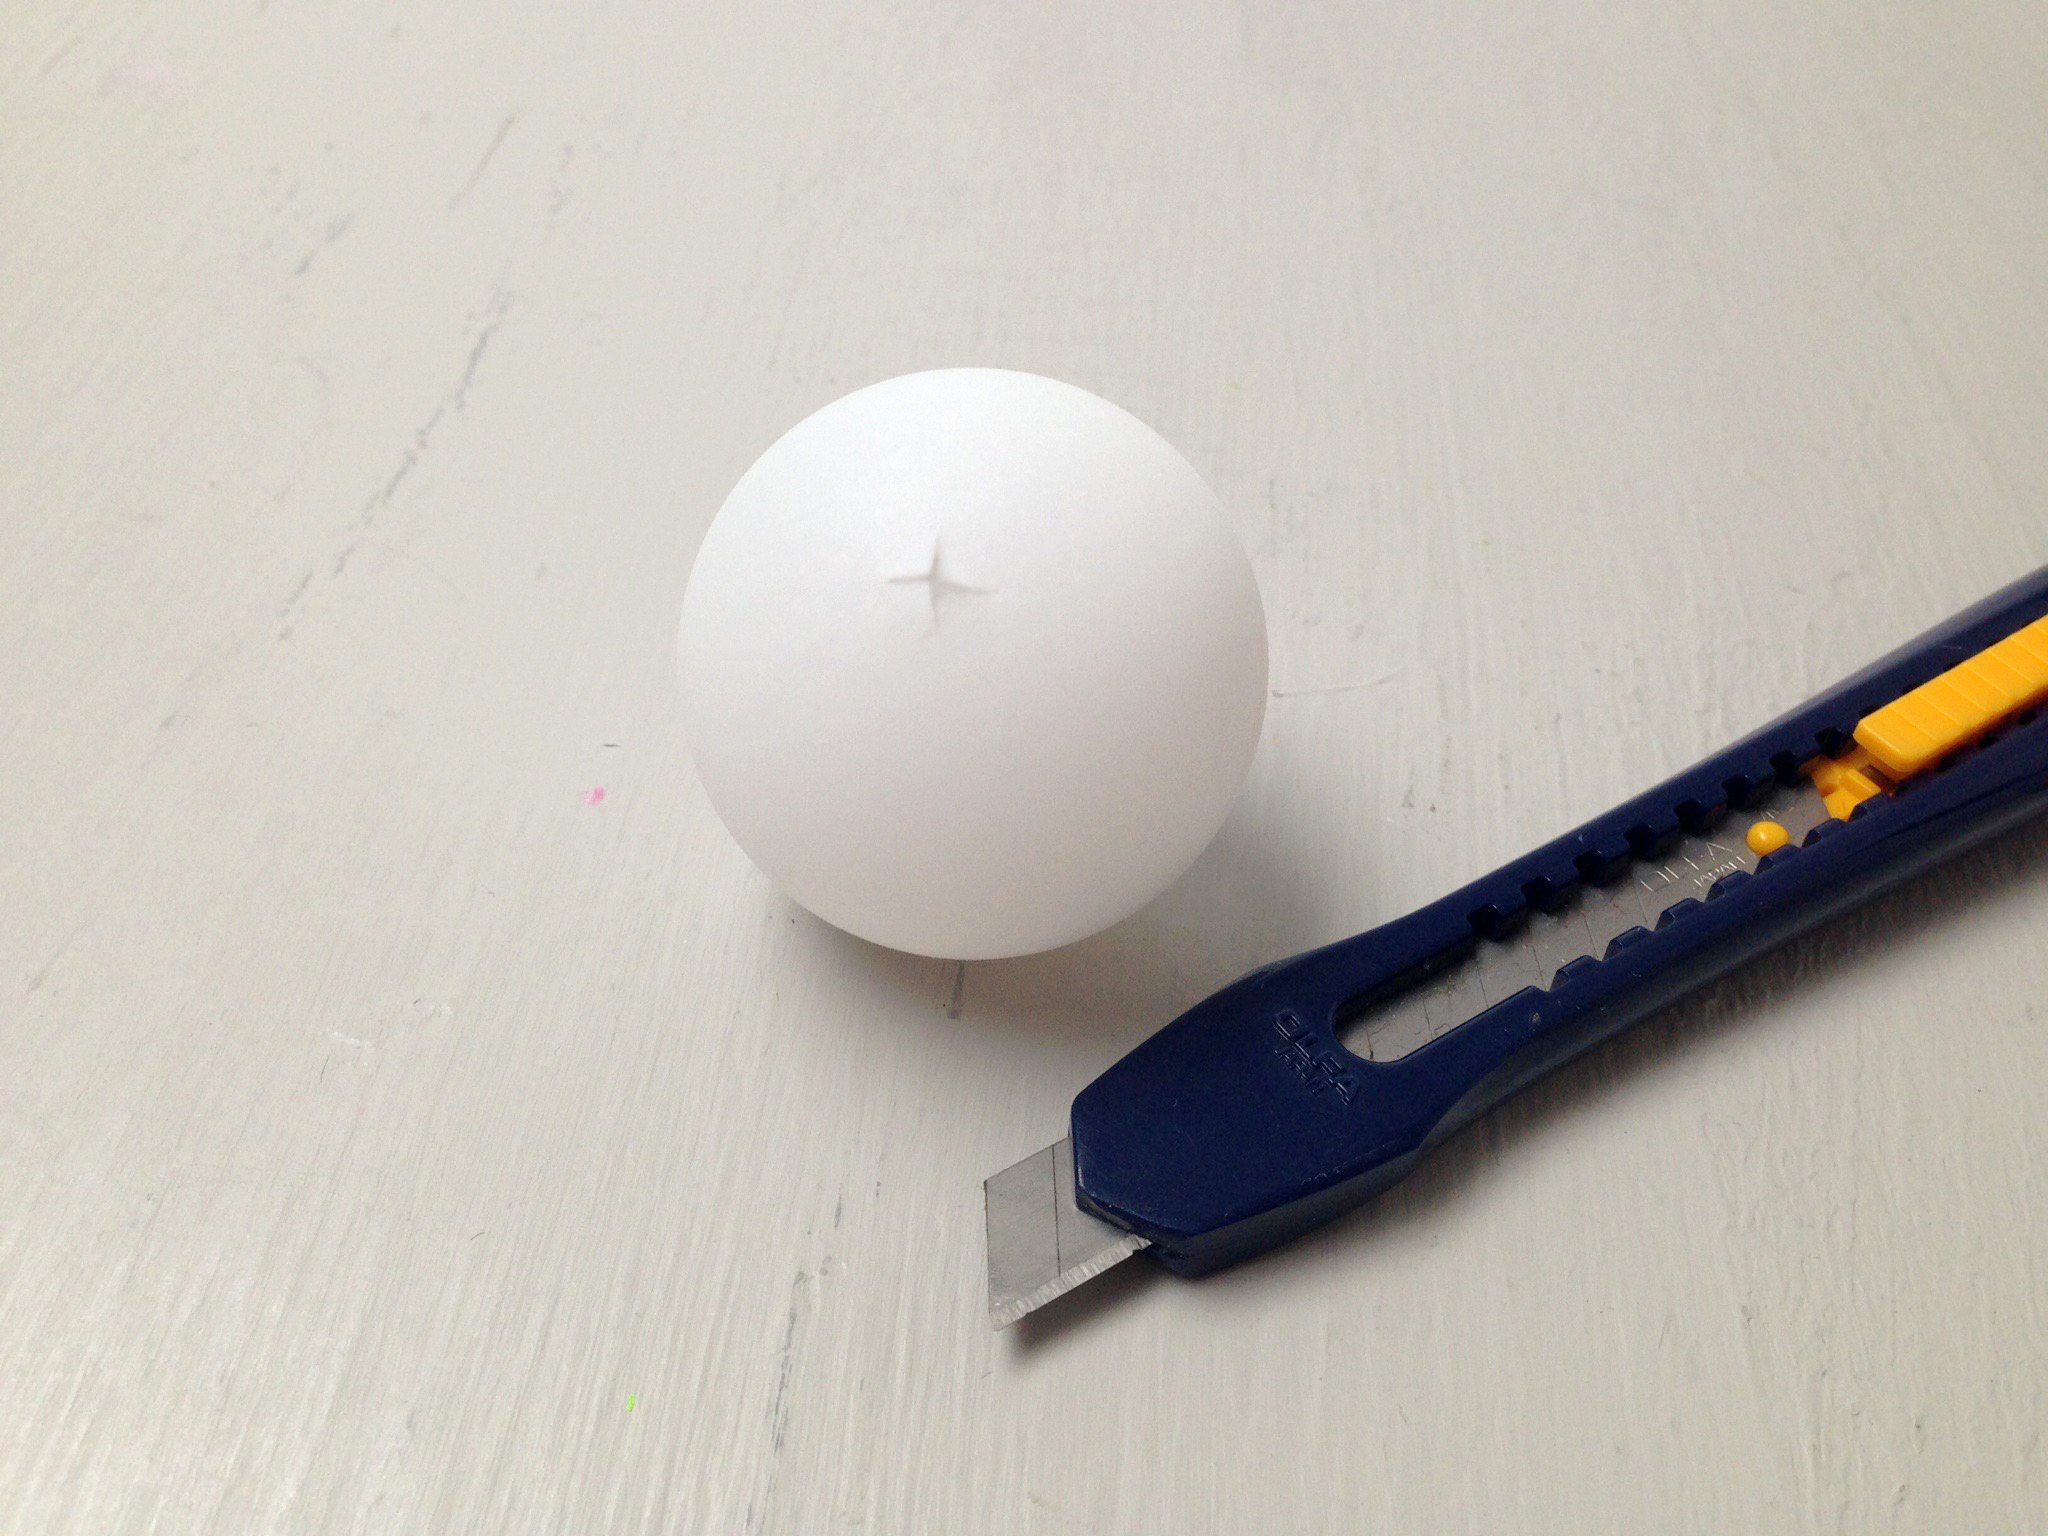
Step 3
Take a pair of scissors or an X-Acto knife and carefully puncture a hole into the ping-pong ball. Be very careful not to hurt yourself here! You may need to puncture the hole multiple times to get the hole large enough for the LED to go through. I used scissors to make an "X" slit. My holes were about 1/4-inch, which worked well for attaching and detaching the ping-pong balls. Repeat this step for all the ping-pong balls you plan to use.
Step 4
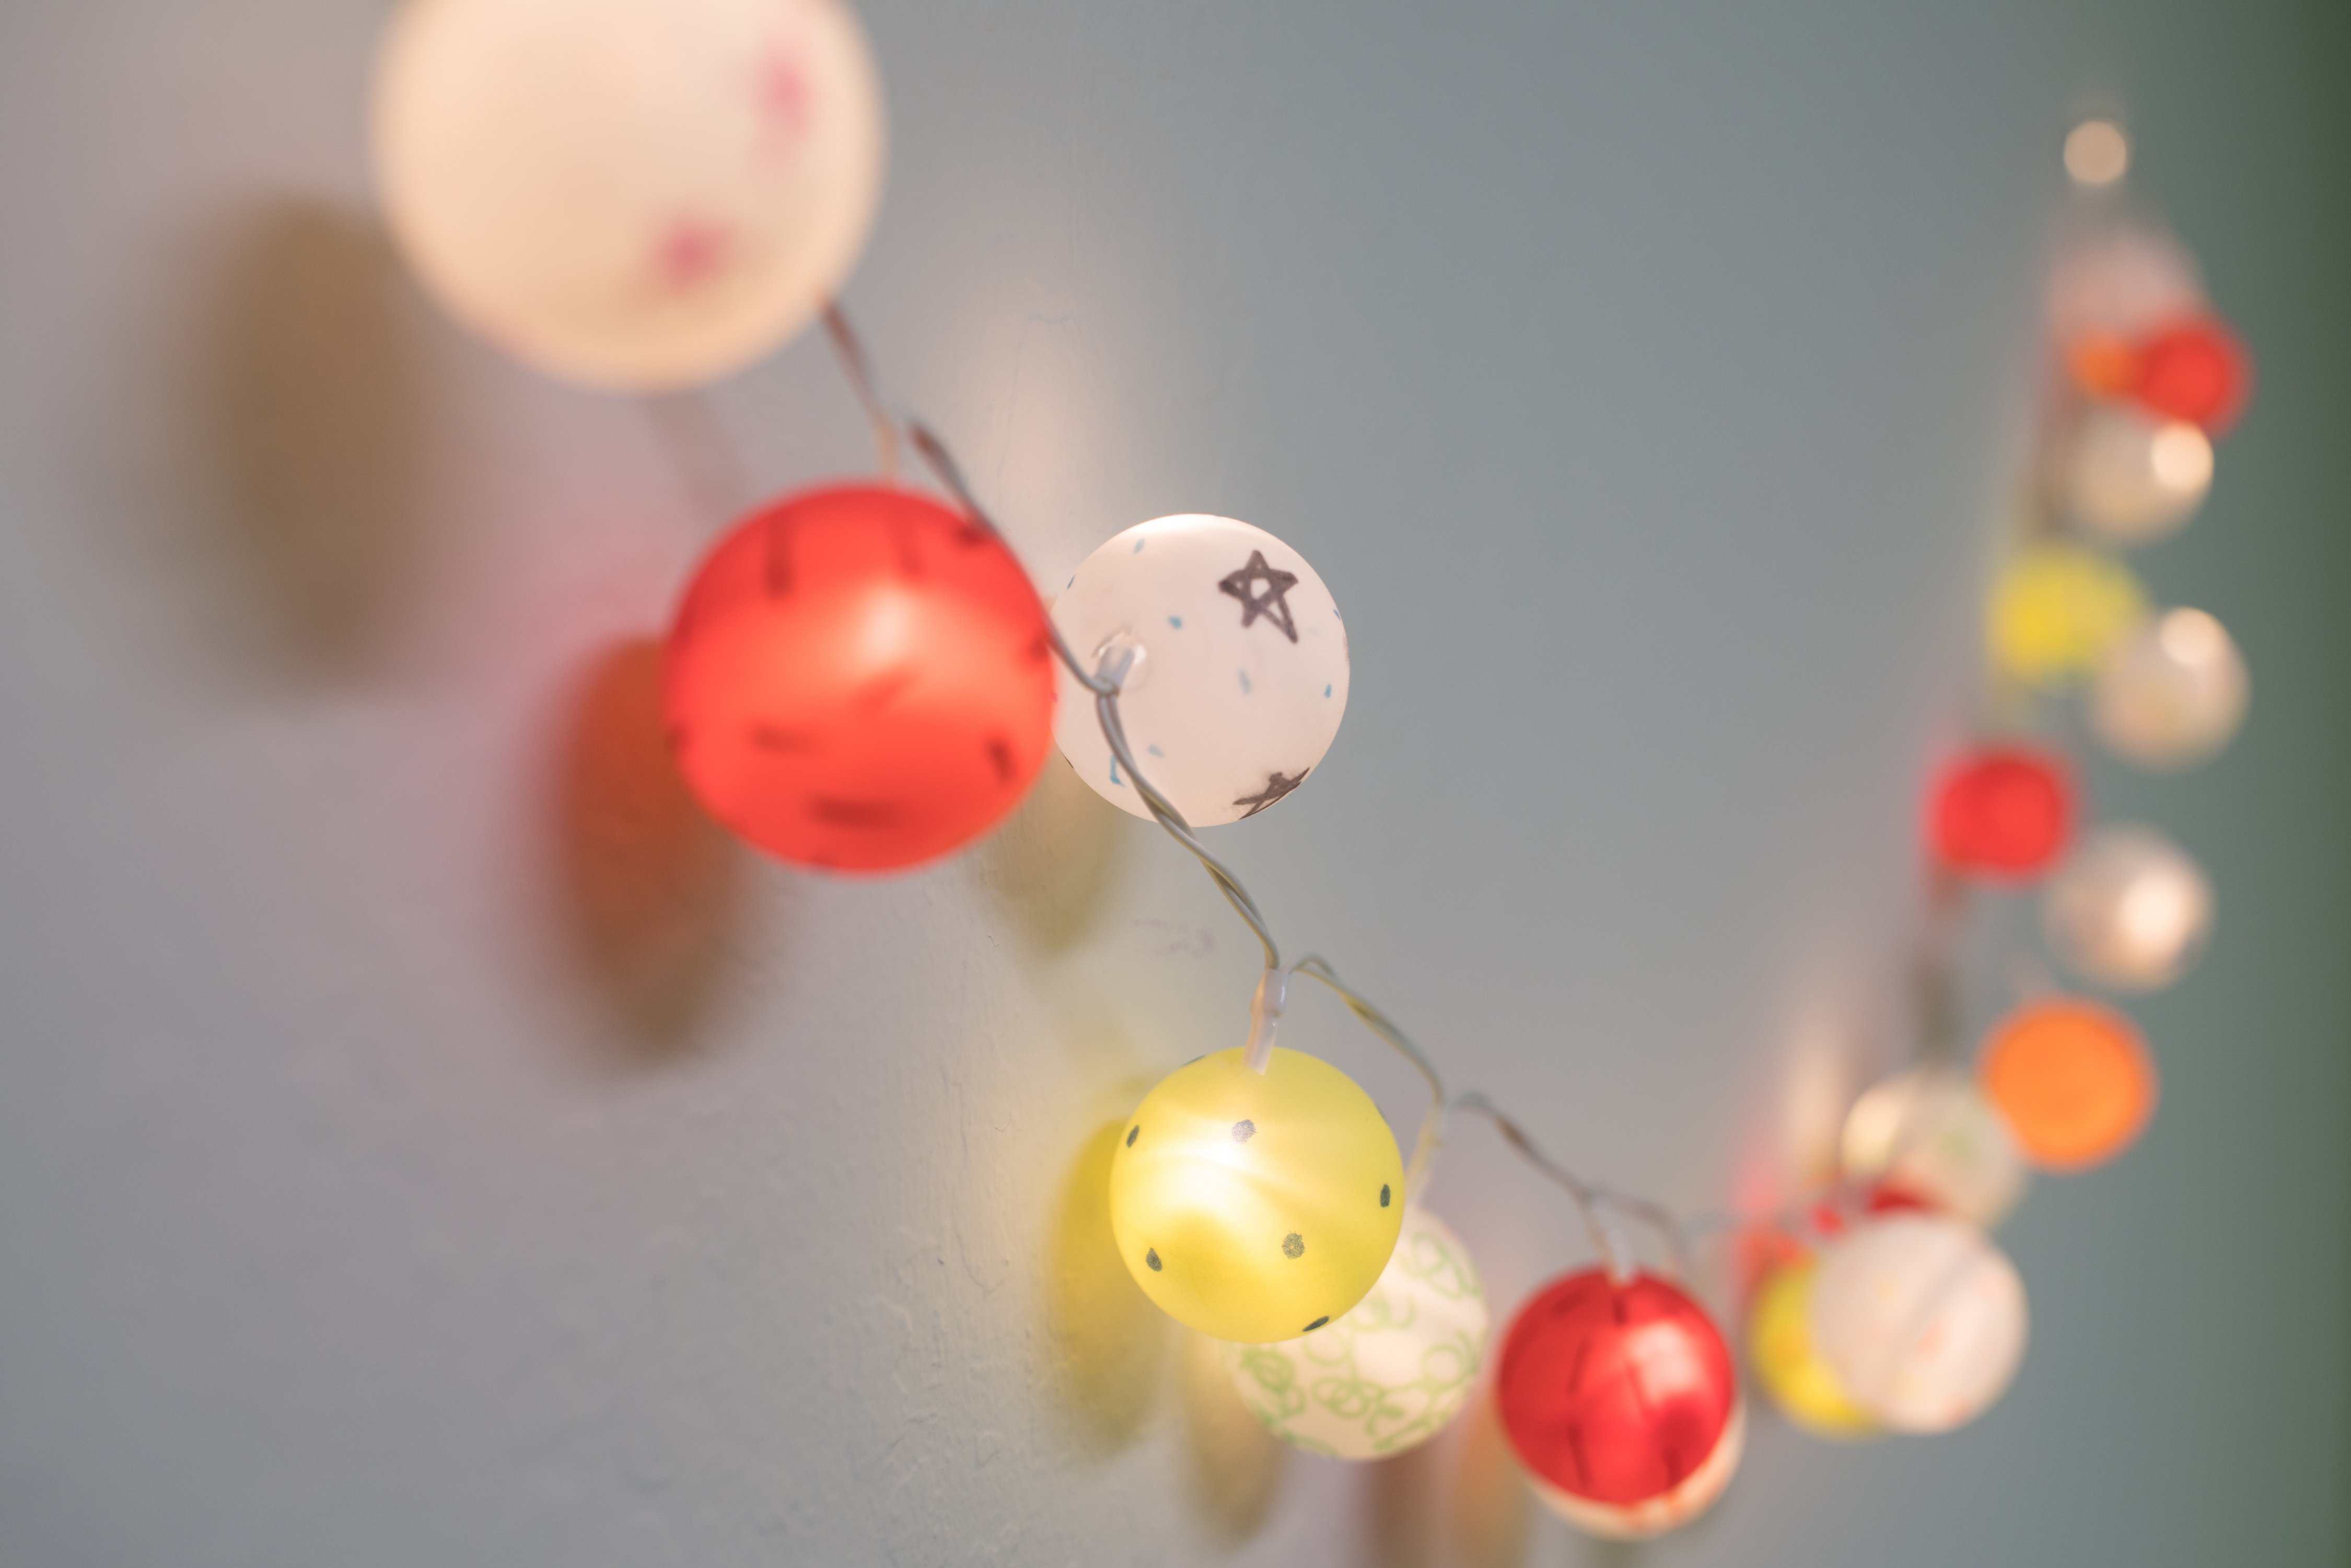
If you'd like, take a permanent marker and draw designs on your ping-pong balls. Let the marker ink dry before you touch them again to avoid smudges.
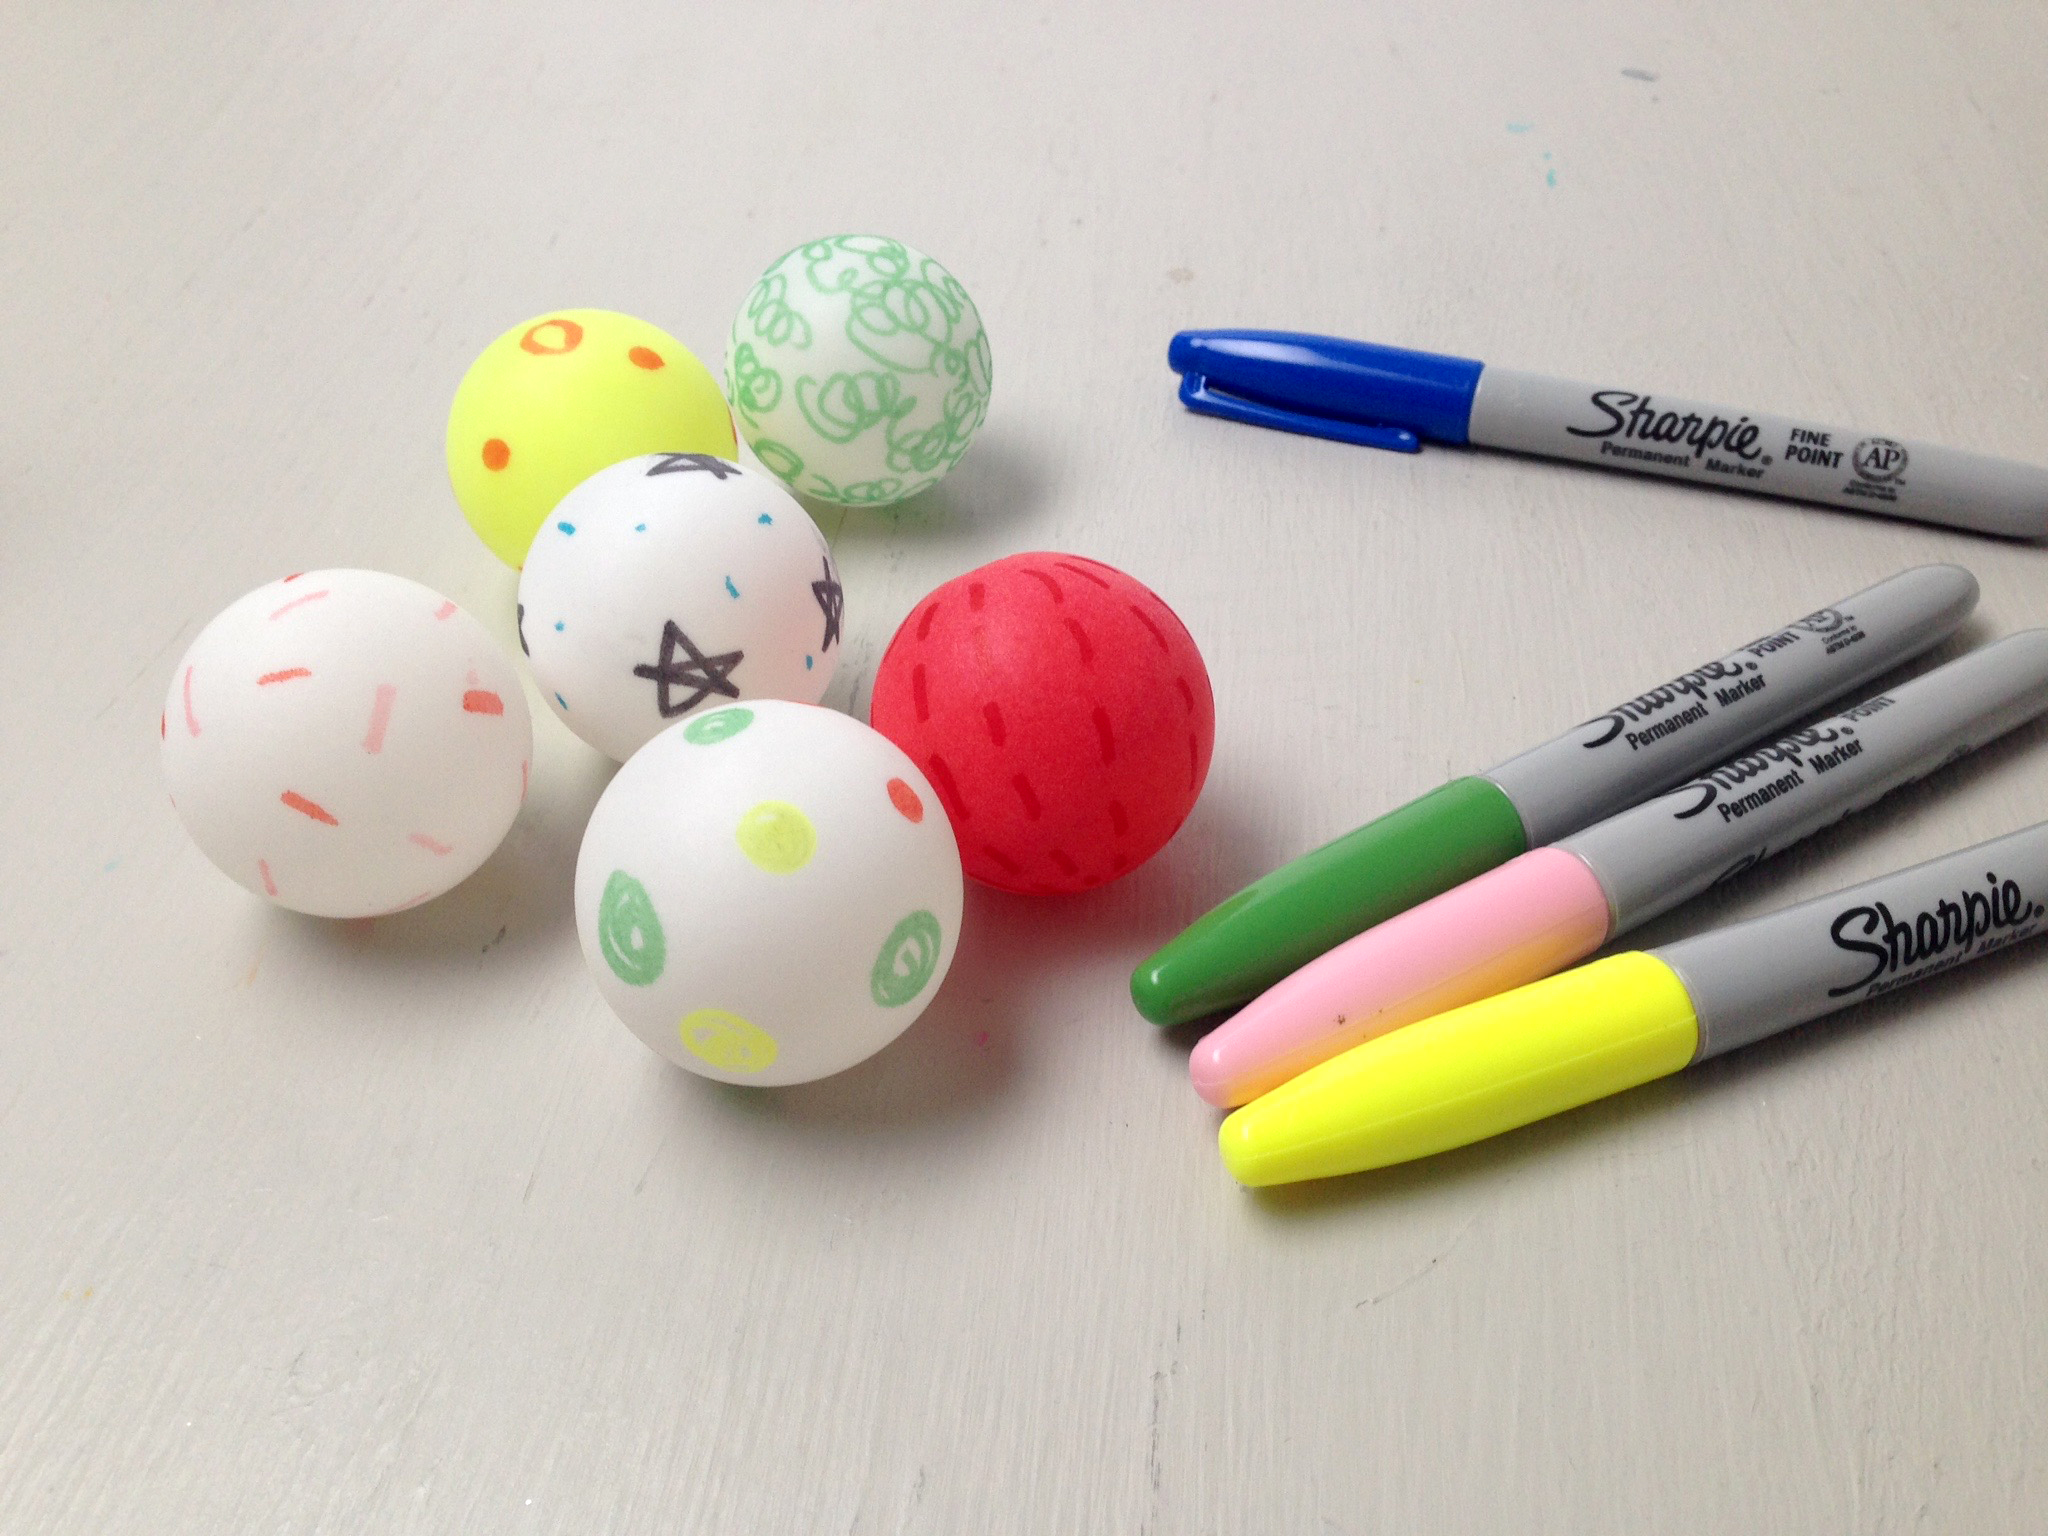
Tip
Draw away from the punctured hole as this portion of the ping-pong ball will be covered by the wires of the LED light string and may cover your designs.
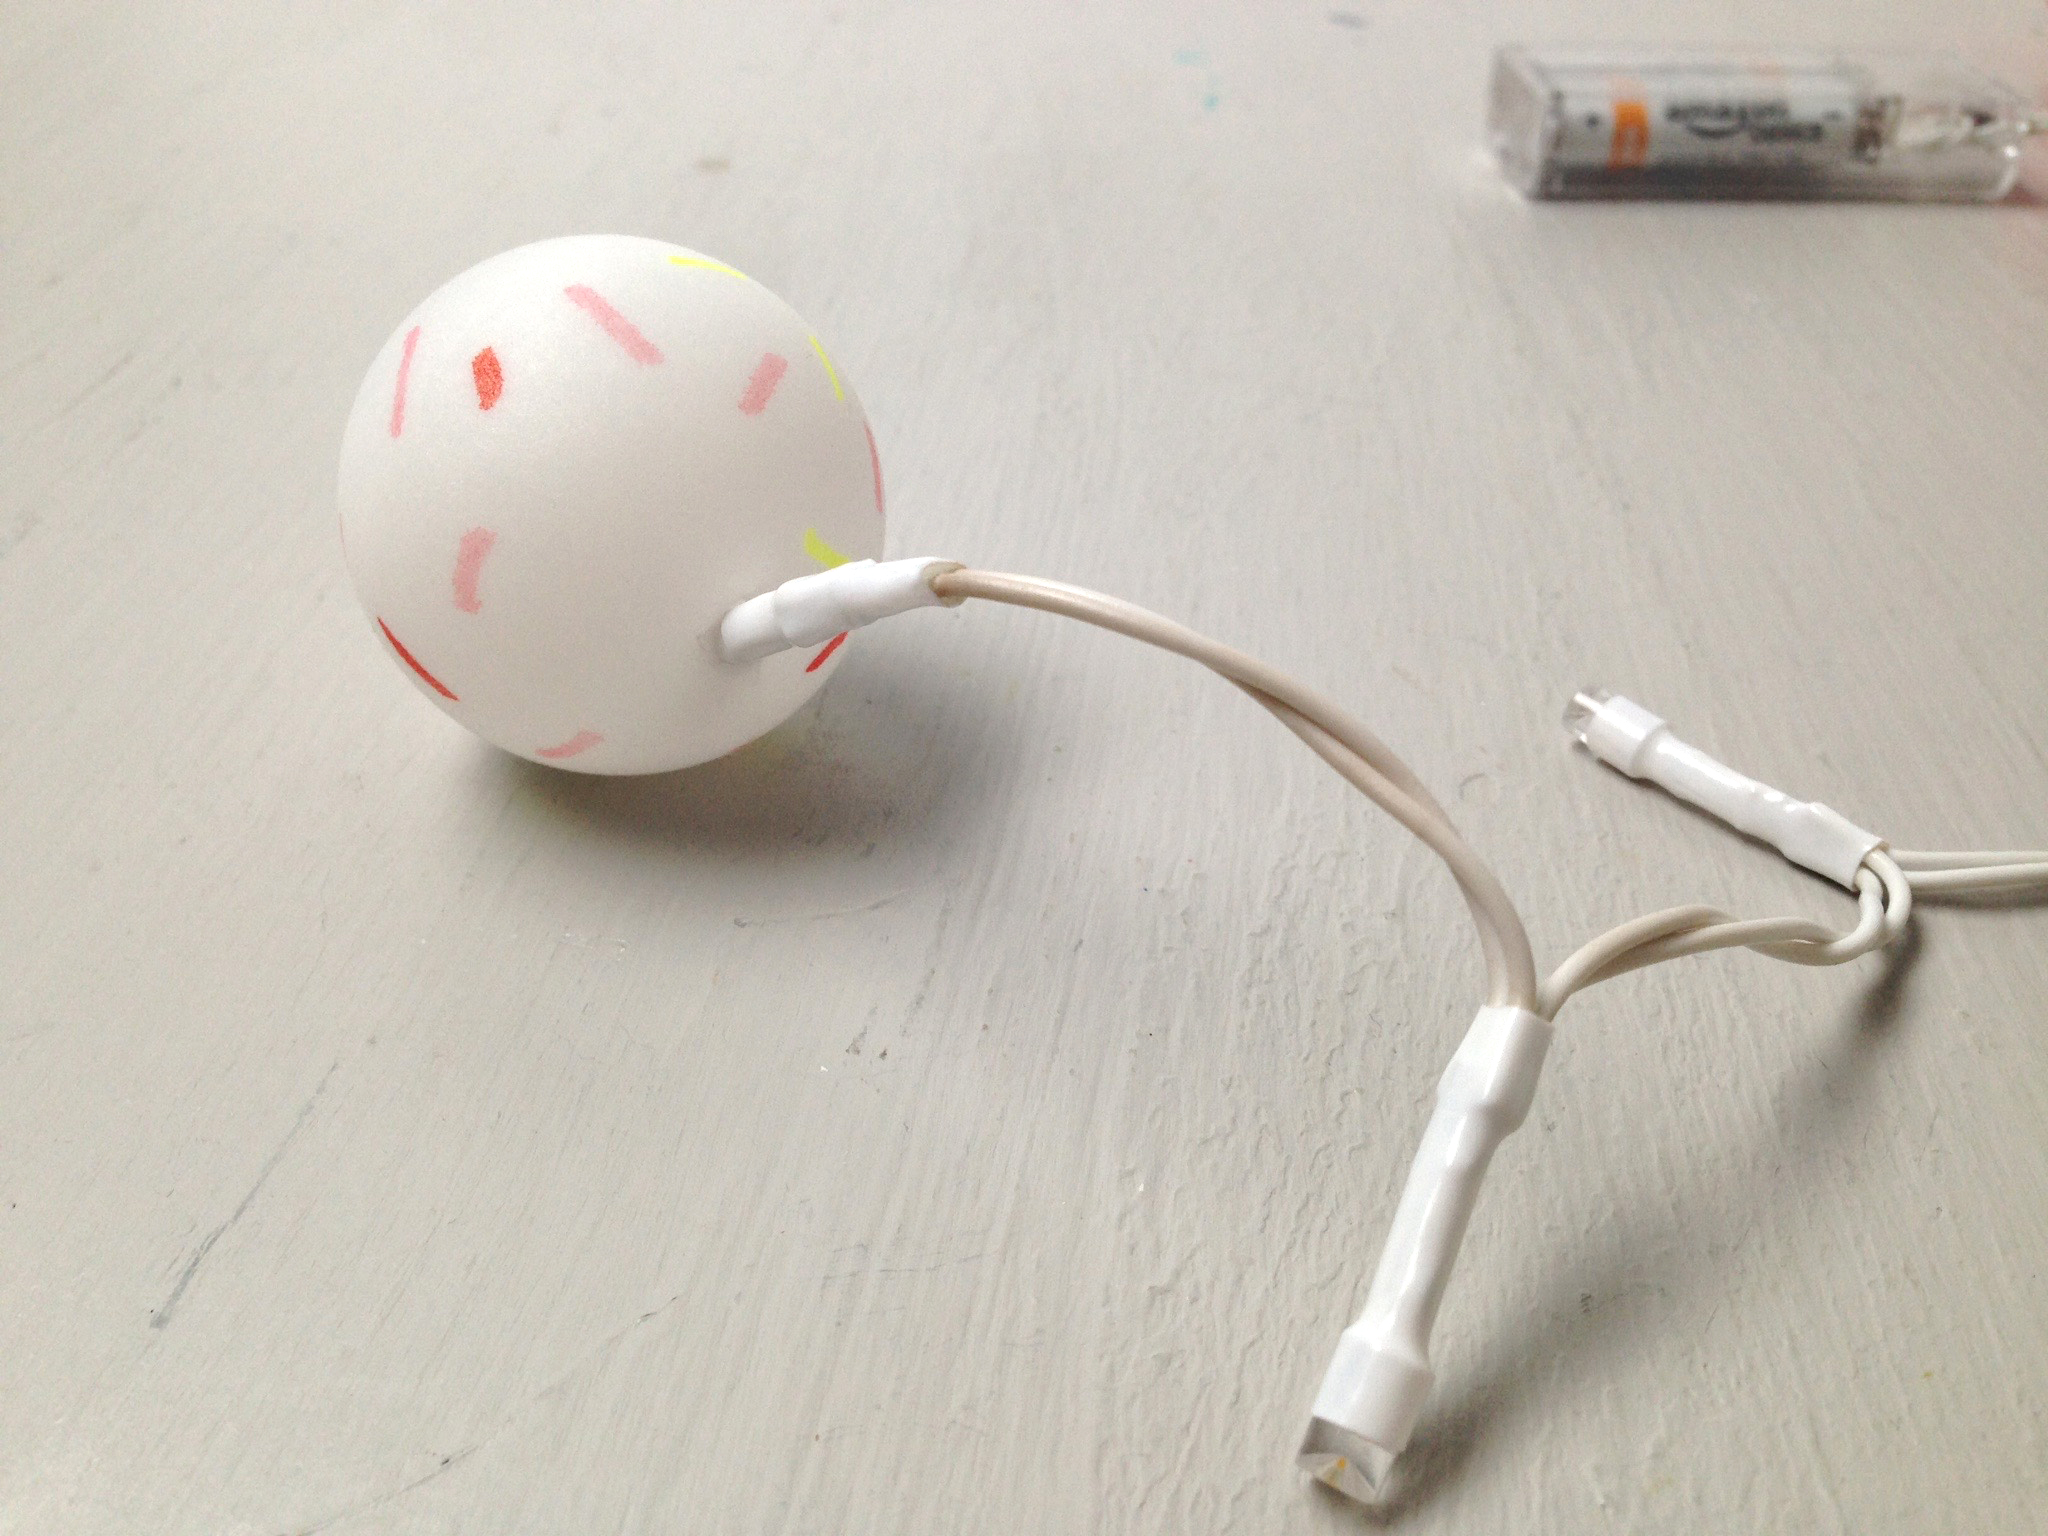
Step 5
Once all your ping-pong balls have been punctured, take one ping-pong ball and push the LED light through the hole on the ping-pong ball to attach them to the light string.
Step 6
Repeat step 5 for all the ping-pong balls that will go on your LED light string. As mentioned before, I would suggest planning your pattern before attaching the ping-pong balls. I didn't do this and spent extra time taking the ping-pong balls on and off.

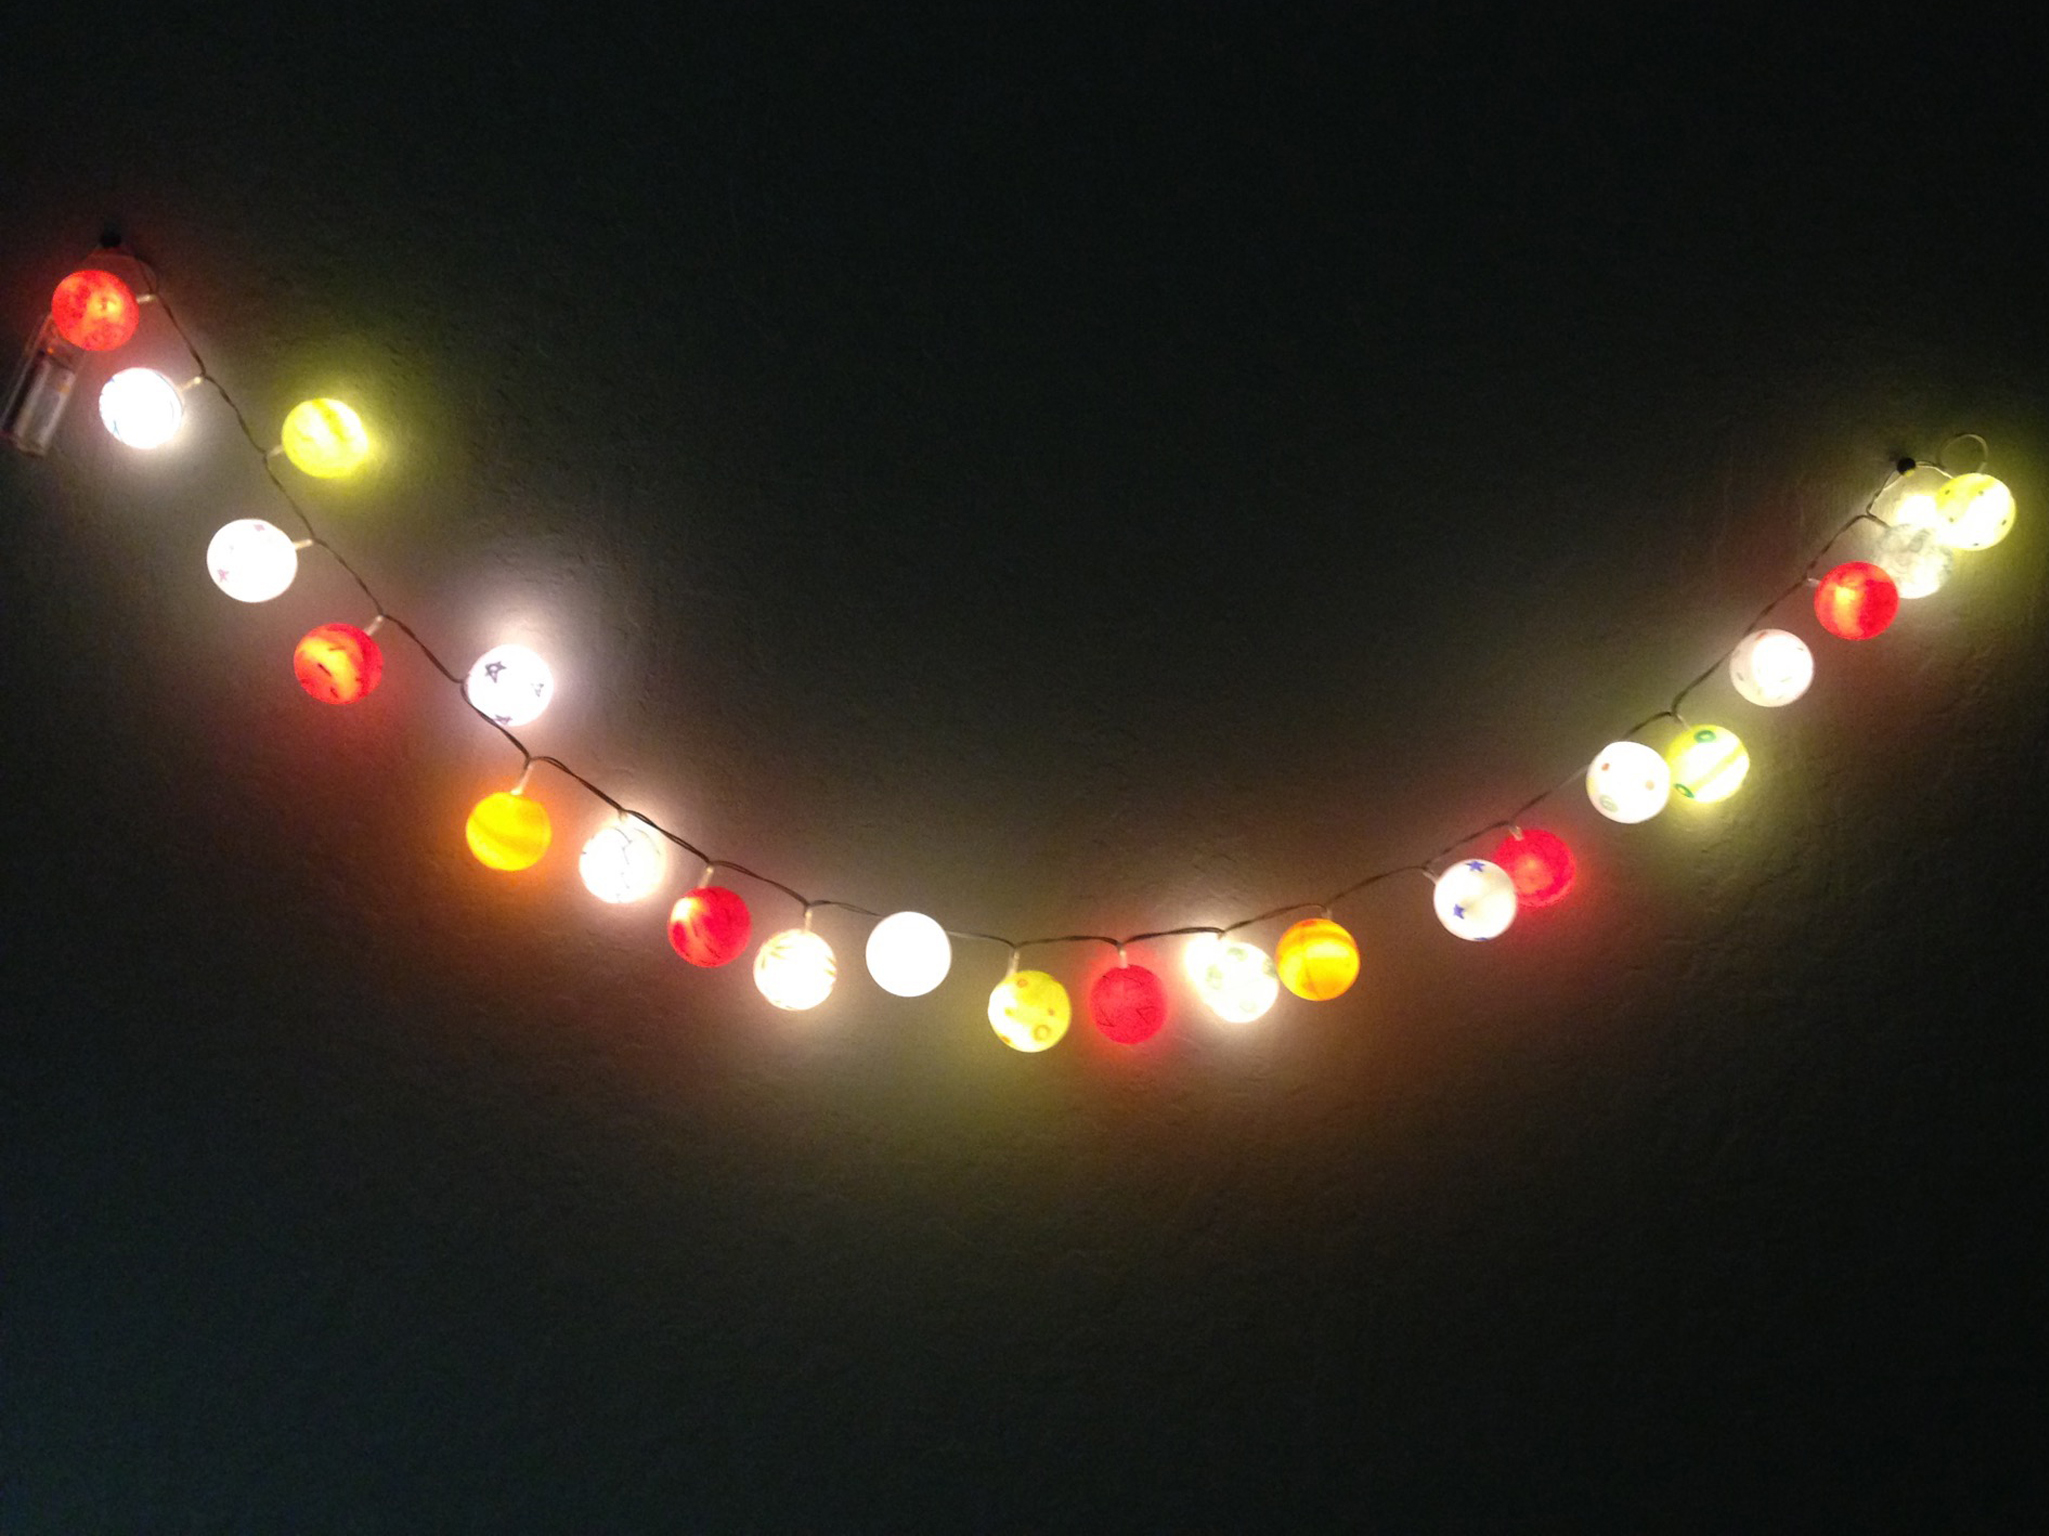
Done!
You are done! Now you can show off your glowing light string.