Step-by-step tutorial
Step 1
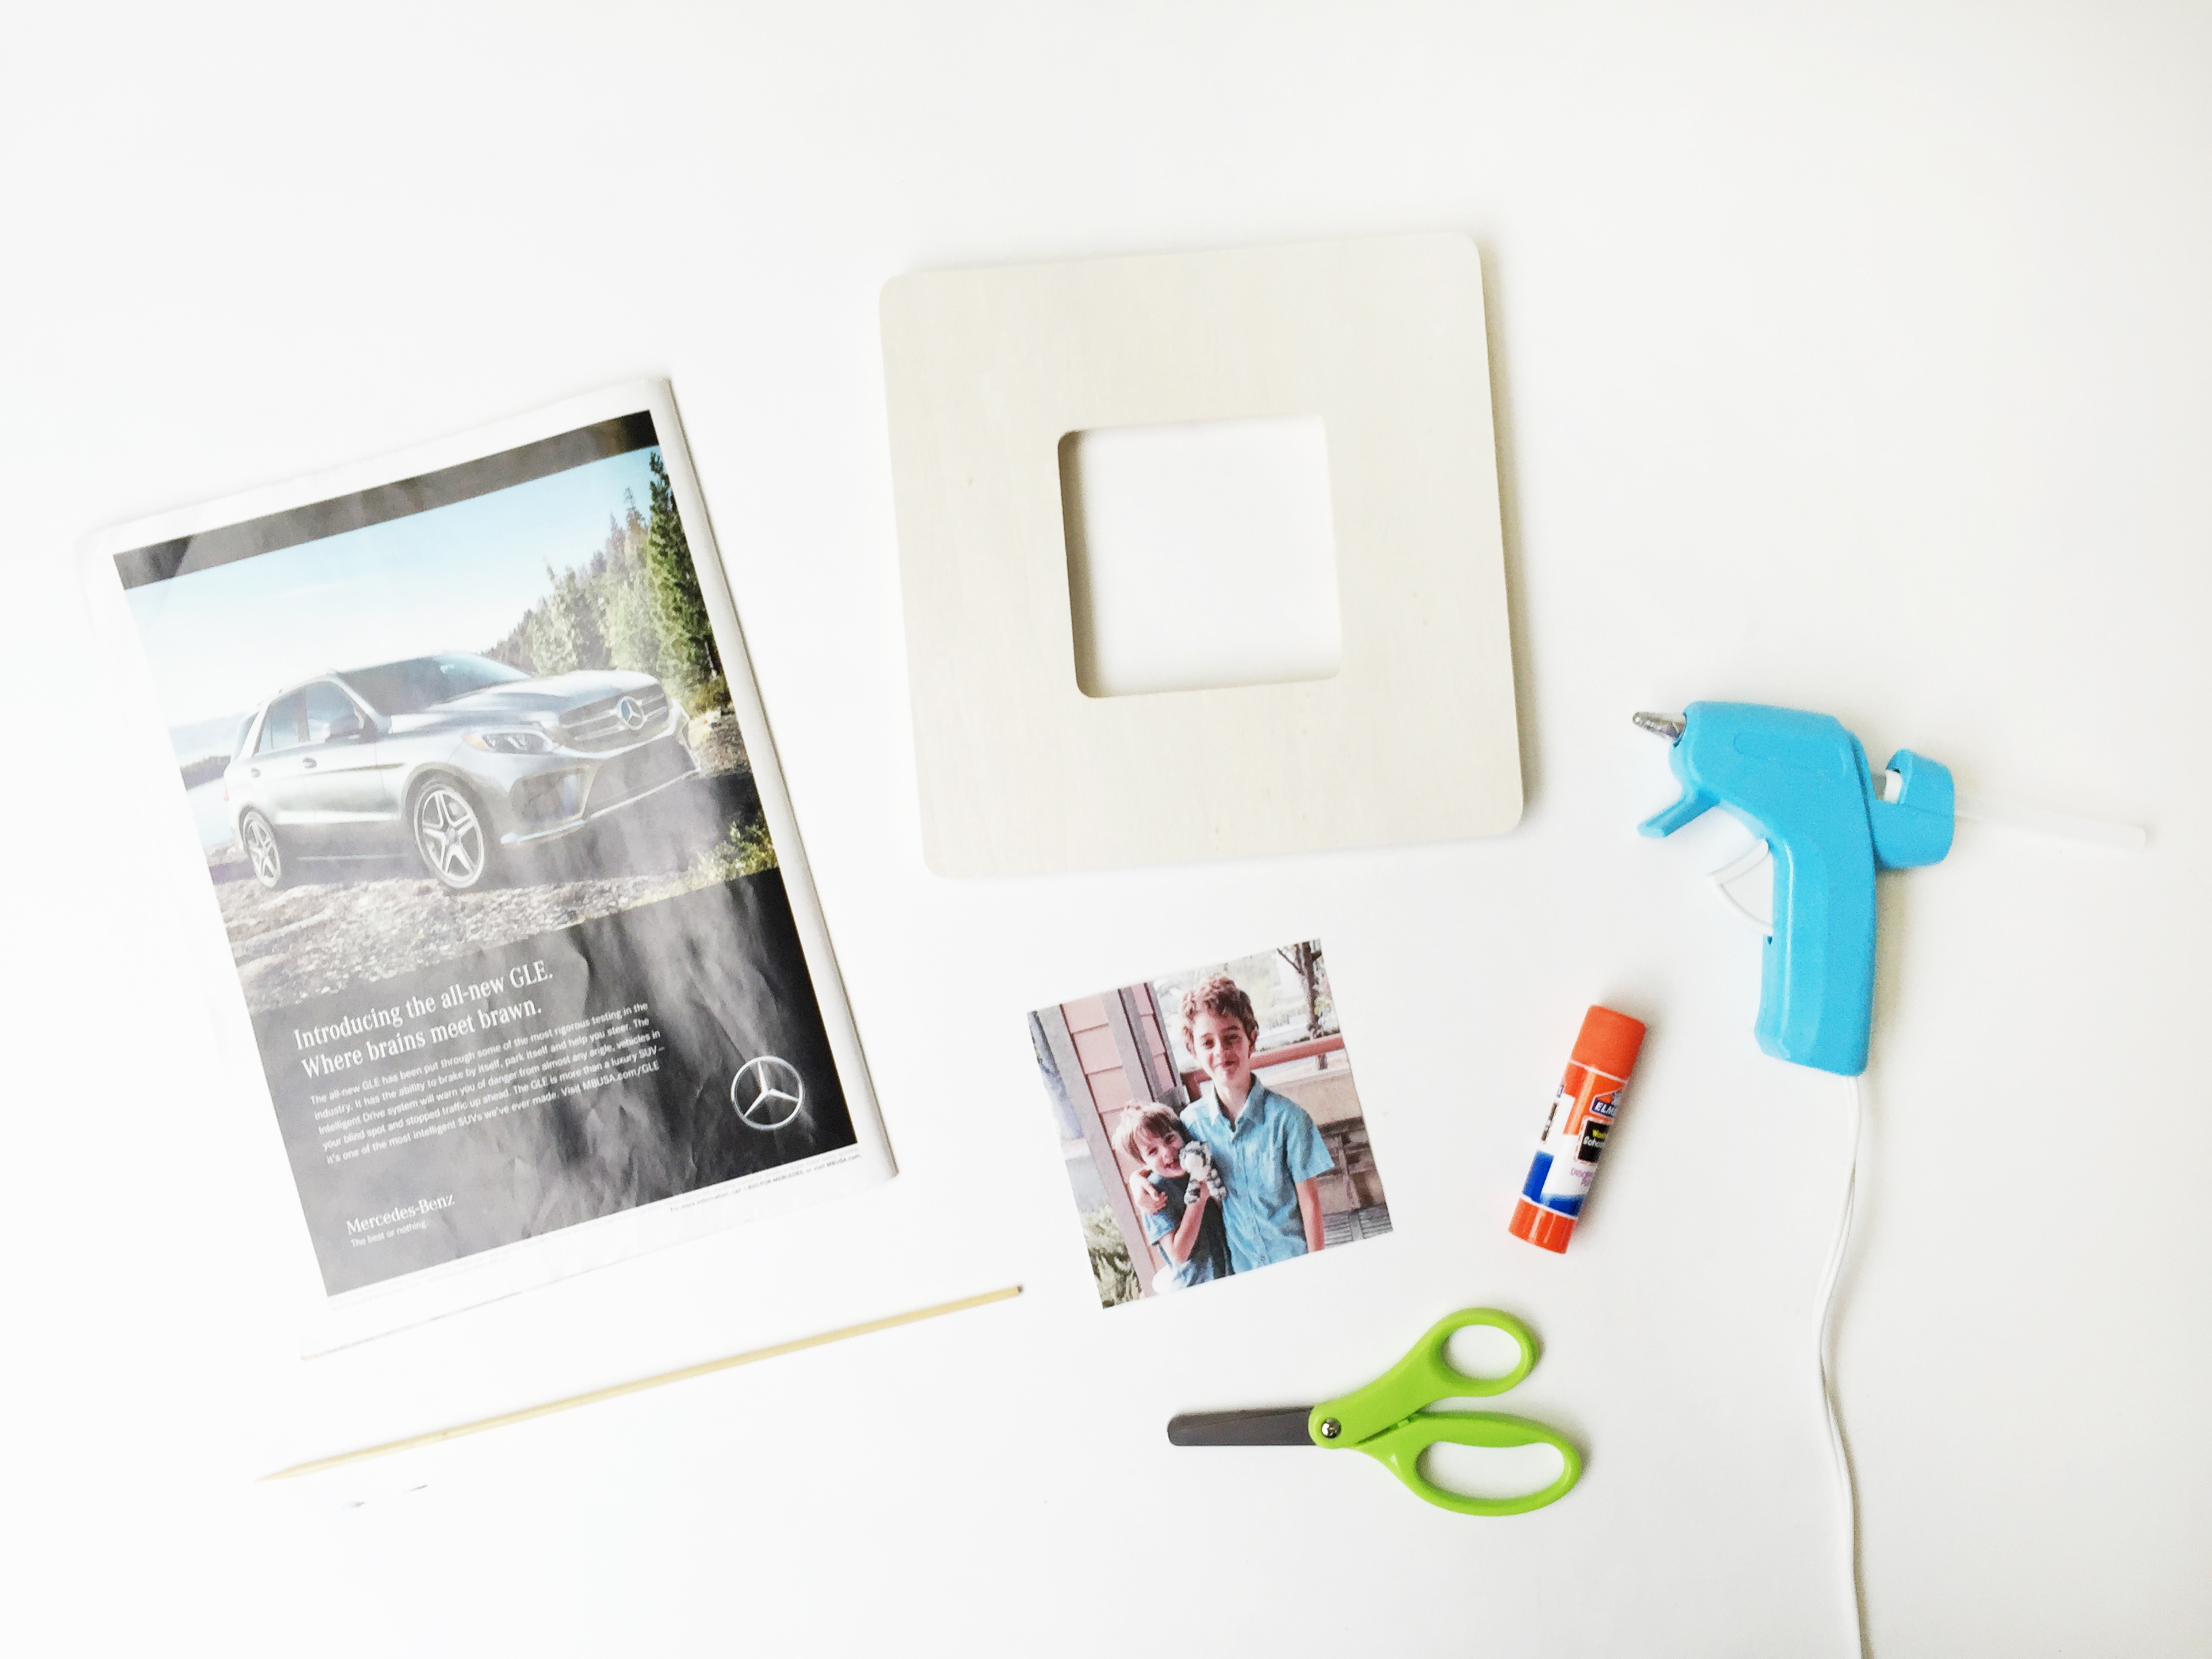
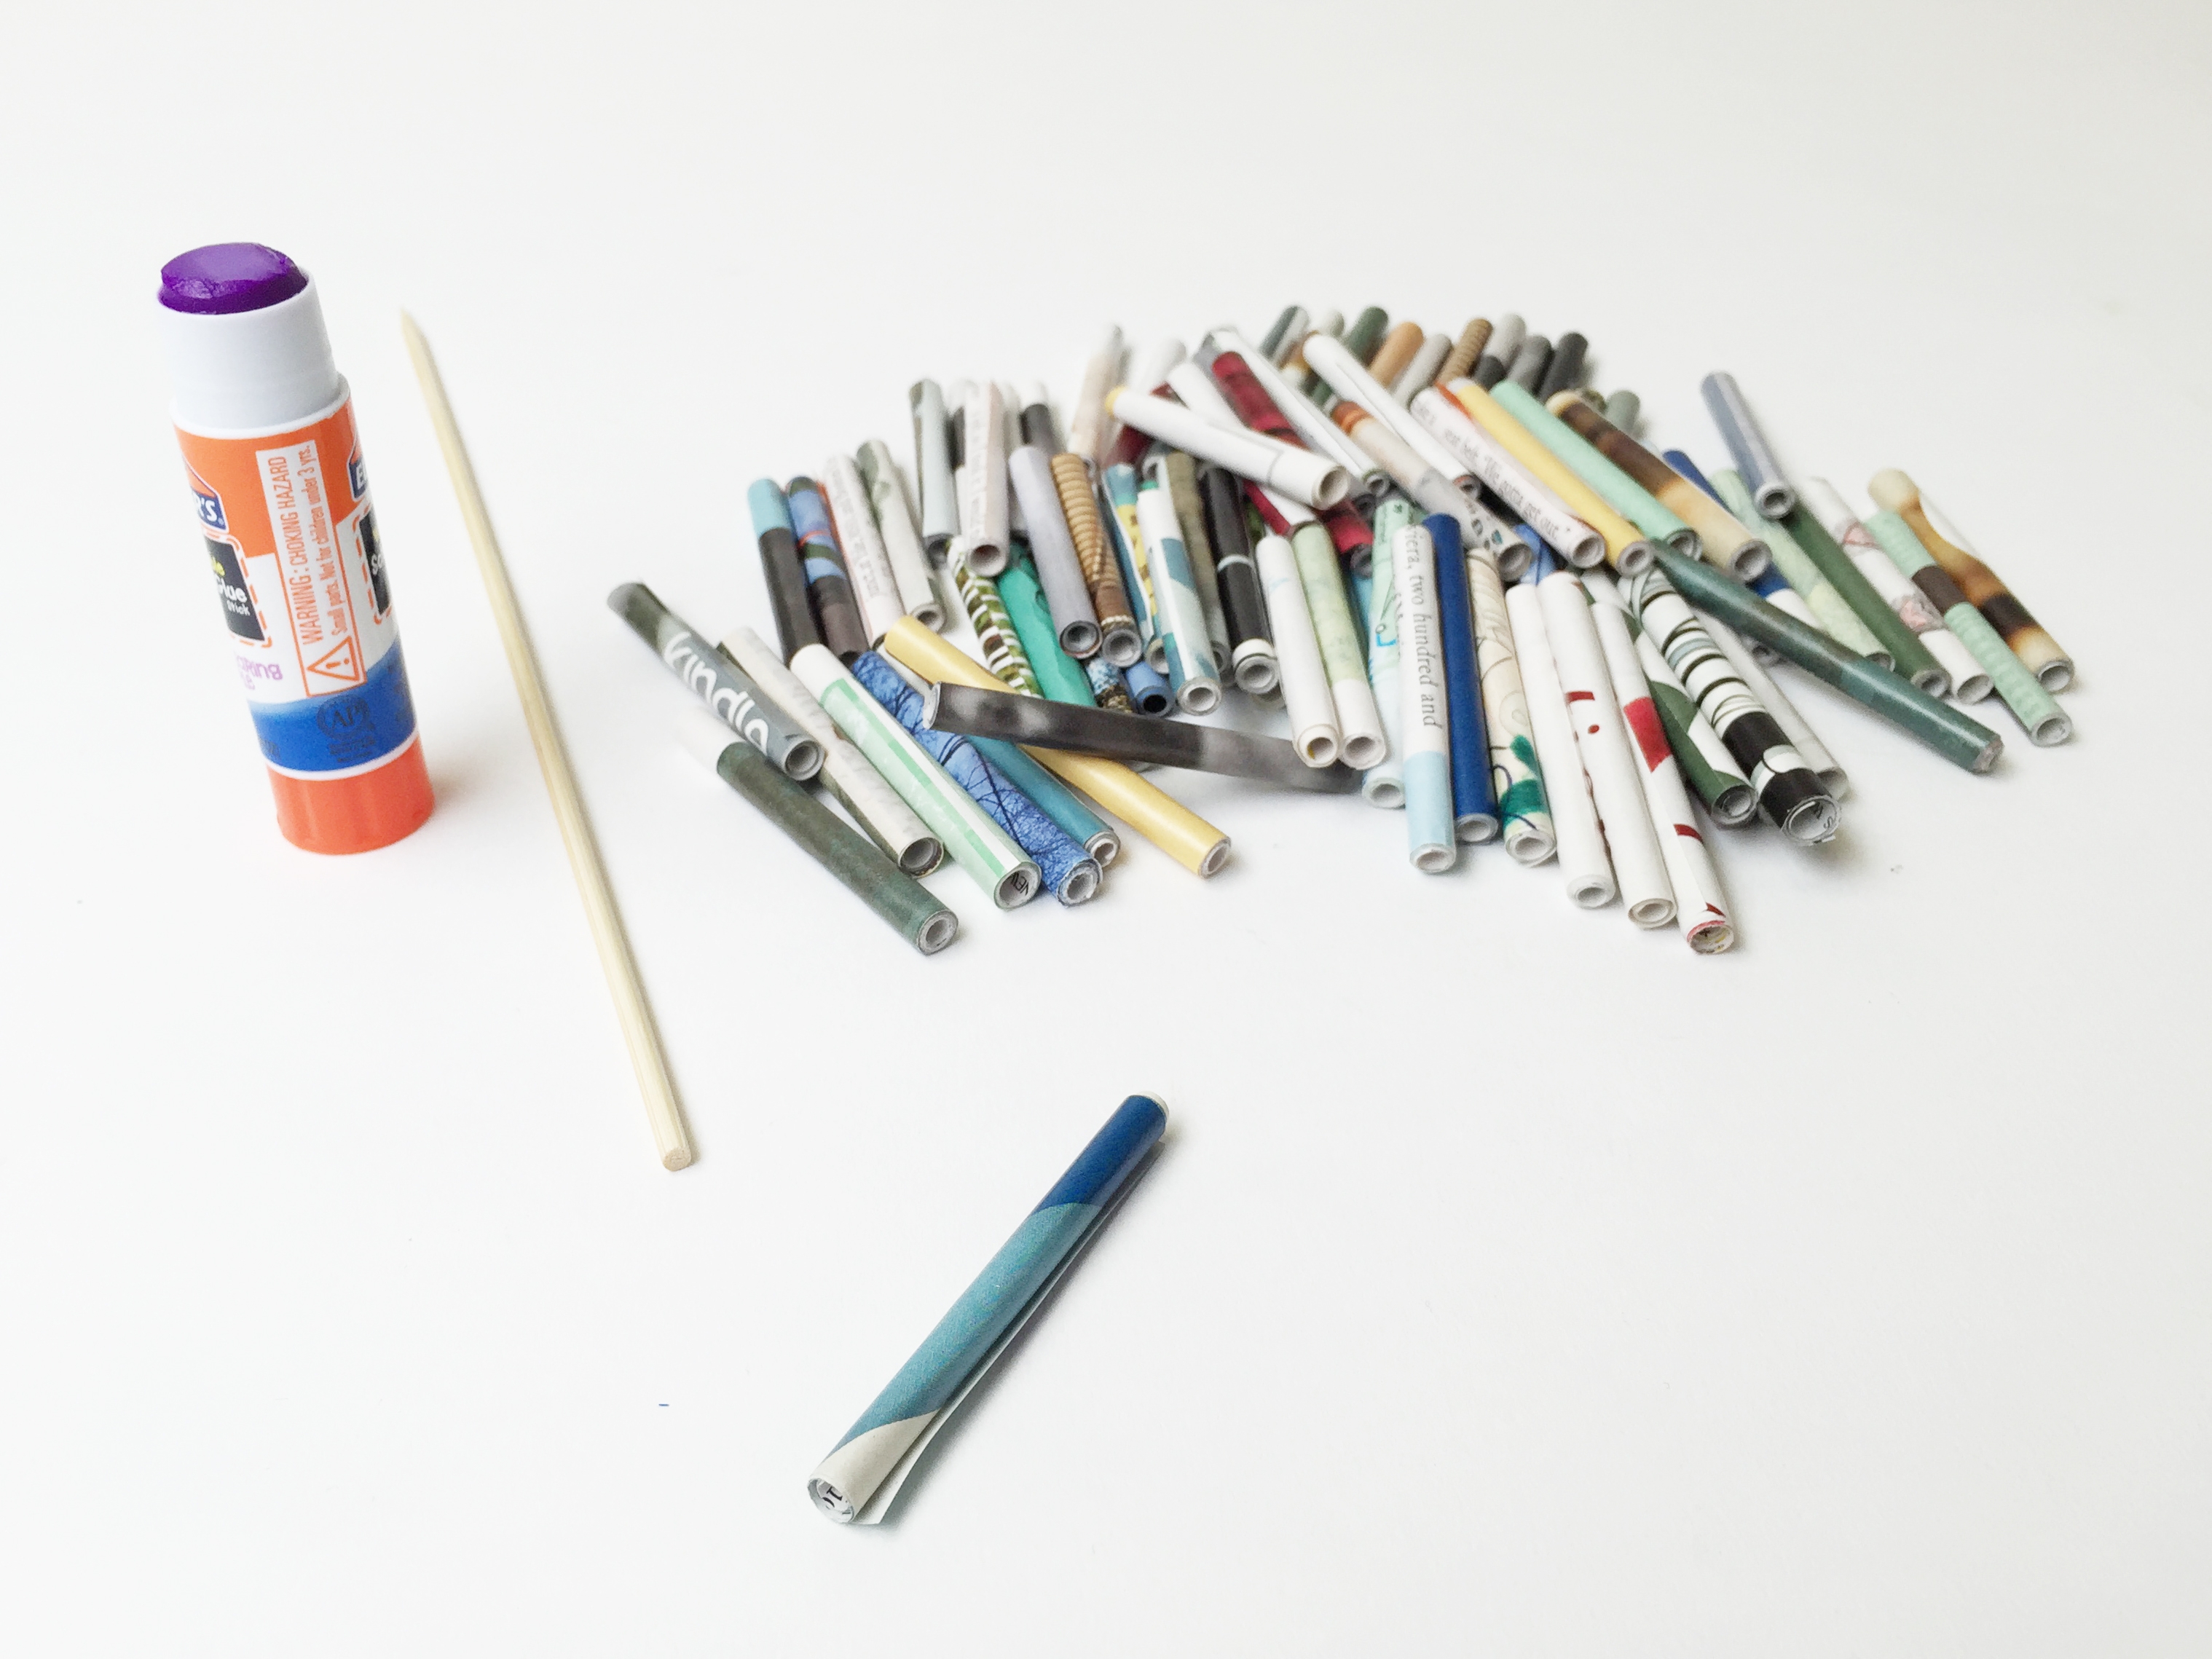
Gather the materials to make your DIY picture frame.

Step 2
Cut strips of paper that are as wide as your frame. The frame that we are going to make for Father’s Day had an edge that was about 2 1/4 inches (5.7 cm) wide. Make sure you measure your frame and cut your strips to match it.
You are going to need a bunch of these strips. We needed about 80 to make sure our whole frame was covered. This was a group project, which made this go by much faster and makes the next steps go by faster, too.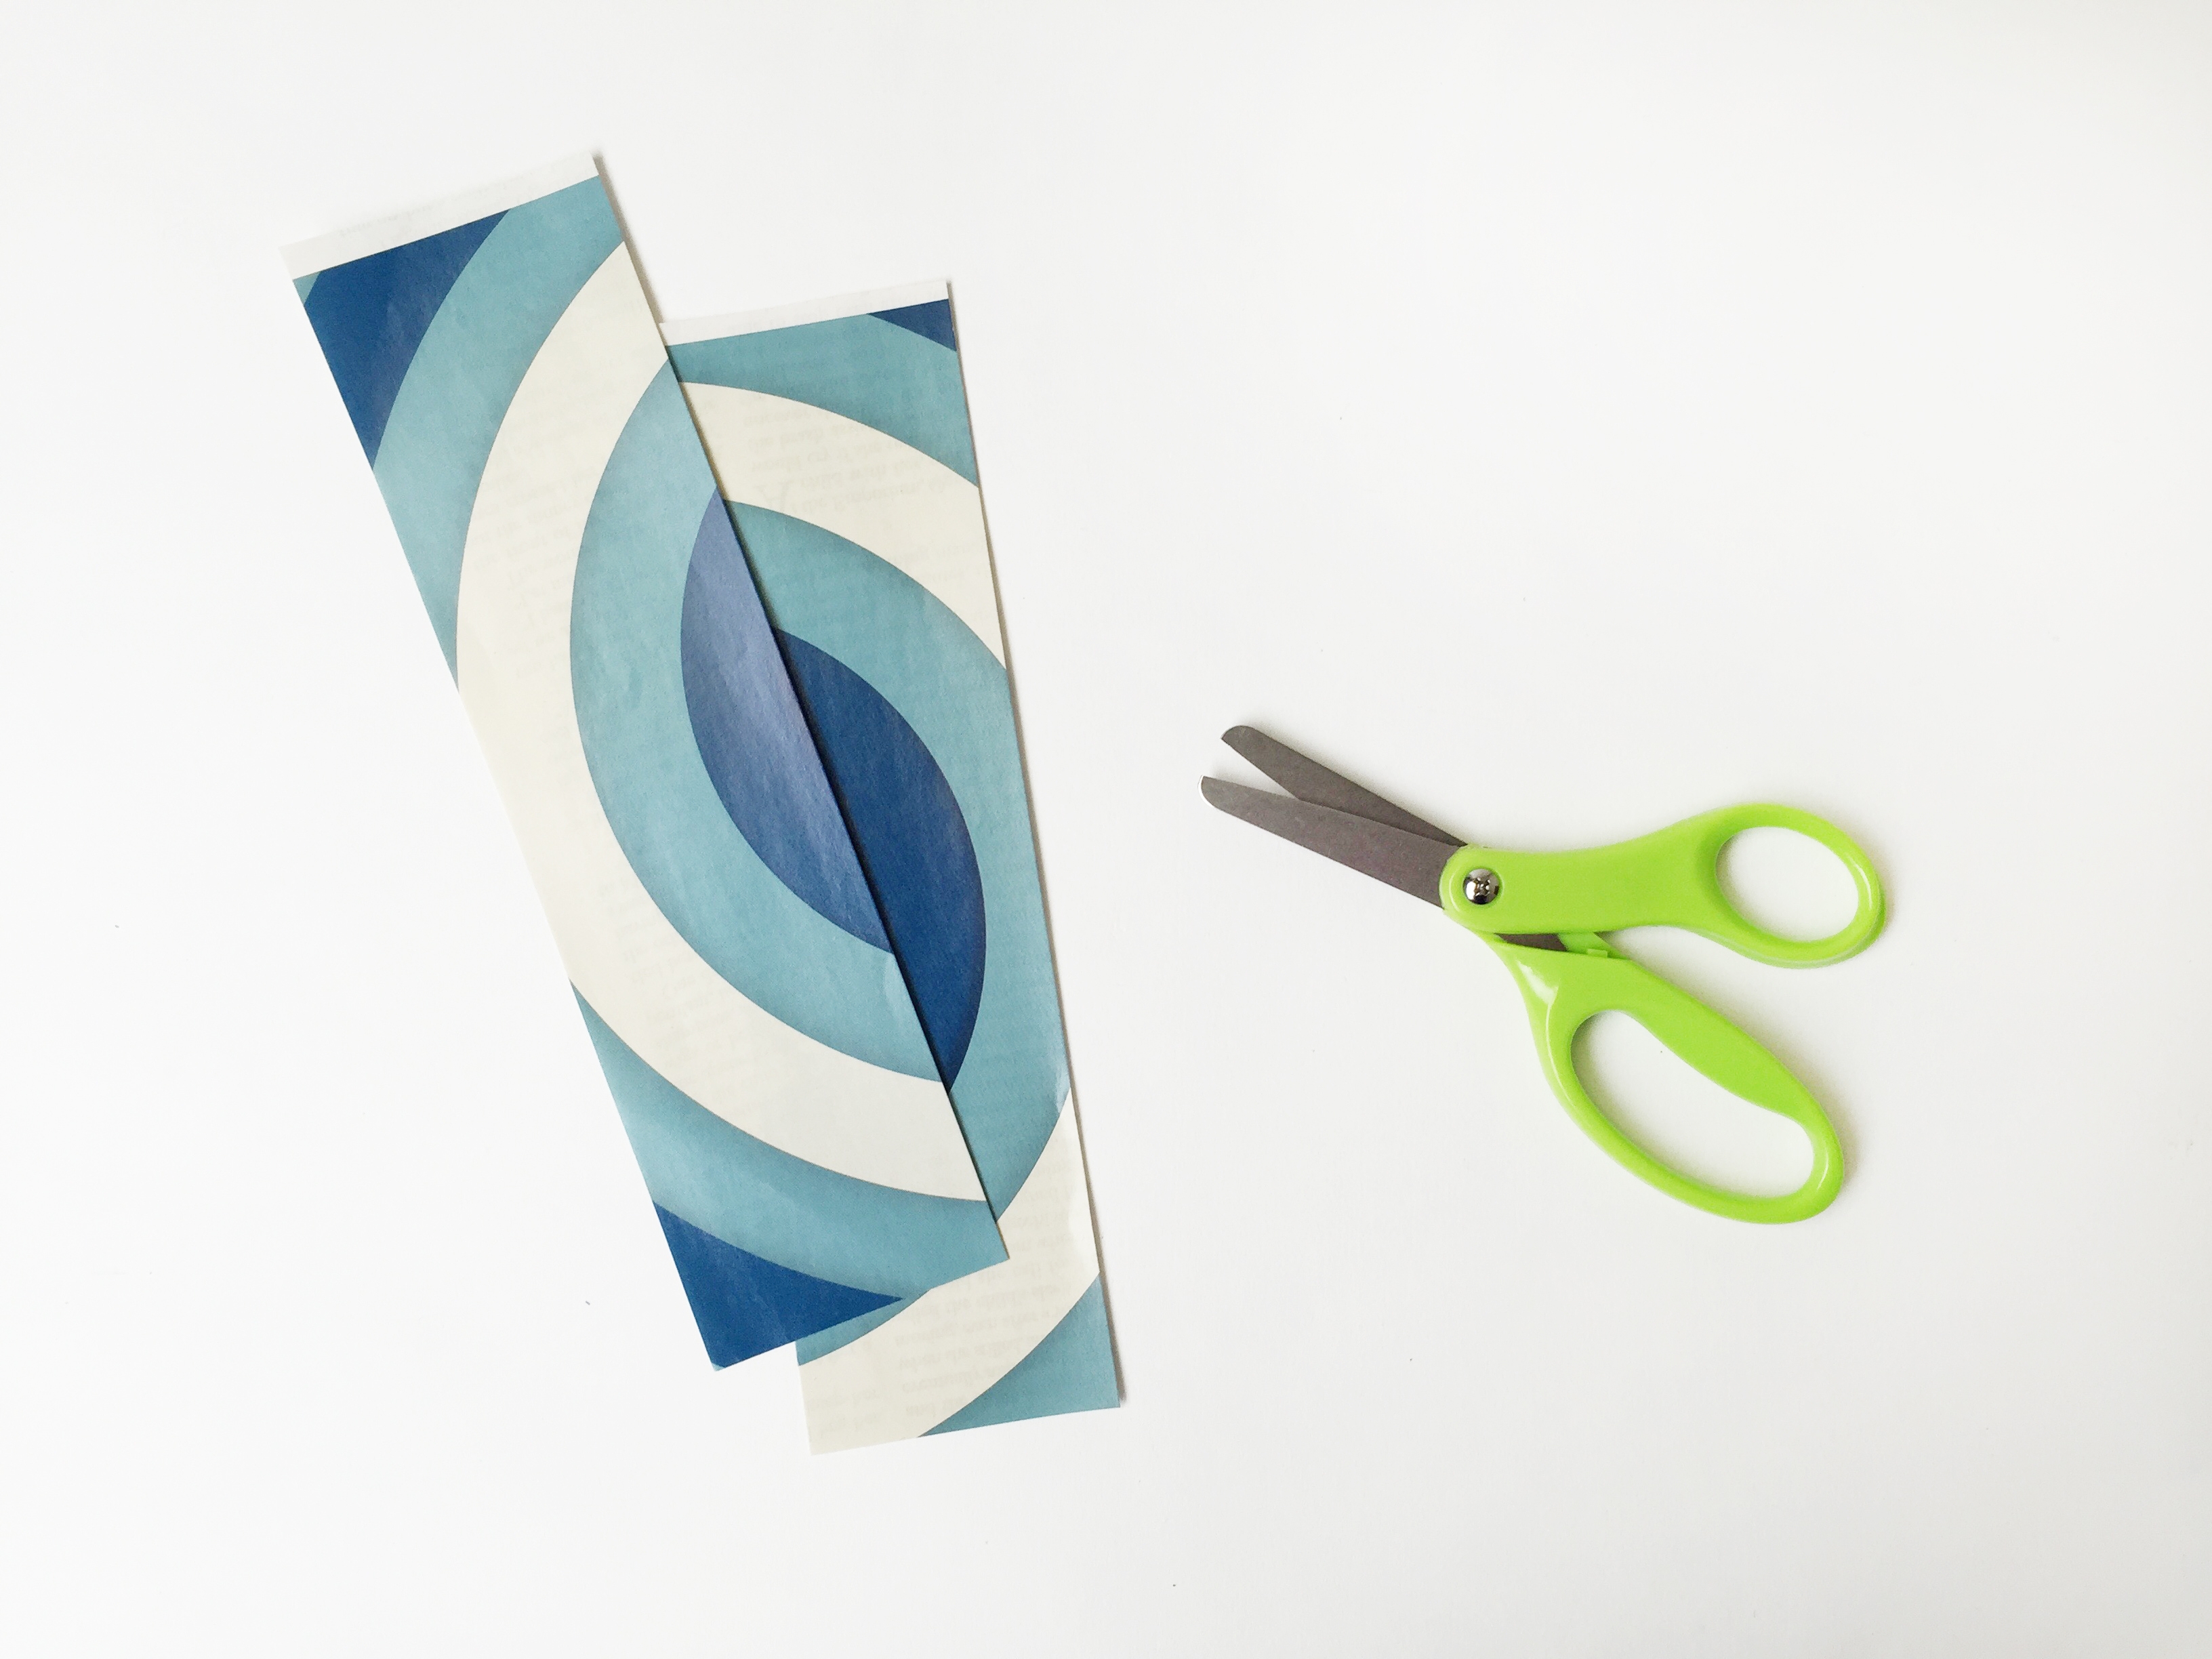
Step 3
Take a skewer and roll your paper around it until you end up with a little roll of paper. You’ll want to have the color you want showing at the end to be face down while you are rolling. This makes sure it shows up in your finished frame.
When you get to the end of the strip, add a little glue to the end of the paper and wrap it the rest of the way around. This will hold the paper in place. You can use hot glue for this stage too, but we found it easier to work with the glue stick. Plus, it’s easier to get onto the paper and isn’t super messy if it gets on your fingers. If you do get any on your fingers, just wash it off and keep rolling.
Once the paper is secure, pull the roll off of the skewer. If the ends of the roll aren’t even, just pinch both ends of the roll to even them out.
Step 4
Keep rolling (and rolling) paper until you have enough to cover your frame. This step takes a while, but it makes for a great group activity. I spent this time chatting with my boys and figuring out what else we could do for Father’s Day.
Step 5
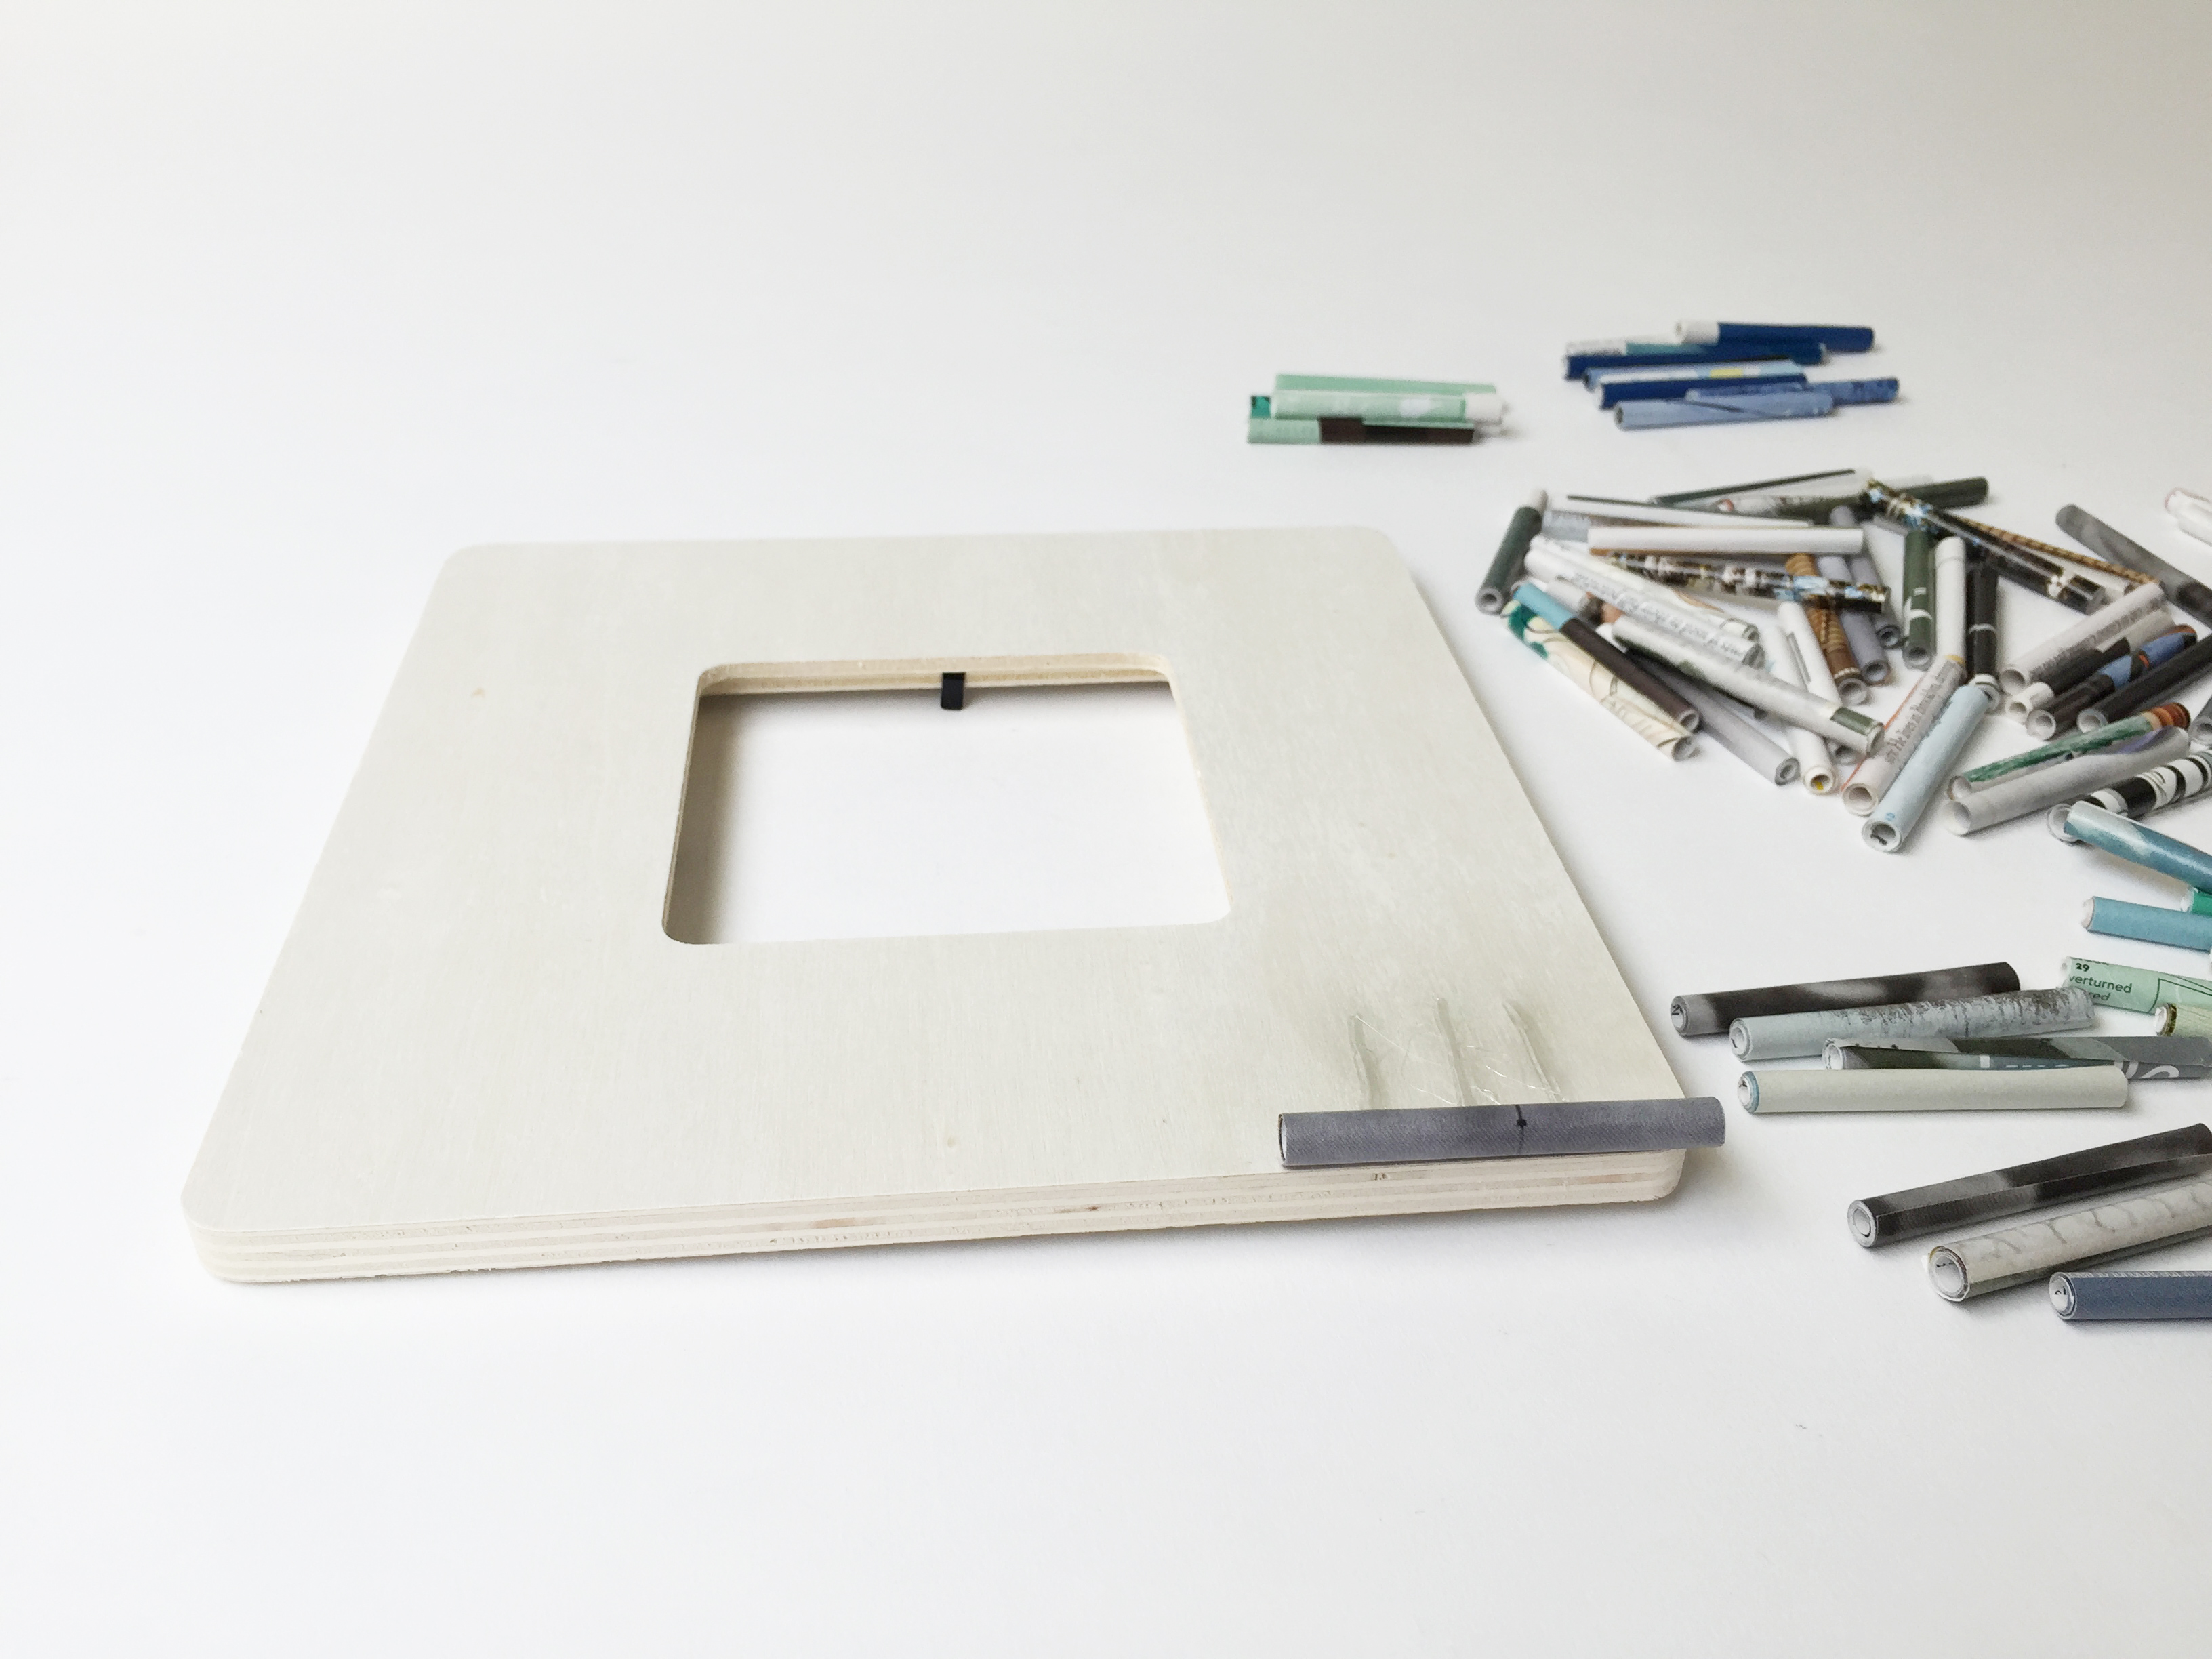
Plan out your frame design by placing the rolled papers along the top. Don’t glue them down yet!
You can use this step to make sure you have enough paper rolled and that you know how they all will fit on. If you have a bunch of different colors, you can see if you want to group them together or create a pattern. Everything is moveable at this point, so explore your options. We ended up grouping them together by color and then alternated the direction of the rolls.
We didn’t have enough strips of paper the first time we planned our design, so we had to make a few more so that we could cover the whole frame. Luckily, we had that process down, so it was quick work.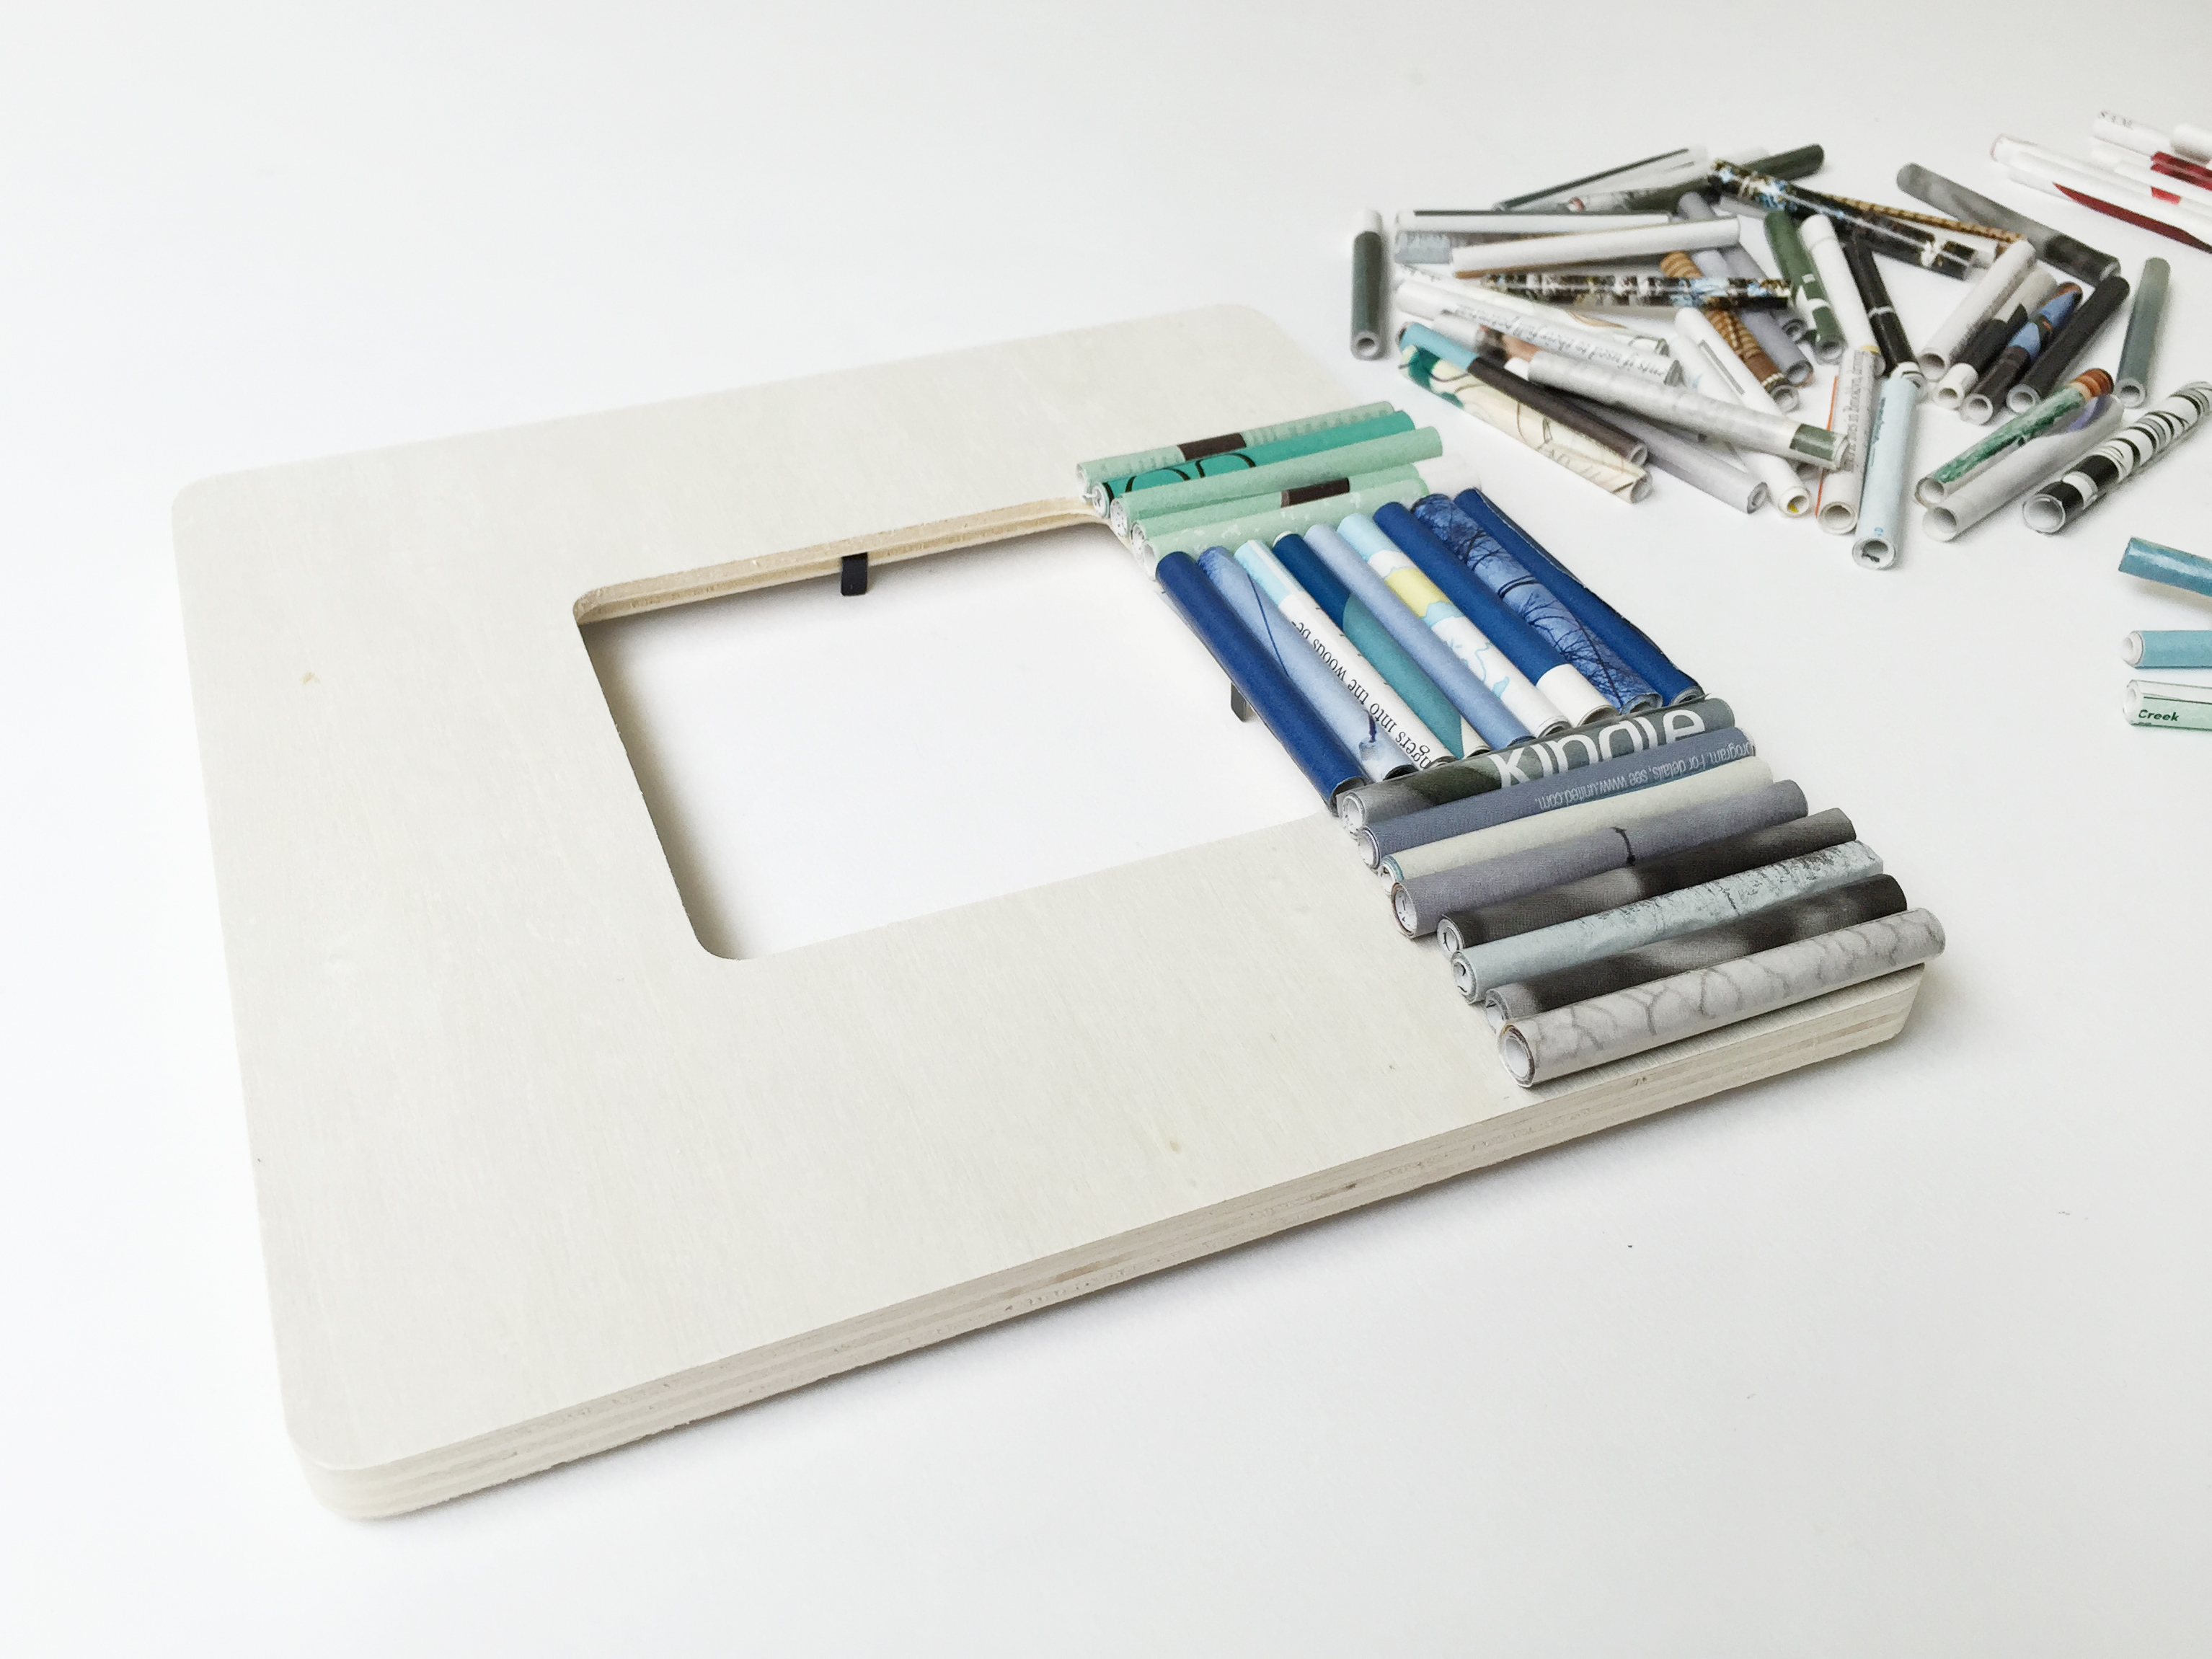
Step 6
It’s time to attach all those rolled papers onto your frame. Add small strips of hot glue and start sticking on all the pieces of paper.
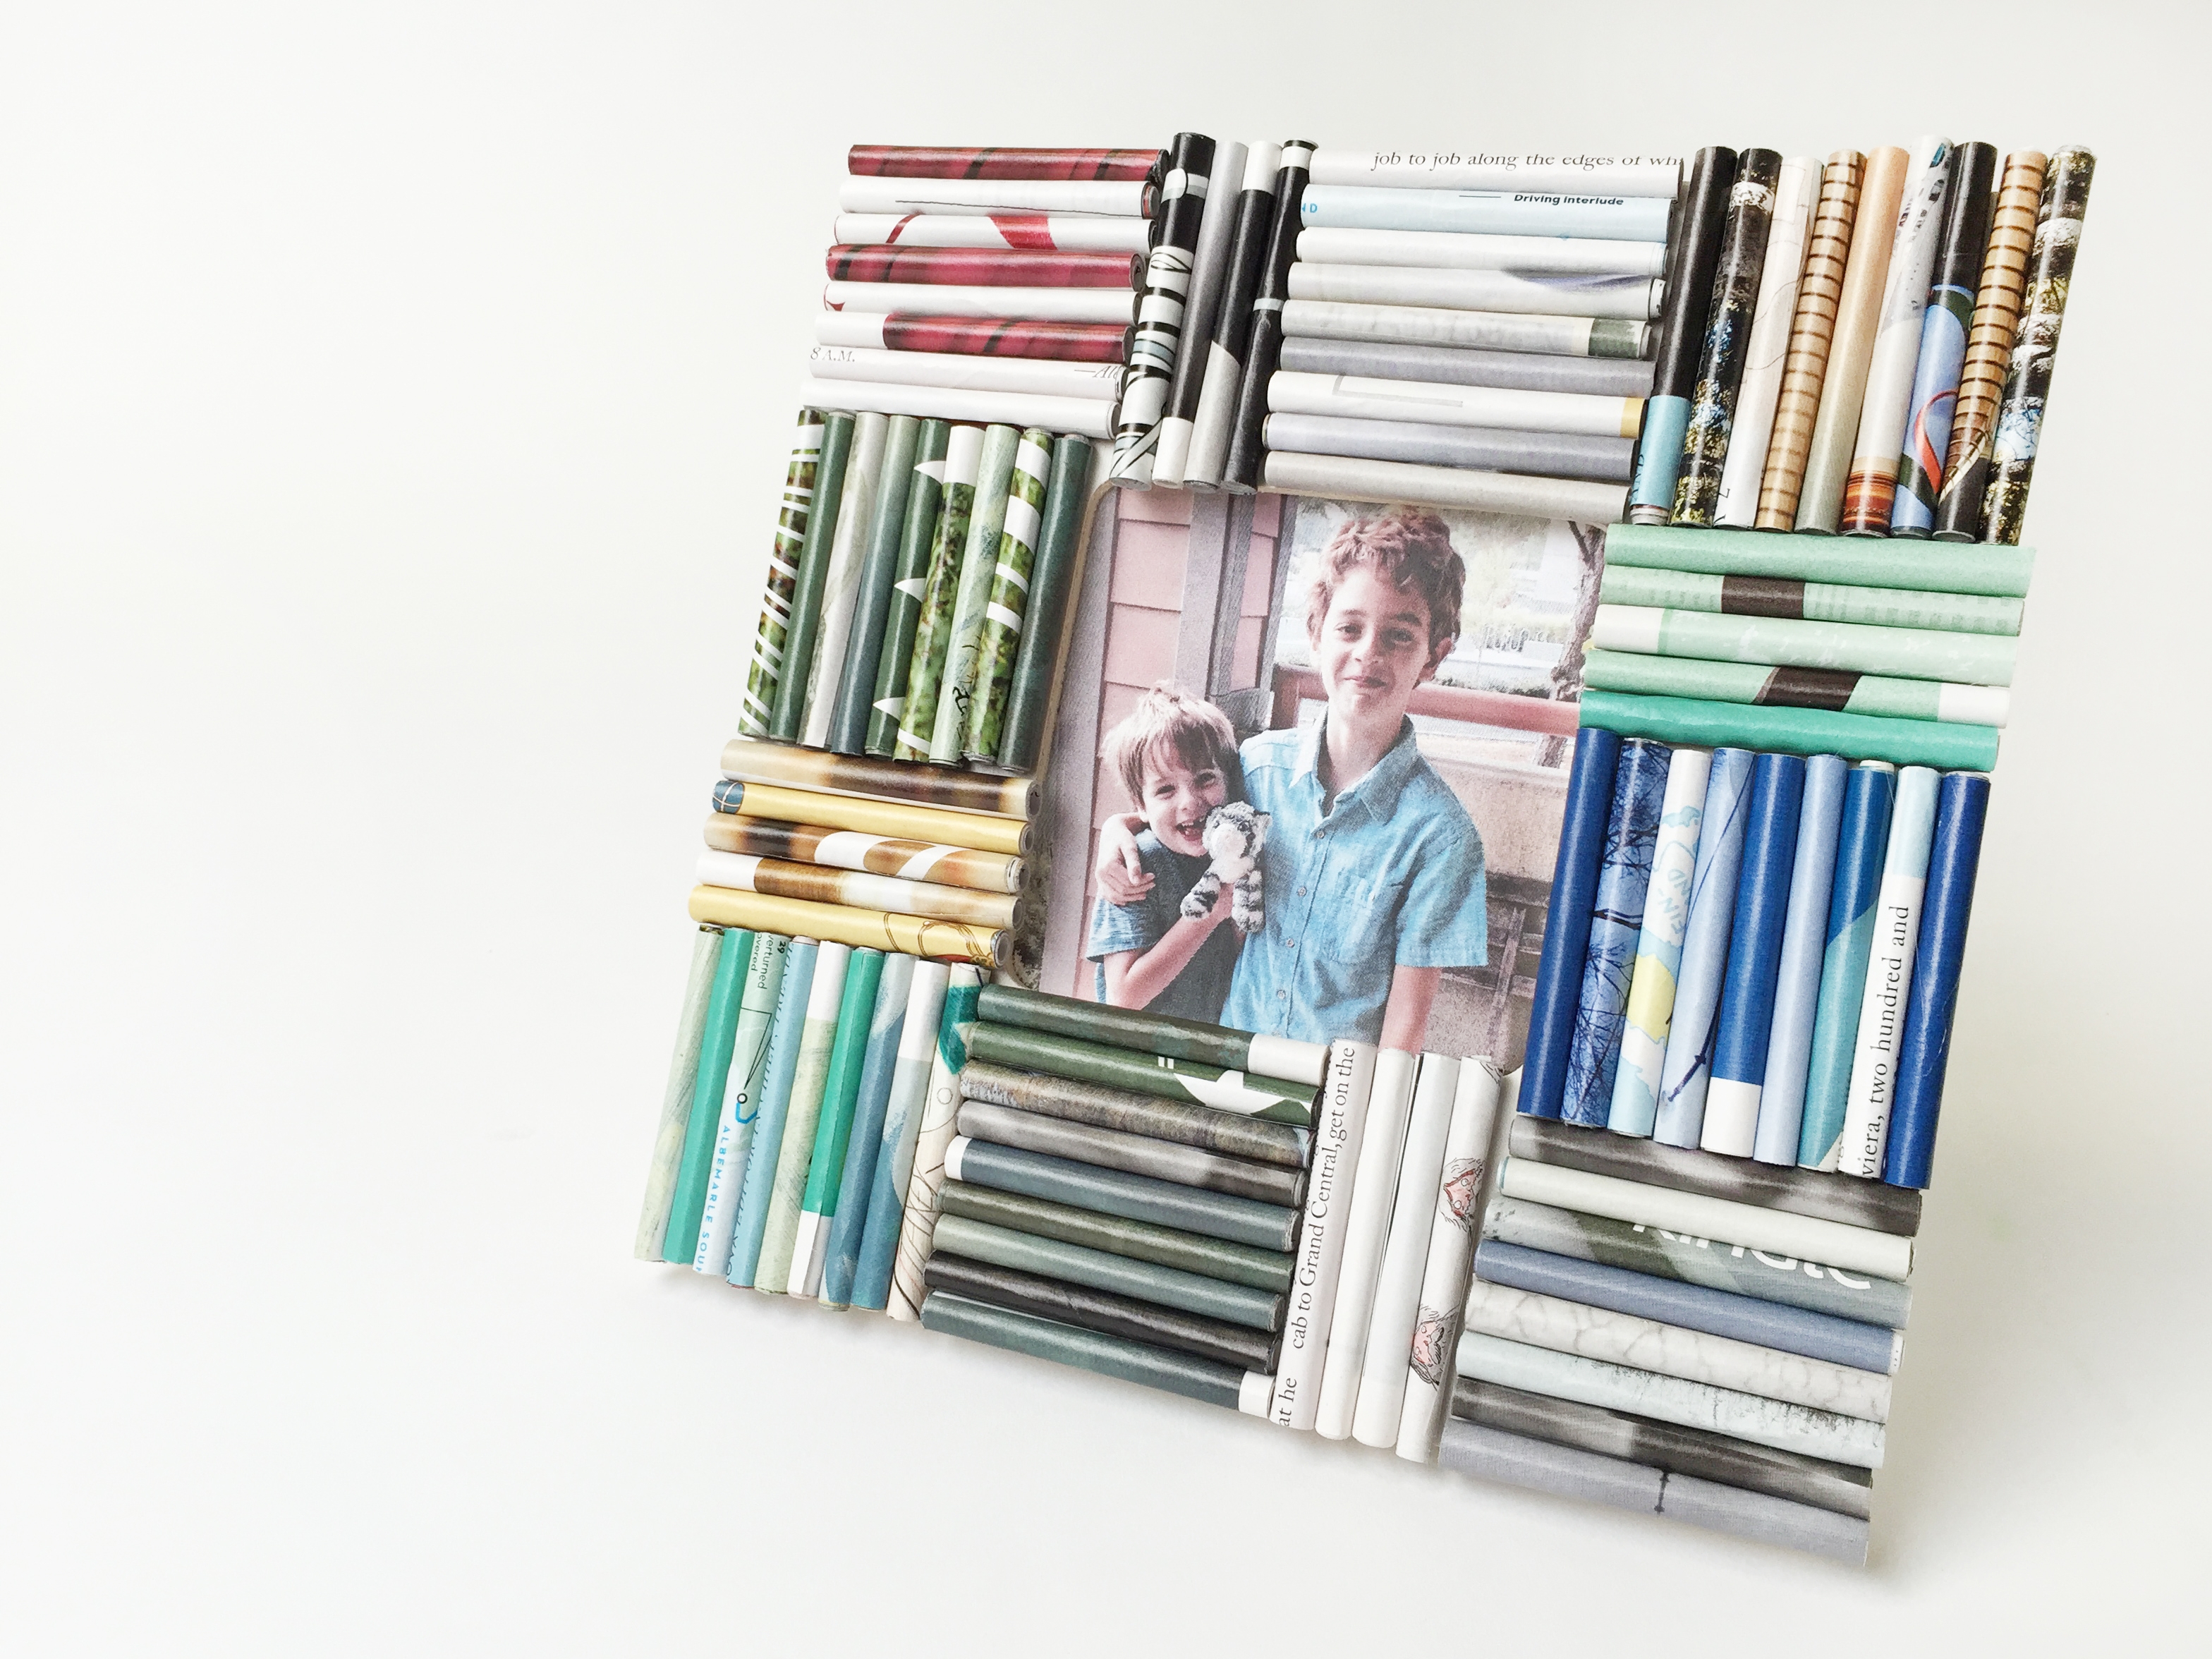
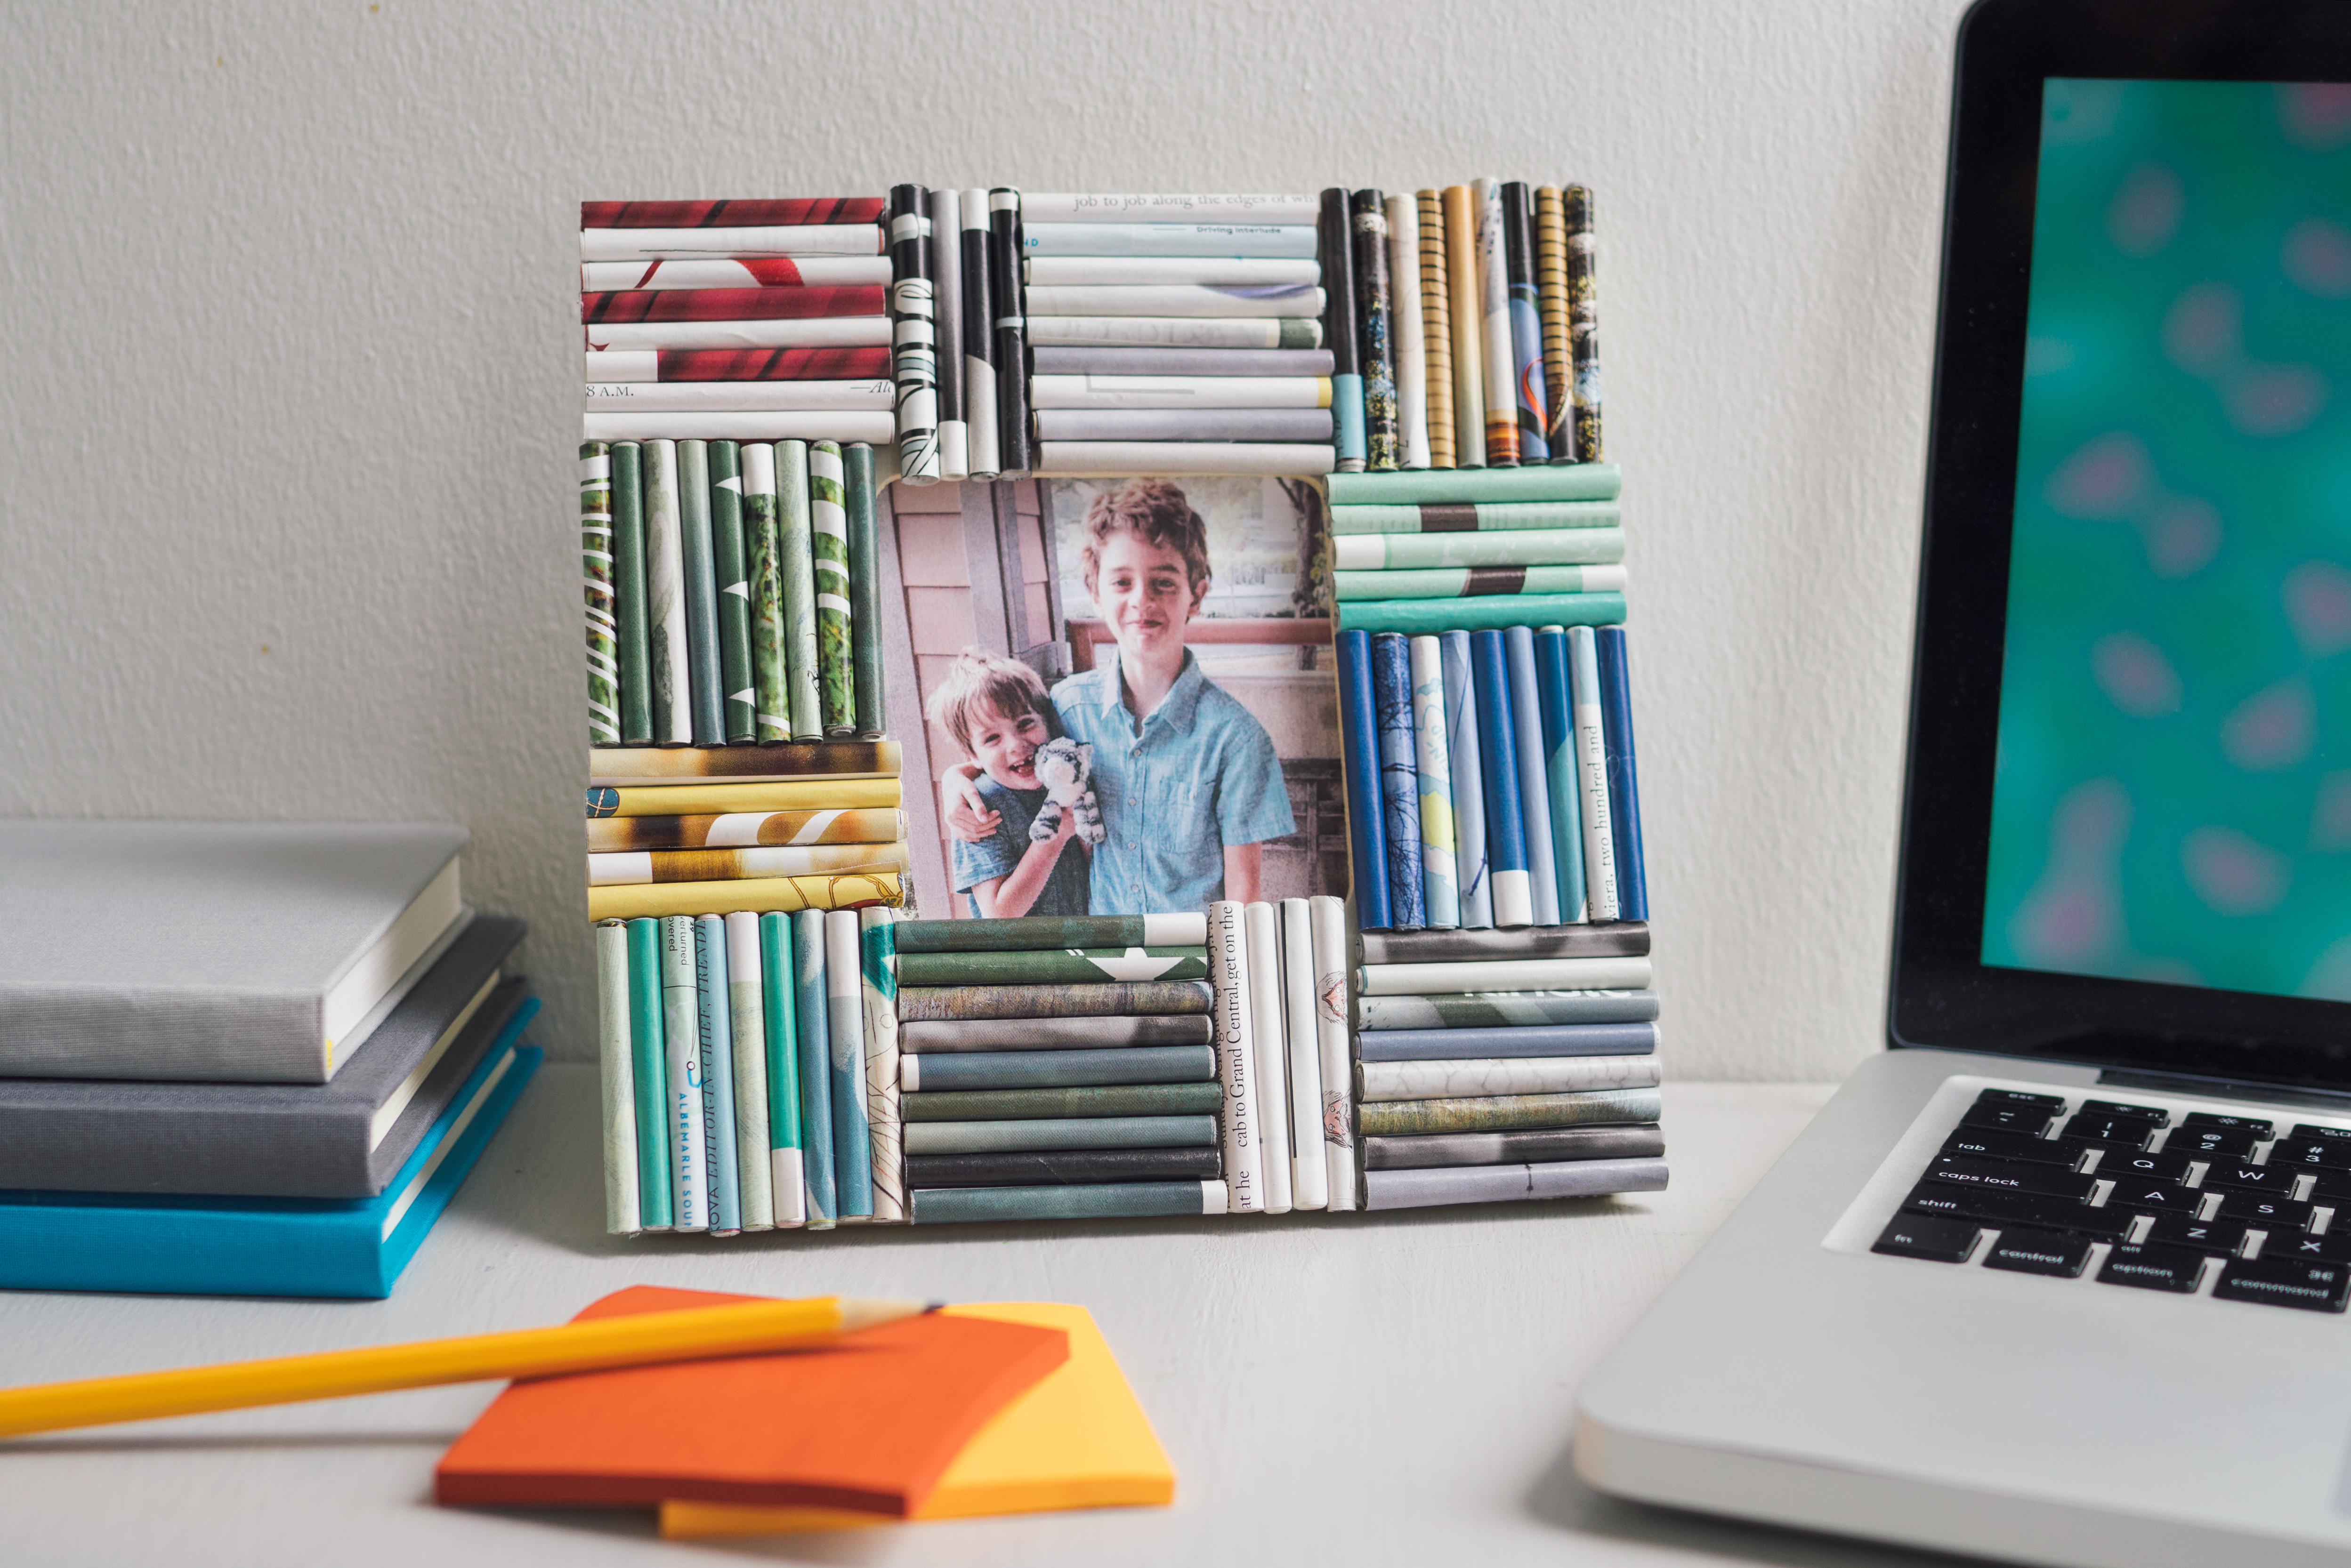
Done!
Once your frame is covered with rolled paper, you can add in your photo or a piece of artwork. My boys aren’t always super cooperative when it comes to photos, but we found one that we all liked and printed it out to put in the DIY picture frame for their Dad.
This will be a great Father’s Day gift that their Dad can put on his desk at work. You can also personalize this project for any holiday or birthday by using festive paper or someone’s favorite newspaper.