Step-by-step tutorial
Step 1
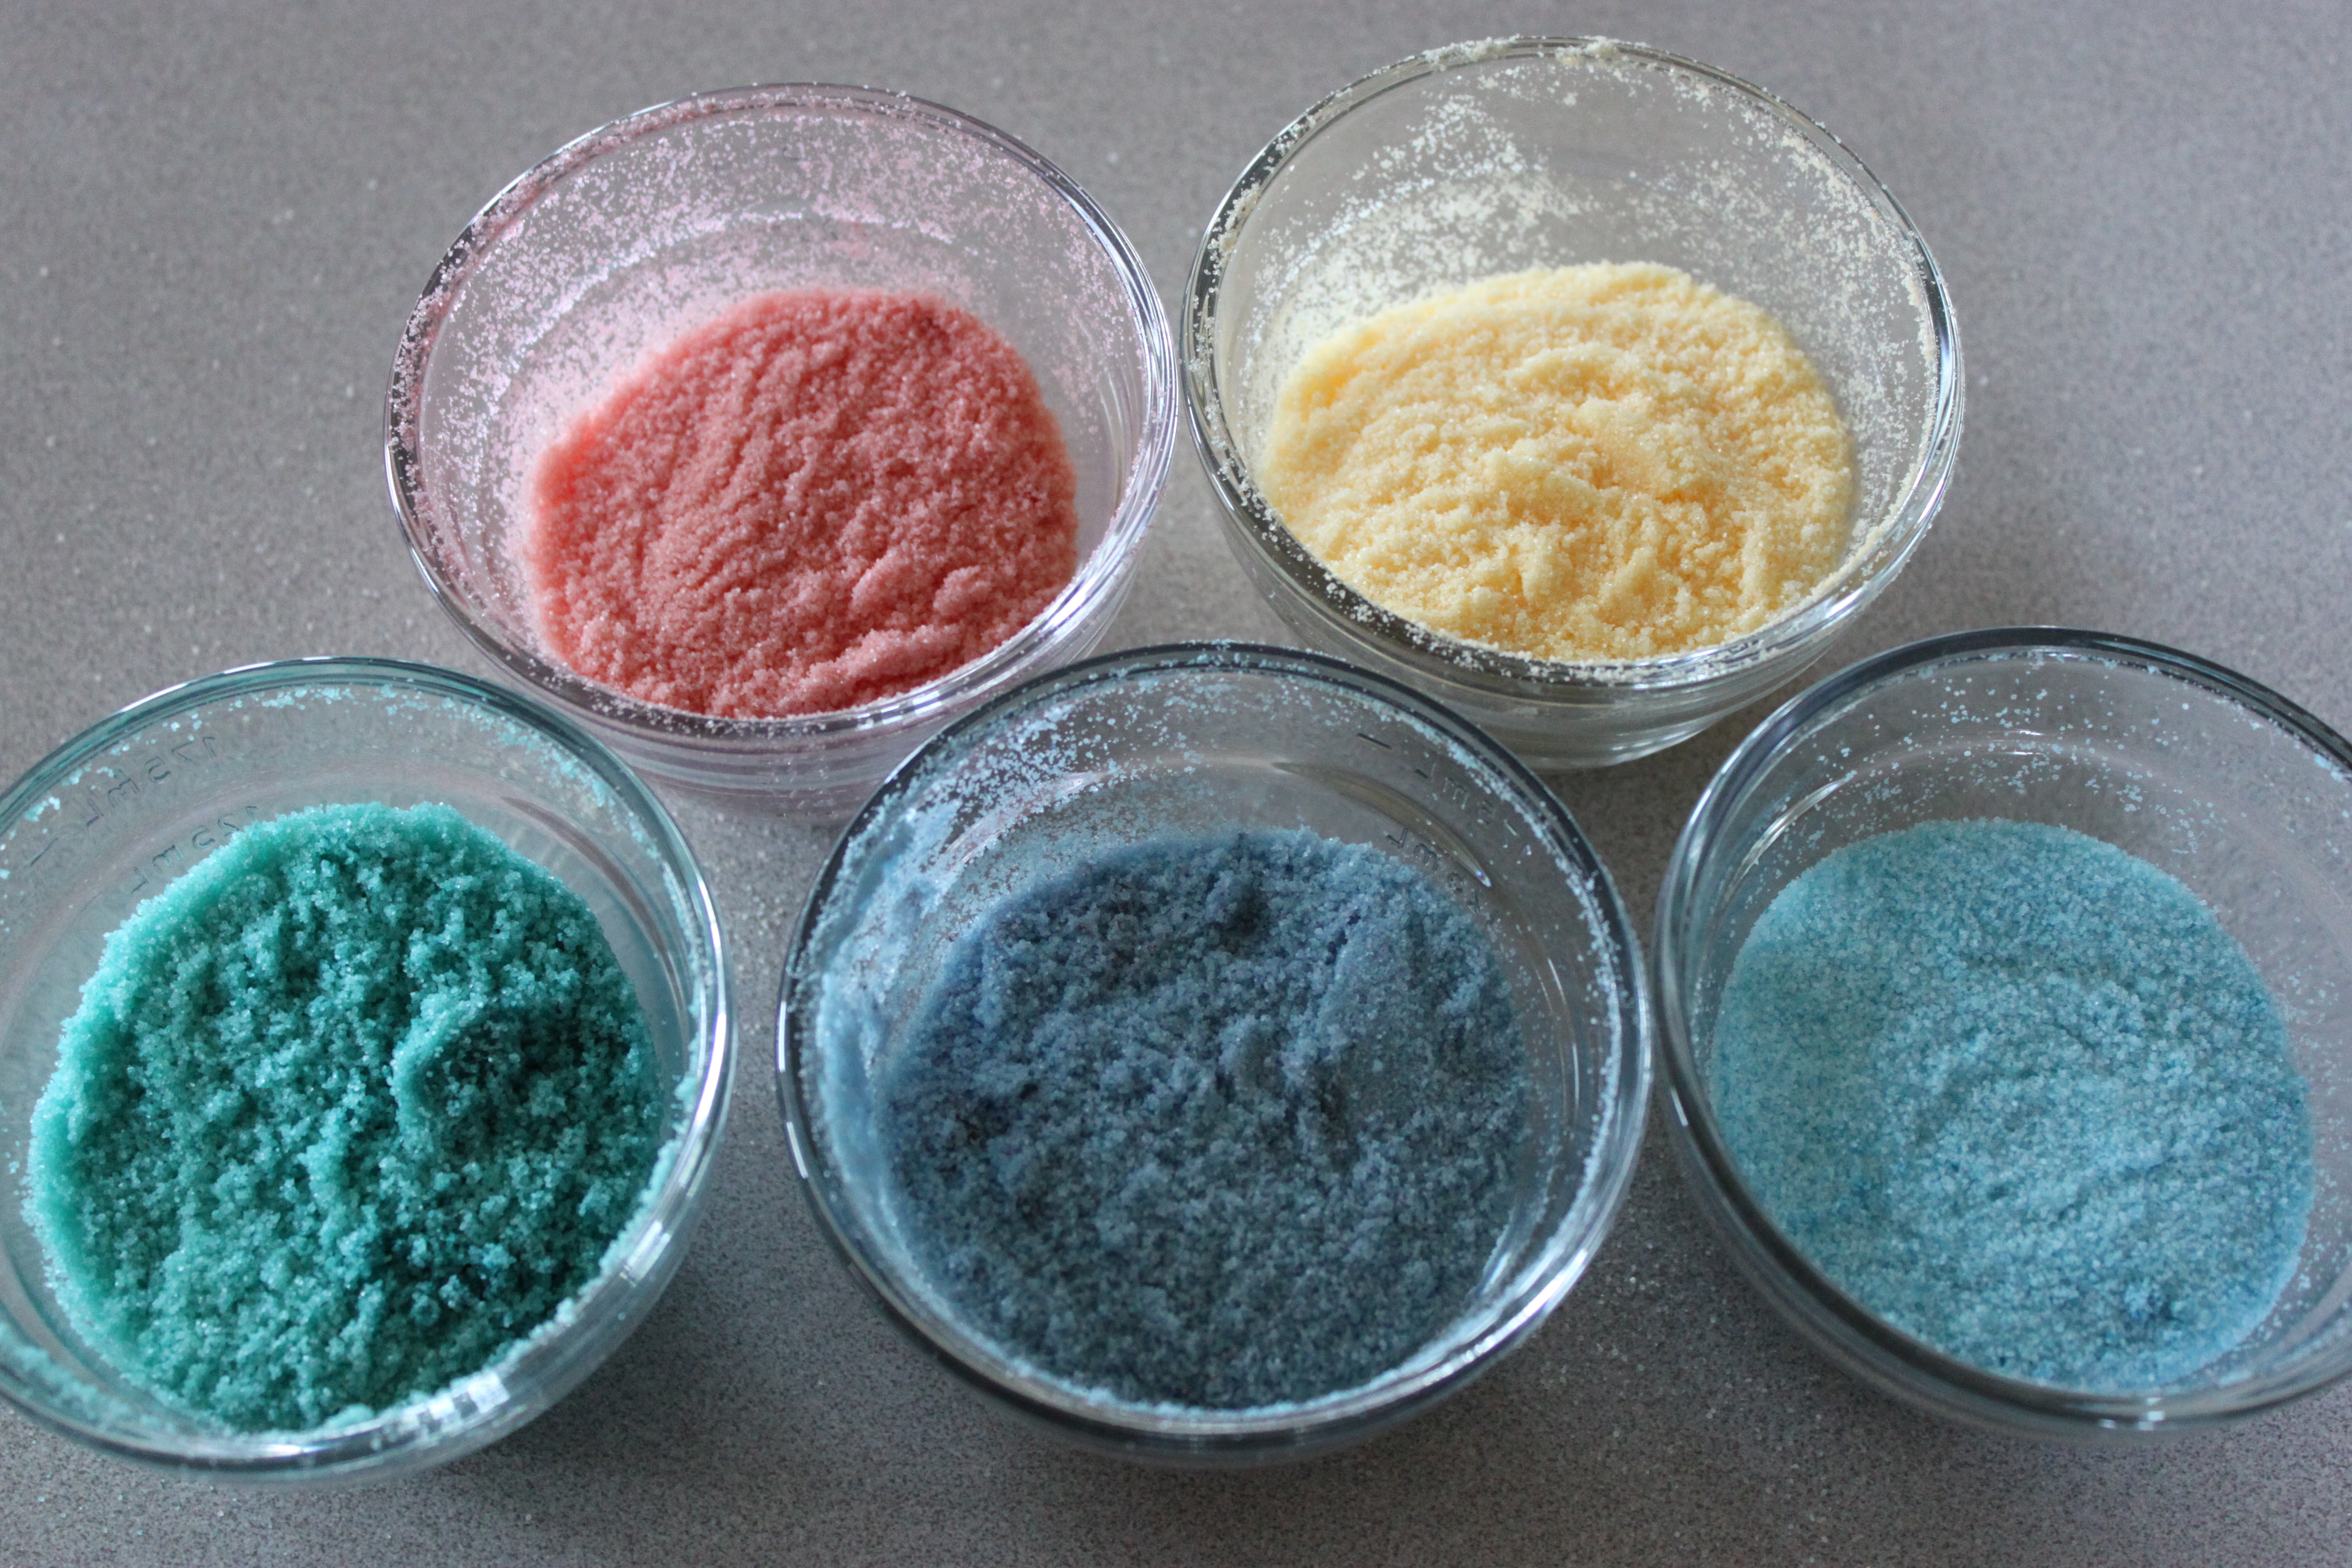
Getting ready for the sand art is half the fun! Instead of sand, we used salt. (It's inexpensive and most of us have it on hand.) Pour table salt into different containers. Make sure they have lids.


Step 2
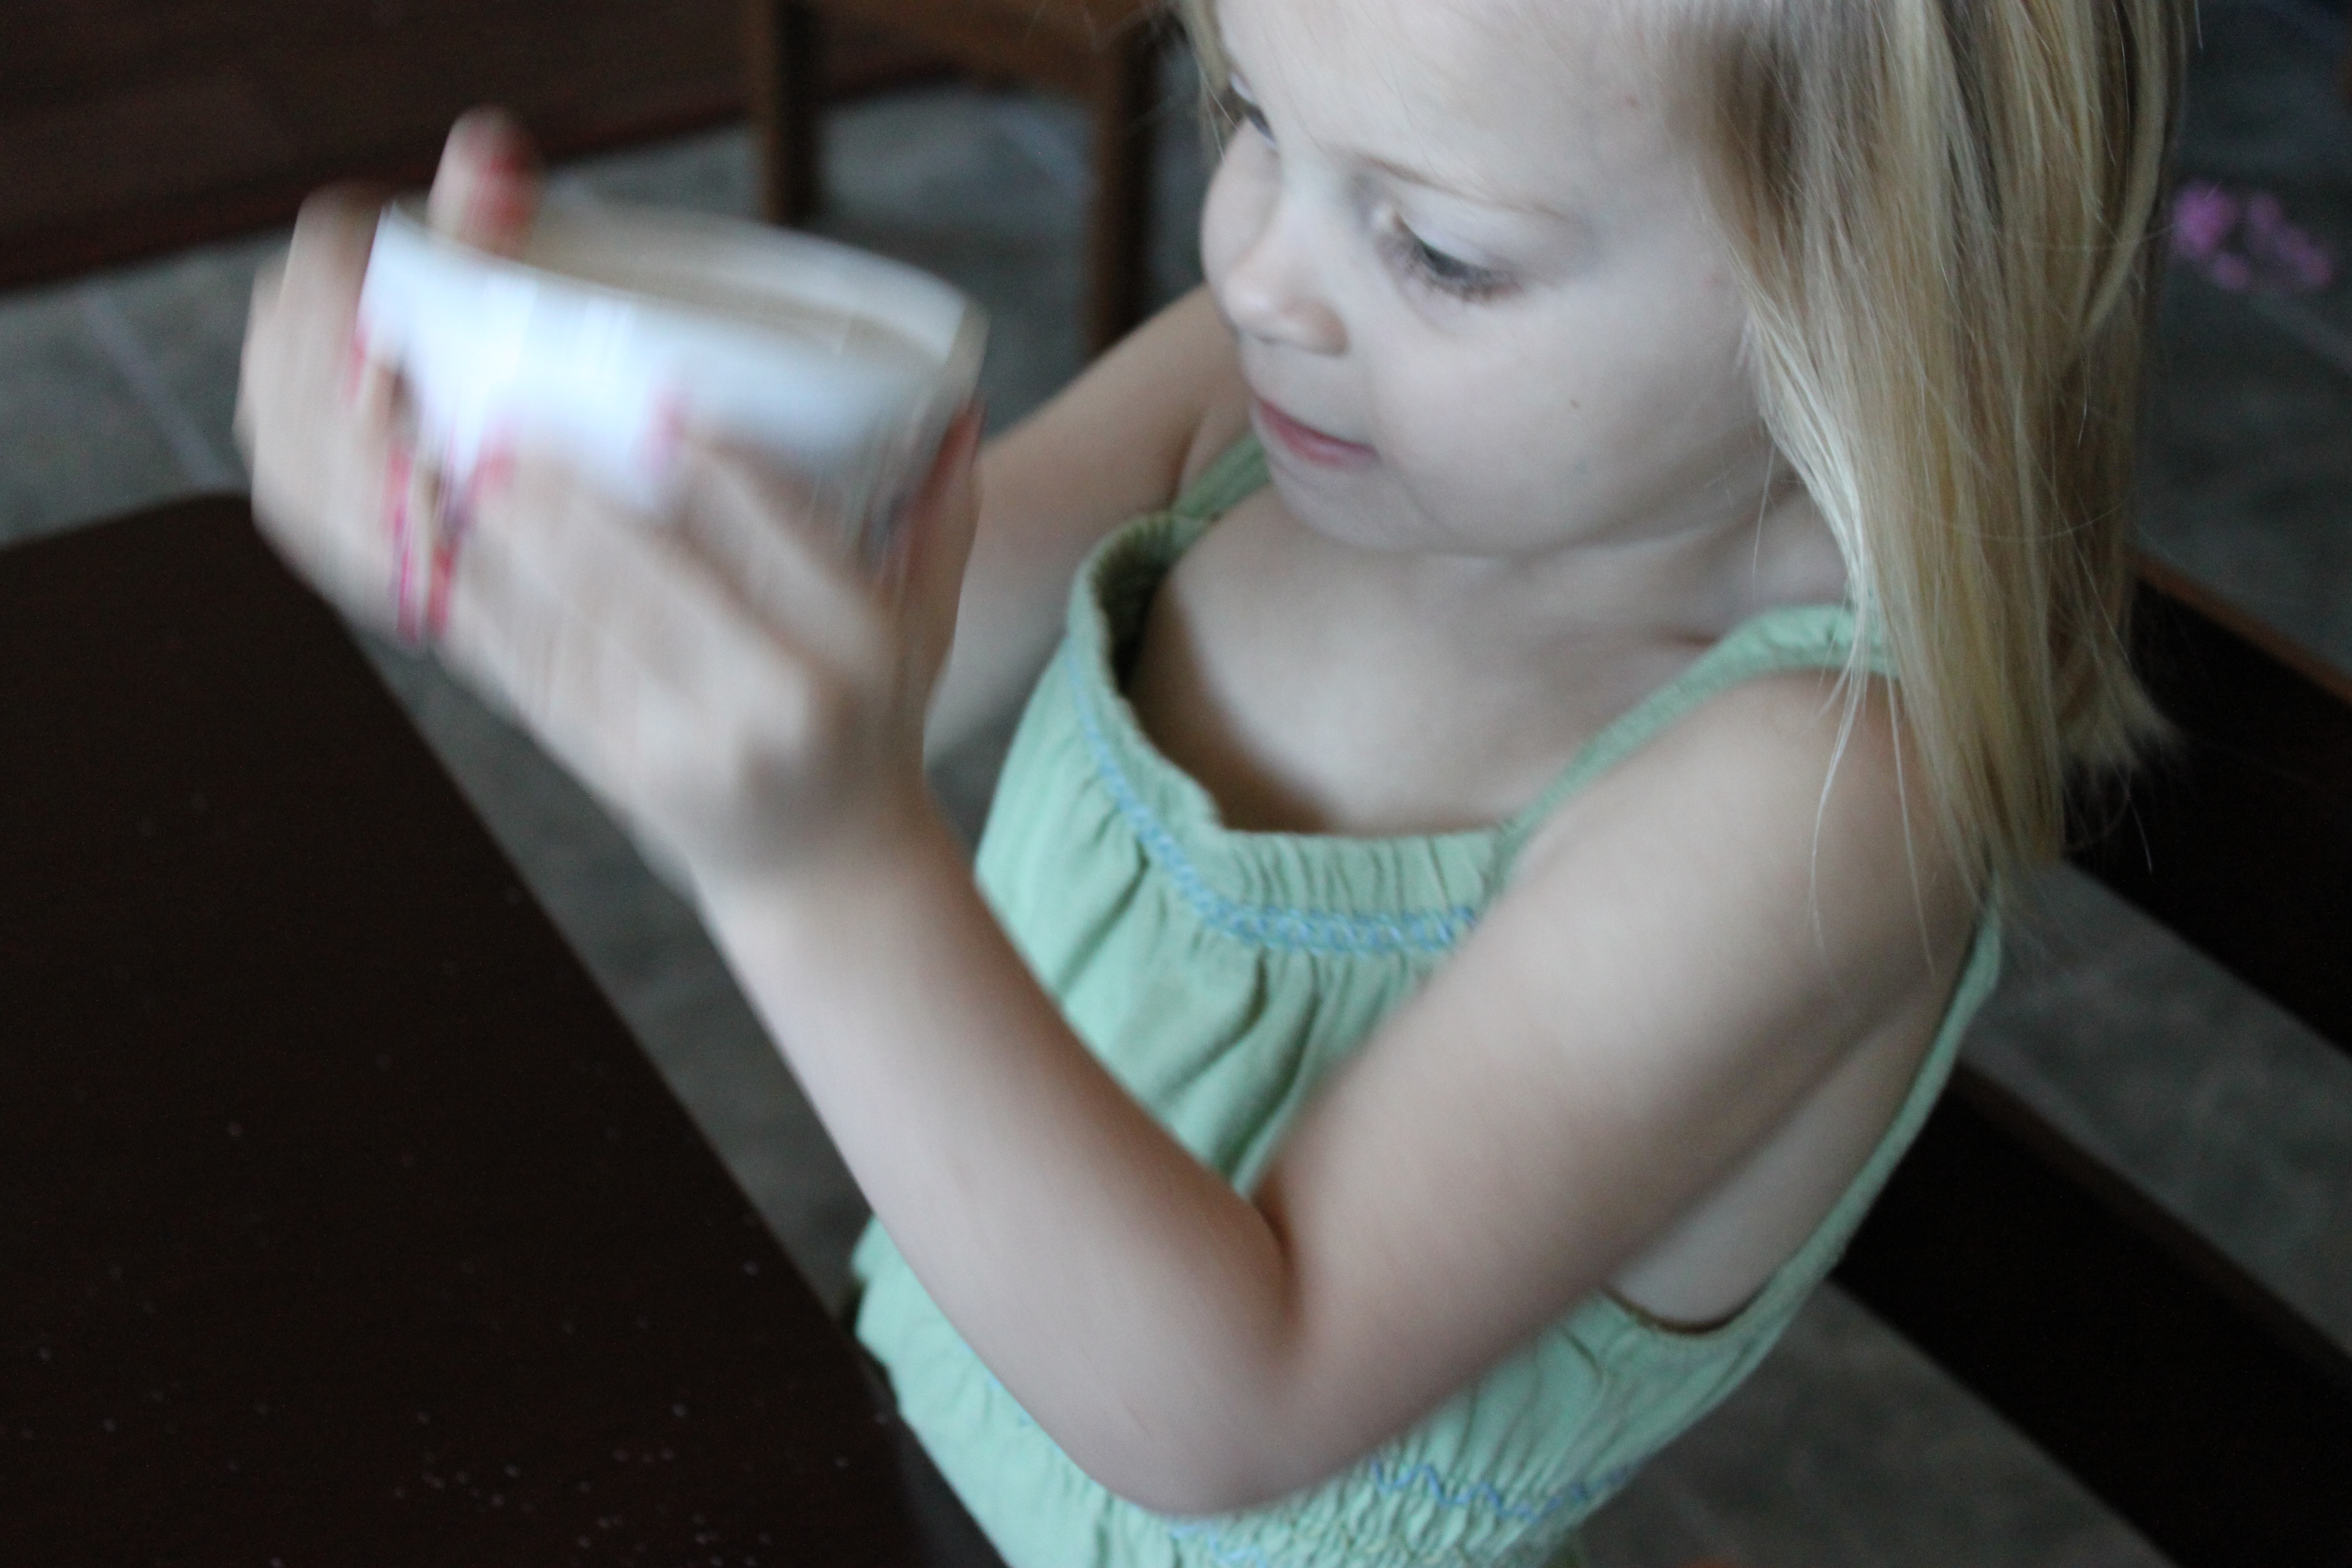
Put 3-4 drops of food coloring in each cup of salt. Use a different color in each container. Shake! Shake! Shake!
Step 3
After the color is the shade you want, leave the lid off and let the salt dry.
Step 4
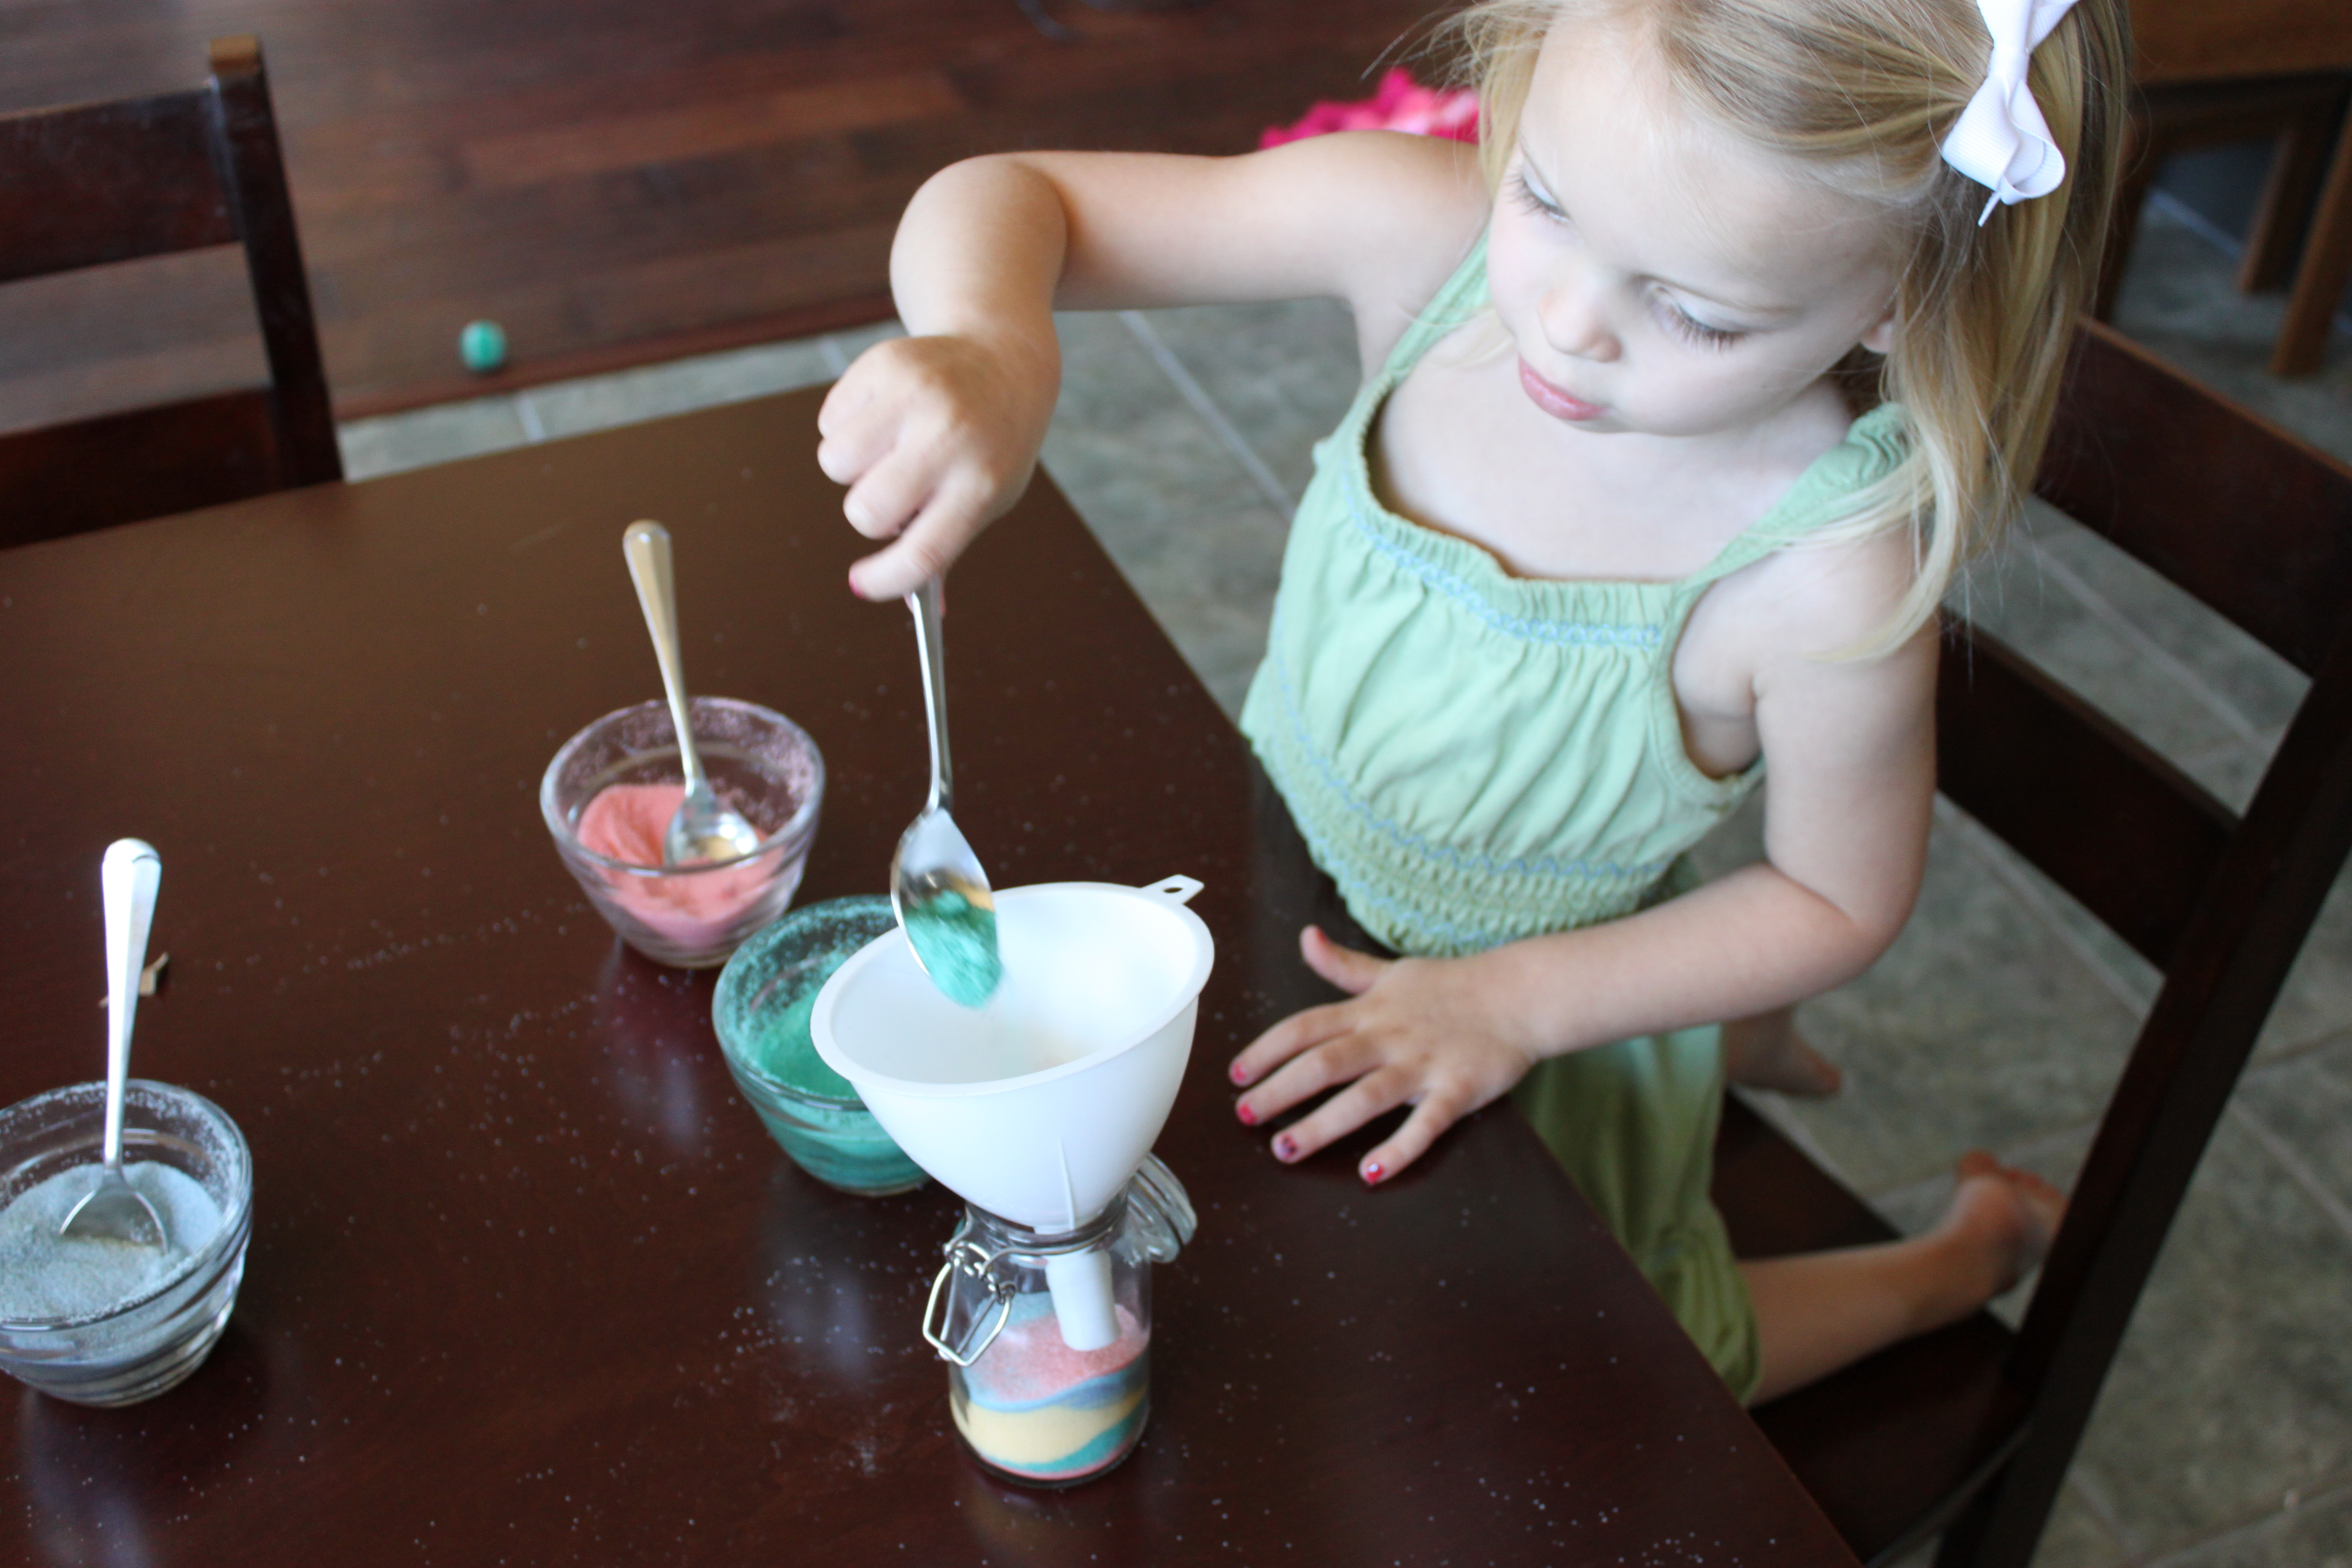
Using a funnel, spoon the different colors of sand into your jar or container.
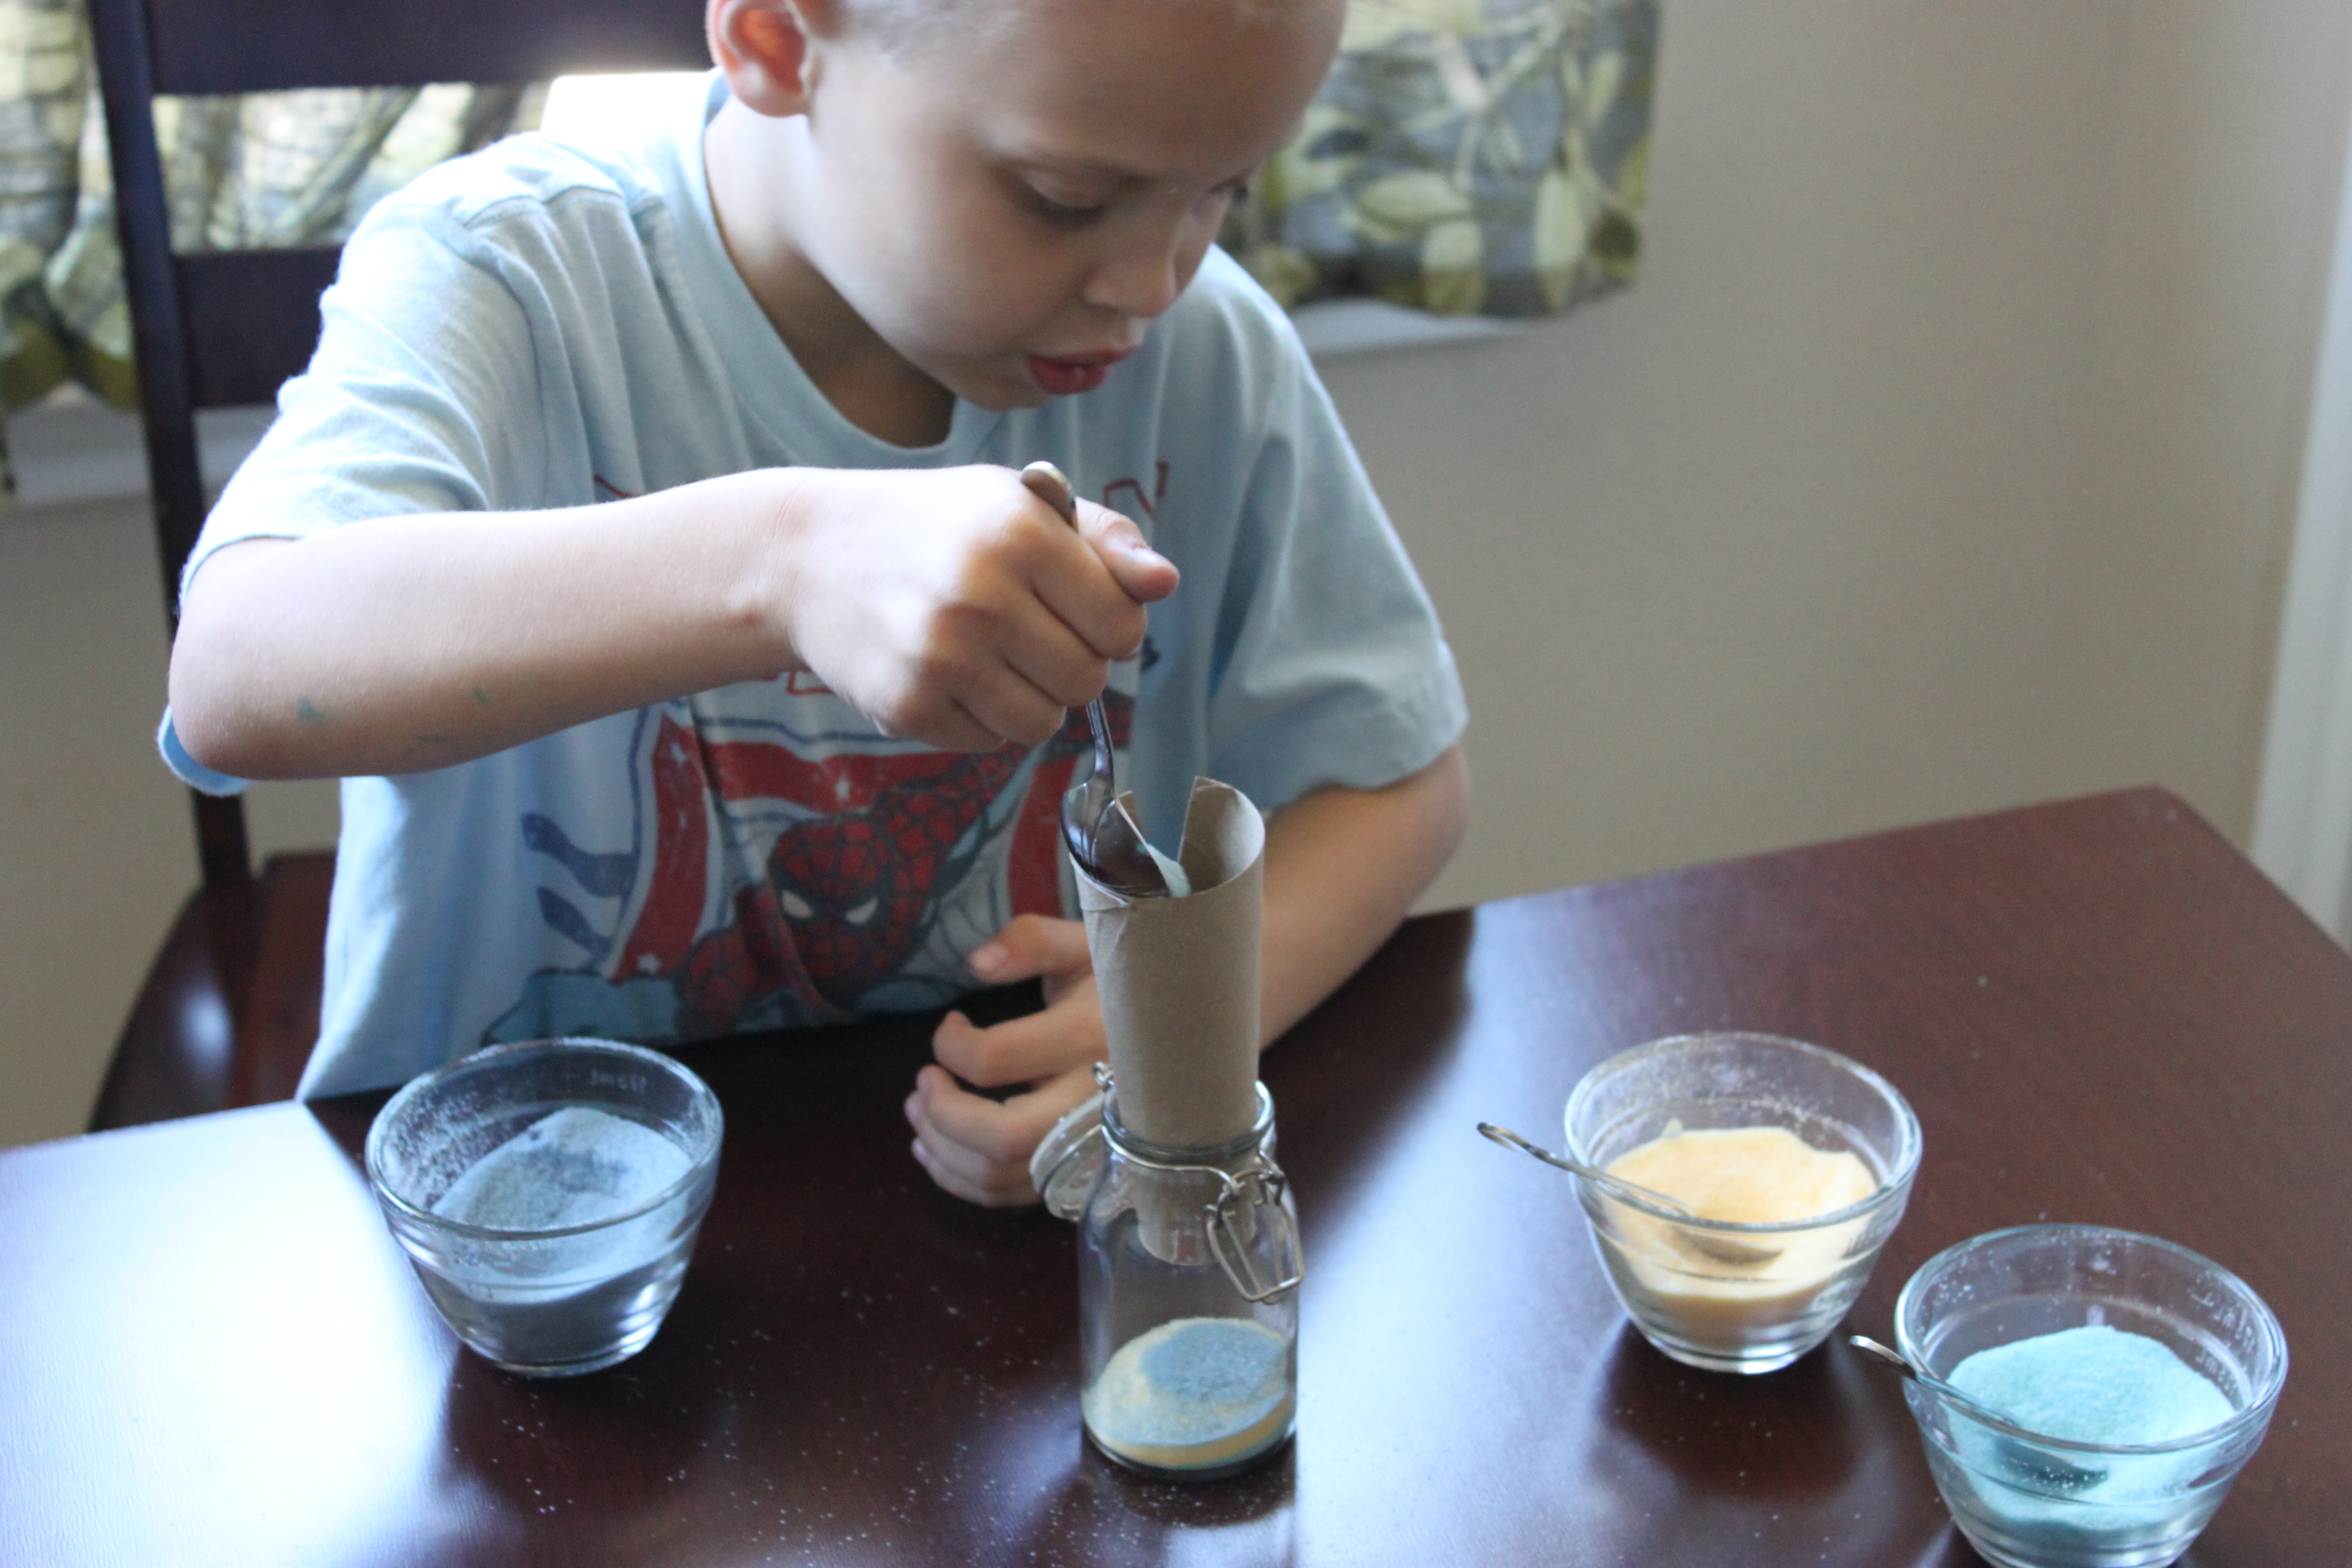
Step 5
If you don't have a funnel, make one with a toilet paper tube by cutting it and folding it into a cone shape.
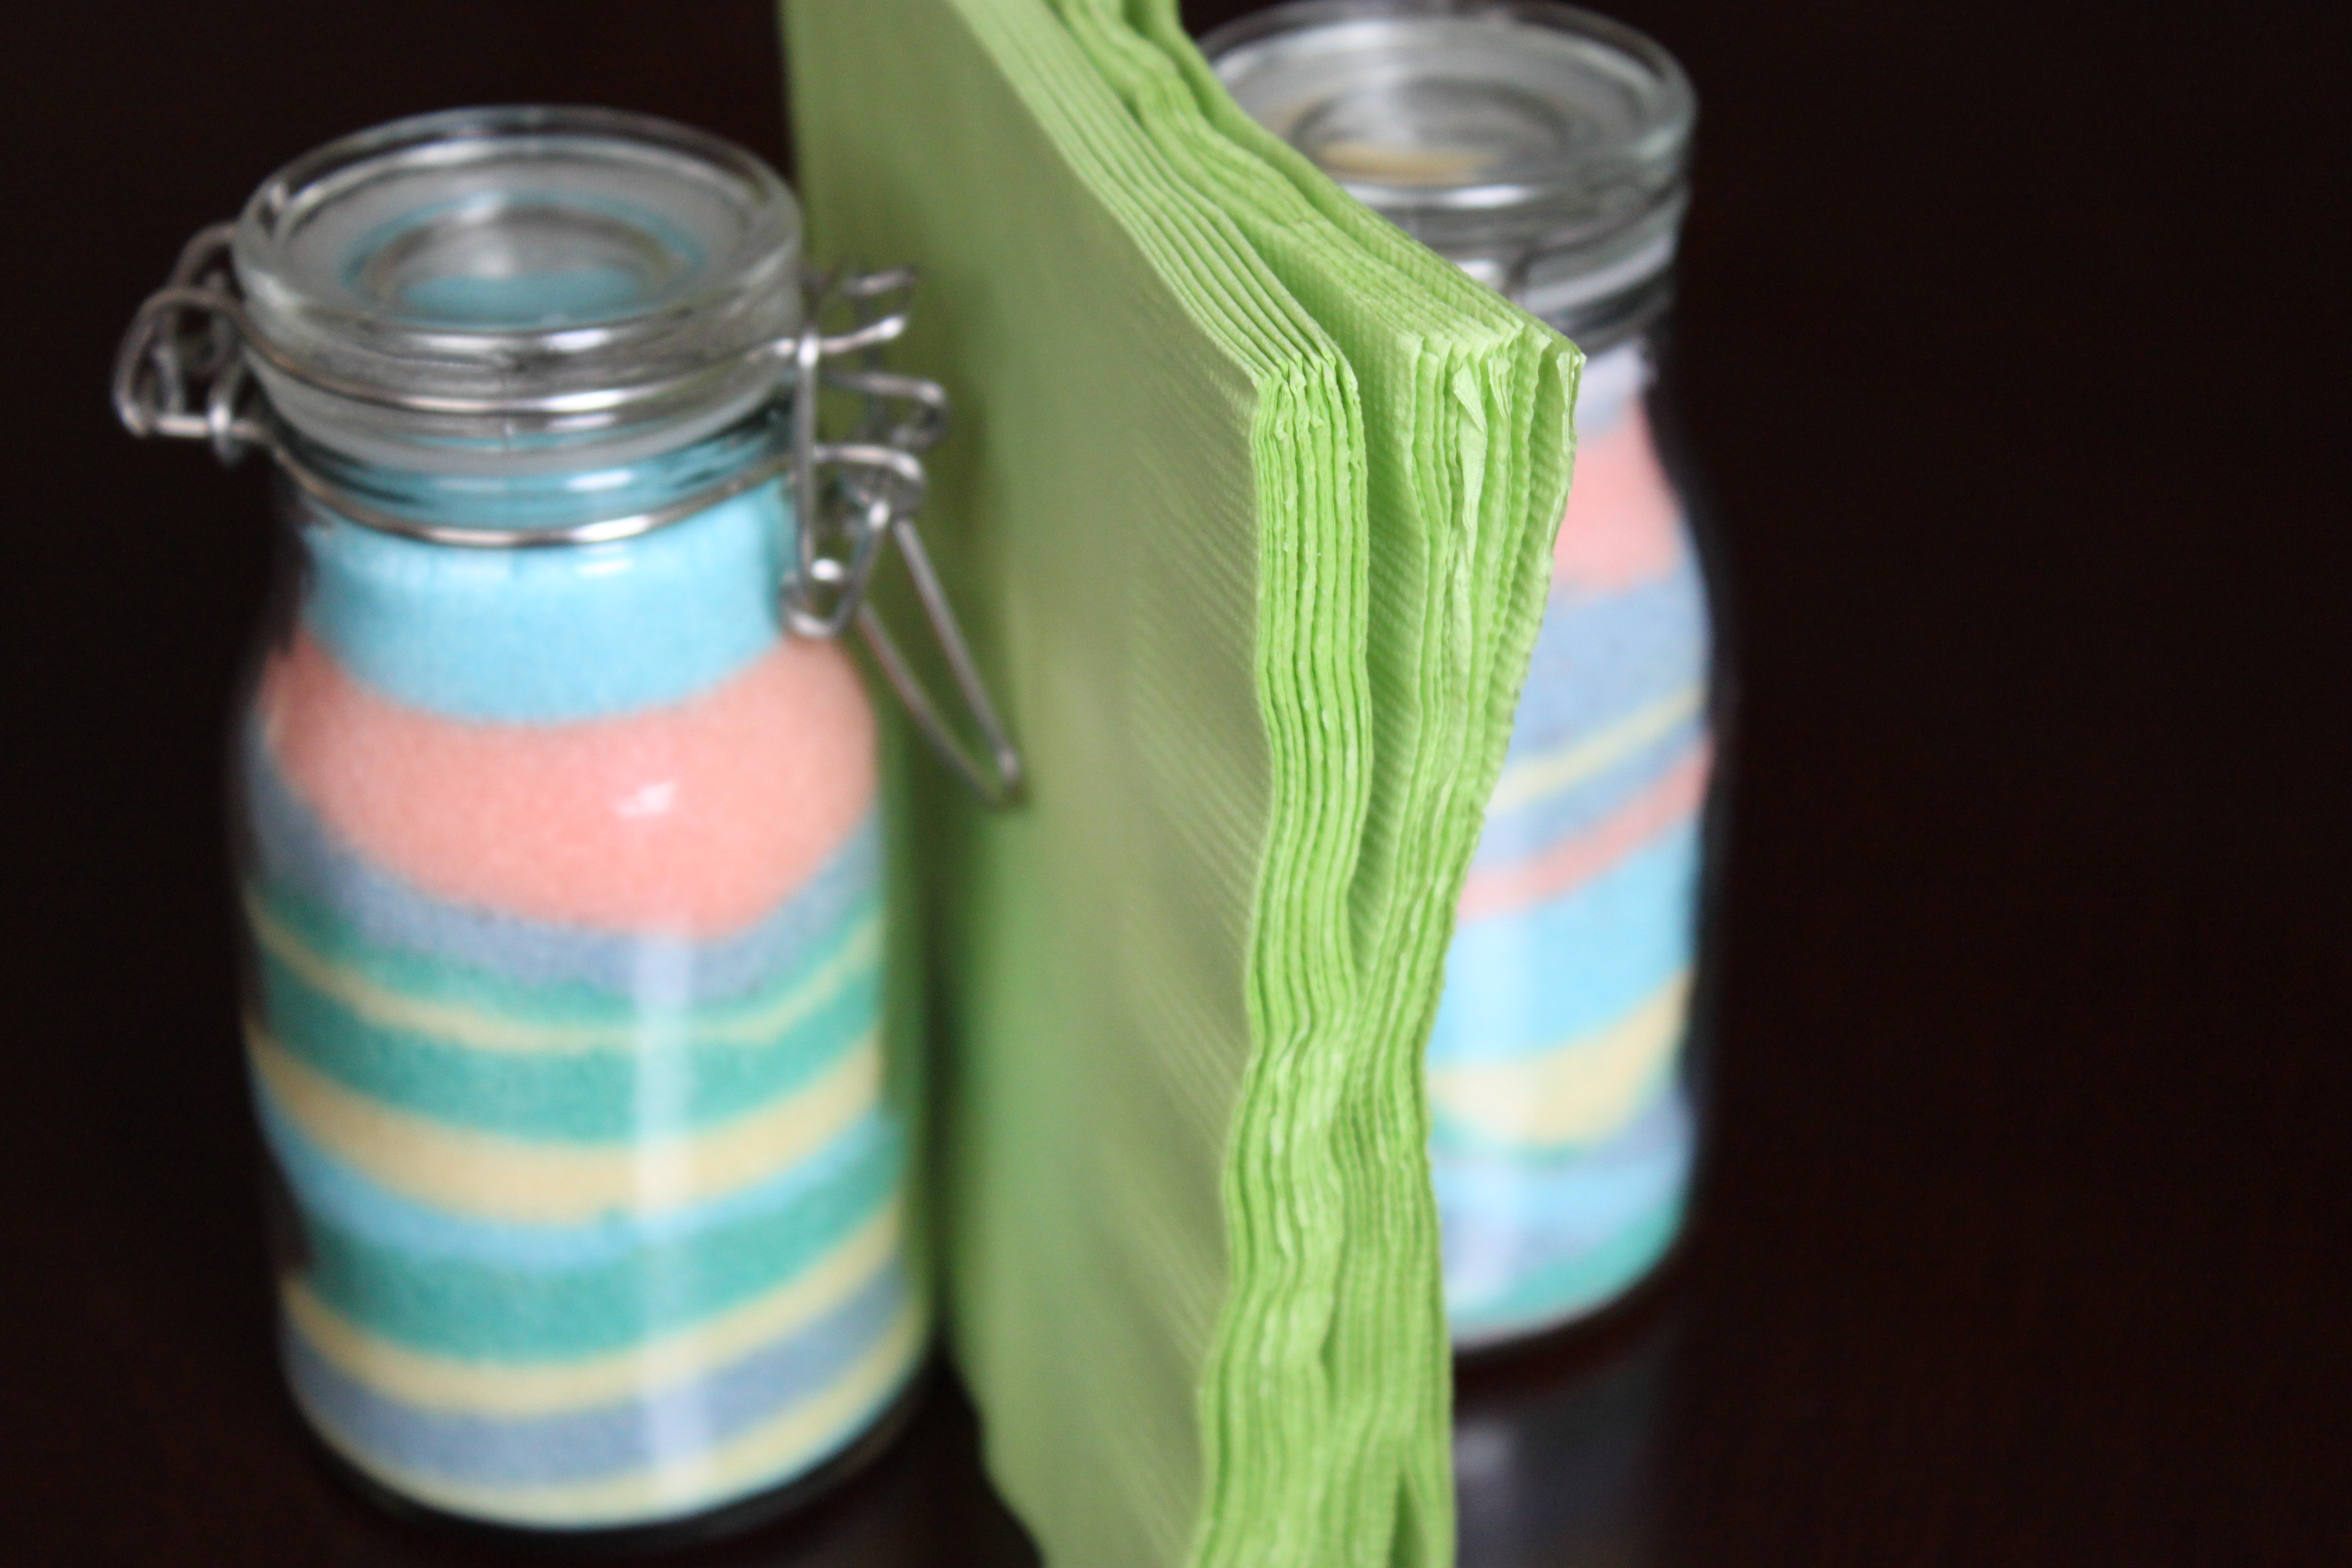
Step 6
The layers look so pretty! Each of my kids had so much fun picking their colors and making the design their own.

Step 7
We used our art as a napkin holder at the kitchen table. After they filled these containers they immediately wanted to do it again. This will be our go to rainy day craft for sure!
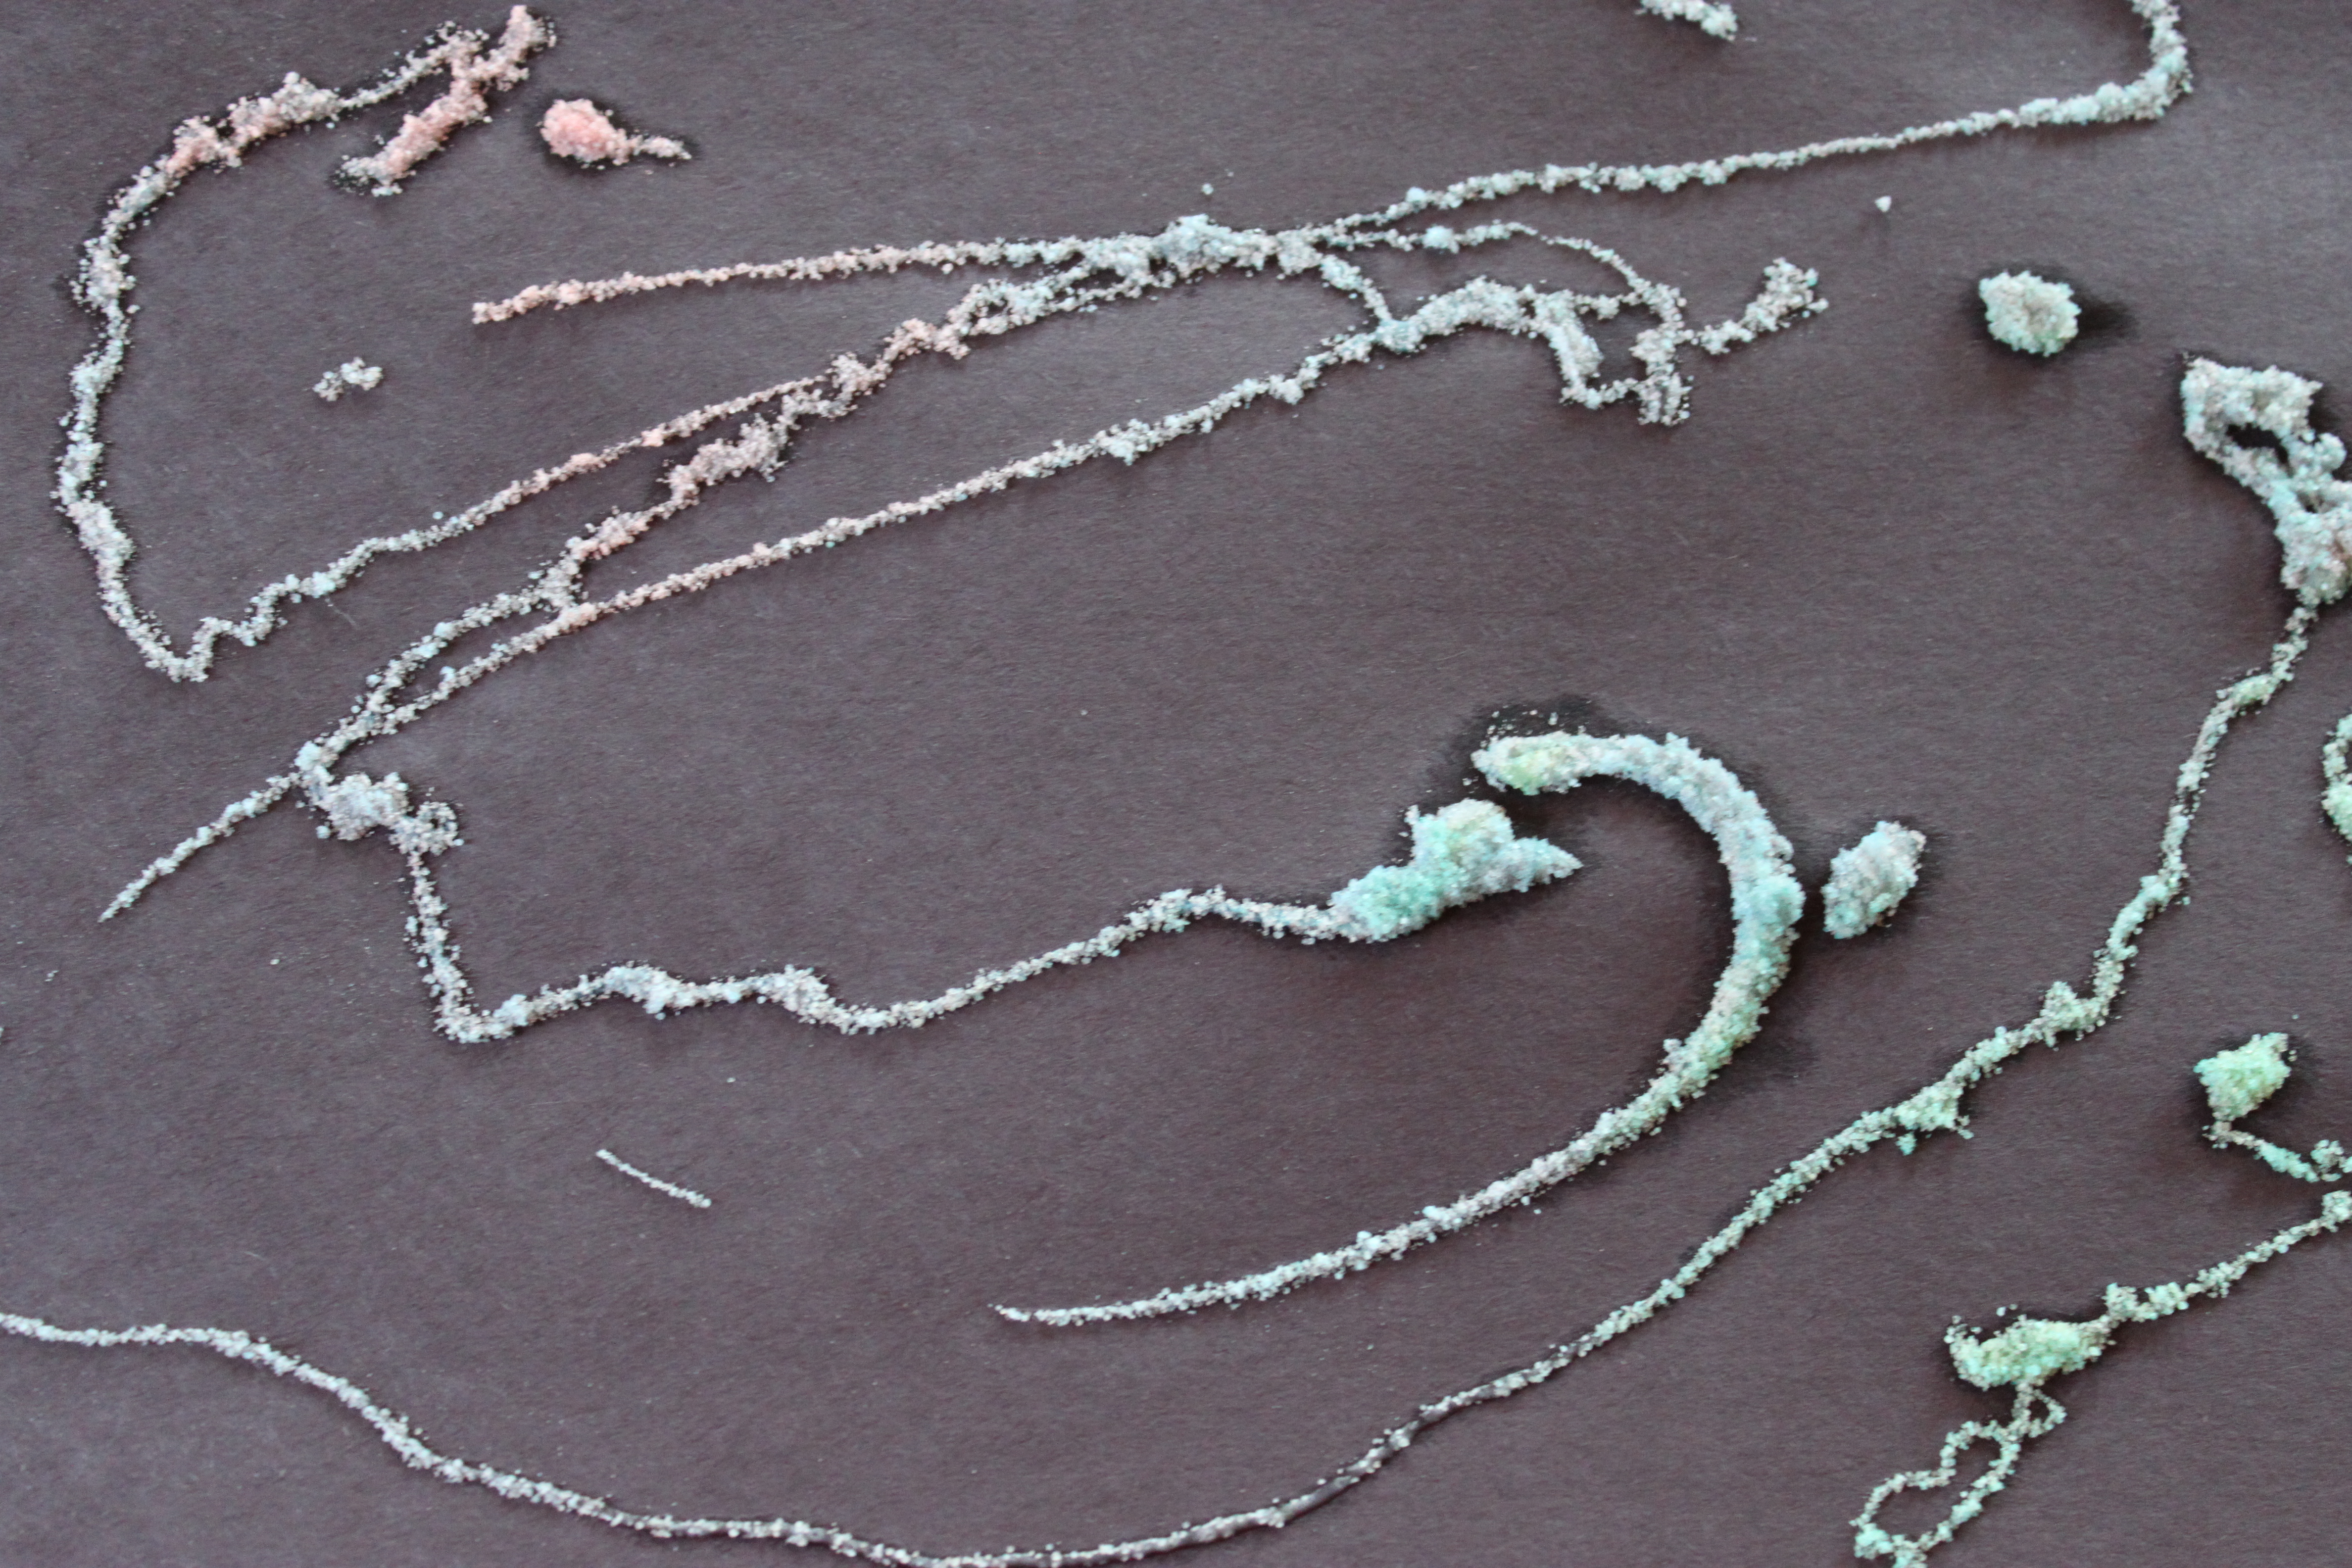
Step 8
Don't let the extra colored salt go to waste! Make a design on paper with glue and sprinkle the salt onto the glue (like you would with glitter). Dump the excess salt off of your paper and let it dry.
Done!
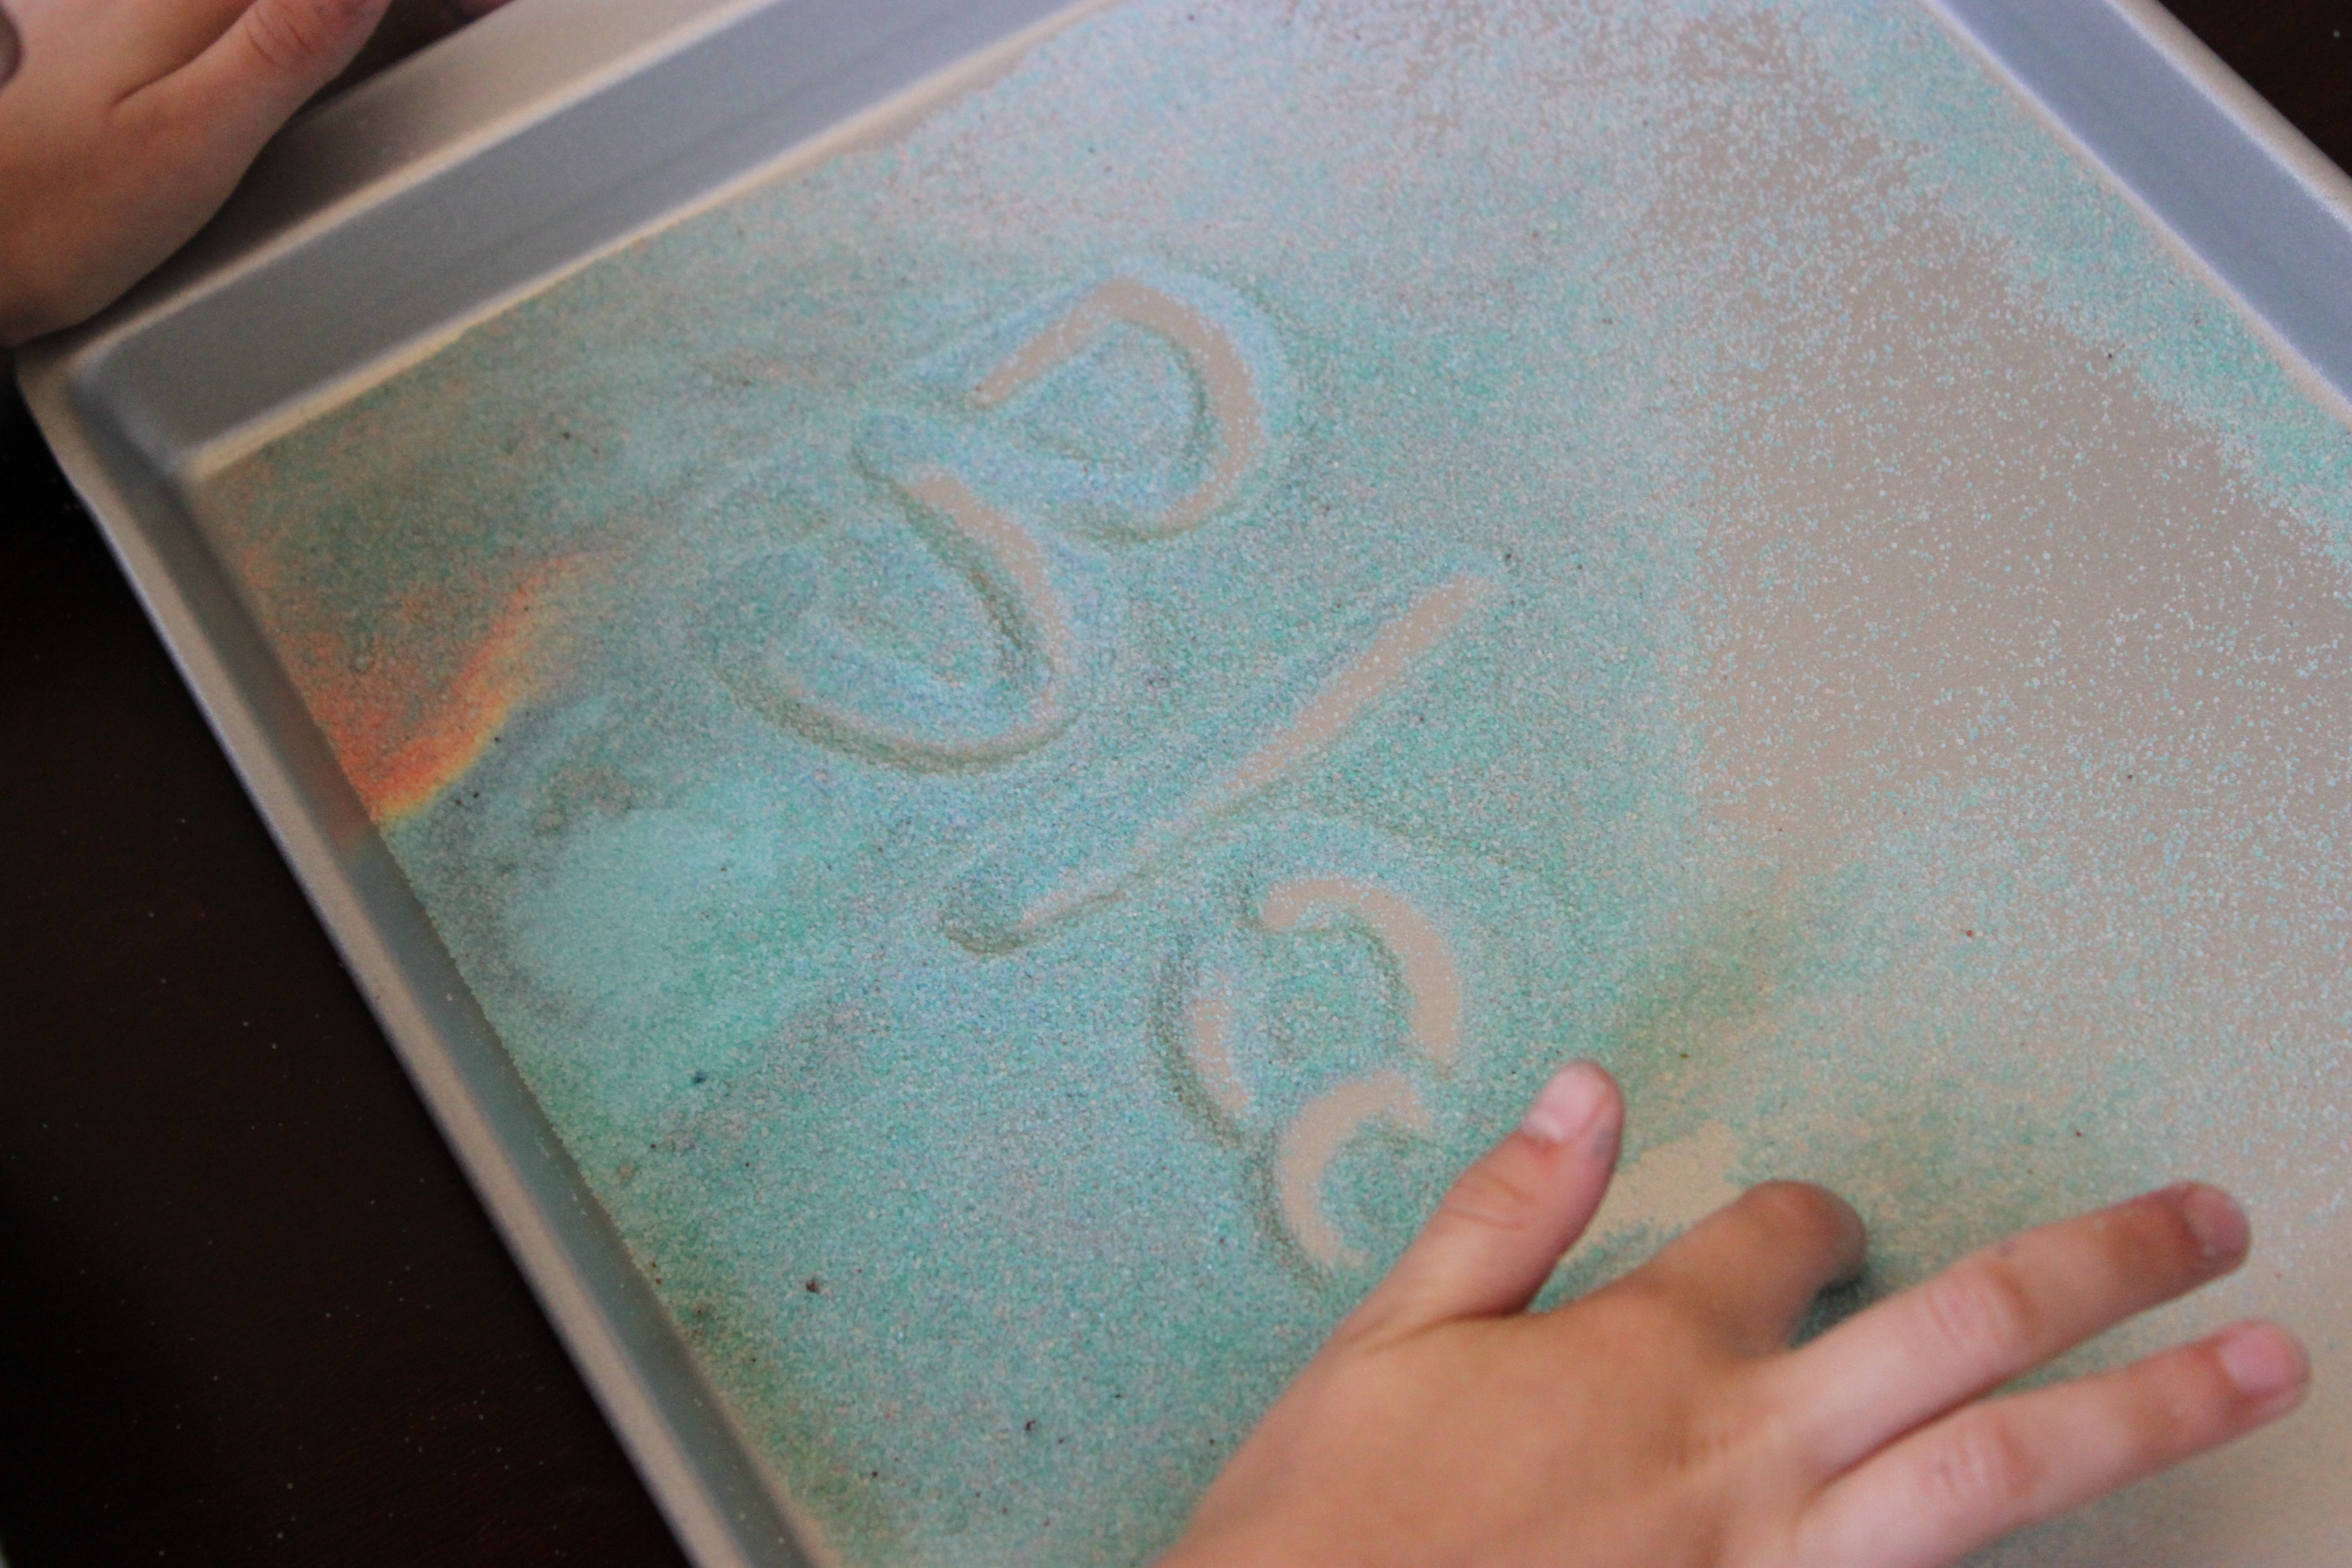
Or put the extra colored salt on a baking sheet and use to practice writing or drawing.