Step-by-step tutorial
Step 1
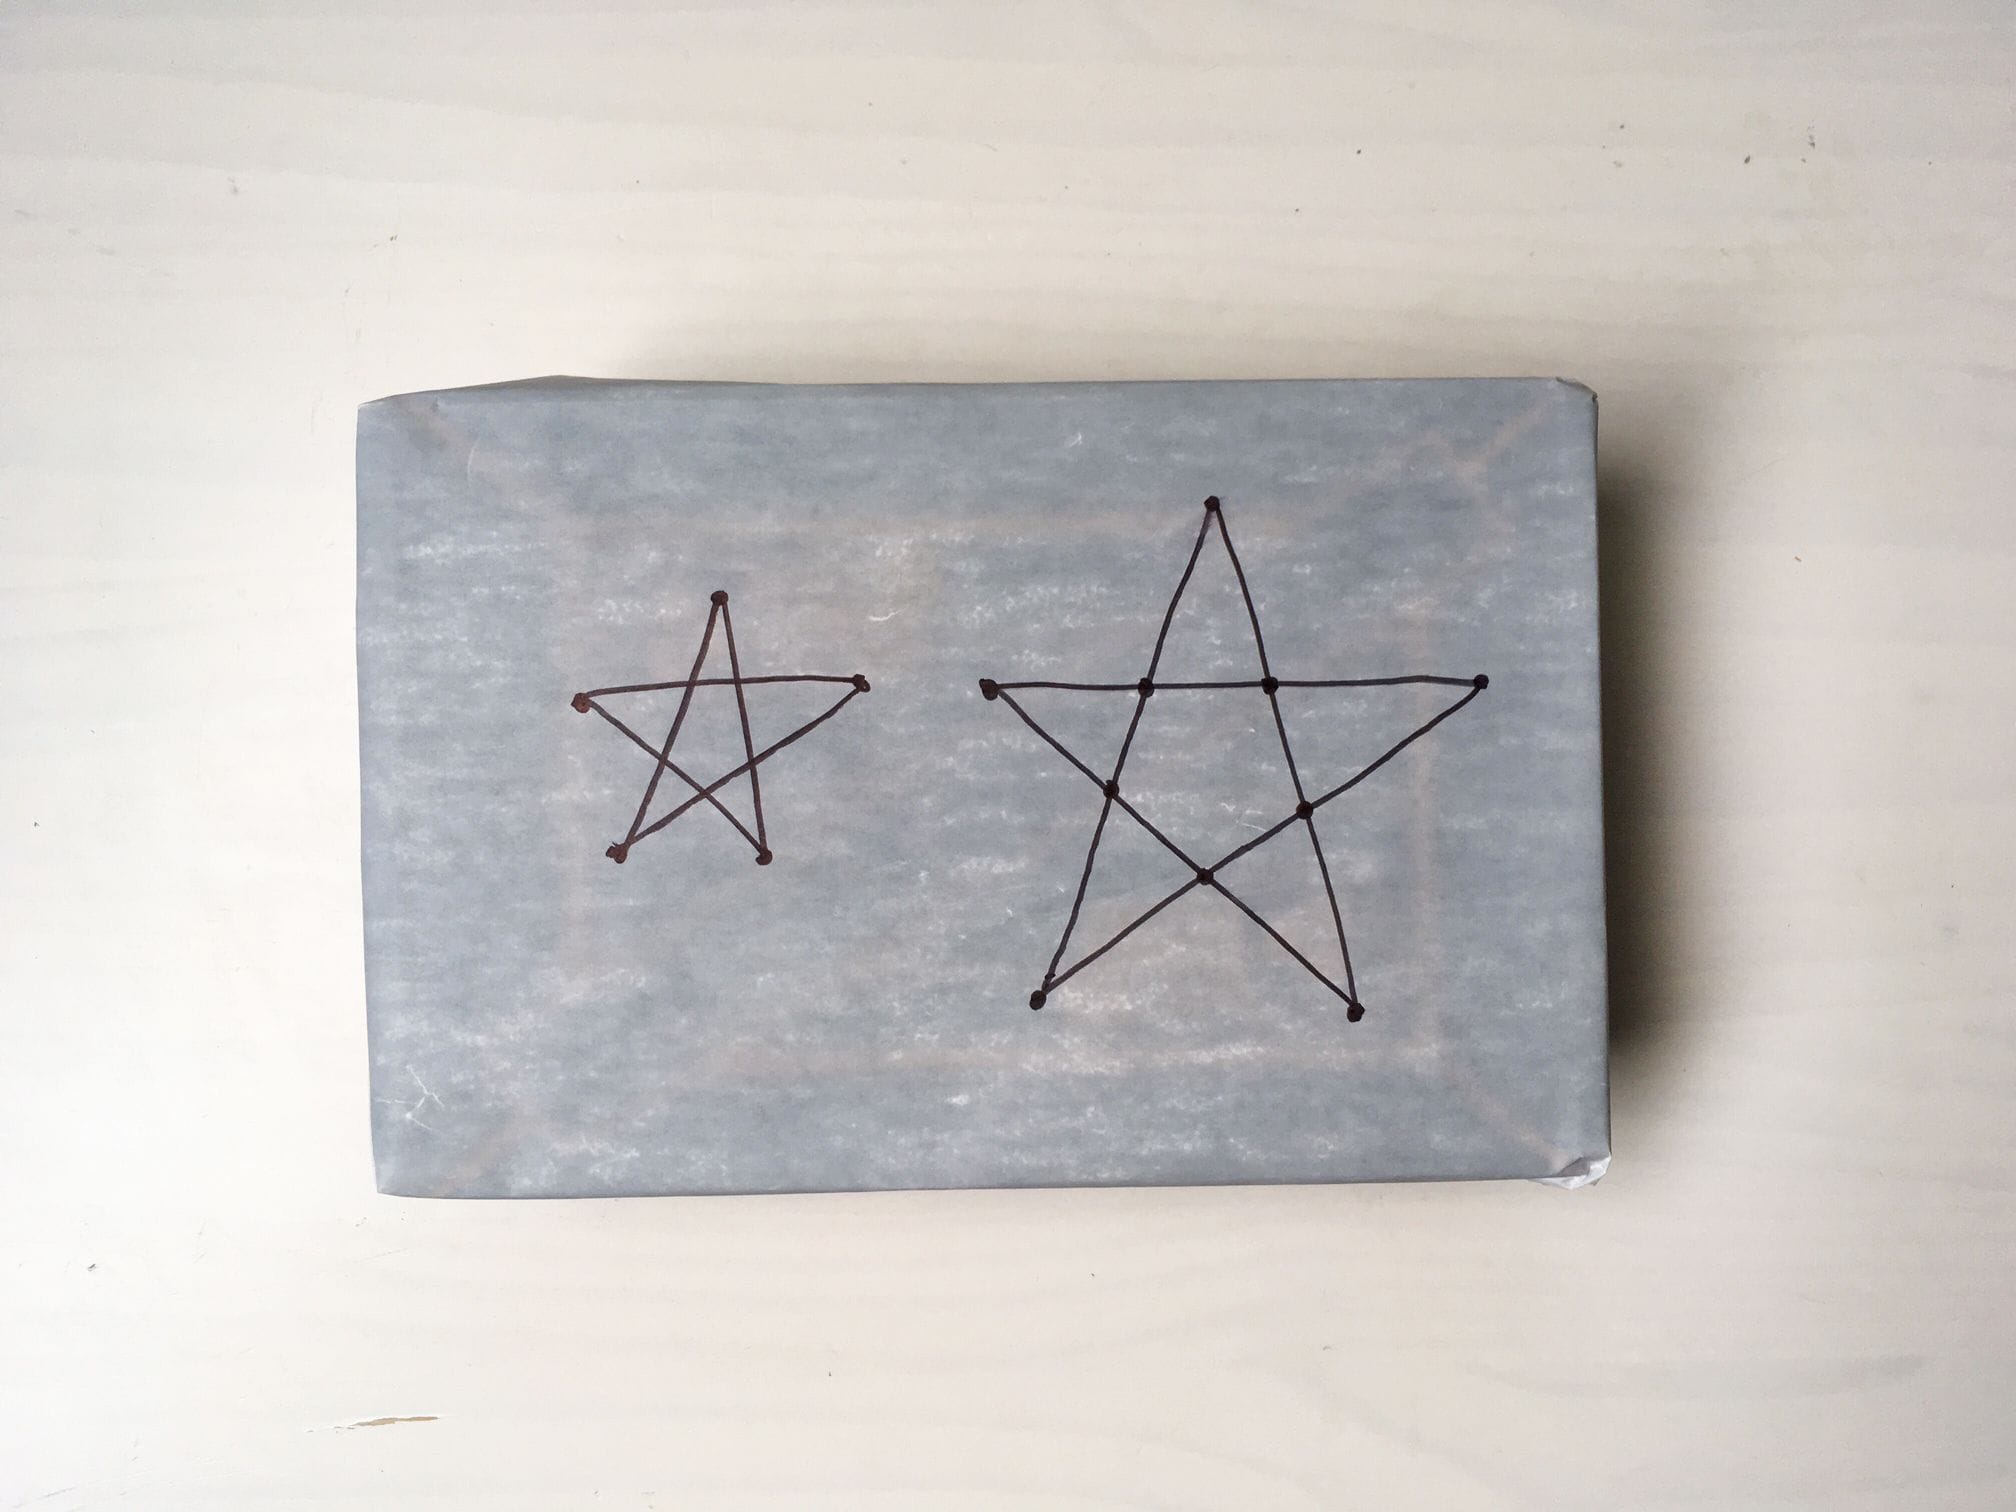
Cover the cardboard box with a layer of wax paper. This helps prevent the string from sticking to the box. (If you're using styrofoam, you can skip this step!) Draw a star on the surface of your box or styrofoam block. This will be the base to create the shape of your stars.

Step 2
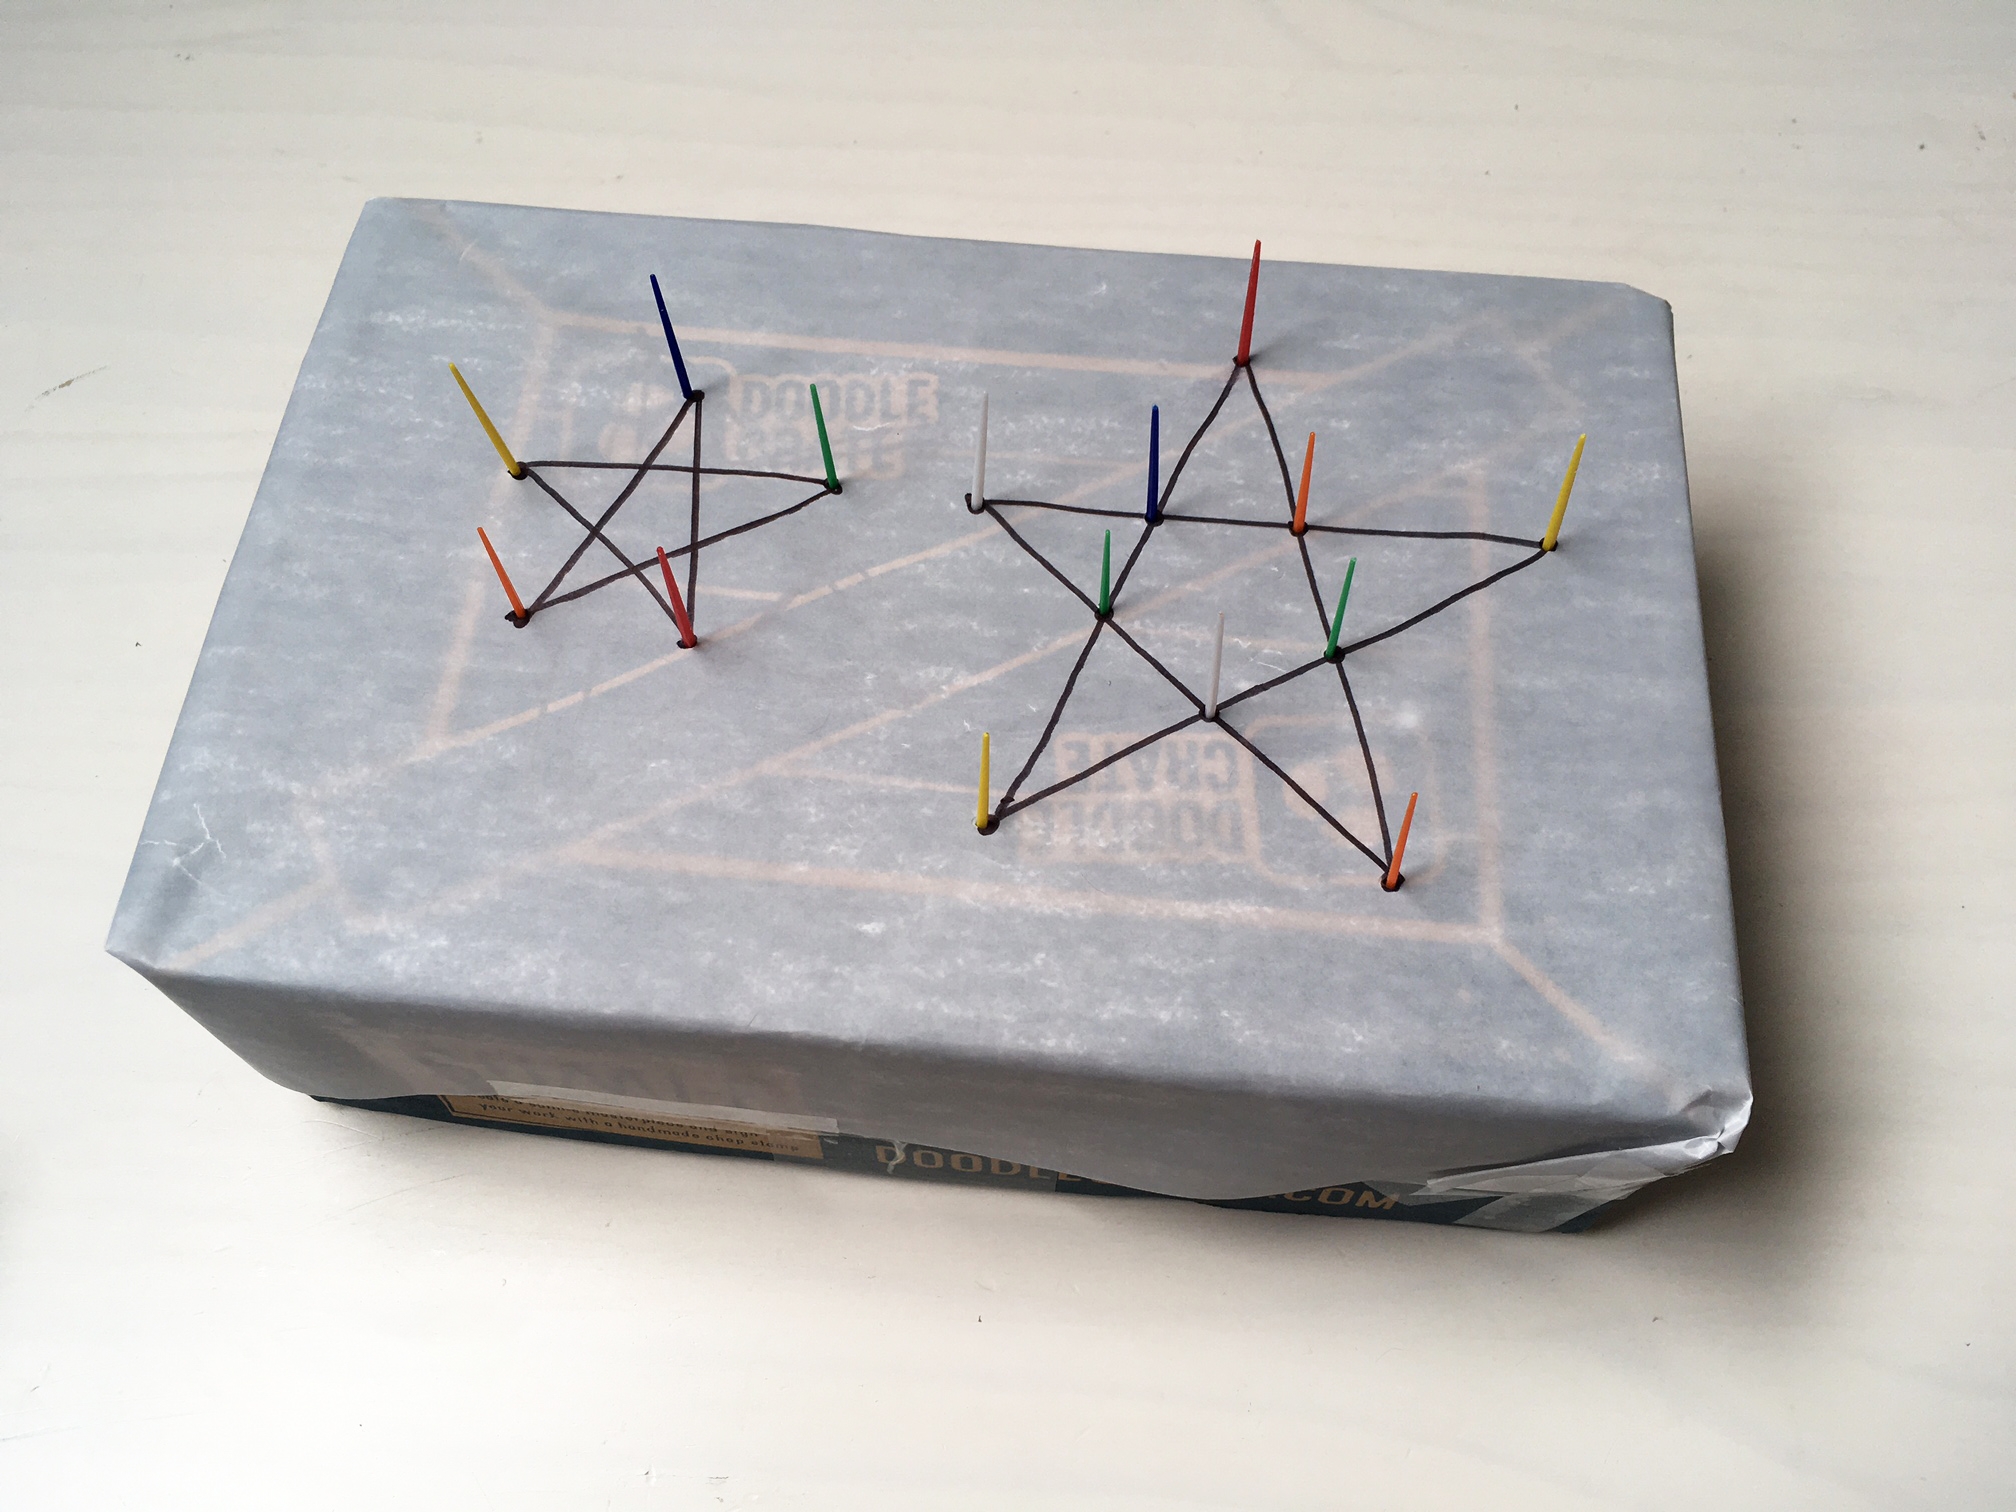
Stick a toothpick into each point of the star. For any larger stars, stick a toothpick into each point and corner, so that you're using 10 total toothpicks.
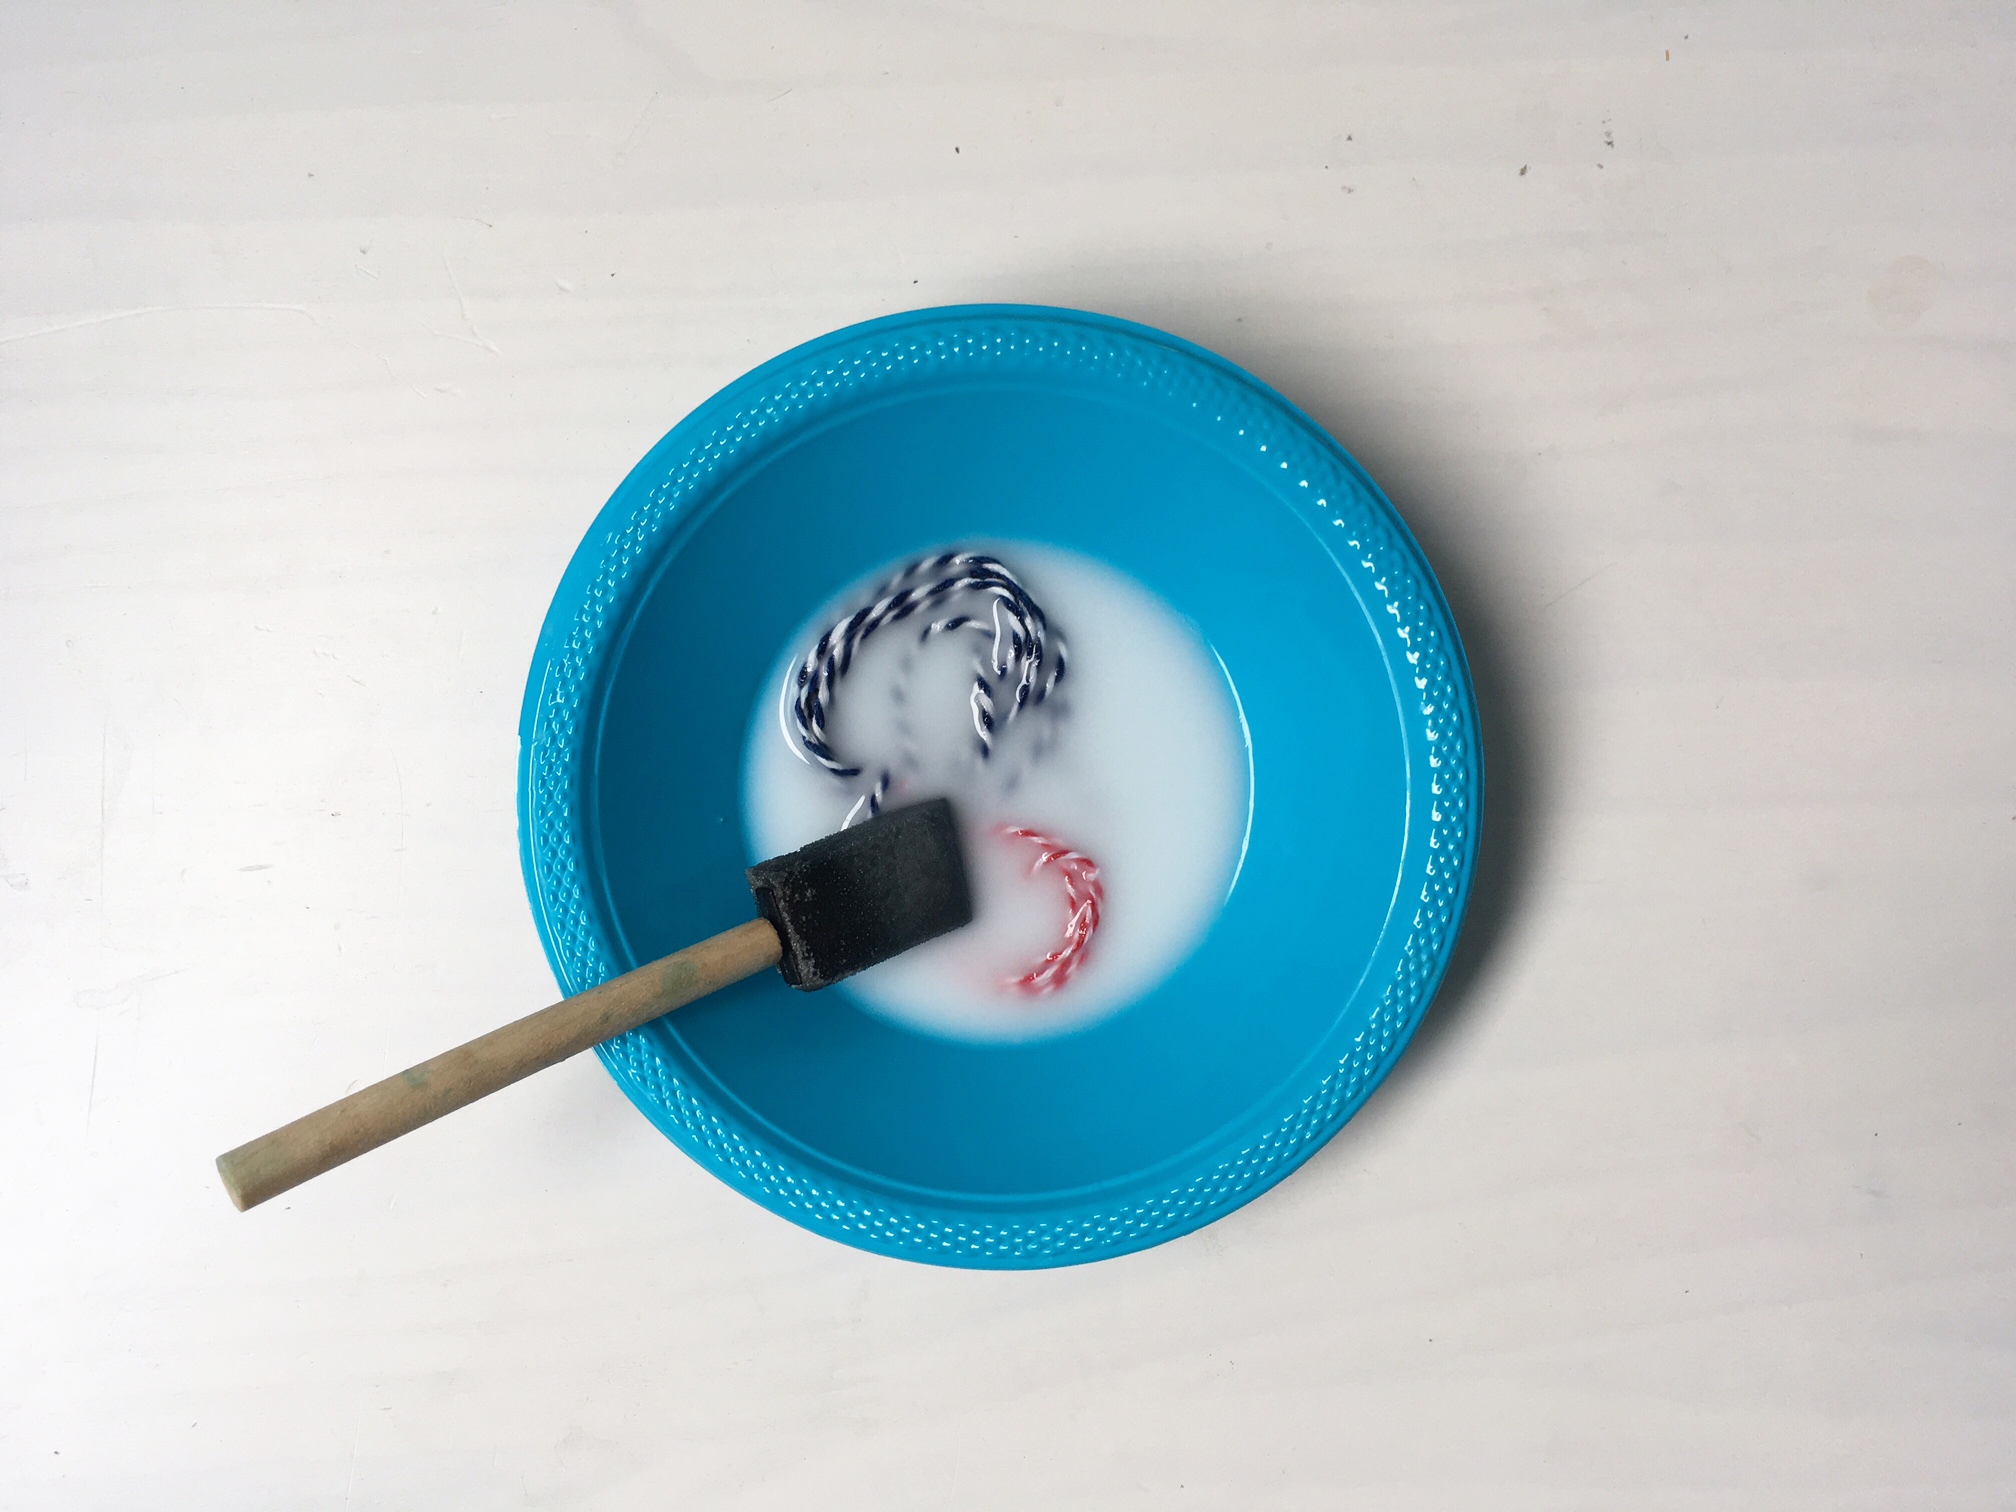
Step 3
Cut a long length of twine or string, about 15 times the width of your star. If your star is 3" wide, cut about 45" of string. Dip the string into a mixture of 50% glue and 50% water. Make sure the string is fully soaked in the glue mixture!
Step 4
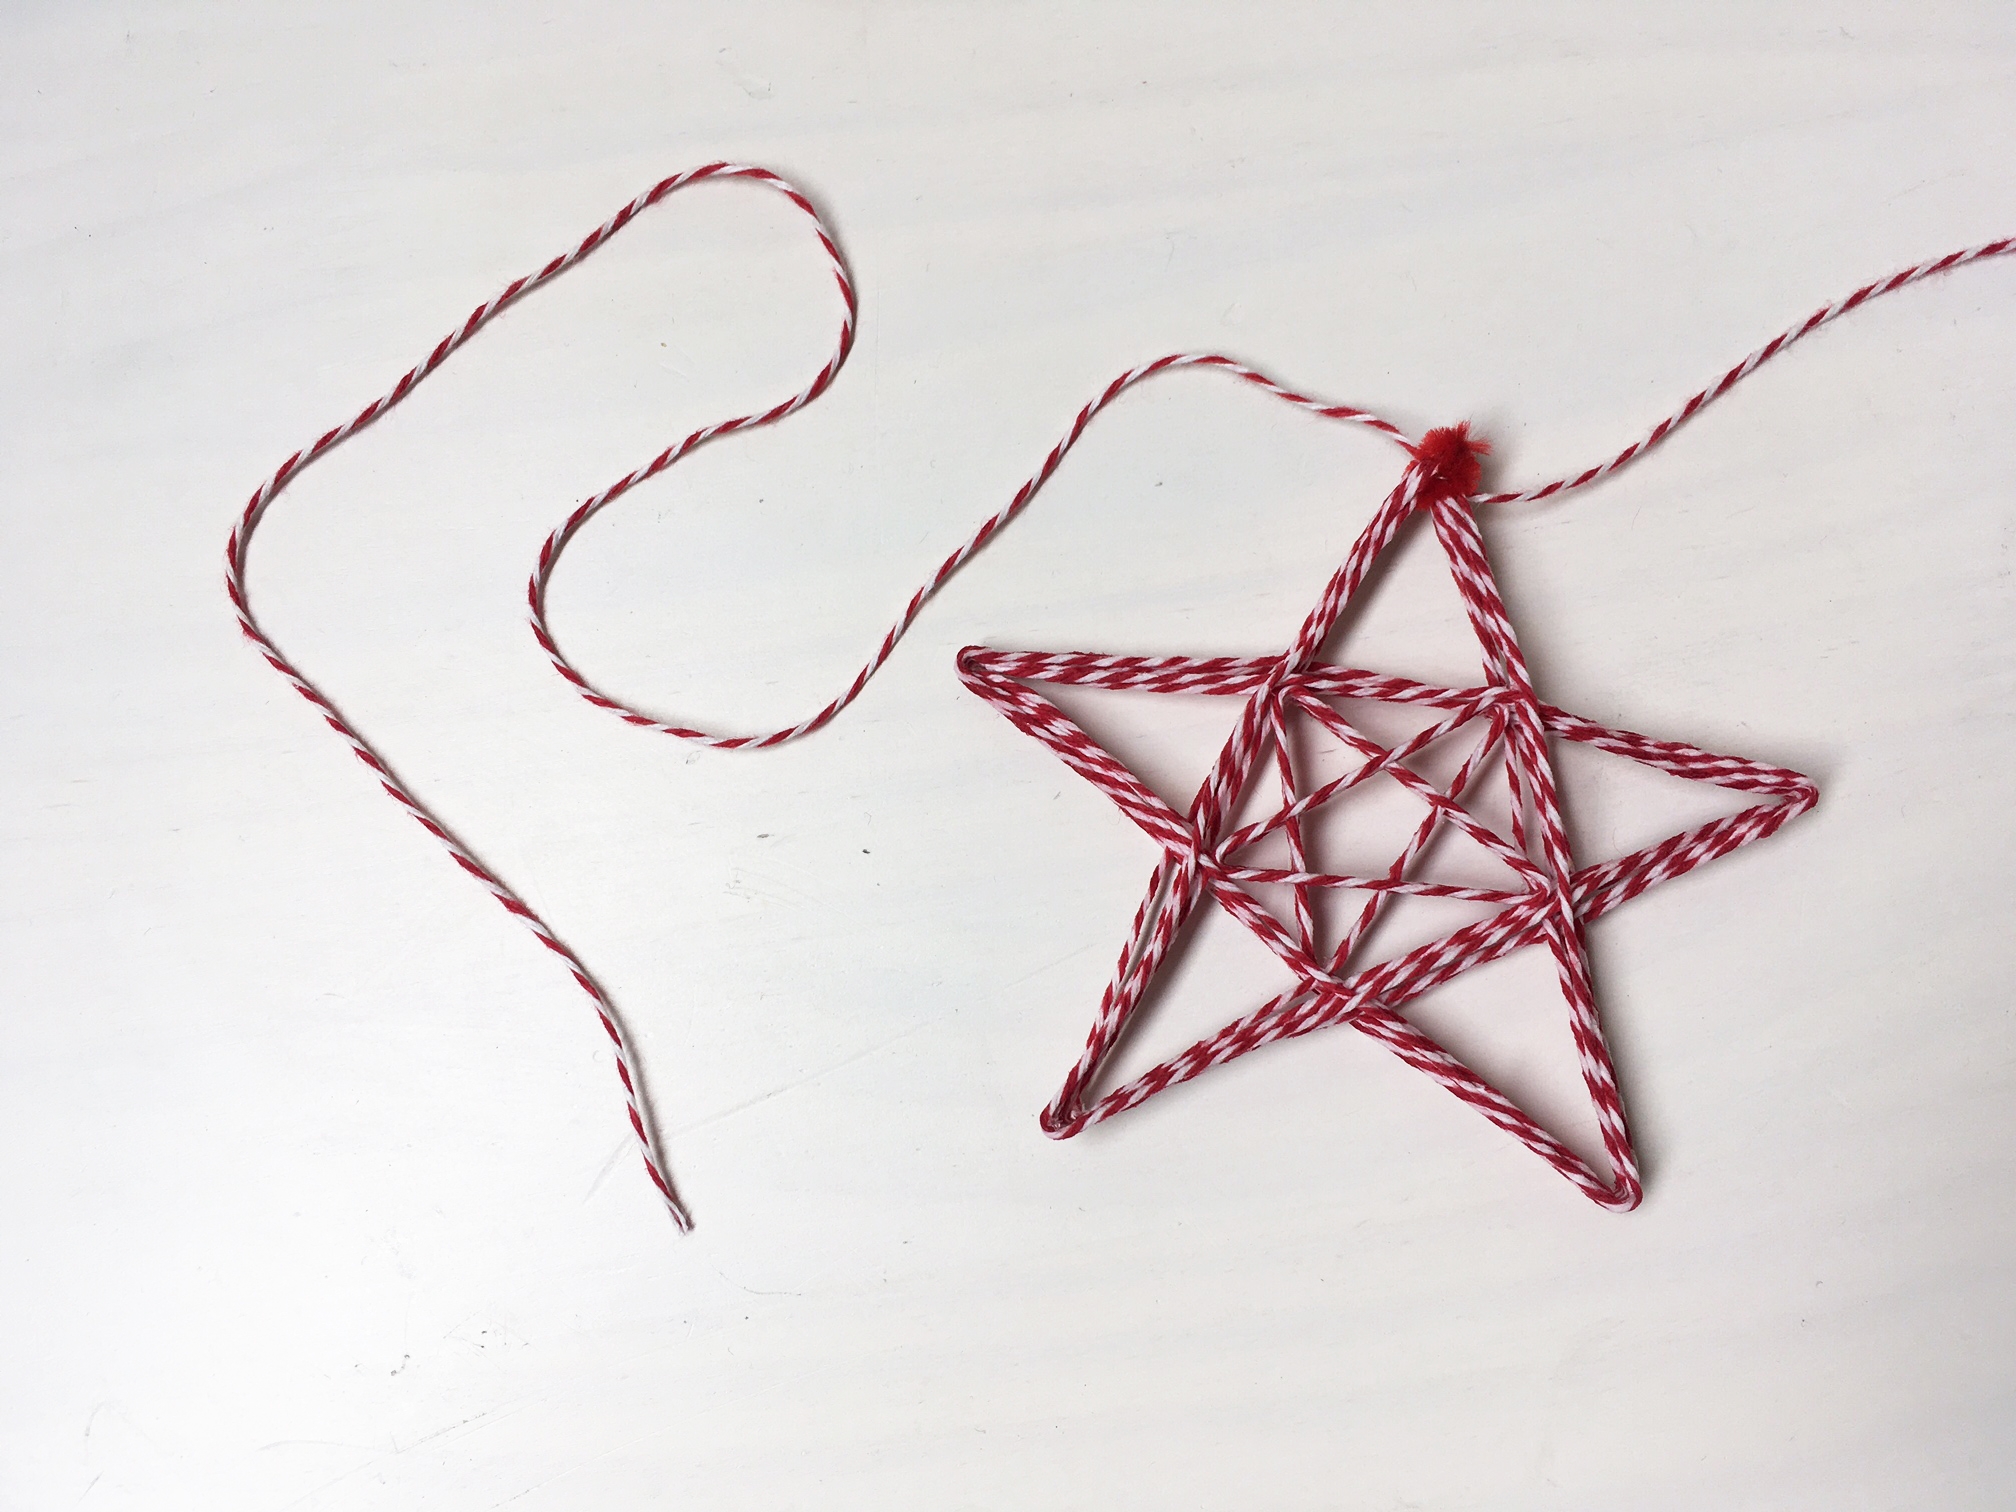
Begin wrapping a string around the toothpicks to create the star shape. Keep going until the whole length of string is wrapped around the toothpicks. Repeat the steps to make a bunch of stars in different colors. The more layers you wrap, the sturdier the star!
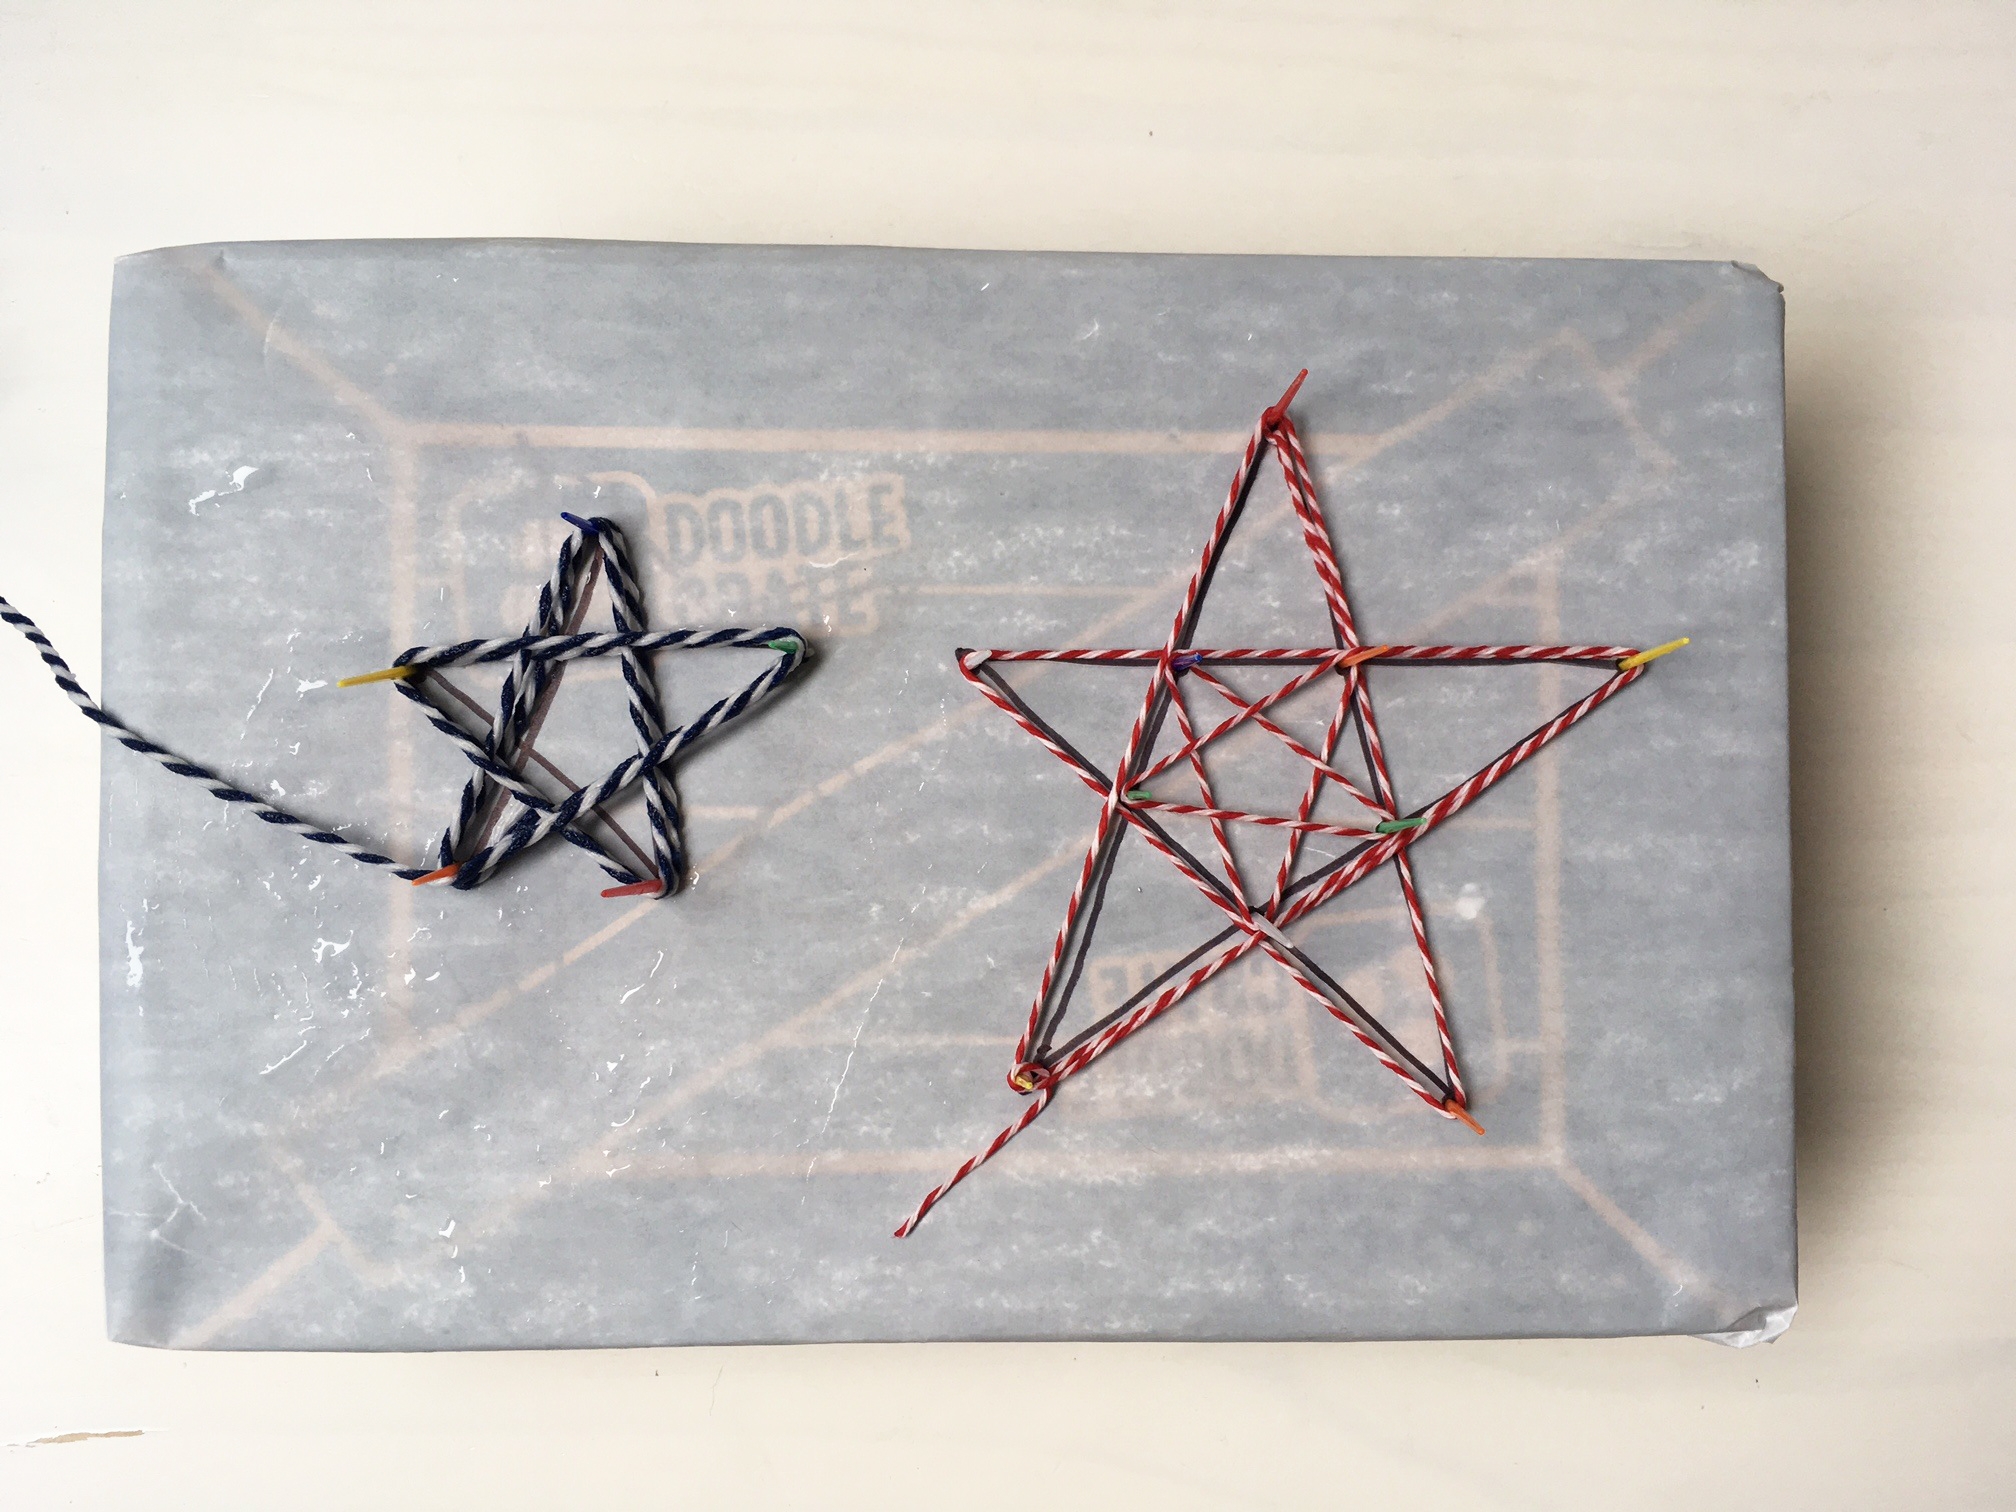
Done!
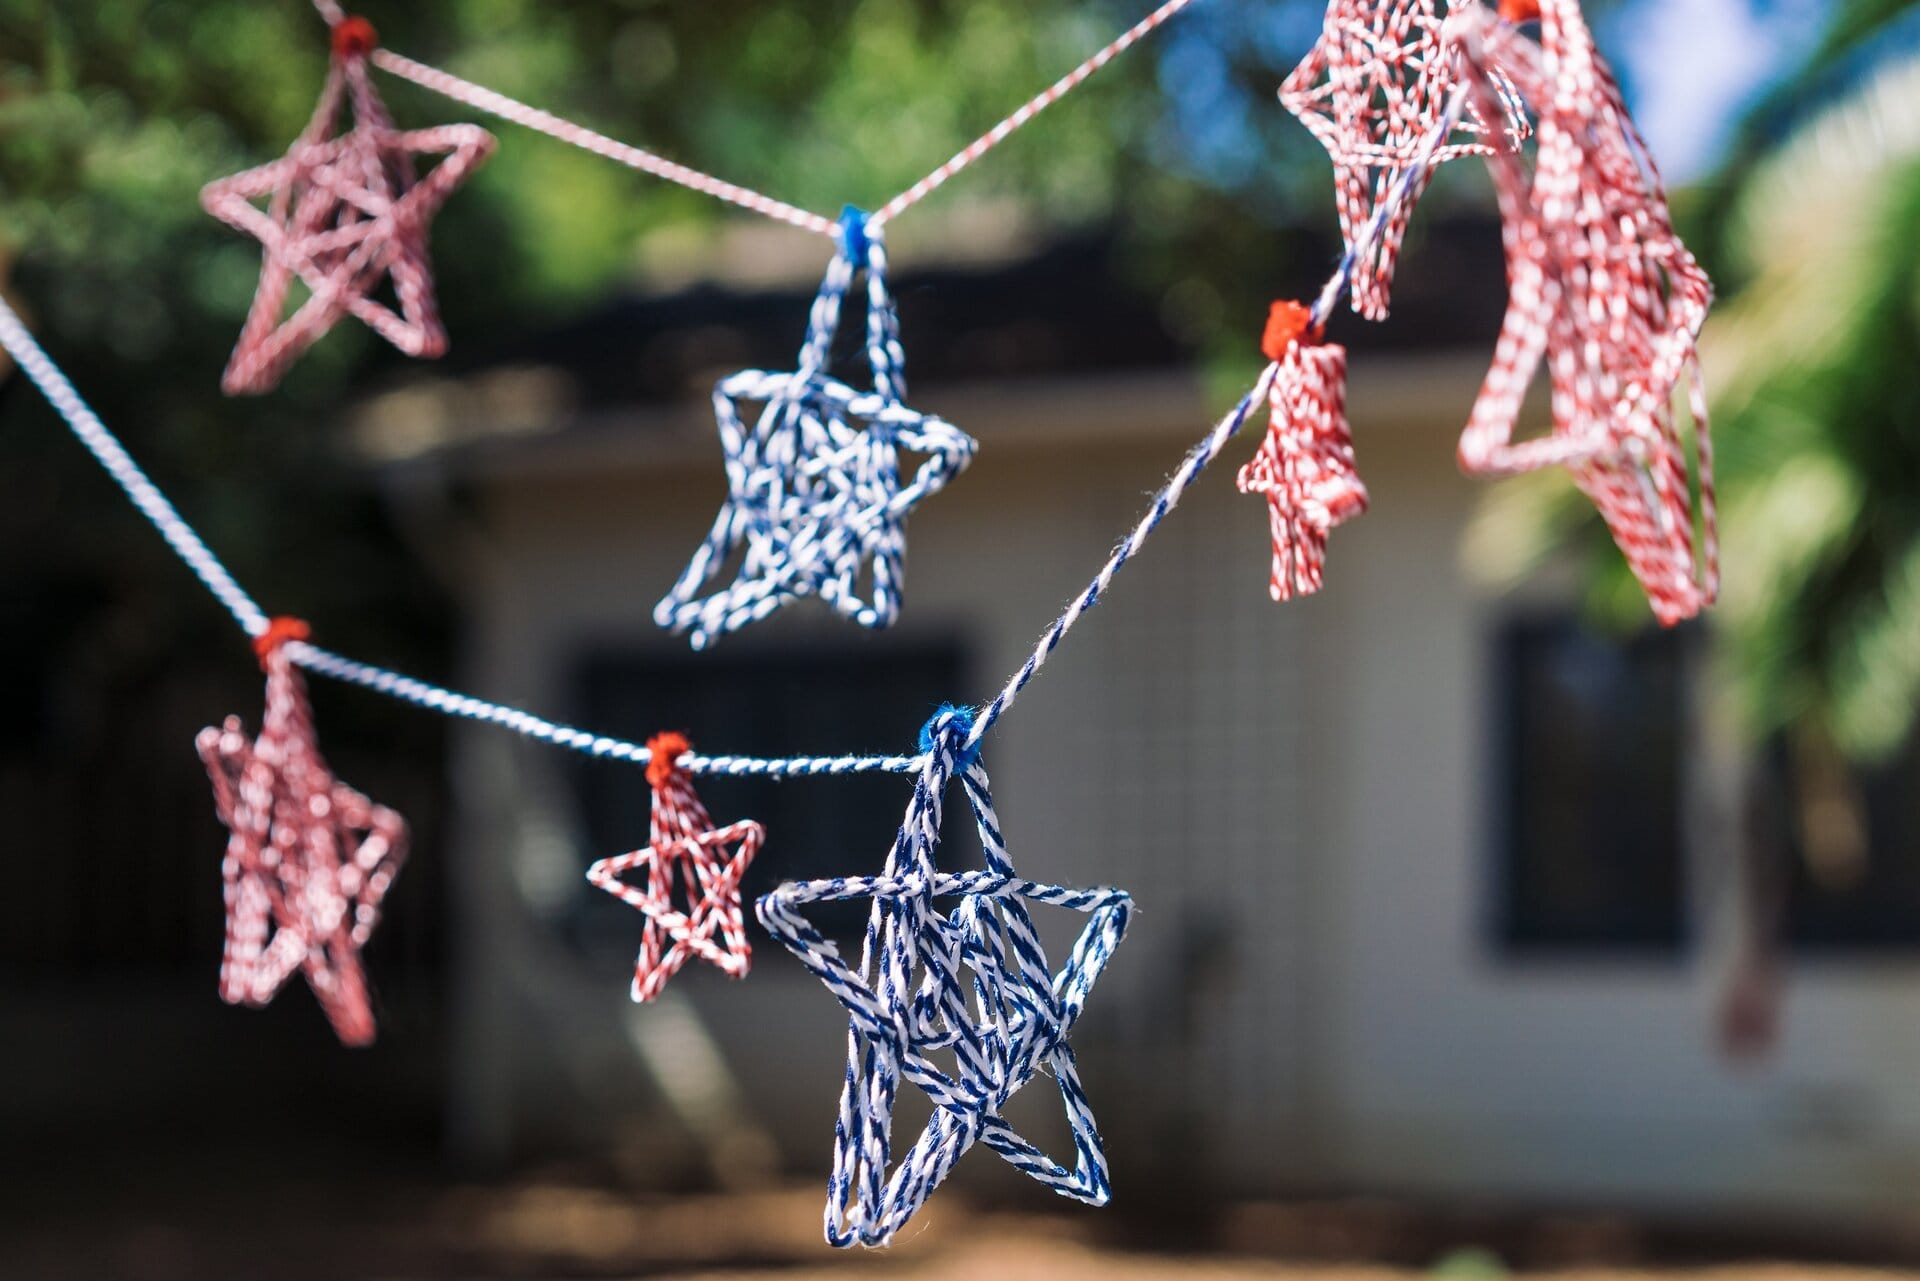
Let the string dry, and then, carefully remove the toothpicks from the stars to reveal your string art shapes! String them up to create a unique star garland!
For extra fun, try adding additional toothpicks in each star to create a randomized pattern!