Step-by-step tutorial
Step 1
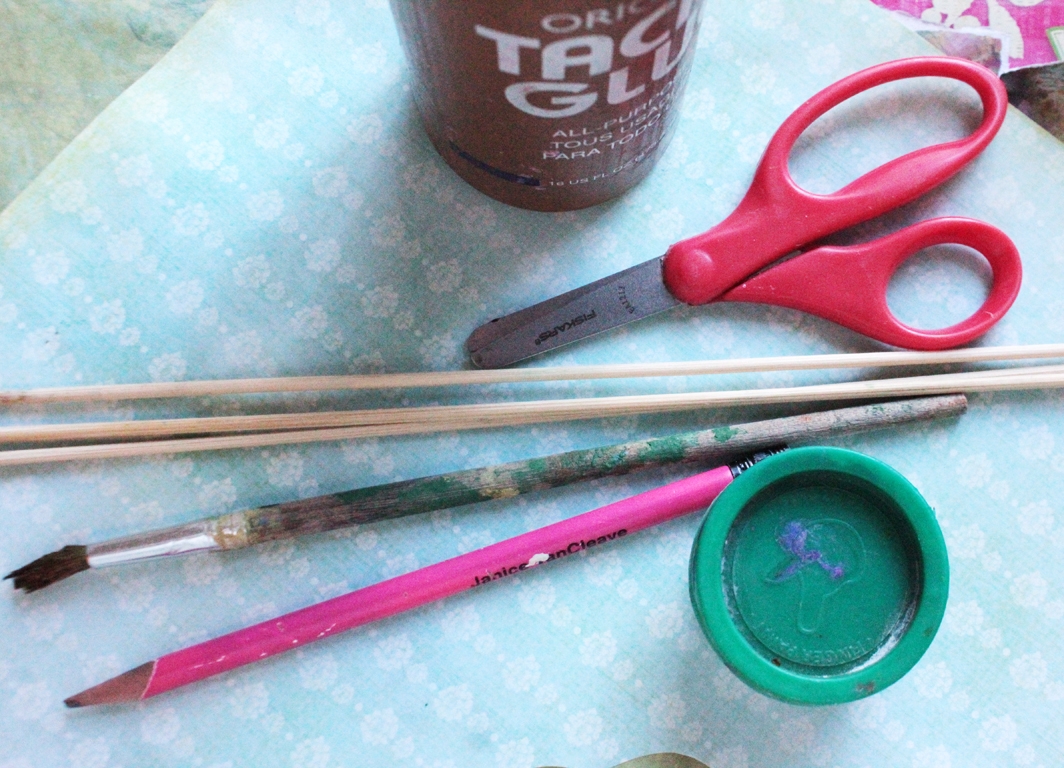
This project only needs paper and something for the stem.

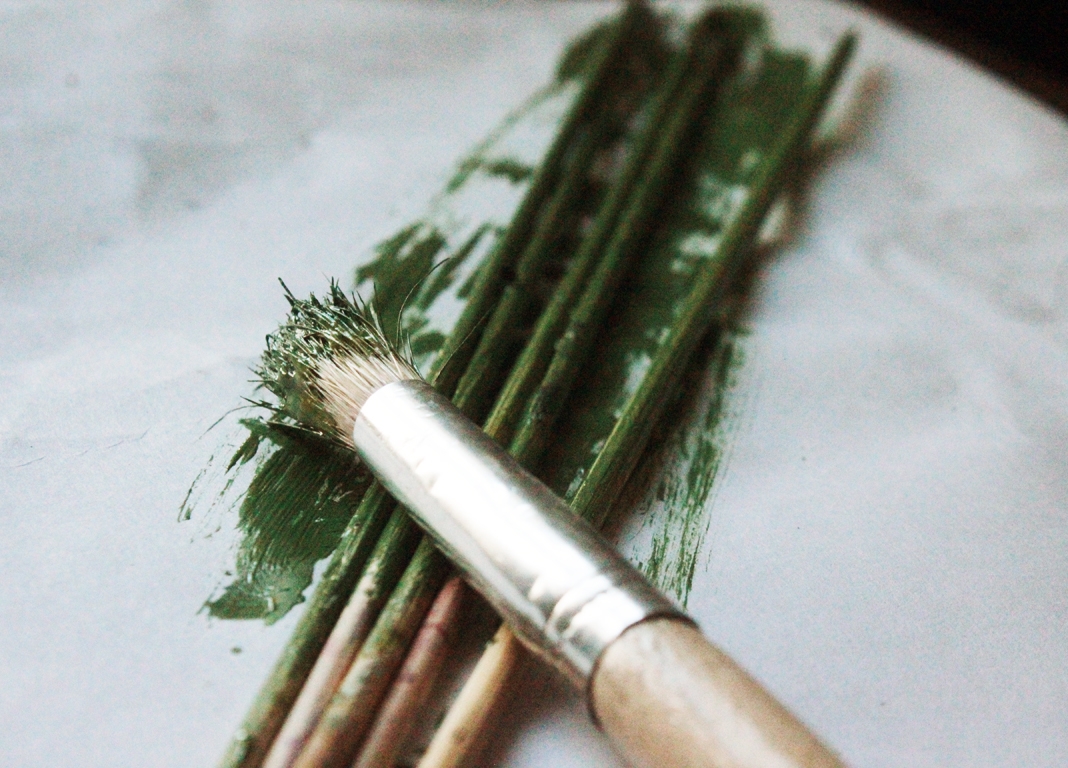
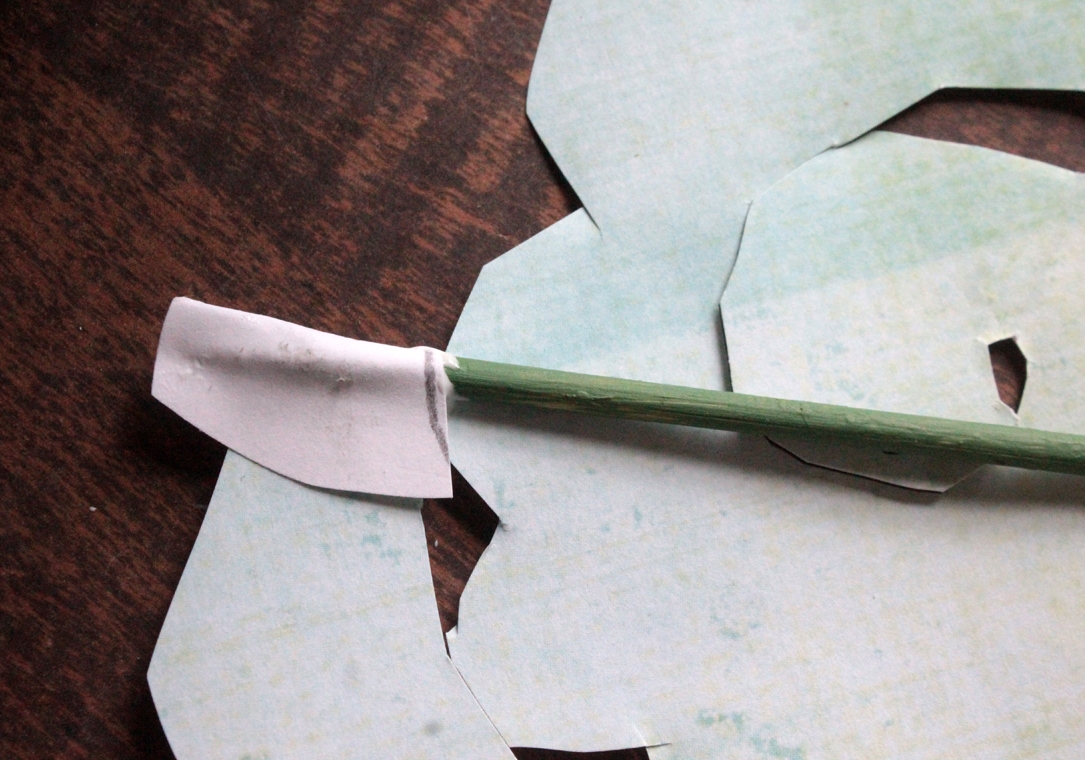
Step 2
First, we painted a few wooden skewers. If you don't want to use skewers, you could use straws, or pipe cleaners.
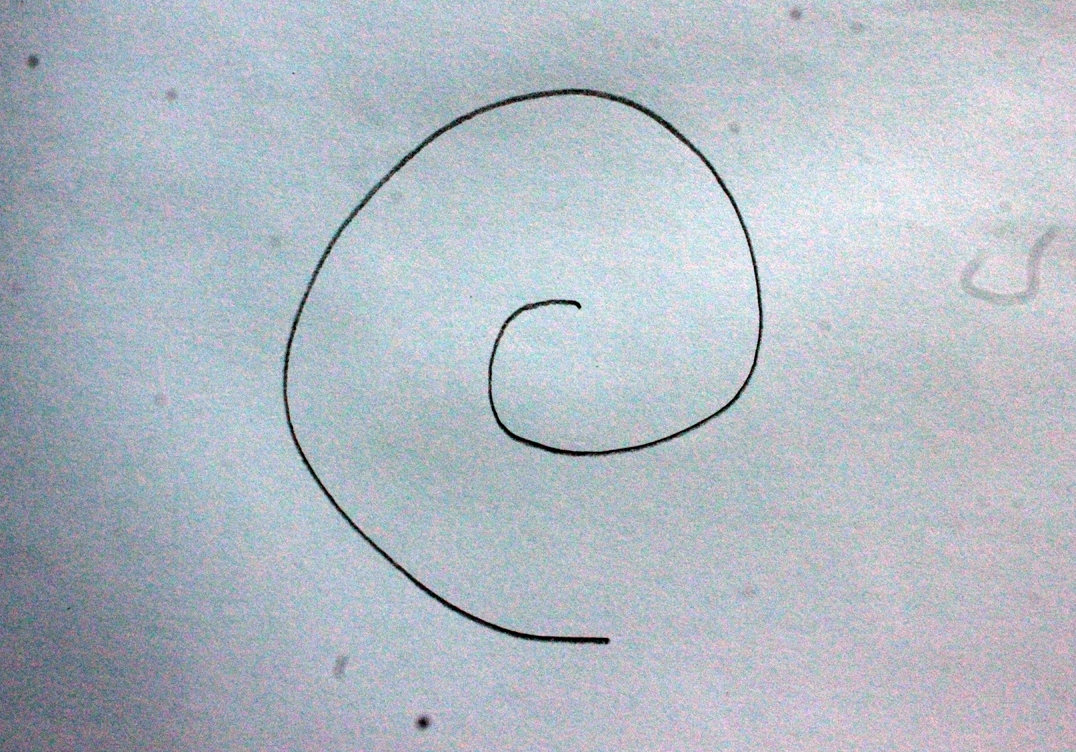
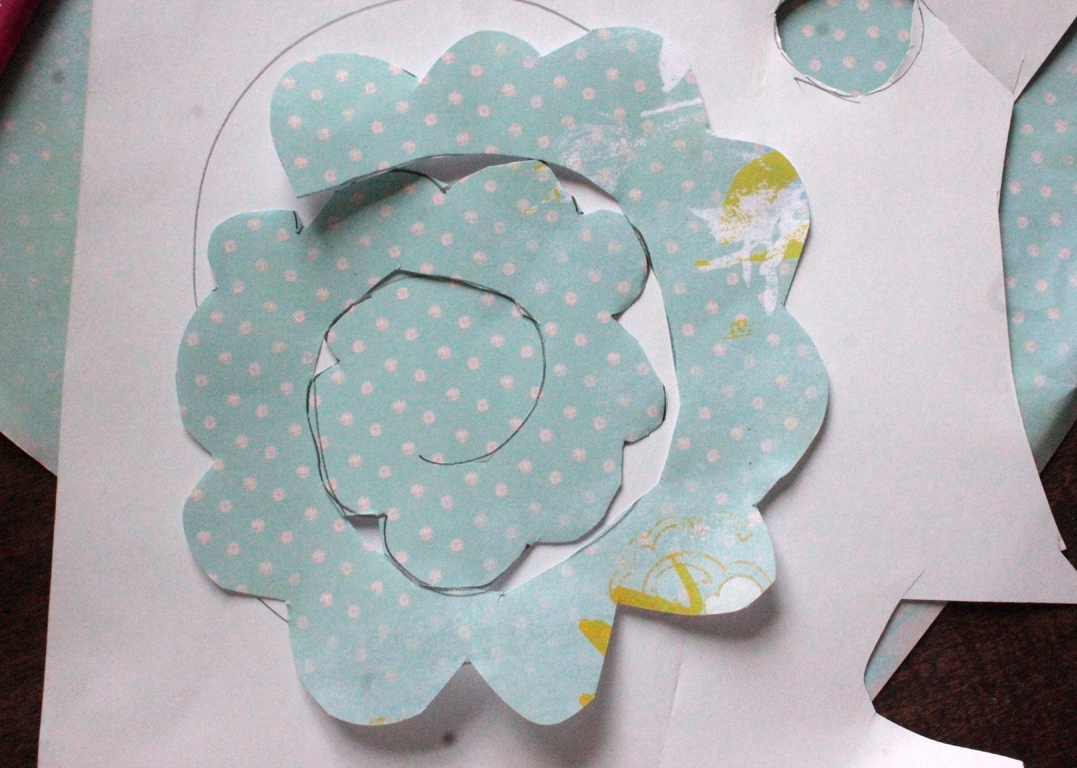
Step 3
Madeleine chose the paper, and I did the drawing. The simplest way was to start with a spiral like this,
Step 4
Then here, I started to shape petals...
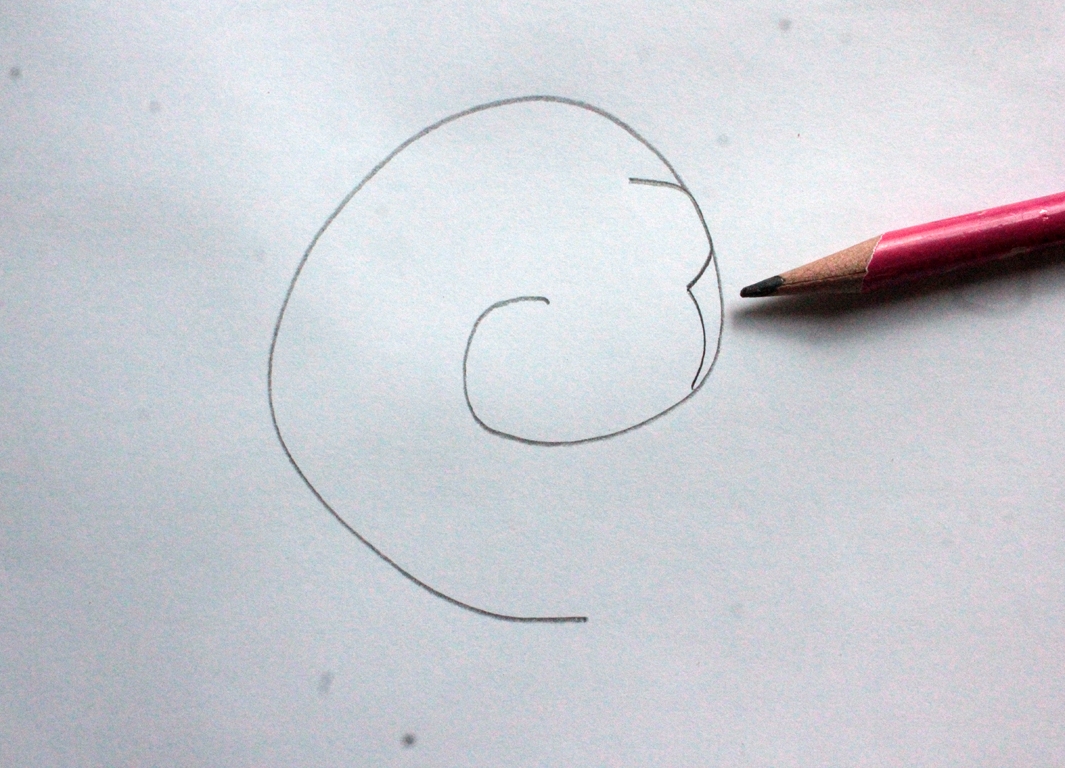
Step 5
..and kept going around until about here.
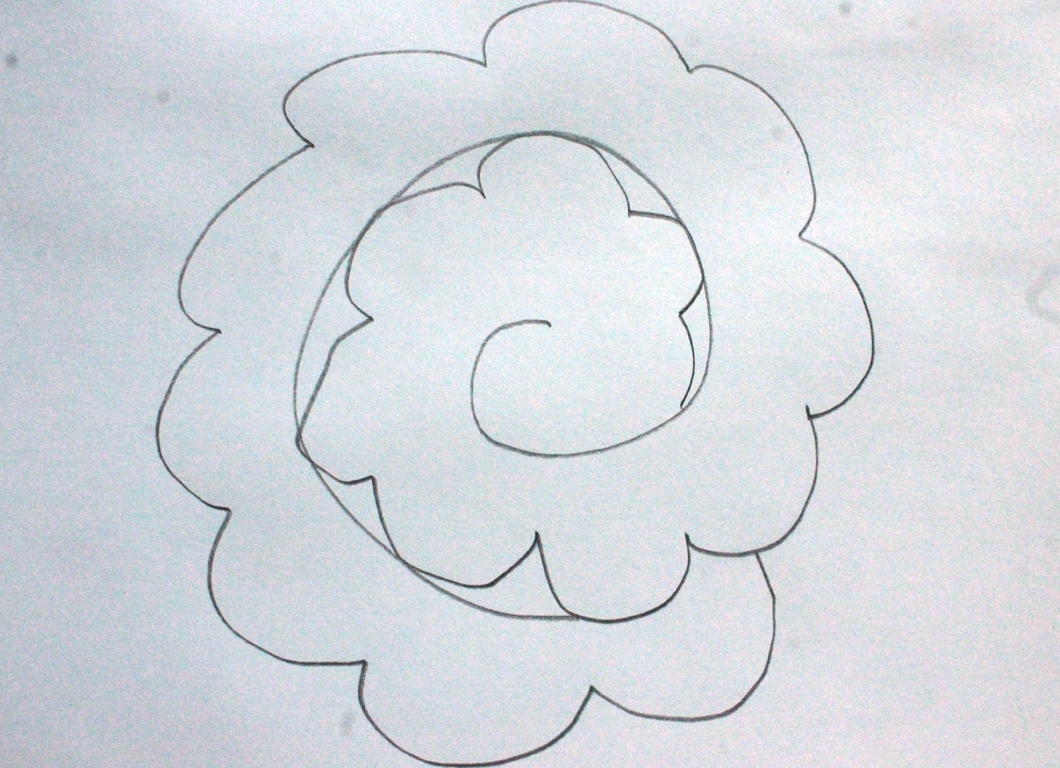
Step 6
Maddie cut them out...
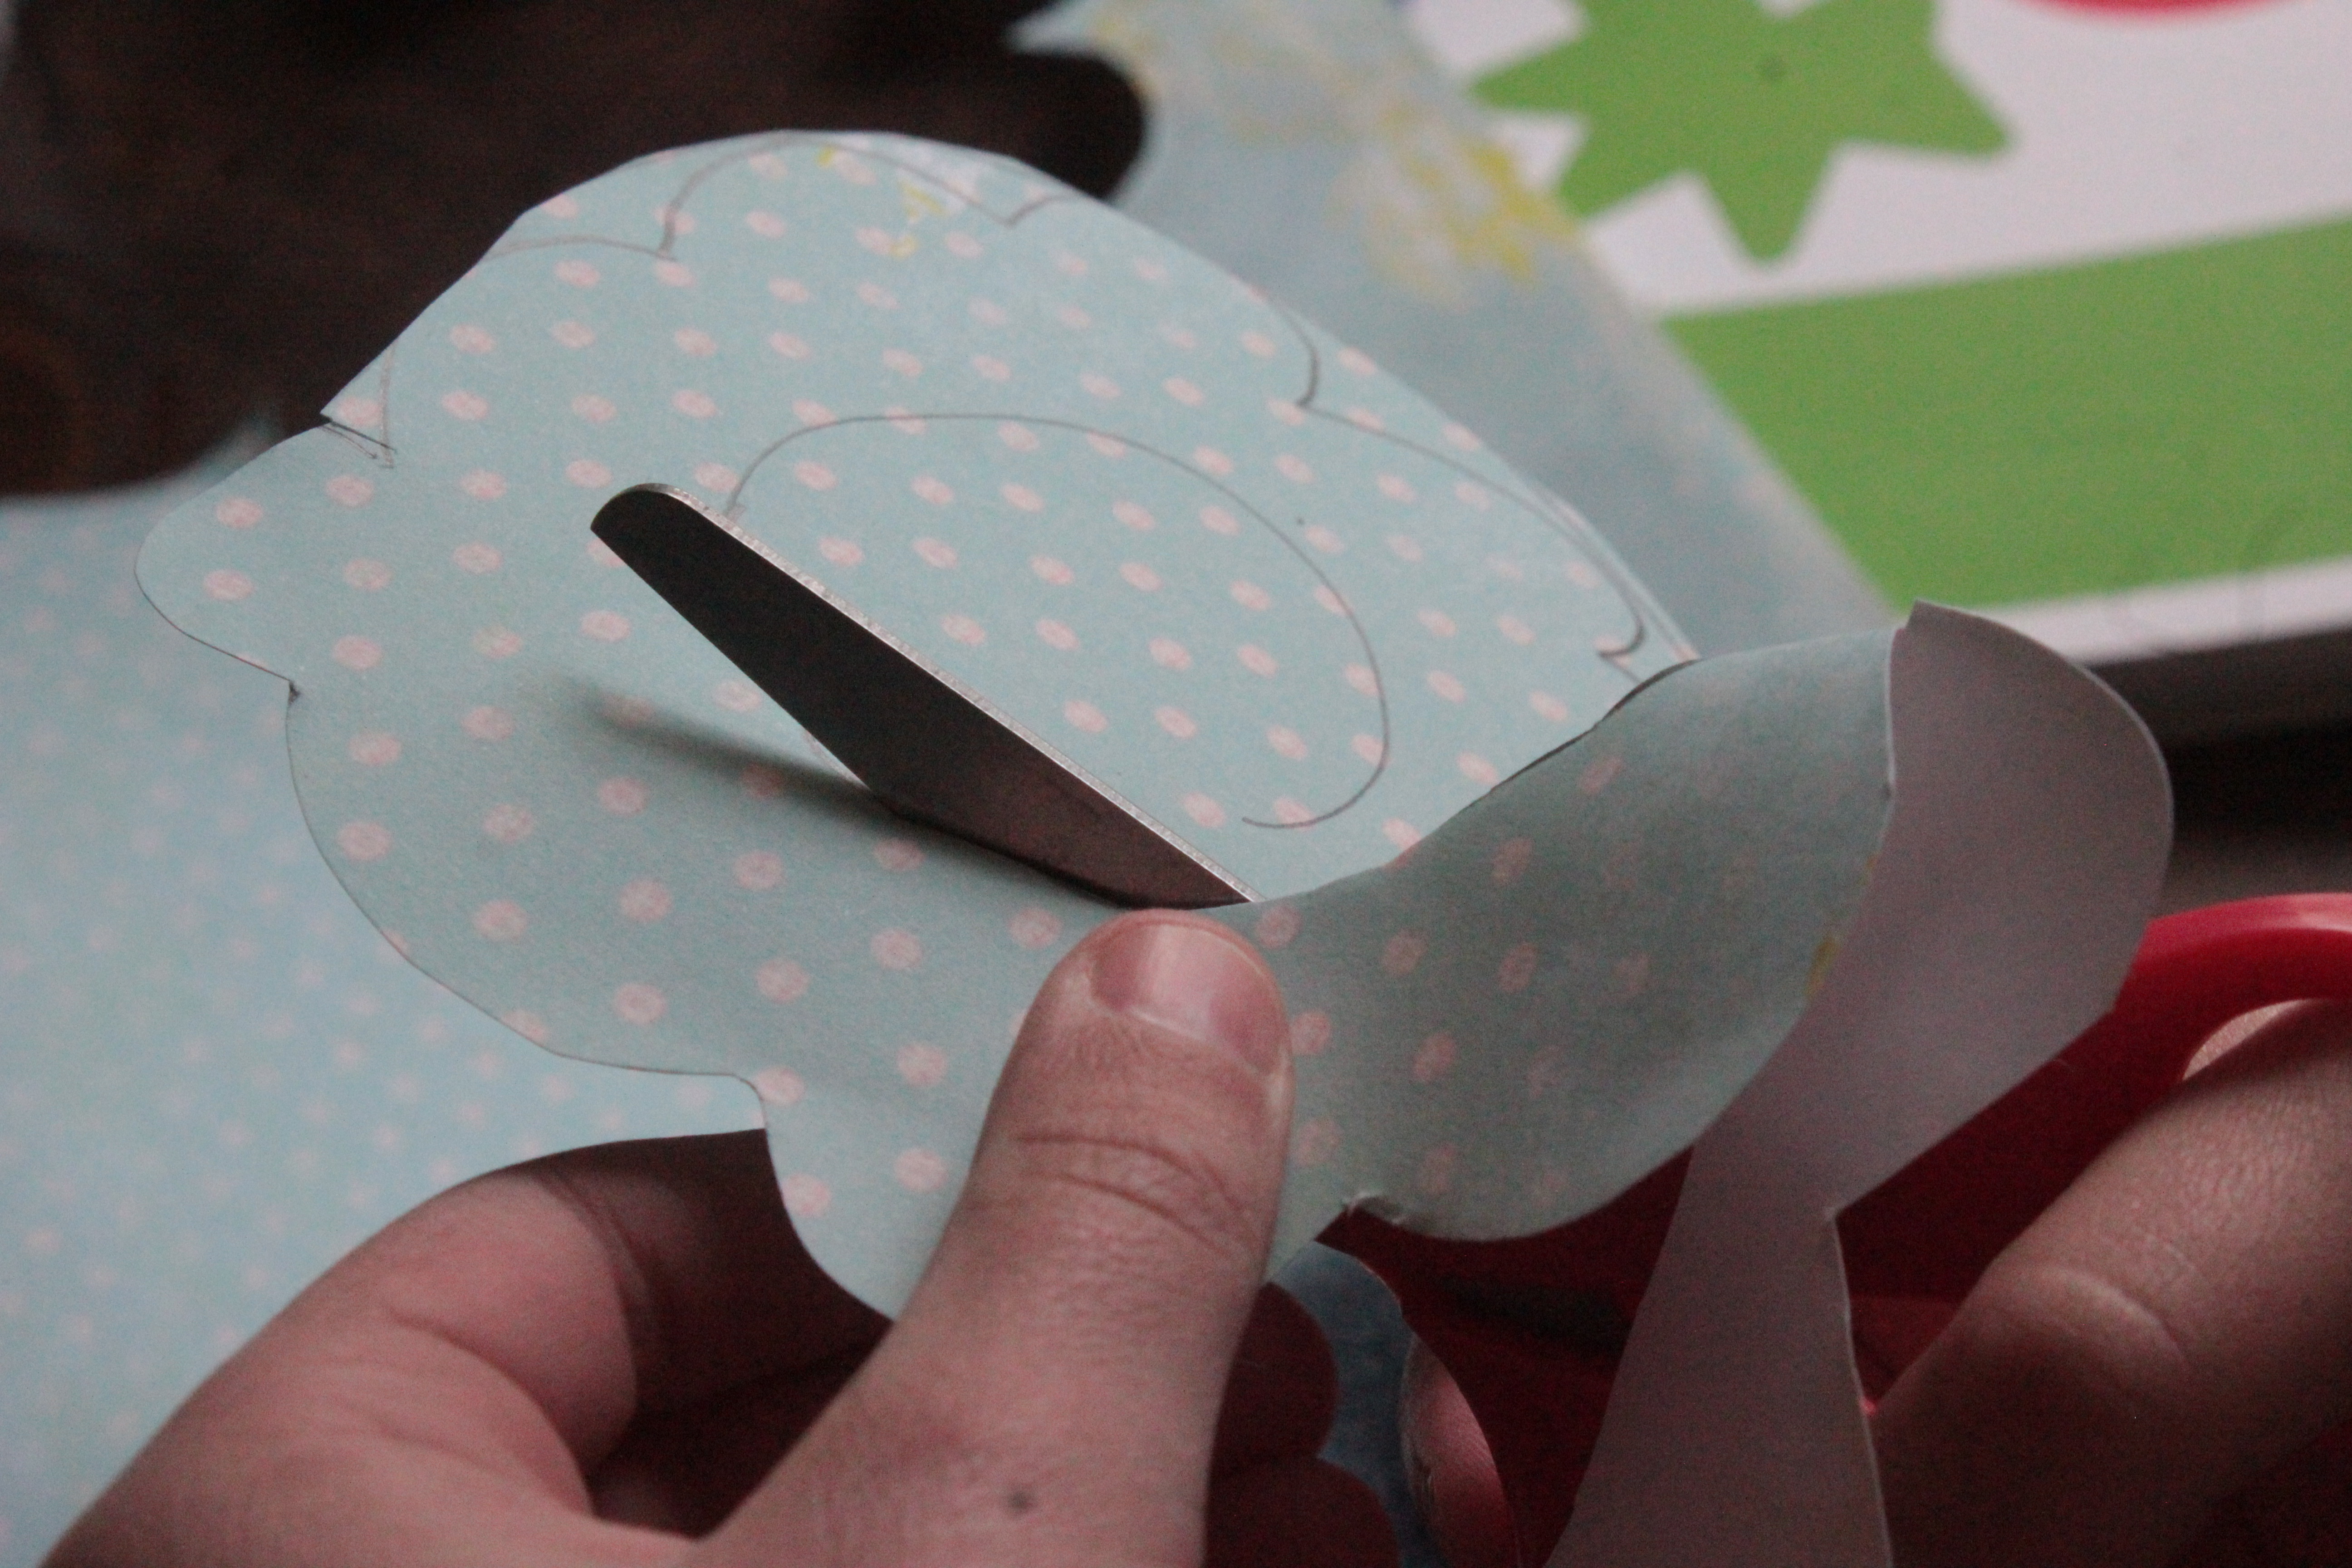
Step 7
...and did a great job of it!
Step 8
The next thing was to glue the paper onto the stem. Make sure it's this arrangement: the long part of the stem to the bottom (straight, not scalloped) edge of the flower. You begin at the outside edge, not at the center.

Step 9
We opted for the pointy side of the skewer to go in here.
Step 10
That sat for a while to dry (while we worked on others), then Maddie started winding it up. I reminded her to wind it snugly.
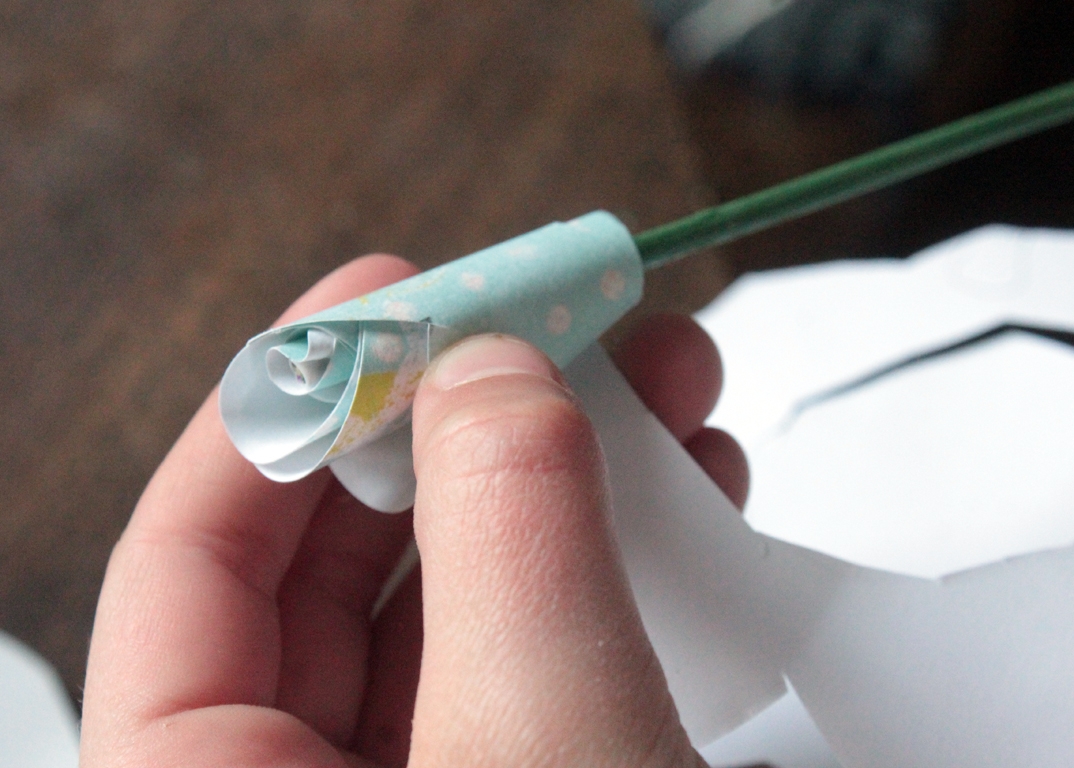
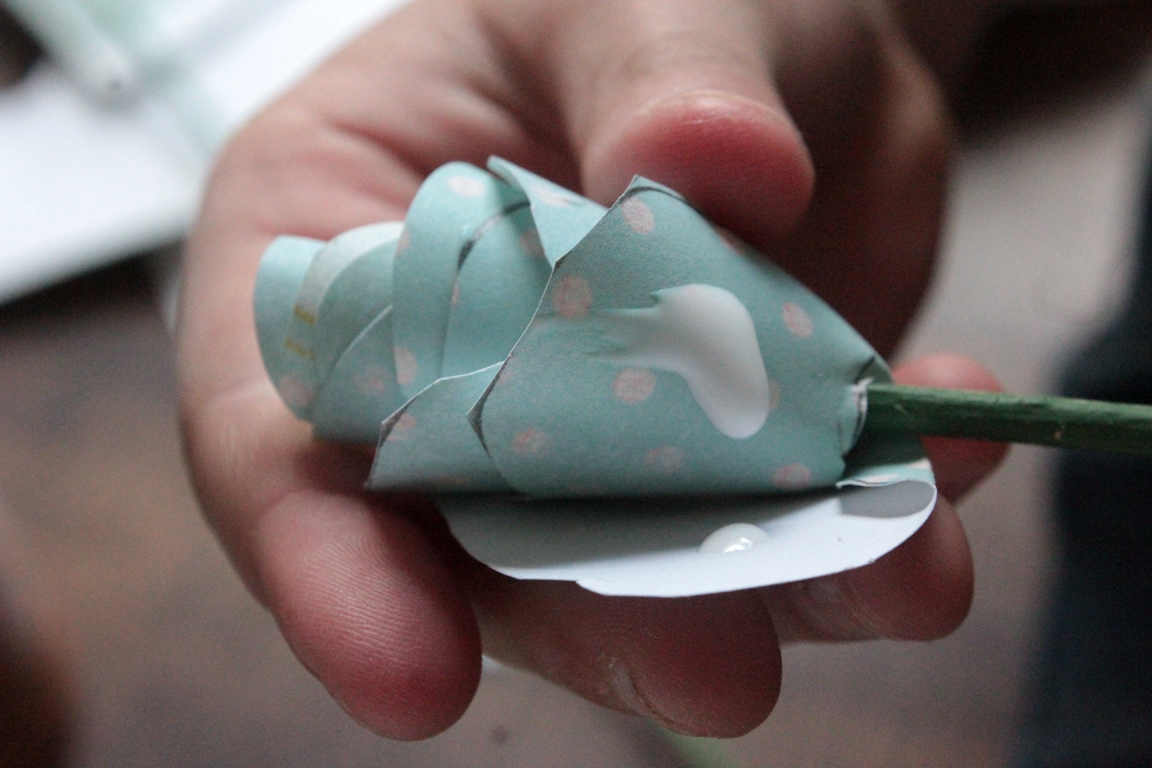
Step 11
Soon she came to the end, which she looped around, then we glued it. If it wants to slip (some stay in place, and others want to move), just add glue to the bottom to lock it in place.
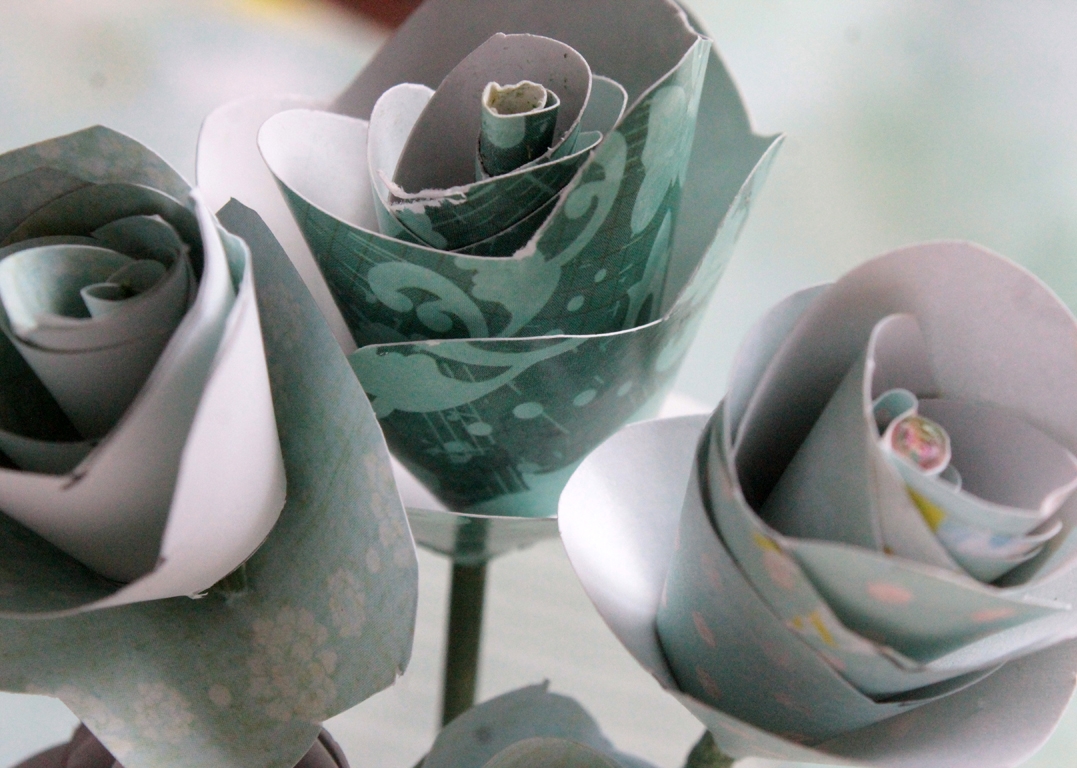
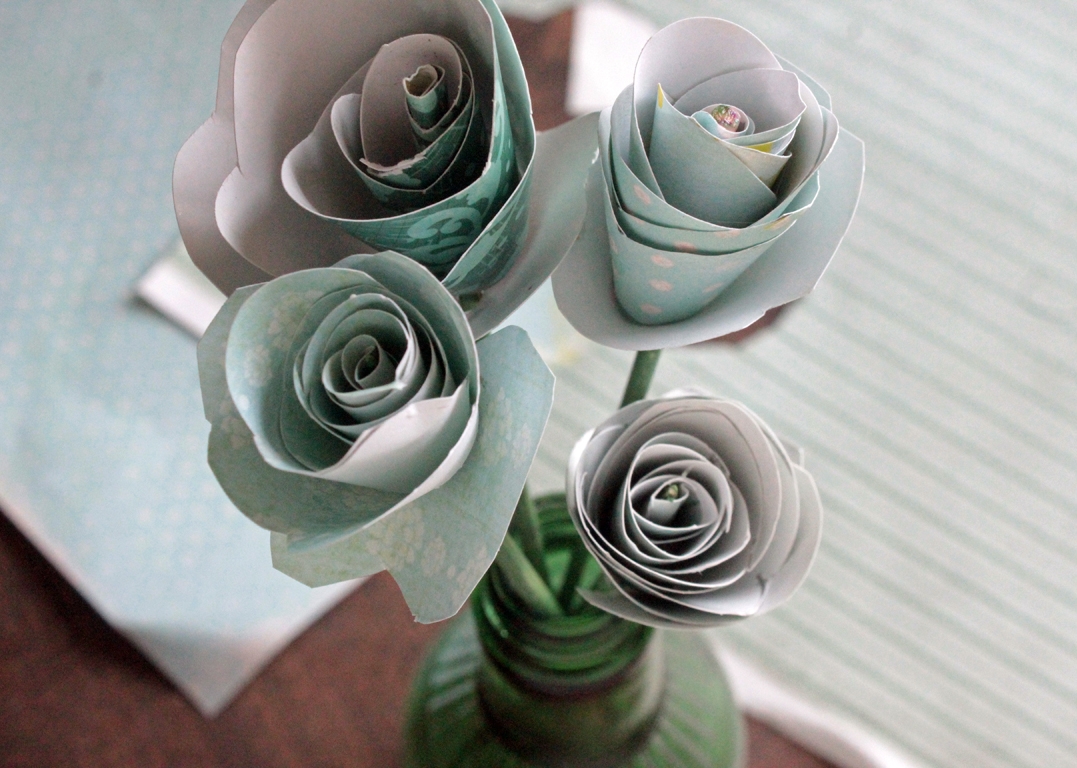
Done!
Since we were using paper that was patterned on only one side, we alternated which sides would be white - inside or out. Now aren't your handmade roses so, so pretty?