Plastic Canvas Picture Frame

Adorn your special photos with this easy DIY picture frame. It’s as fun to make as it is to gift to your loved ones!

  1. Ages: 9 +

  2. 1 hour - 2 hours

  3. A little messy

  4. Grownup needed

Tags:

Materials you'll need

Step-by-step tutorial

  • Step 1

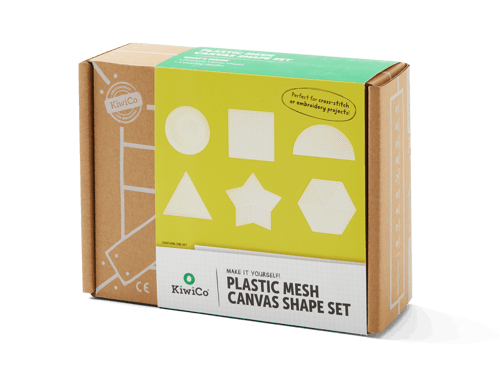
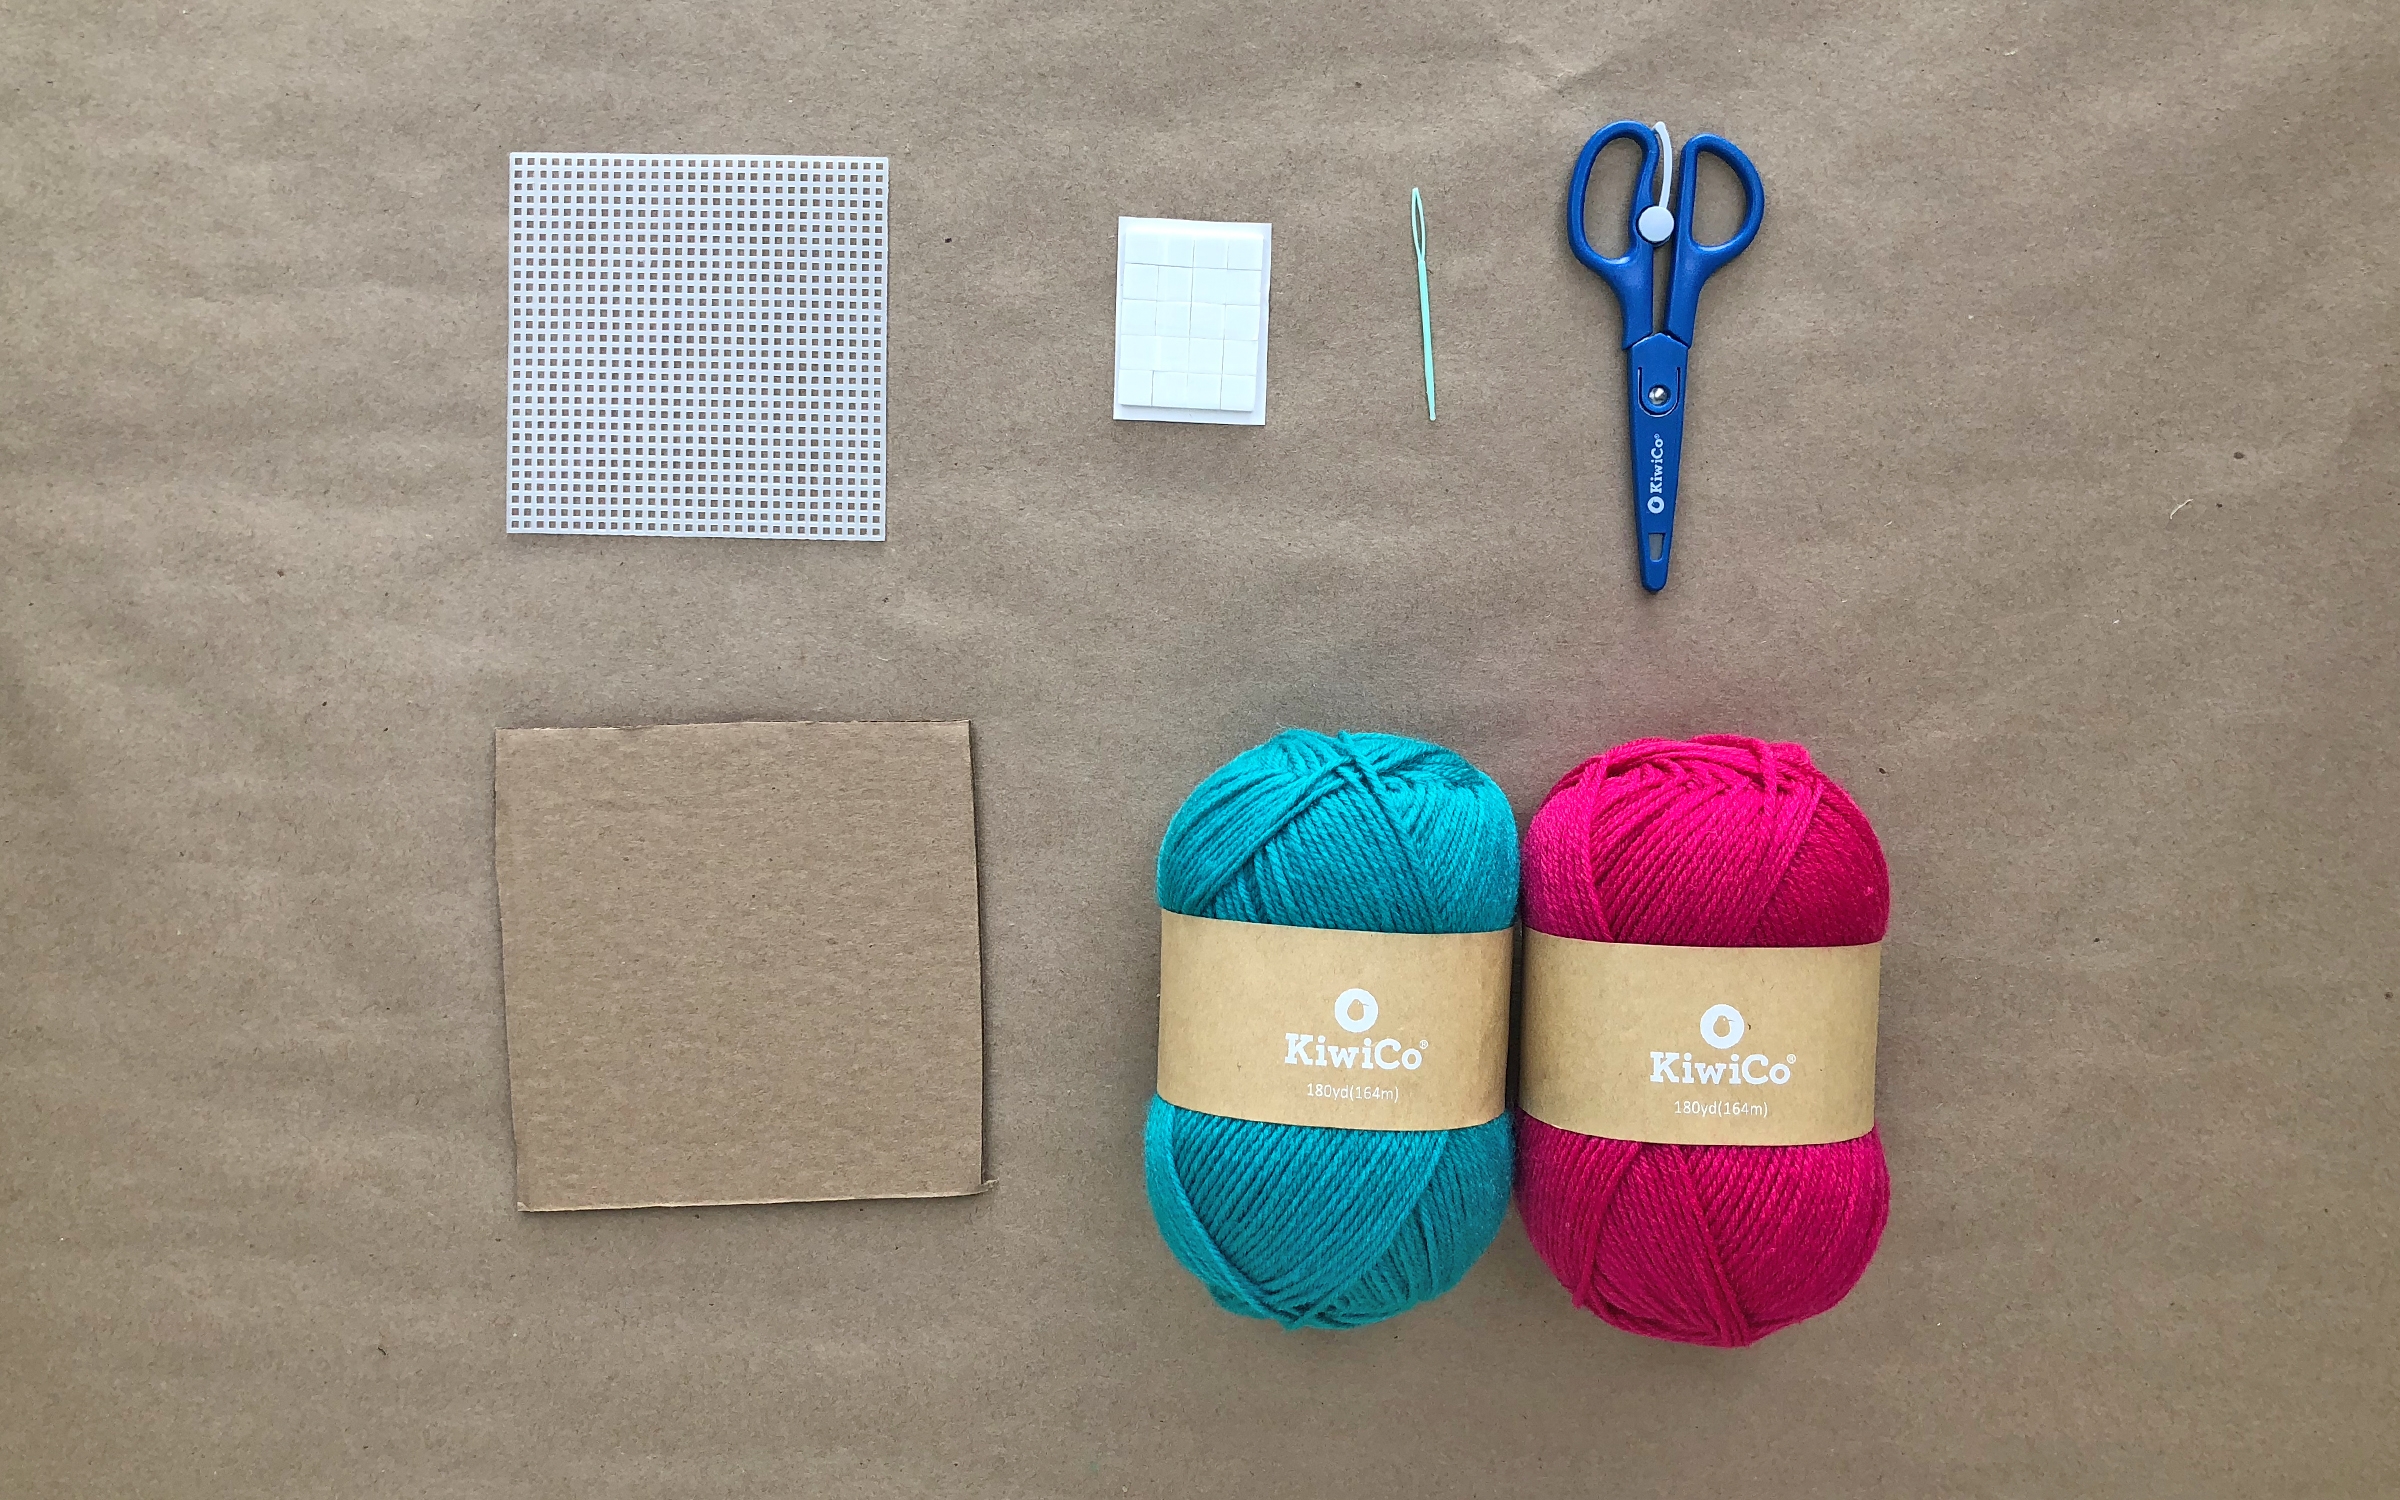
    Gather your materials.
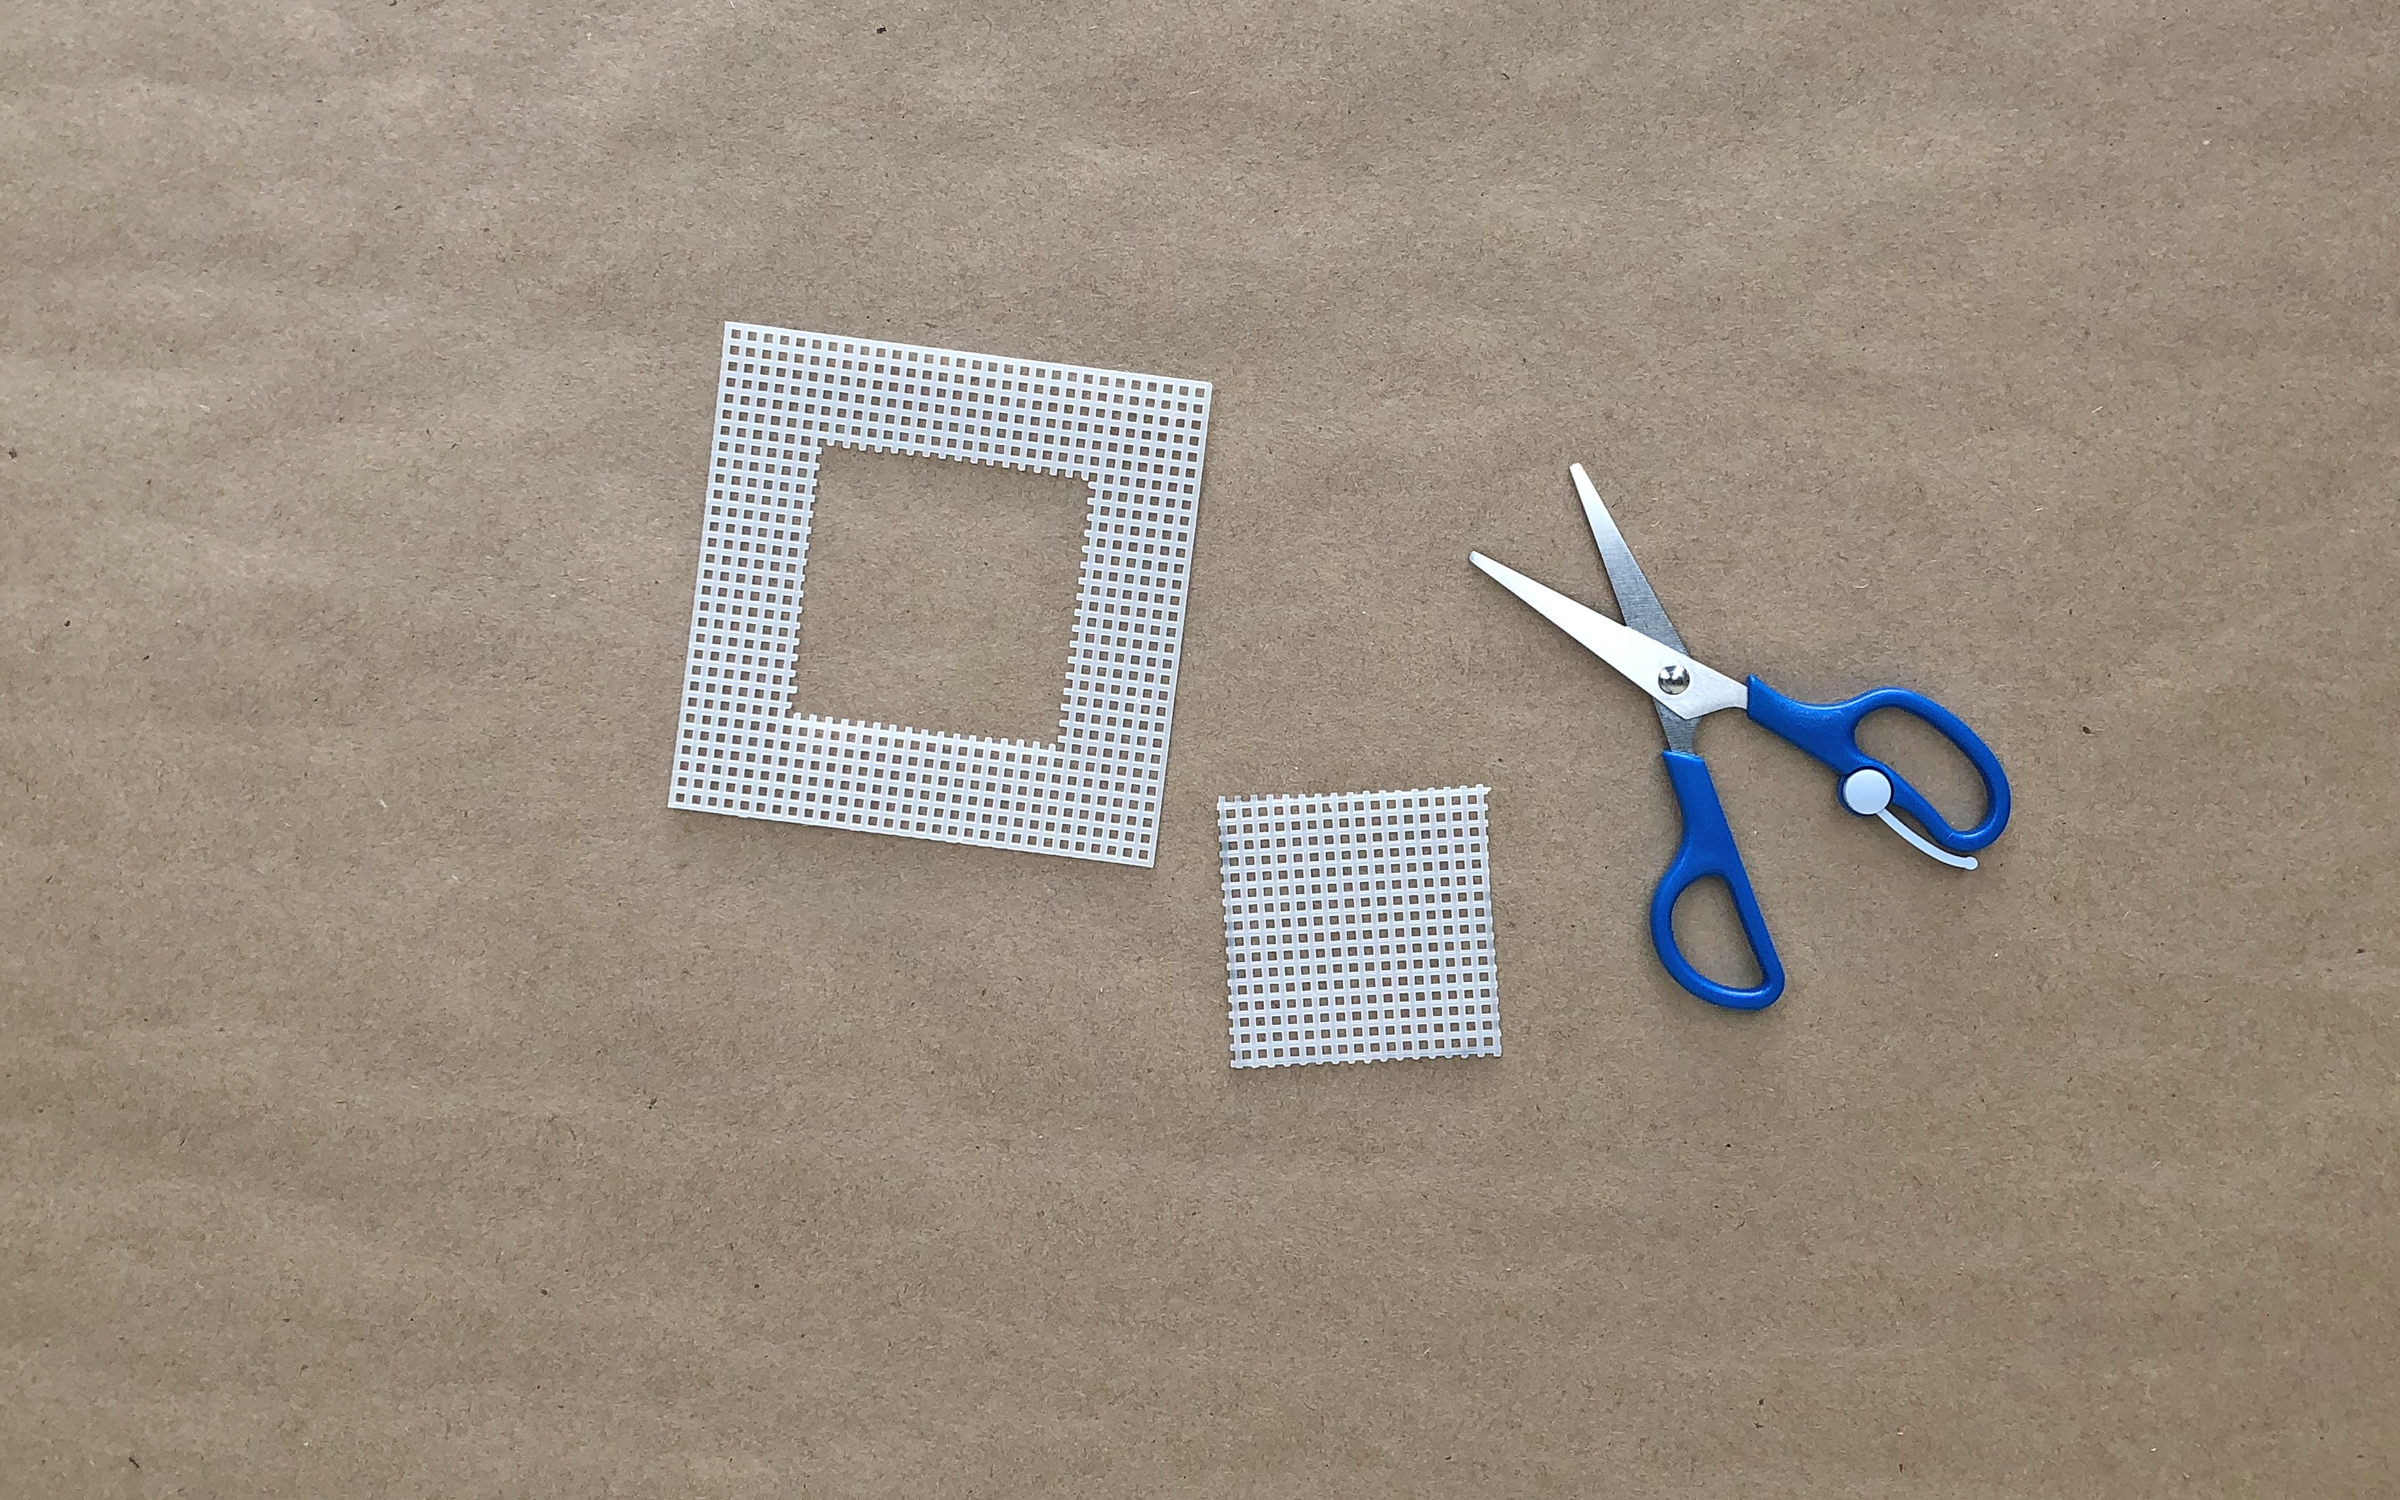
    Photo reference of how to complete step 1

  • Step 2

    Cut out the center of your plastic canvas shape.
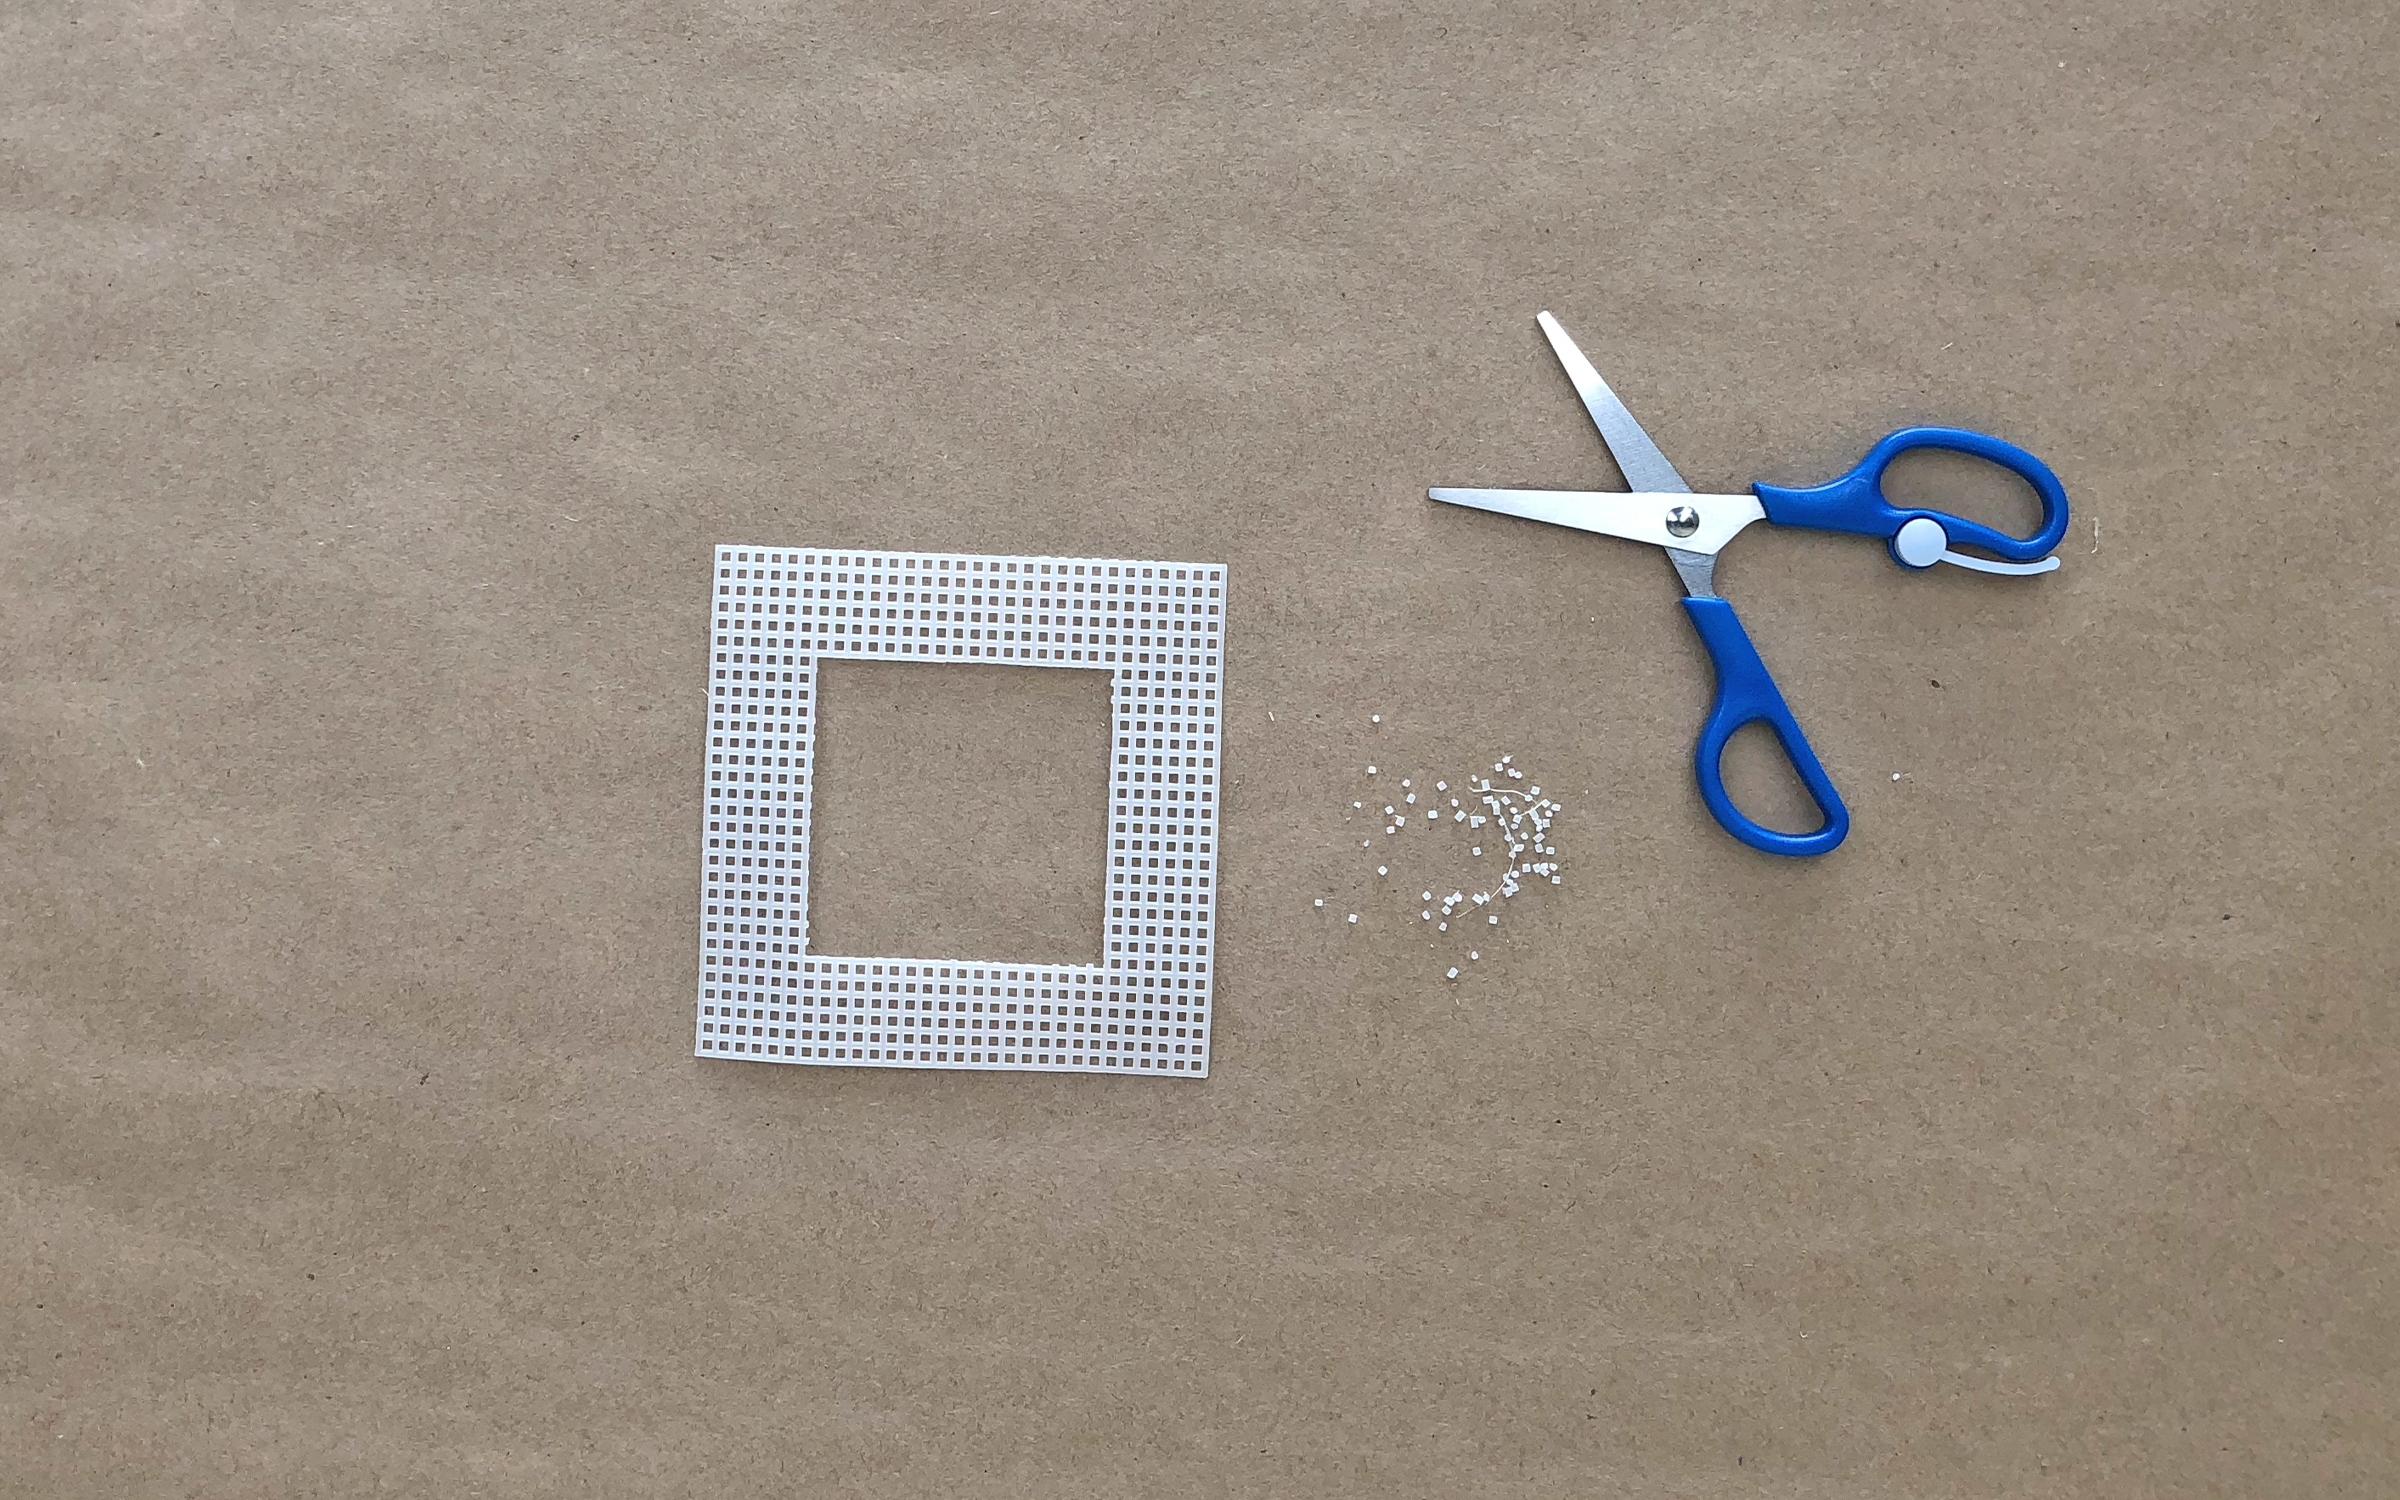
    Photo reference of how to complete step 2

  • Step 3

    Trim the nubs off the inside border.
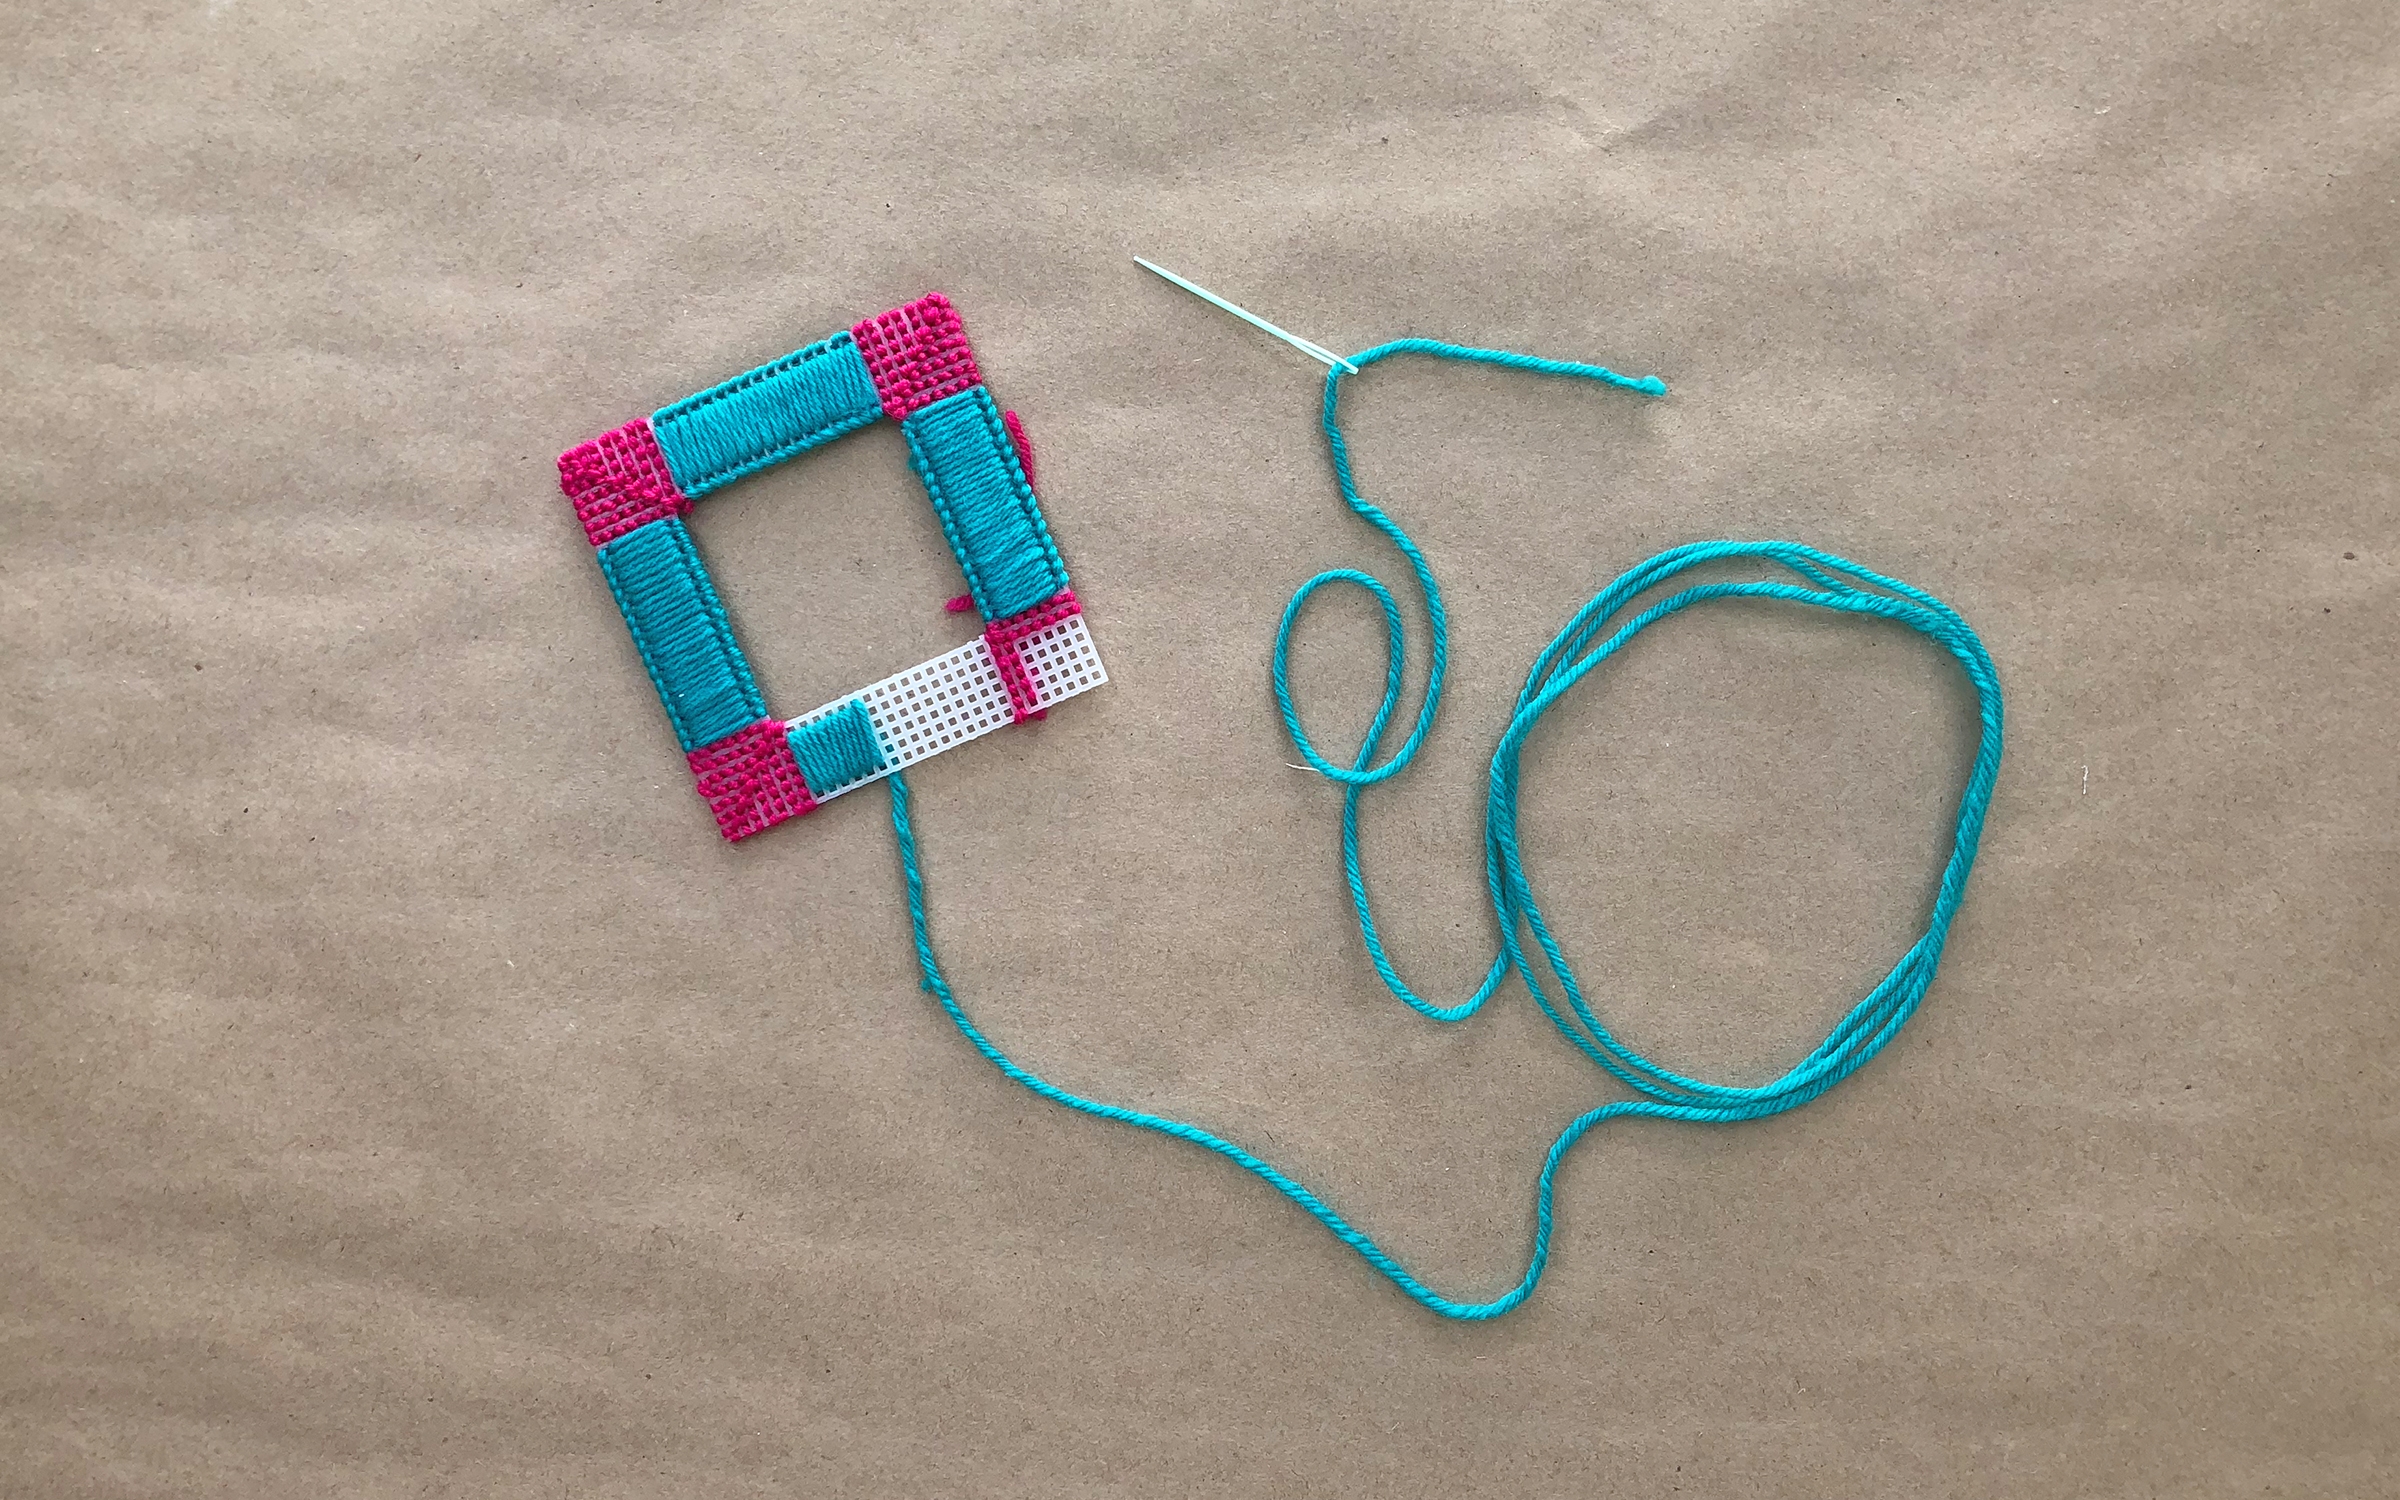
    Photo reference of how to complete step 3

  • Step 4

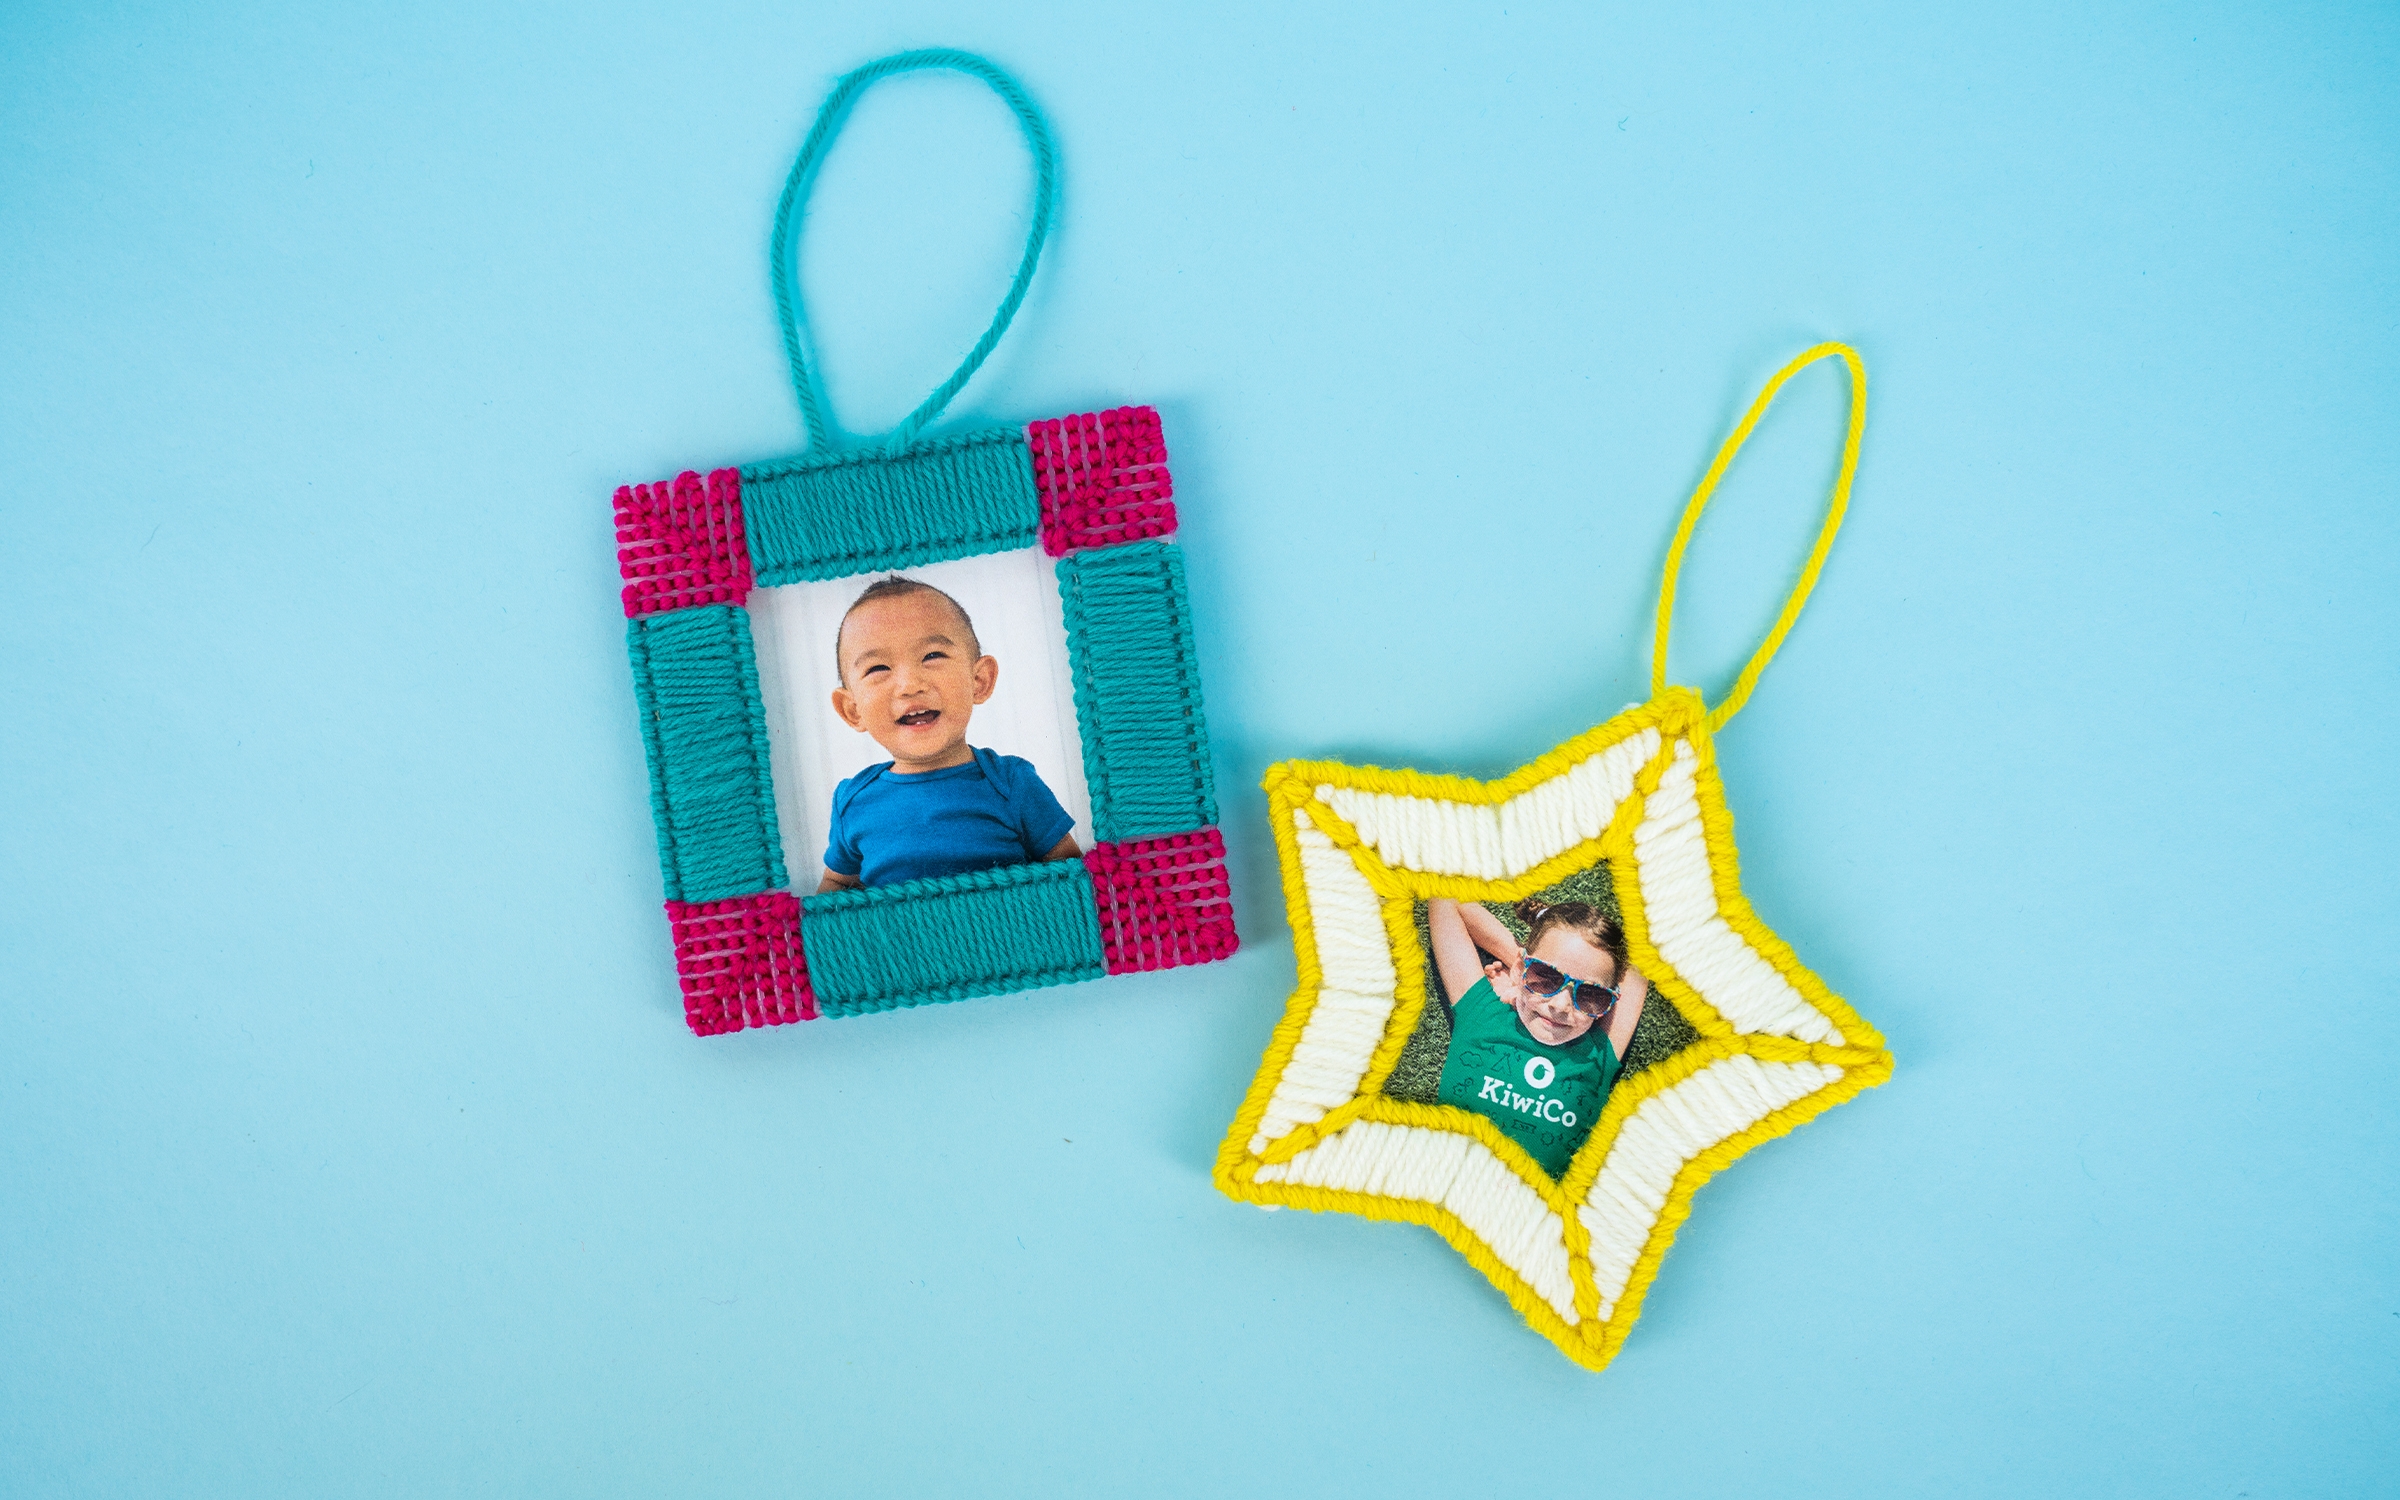
    Start stitching! Reference our Plastic Canvas Stitches Guide to plan your design. We used back stitches and long stitches for this frame!
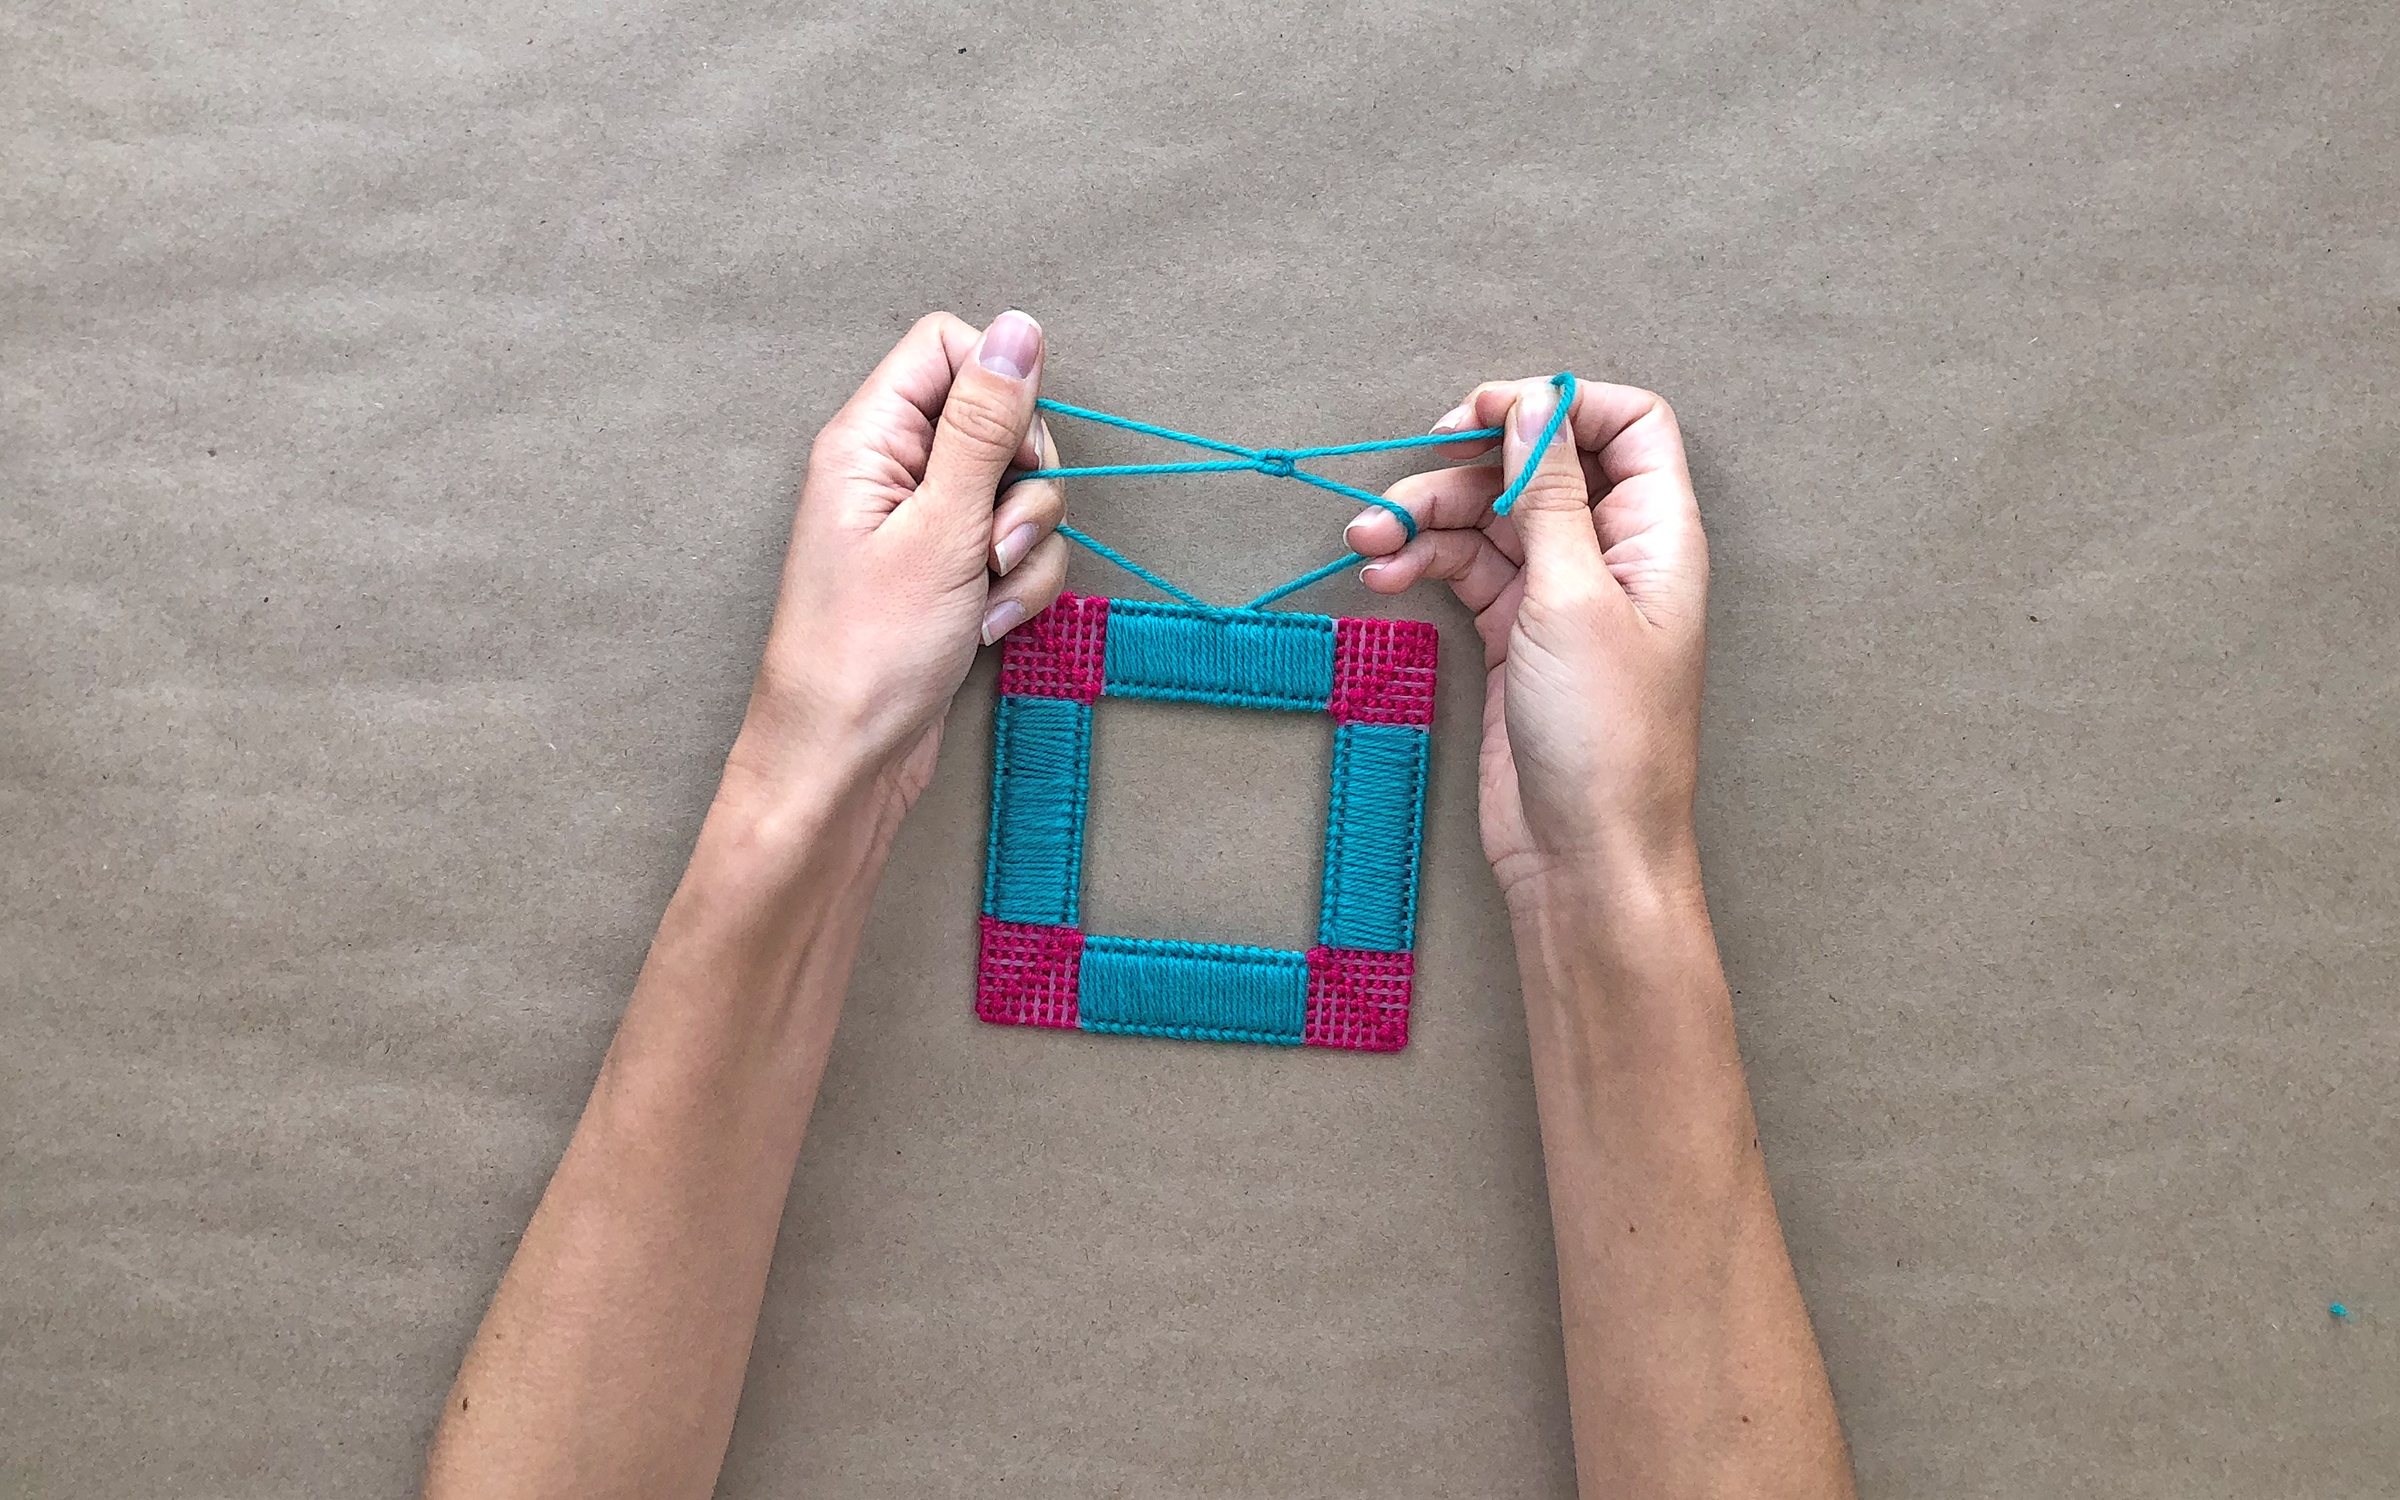
    Photo reference of how to complete step 4

  • Step 5

    (Optional) Add a piece of yarn to hang your frame from!
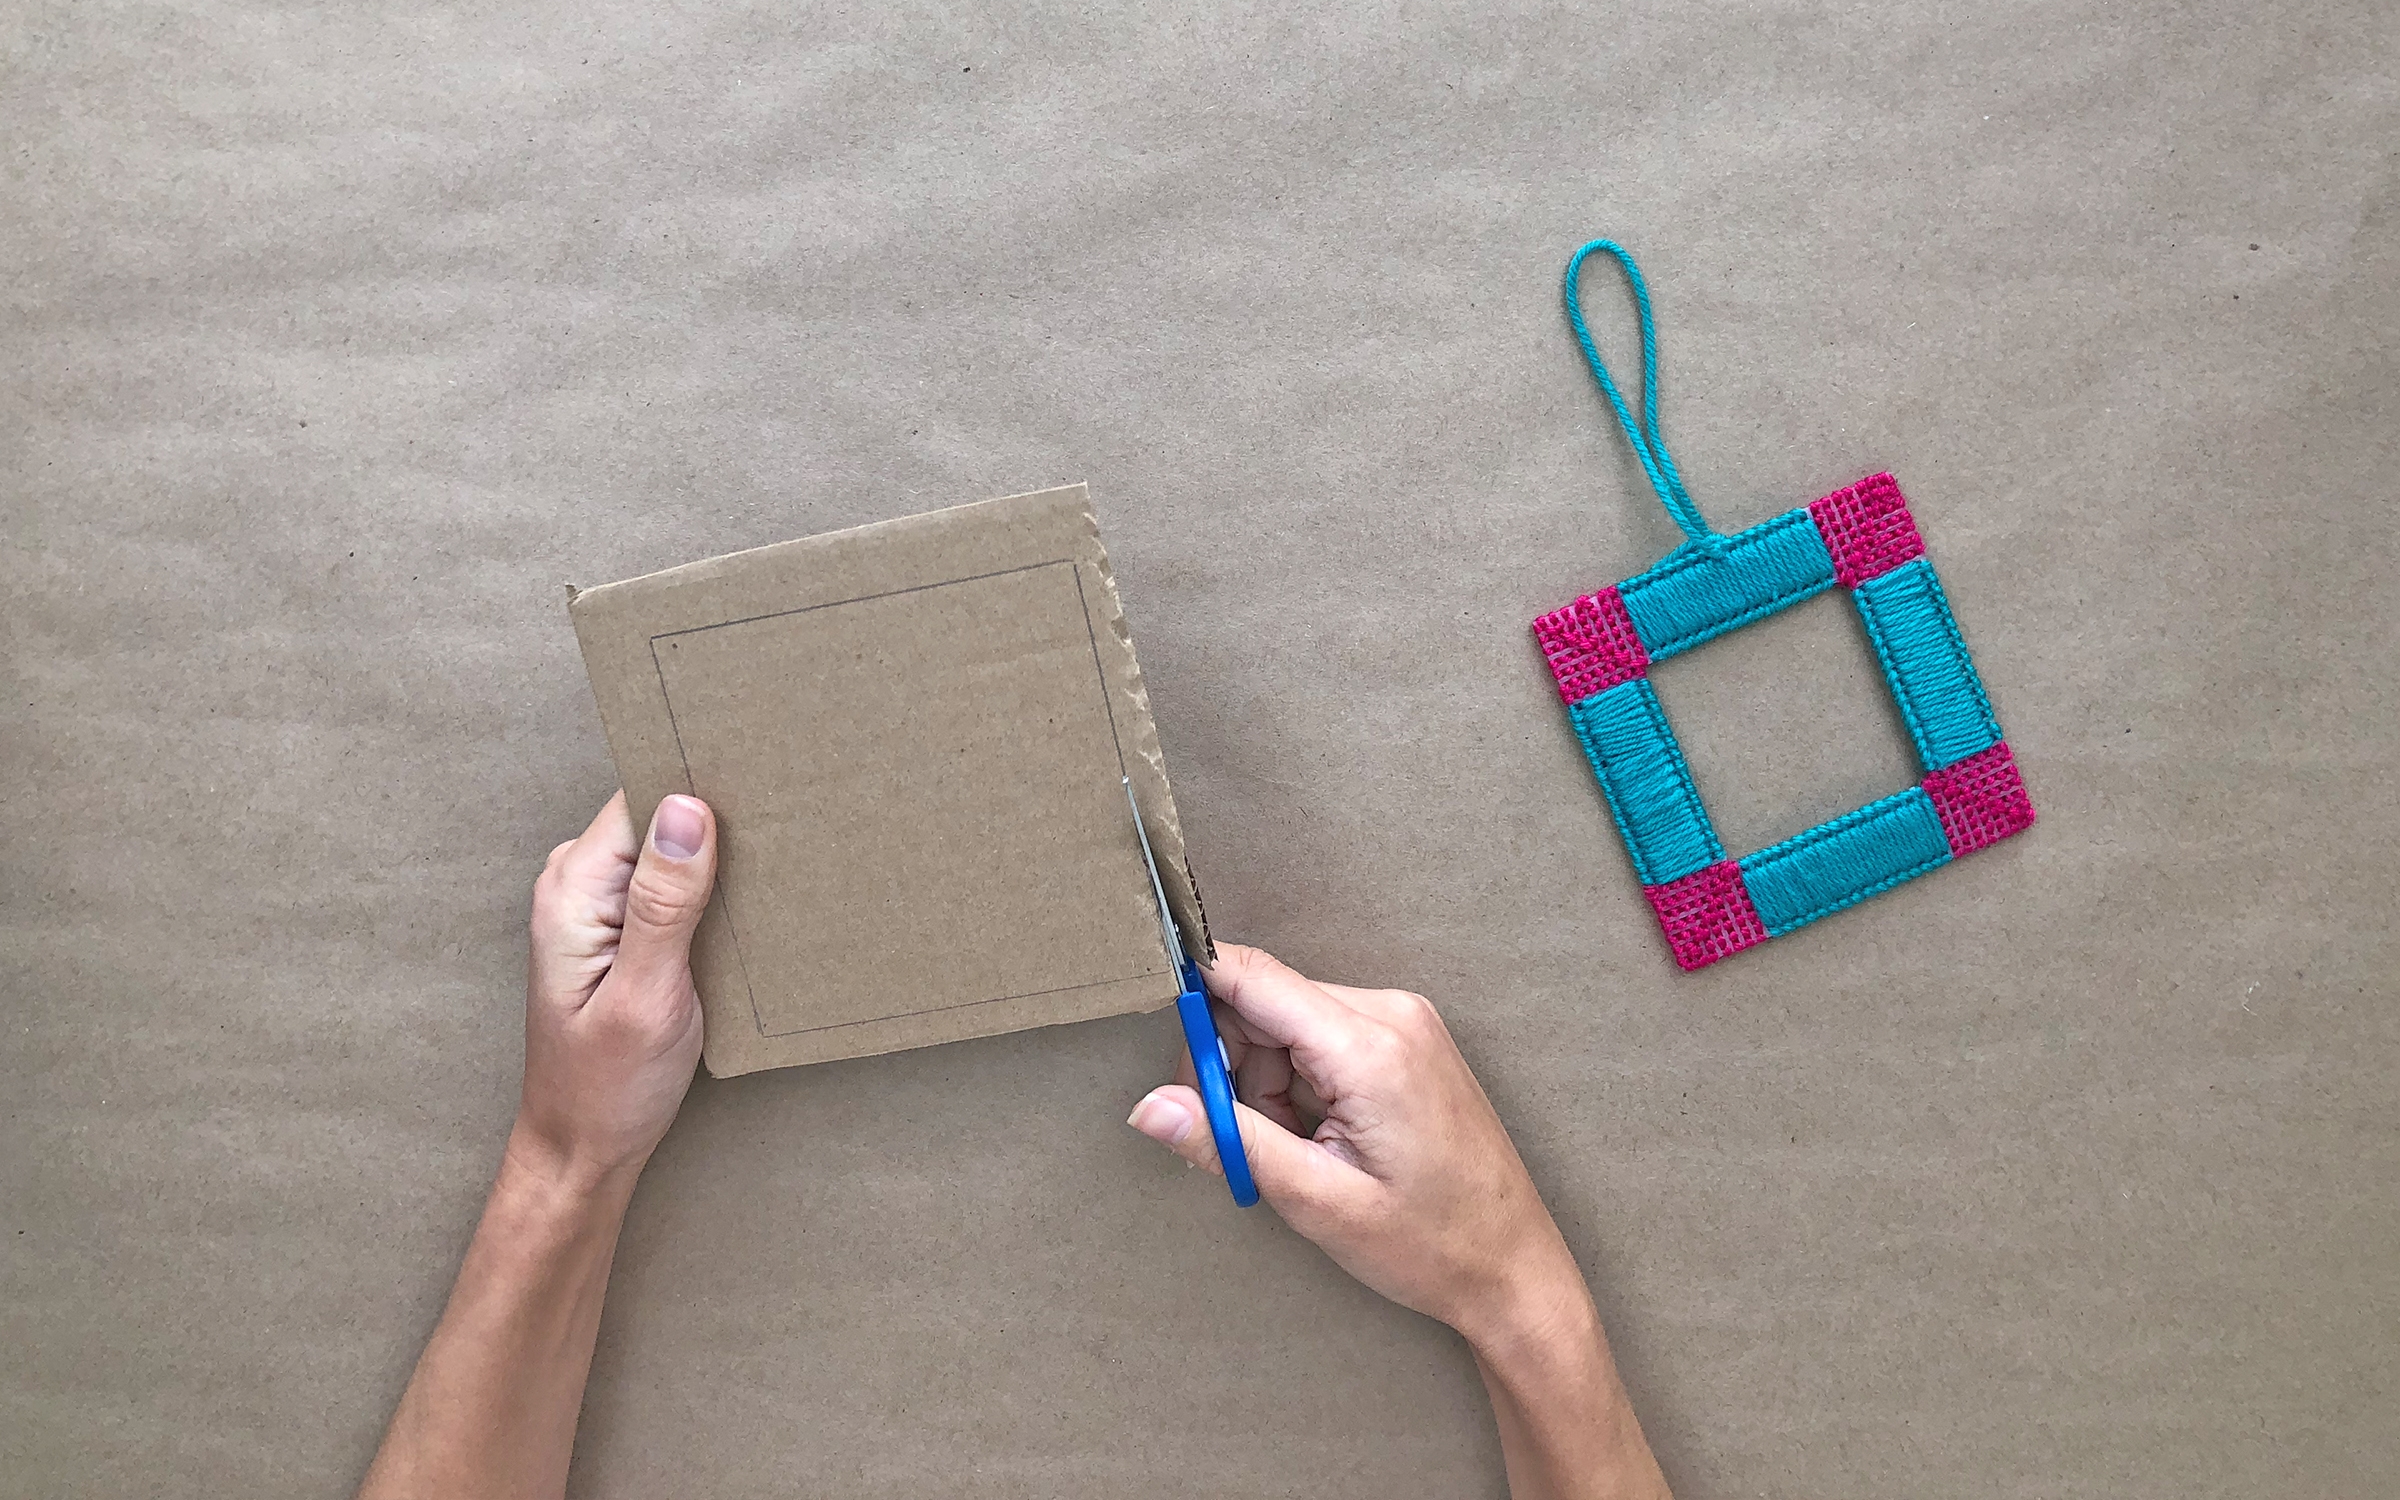
    Photo reference of how to complete step 5

  • Step 6

    Cut out a piece of cardboard the same shape as your frame. This will be used as the back of your picture frame.
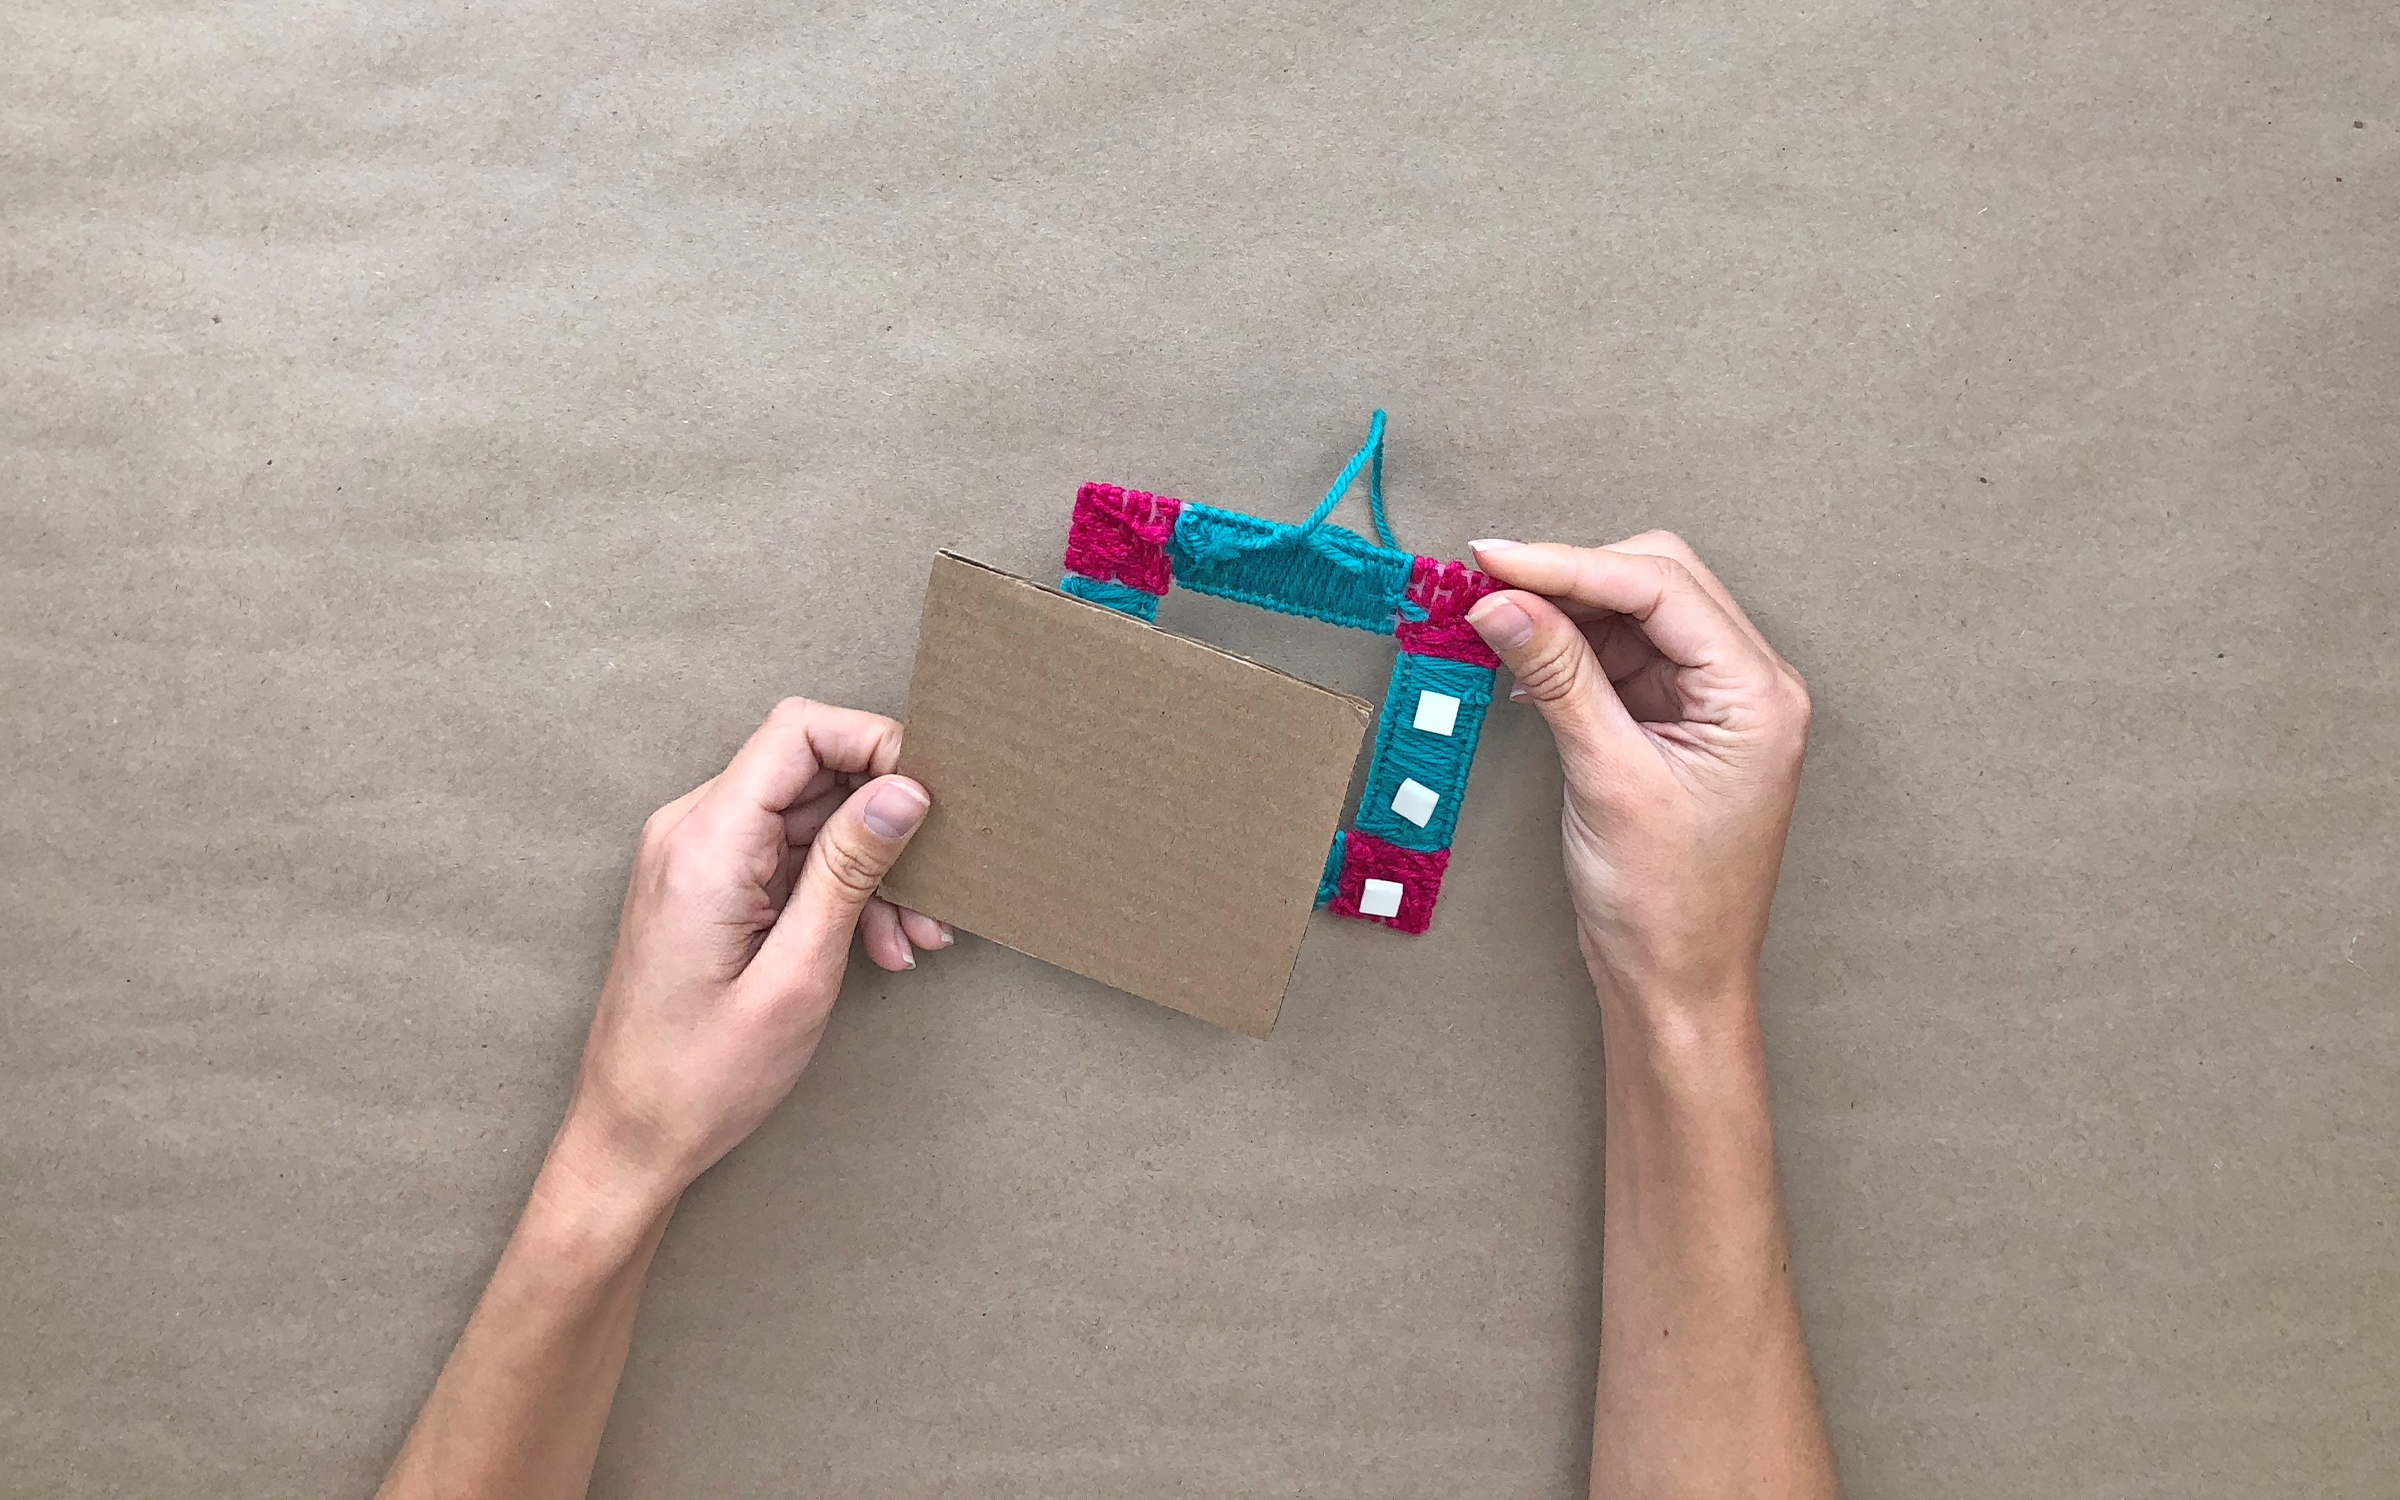
    Photo reference of how to complete step 6

  • Step 7

    Stick the cardboard to the back of the frame using sticky foam. Only place sticky foam on the sides and the bottom so you can slot the picture in the top!

    Photo reference of how to complete step 7

  • Step 8

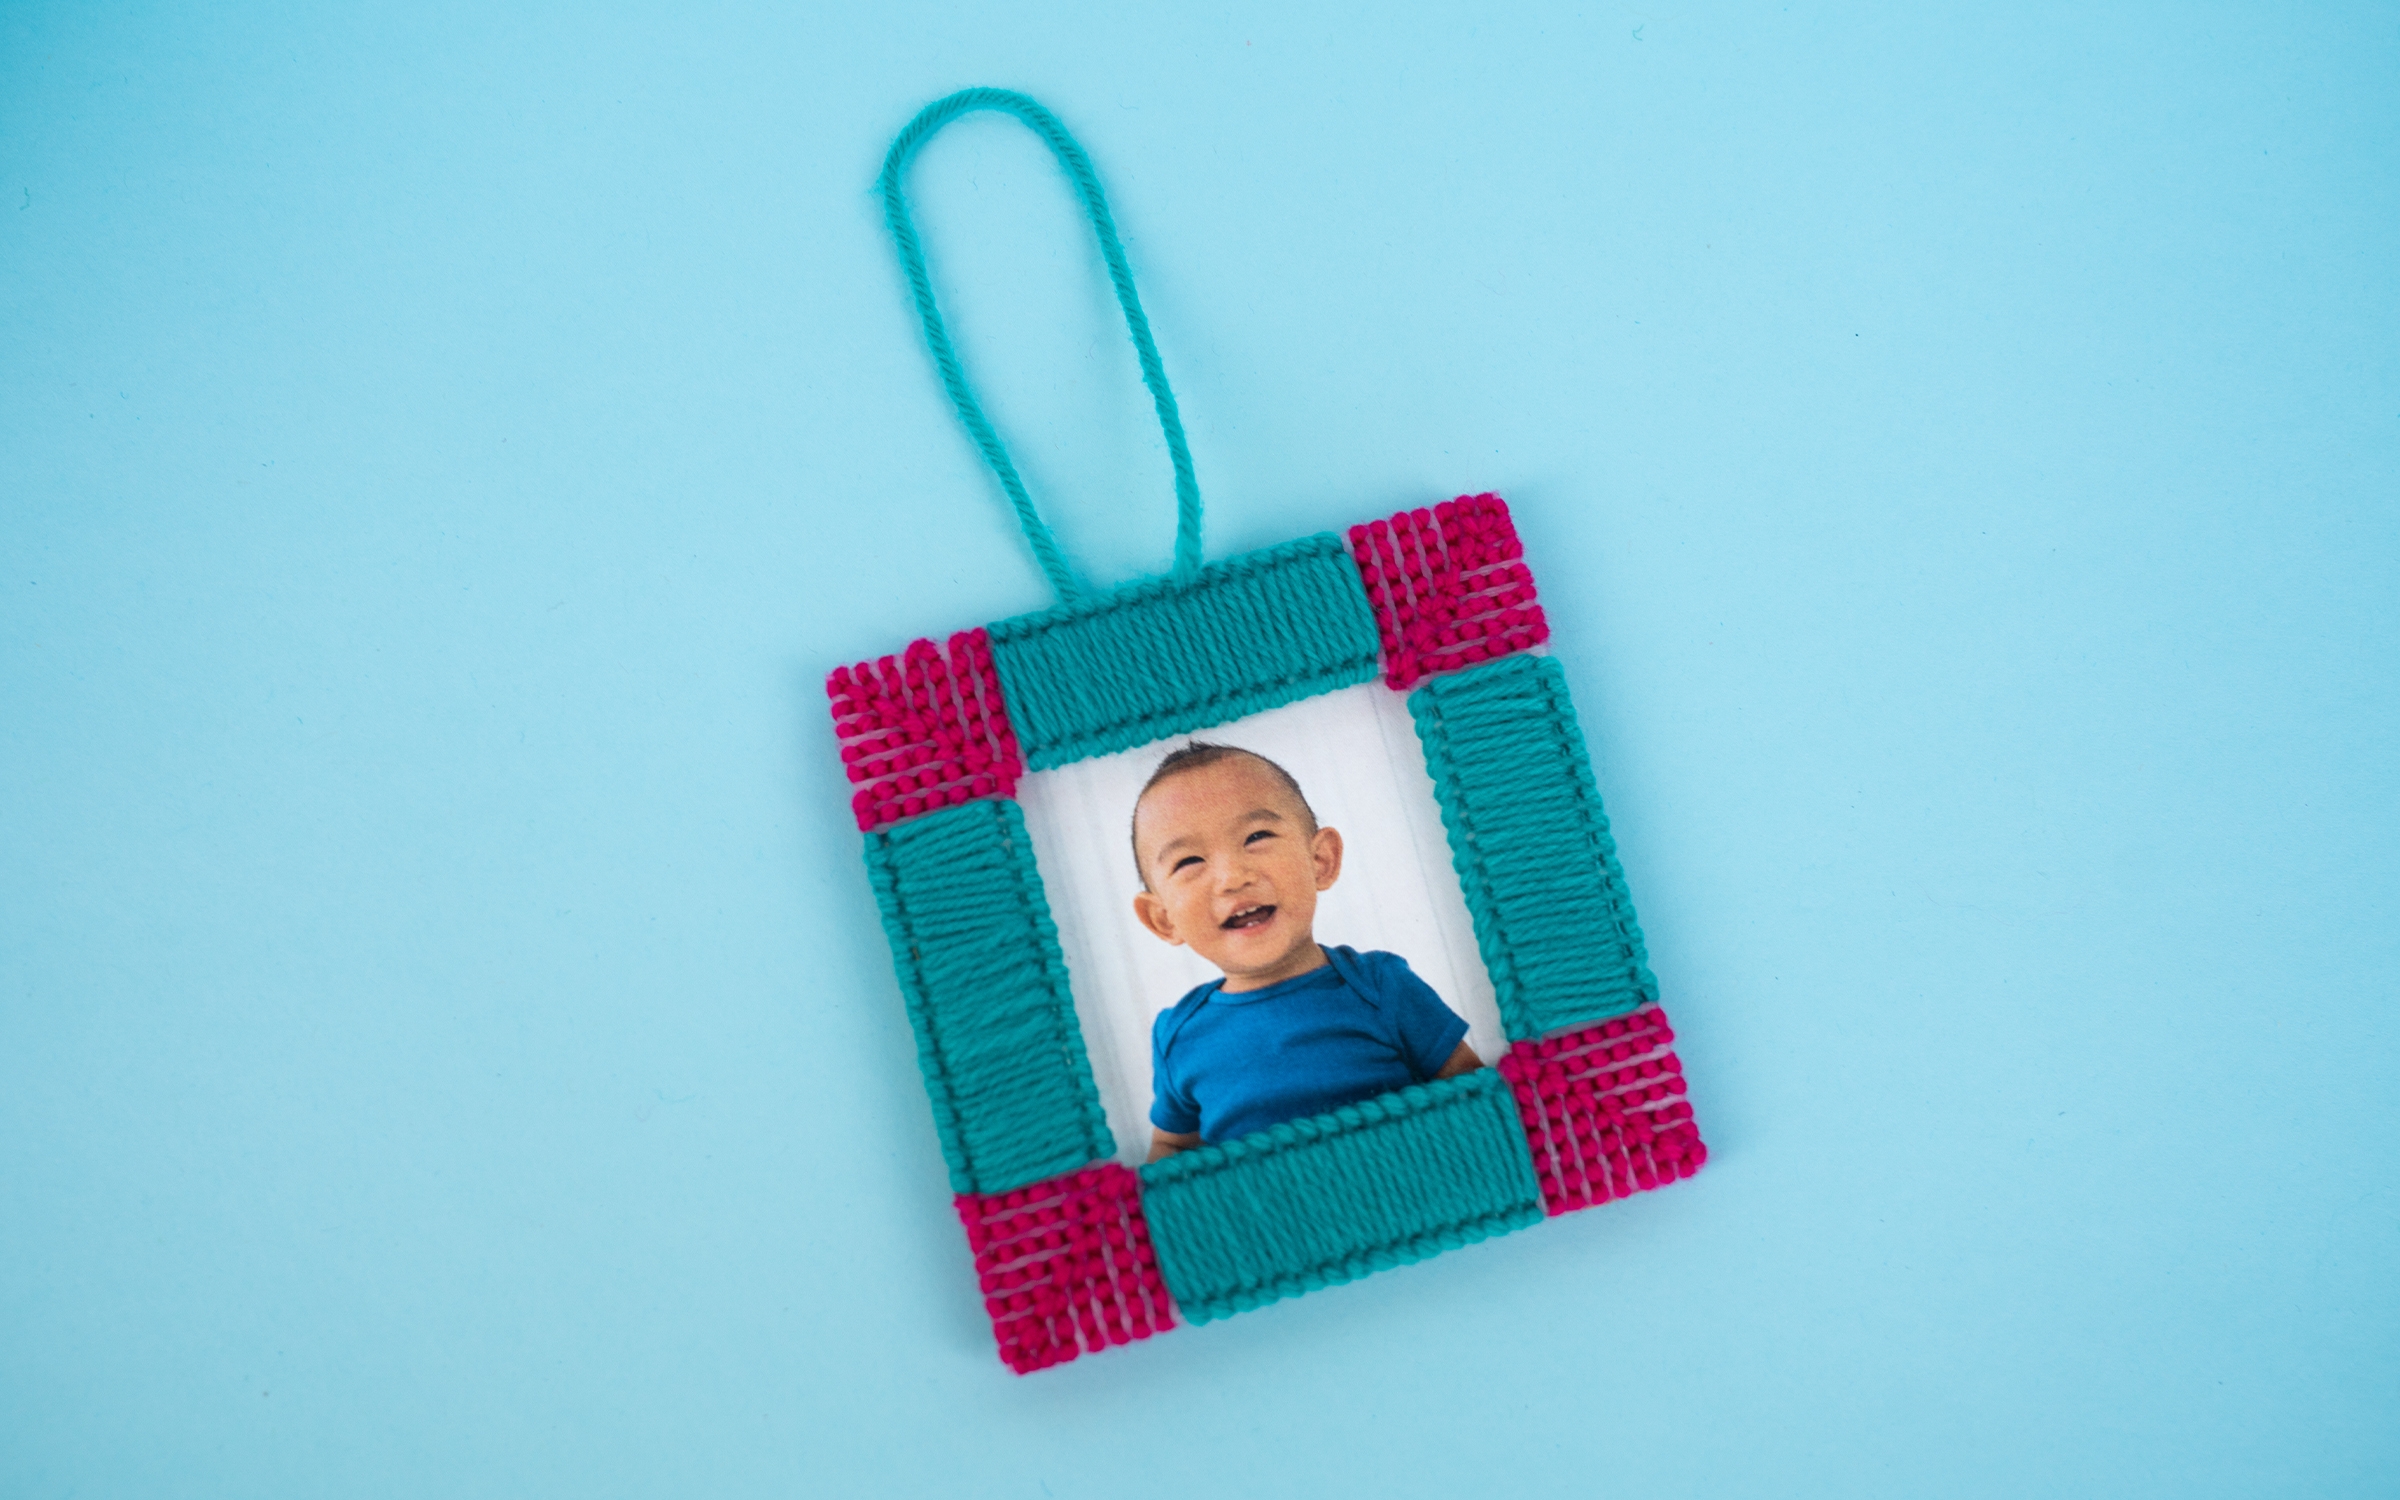
    Add your photo and display!
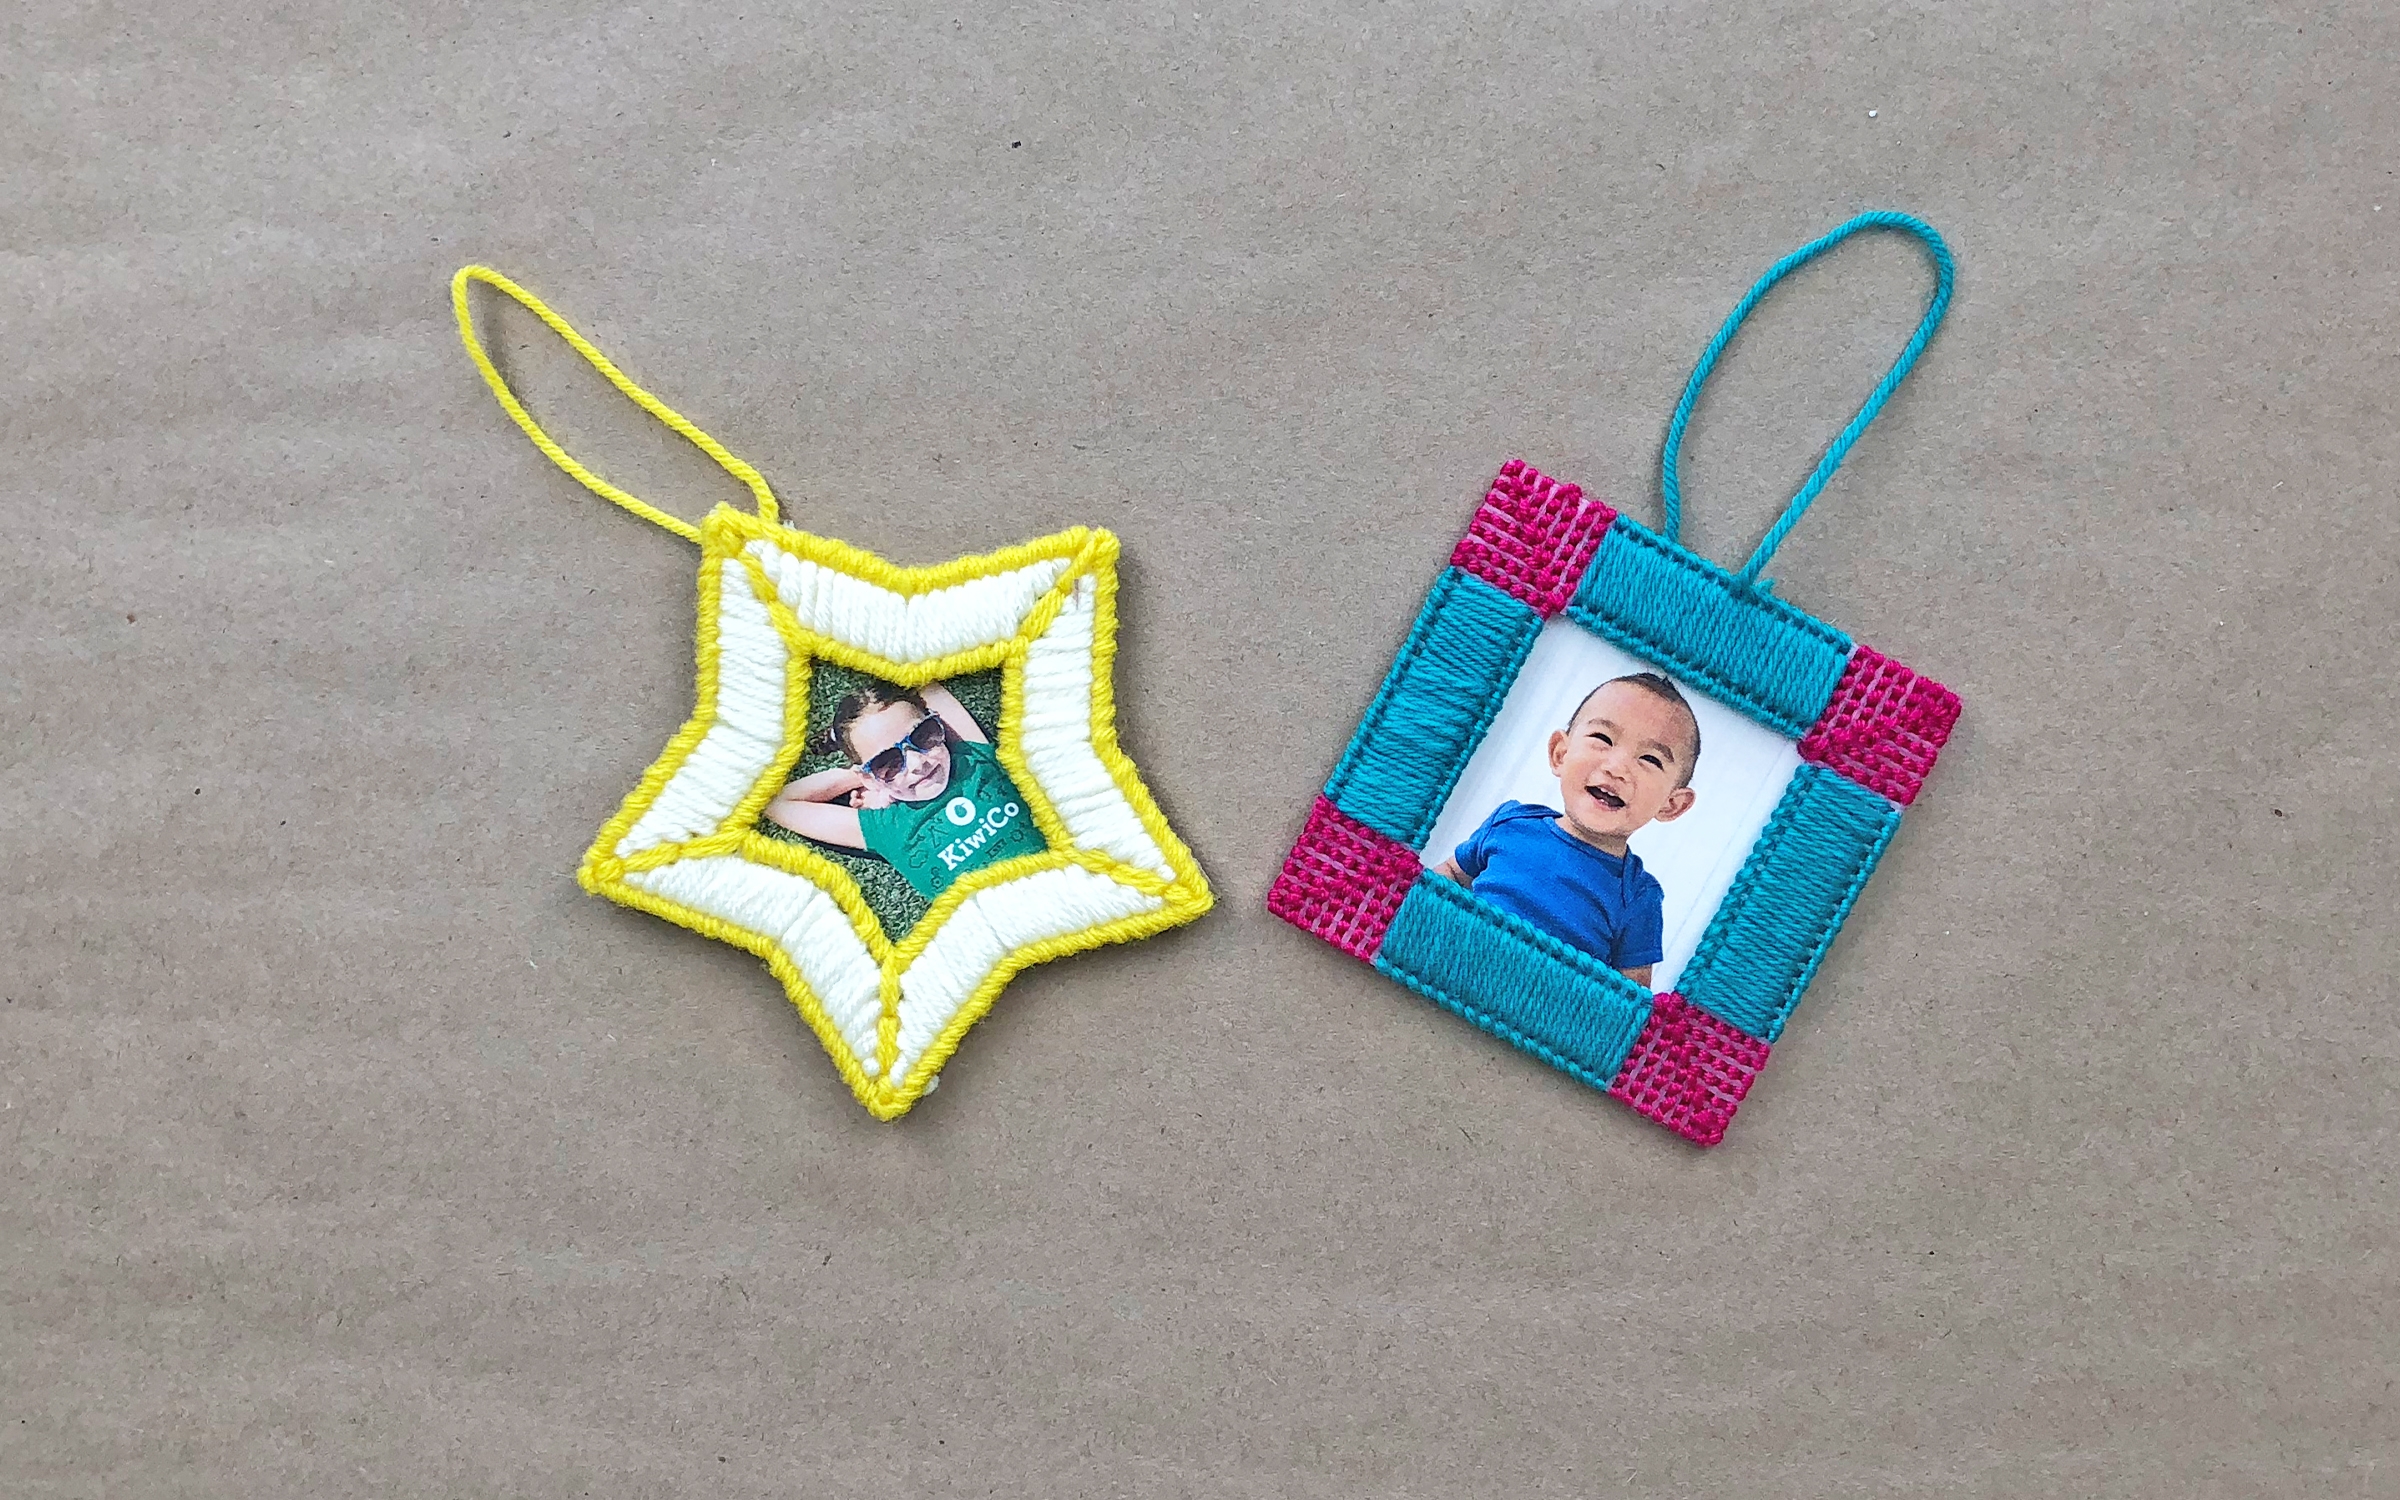
    Photo reference of how to complete step 8

  • Final result!

    Photo reference of how to complete step 9

You might also like

Top categoriesBurst graphic

Share what you made & tag us at!

;