Step-by-step tutorial
Step 1
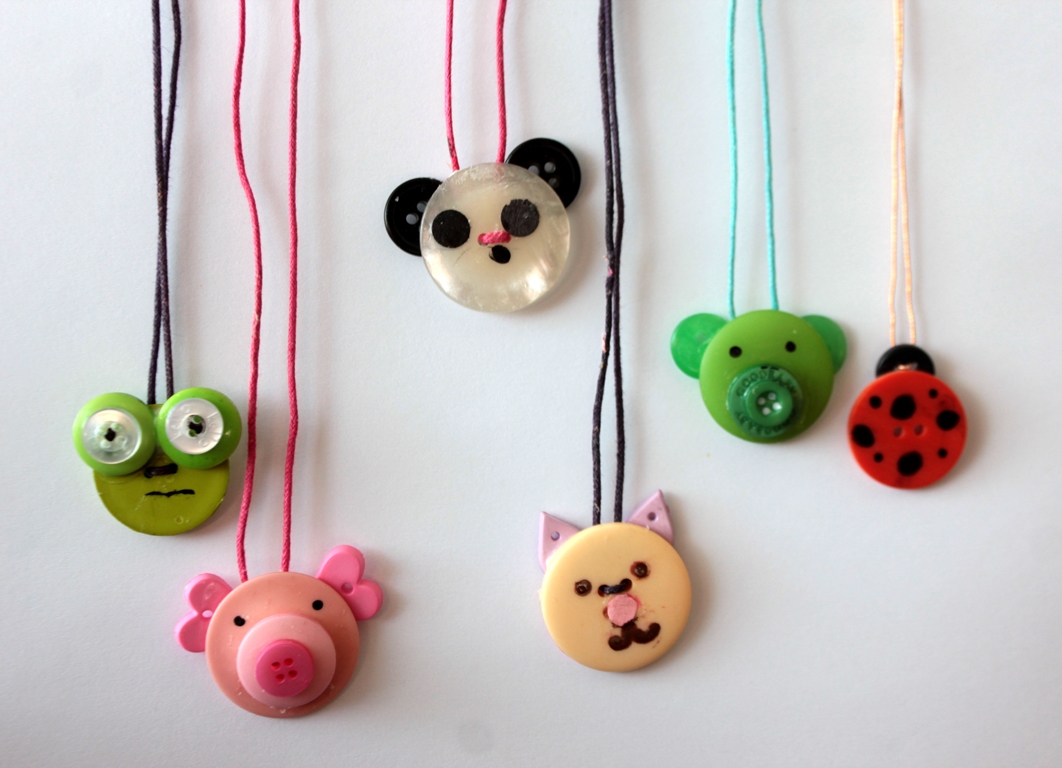
I got out our buttons and was puttering with them, not sure what to make, and here came Maddie, "I'll make a panda bear!" And then, "Ooh, I want to make a green pig! And a kitty-cat!" And she was off!

Step 2
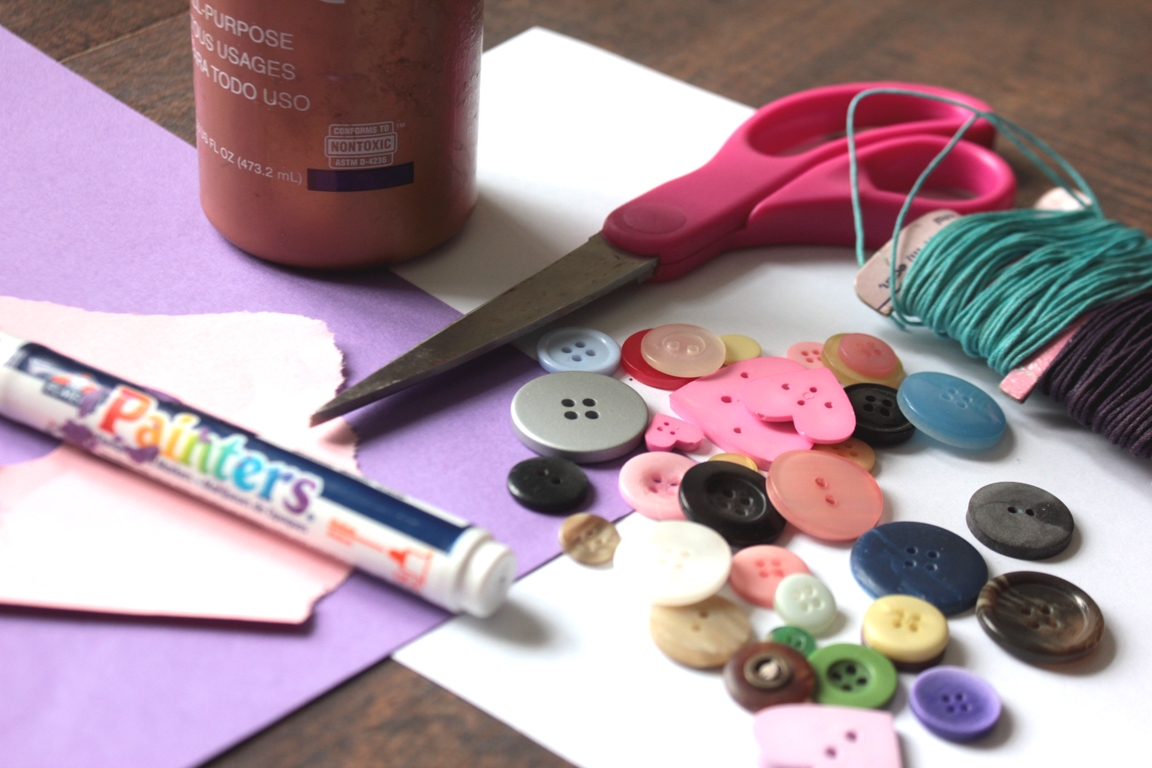
The first thing was to arrange and choose our buttons. When we had dug out the ones we wanted from our button jar, we chose a string. The string was cut a bit extra long to fit over heads, when tied.

Step 3
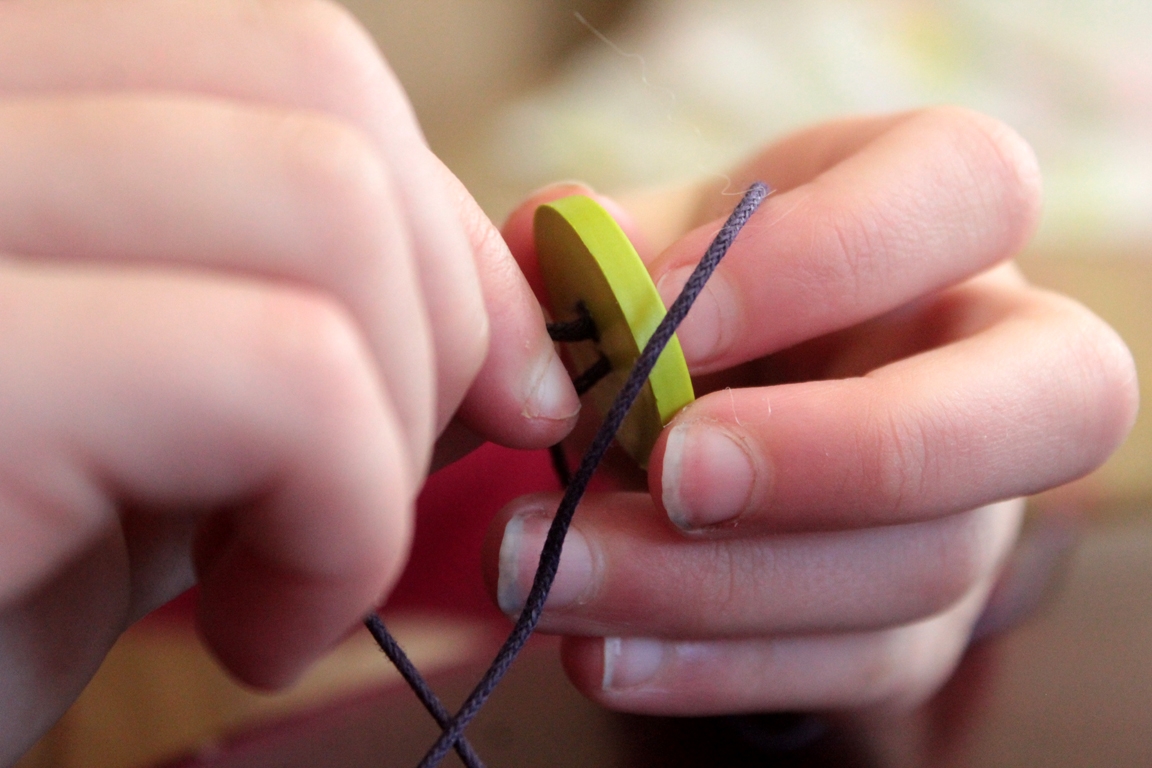
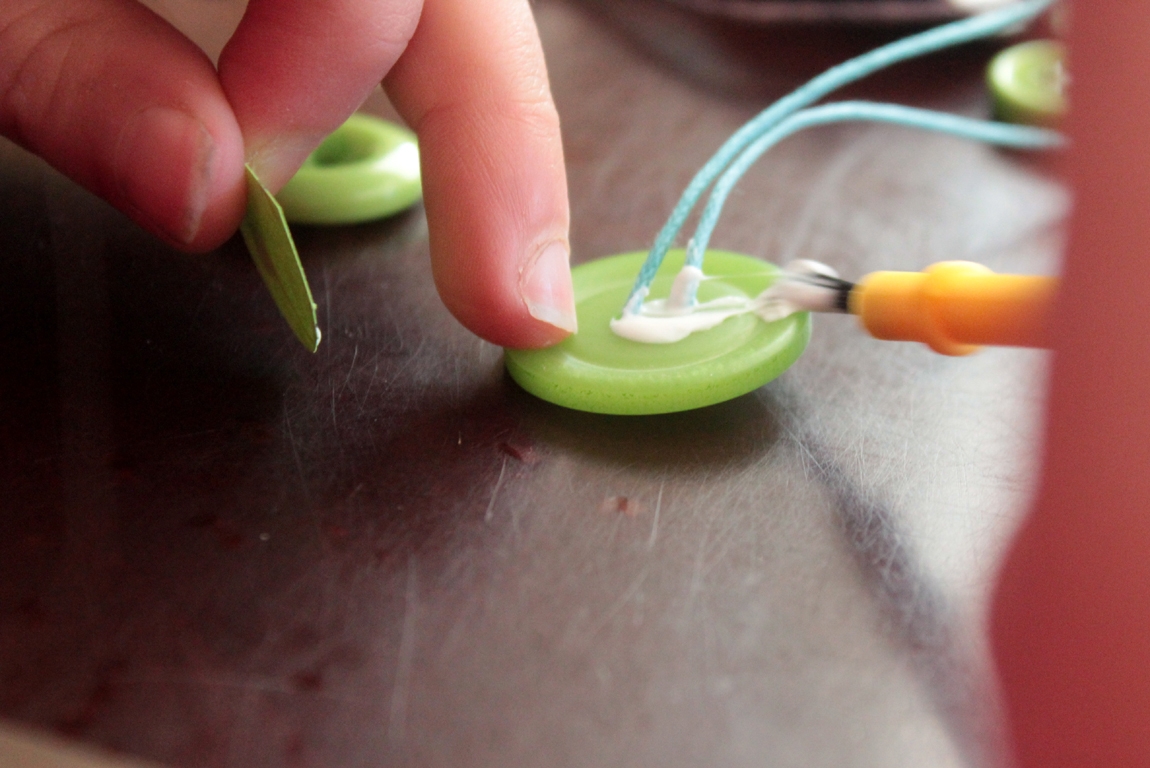
The main button -for the head- was strung on, going through two holes.
Step 4
Of course, we needed the button to lay flat against the chest, so we cut circles out of paper for holding the string against the back of the button.

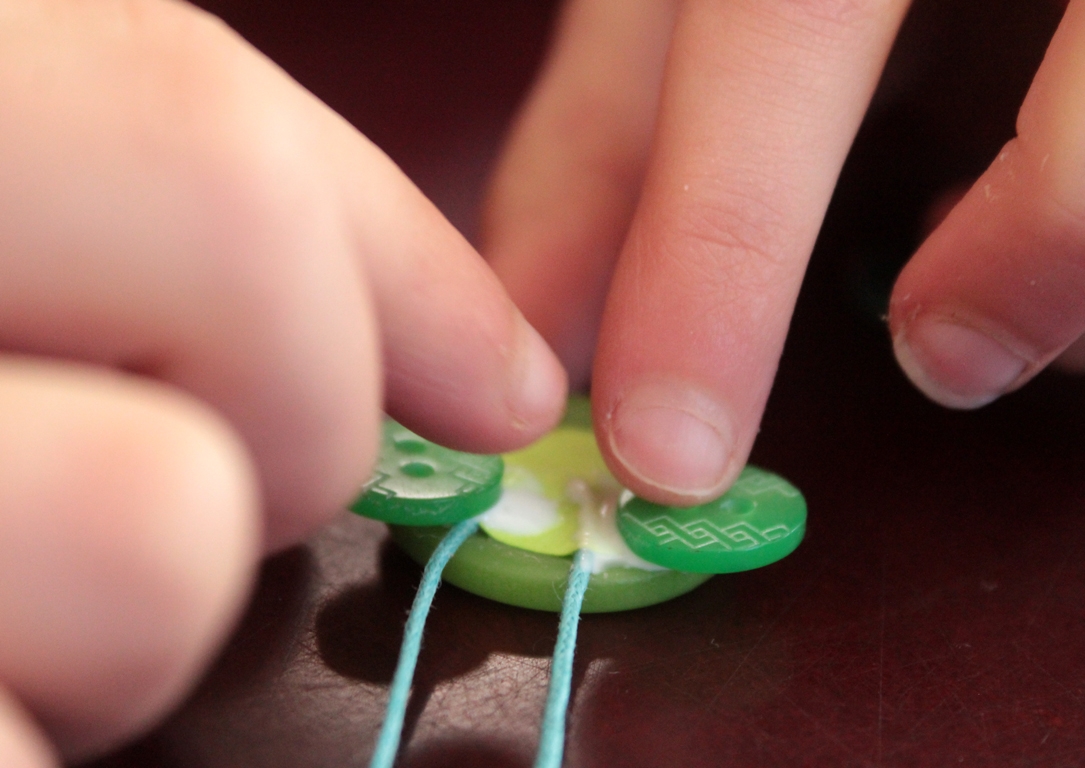
Step 5
Maddie traced her circle and cut it out (this color happened to match pretty well, but it isn't necessary), and holding the string upright as it should hang, glued the backing onto the button.
Step 6
Now for the faces! The buttons were slippery with the glue, so after one we learned that it was best to start in one area and let it dry for a little bit. We opted for ears, first, which would go behind the face.
Step 7
While the ears were drying for a couple of minutes on the first one, Maddie started on the next.
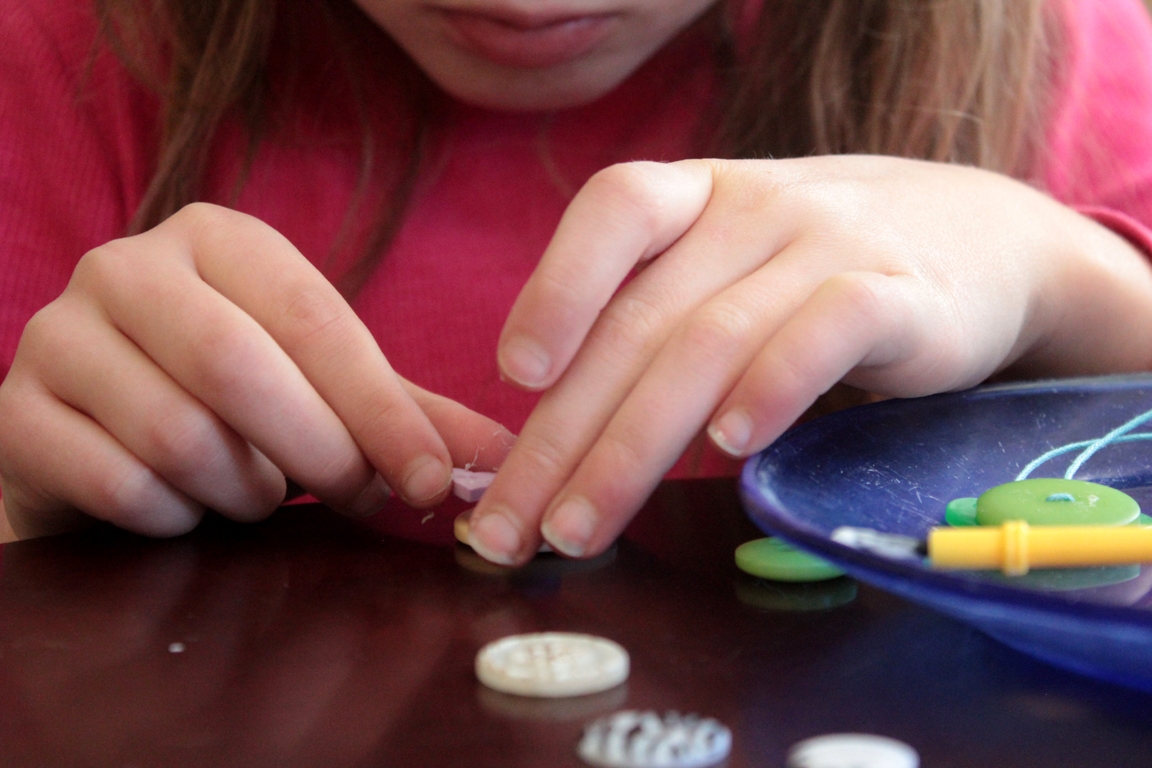
Step 8
The first buttons weren't completely dry, but they were dry enough now that the smaller buttons weren't sliding off... so she began finishing the faces. We didn't have any teeny tiny buttons for eyes for her panda, so Maddie opted for paper holes (from a hole punch) and a little dot of black for the nose. Other eyes were just dotted on with a paint pen.
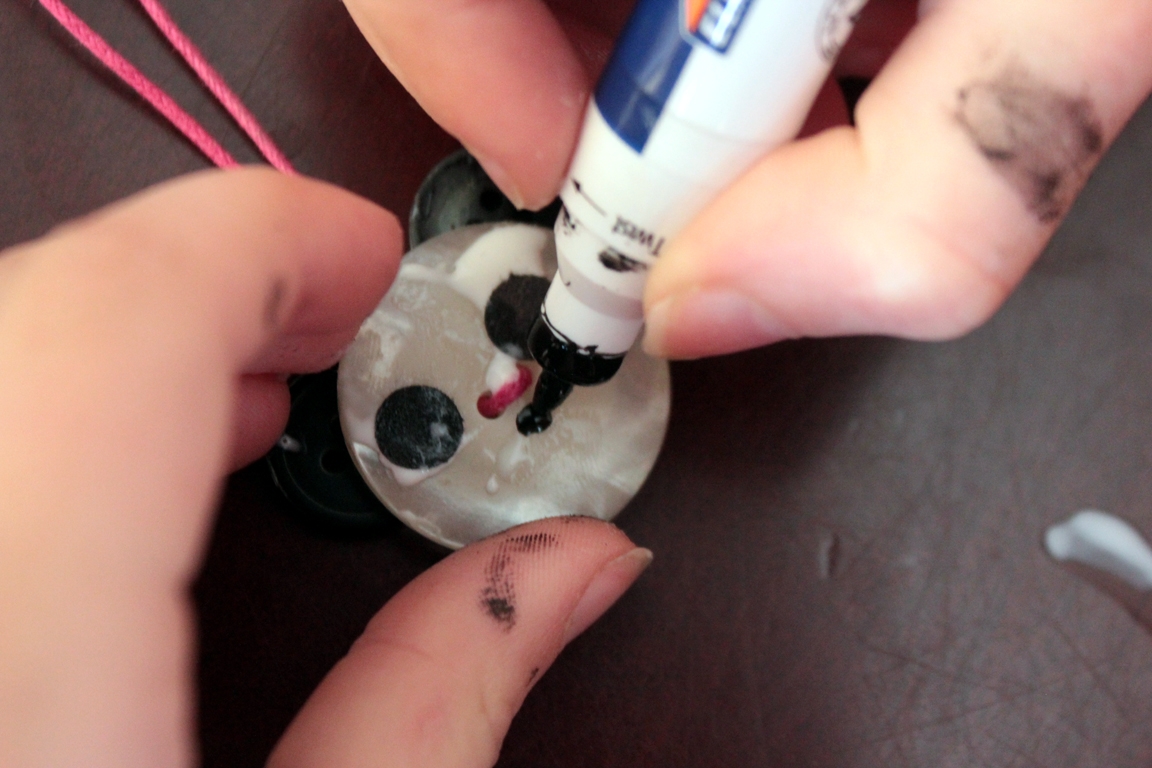
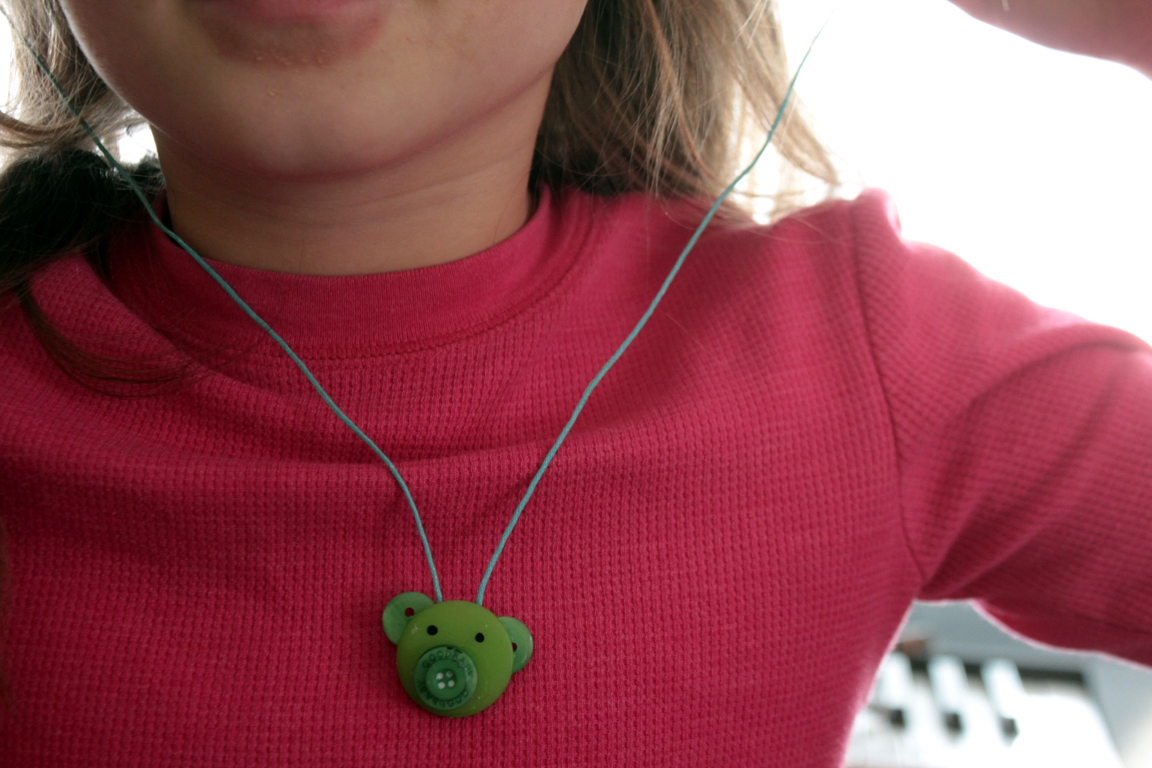
Done!
All finished! And she knows just which one is going to each friend!