Step-by-step tutorial
Step 1
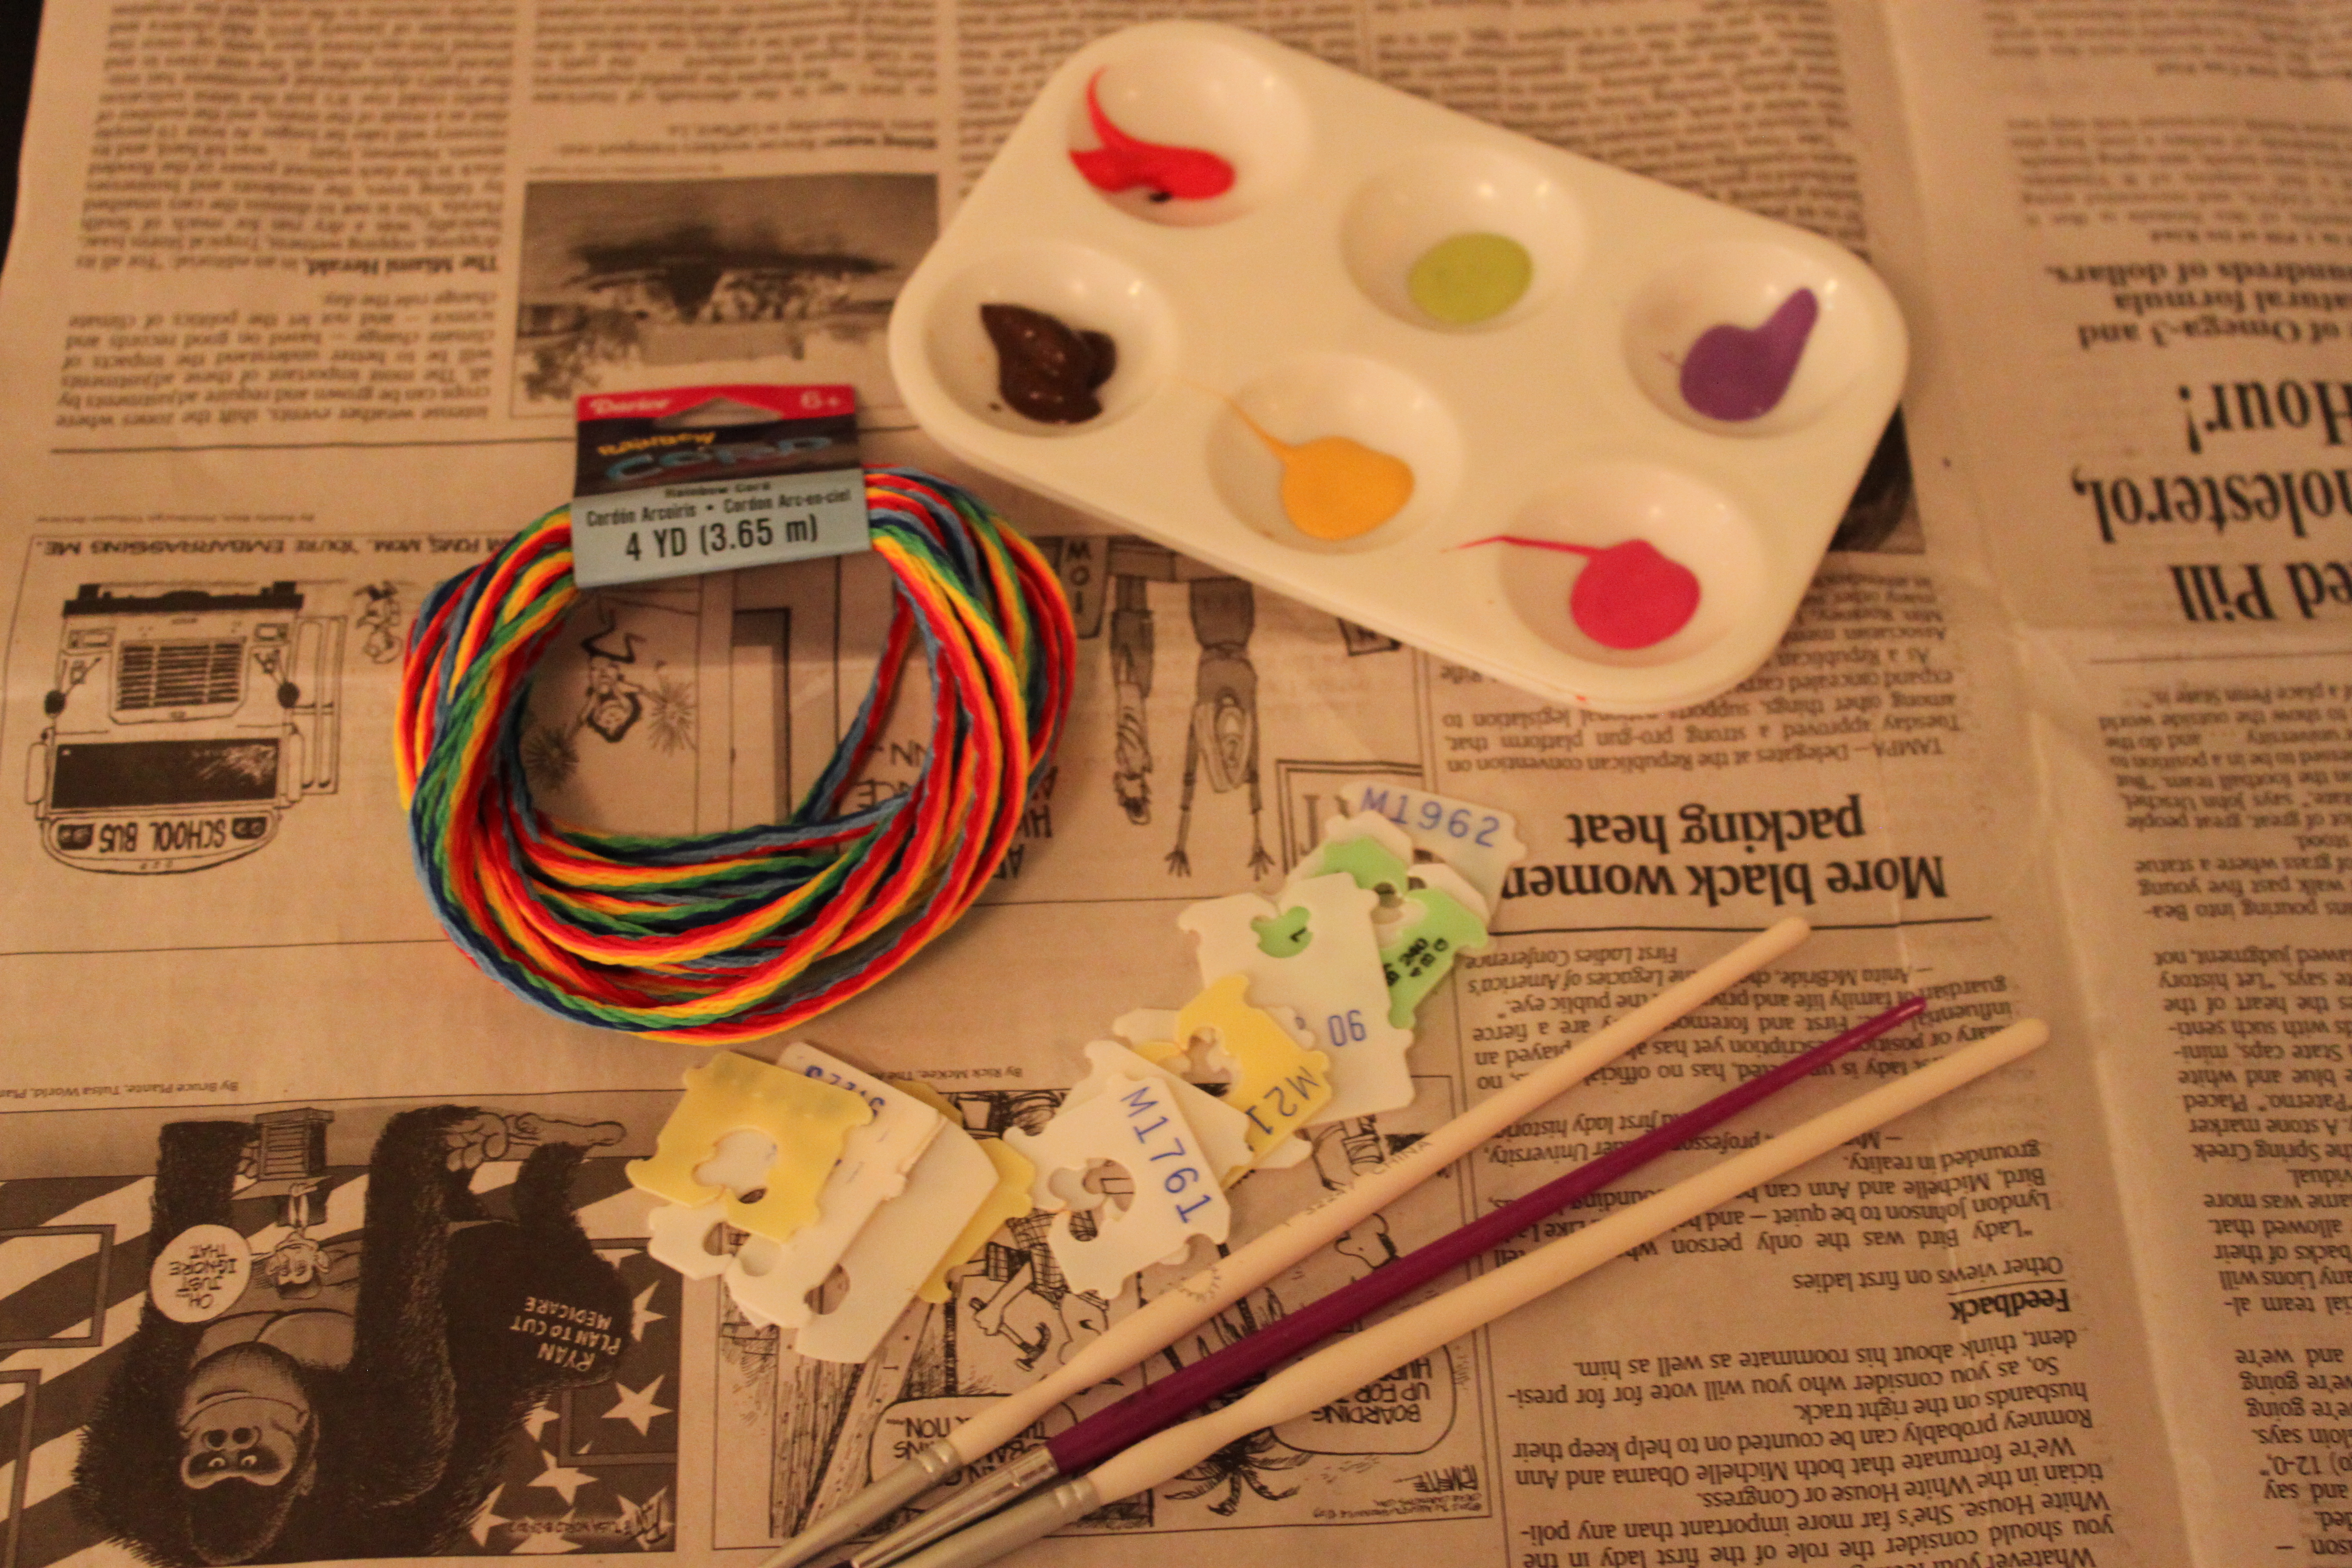
The first step to this craft is to start collecting those bread tags! (Now that I know what cute charms they make, I may never be able to throw another bread tag away!)

Step 2
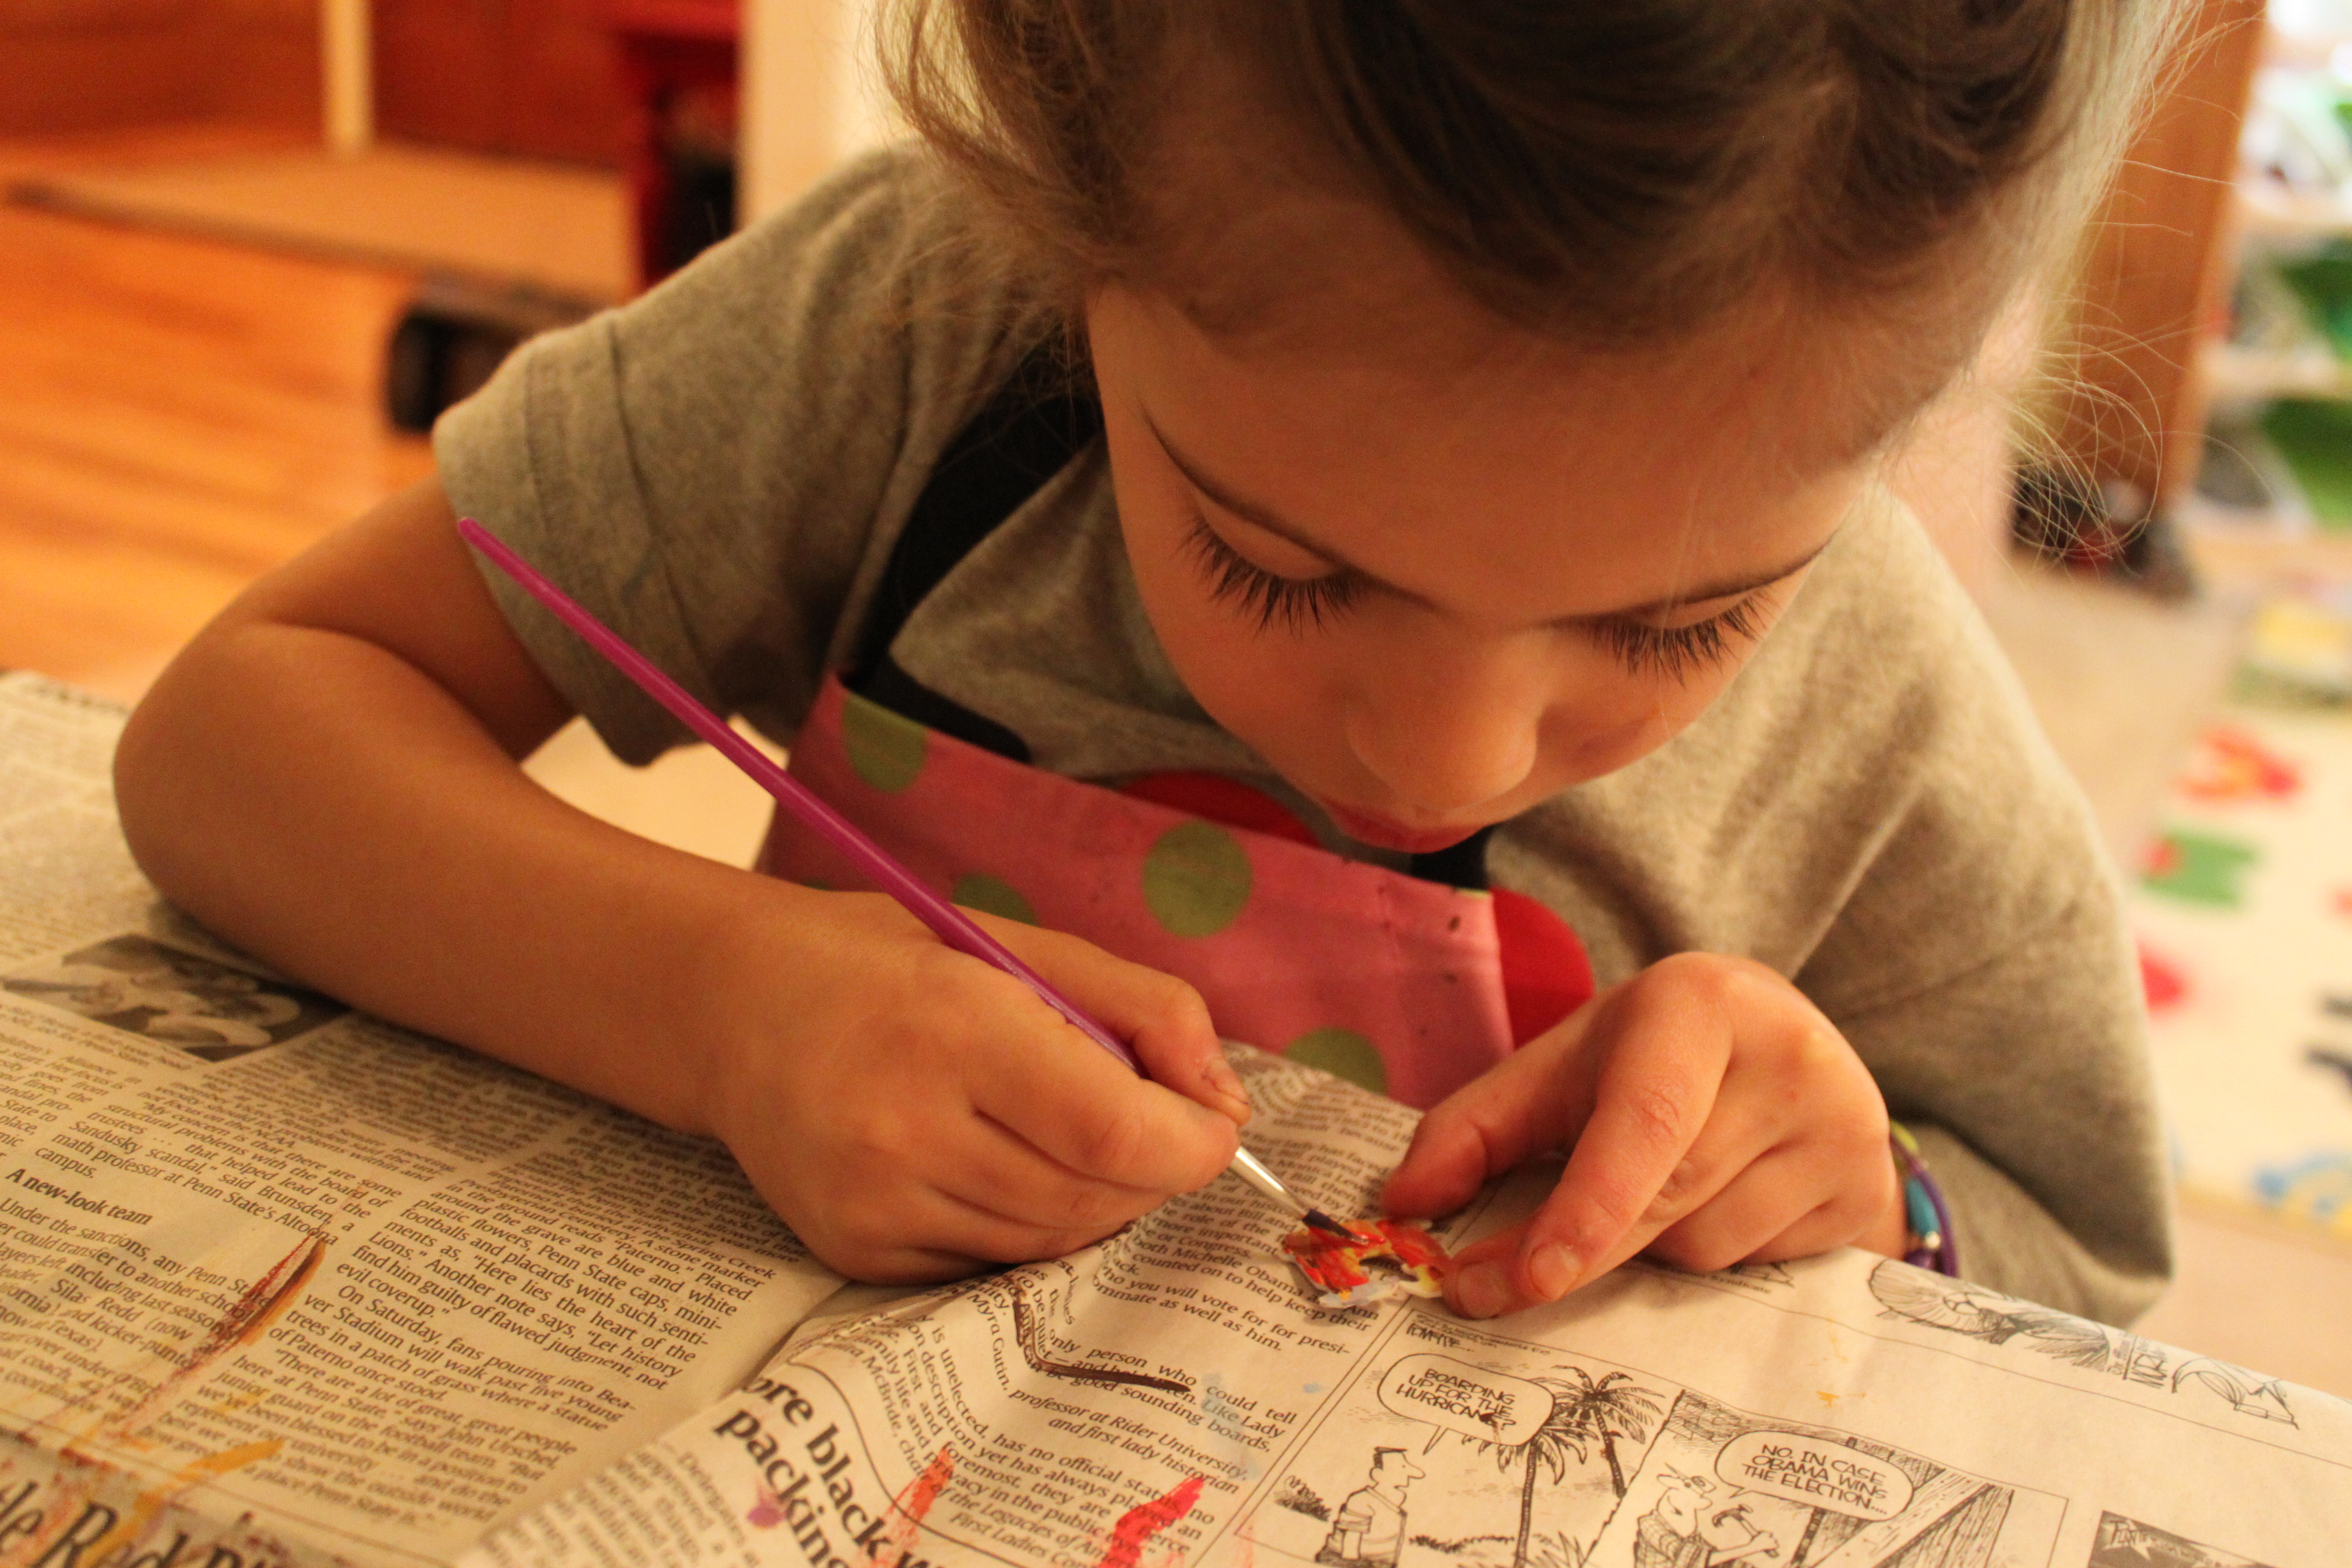
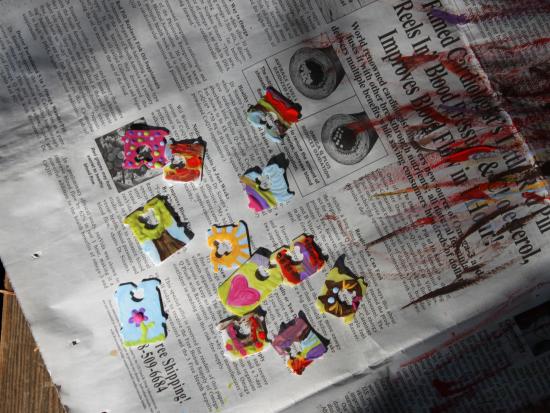
We painted our charms with acrylic paint. It worked great and we had a lot of fun deciding what sorts of charms to make.
Step 3
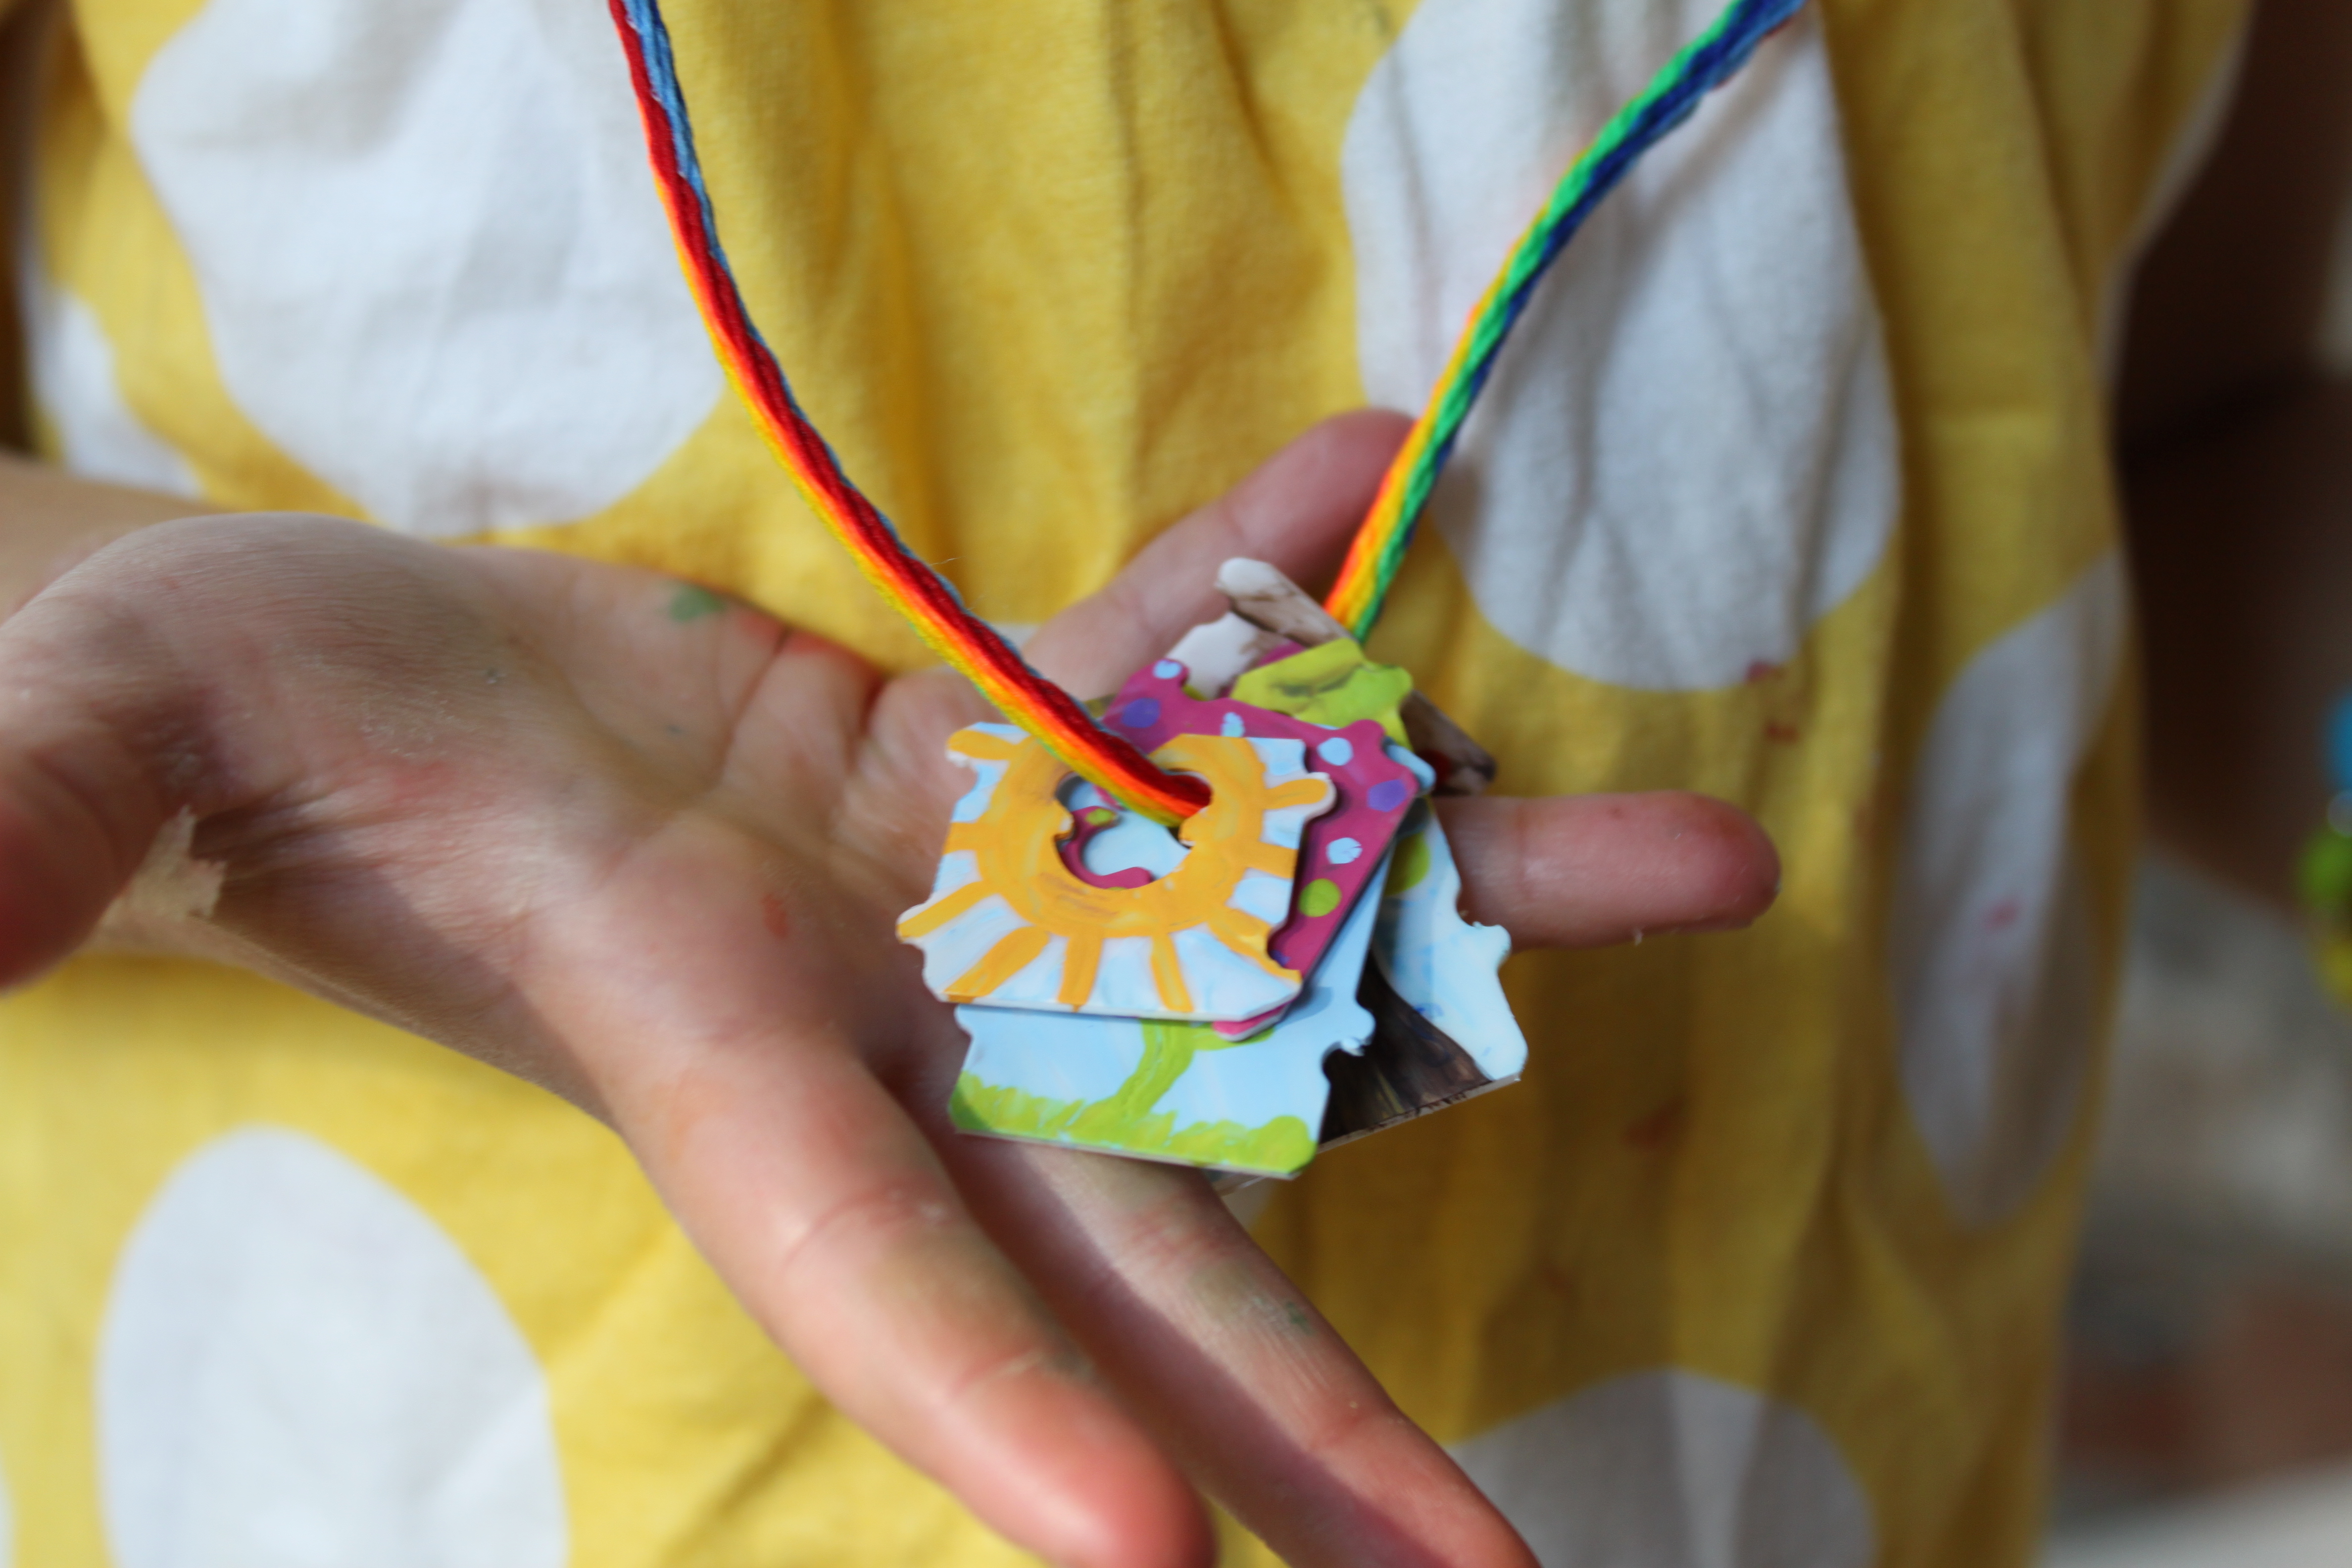
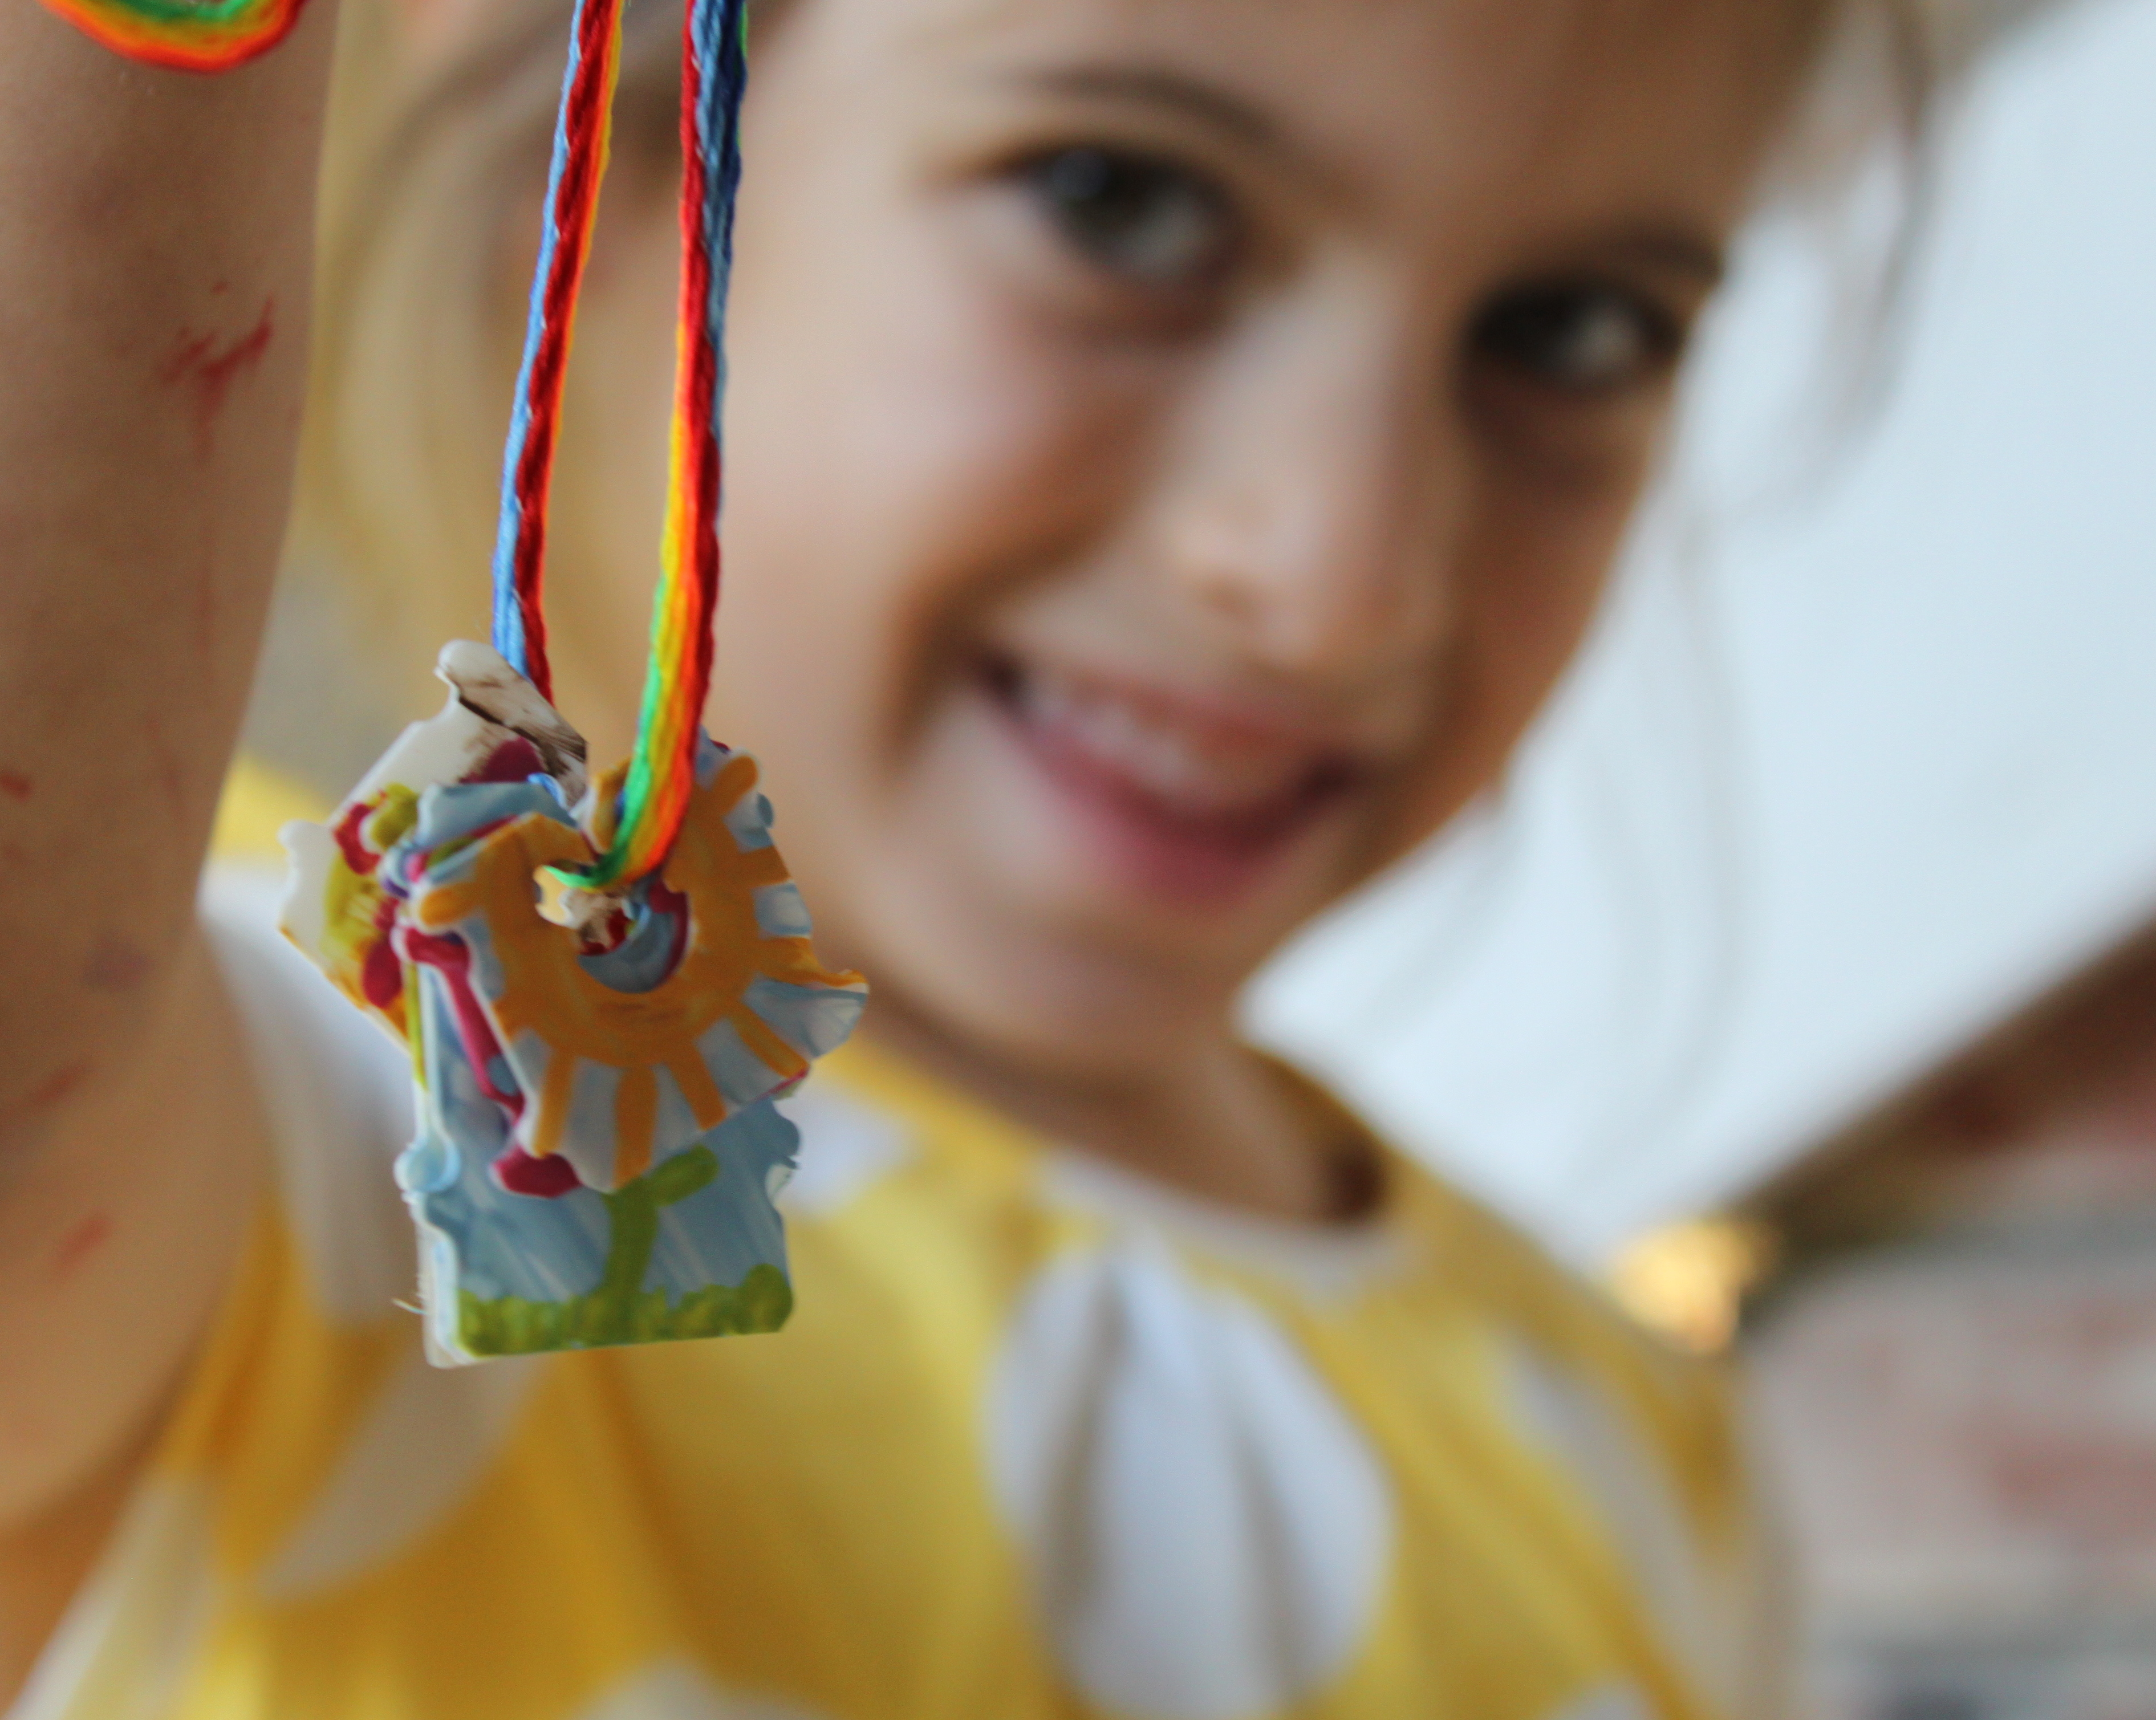
My daughter liked painting flowers, hearts, and the sun. They all came out so perfect and each one had a special meaning to us.
Step 4
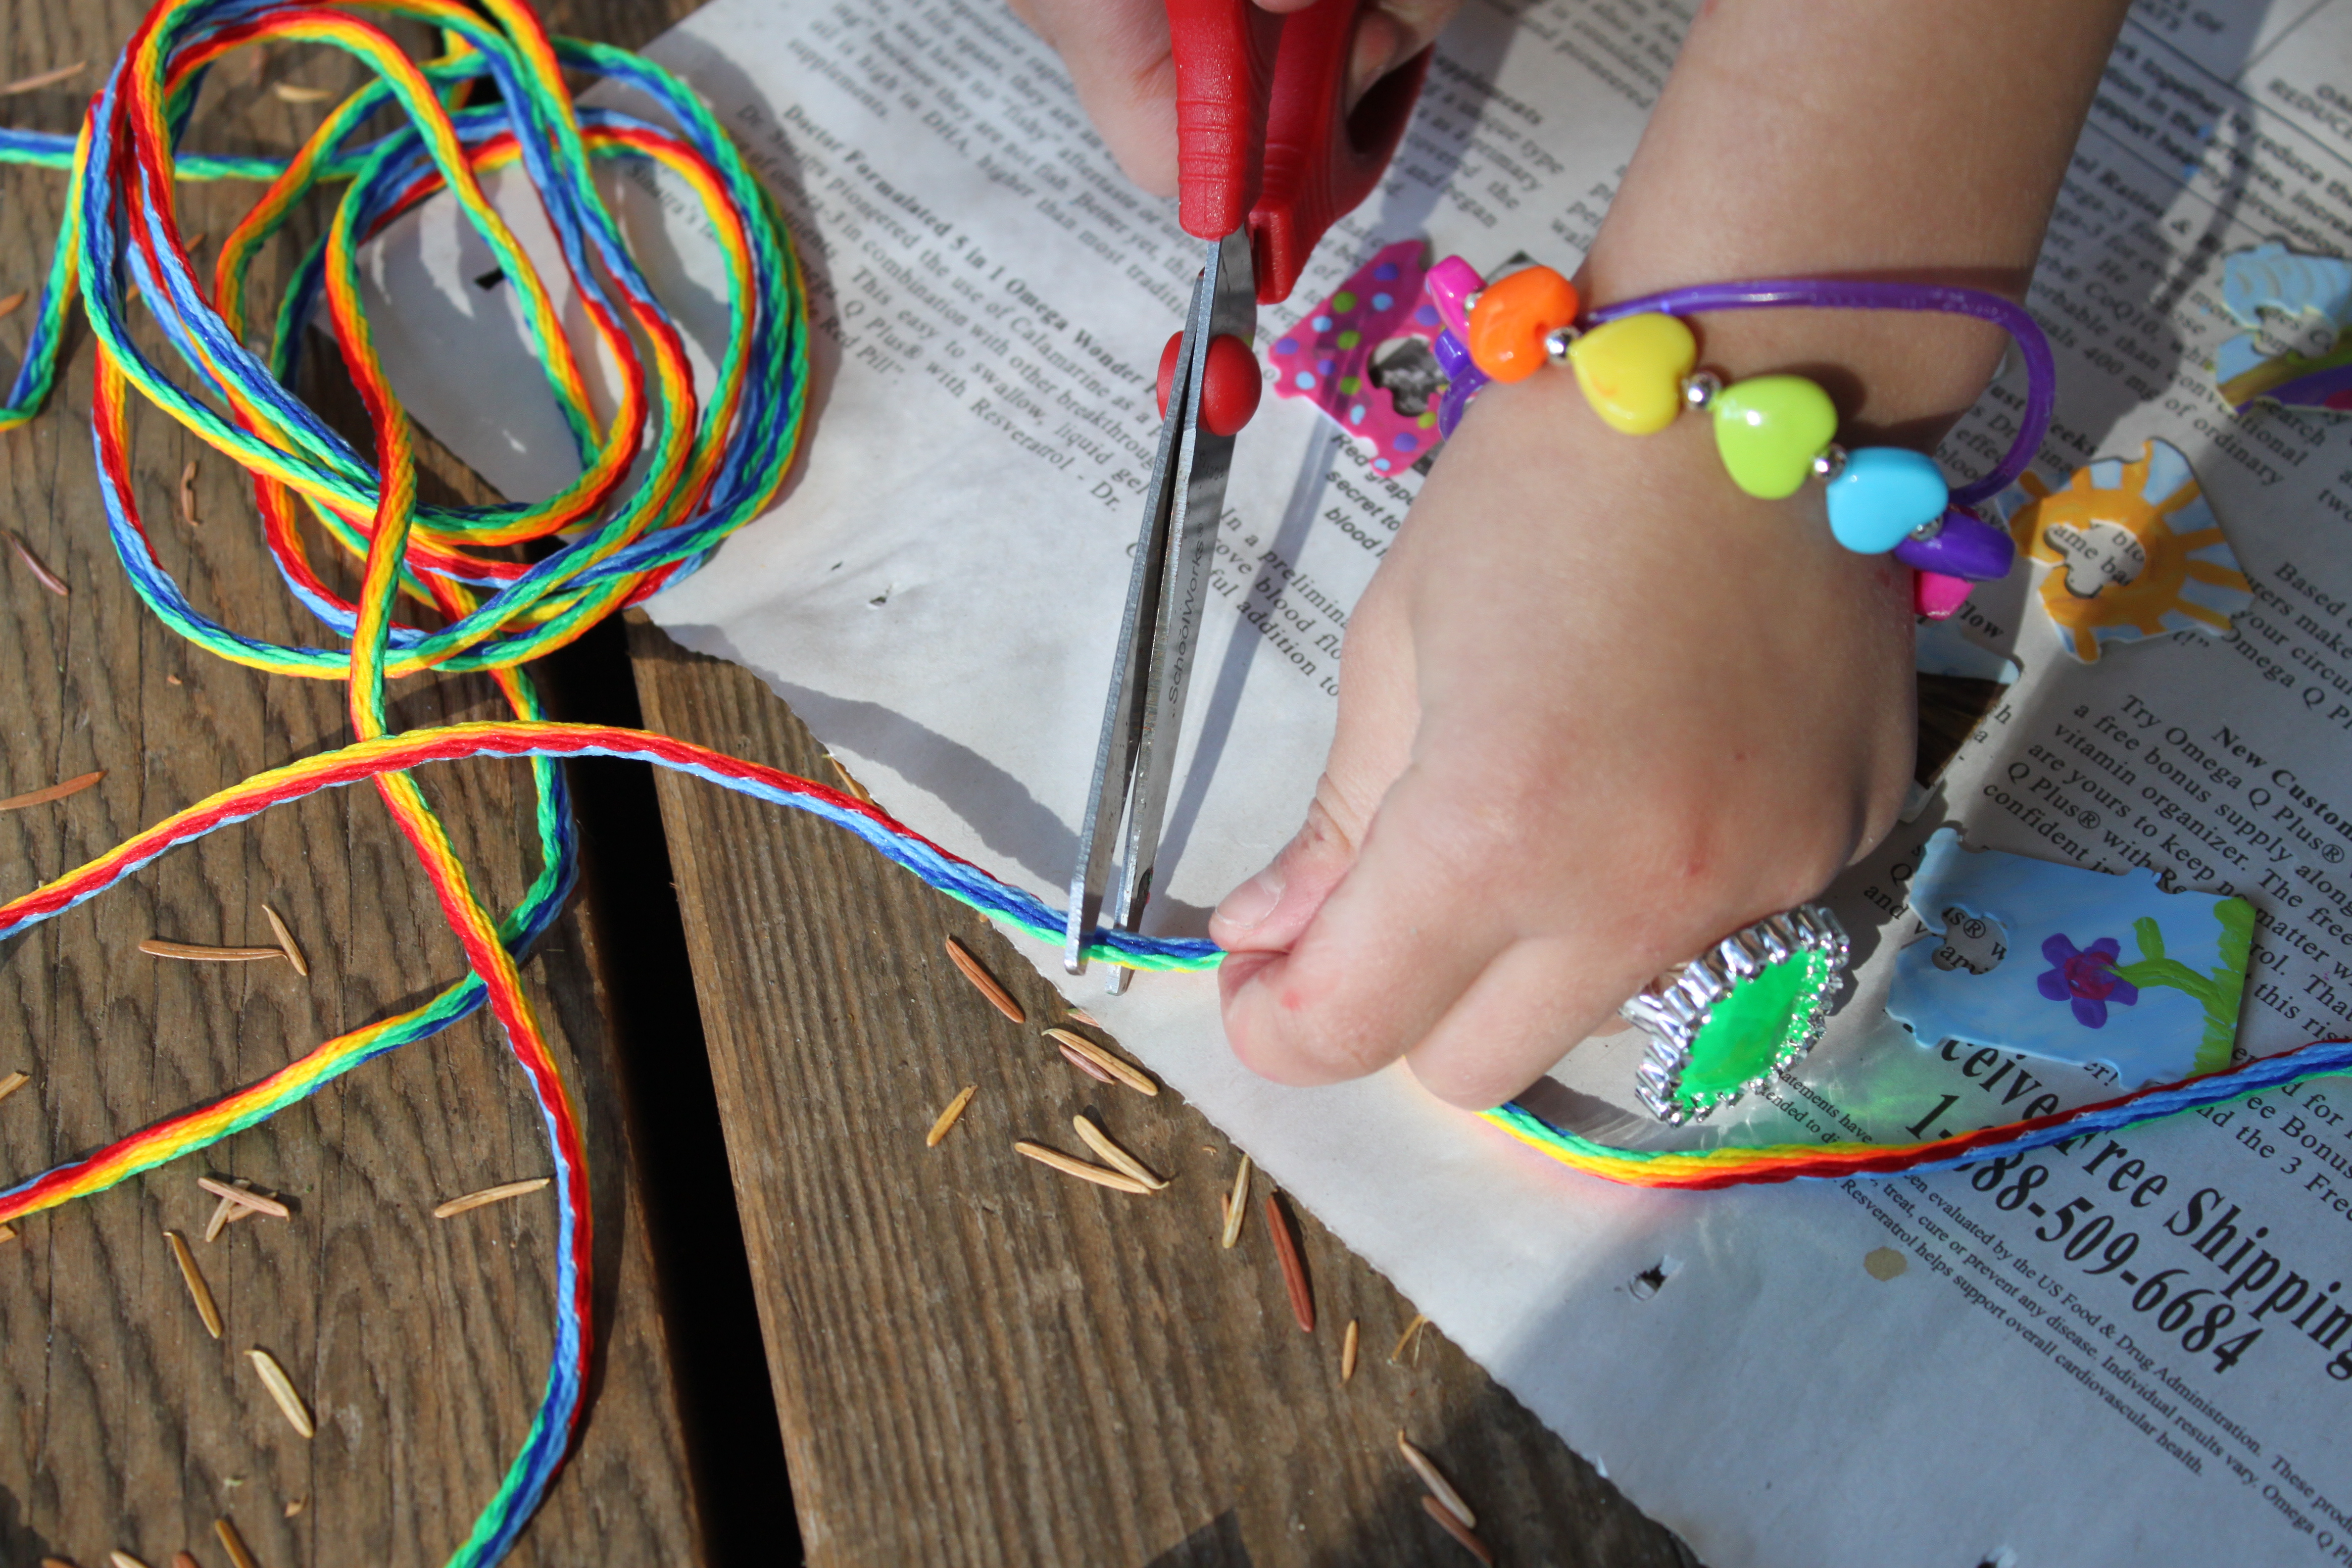
While the charms were drying, we cut some rainbow cord to the length of a necklace. You can use any kind of cord or string, but look for a thicker one to be sure the charms stay in place and do not easily slide off.
Step 5
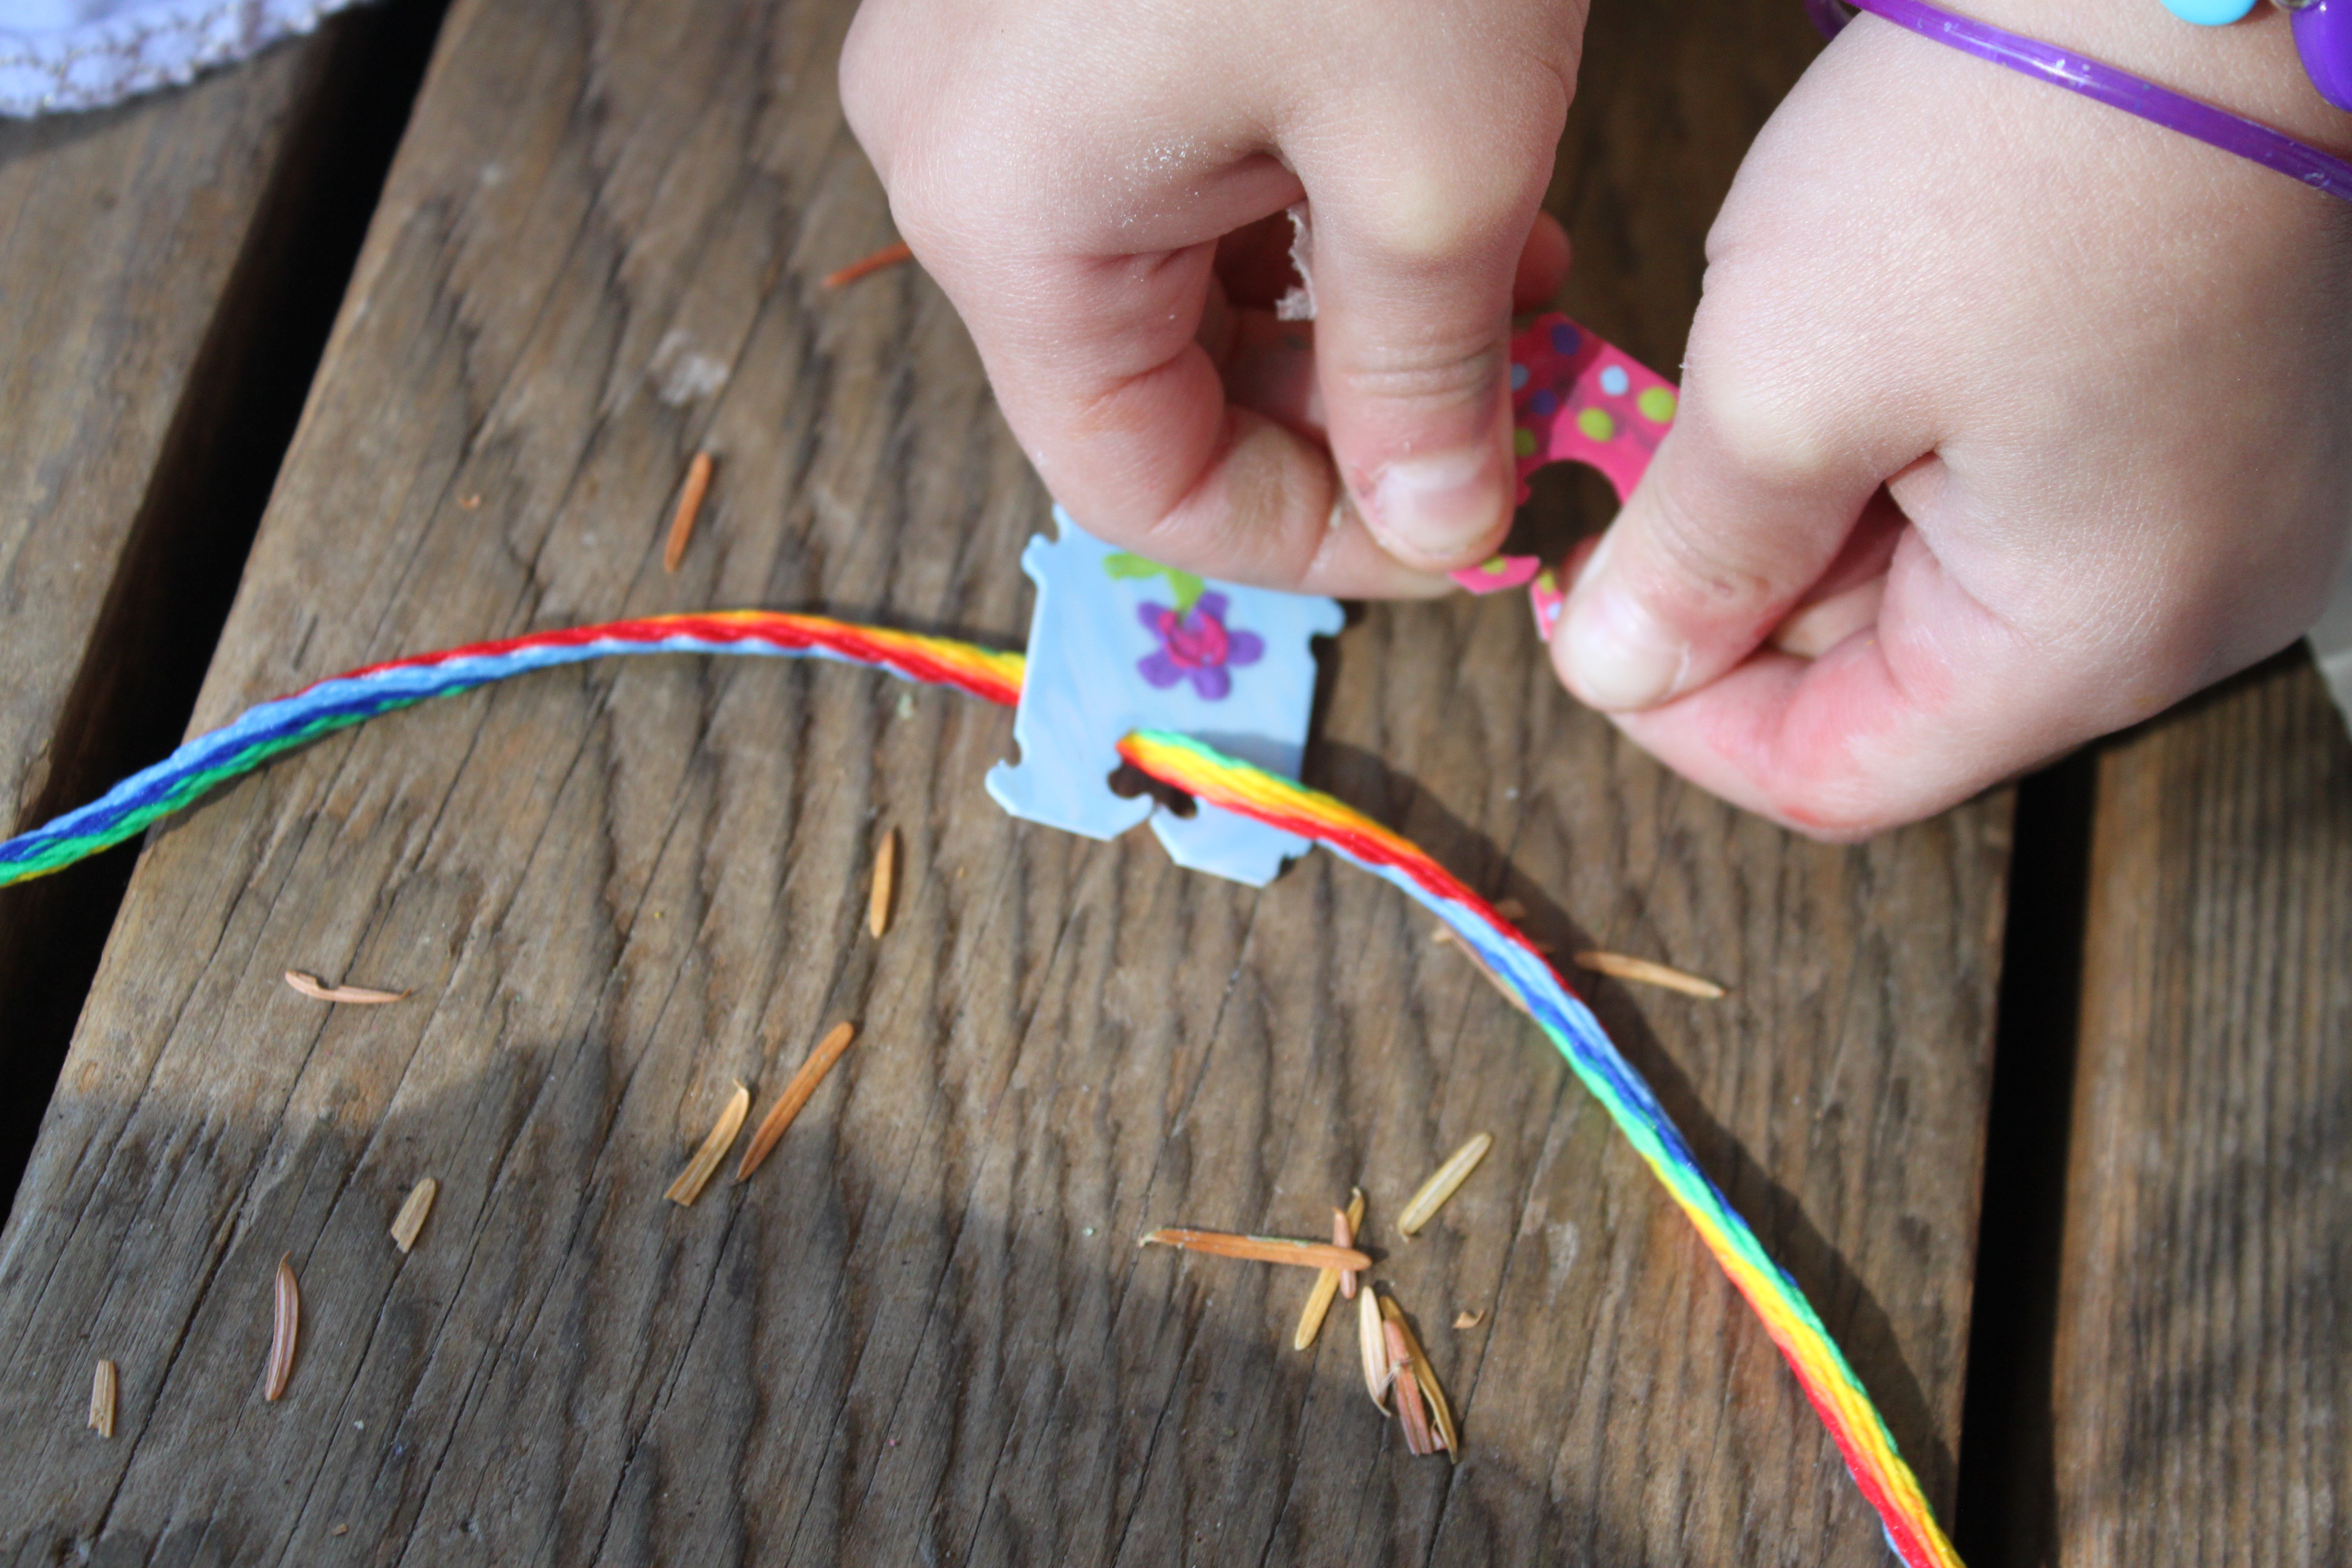
Emma could hardly wait for them to be dry so that she could put together her new charm necklace. The tags were really easy to put on and off.
Done!
At the end of the day, I noticed Emma had placed her charm necklace next to her backpack for school the next day. That confirms it -- we have a winner!