Step-by-step tutorial
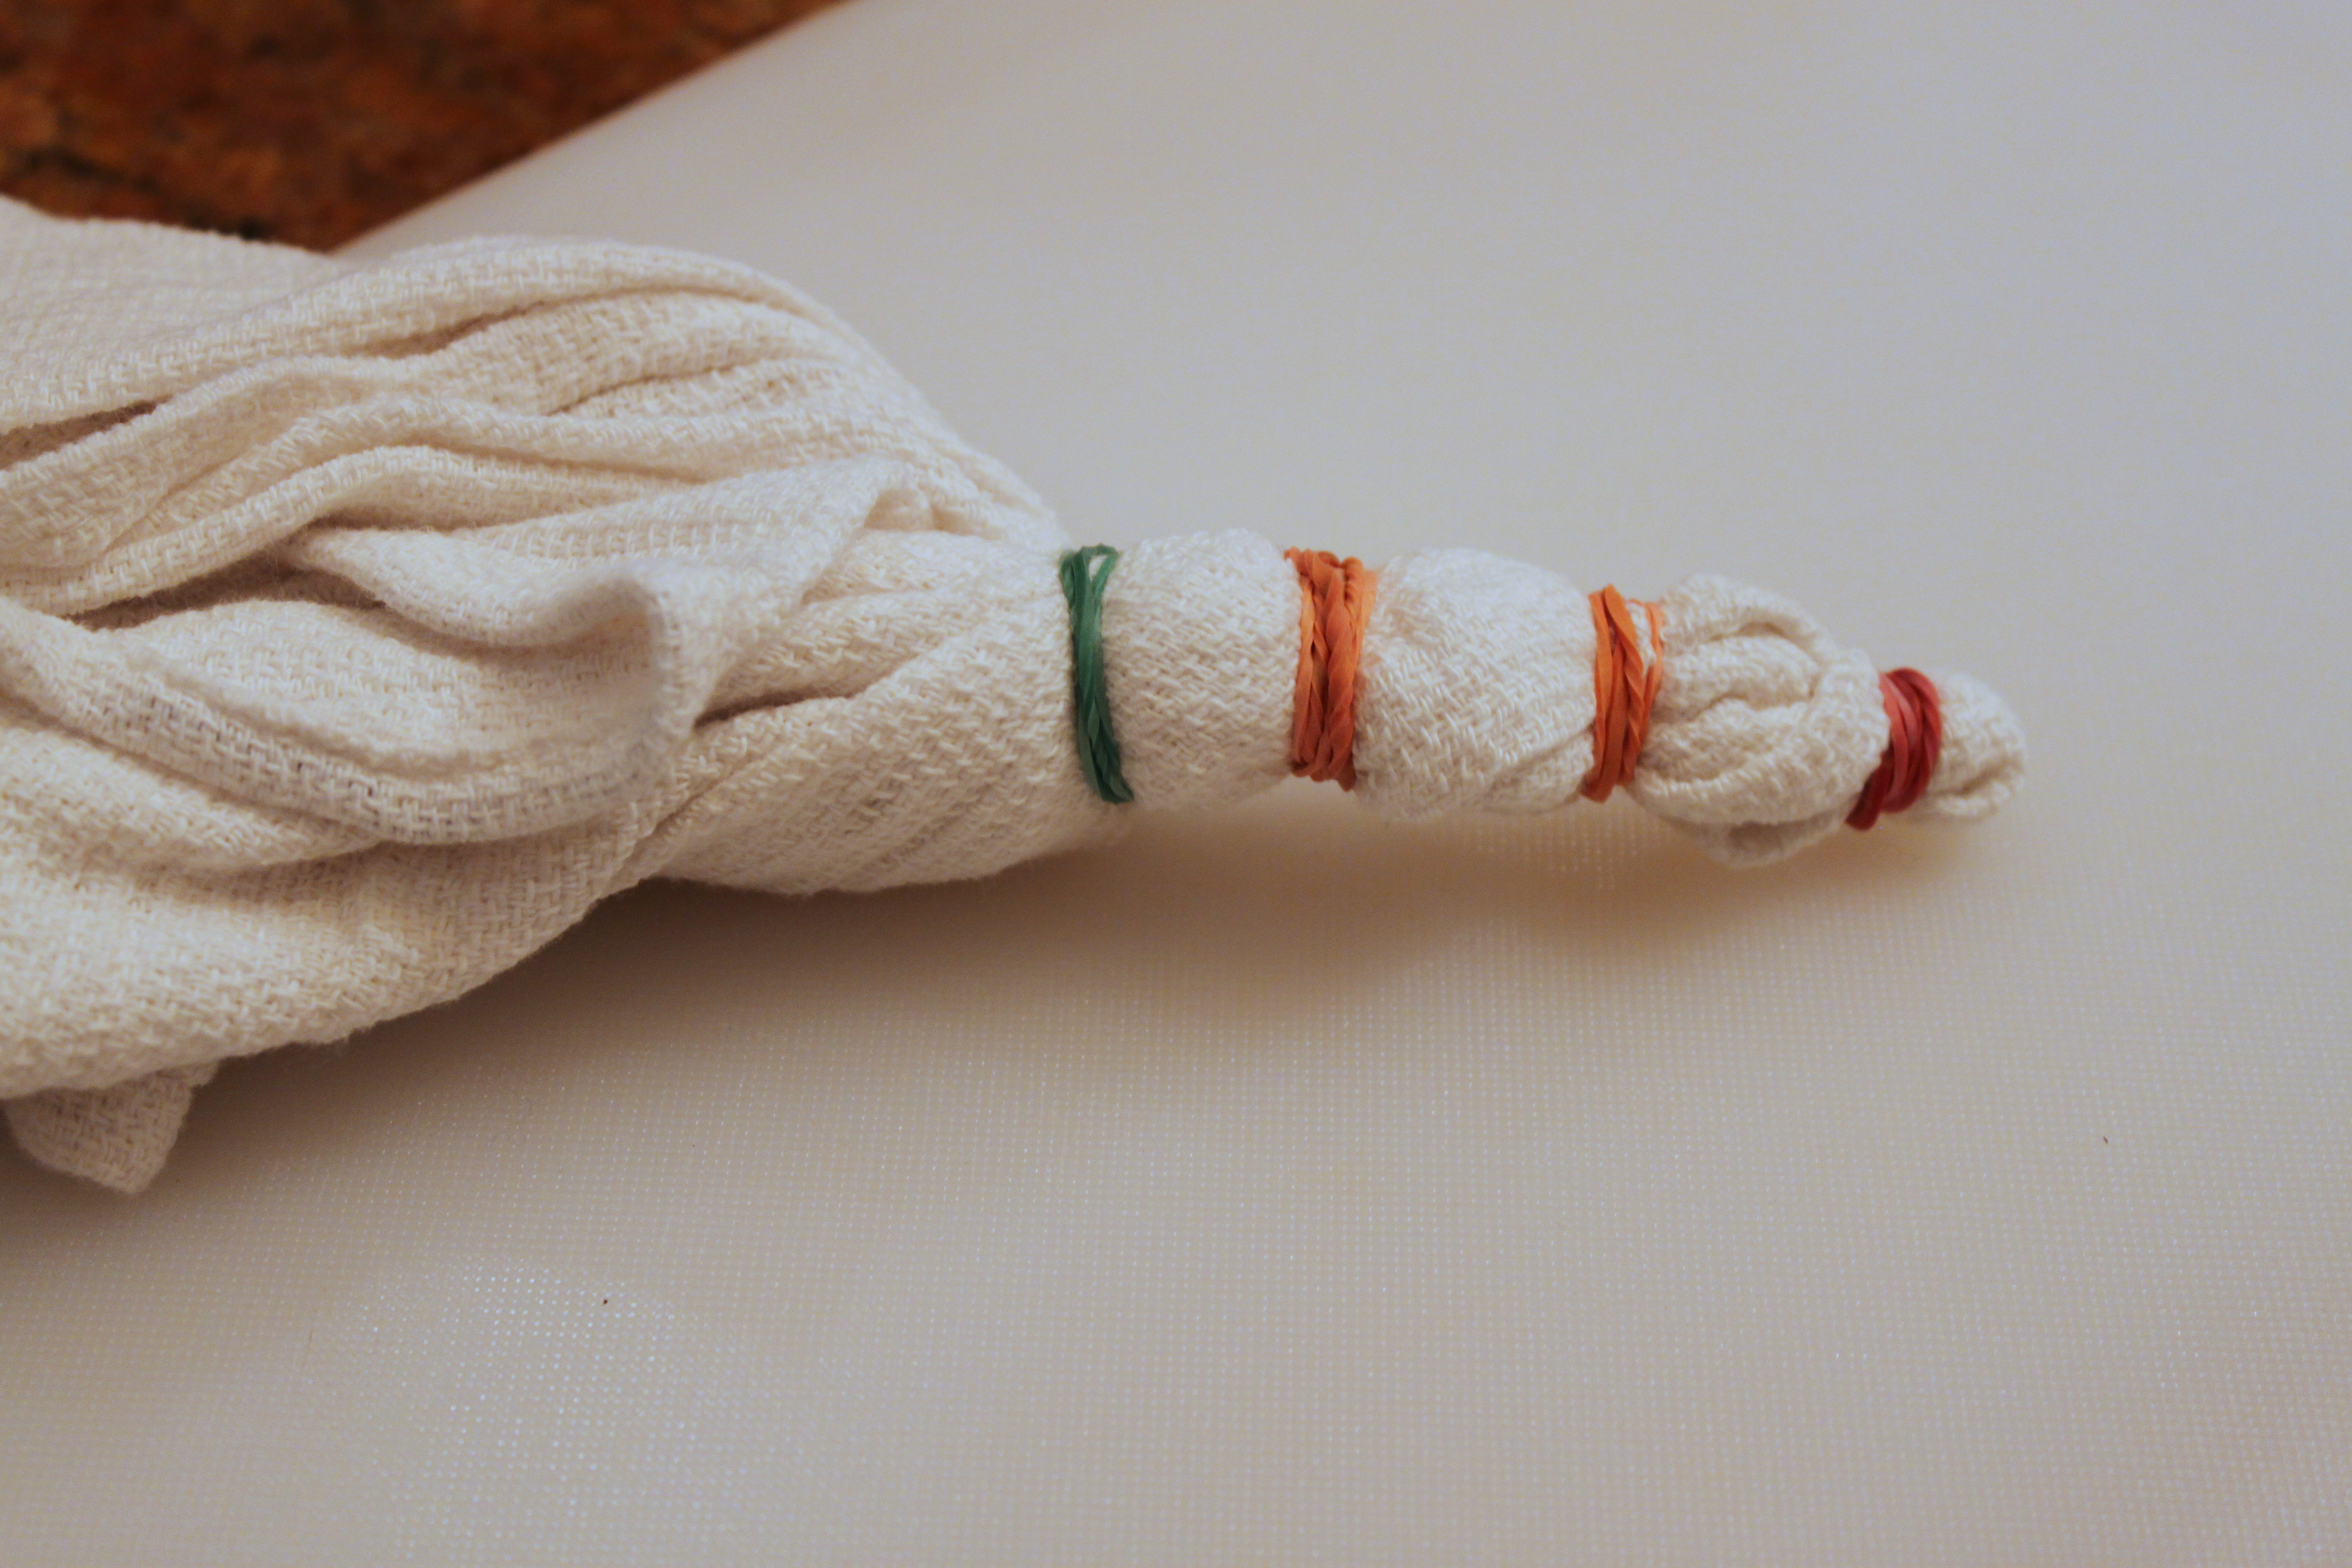
Step 1
First, take the fabric you are going to color and prepare it for tie dye. We made dish towels and cloth napkins for Thanksgiving Day. Twist the fabric from the center and add rubber bands as you go. The more rubber bands you use, the more color contrast you'll end up getting.

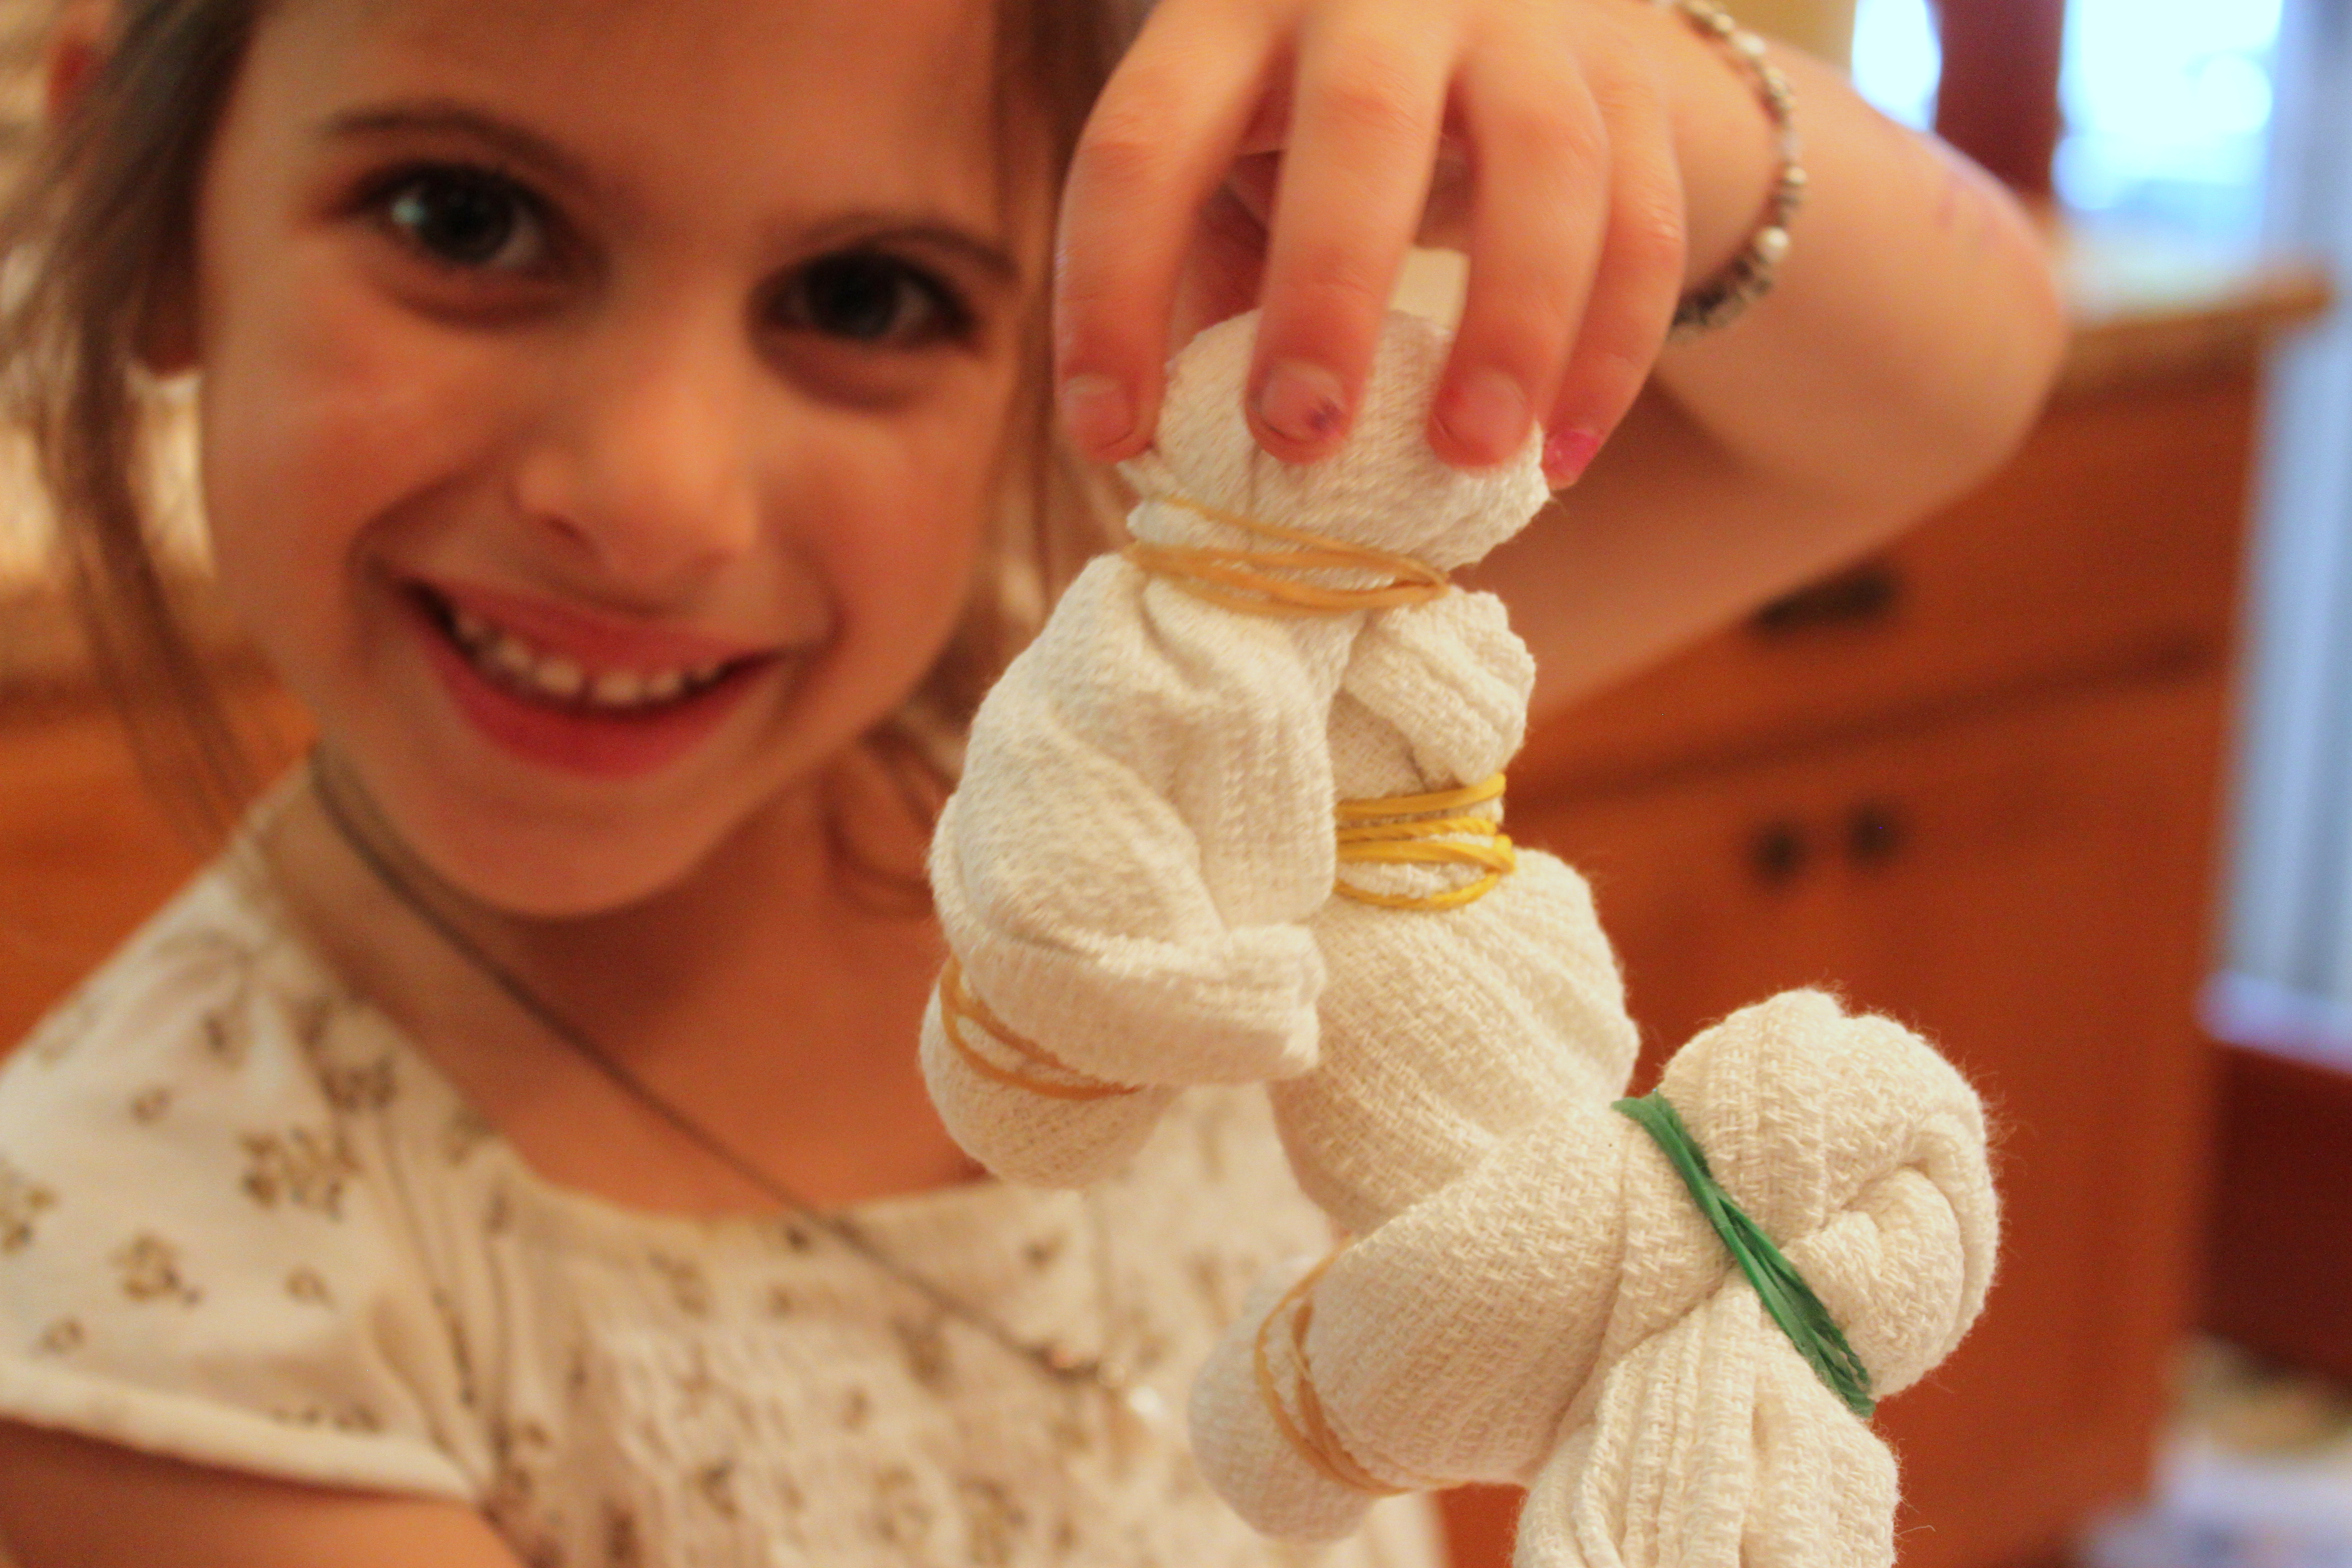
Step 2
My daughter did the twisting, and I added the rubber bands. When you have all your fabric ready, add it to a bowl of equal parts vinegar and water. This will prepare it to absorb the color well.
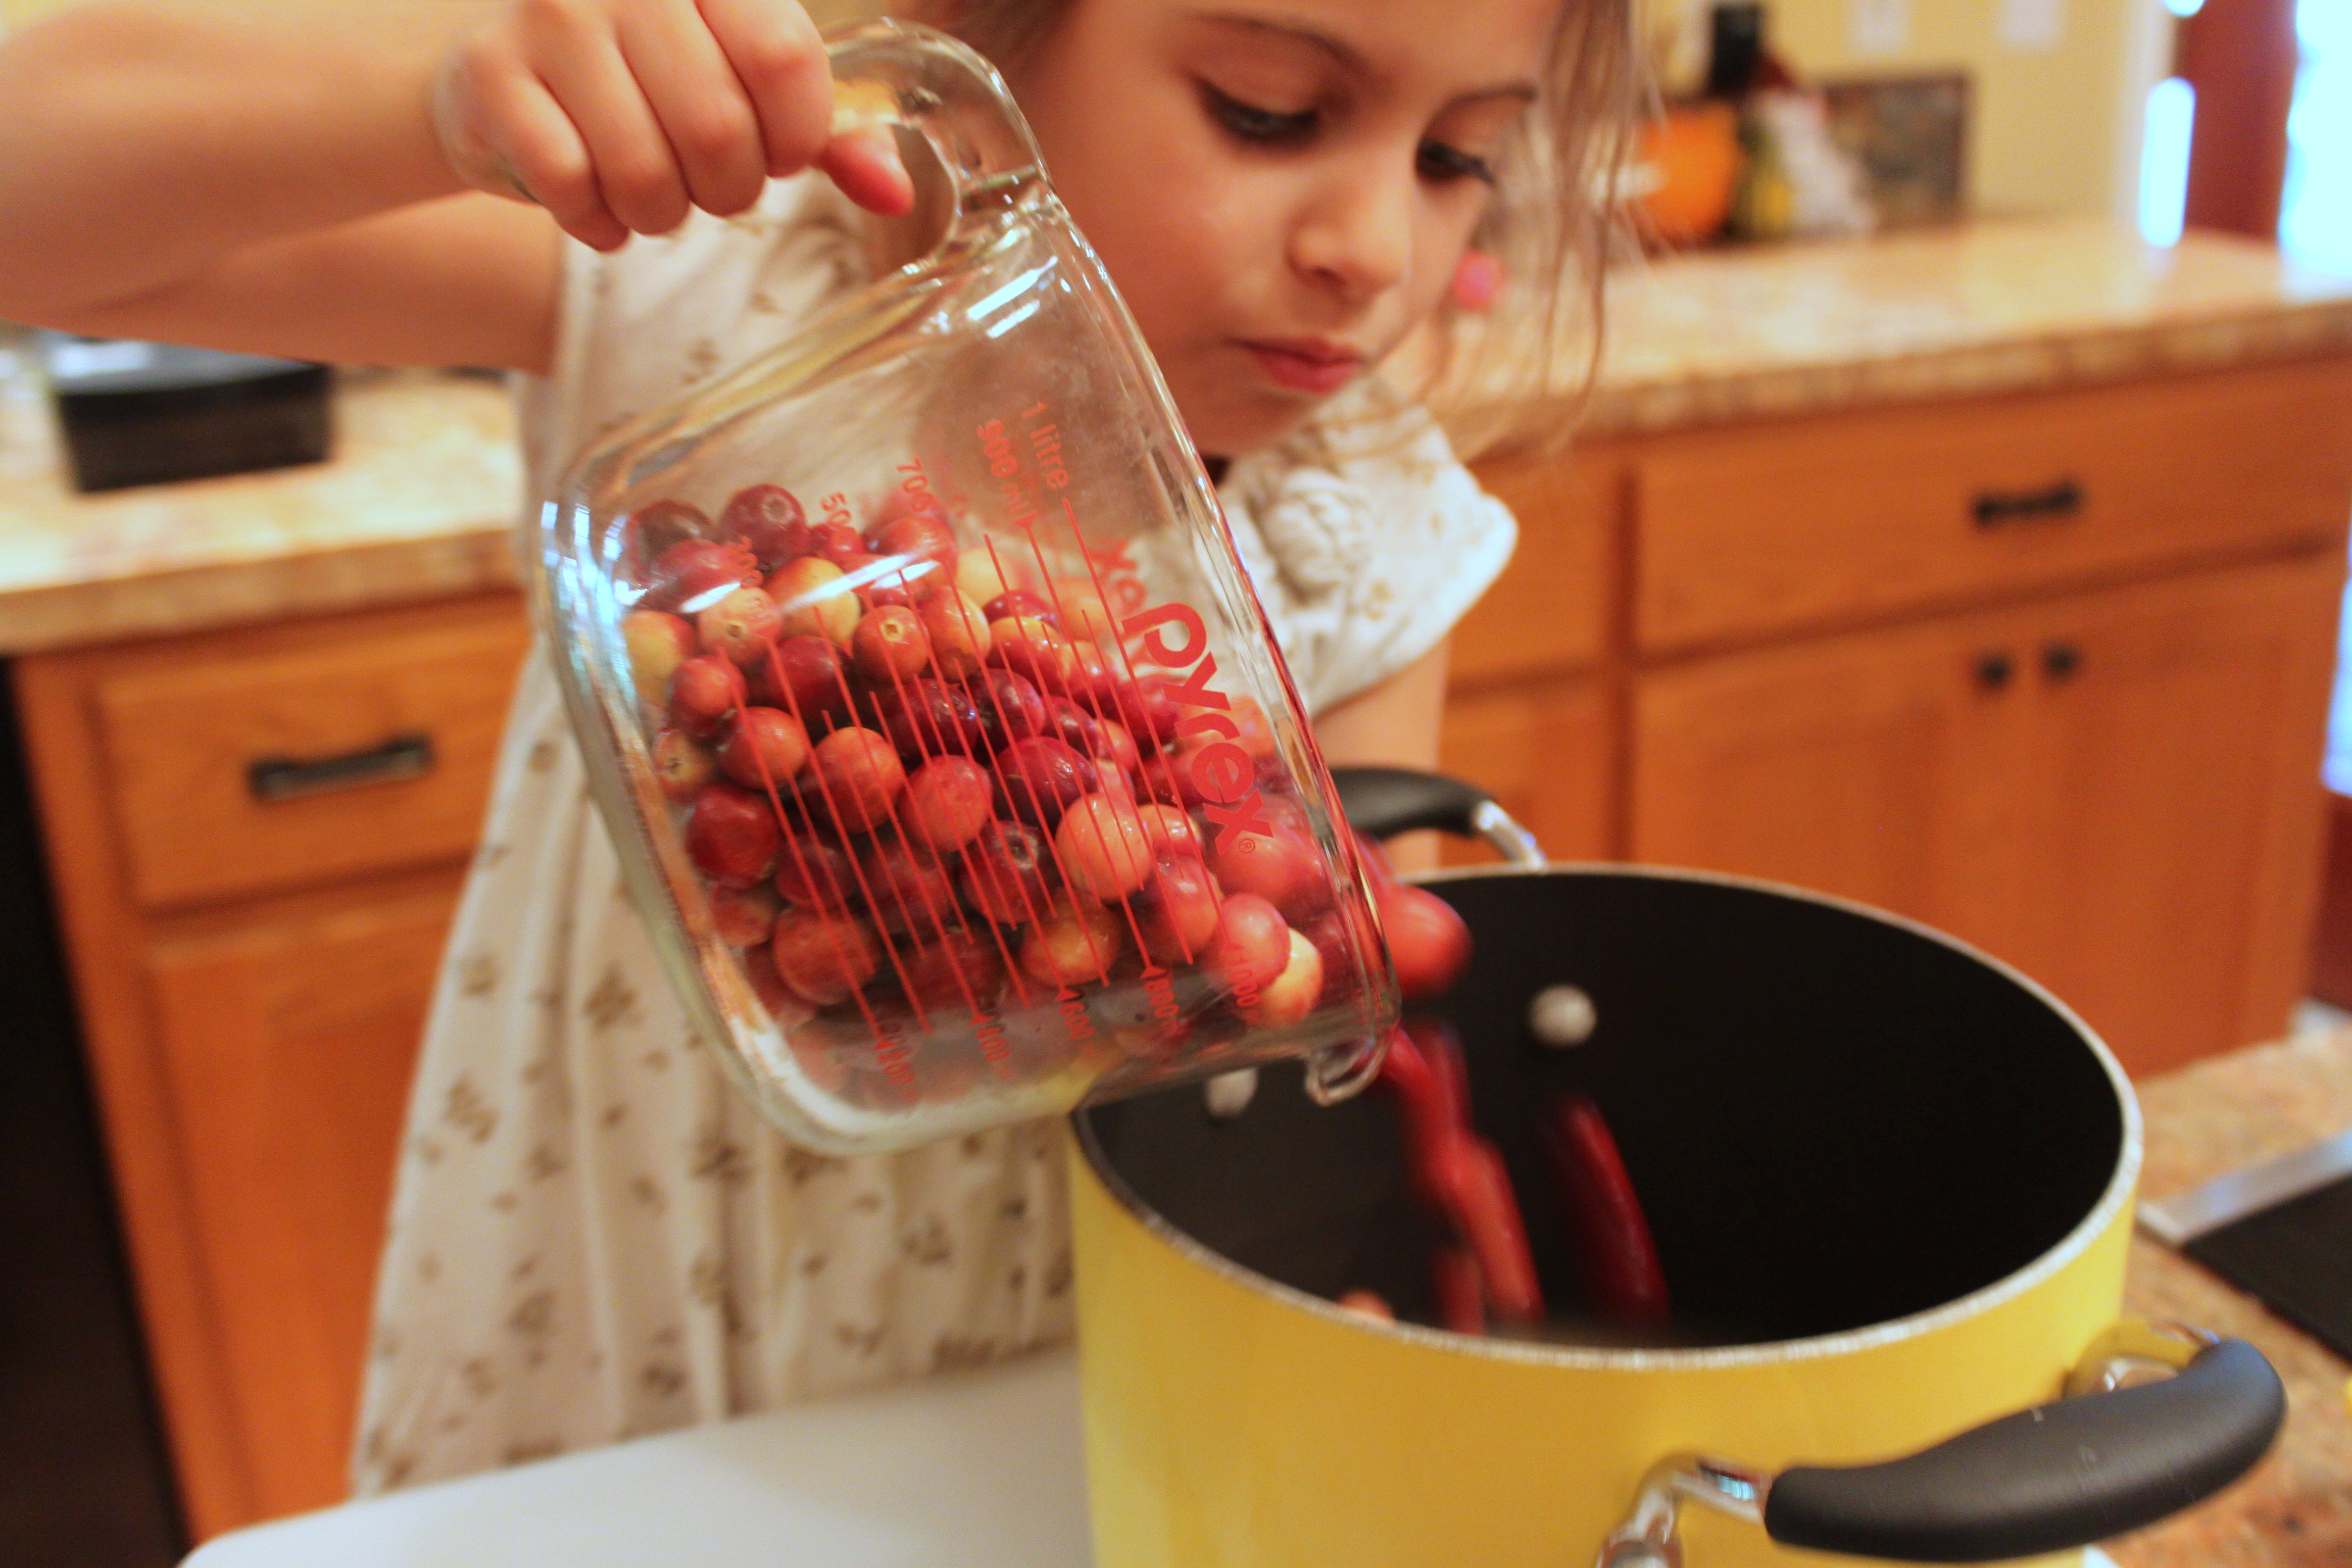
Step 3
Add all the cranberries to a pot and cover with water. I added about 5 cups of water. My daughter loved adding all the ingredients. When cooking with her, I like to have her do as many steps as possible before I turn on the heat.
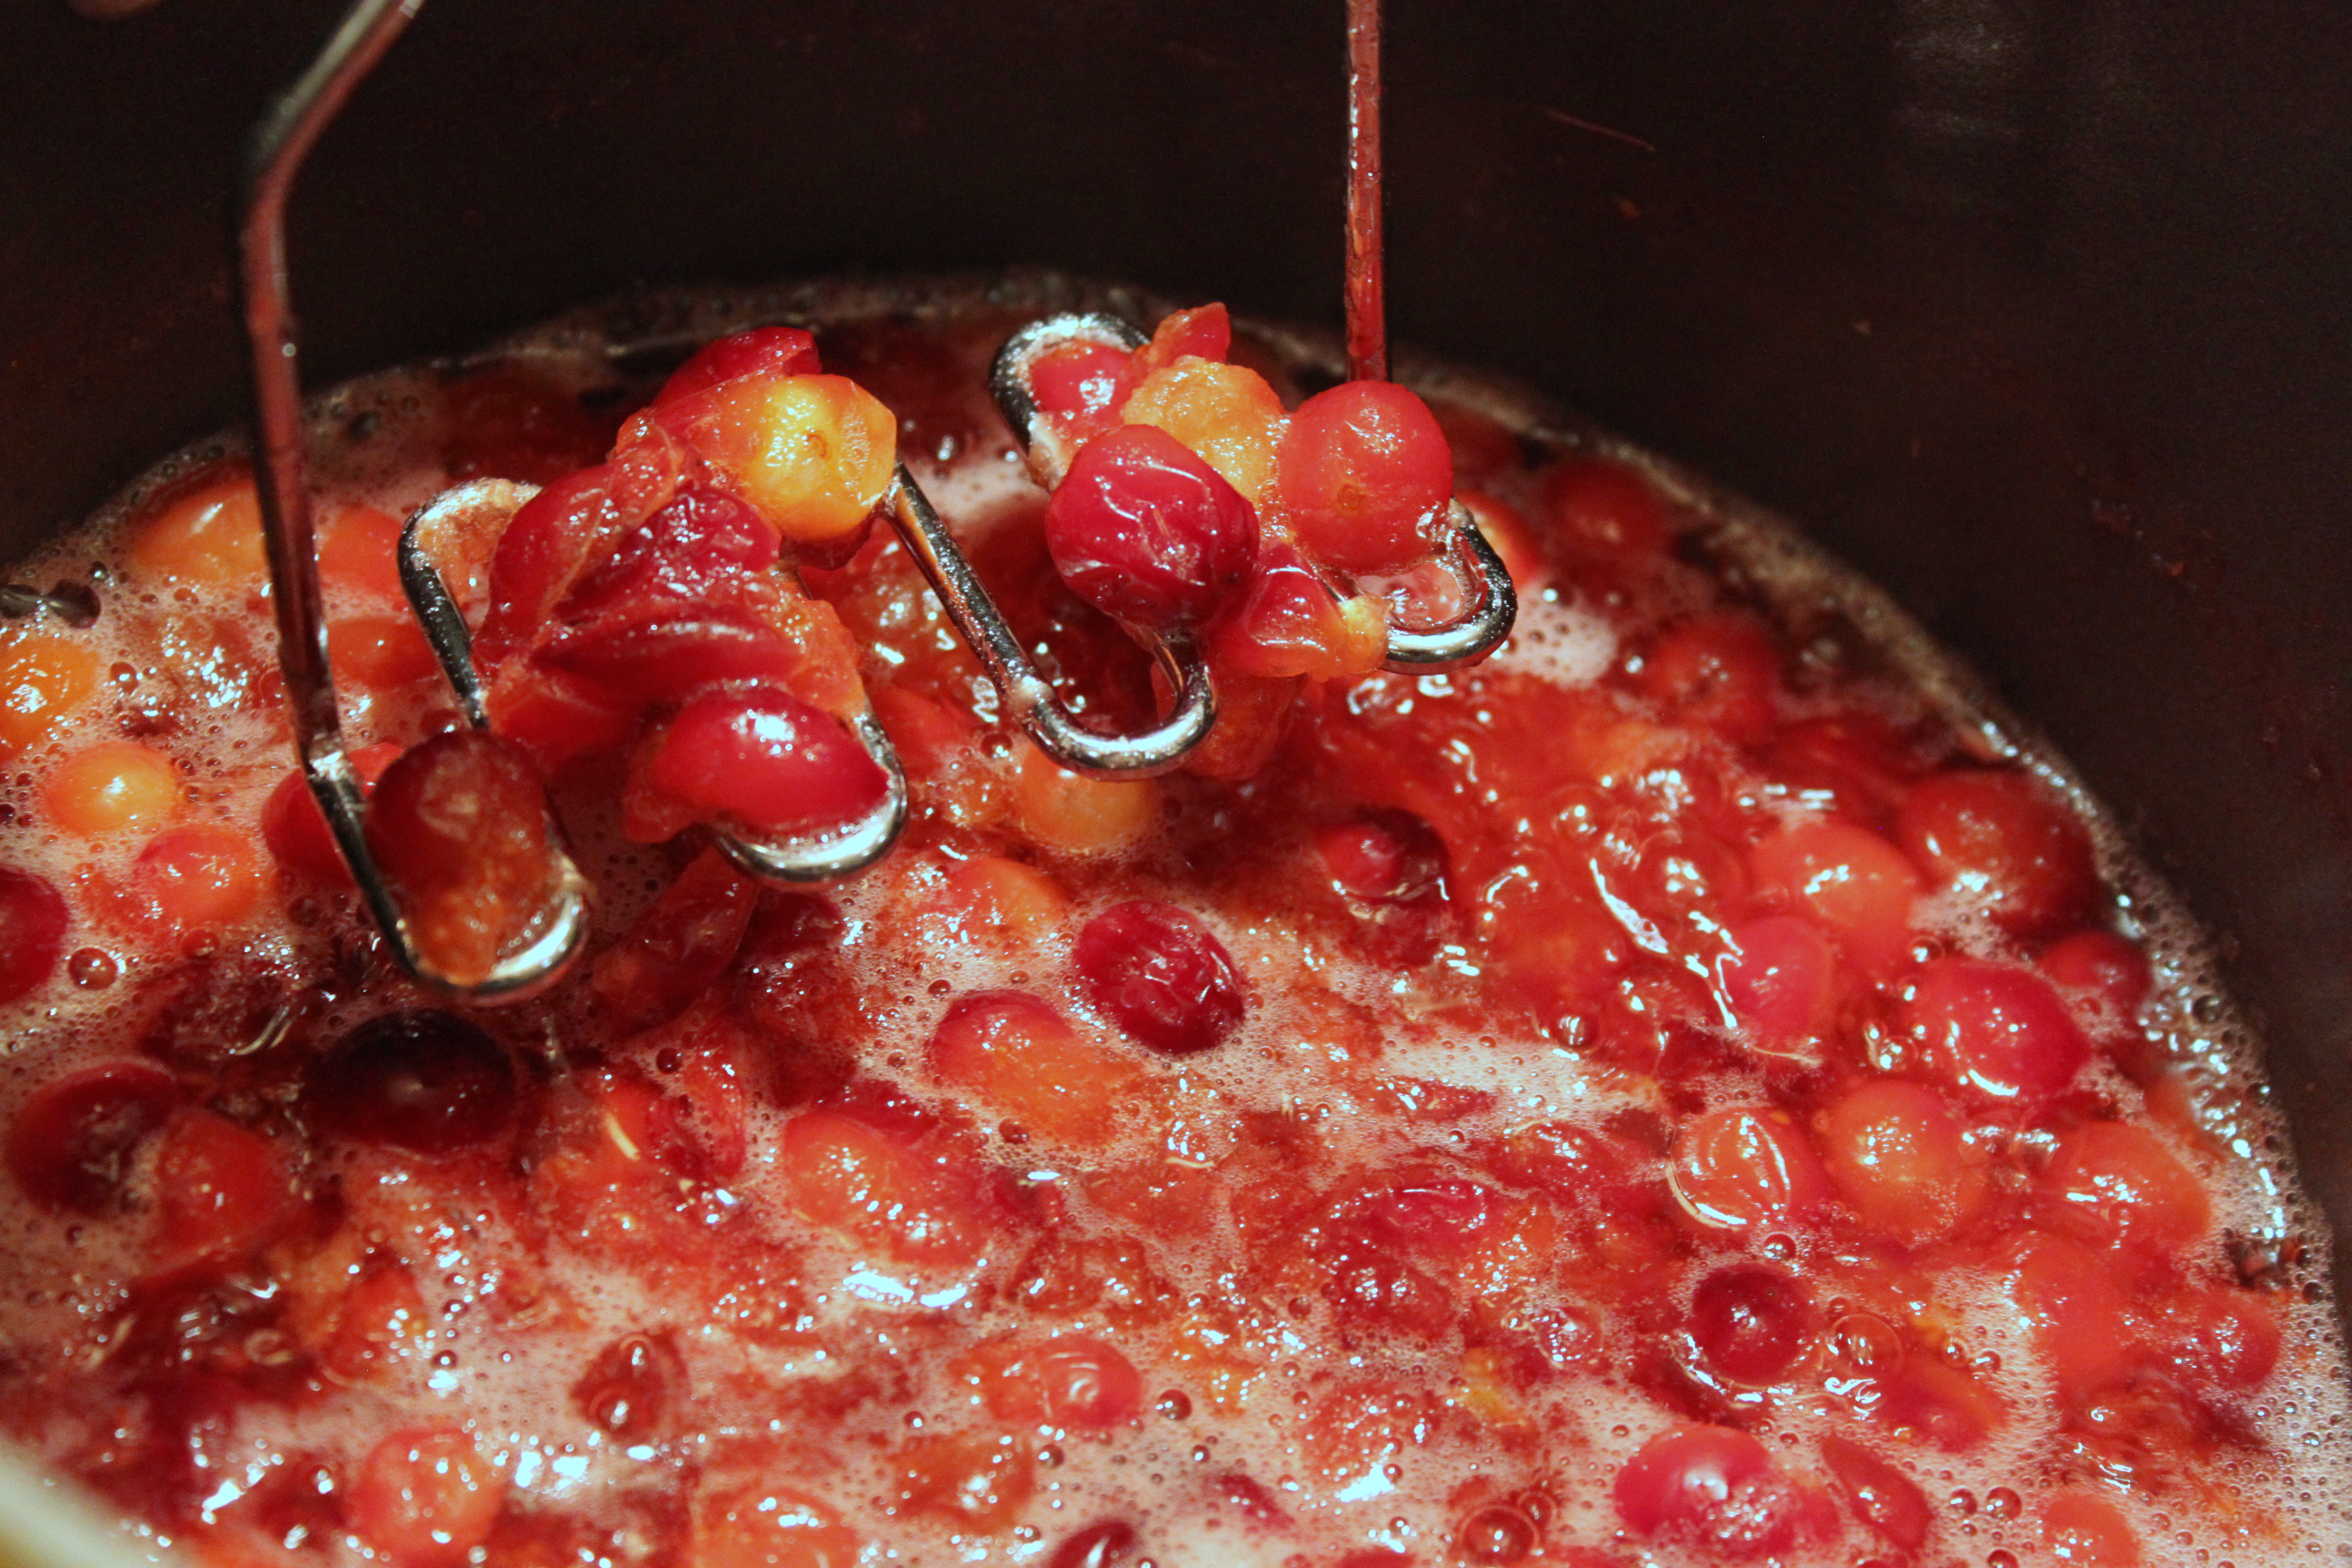
Step 4
Cook the cranberries on medium heat for 10-15 minutes and then mash with a potato masher. Continue cooking for another 10 minutes and then strain through a sieve. These steps are for a grown-up, but it was fascinating for my kids to watch and see how food can be used for something besides eating.
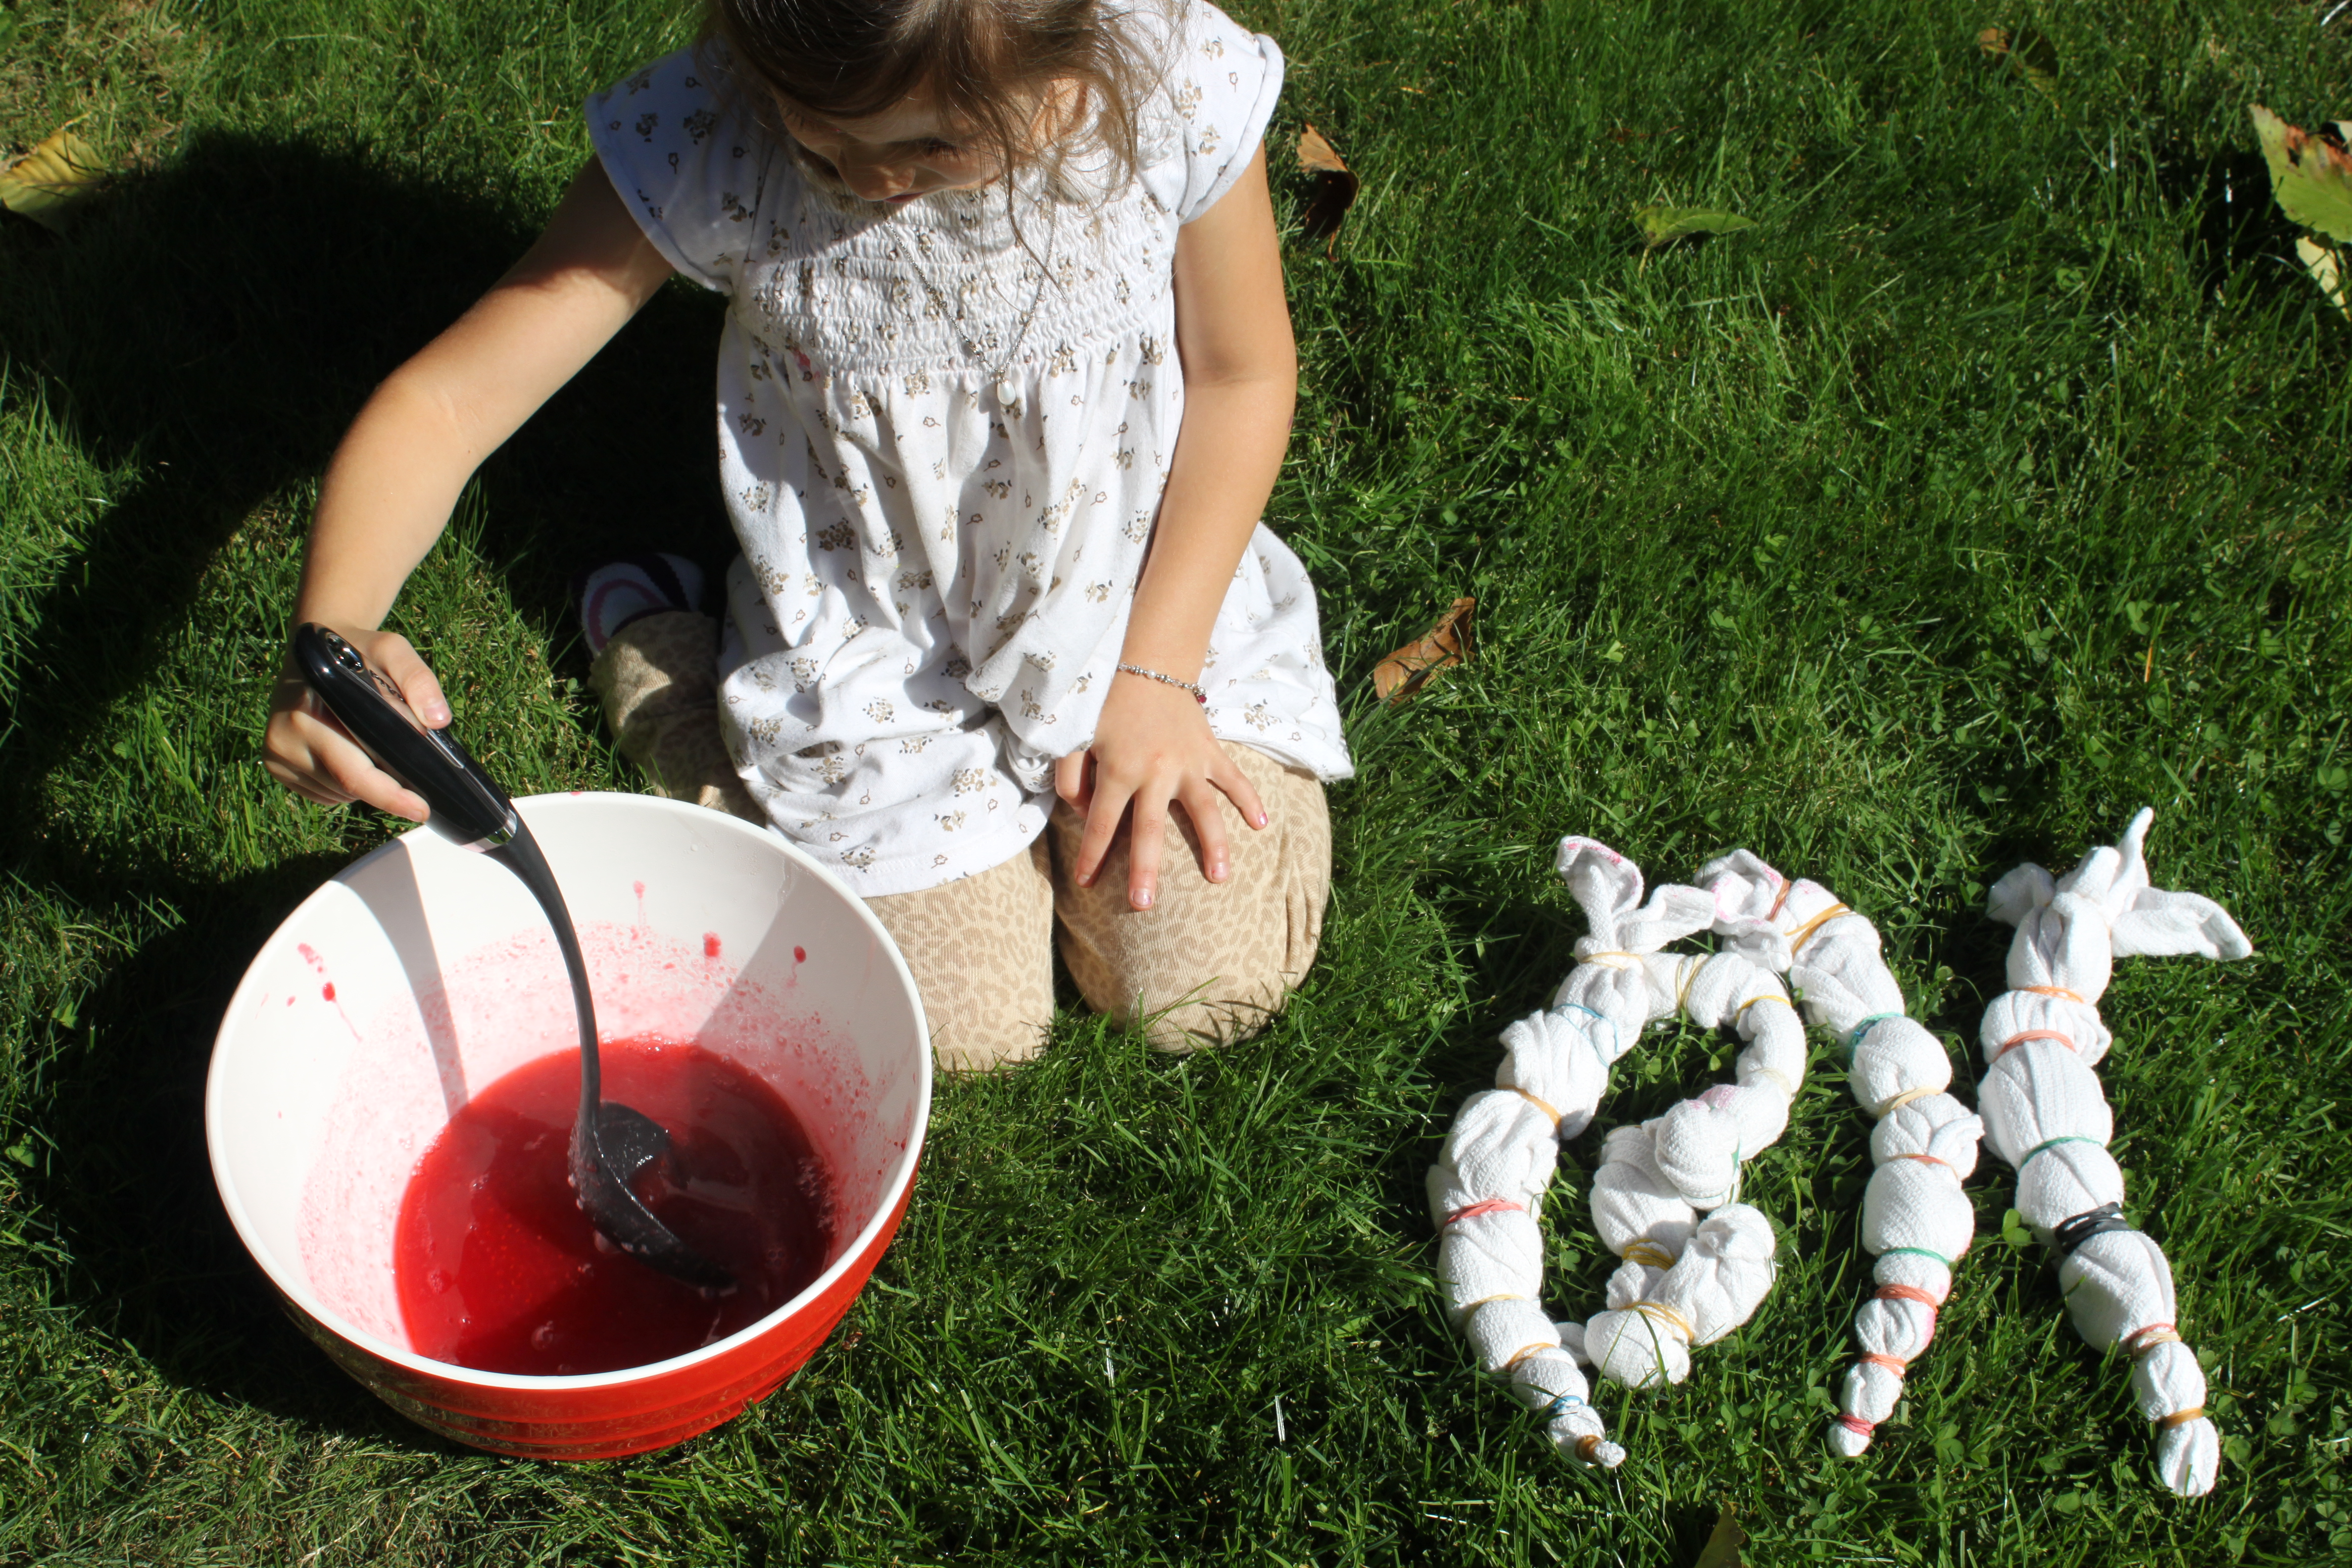
Step 5
You are then left with this beautiful cranberry dye. I reserved the cranberry mush to add to some bread so we were not wasting any part of the berries. You can pull your fabric out of the vinegar mixture and give the fabric a squeeze (kids love to do this.) Next, you can either just add the fabric to the bowl of dye or have you child create by pouring the dye onto the fabric.
Step 6
I did both. This way it was fun for my kids, but I also got some nicely colored napkins as well. Once the fabric is dunked or covered, they need to sit overnight soaking in the dye. The longer they soak, the better color you get.

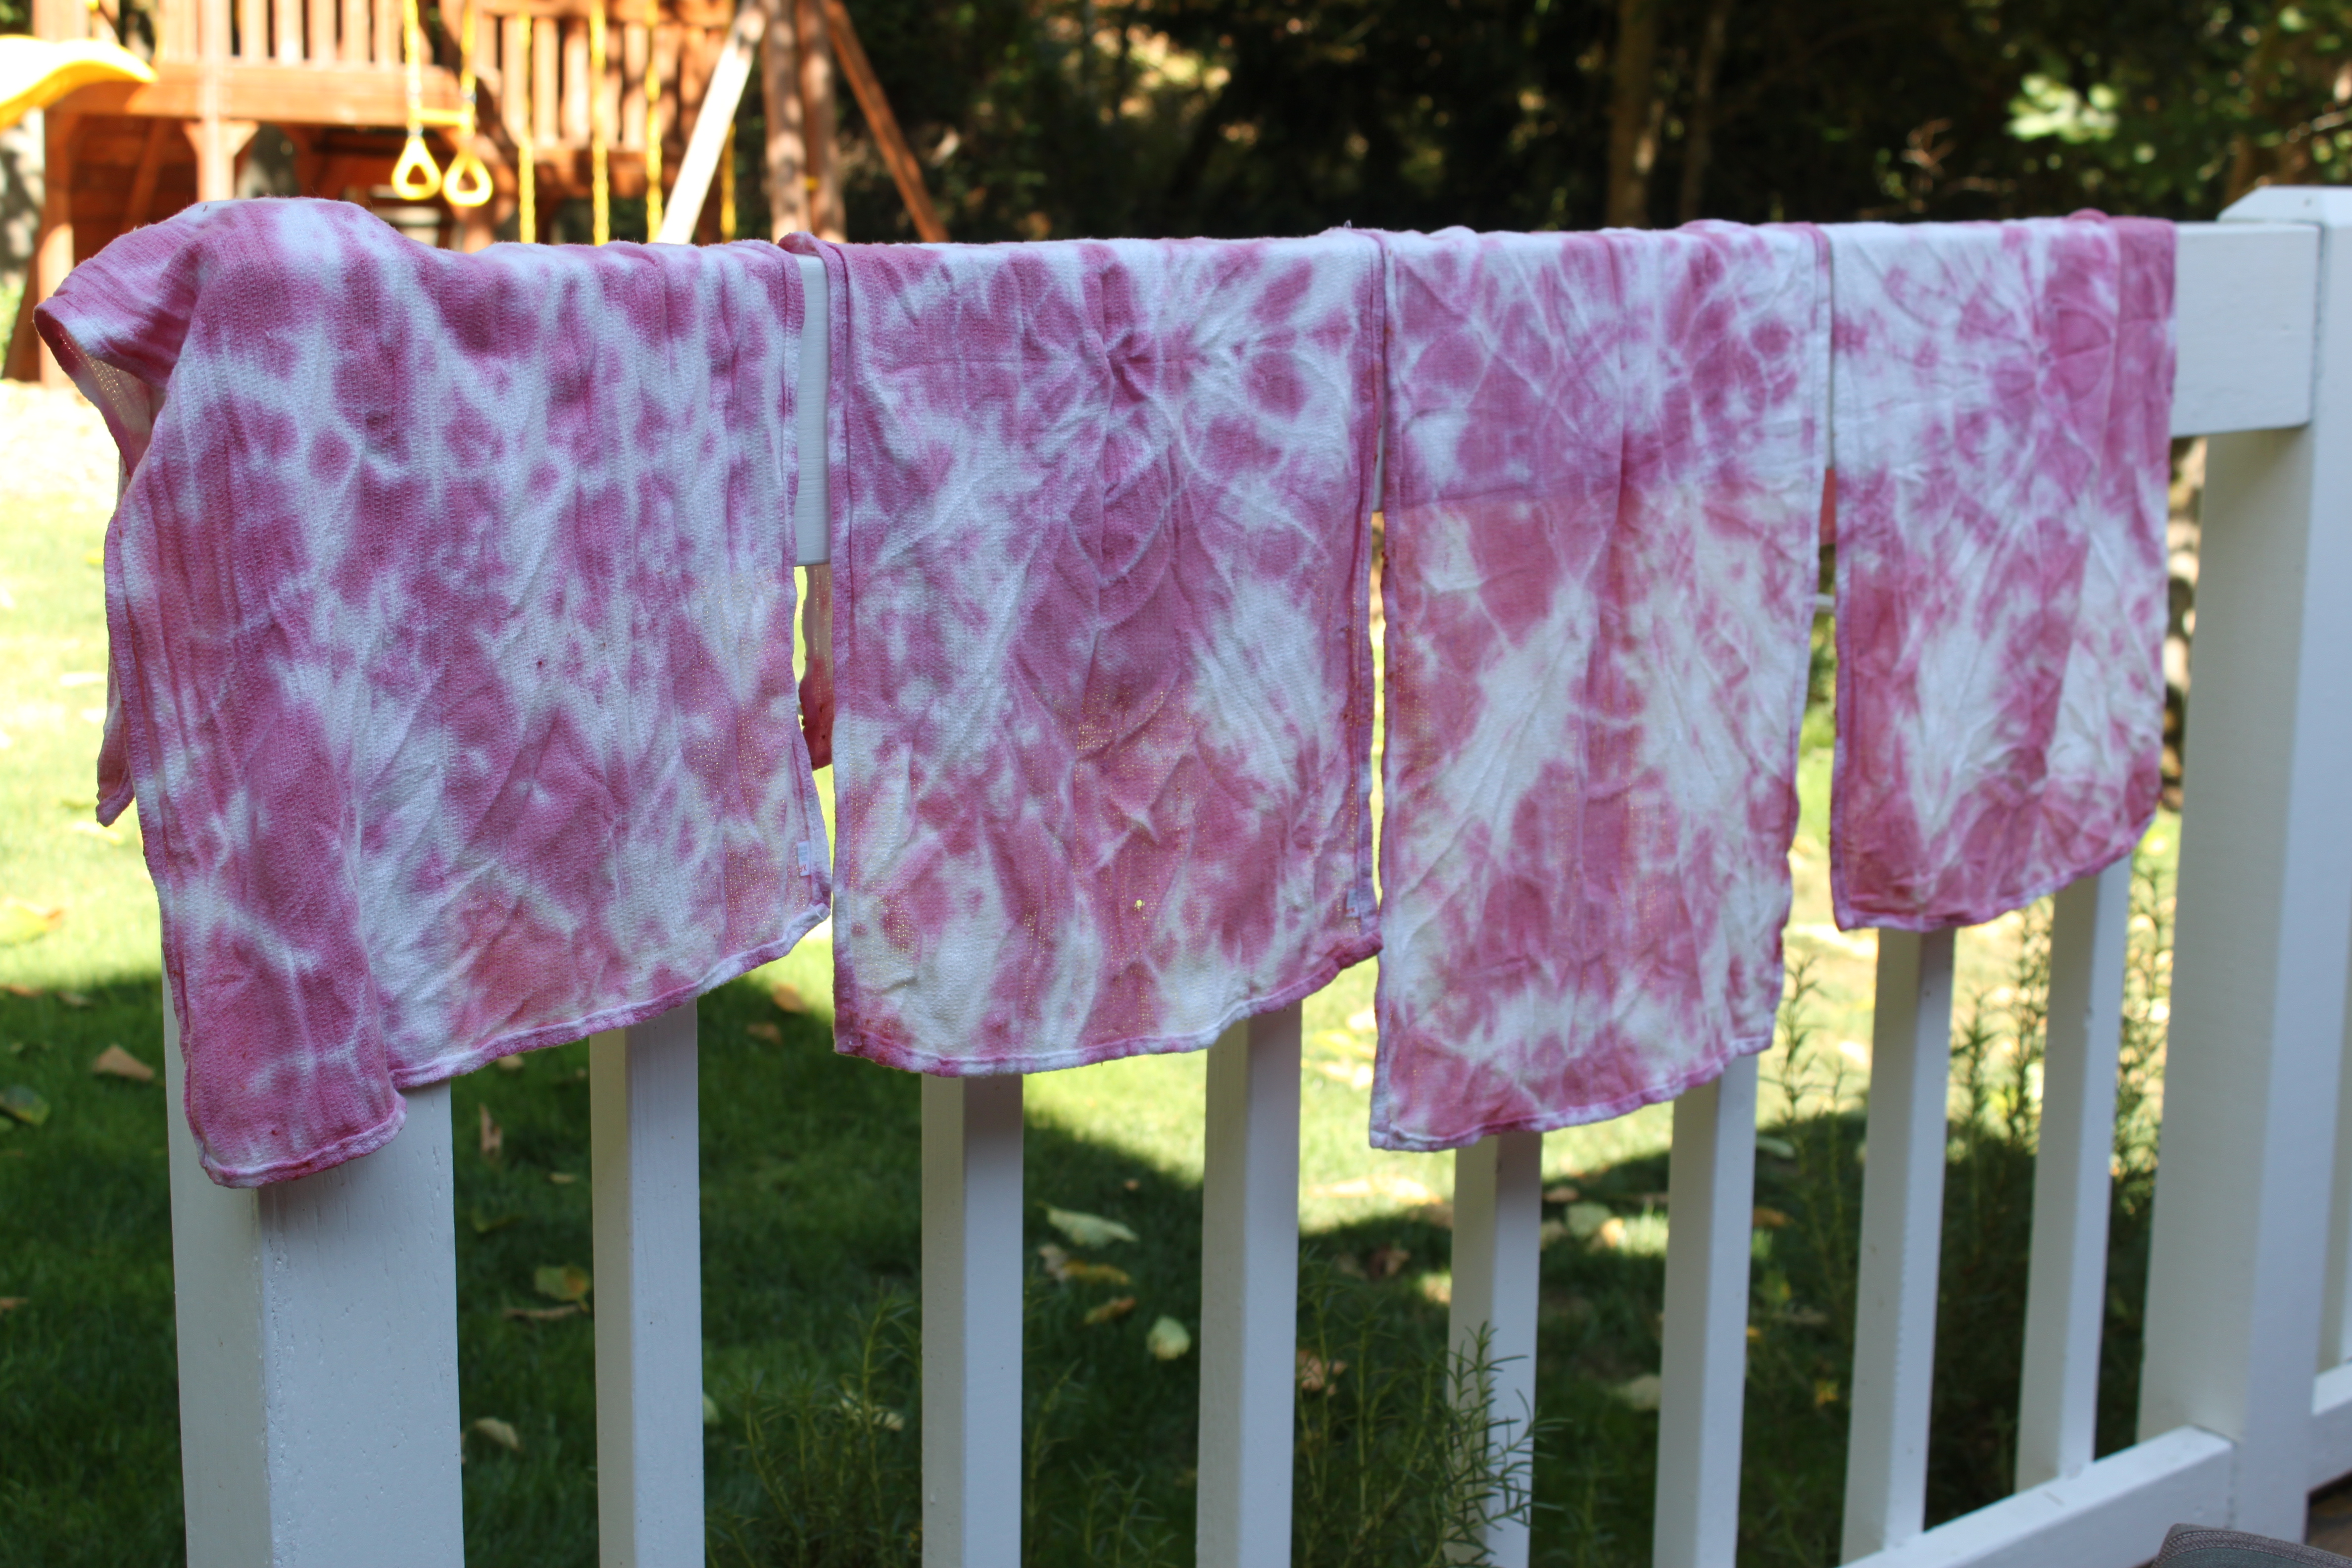
Step 7
The next day we snipped off the rubber bands to reveal the beautiful color and patterns that we made. Emma couldn't get over the result of this process. I was pretty impressed myself. Tie dye is always such a nice surprise. At this point, we let them sit another 24 hours before washing them. (The longer you let the dye go unwashed the deeper the color will be.)
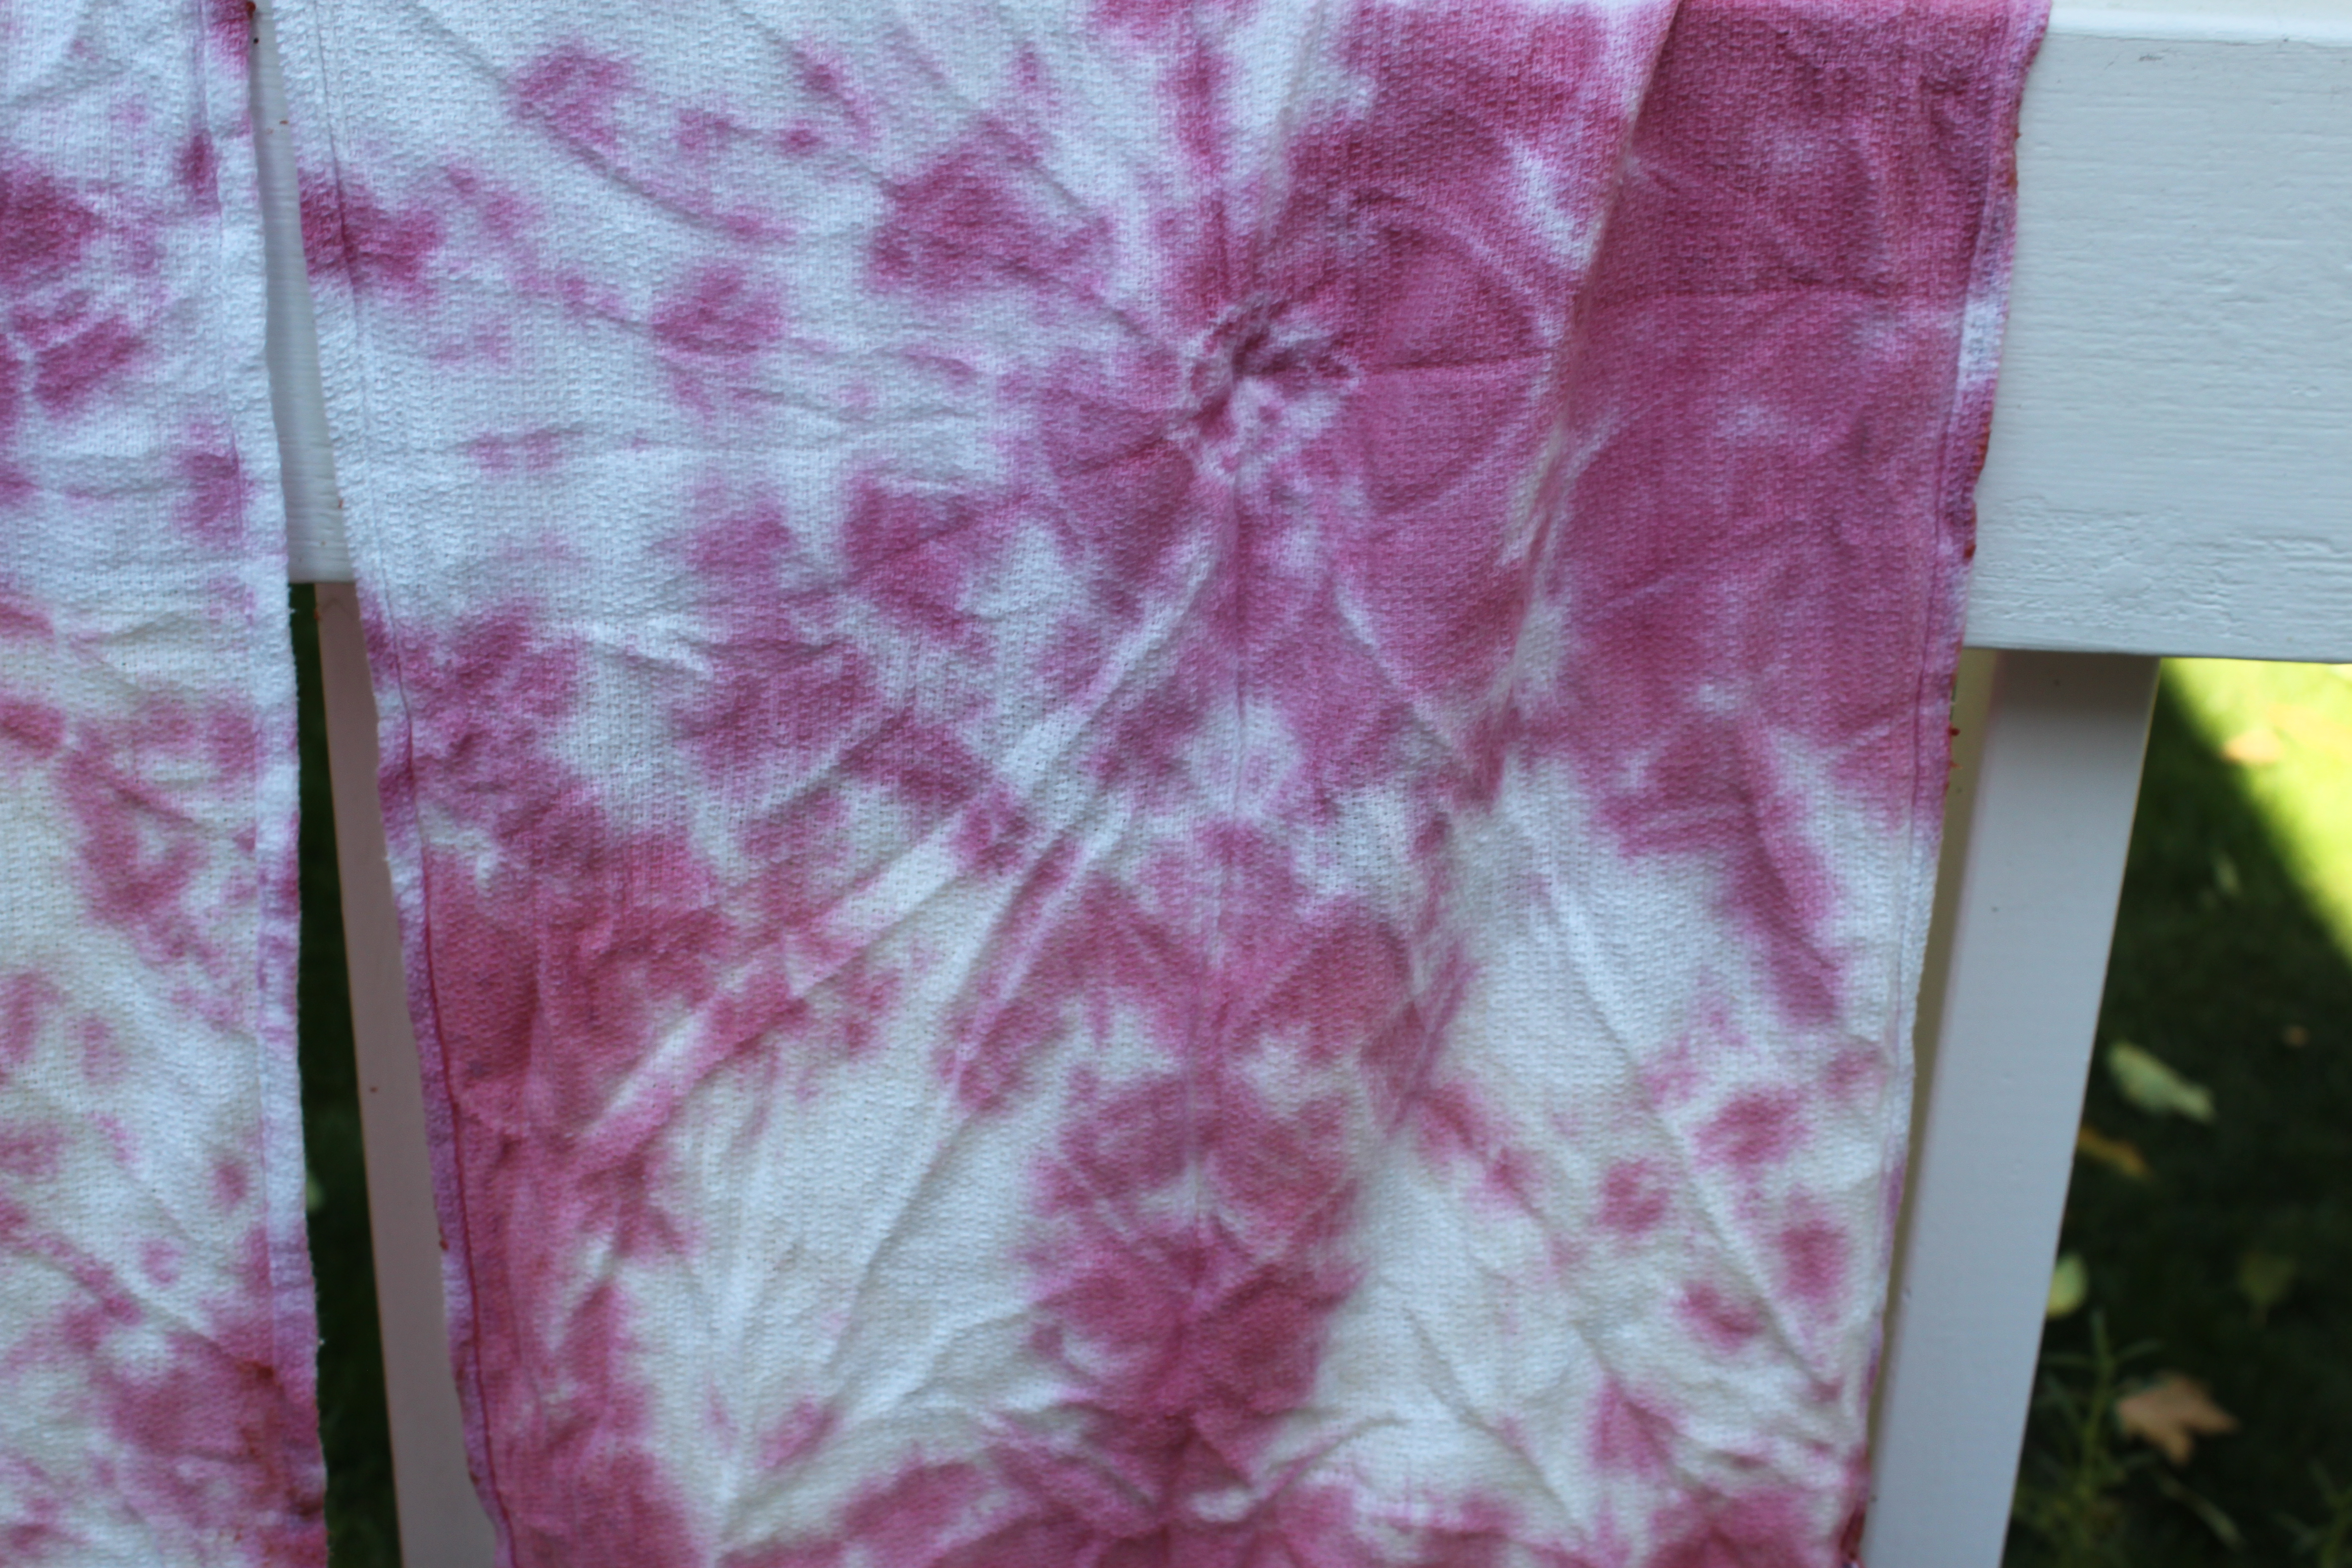
Done!
Our end result was so beautiful and festive. This was such a fun craft for my children to explore with new materials and textures. The napkins will be a lovely homemade addition to our Thanksgiving table. We will also use them in the kids' lunches instead of a paper napkins. So many lessons taught with cranberries!


