Step-by-step tutorial
Step 1
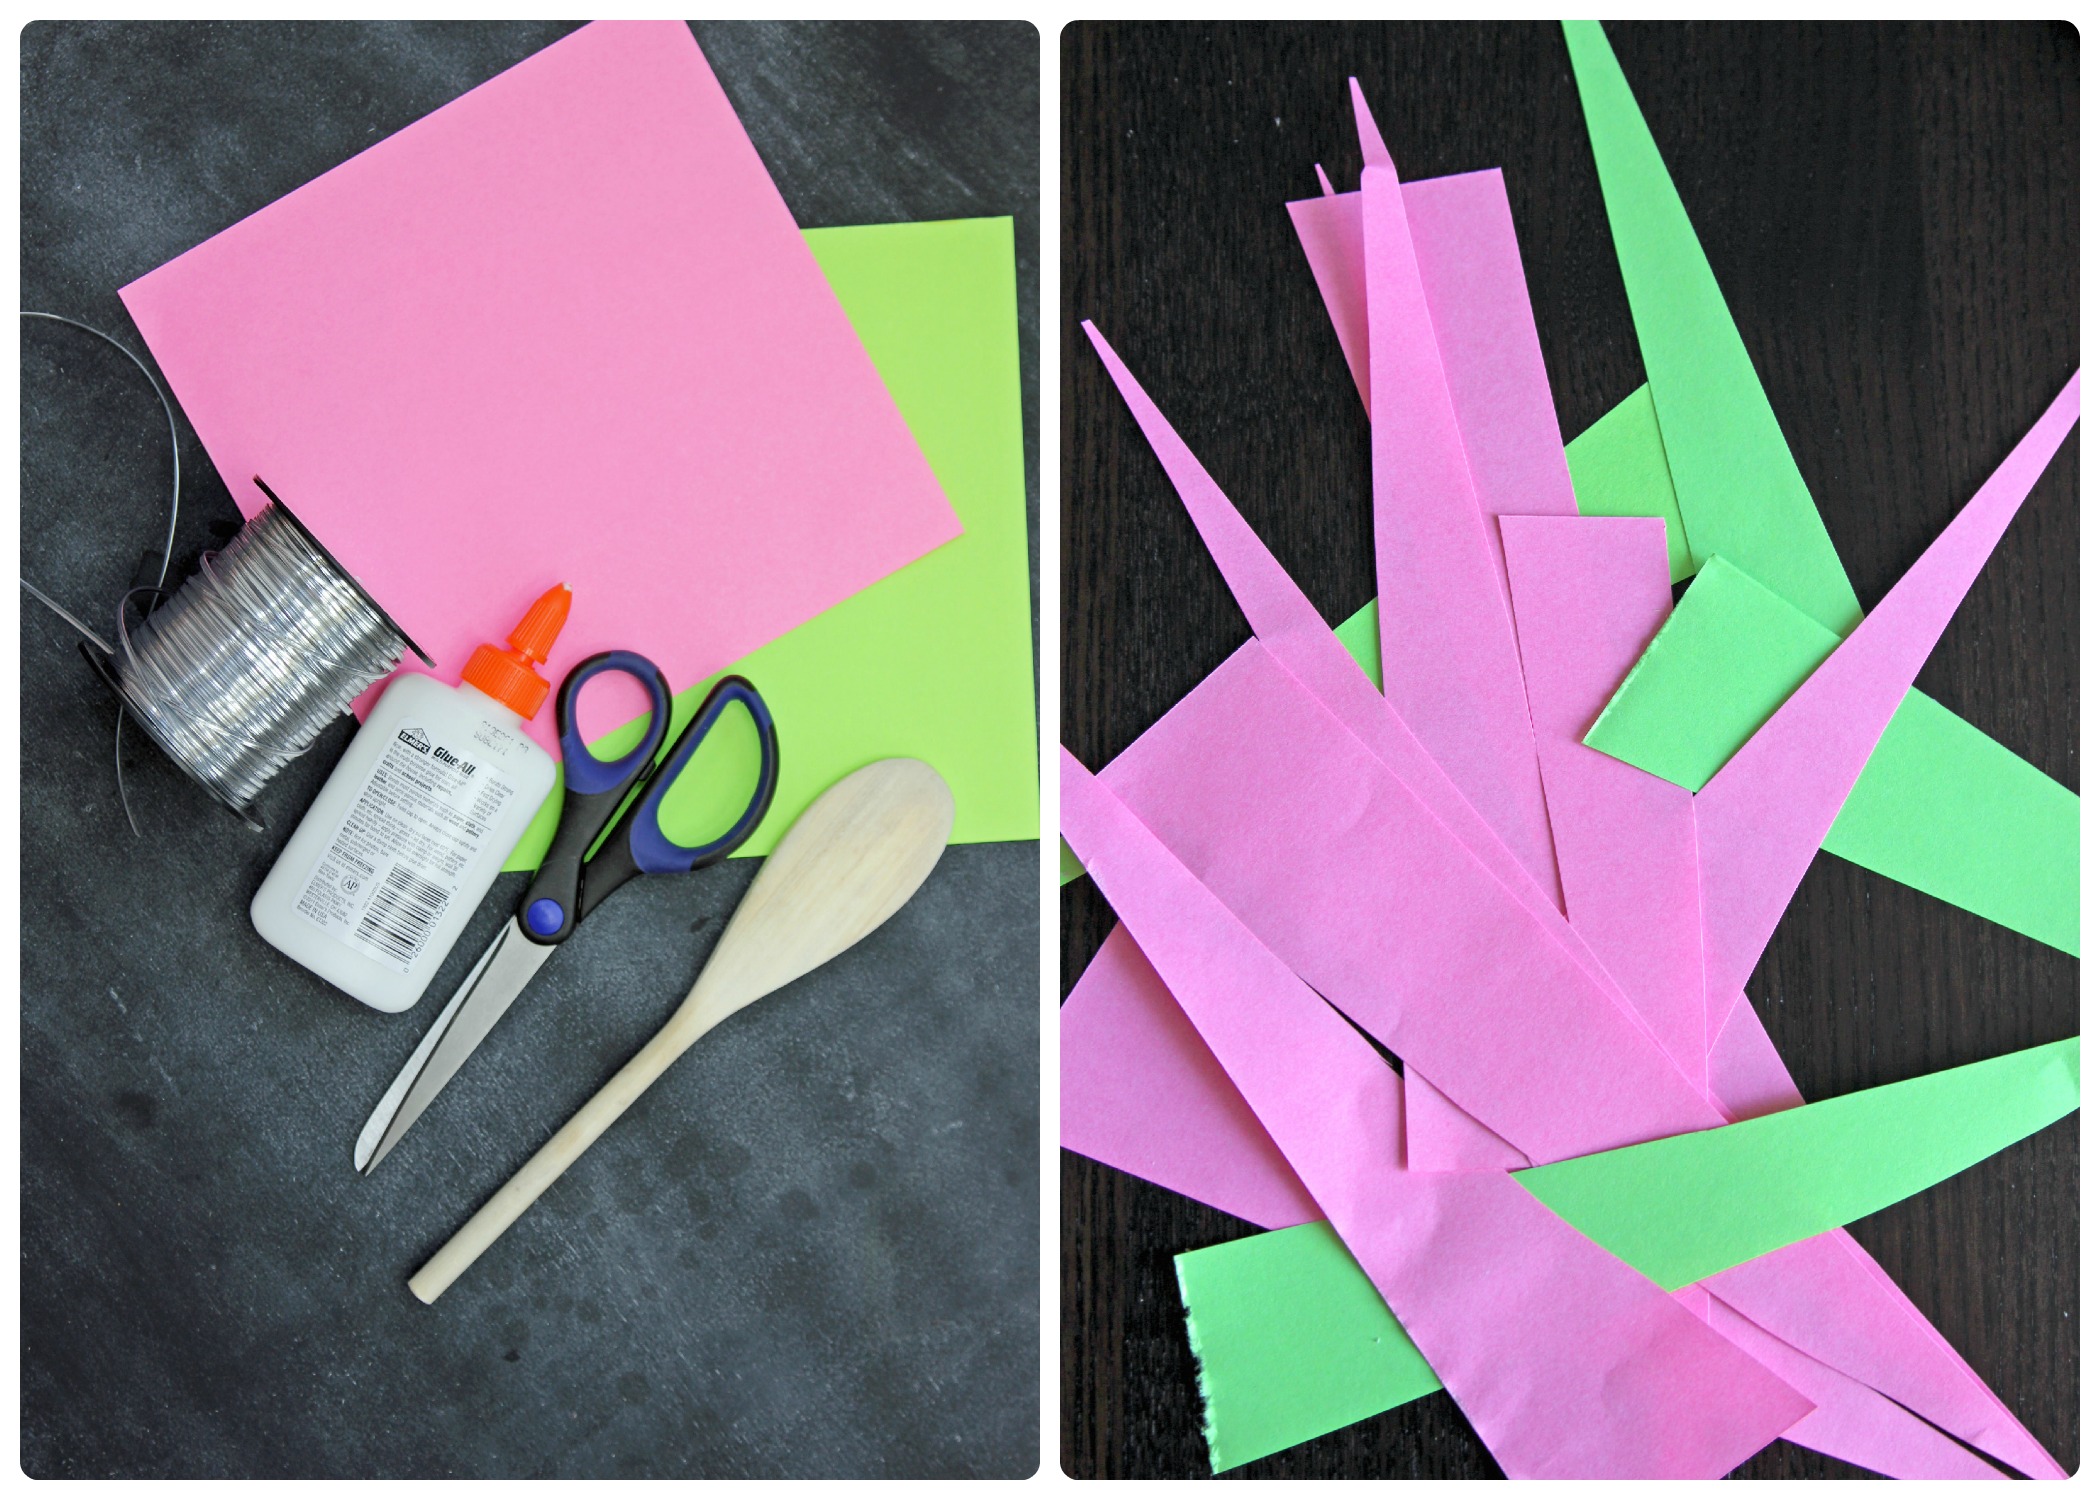
Start by gathering your materials. We used two 8x8" (20.3x20.3 cm) sheets of colored paper to make ours. Next cut the paper into long triangular strips. We were able to make 10 per sheet (20 triangles total to make this necklace).

Step 2
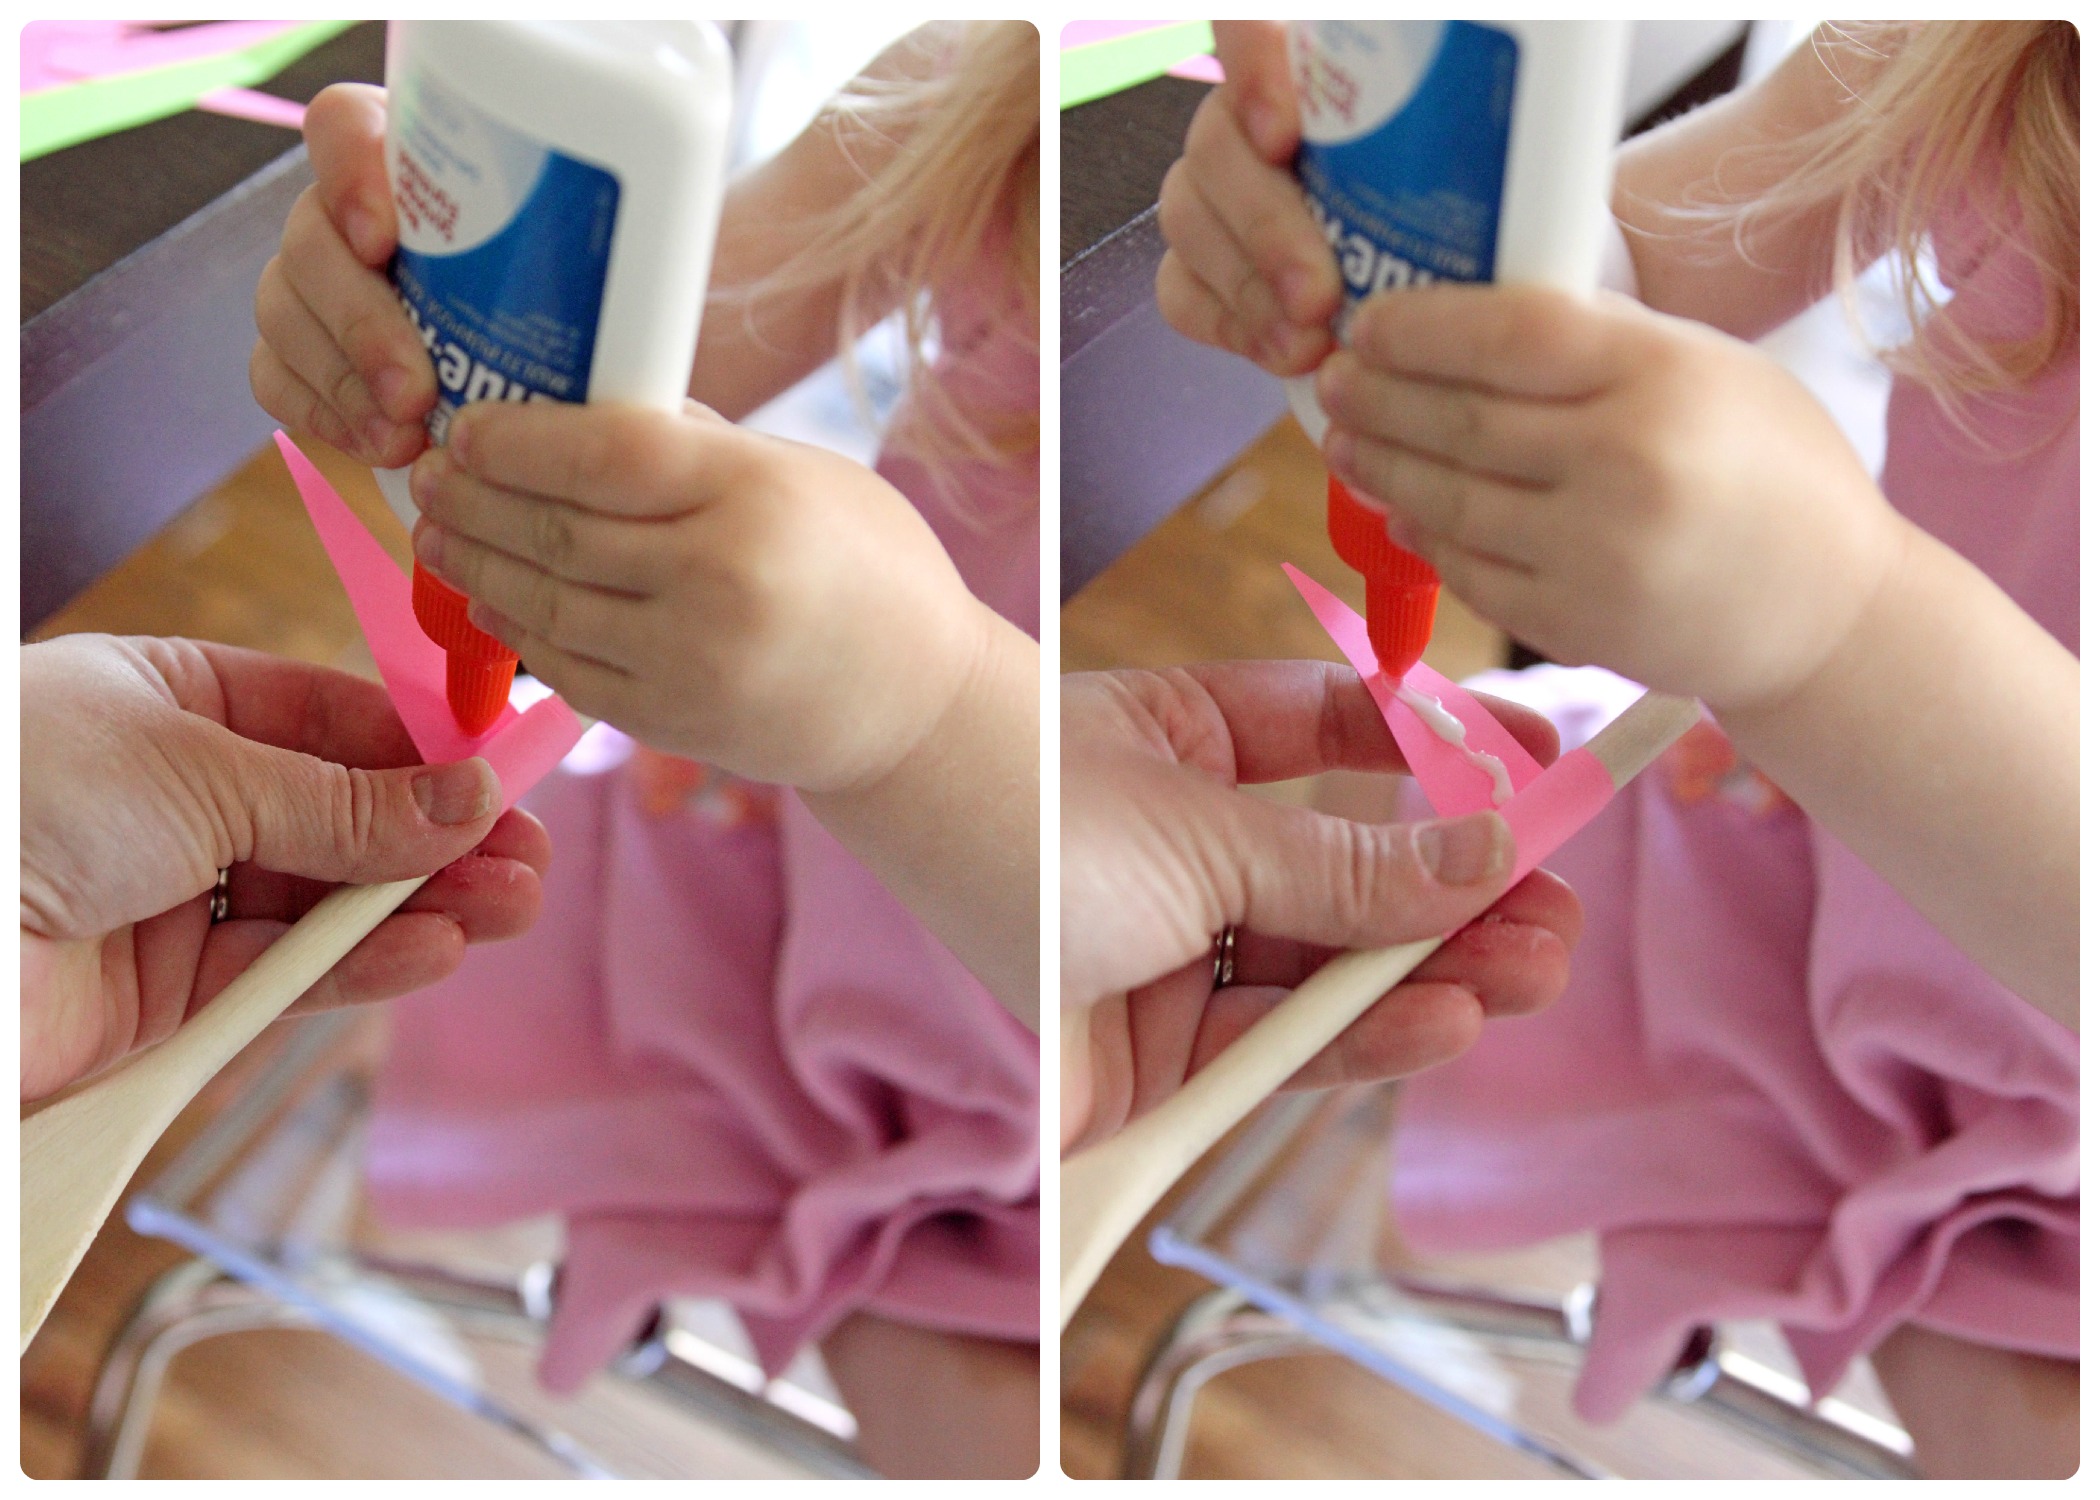
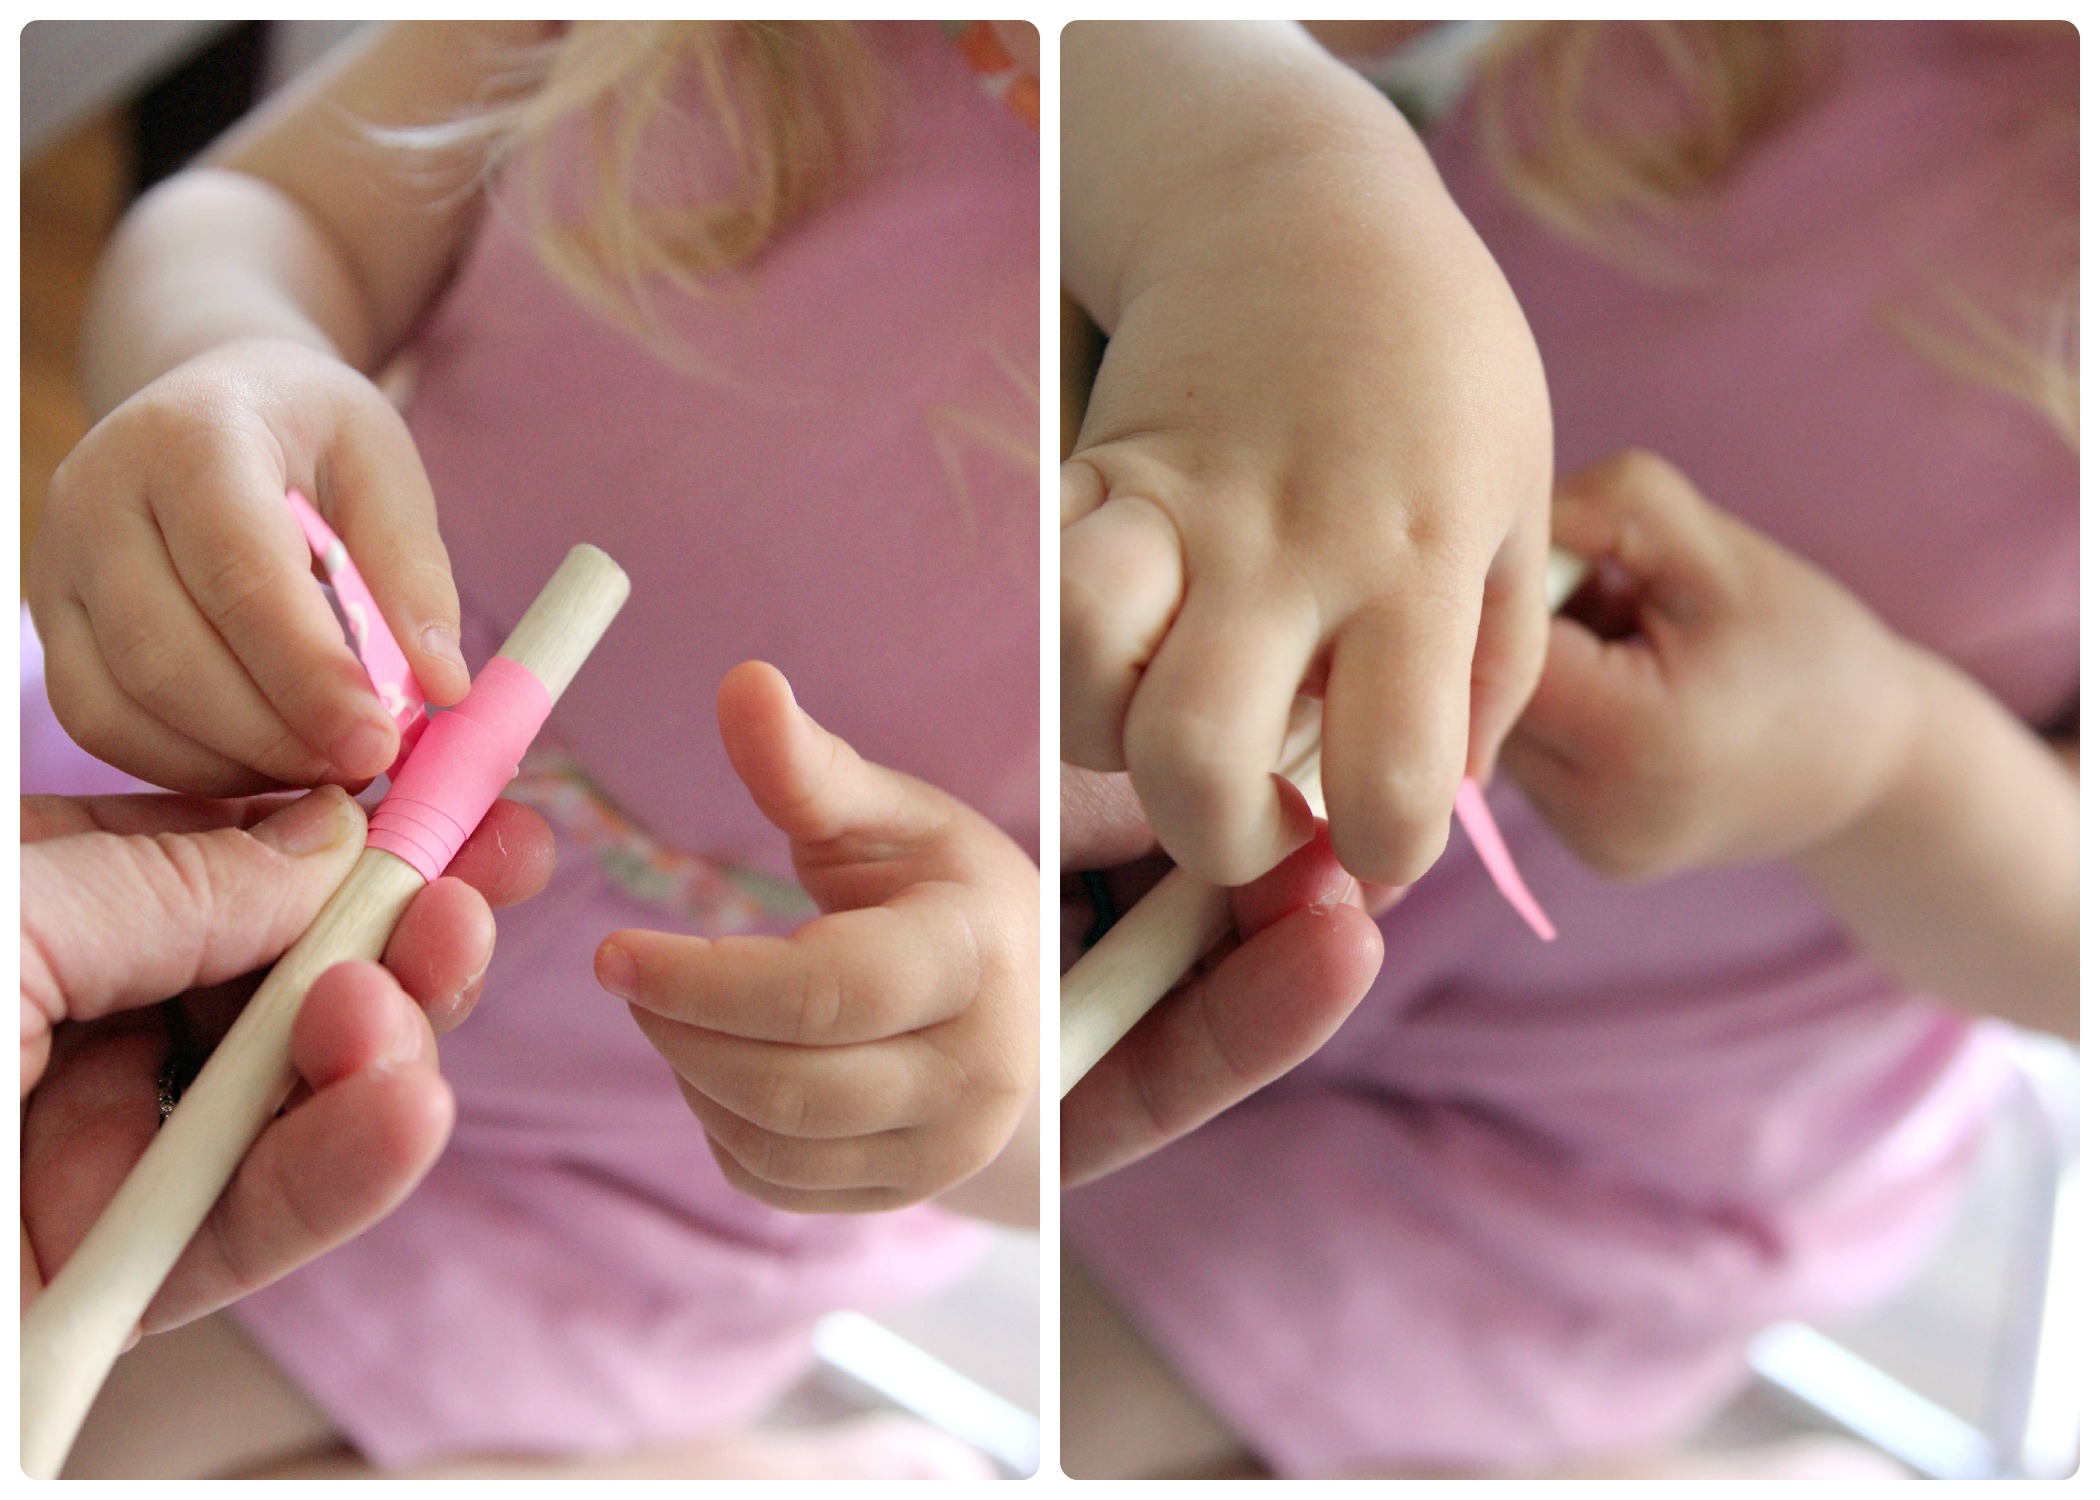
Starting with the wider end, wrap the paper around the wooden spoon base--snug but not tight--until about 2 inches (5.1 cm) remain of the pointed end. Apply the white glue to this section.
Step 3
Finish rolling the last of the paper strip around, pushing the remaining glue all over the bead, covering it completely to seal the bead. Allow to sit for a minute or two, then slowly slide off the spoon to dry further. Continue with the remaining triangular pieces to complete the necklace.
Step 4
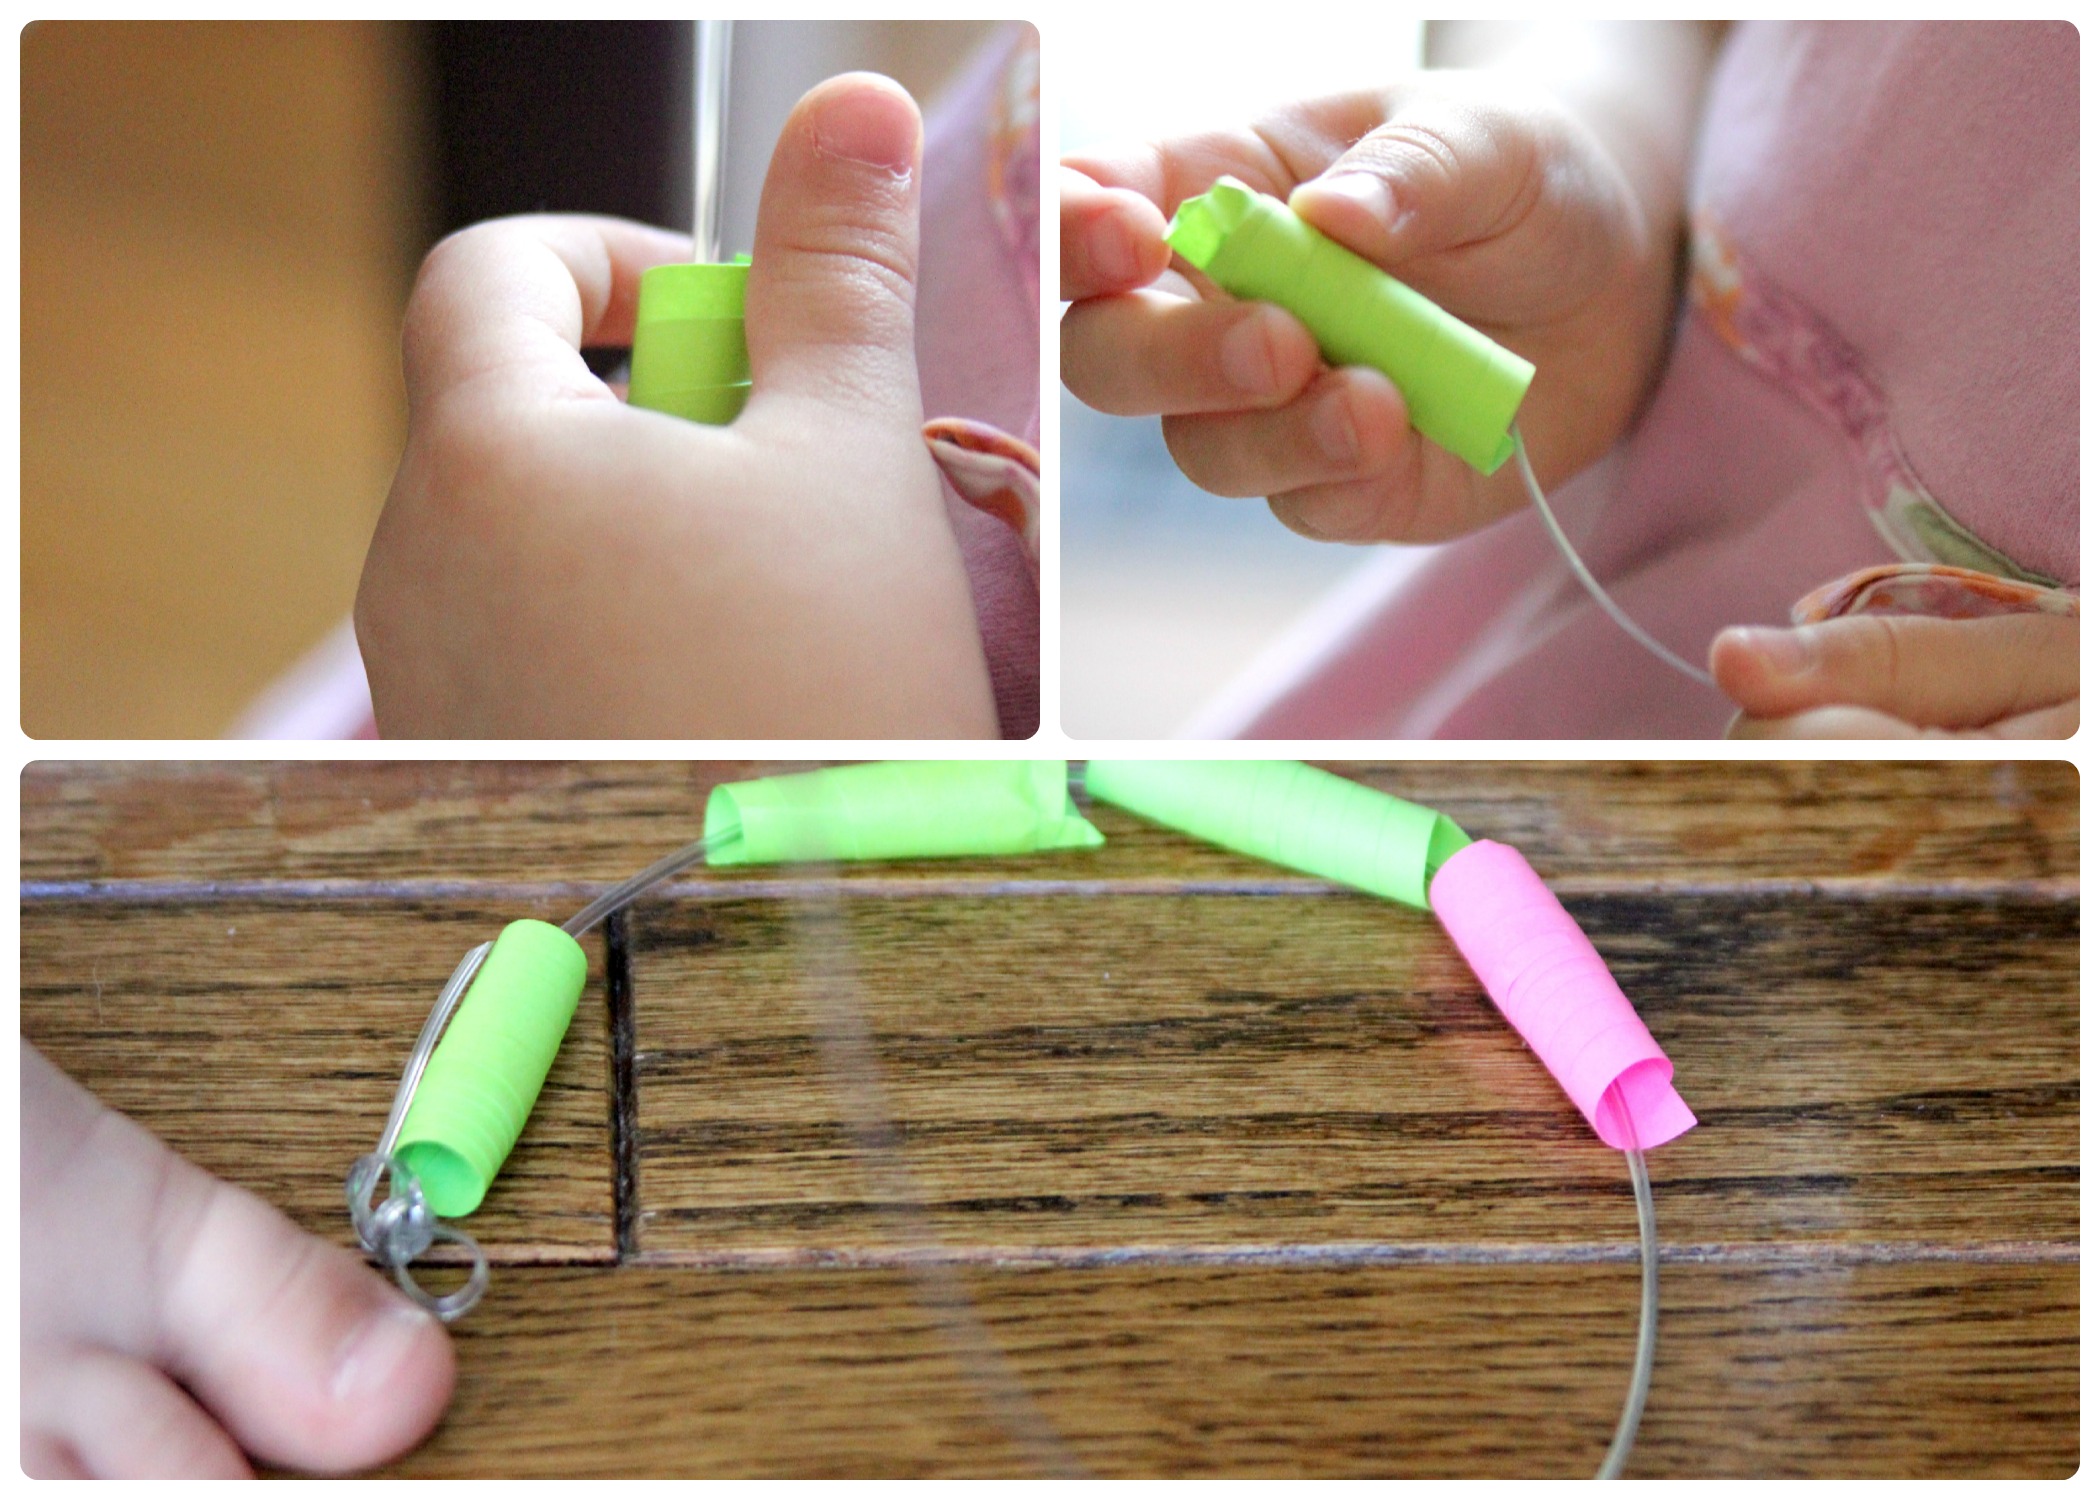
Next, cut a piece of plastic lacing the length of your child's desired necklace--V wanted hers long. Then, tie a small knot on one end of the plastic lacing. Now comes the fun part--a great fine motor skill too--threading the necklace!
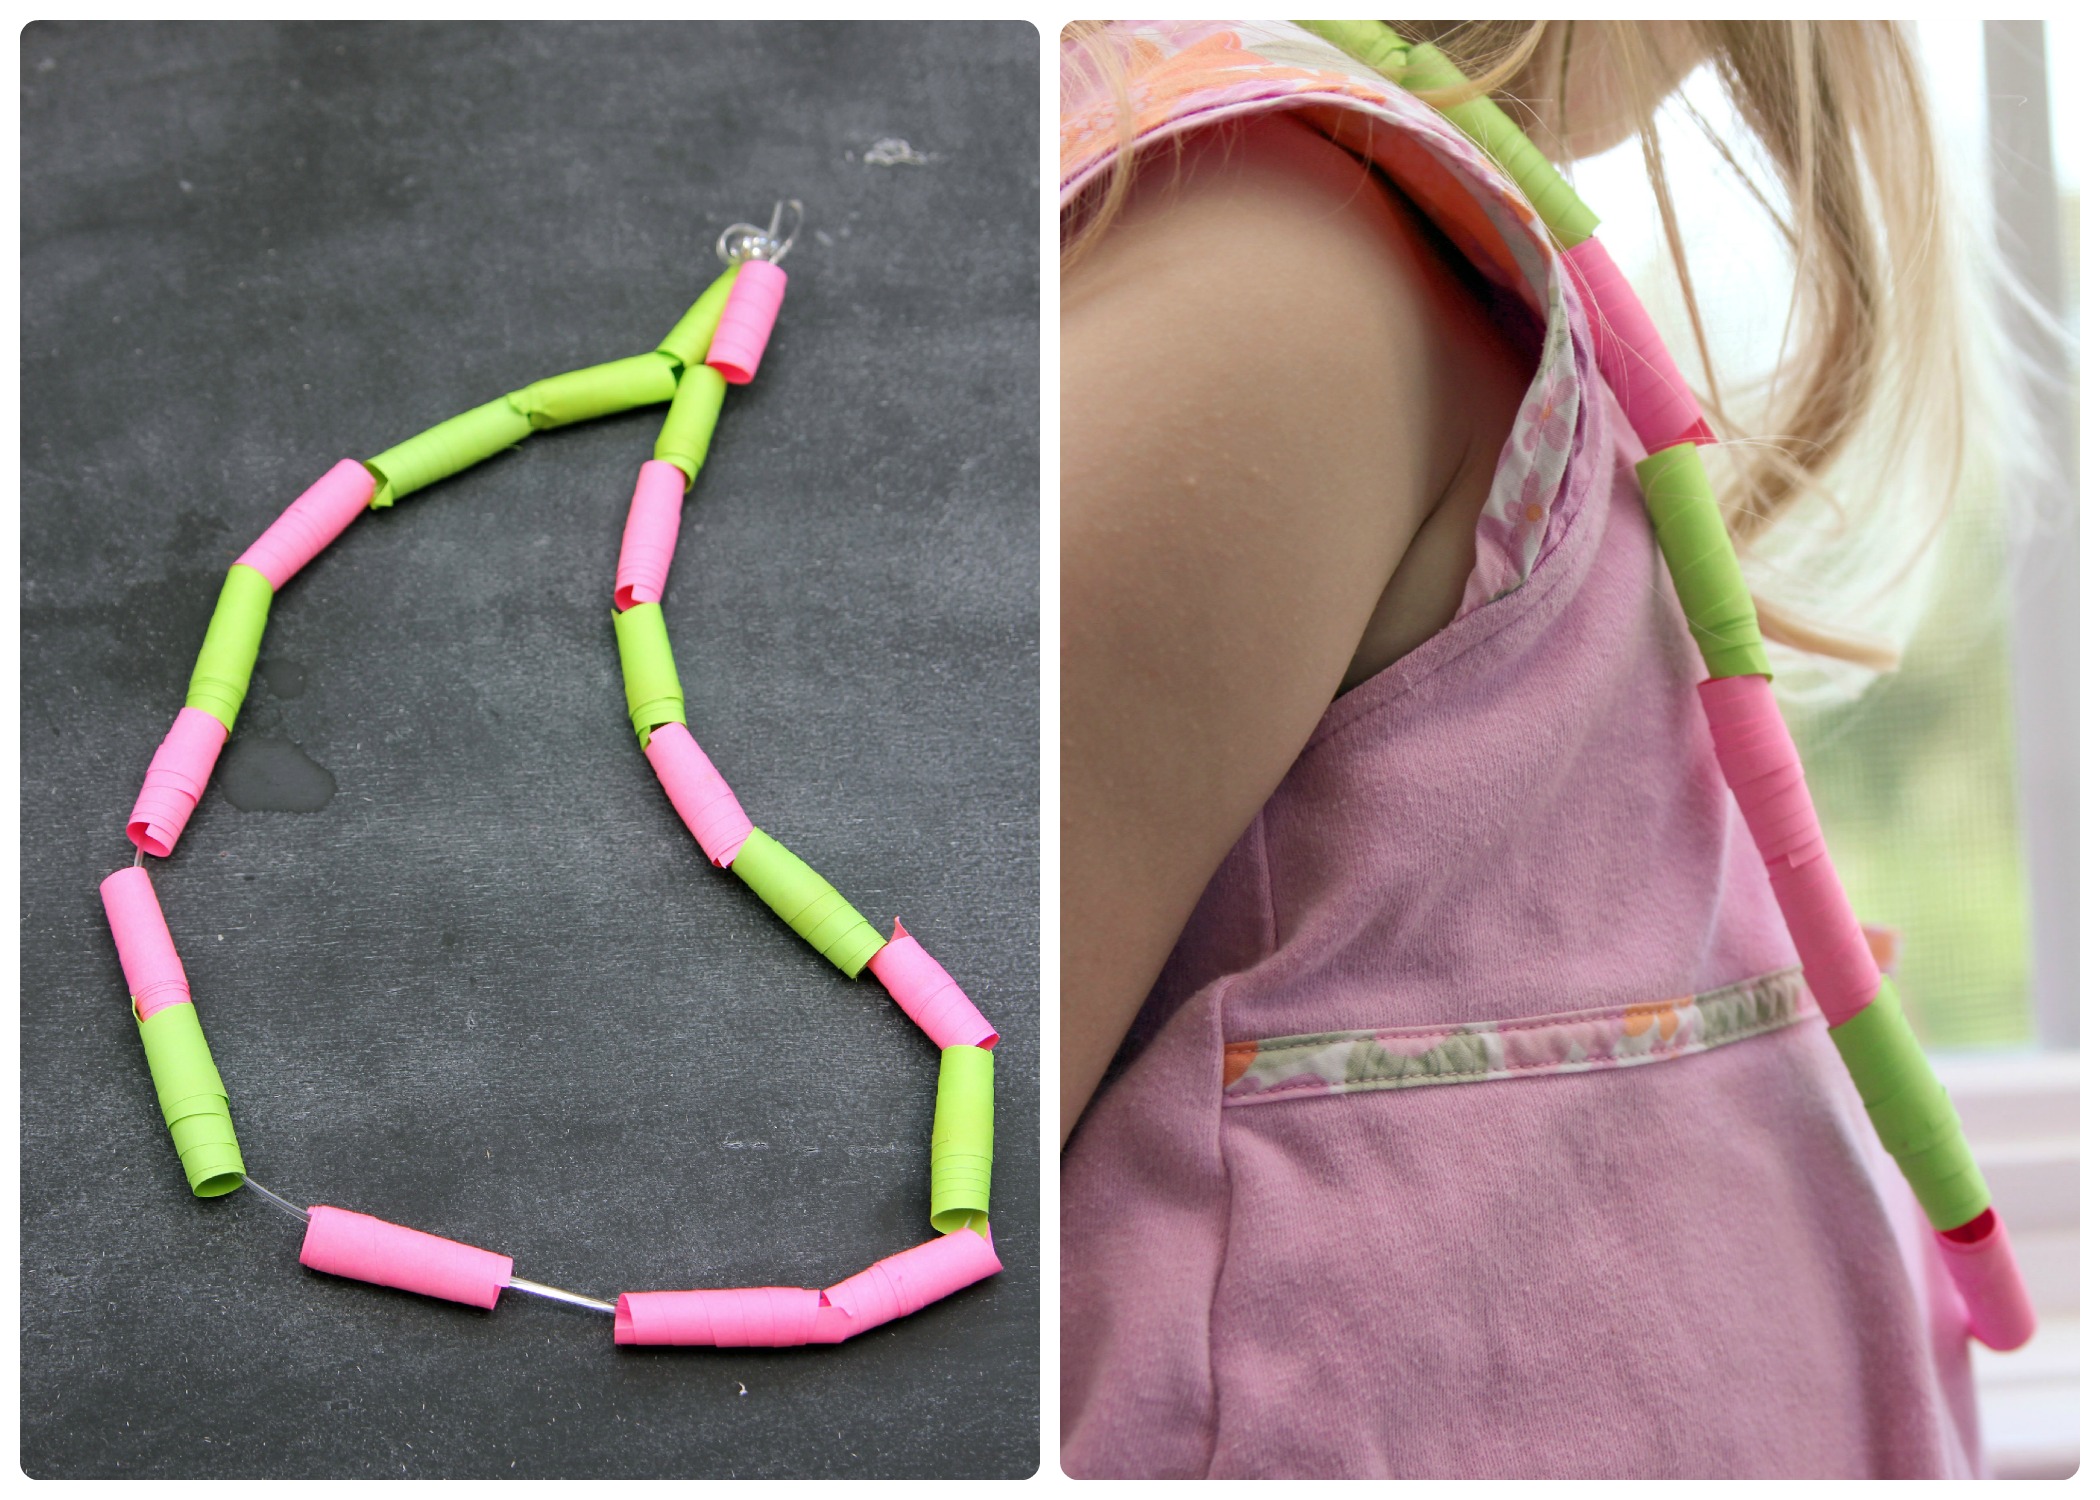
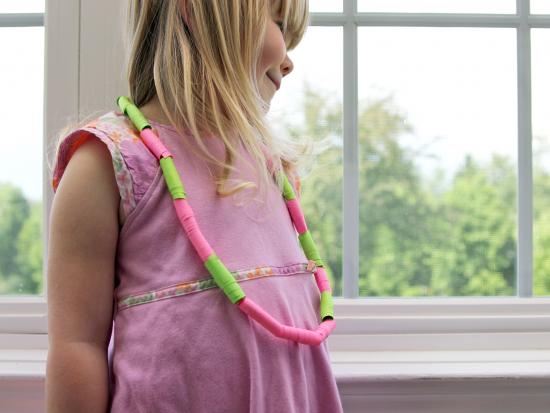
Done!
When finished threading the beads, tie the two ends together to make your lovely little toddler paper bead necklace!