Step-by-step tutorial
Step 1
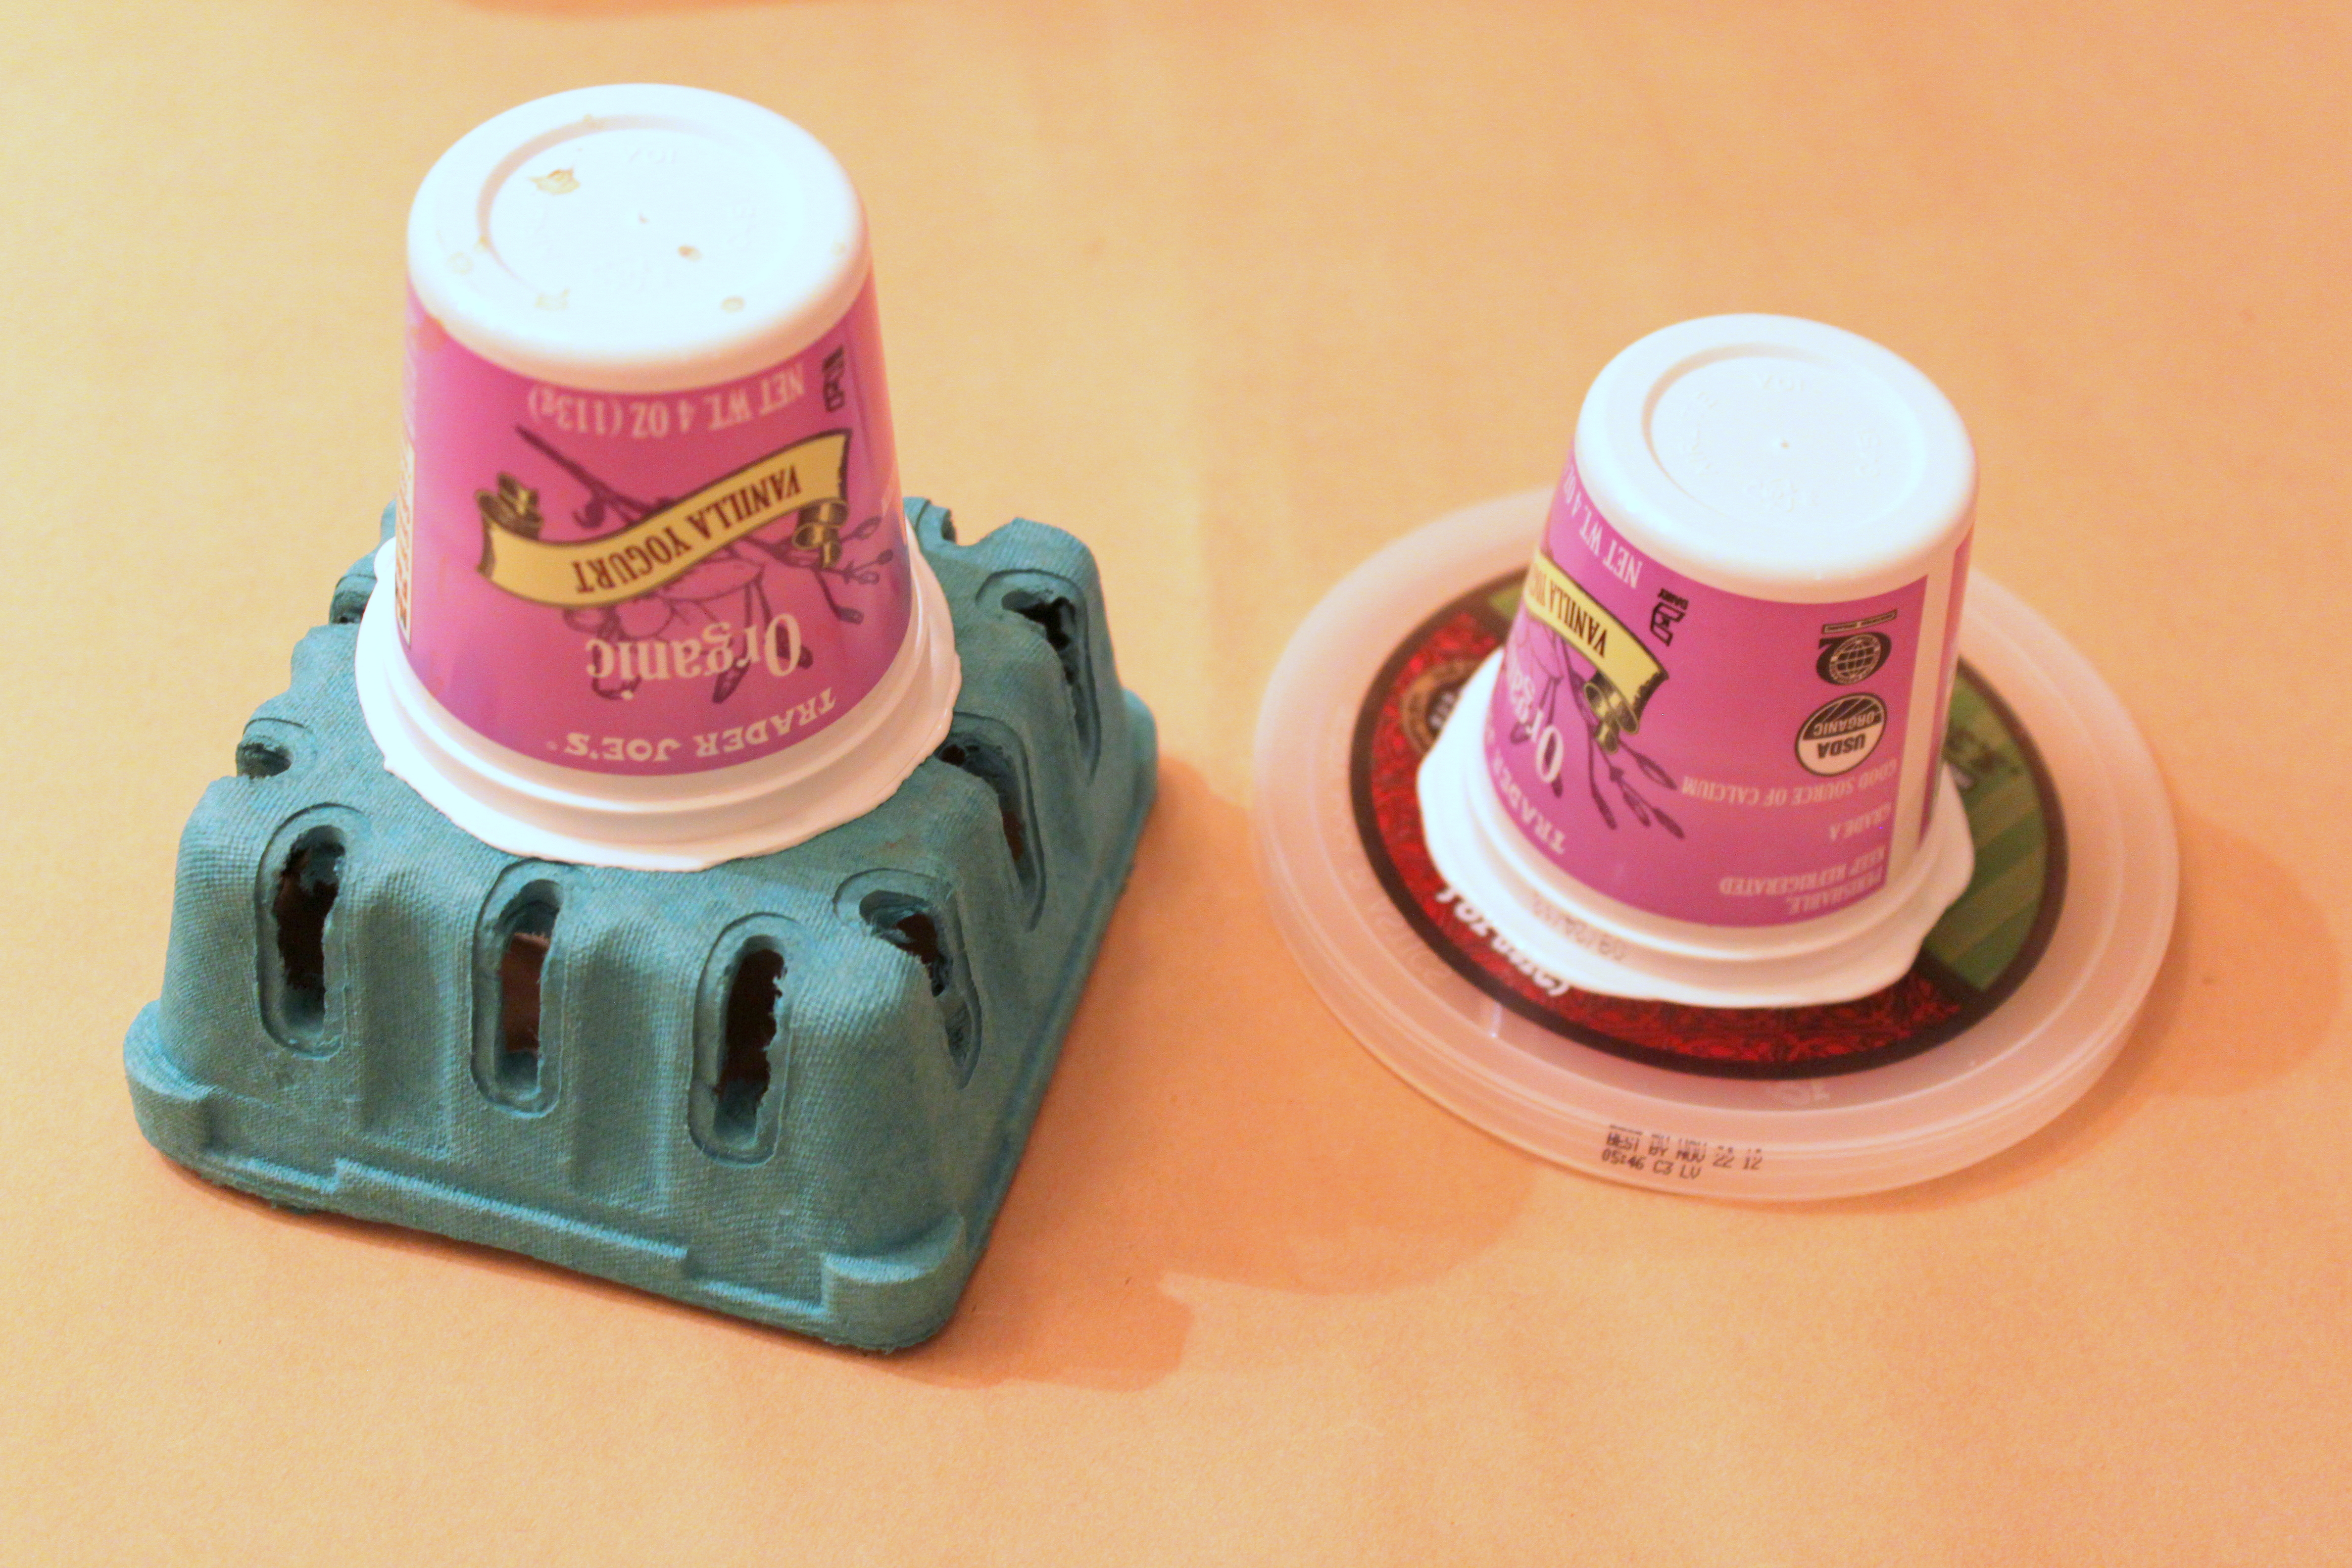
I love when we can dig into our recycle bin and show the kids that trash can become treasures! To start, make your hat form with containers. We used small yogurt containers, a large yogurt lid, and a berry basket for our hats.

Step 2
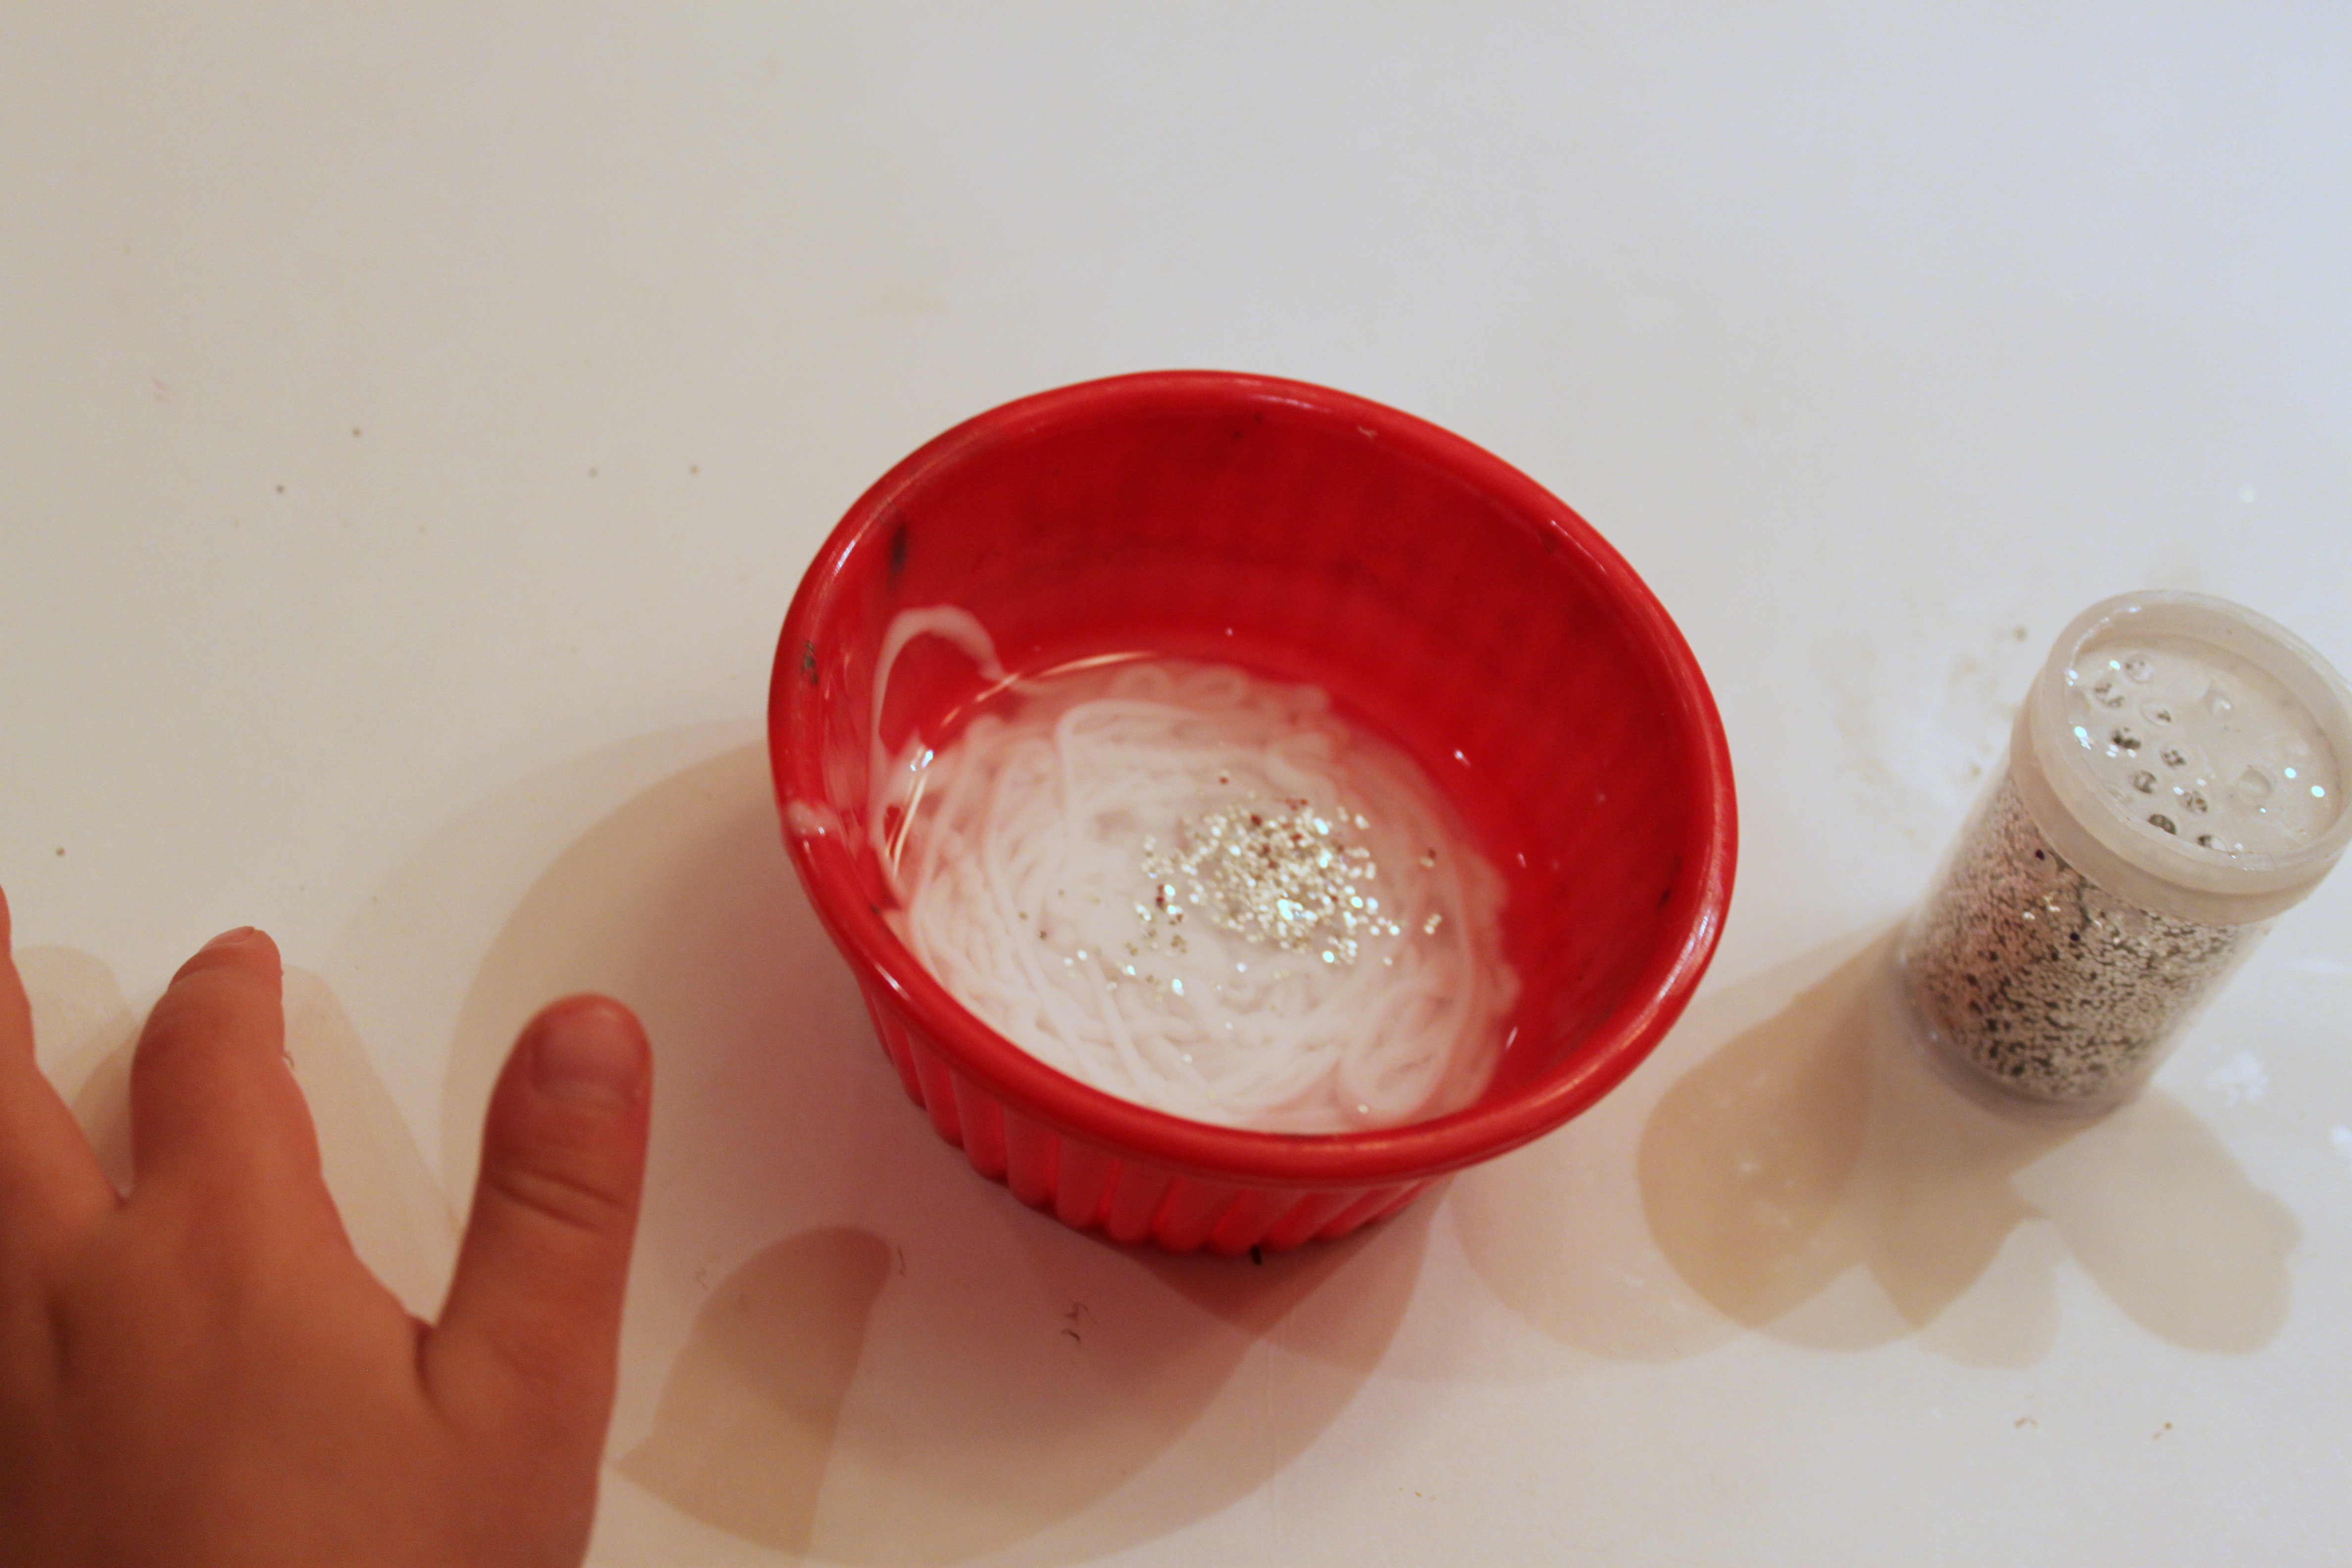
While you let the hats dry a bit, prepare the glue mixture. We mixed about 1/4 water to 3/4 glue and added some glitter. (This was a great way to use glitter without the mess. It was right in the glue mixture and stayed put!)
Step 3
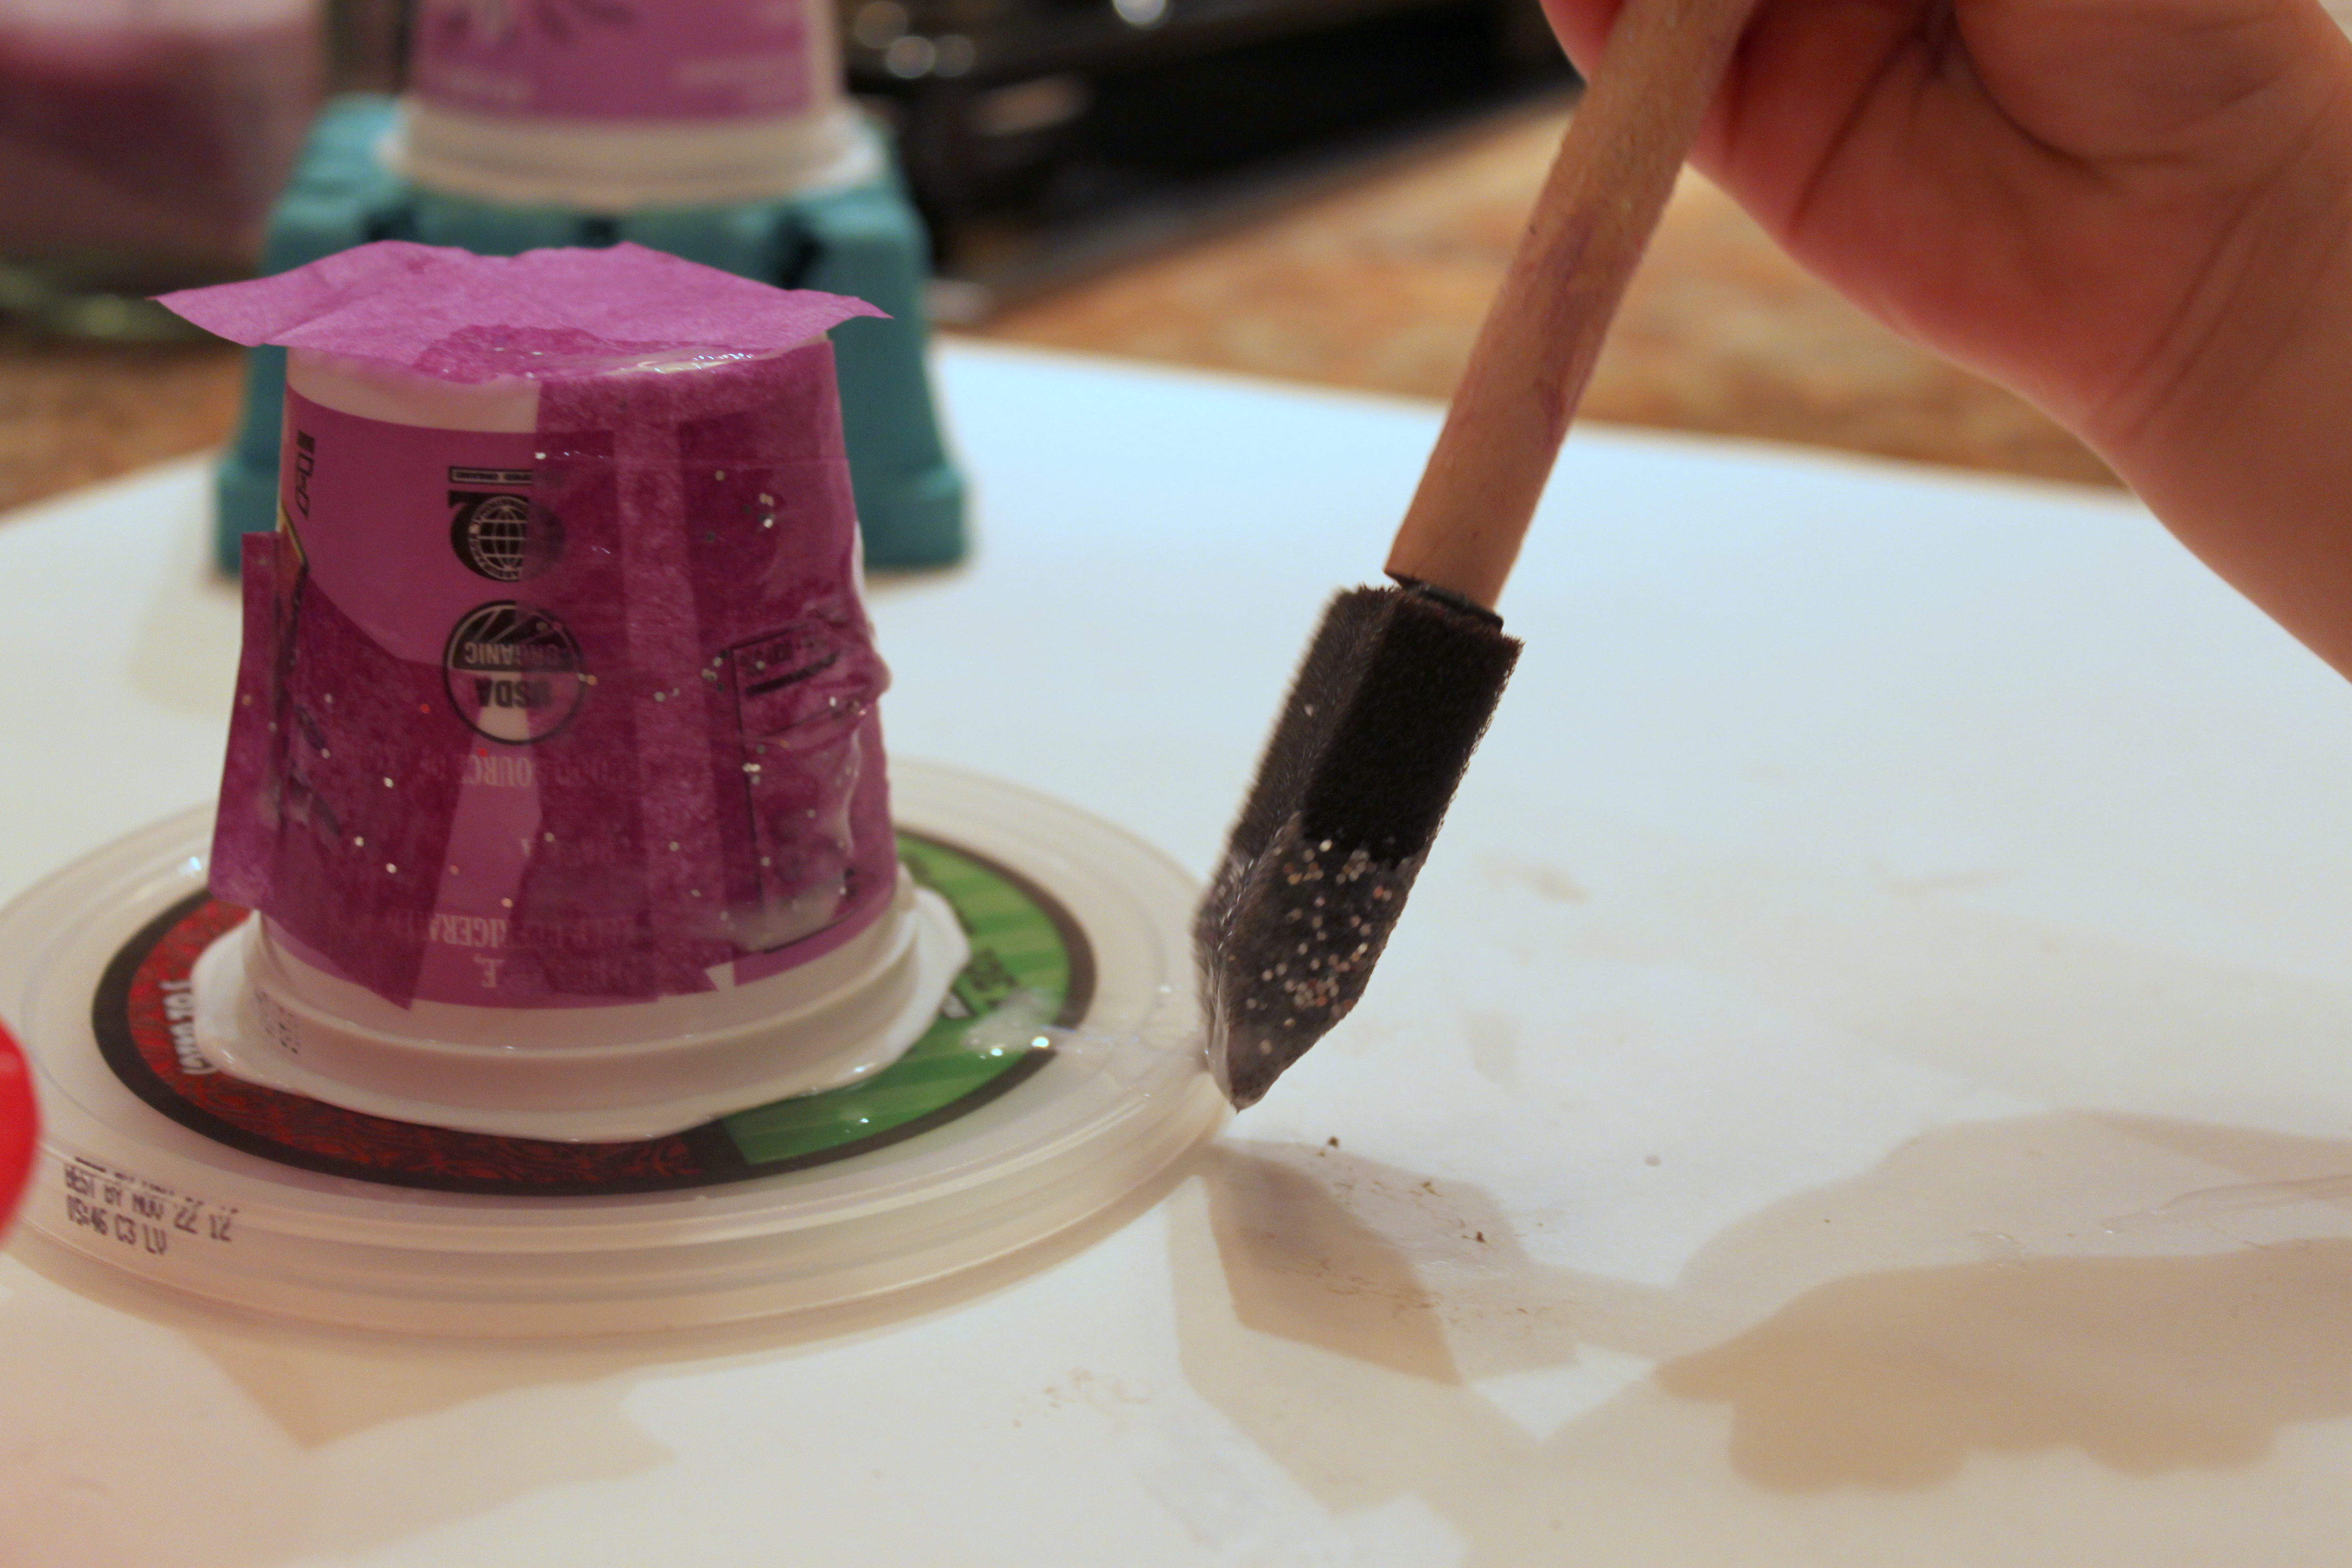
Paint the glue right over tissue squares on the hats until you cover the entire hat. My two old is pretty good at this. The sponge brush is much easier for him to use.
Step 4
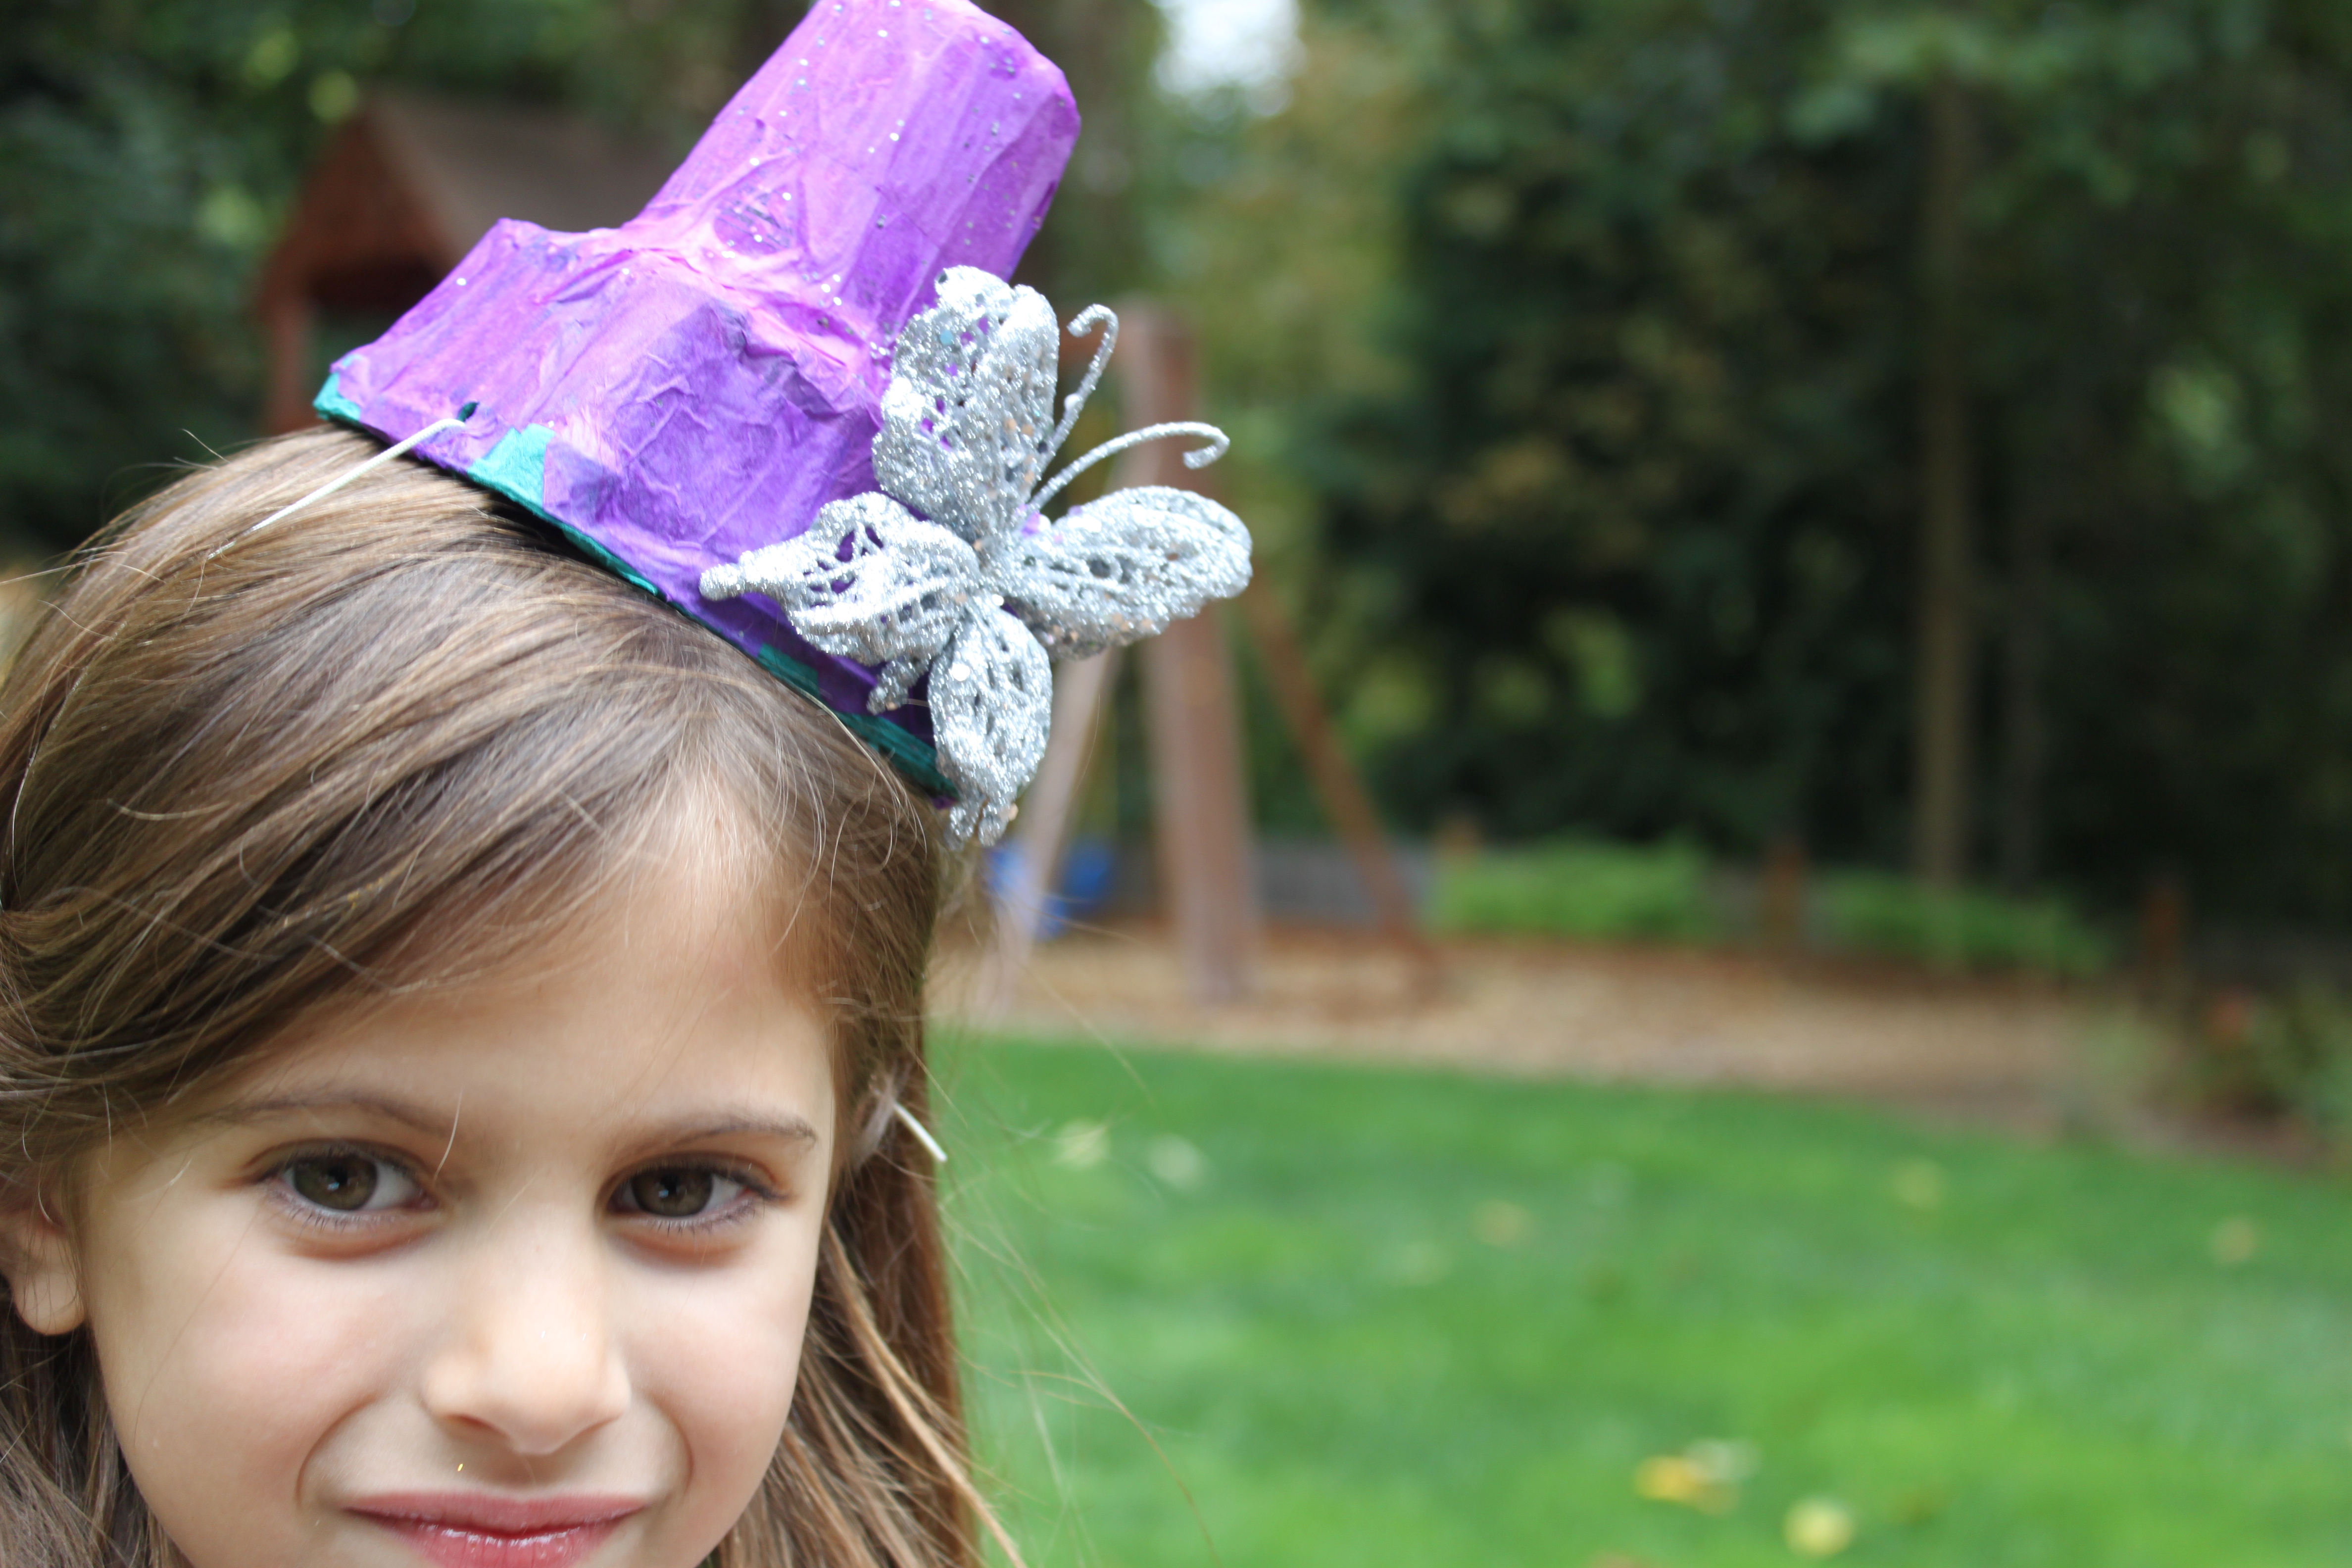
Look at that! You can hardly tell what the hat's made out of now. Once your hat is completely covered, it will need to dry before decorating any further. (Since I did this part with my two-year-old, it was perfect. I like breaking things up for him.)

Step 5
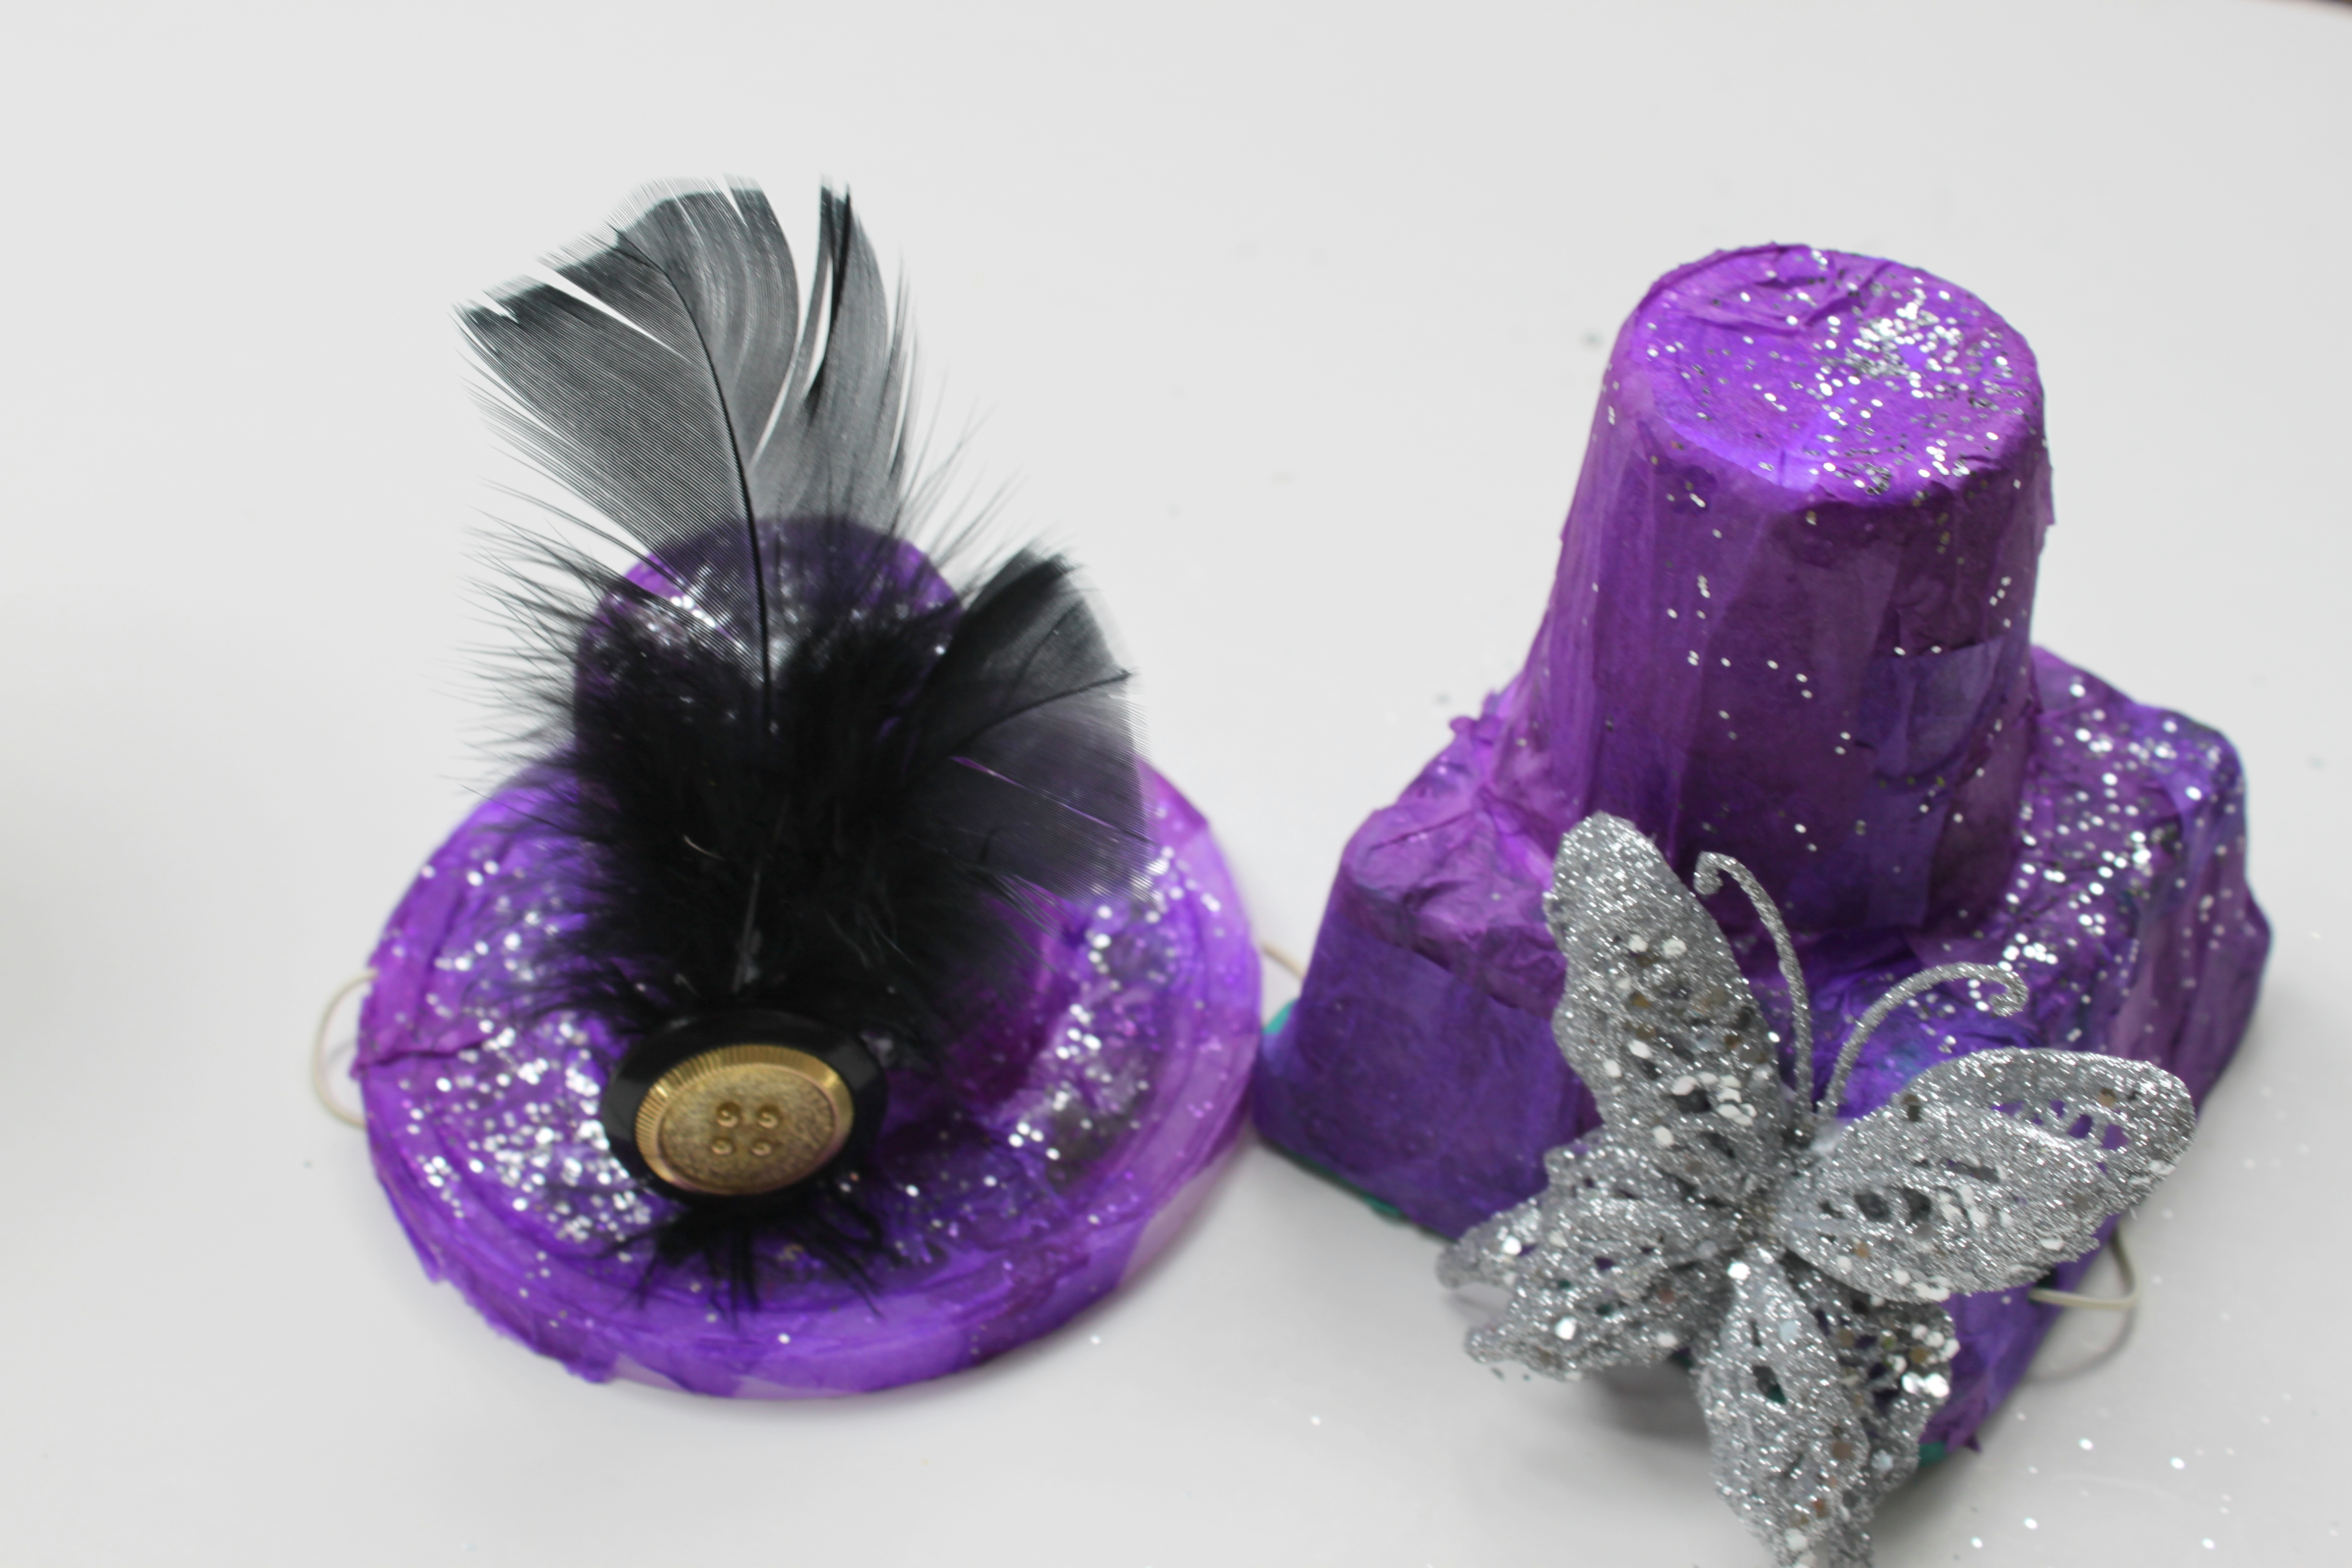
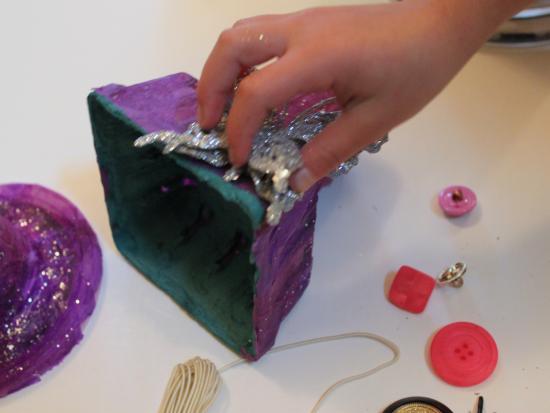
While Grayson napped, my five-year-old stepped in to decorate the hats. Collect all sorts of pretty things to fancy up your hat. We chose a pretty butterfly, feathers, and a button and added the doodads to the hats using tacky glue.
Step 6
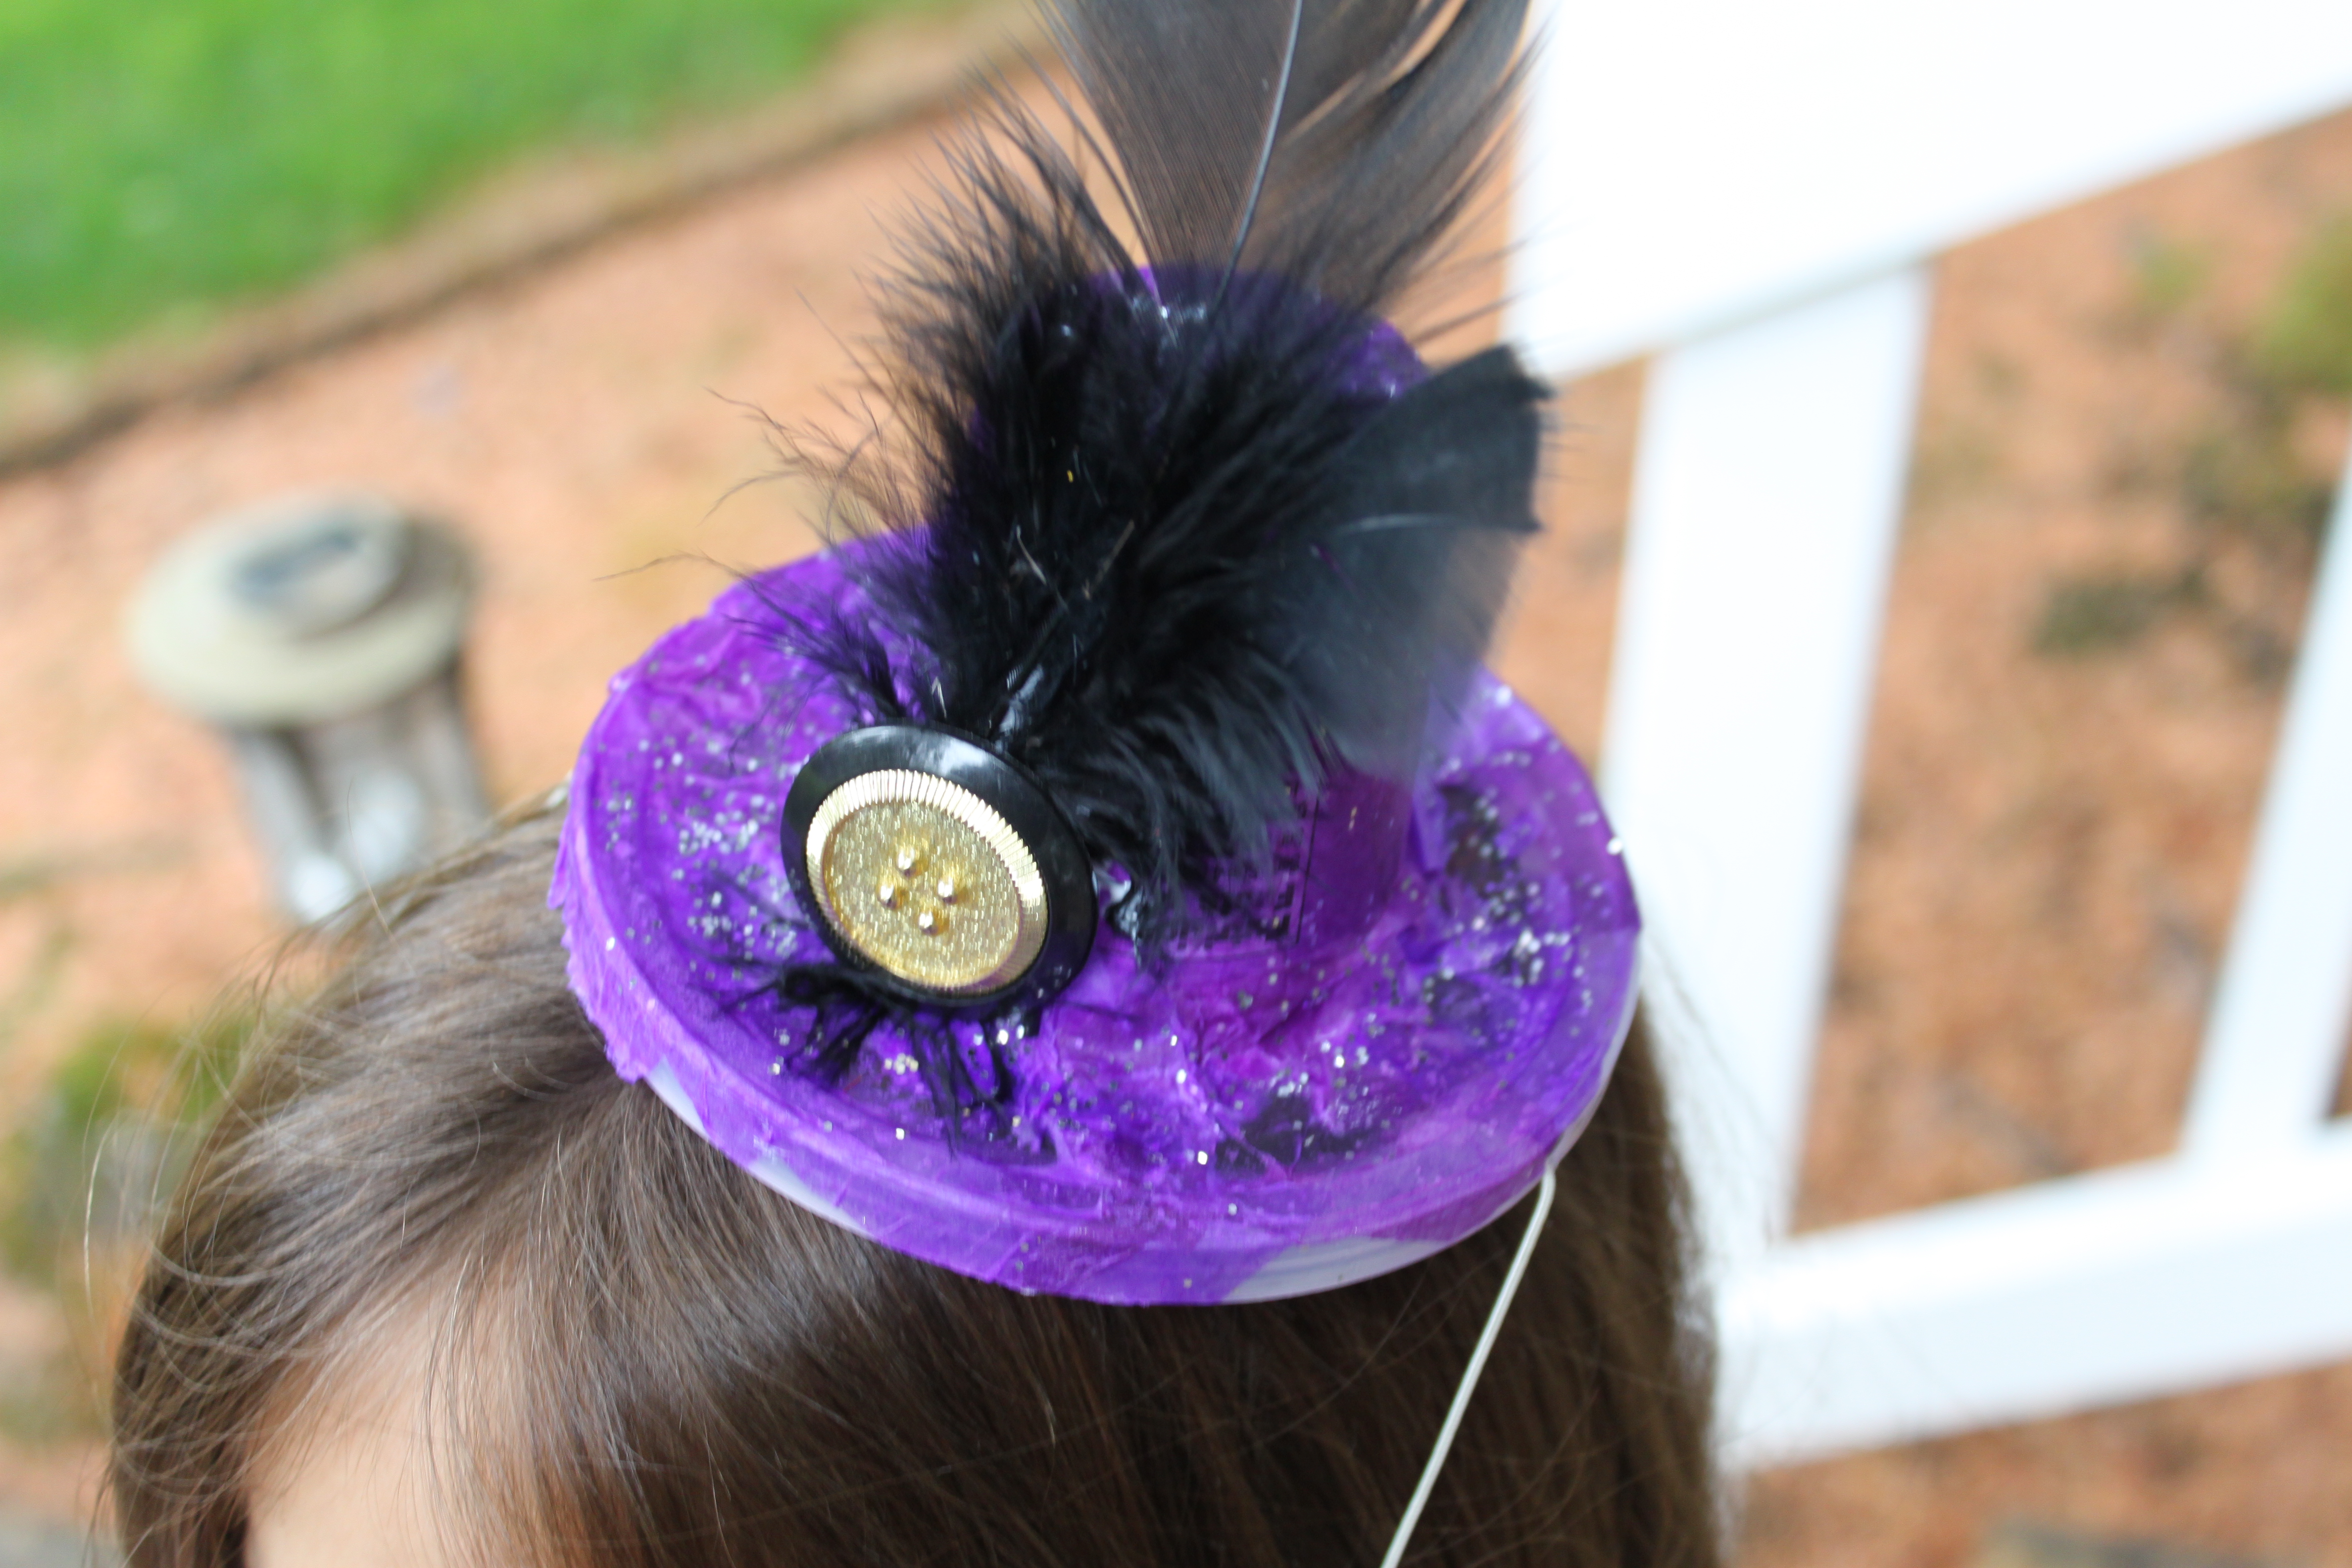
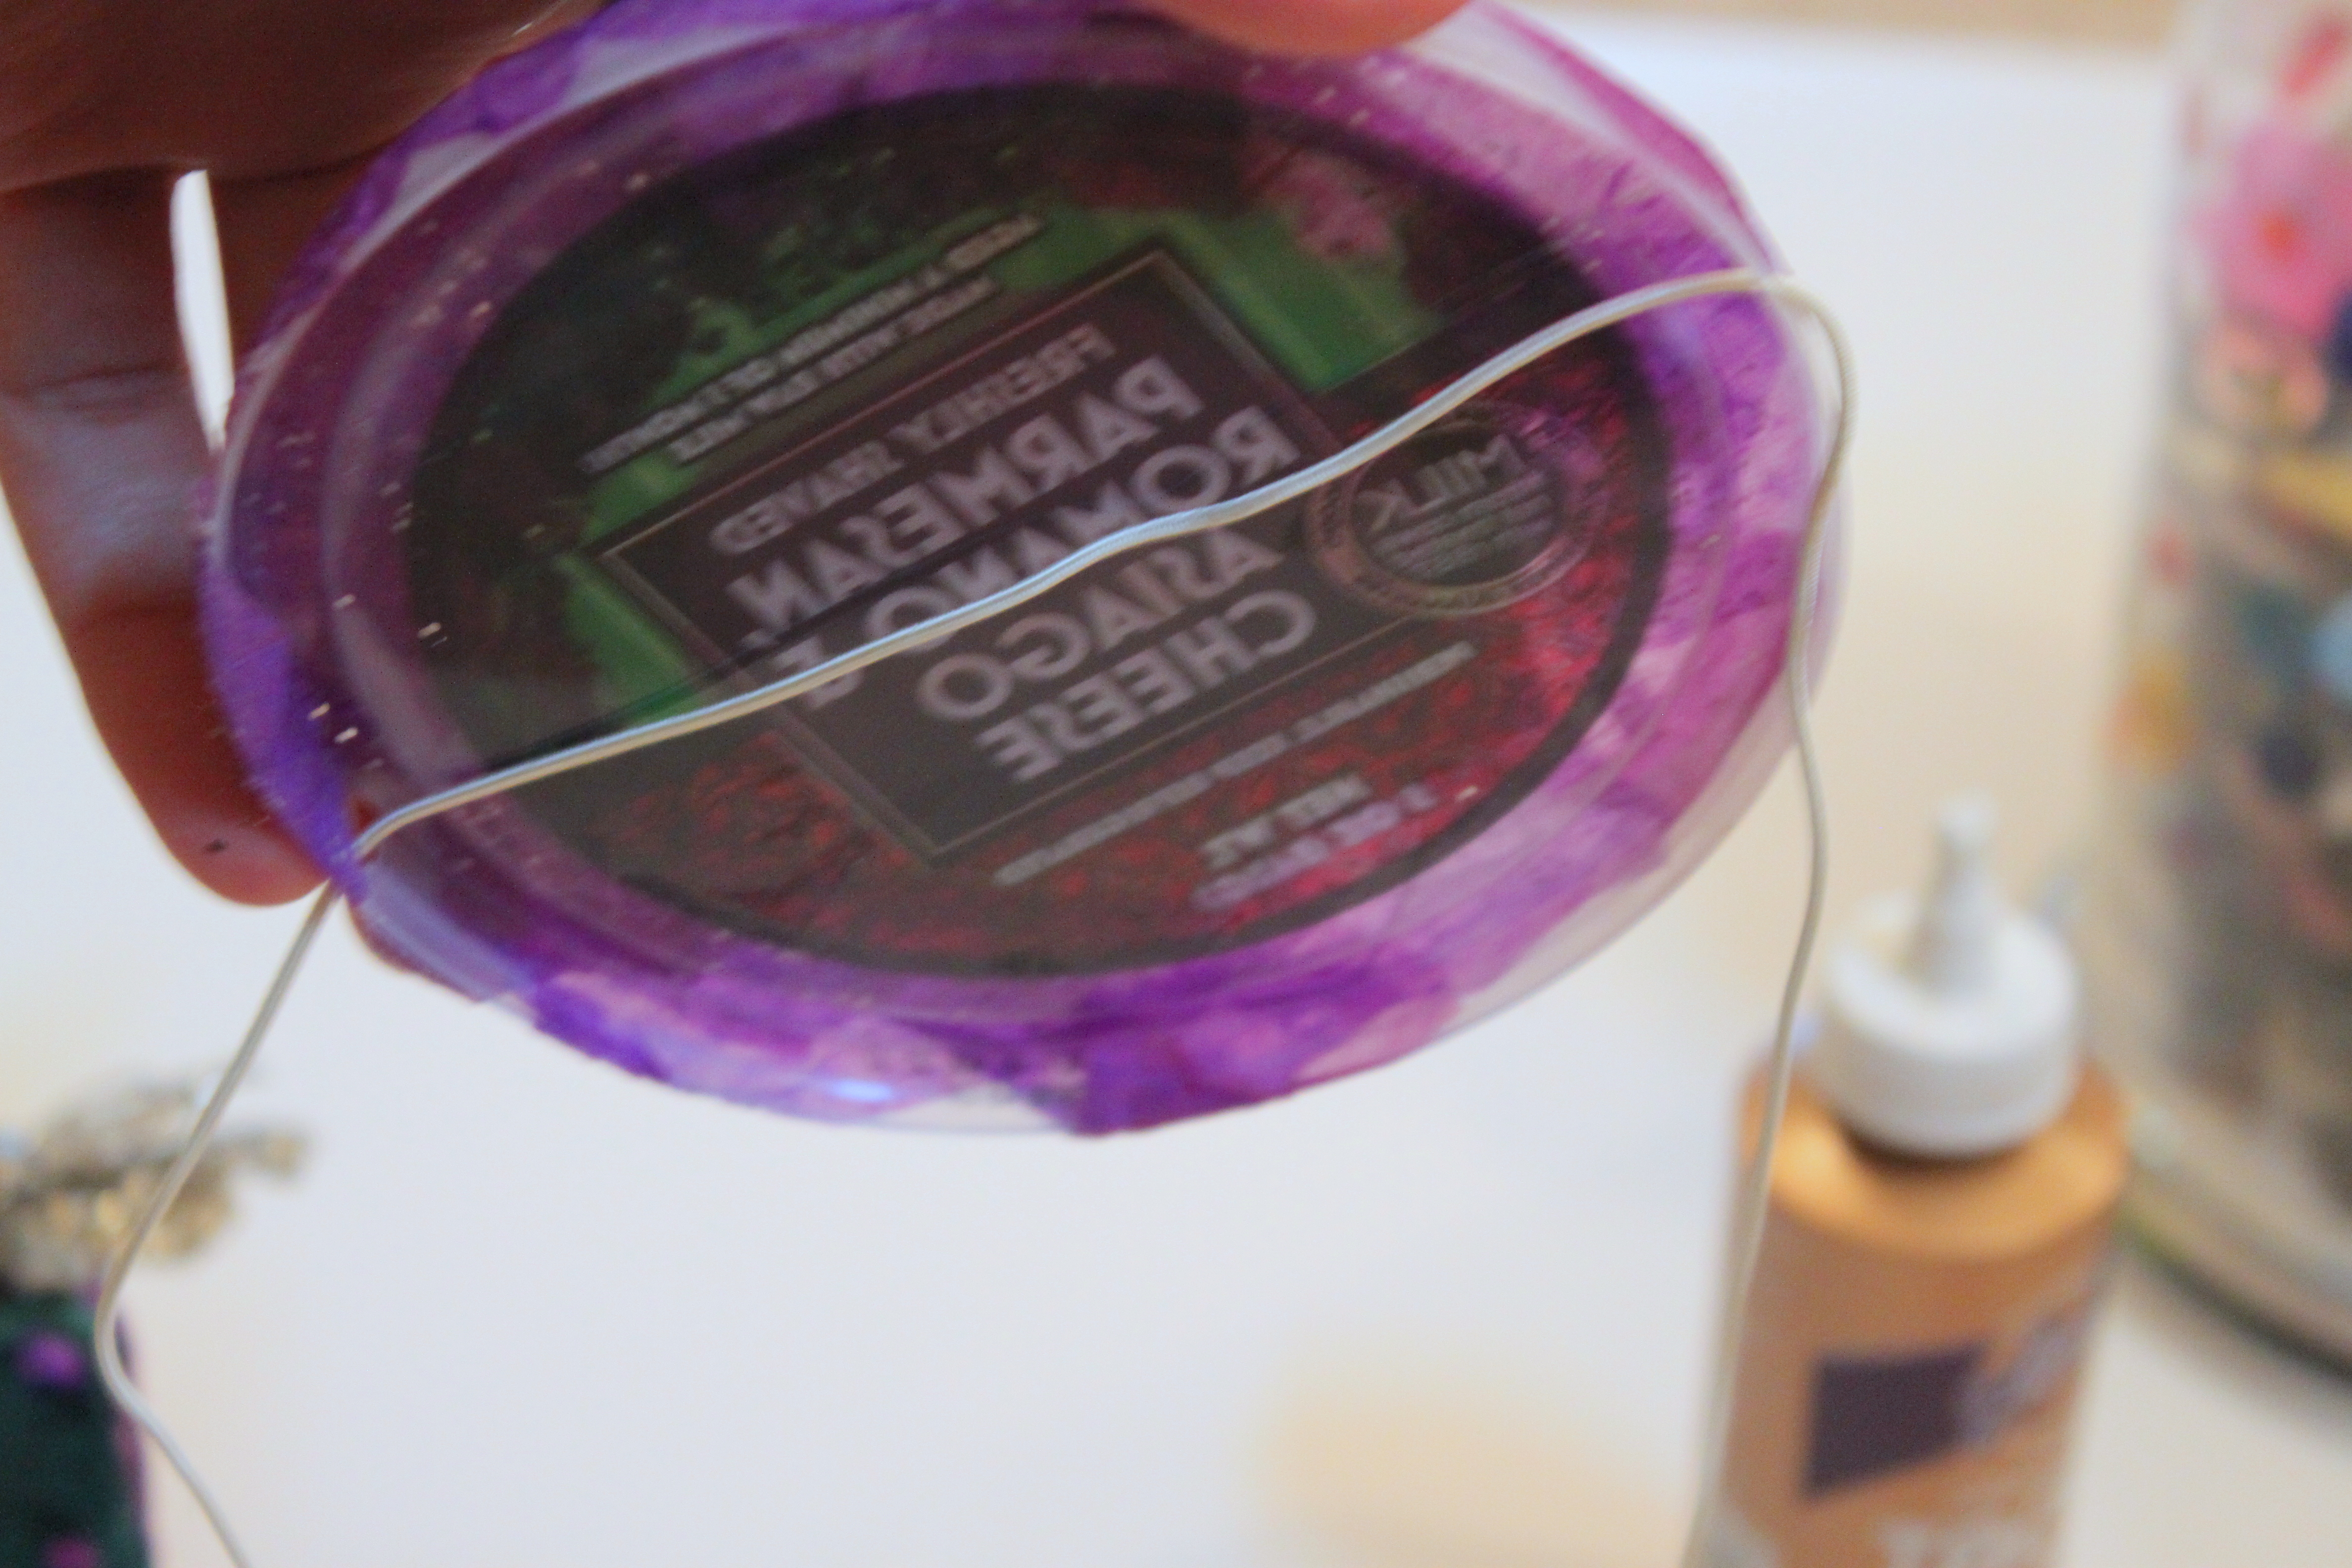
Once the hats are decorated and somewhat dry, you can punch holes in the sides of the hat and string some elastic or yarn through the holes to wear the hat. Yes, this hat is totally functional!
Step 7
My daughter would wear this hat to school everyday if I let her. Who am I kidding? I will let her! I think I want to wear this hat every day!
Done!
This craft really got my children thinking outside the box (or inside the recycle box!). My five-year-old, especially, has gotten bit by the trash-to-treasure bug!