Step-by-step tutorial
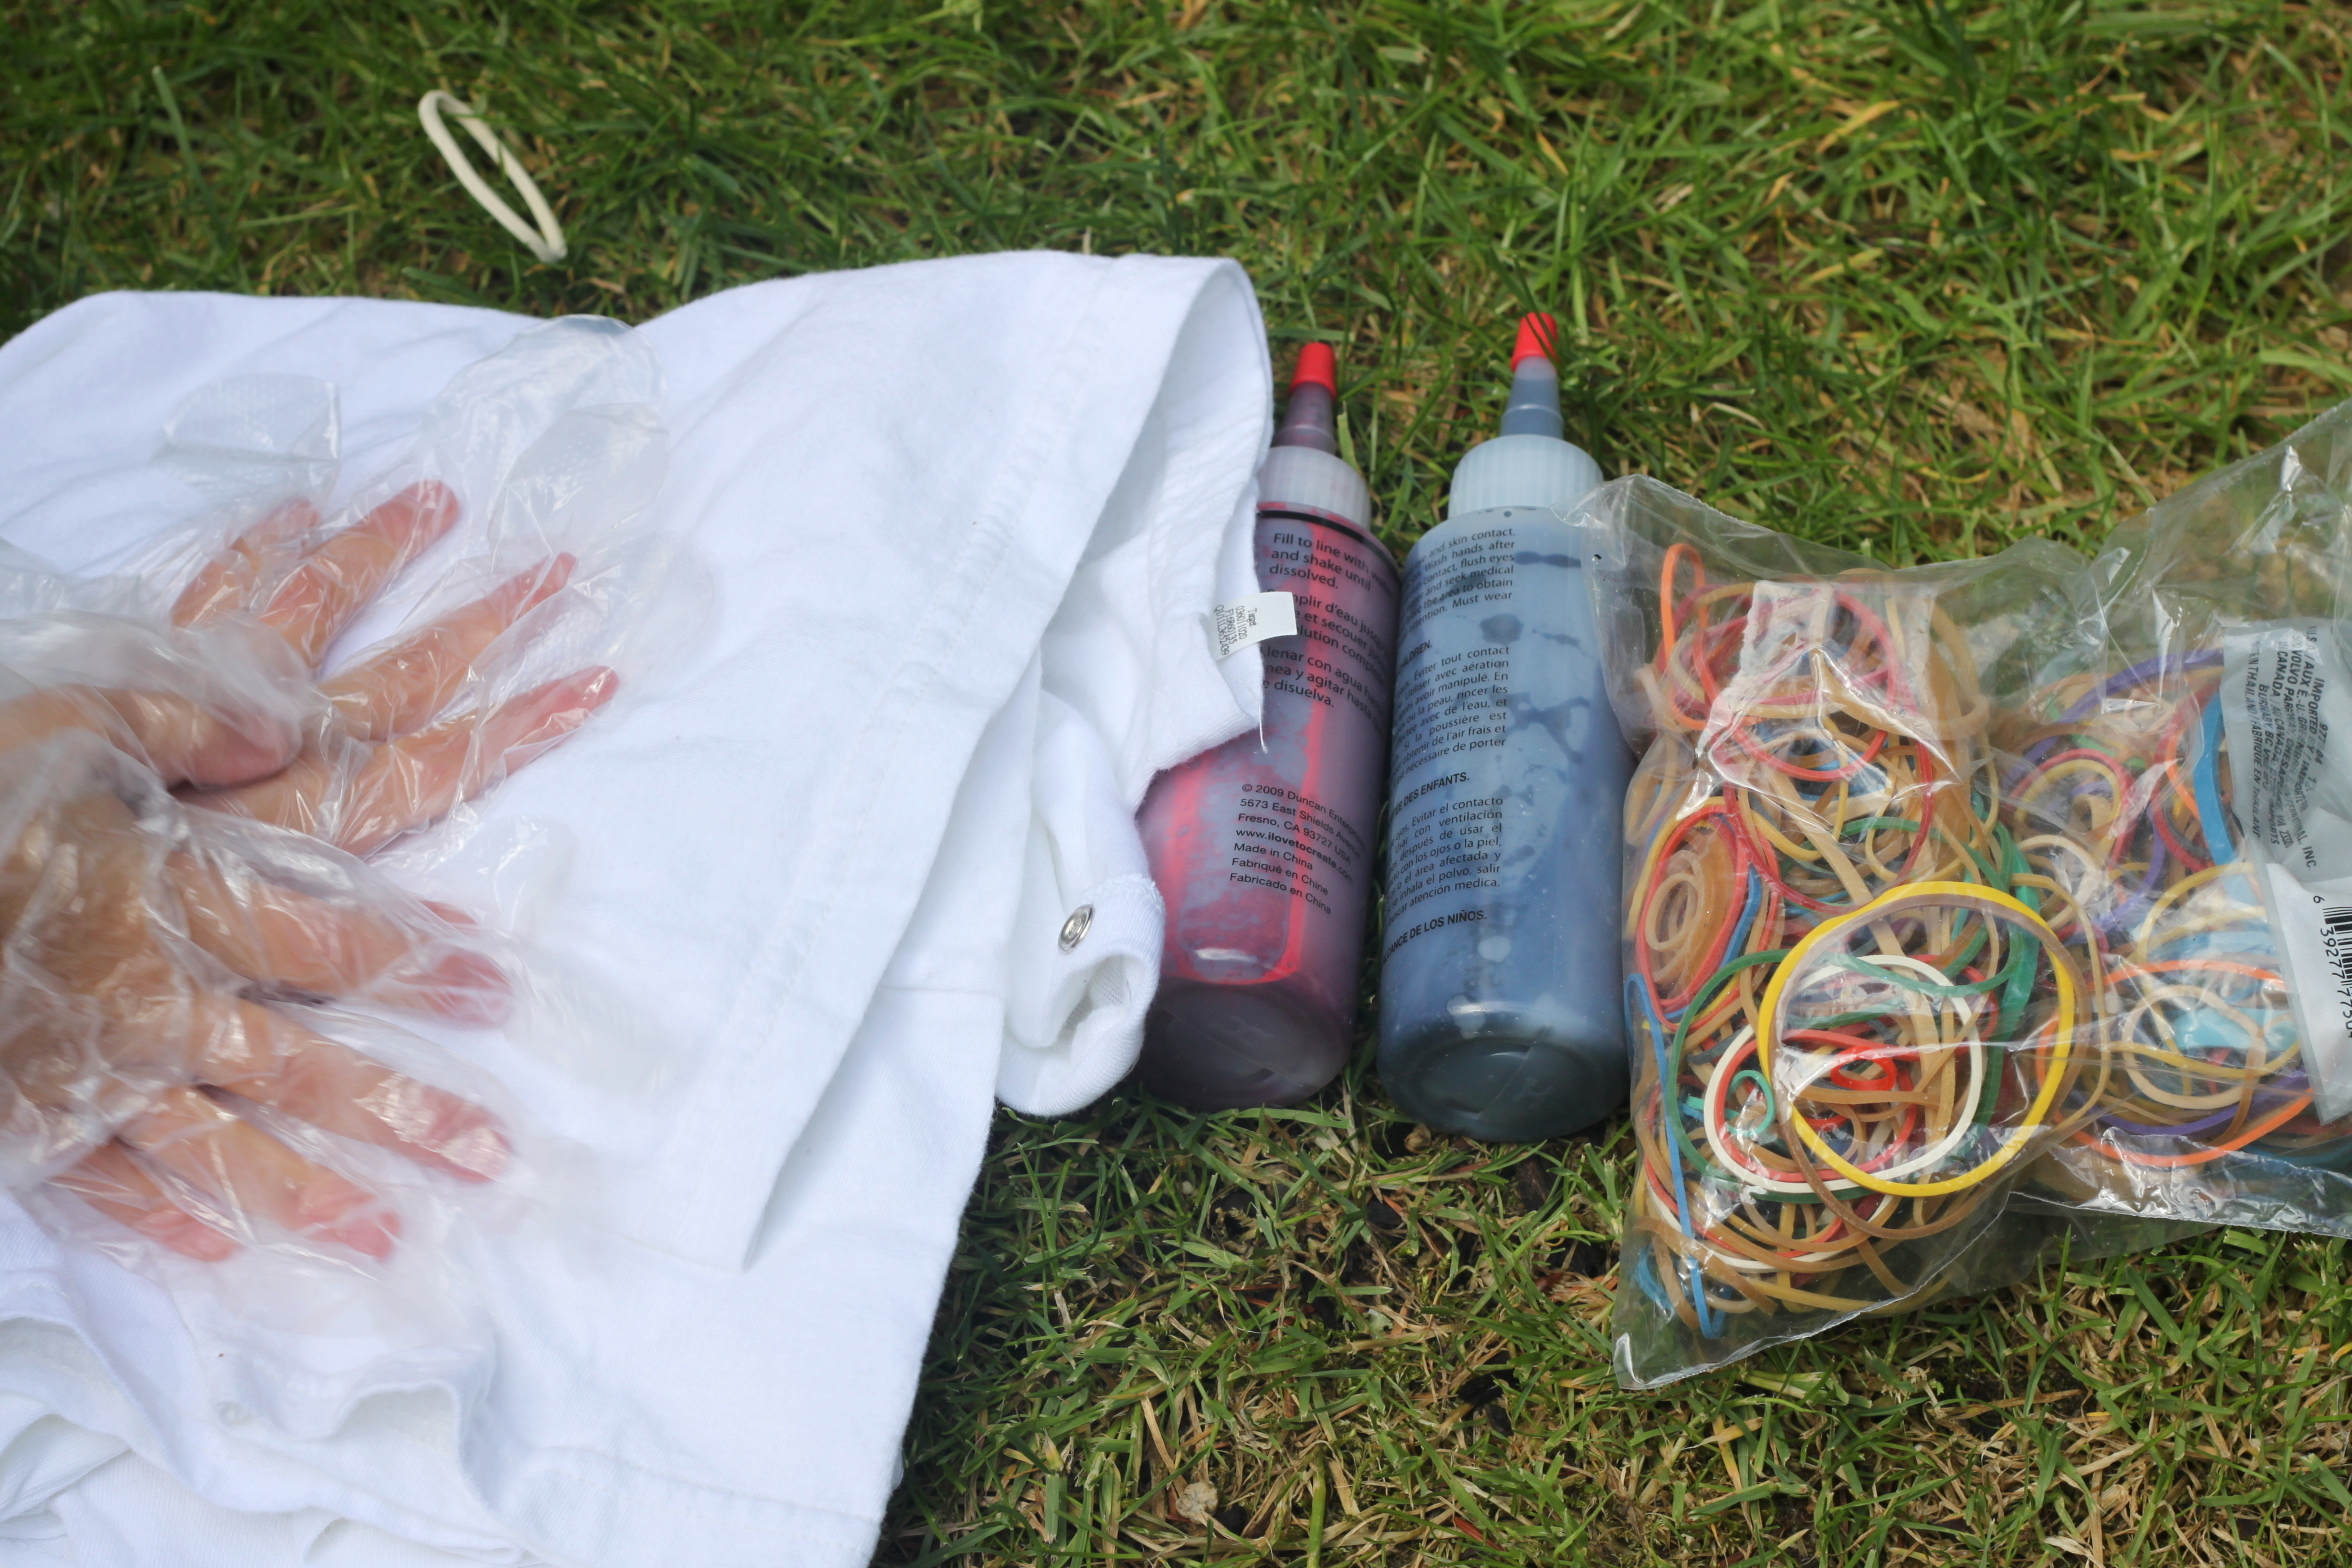
Step 1
Some clothing dyes come with squirt bottles. I prefer that kind, because the prep is a little less messy. We always head outside when dealing with dye.

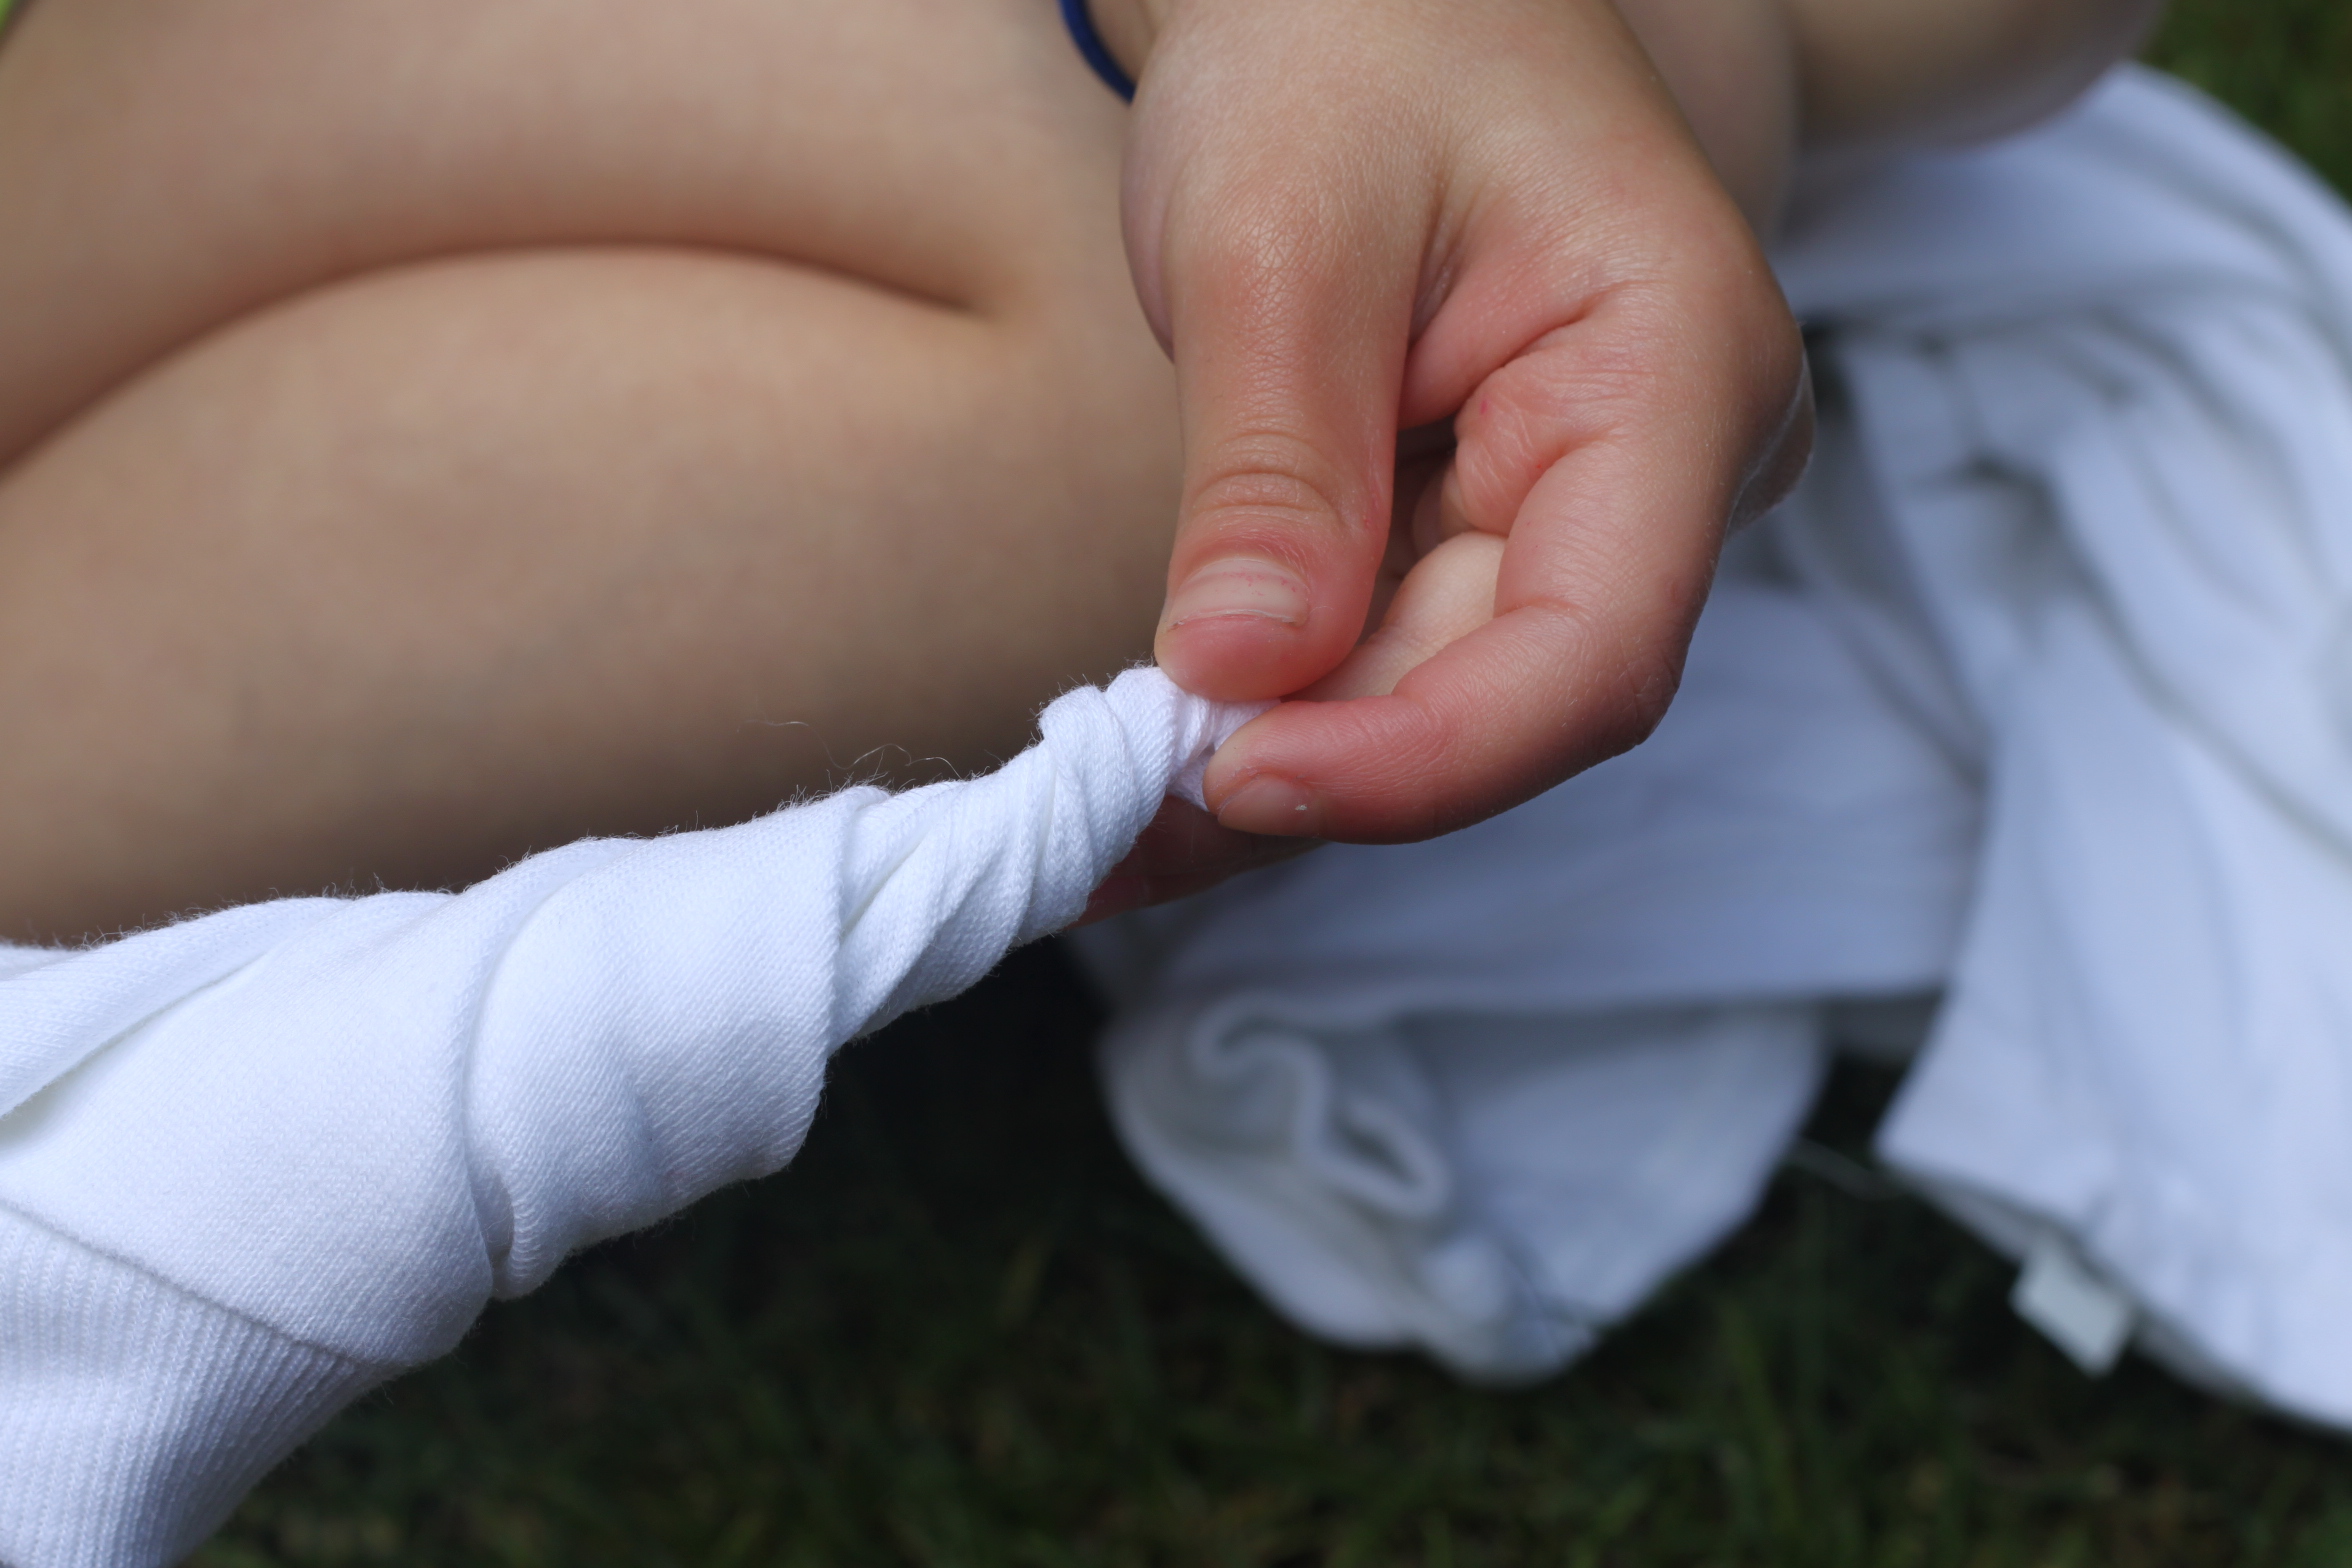
Step 2
We dampened our shirts with water and, starting from the center of the shirt, twisted it together.
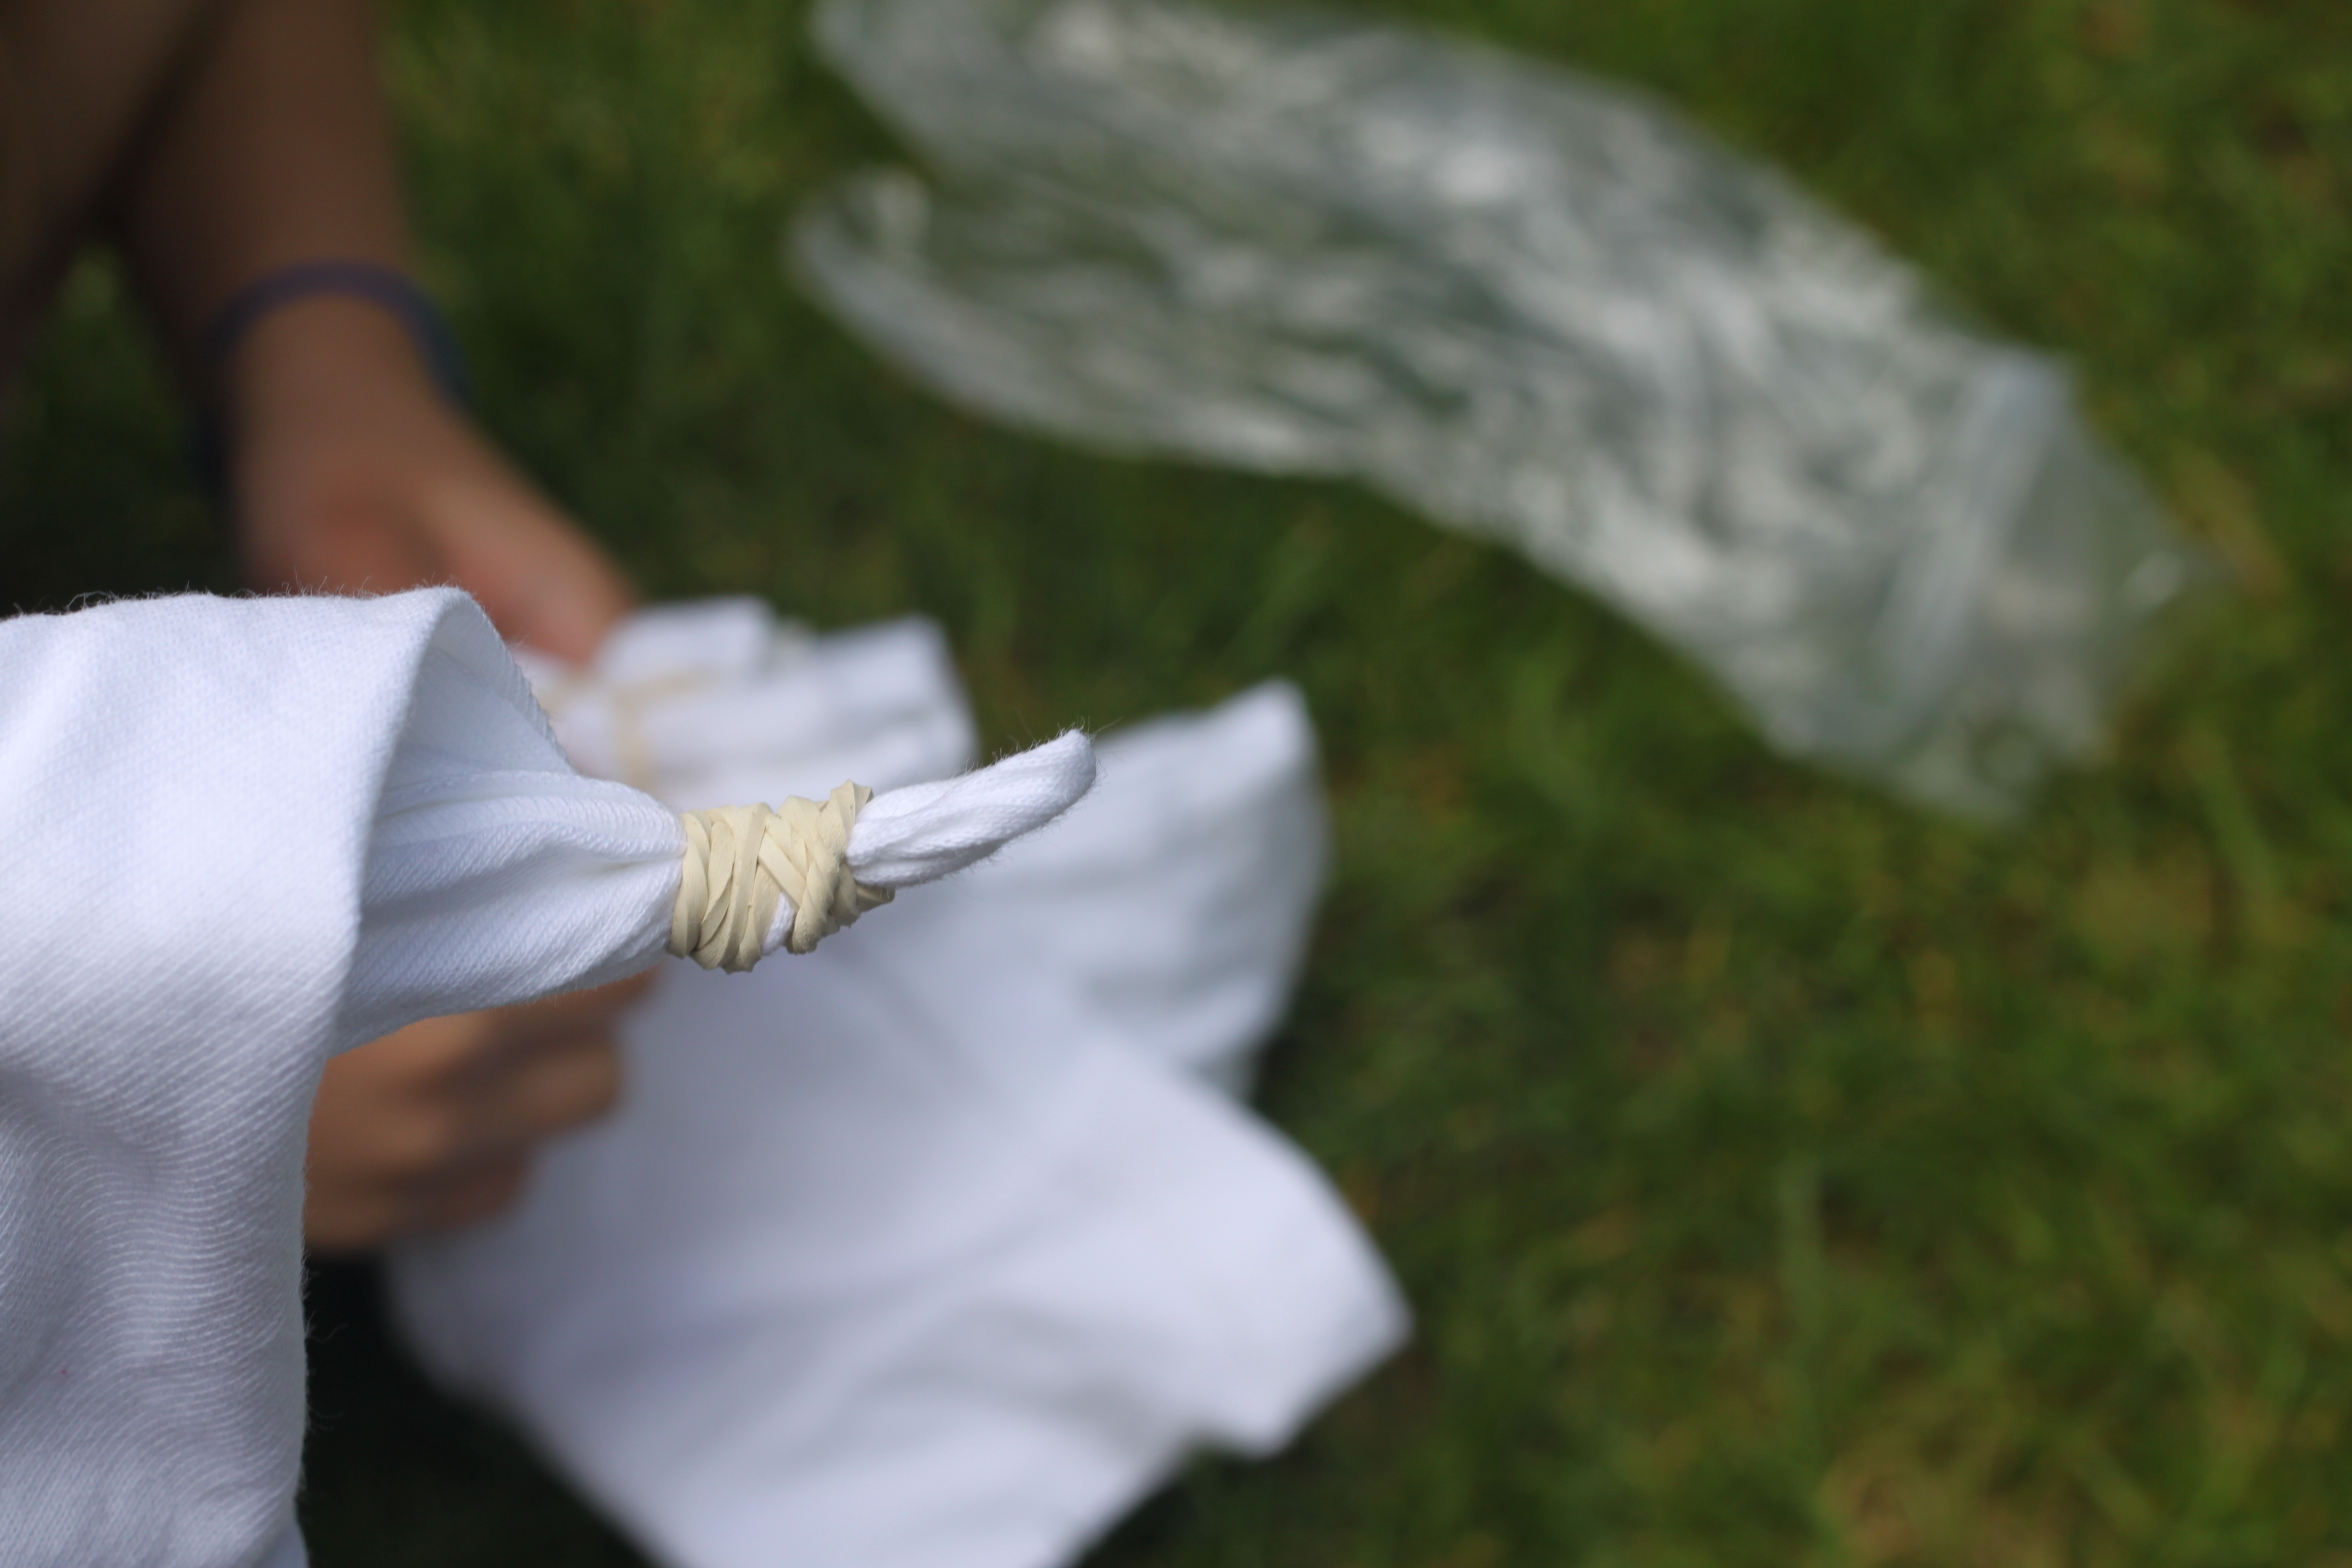
Step 3
Once it was a nice twisted roll we added rubber bands. The more rubber bands you add, the more contrast you get. We did about eight per t-shirt.
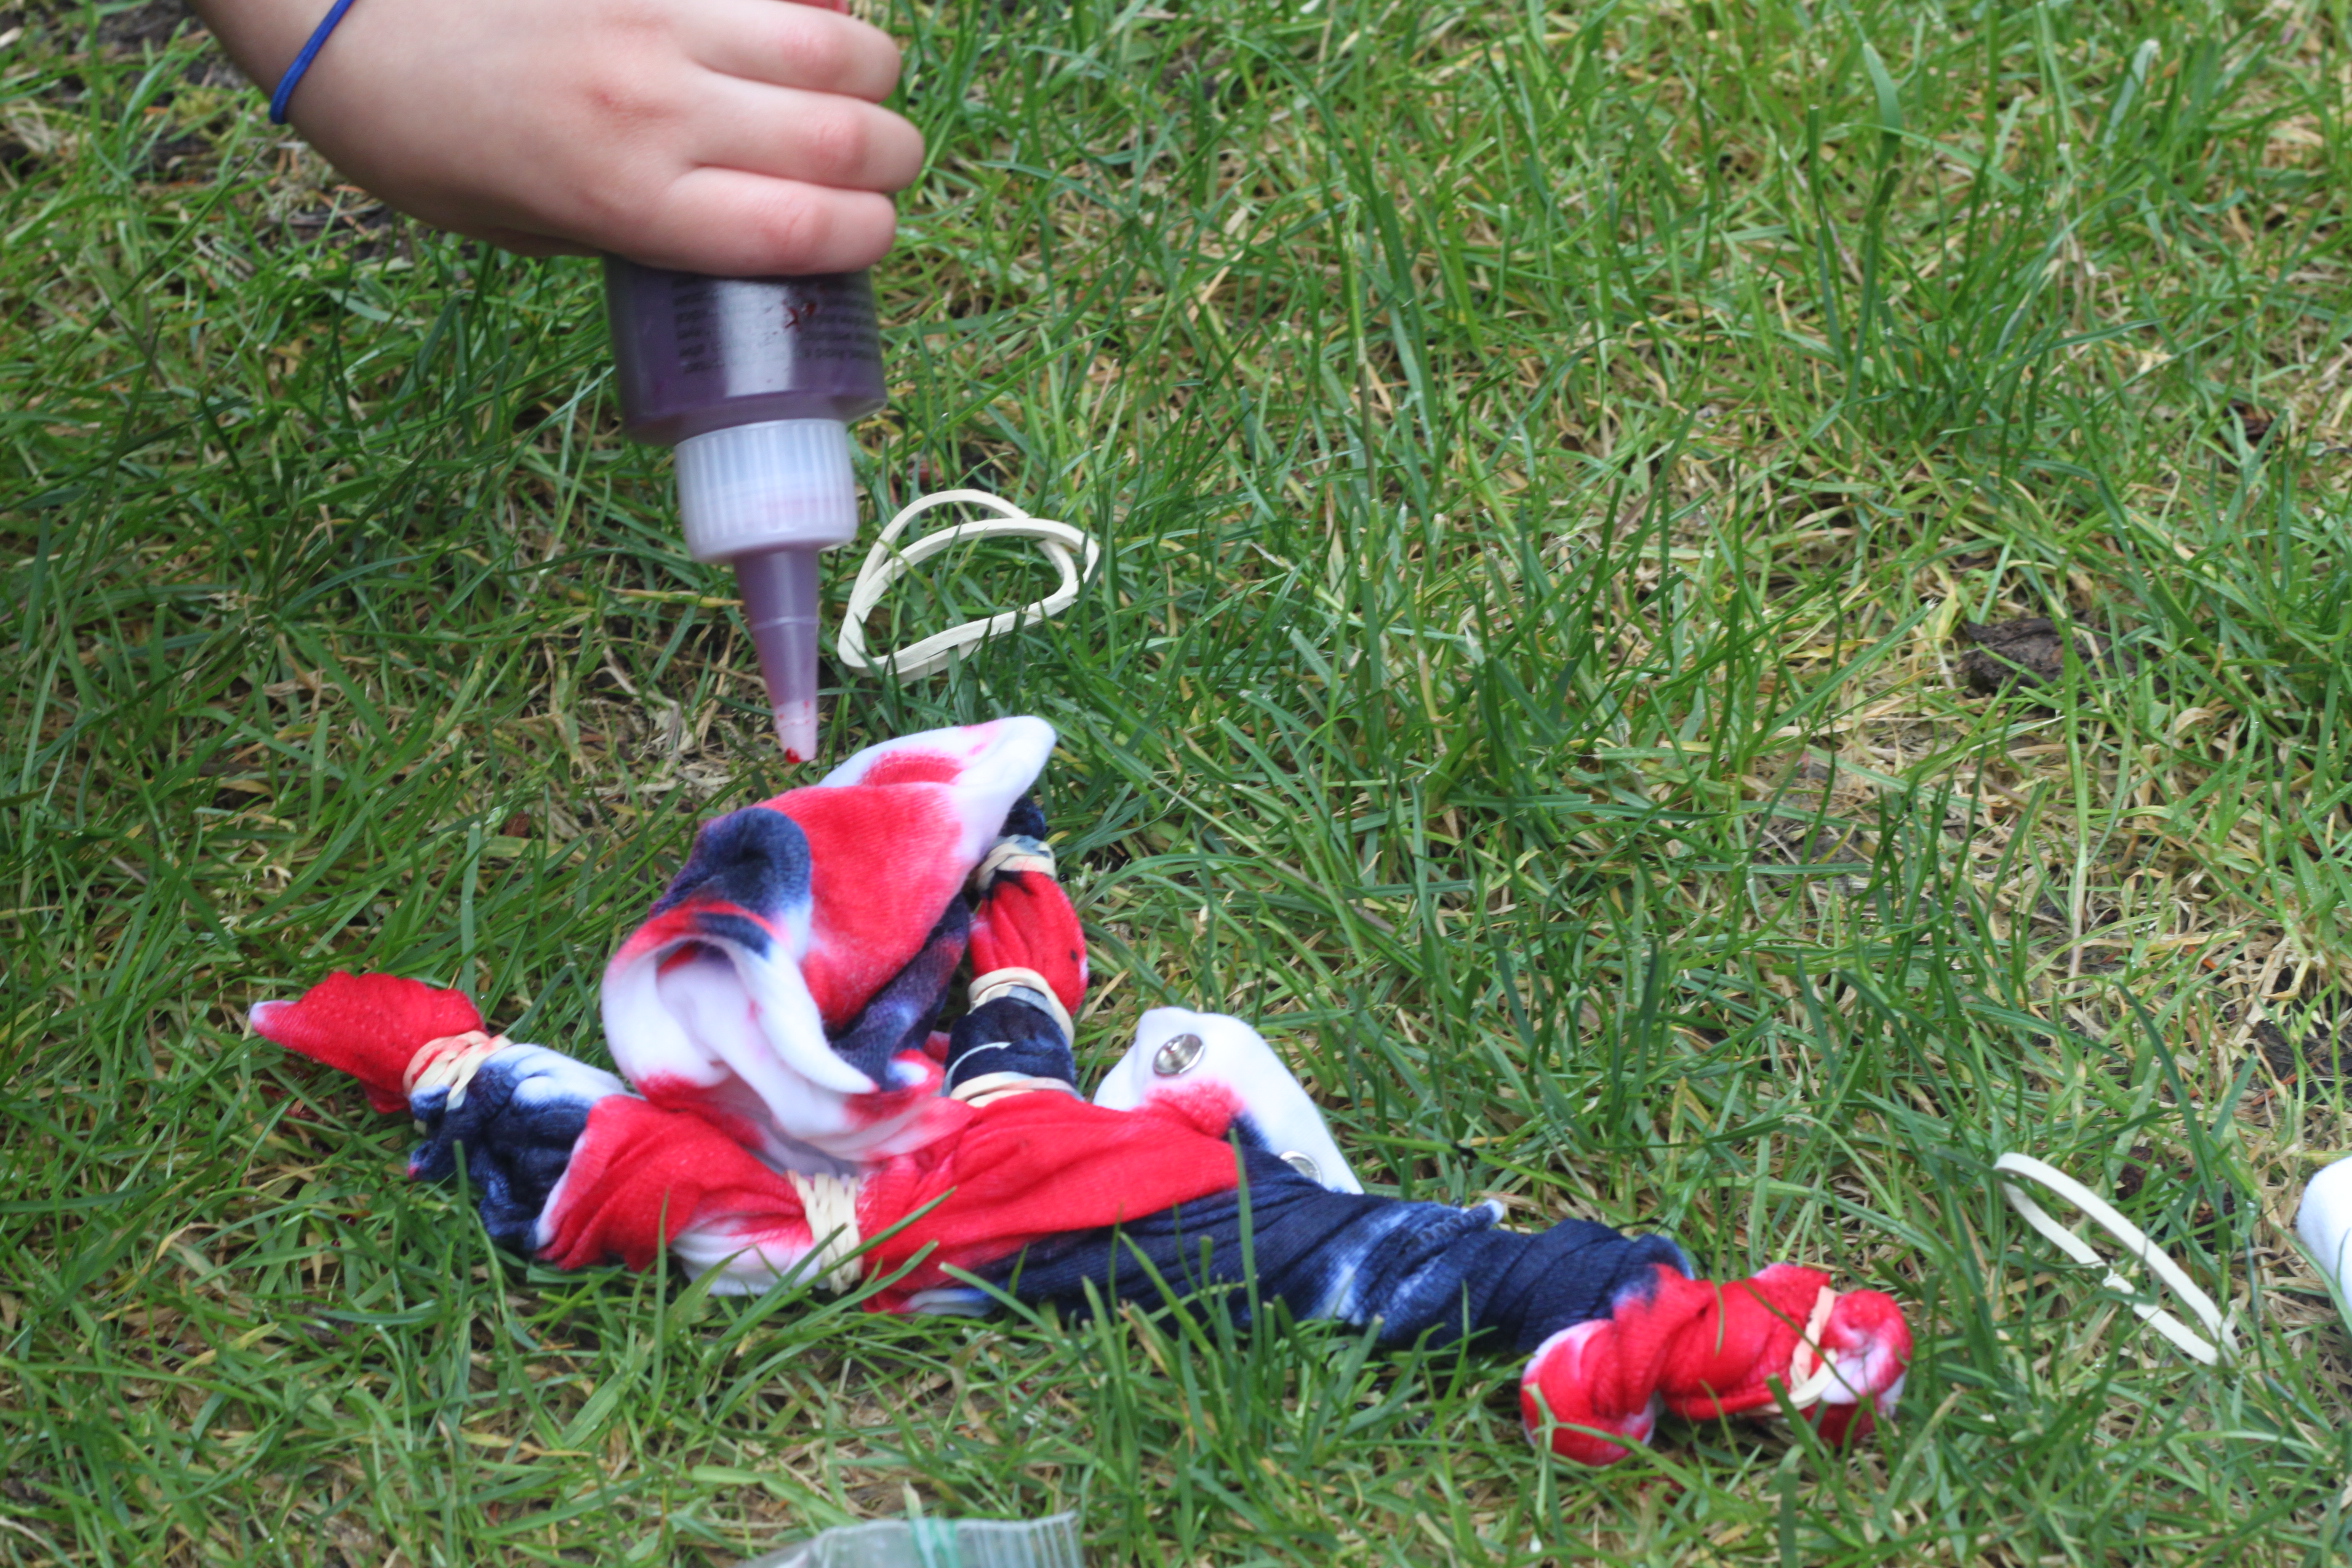
Step 4
Next, it was time for color. We switched with the red and blue between each rubber-band. Try not to let the colors touch too much. The blending will create new colors and take away from the white we are trying to bring in for our color scheme. Once the shirt is covered in dye, place it in a plastic bag overnight. The next day cut the rubber bands off and wash in warm water with a little detergent.
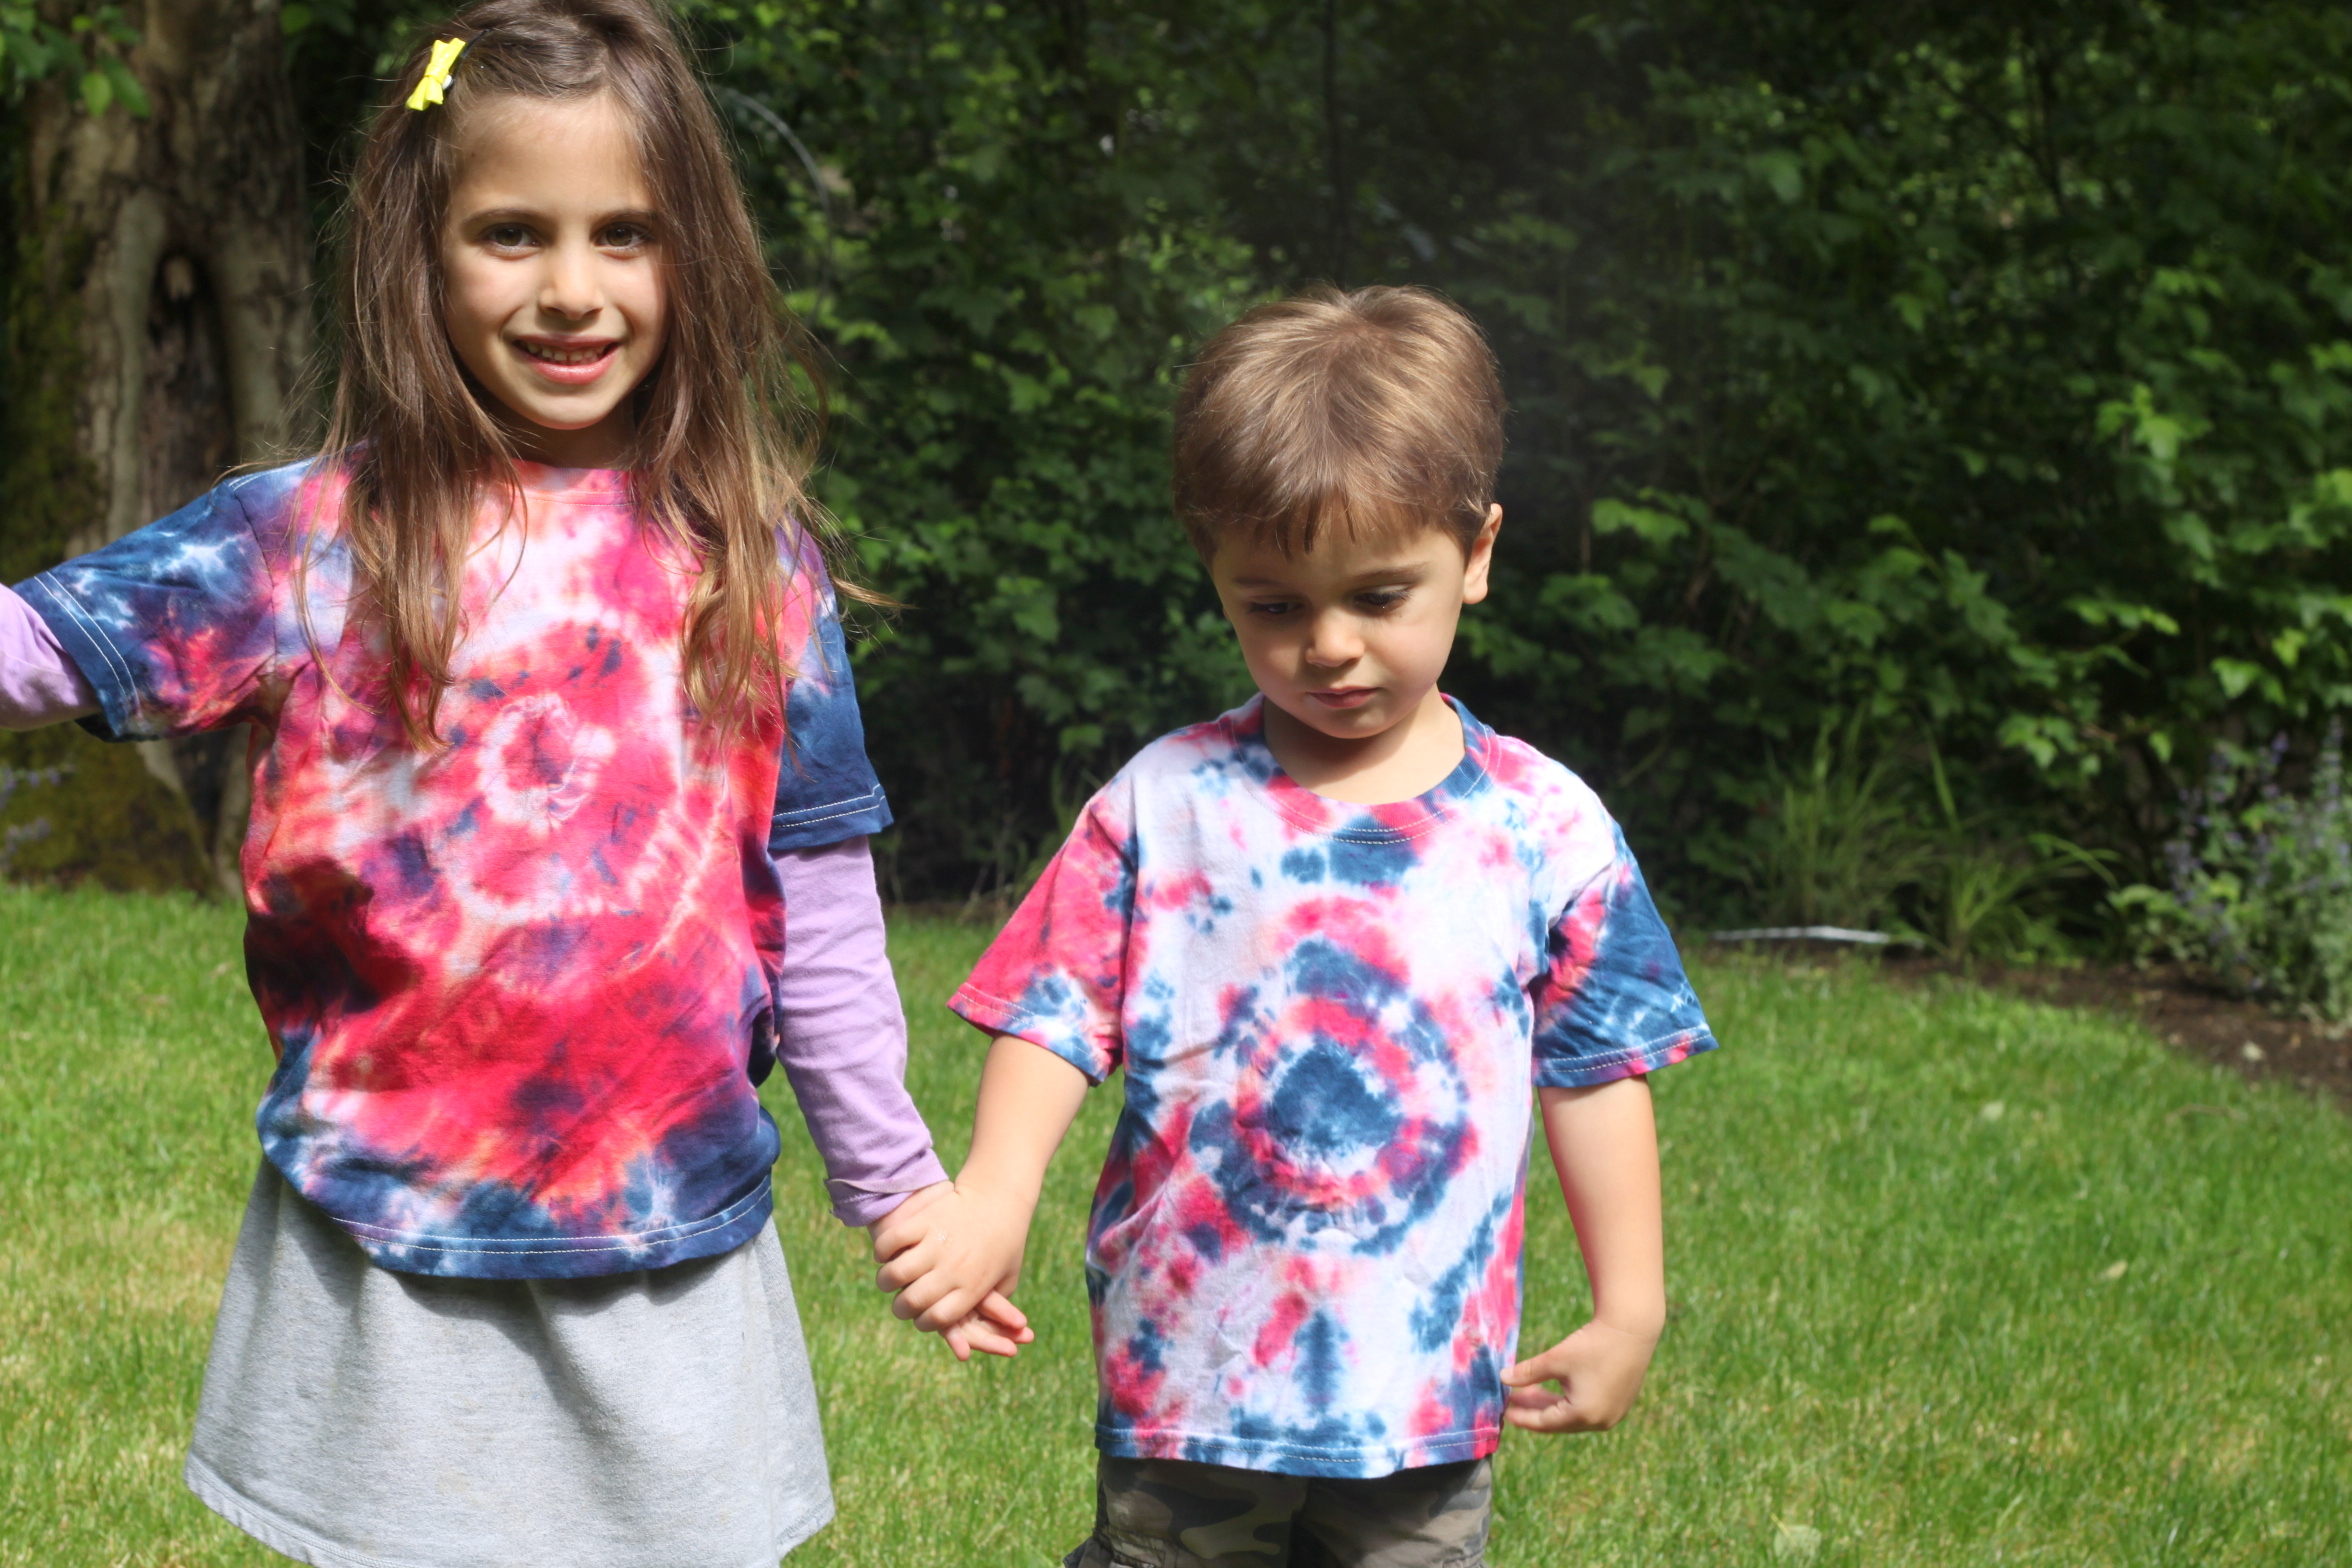
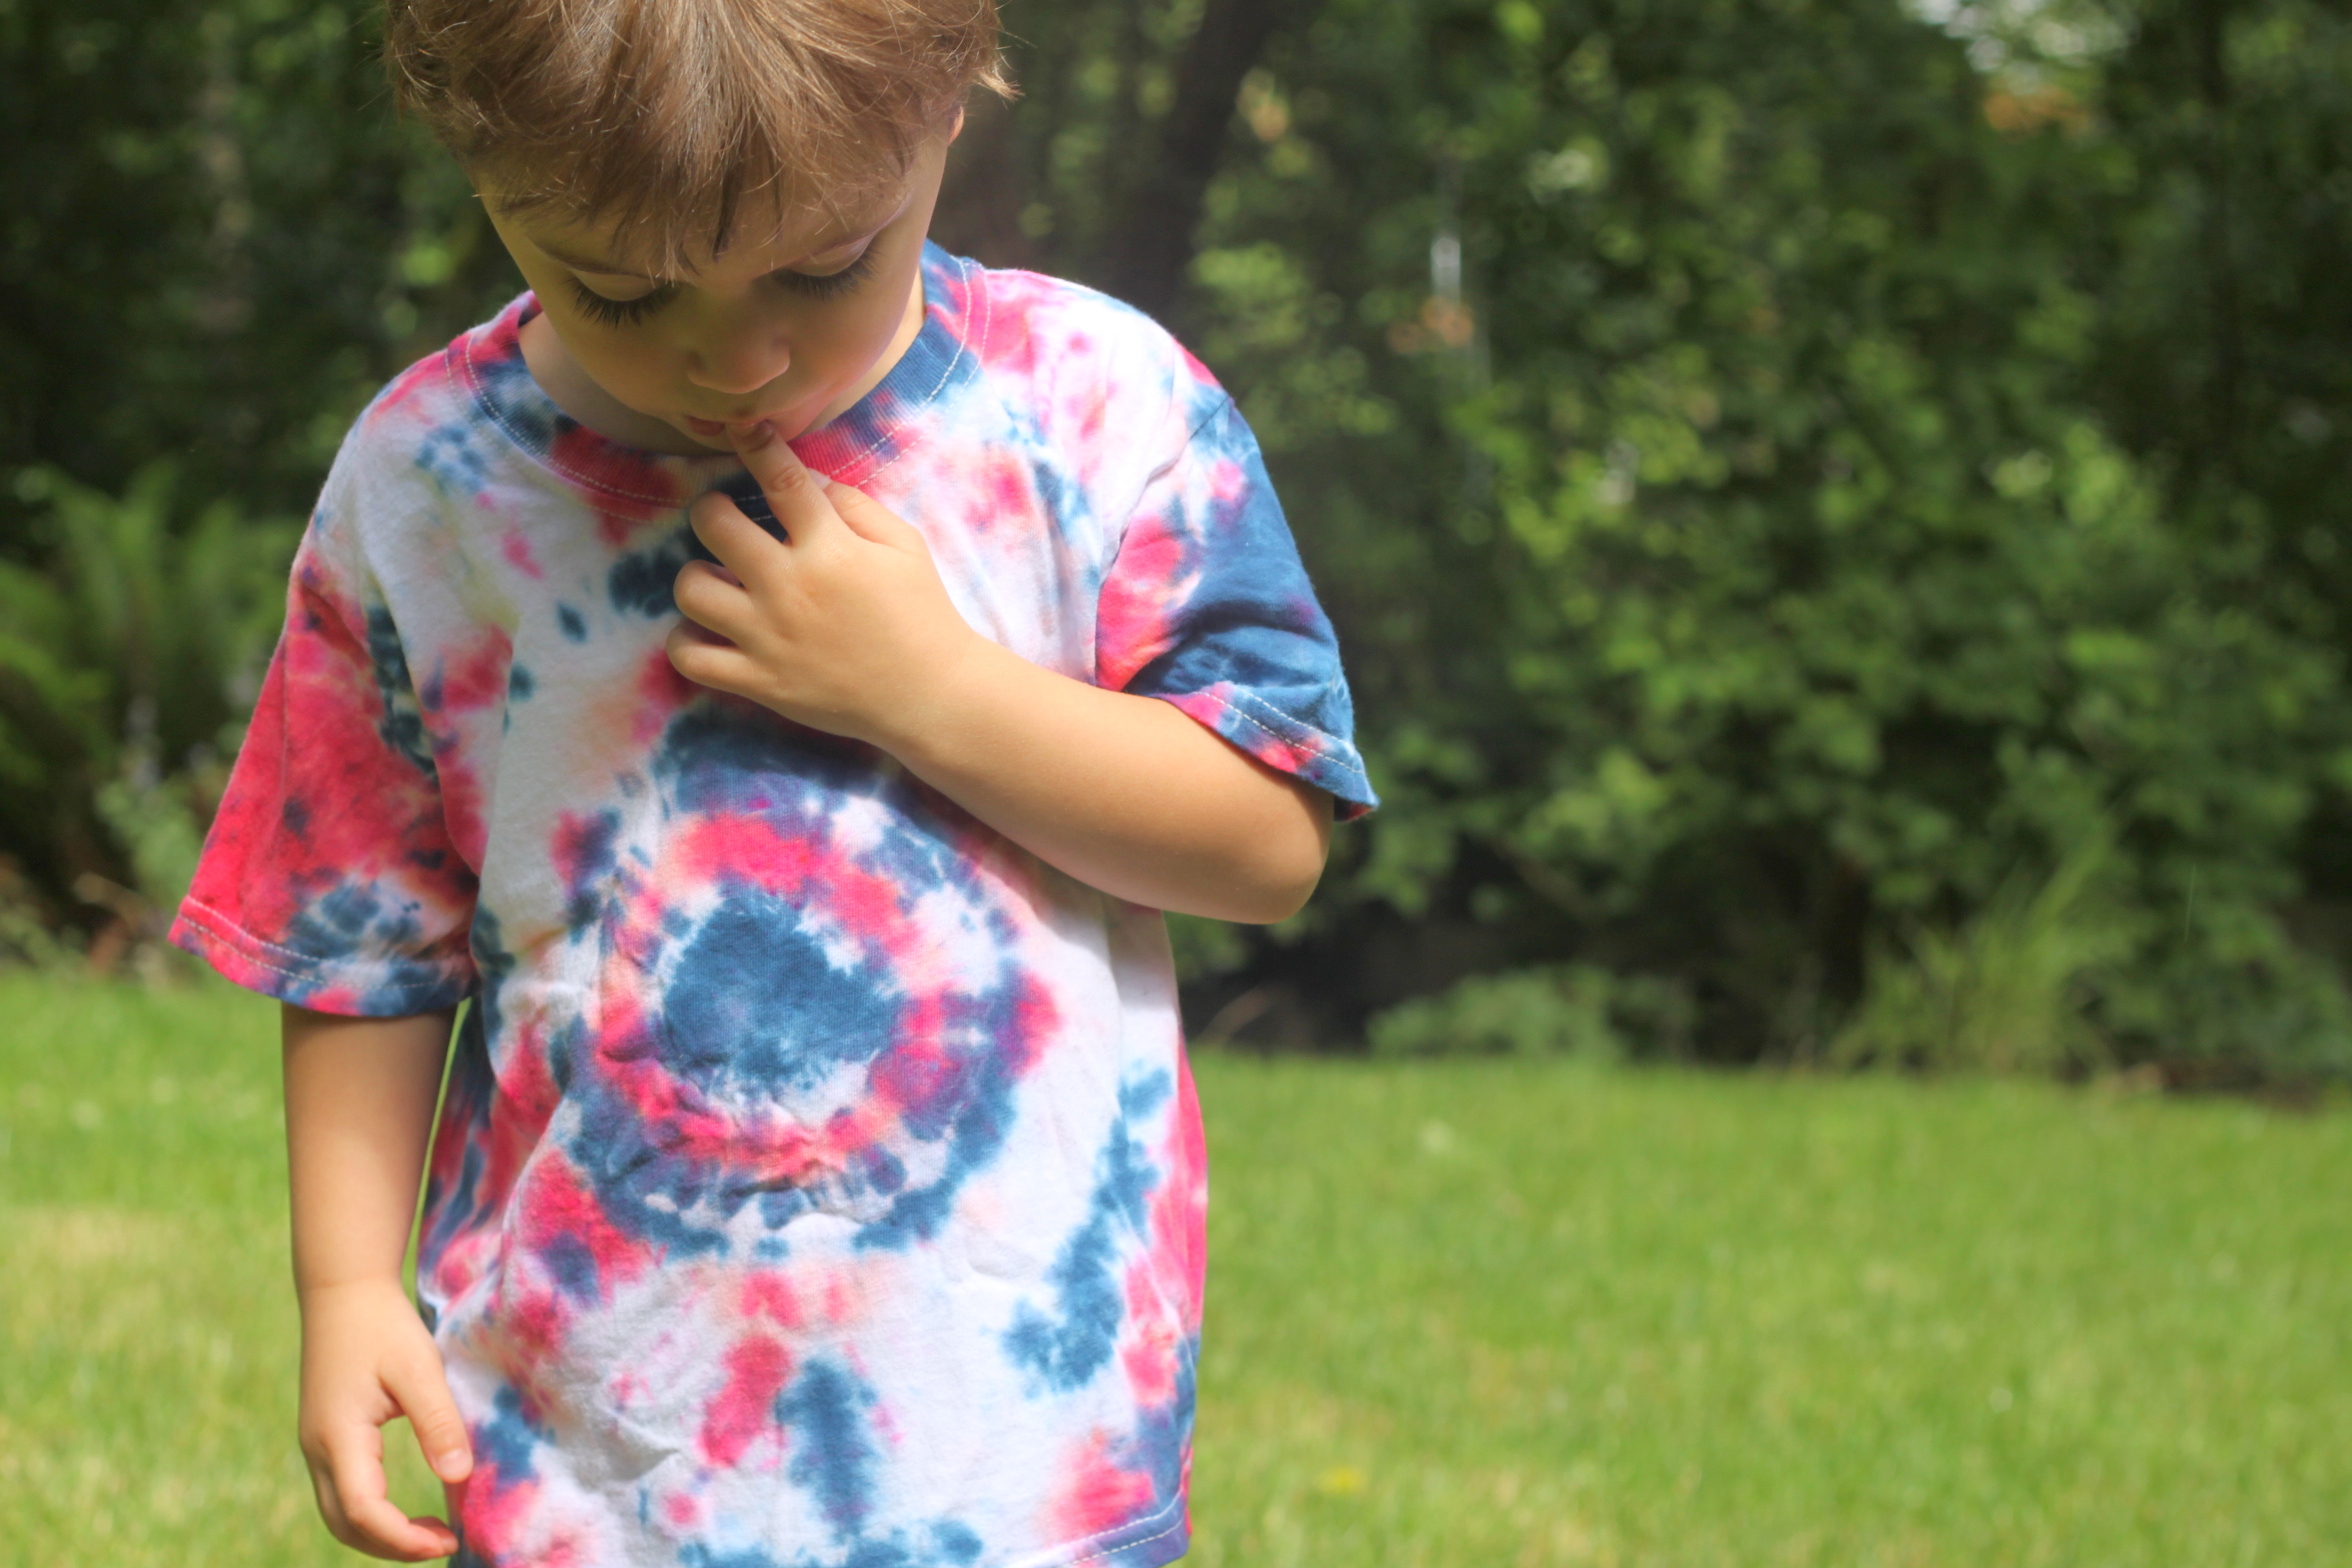
Final result!
The best part of tie-dye is revealing the creation! You never know what it will look like. My kids love the surprise.