Step-by-step tutorial
Step 1
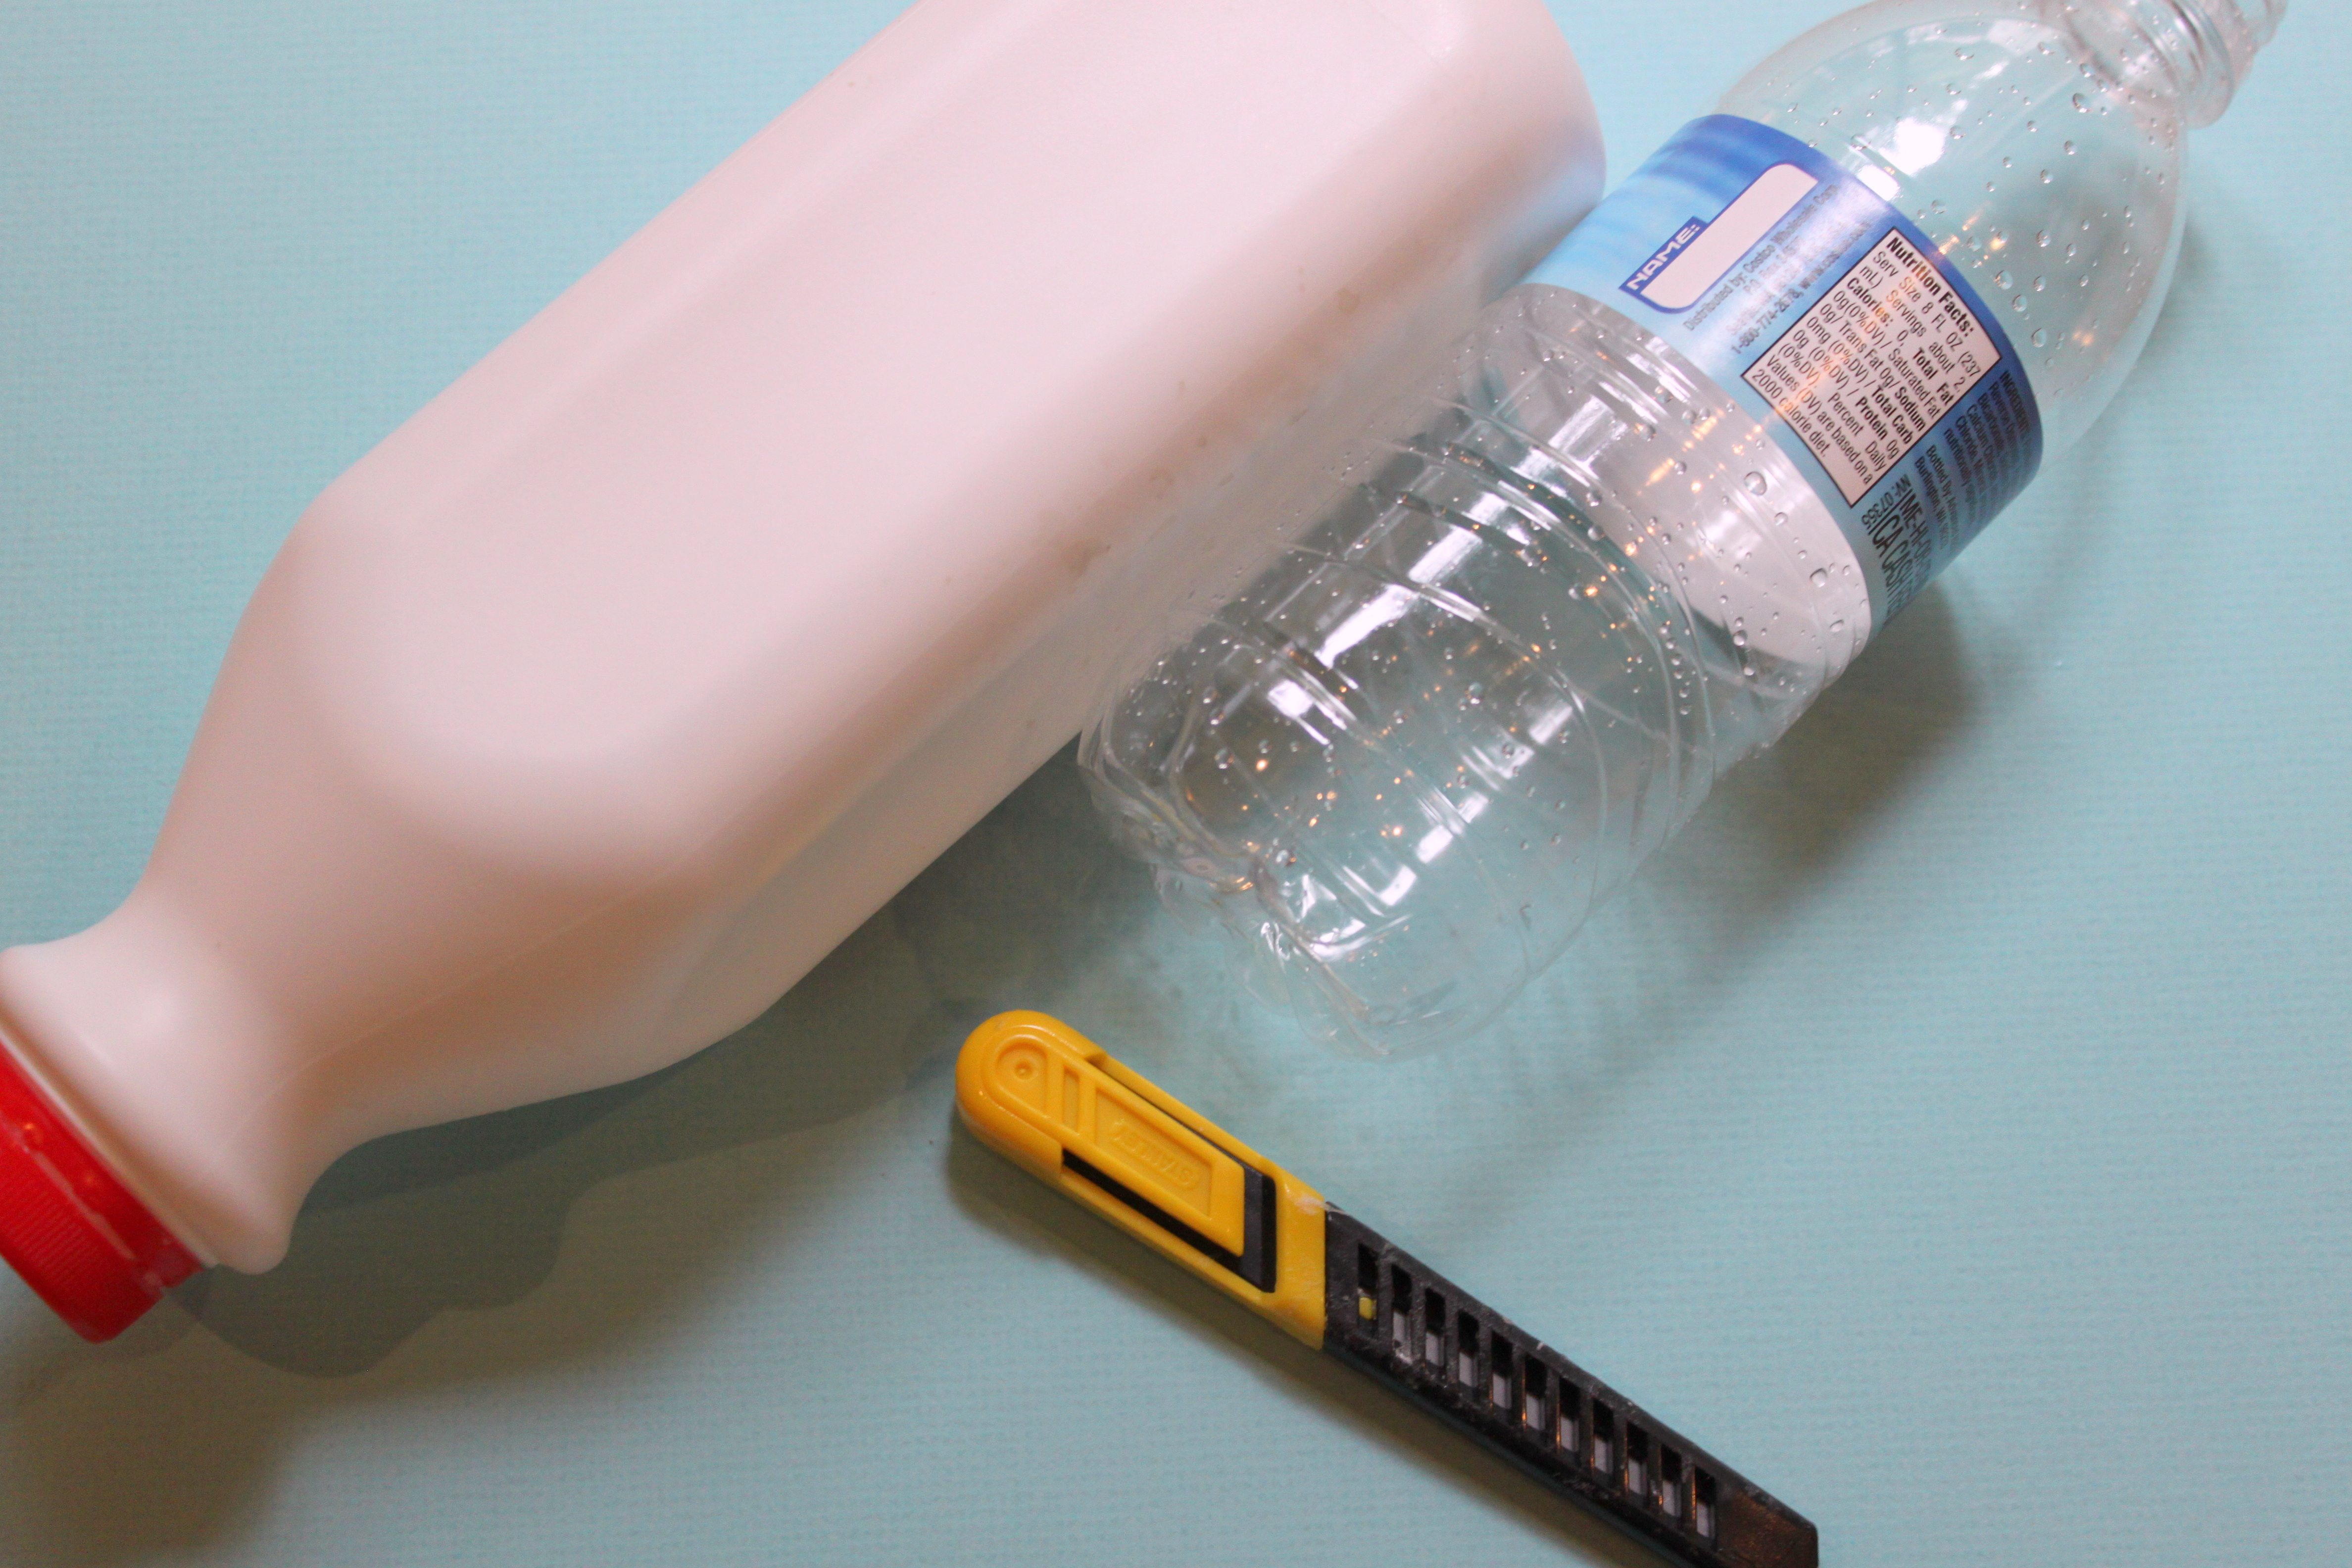
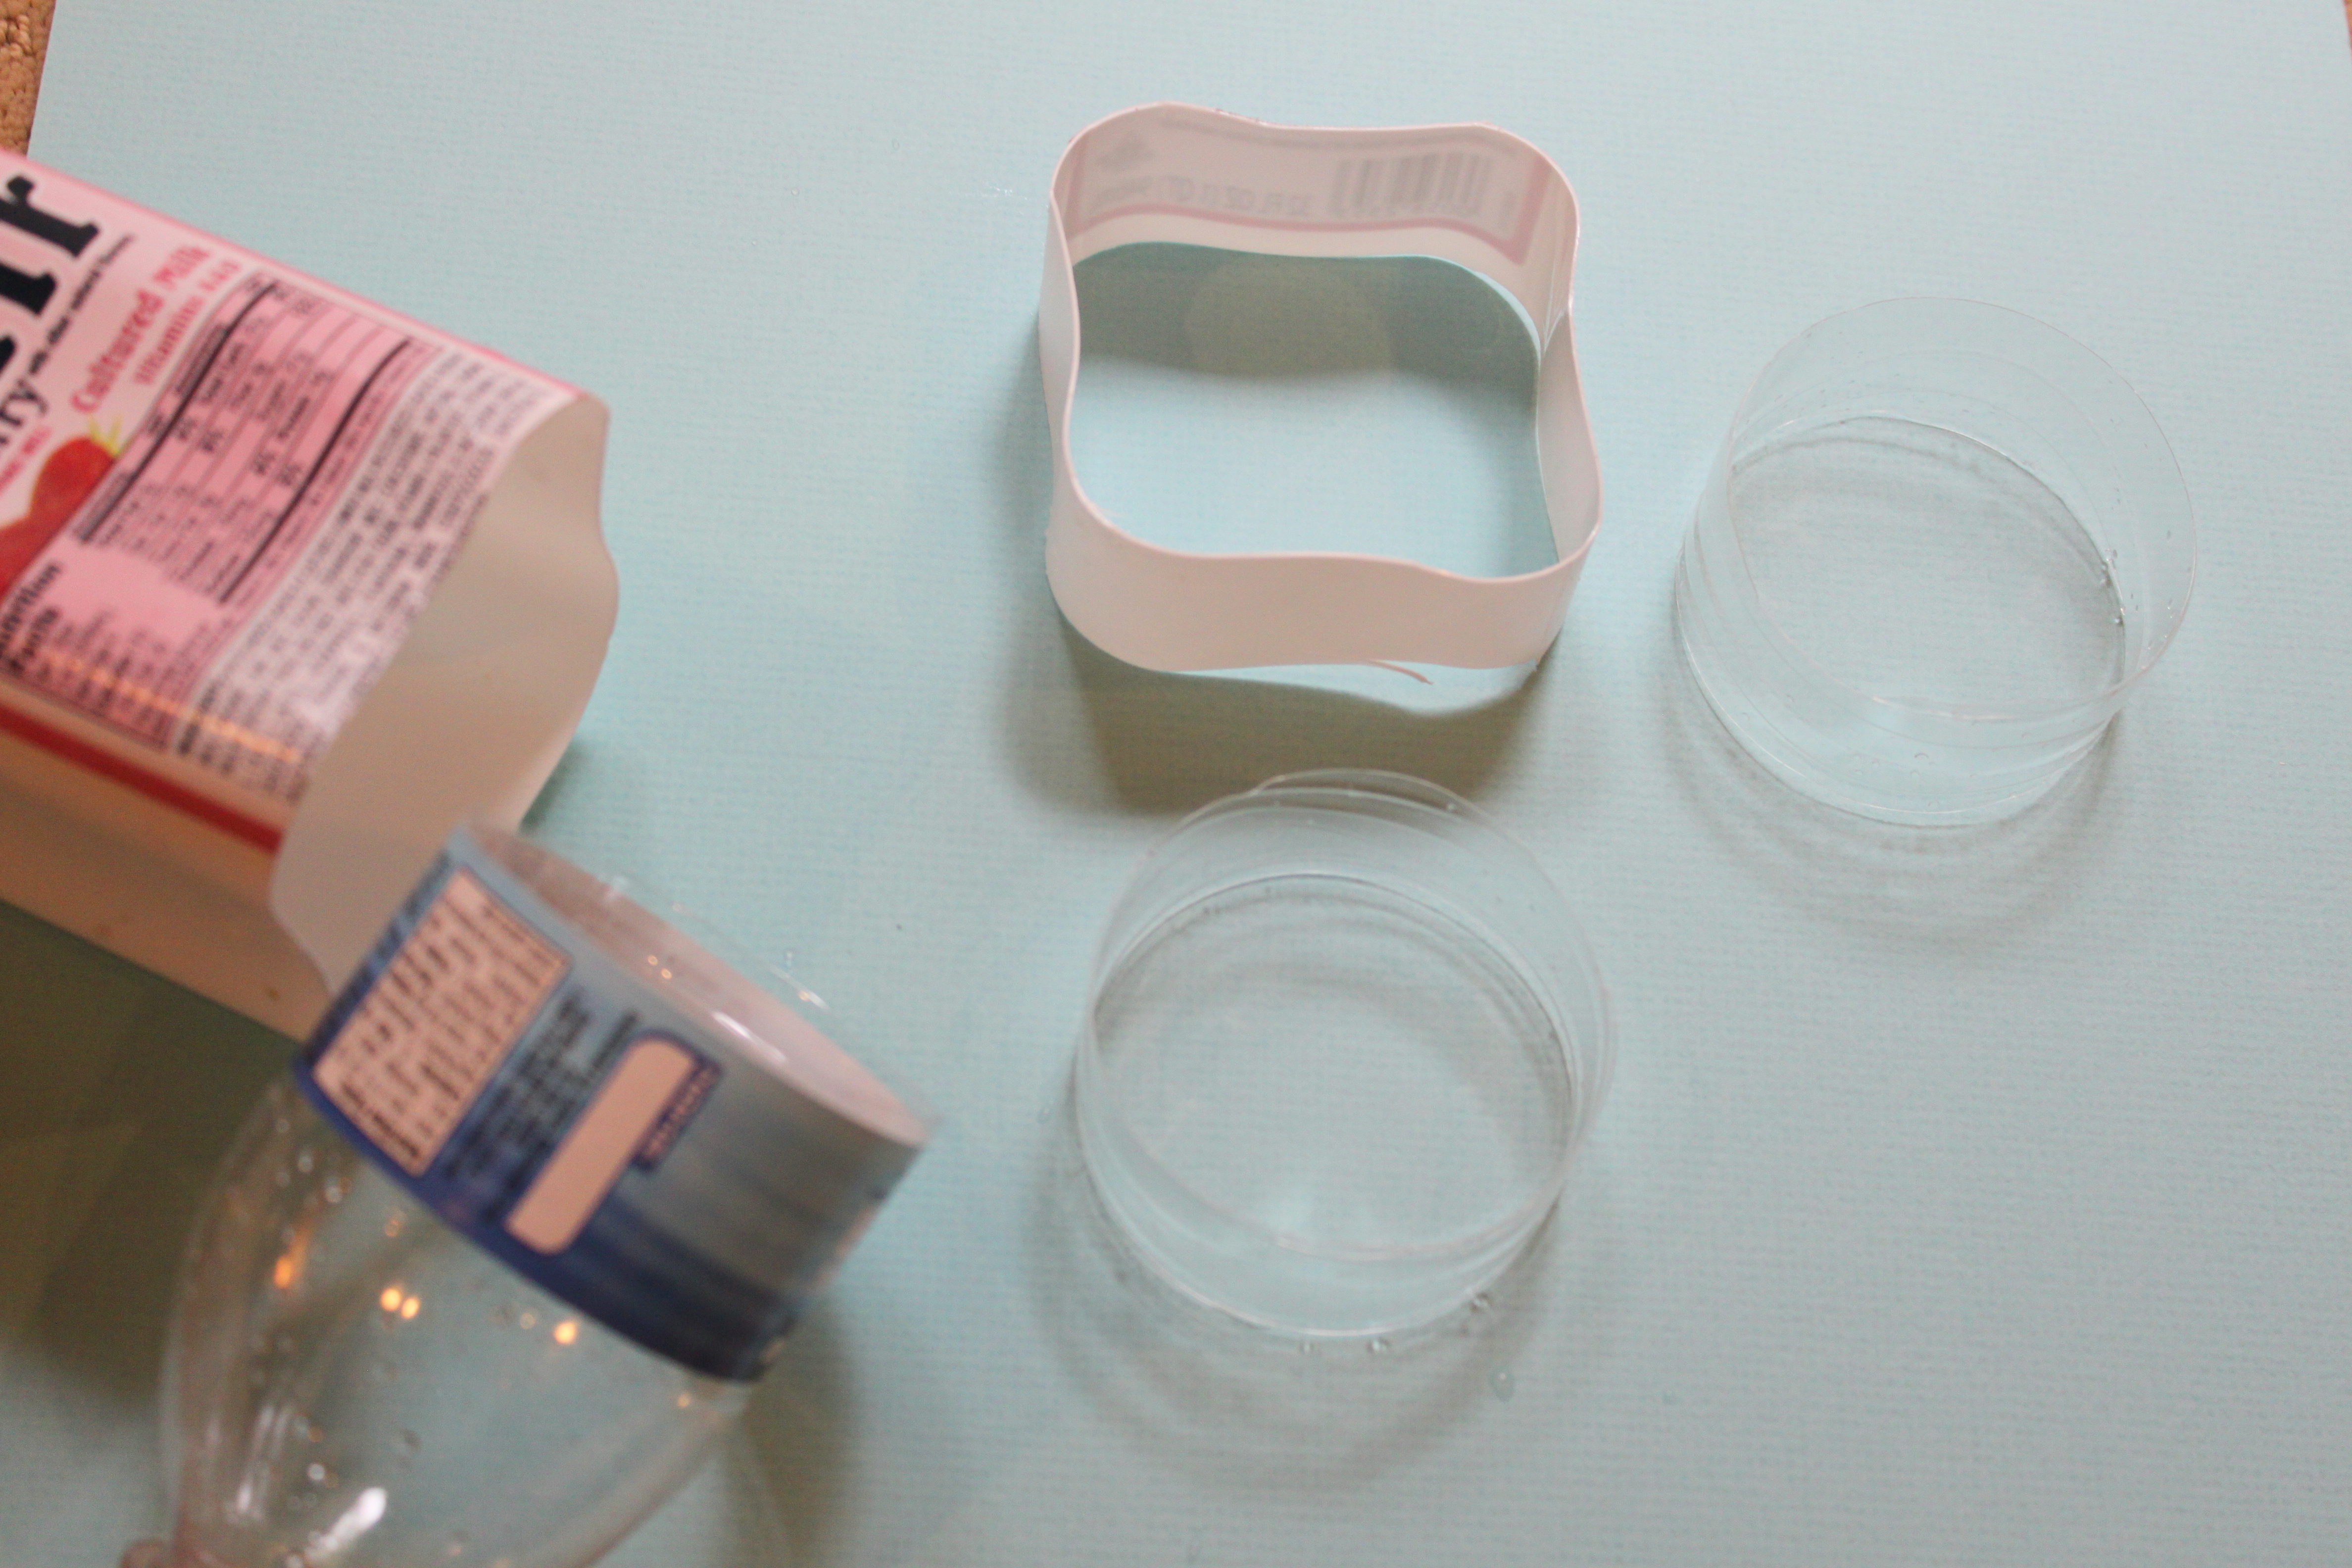
The first step is a grown-up only step. I did this before I sat down with my daughter to craft. Using an X-Acto knife, cut the bottom off of the bottle and then cut out some bracelet bands. They can be as wide as you'd like.

Step 2
The first step is a grown-up only step. I did this before I sat down with my daughter to craft. Using an X-Acto knife, cut the bottom off of the bottle and then cut out some bracelet bands. They can be as wide as you'd like.
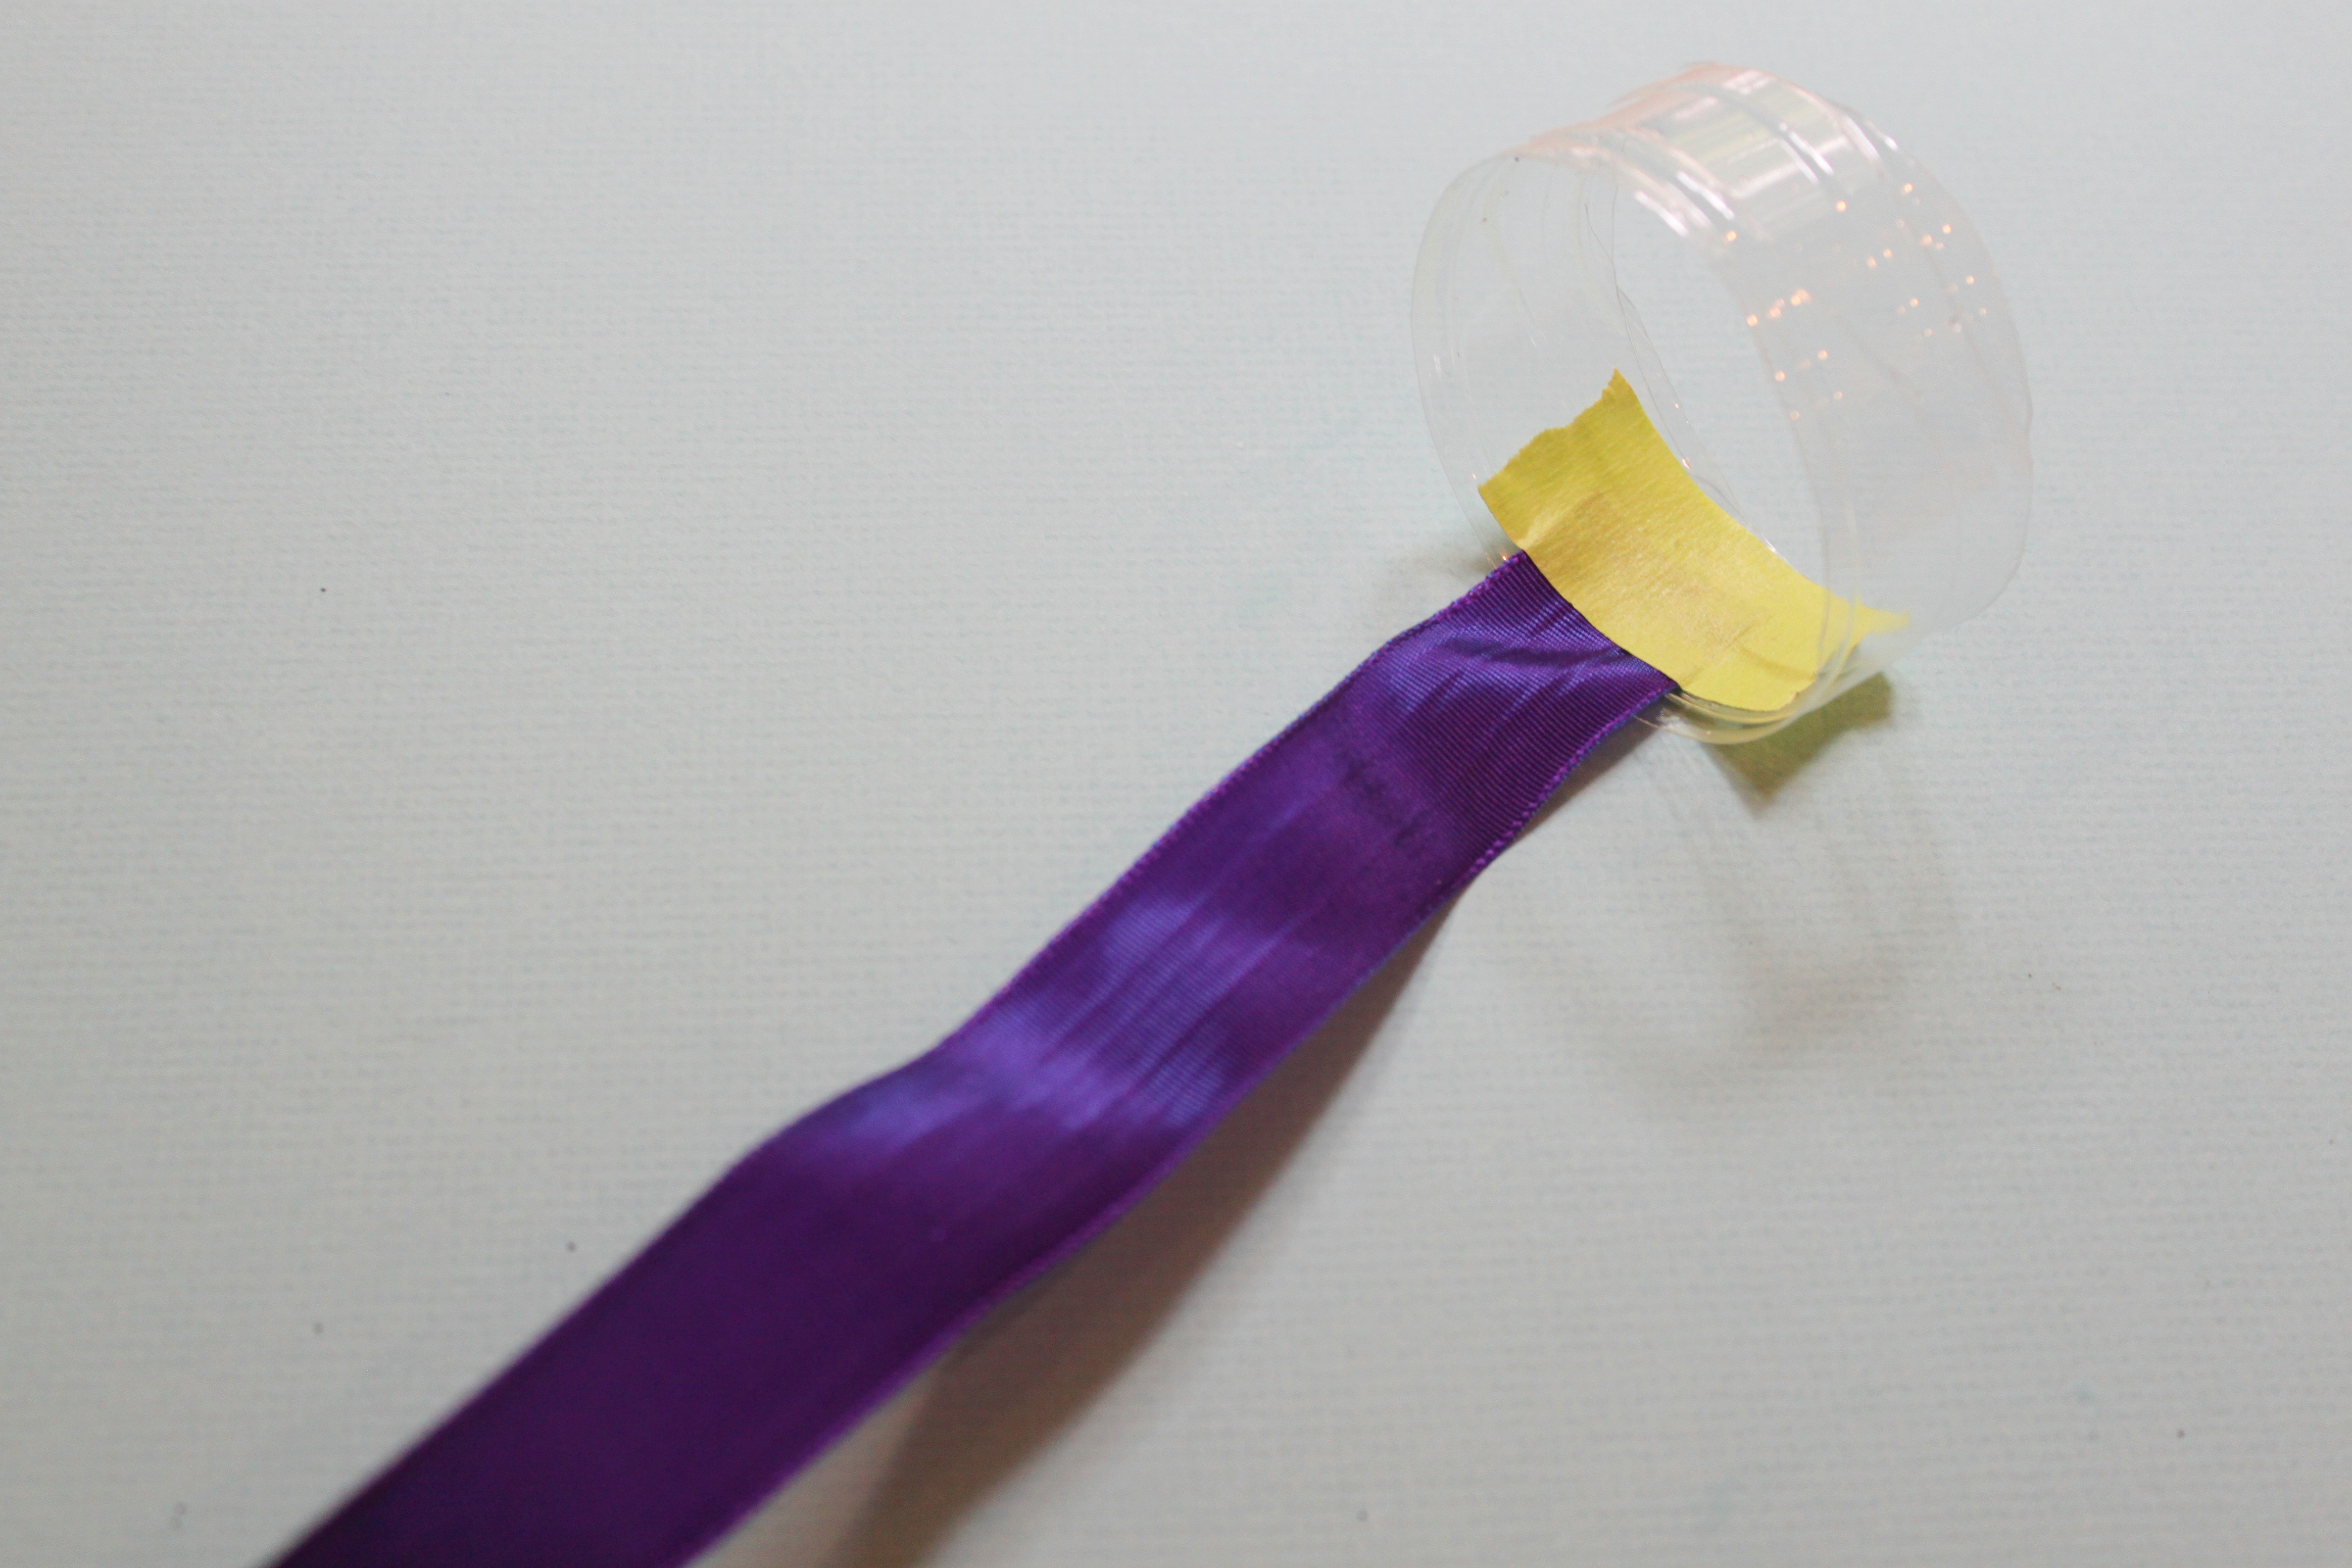
Step 3
Next I used a piece of masking tape to hold one end of a ribbon to the inside of the bracelet. This held it in place so it would be easy to wrap.
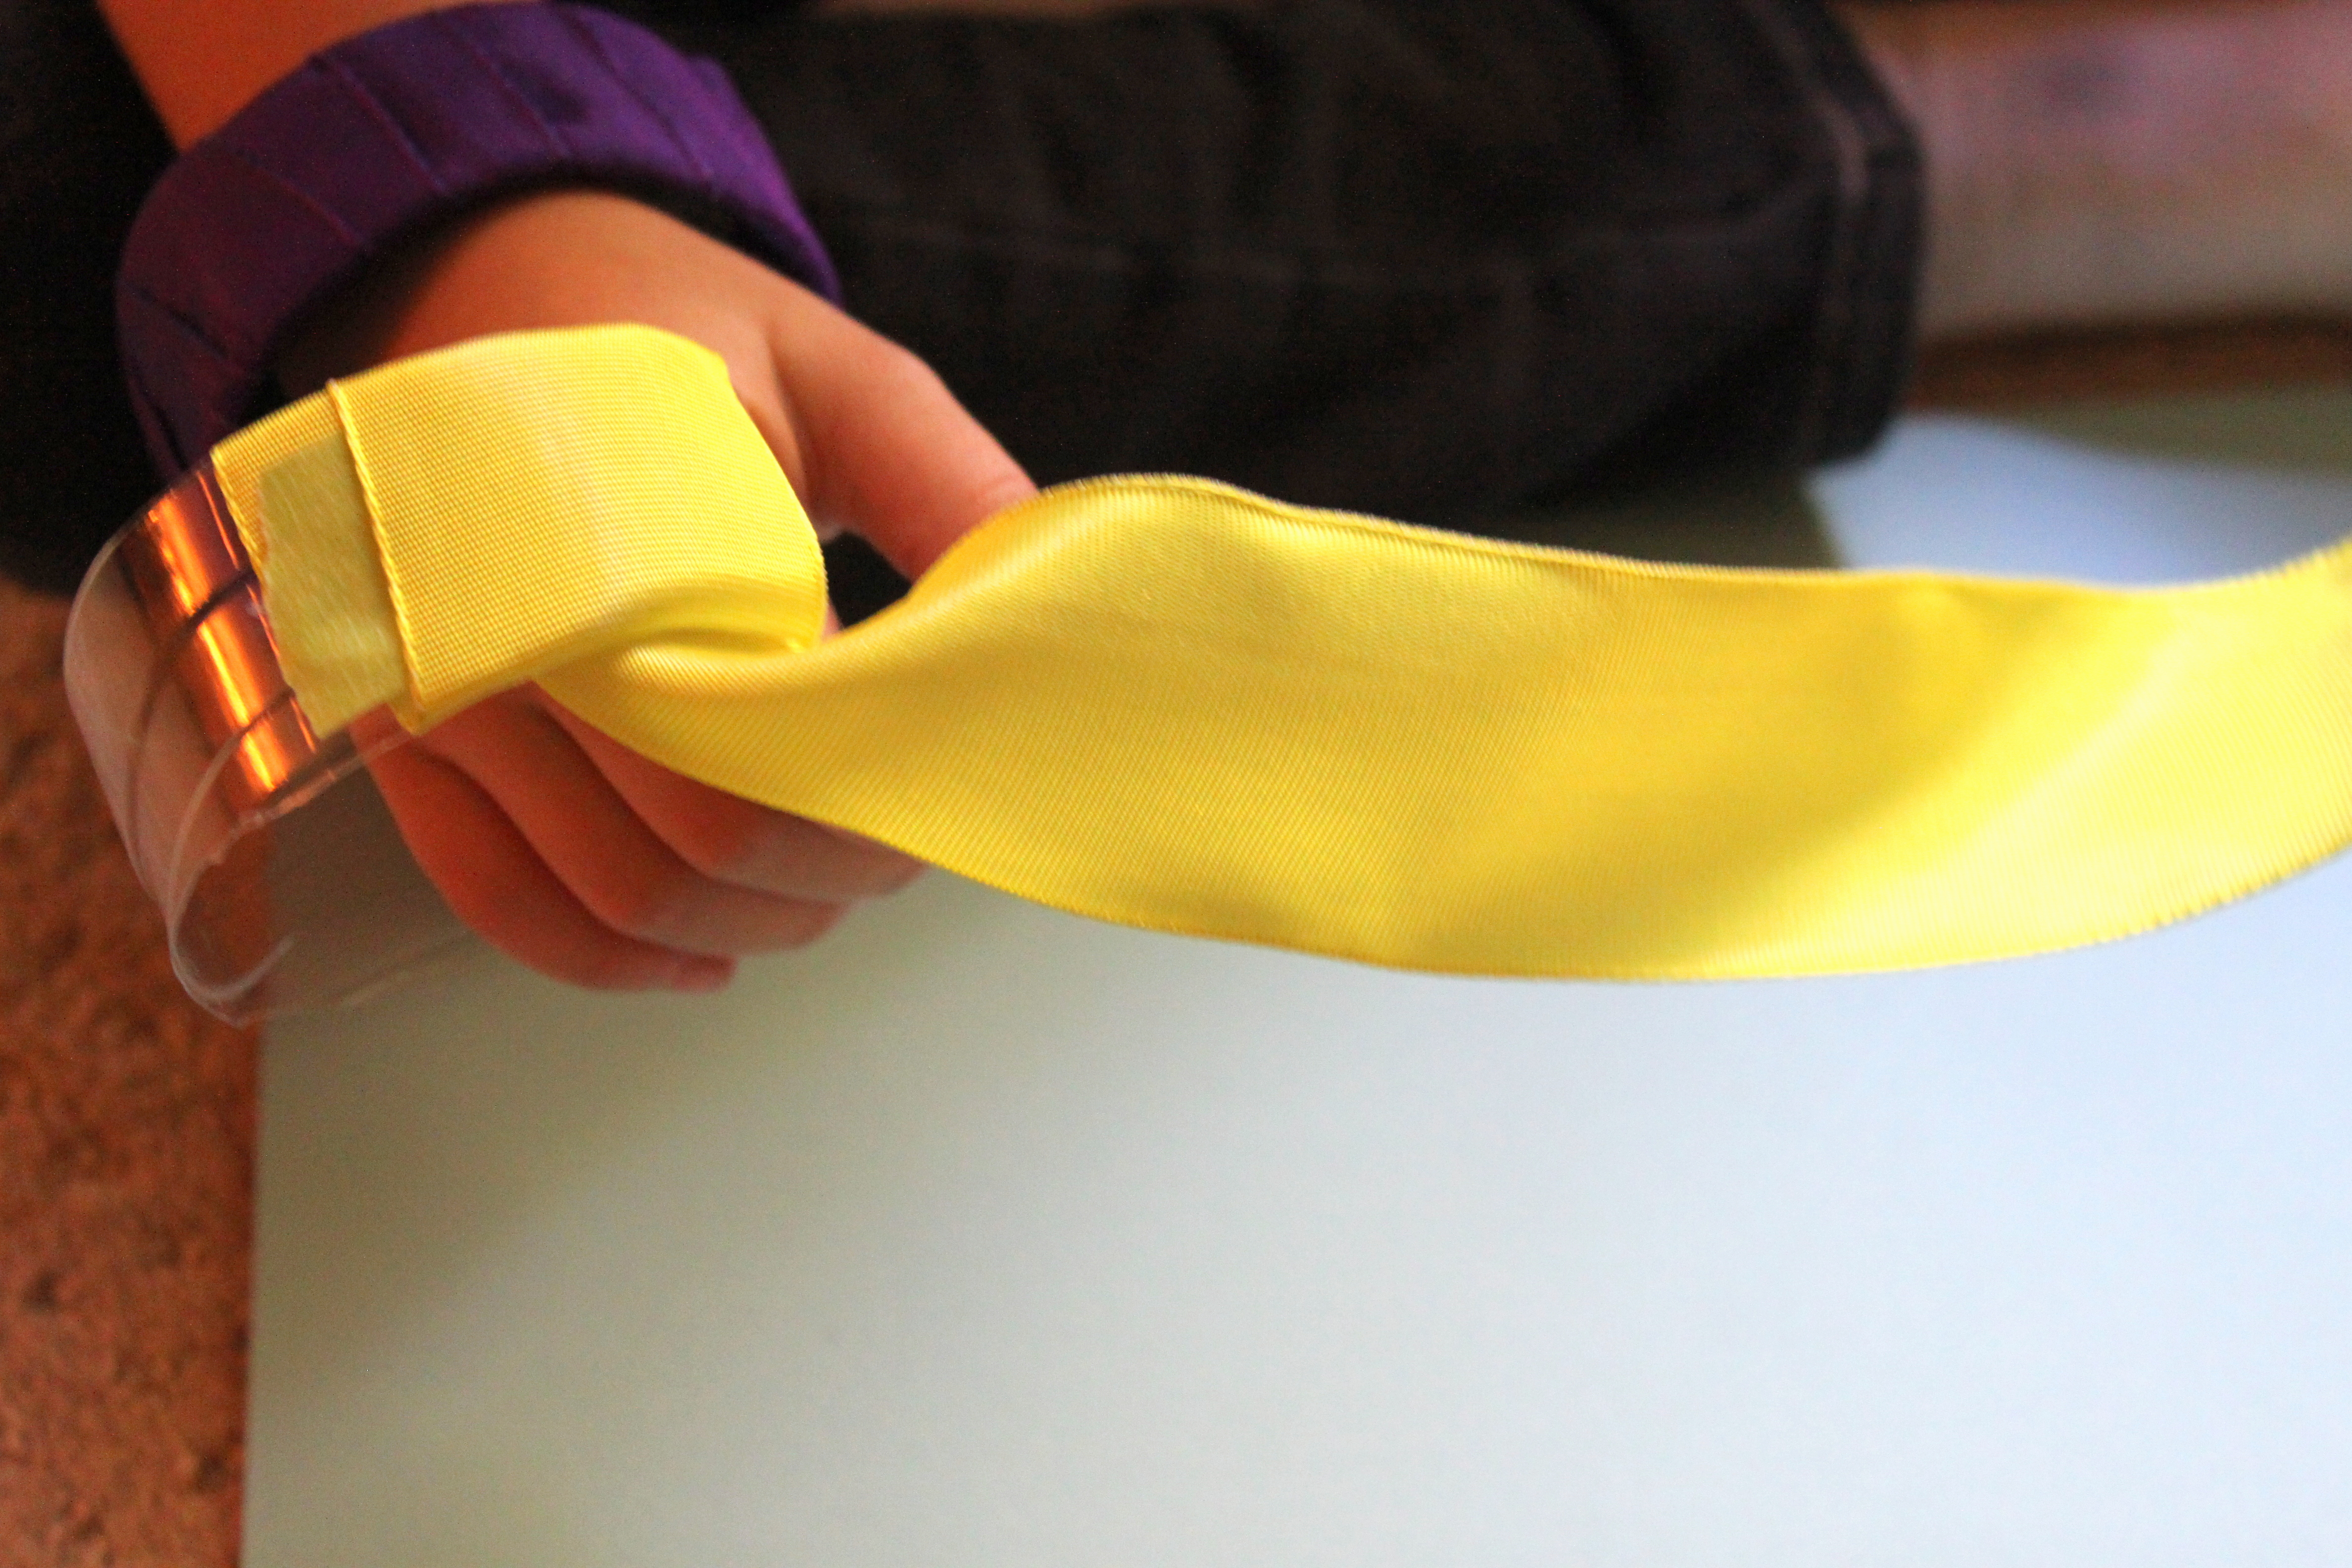
Step 4
Now you can hand off the bangle to the kids to wrap the ribbon around and around until the bracelet is fully covered.
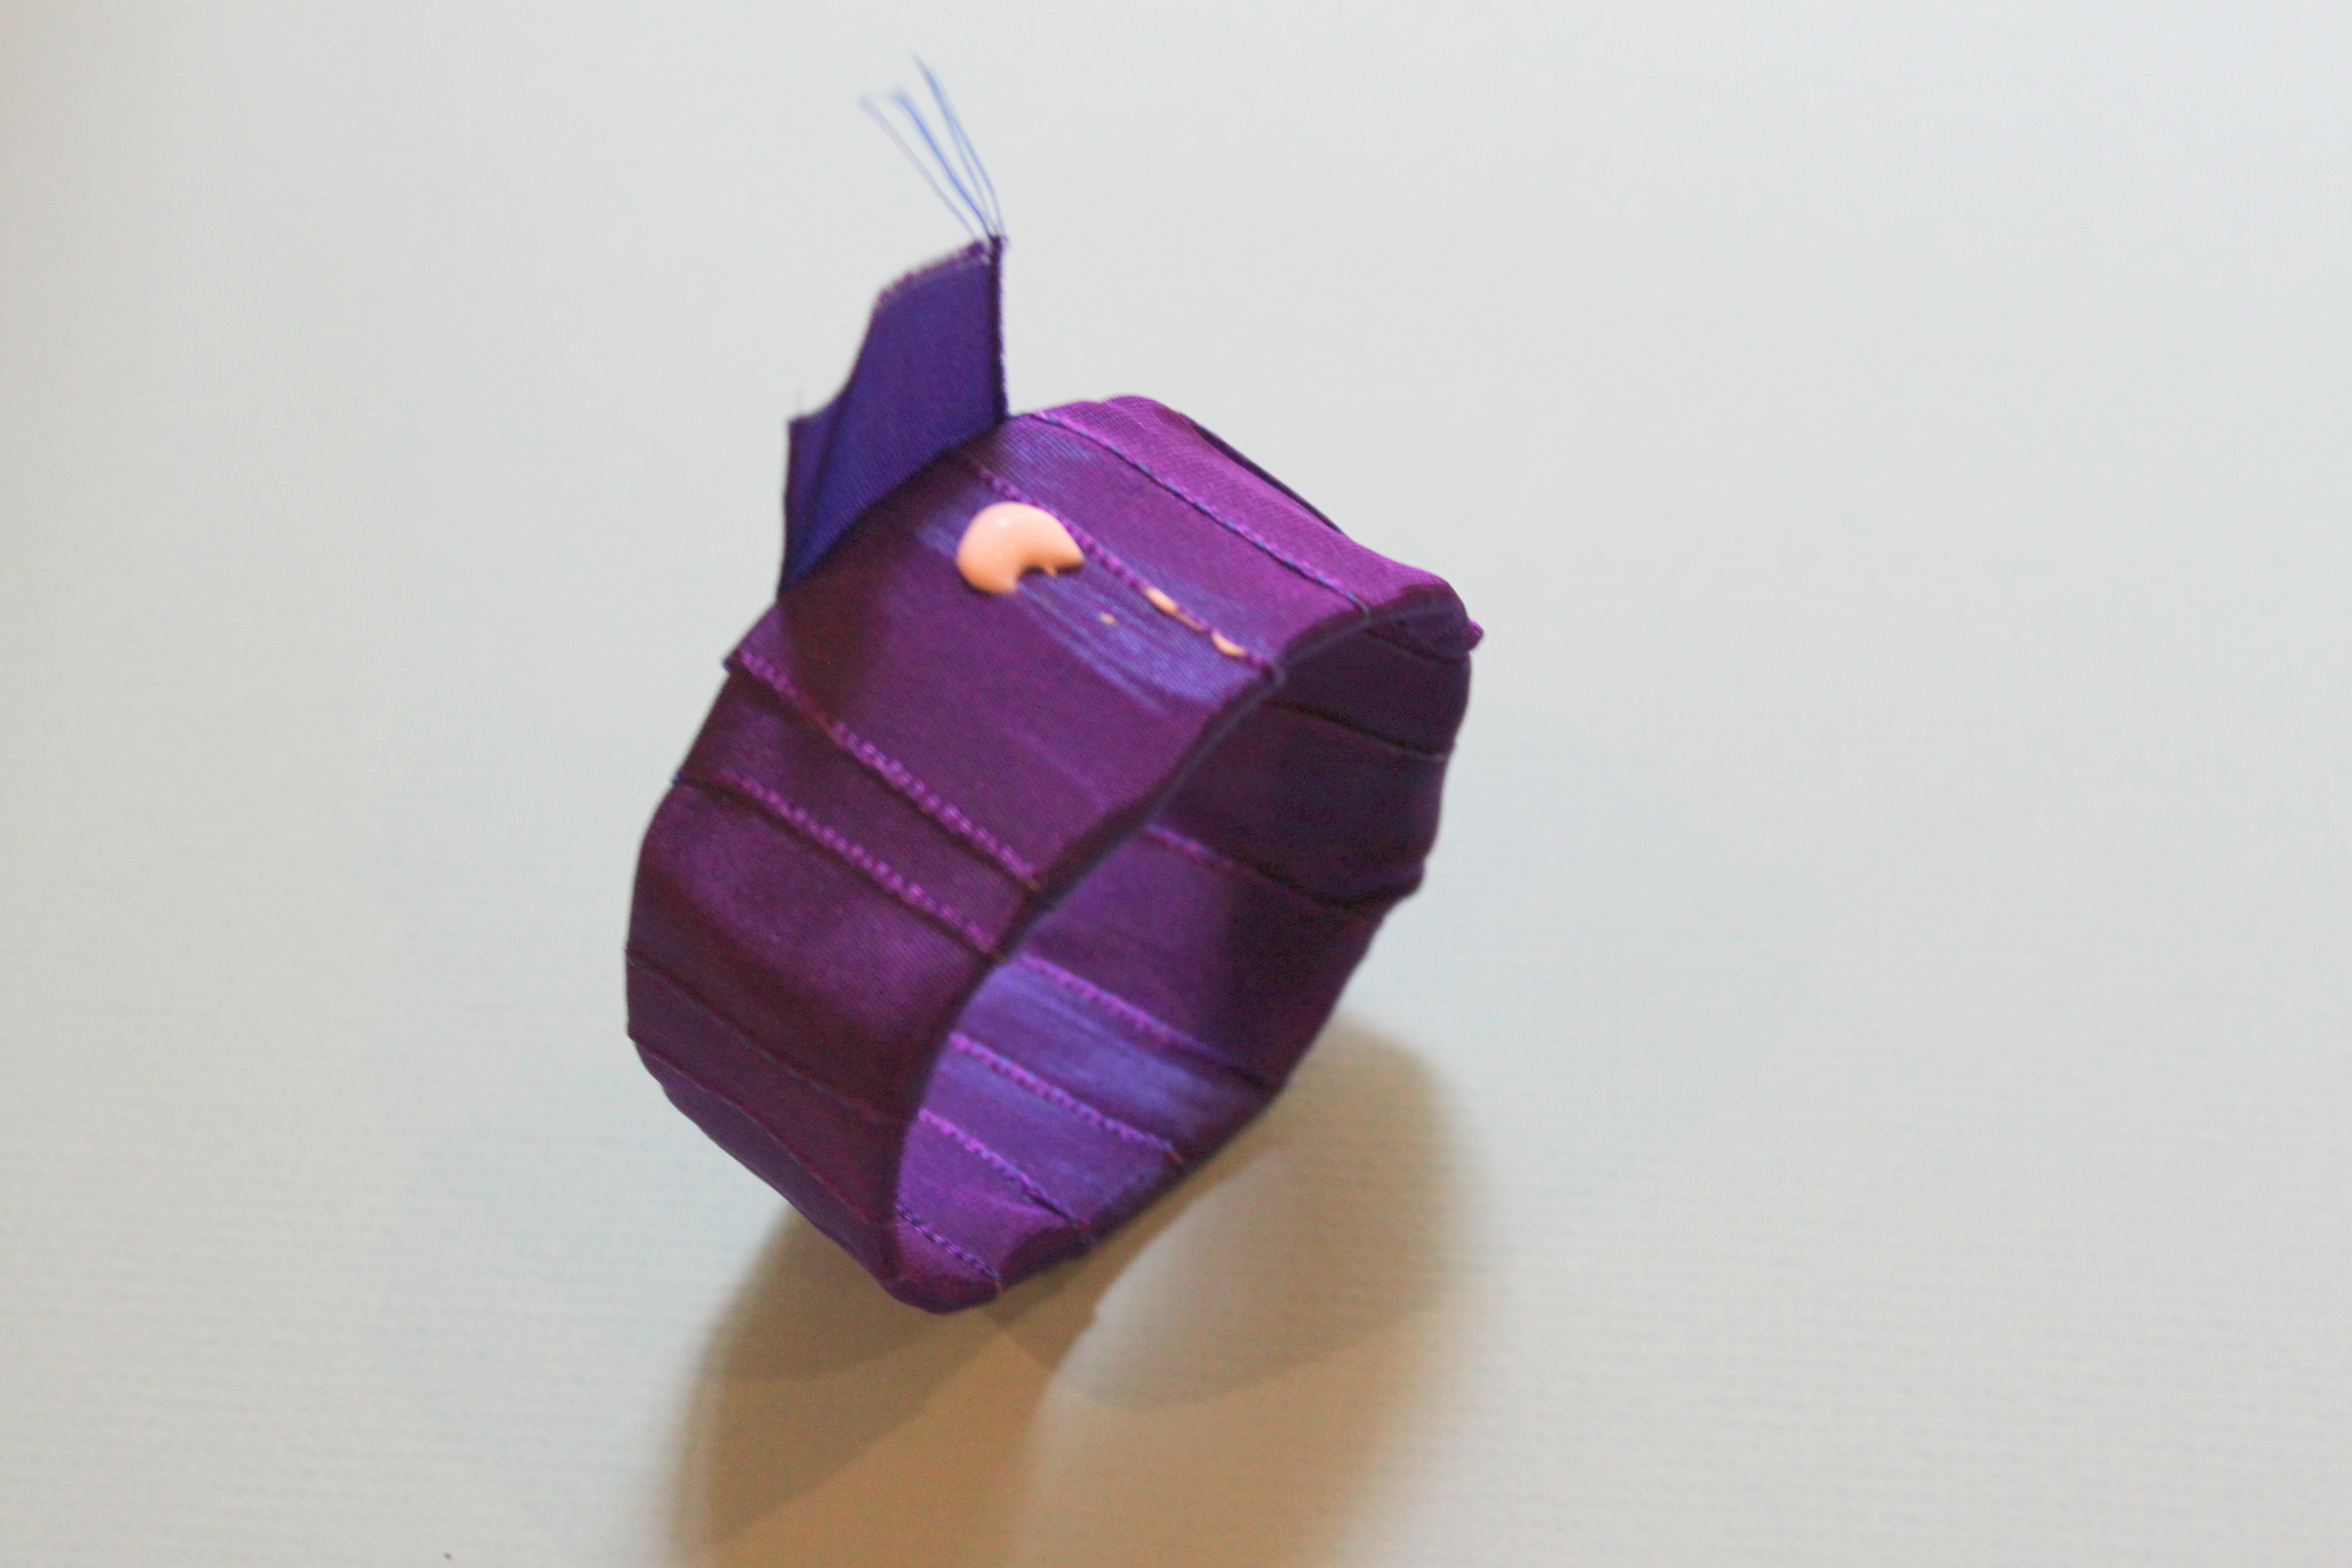
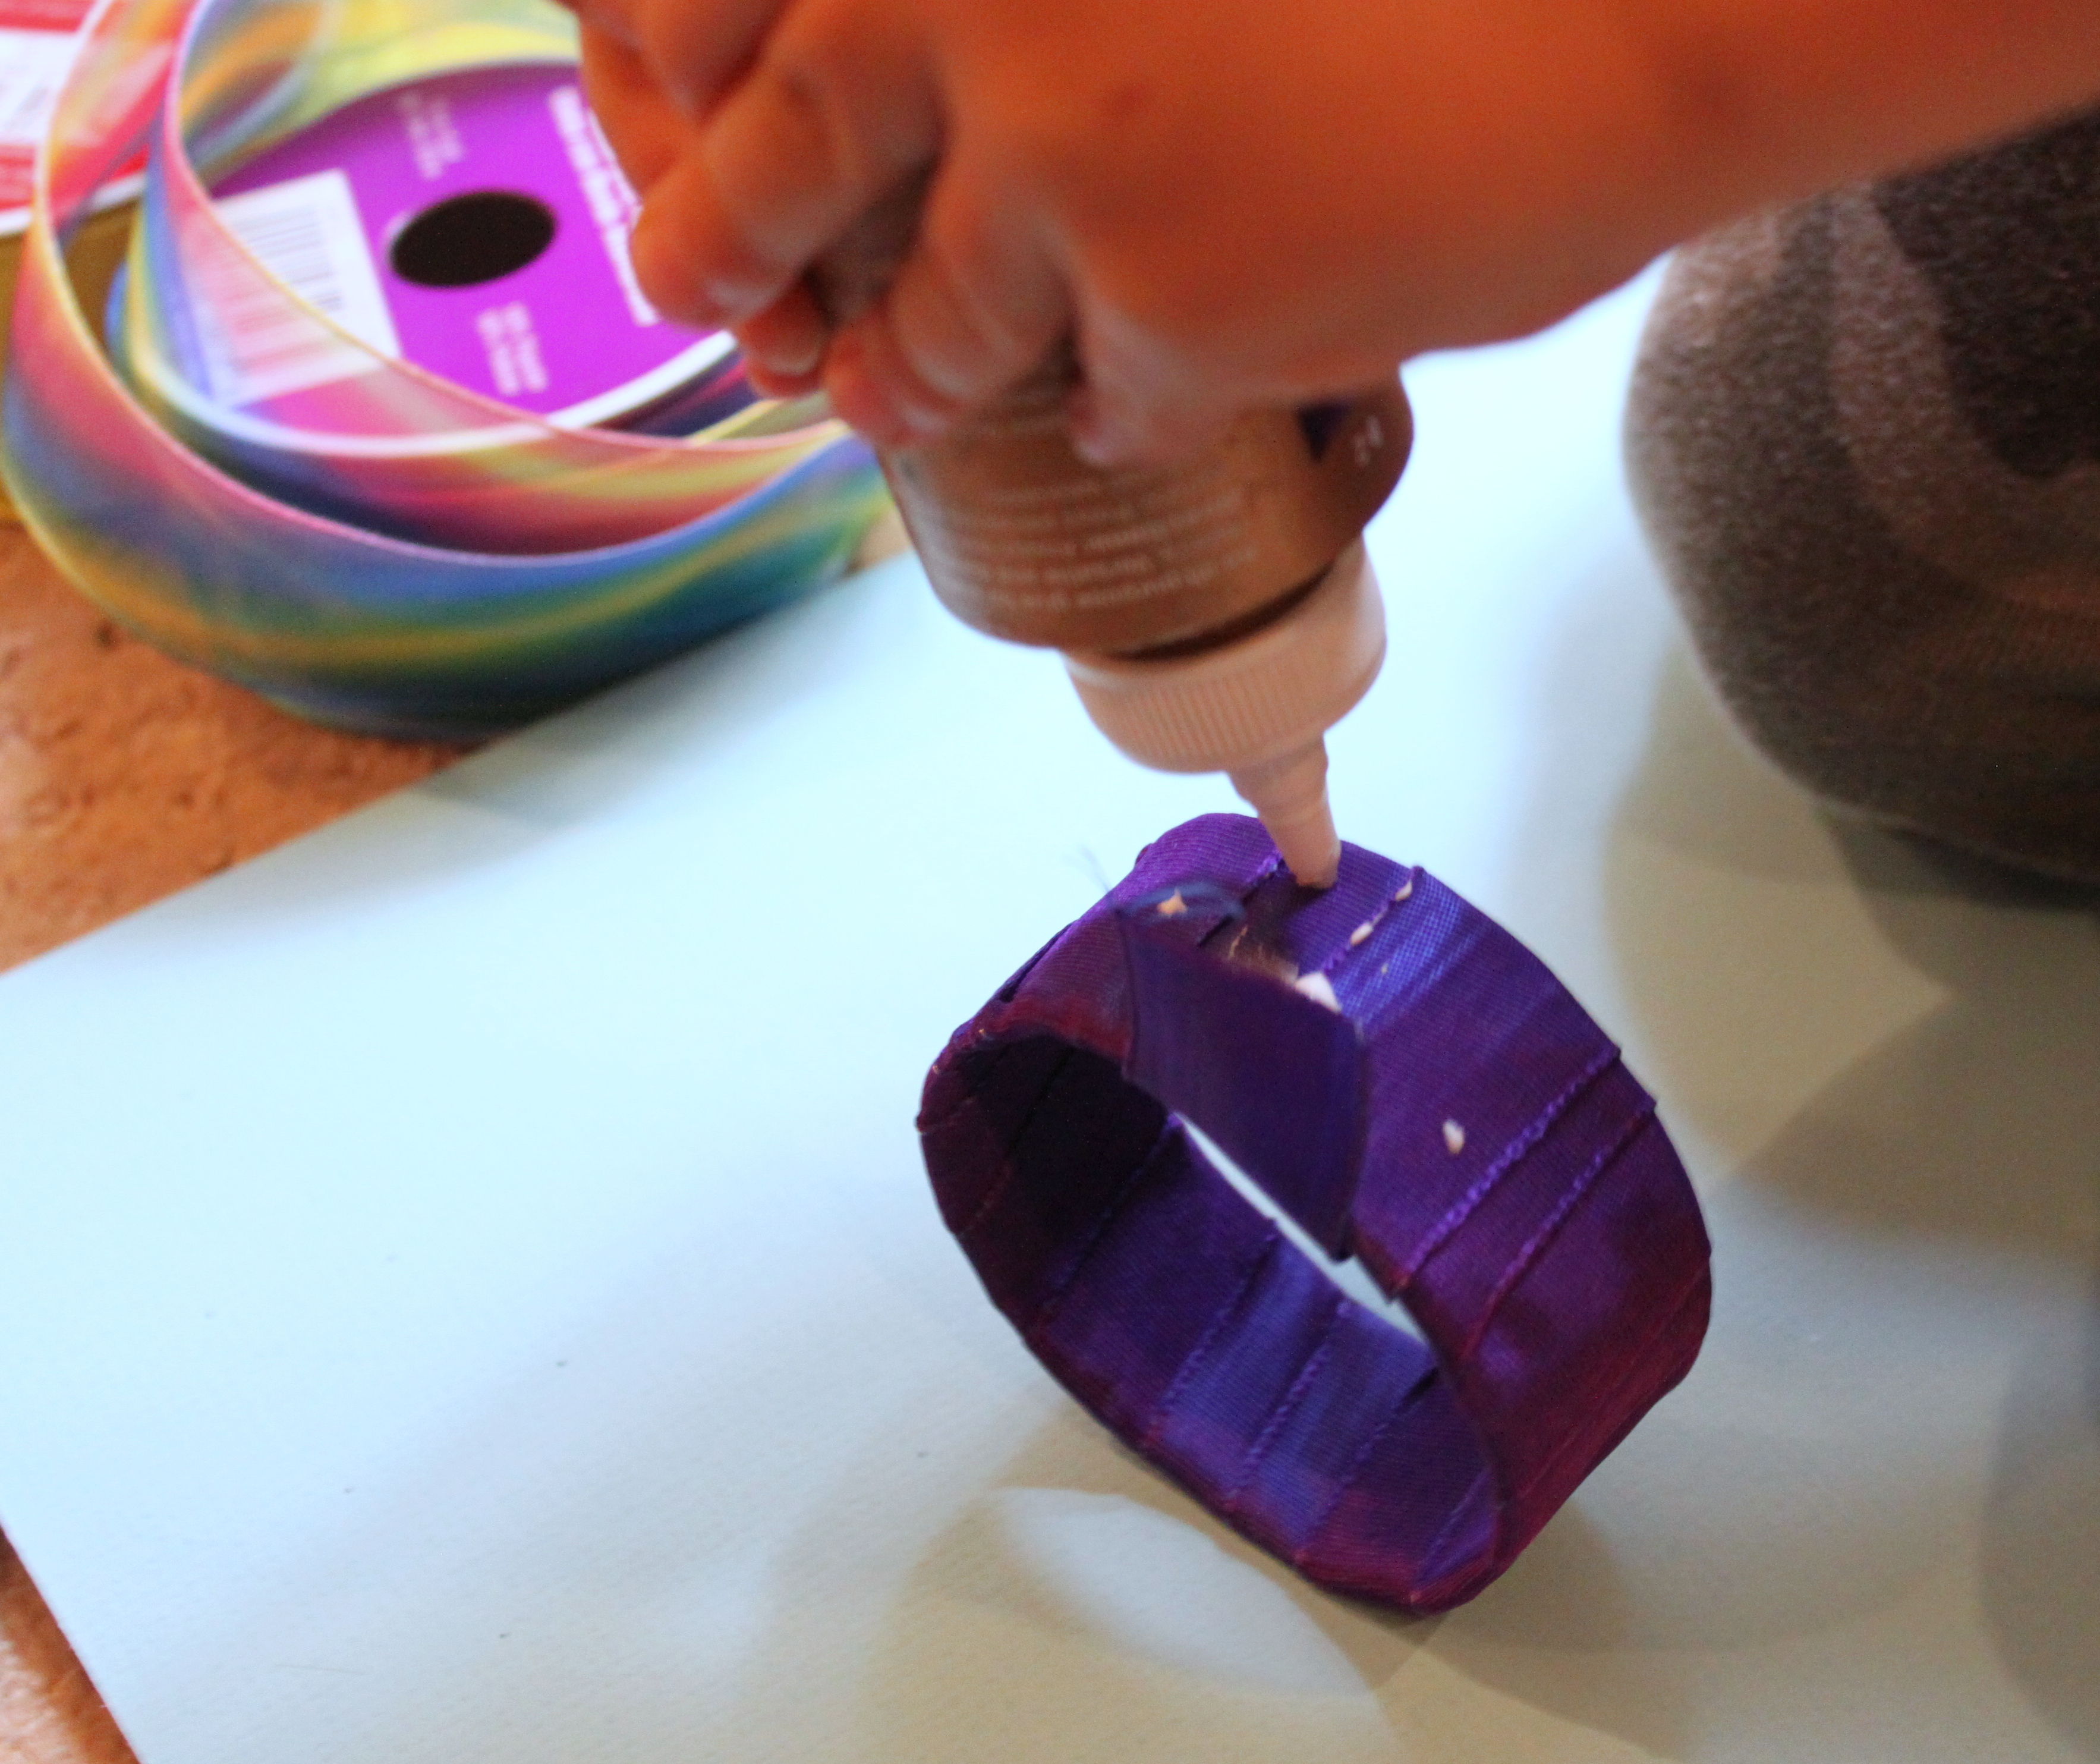
Step 5
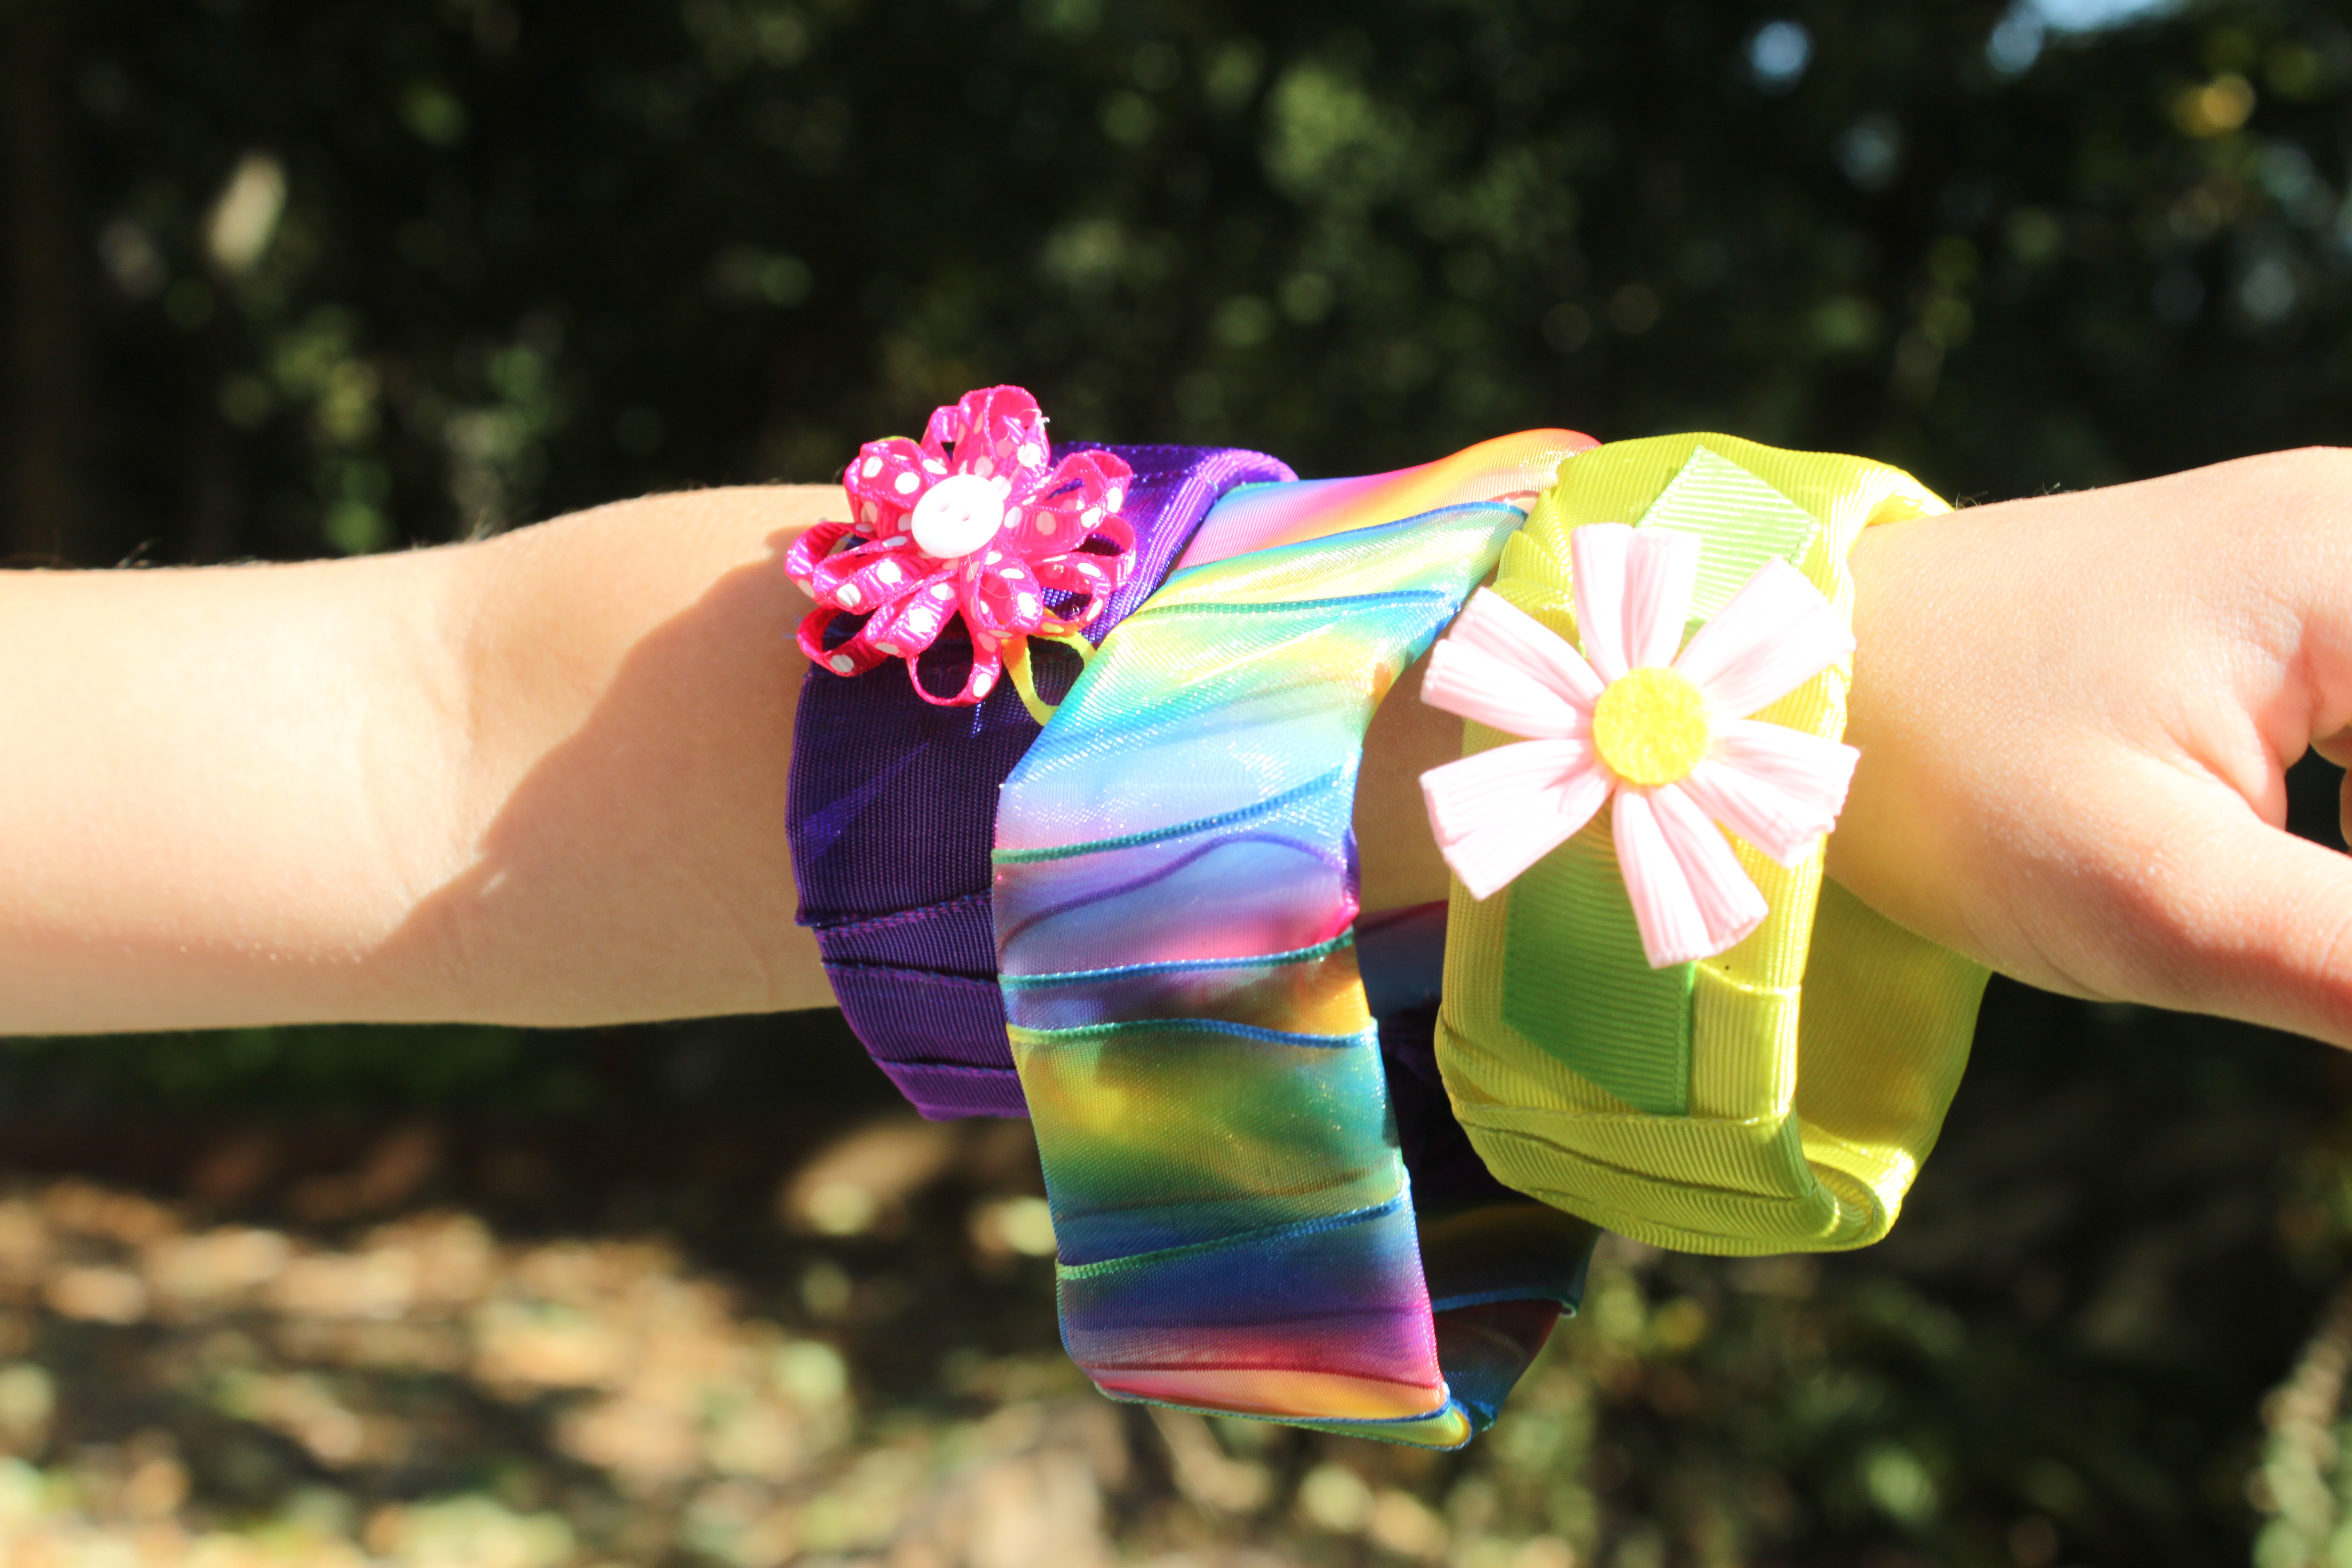
You could do one color ribbon or do several layers and different widths of ribbon to create a fun multicolored bangle. Once you reach the end of the ribbon, seal the ribbon with a dab of tacky glue.
Step 6
You could do one color ribbon or do several layers and different widths of ribbon to create a fun multicolored bangle. Once you reach the end of the ribbon, seal the ribbon with a dab of tacky glue.
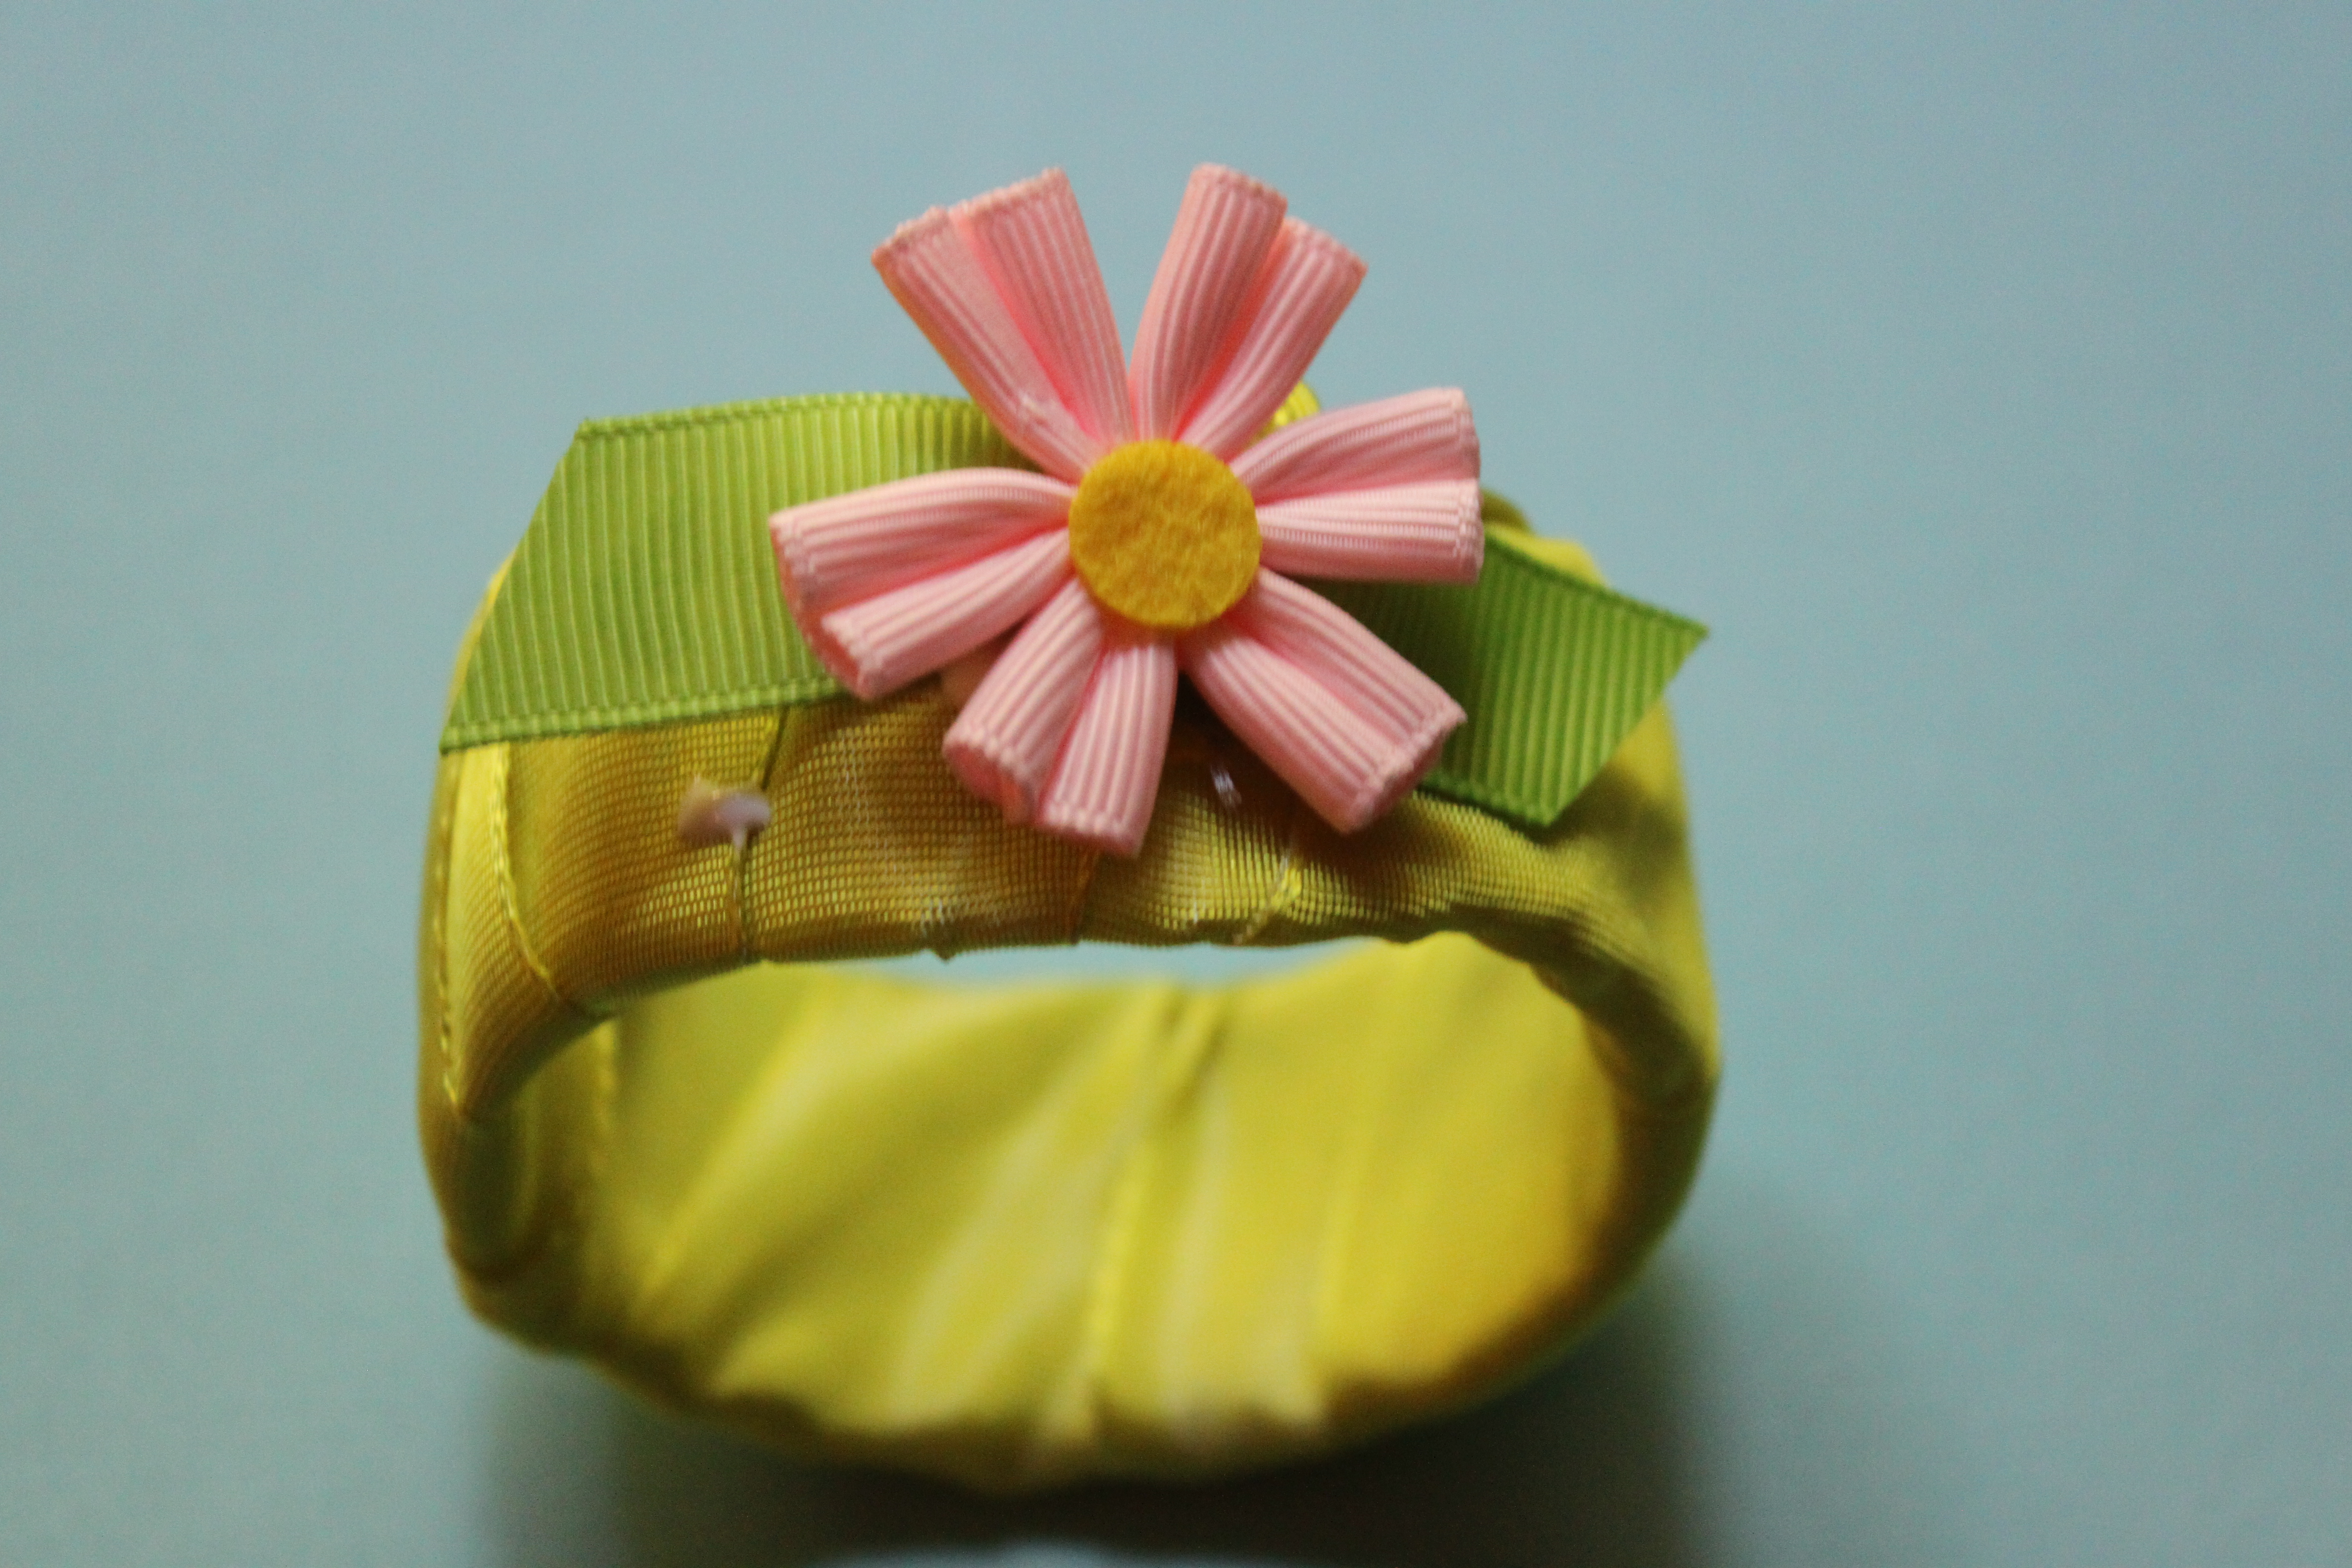
Step 7
We had some fun decorative flower buttons we added on. You could also make a felt flower for a sweet bangle look.
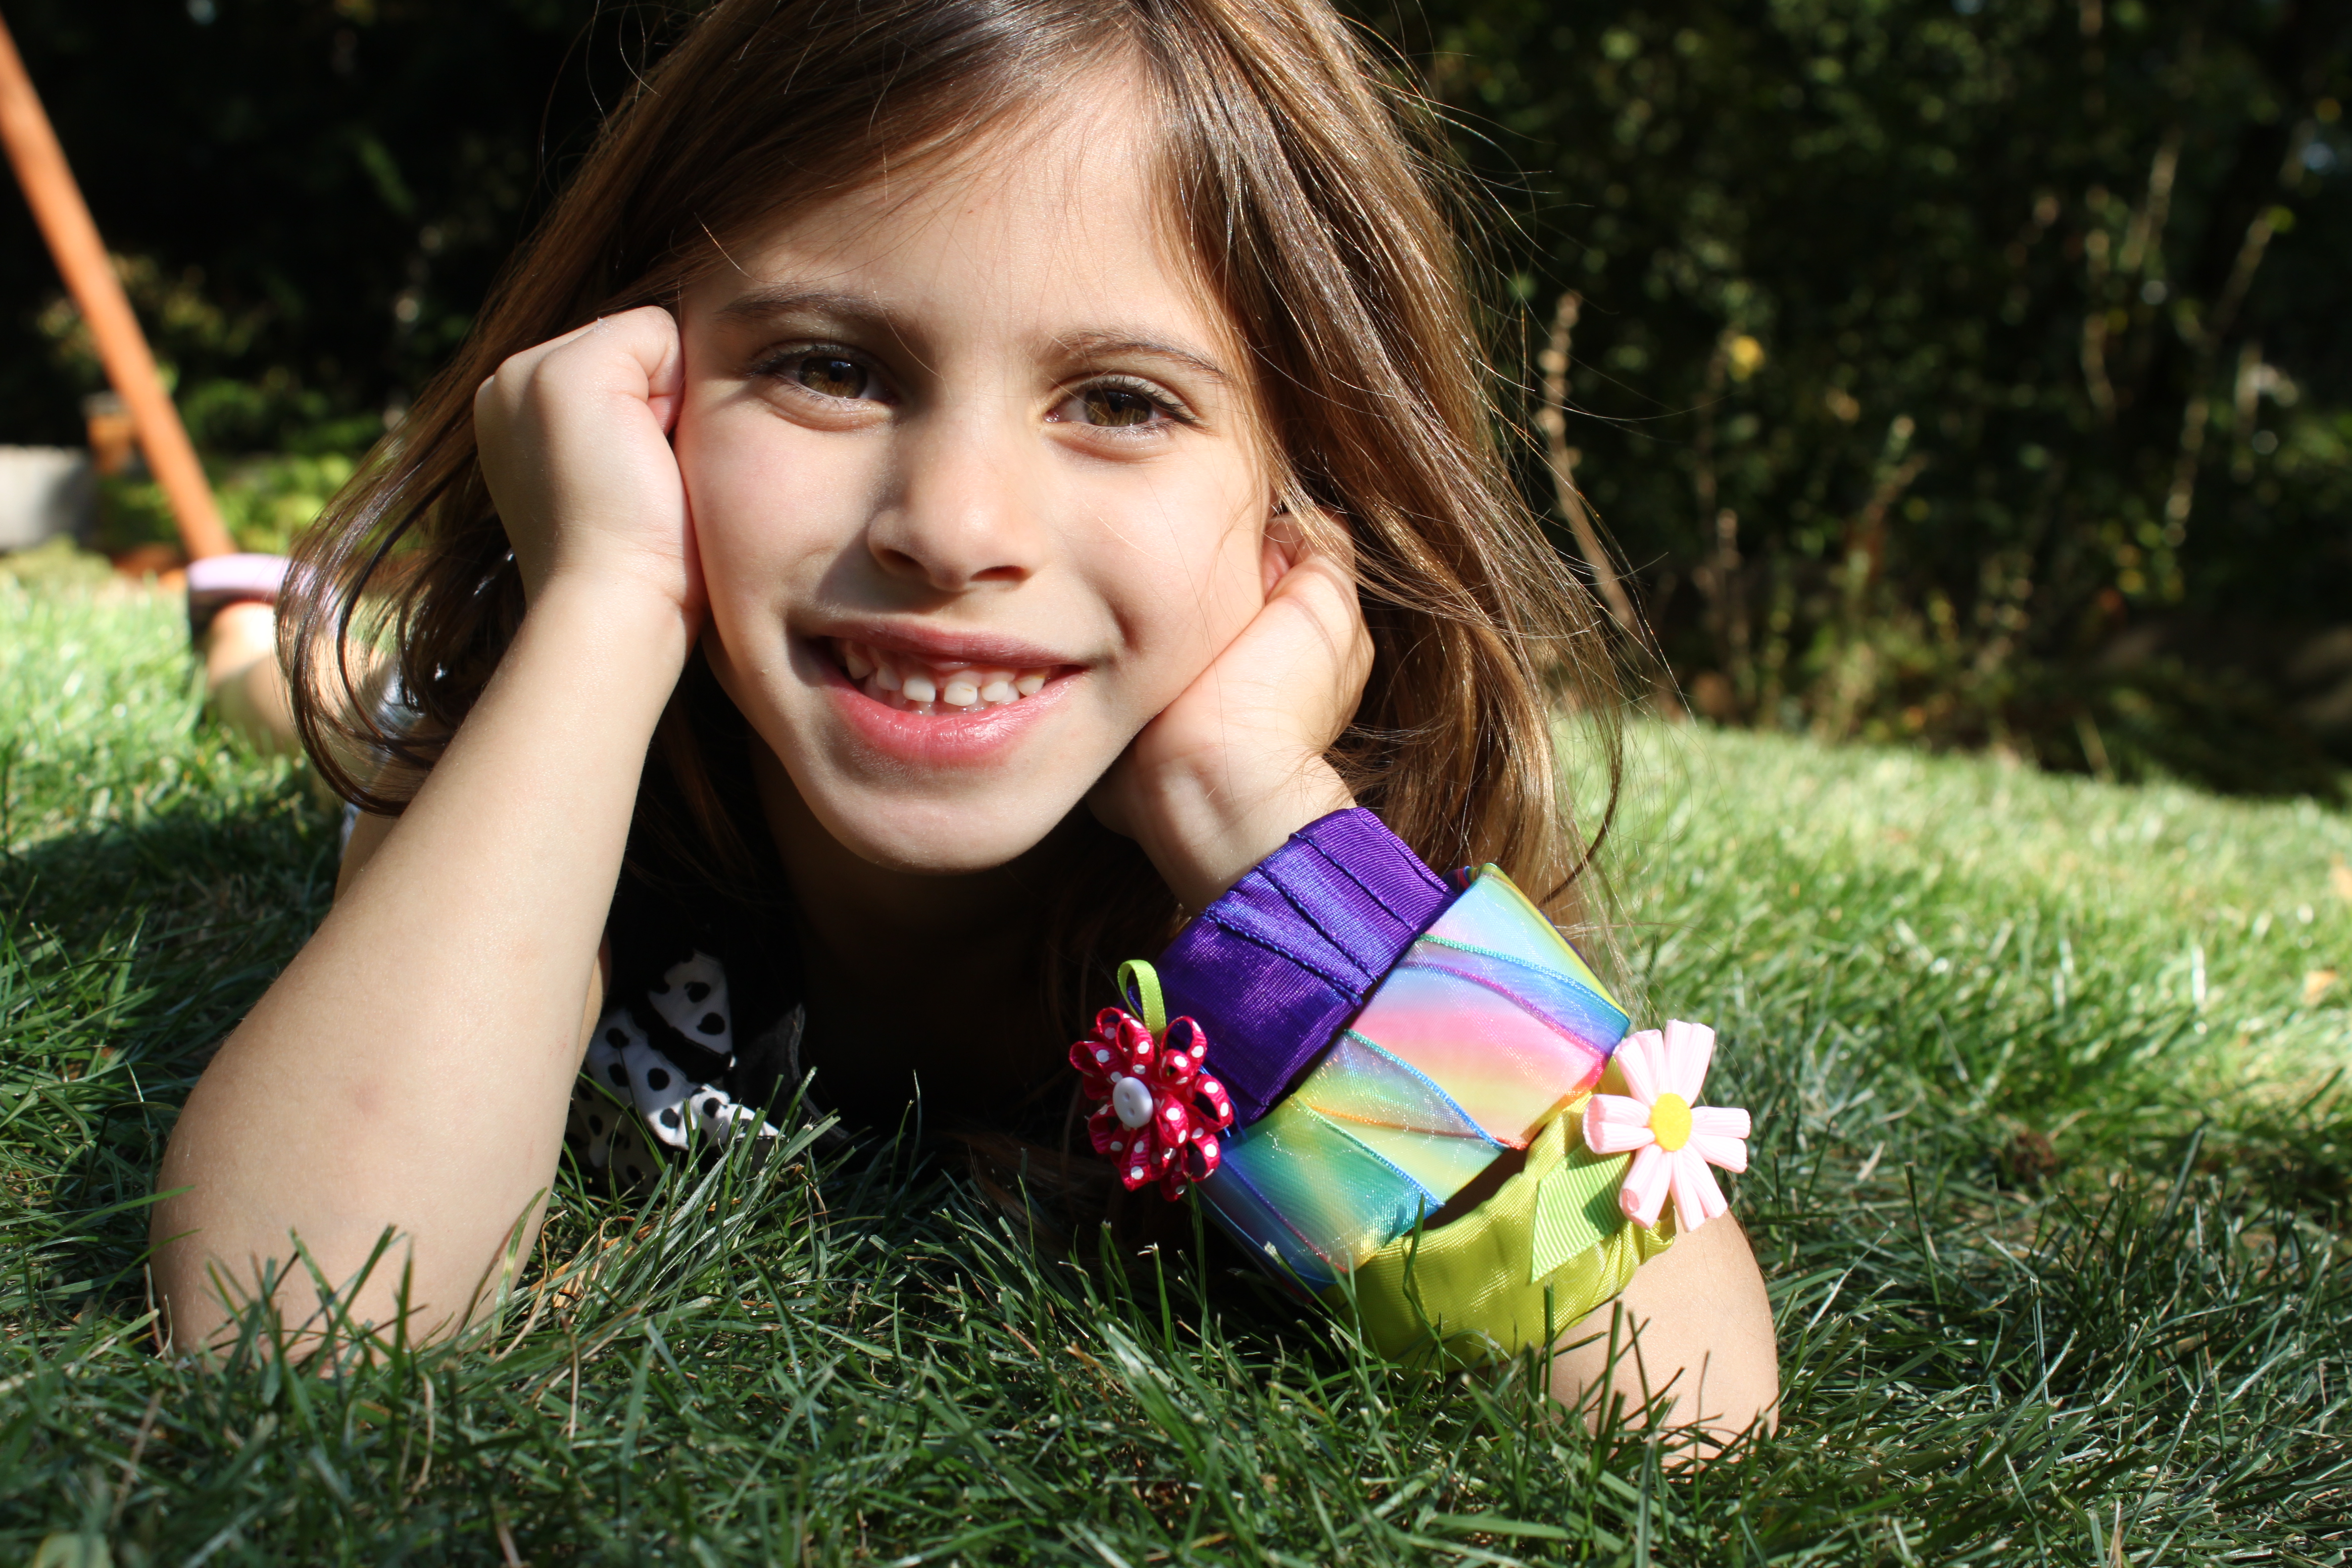
Done!
My daughter adores her new bangles. She chose everything about them, so she should!