Clay Donuts

These mini clay donuts look almost good enough to eat! Flex your sculpting skills while making a darling miniature to place on a shelf or desk, or to feed to your dolls!

  1. Ages: 9 - 13

  2. <30 minutes

  3. A little messy

Tags:

Materials you'll need

Step-by-step tutorial

  • Step 1

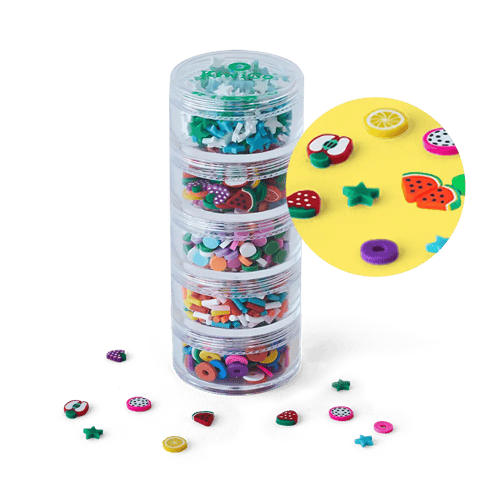
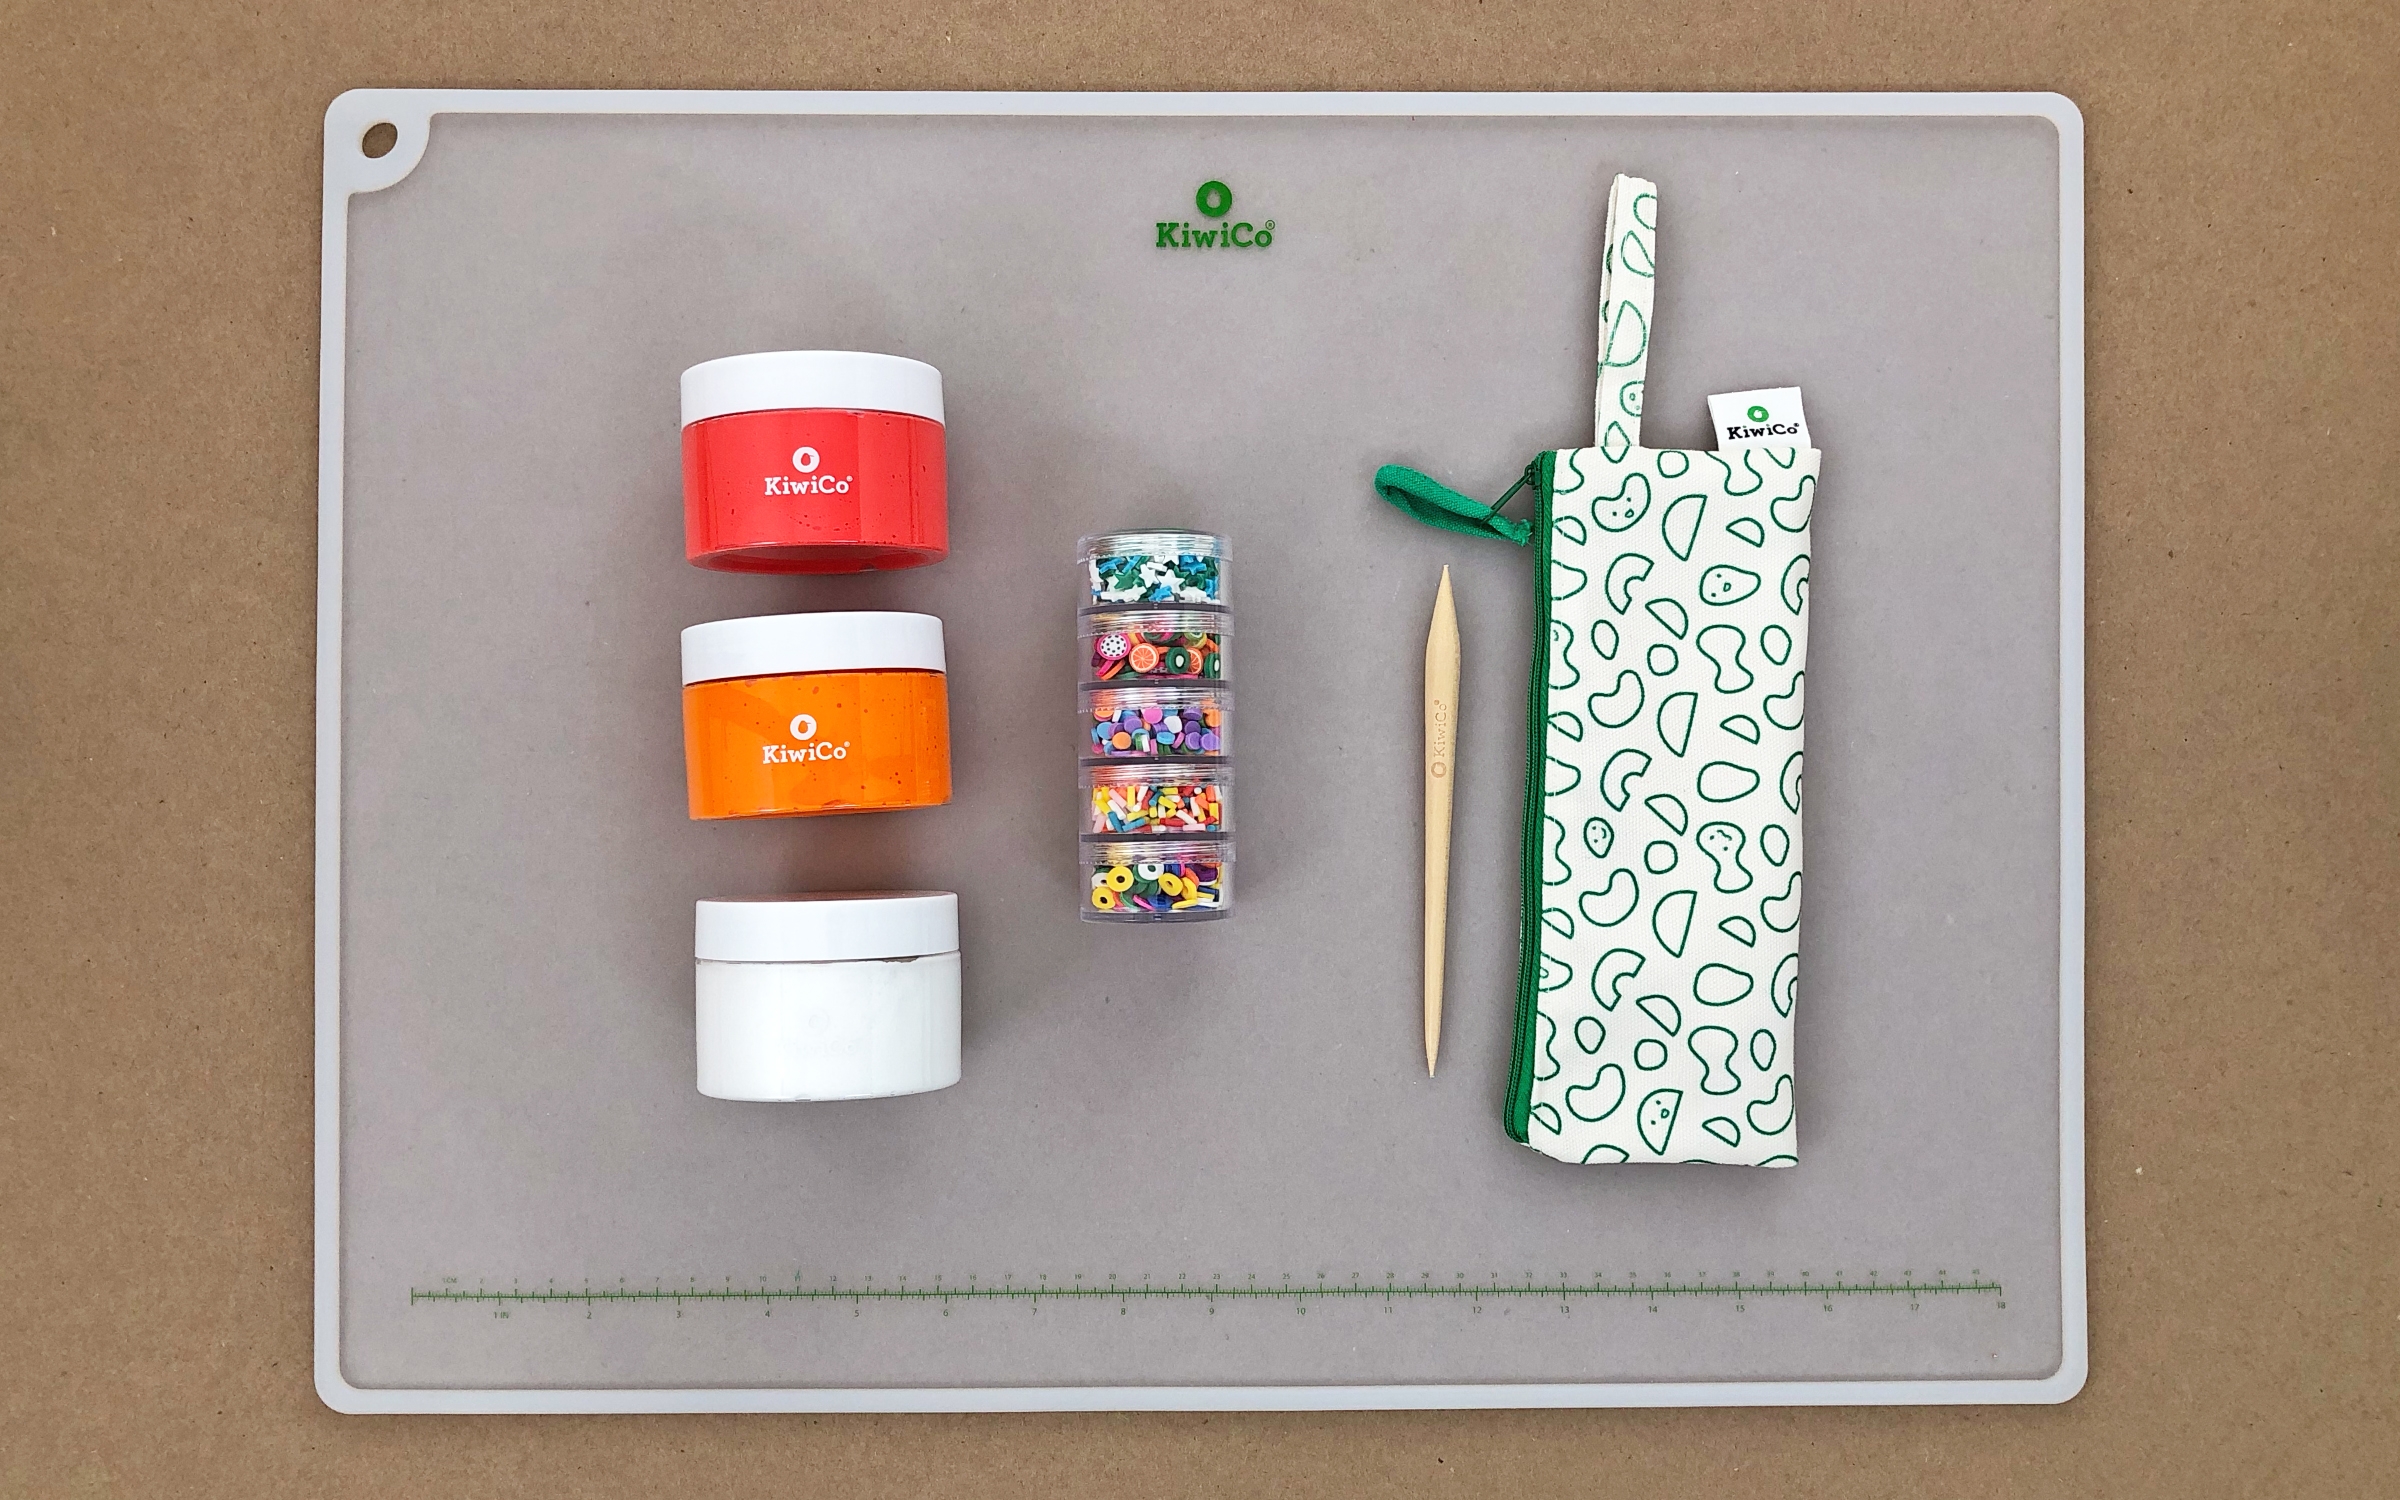
    Gather your materials.

    Photo reference of how to complete step 1

  • Photo reference of how to complete step 2

    Tip

    If you don't have these materials at home, check out KiwiCo Supplies here!

  • Step 2

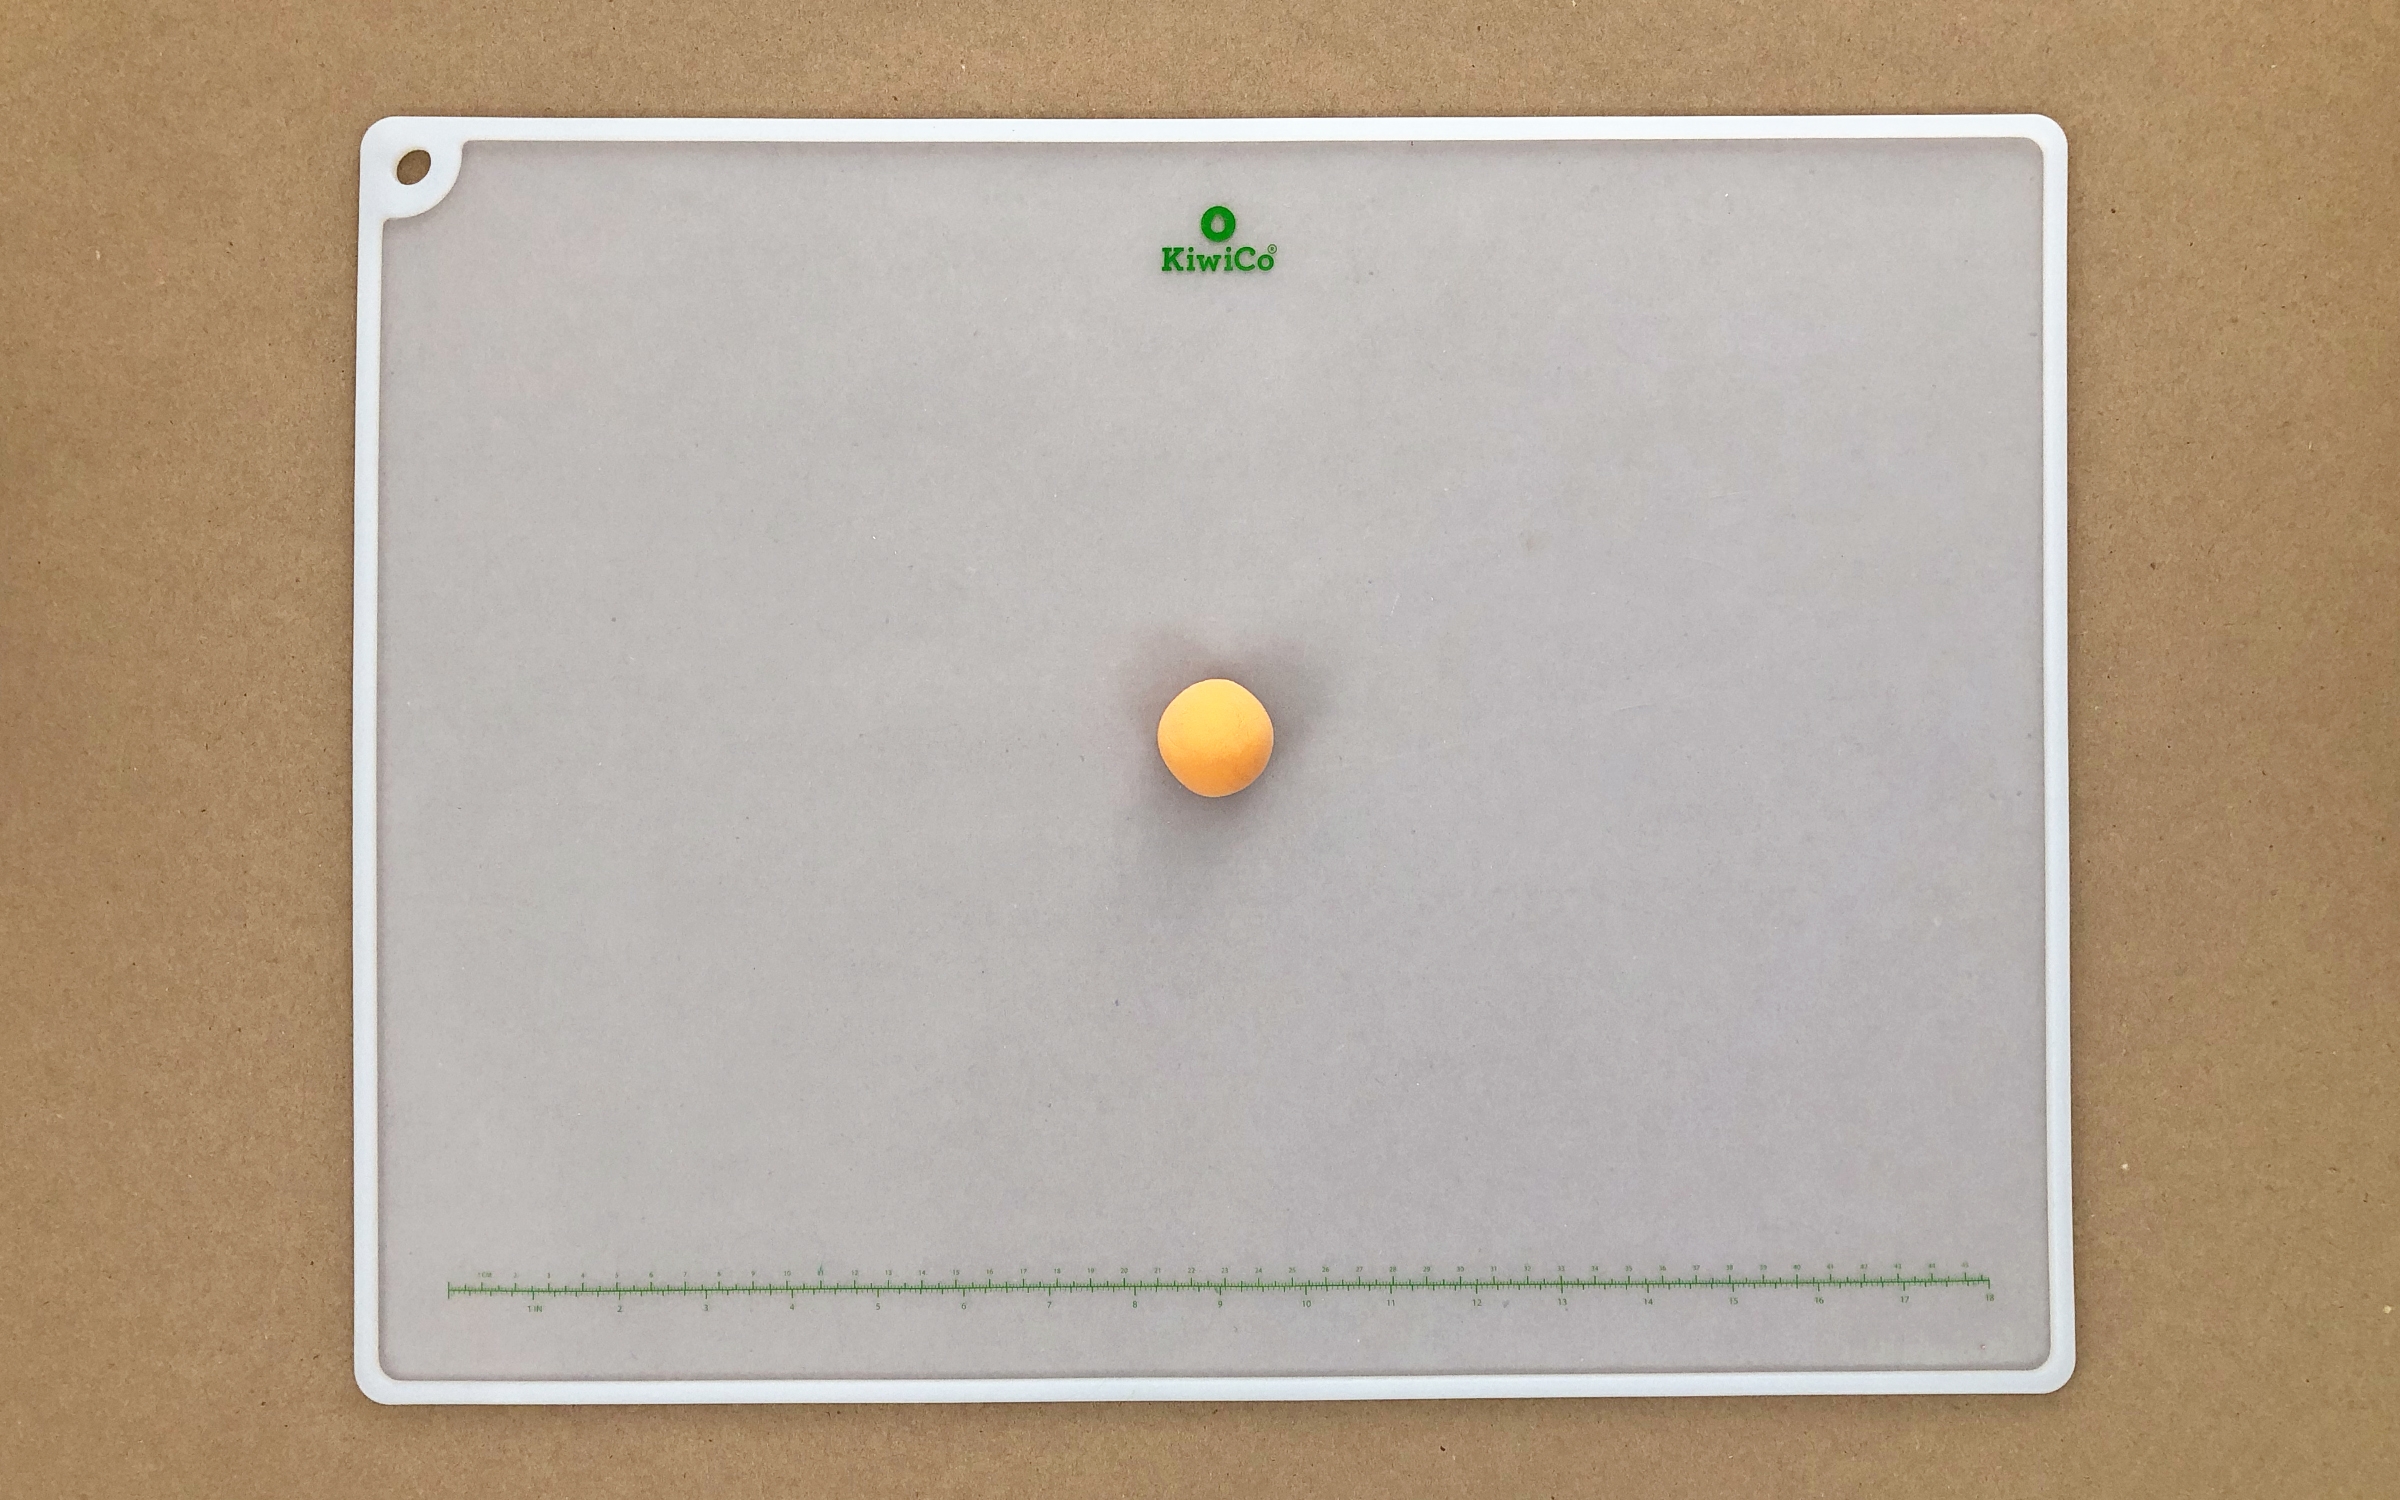
    Mix the color for your donut base. We use a little orange, red, and white.
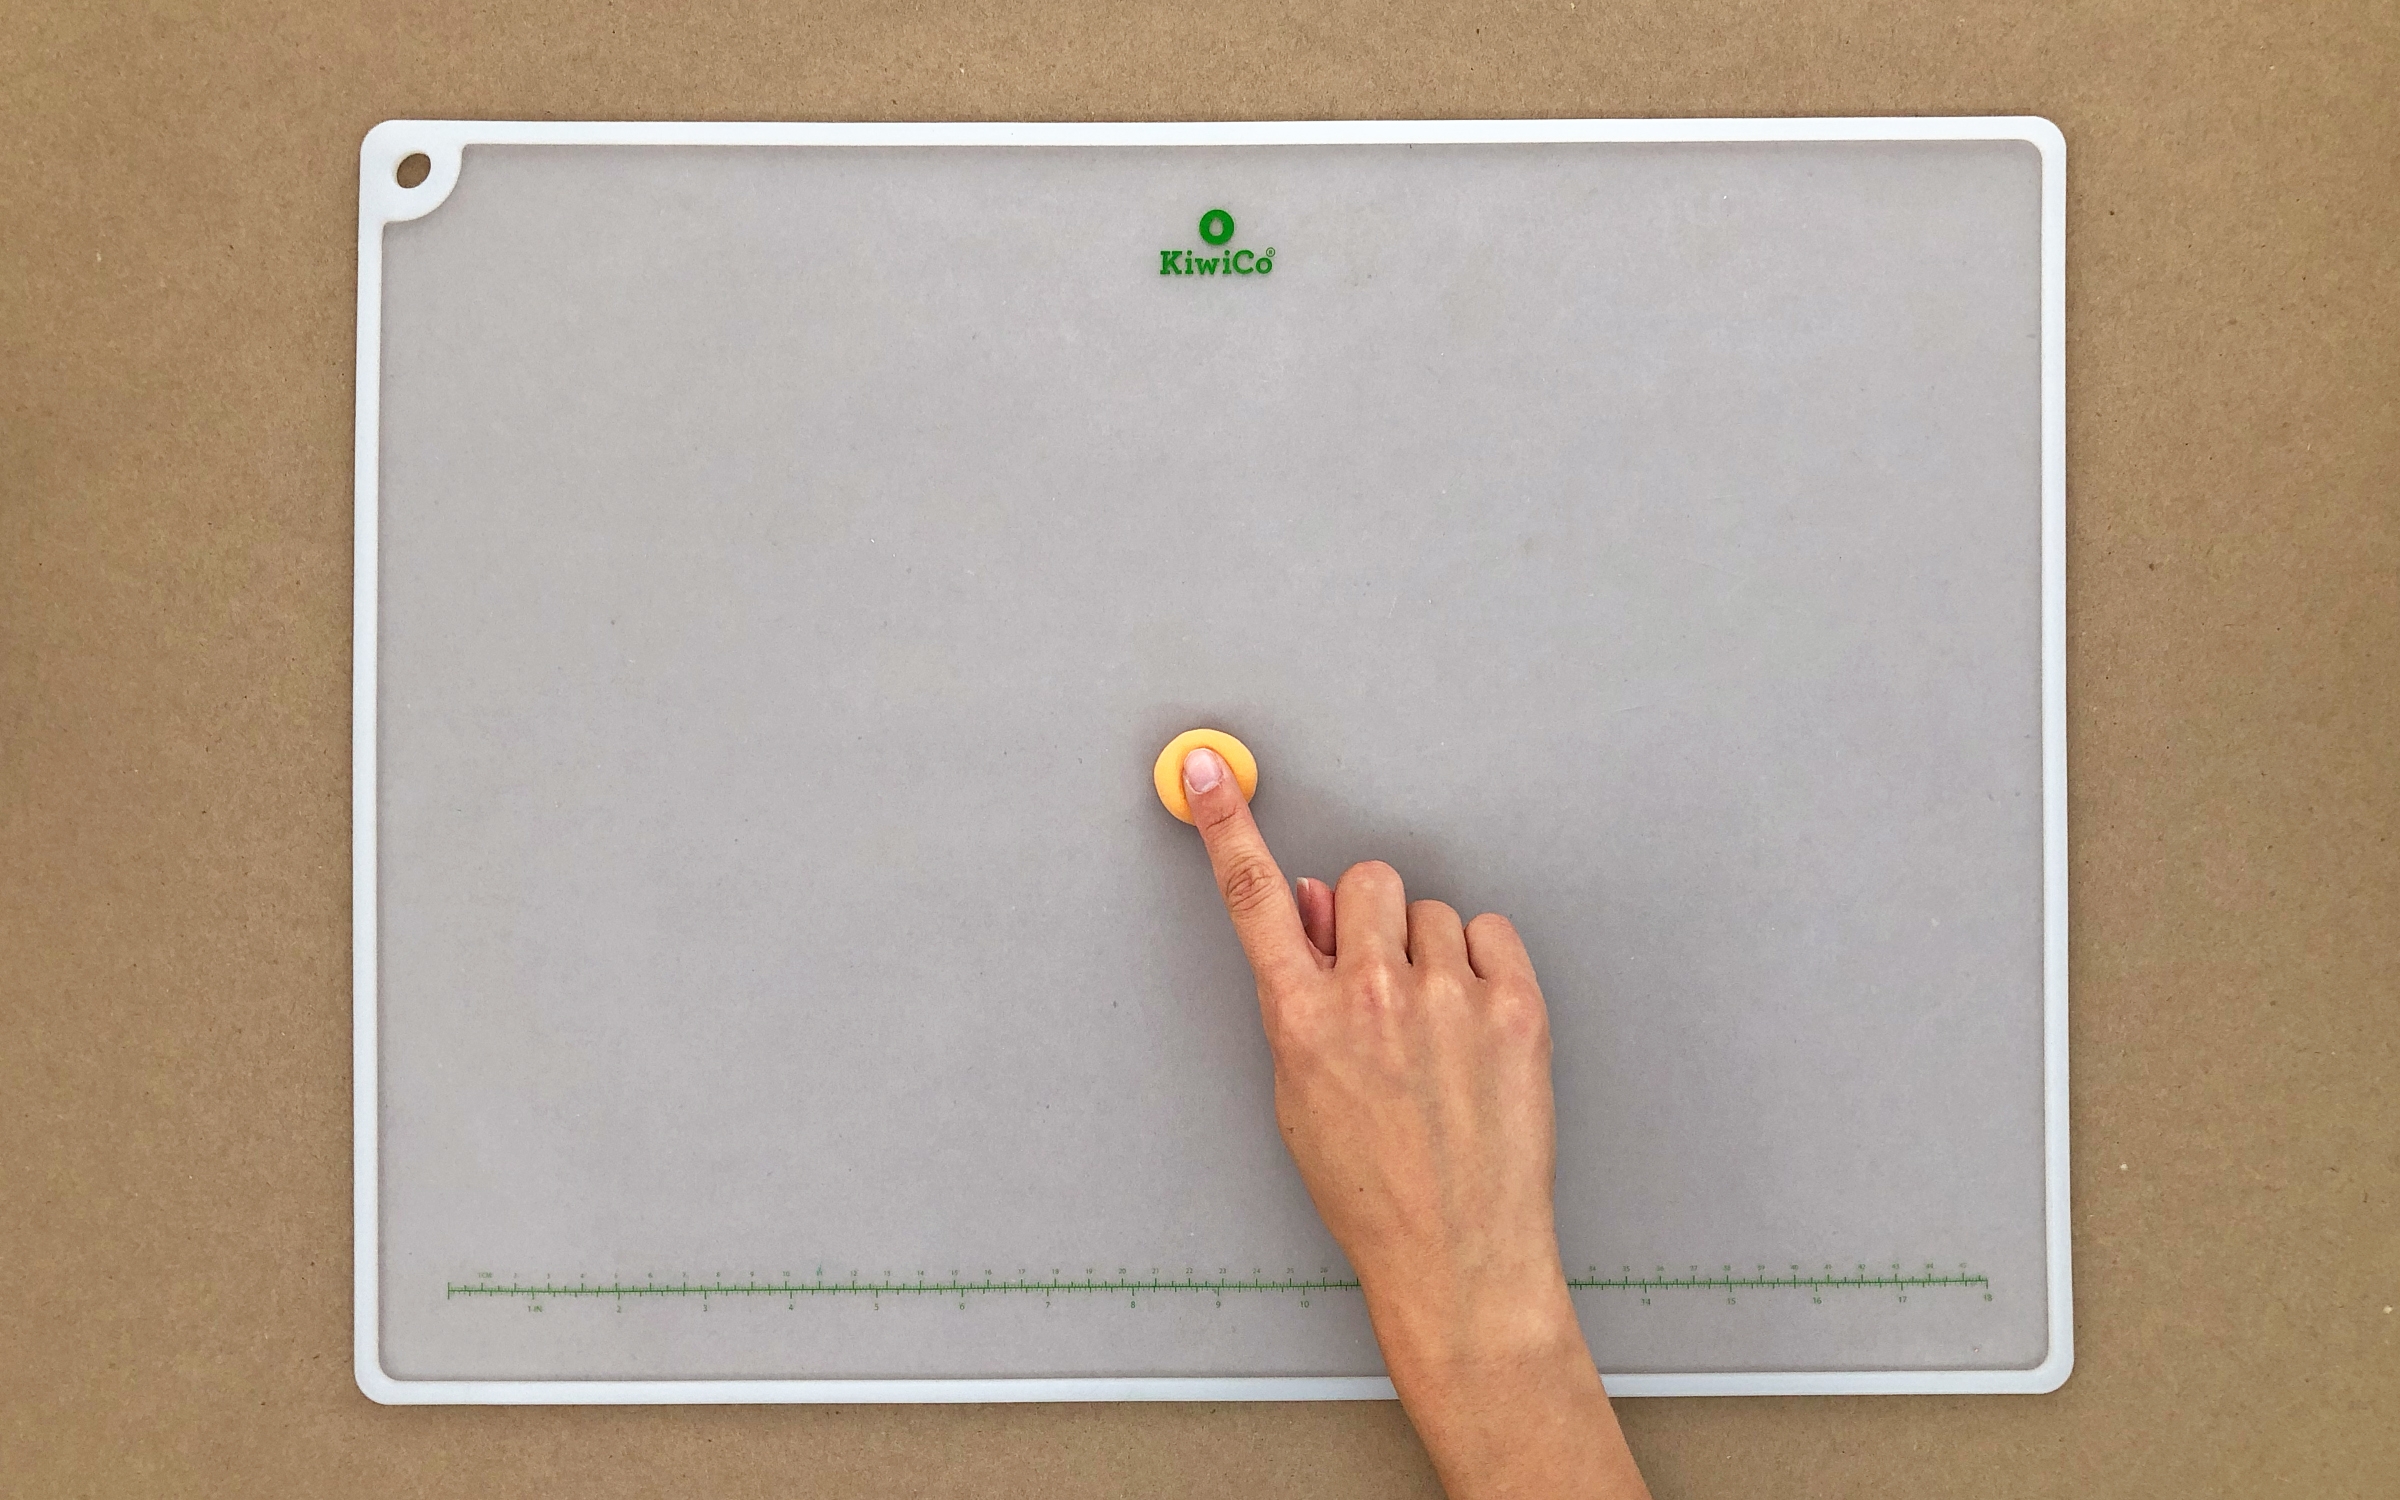
    Photo reference of how to complete step 2

  • Step 3

    Shape your donut ring! Start by rolling the clay into a ball. Then gently press down to flatten the bottom & top like a real donut!

    Photo reference of how to complete step 3

  • Step 4

    Use a pointed clay tool to poke a hole through the middle.
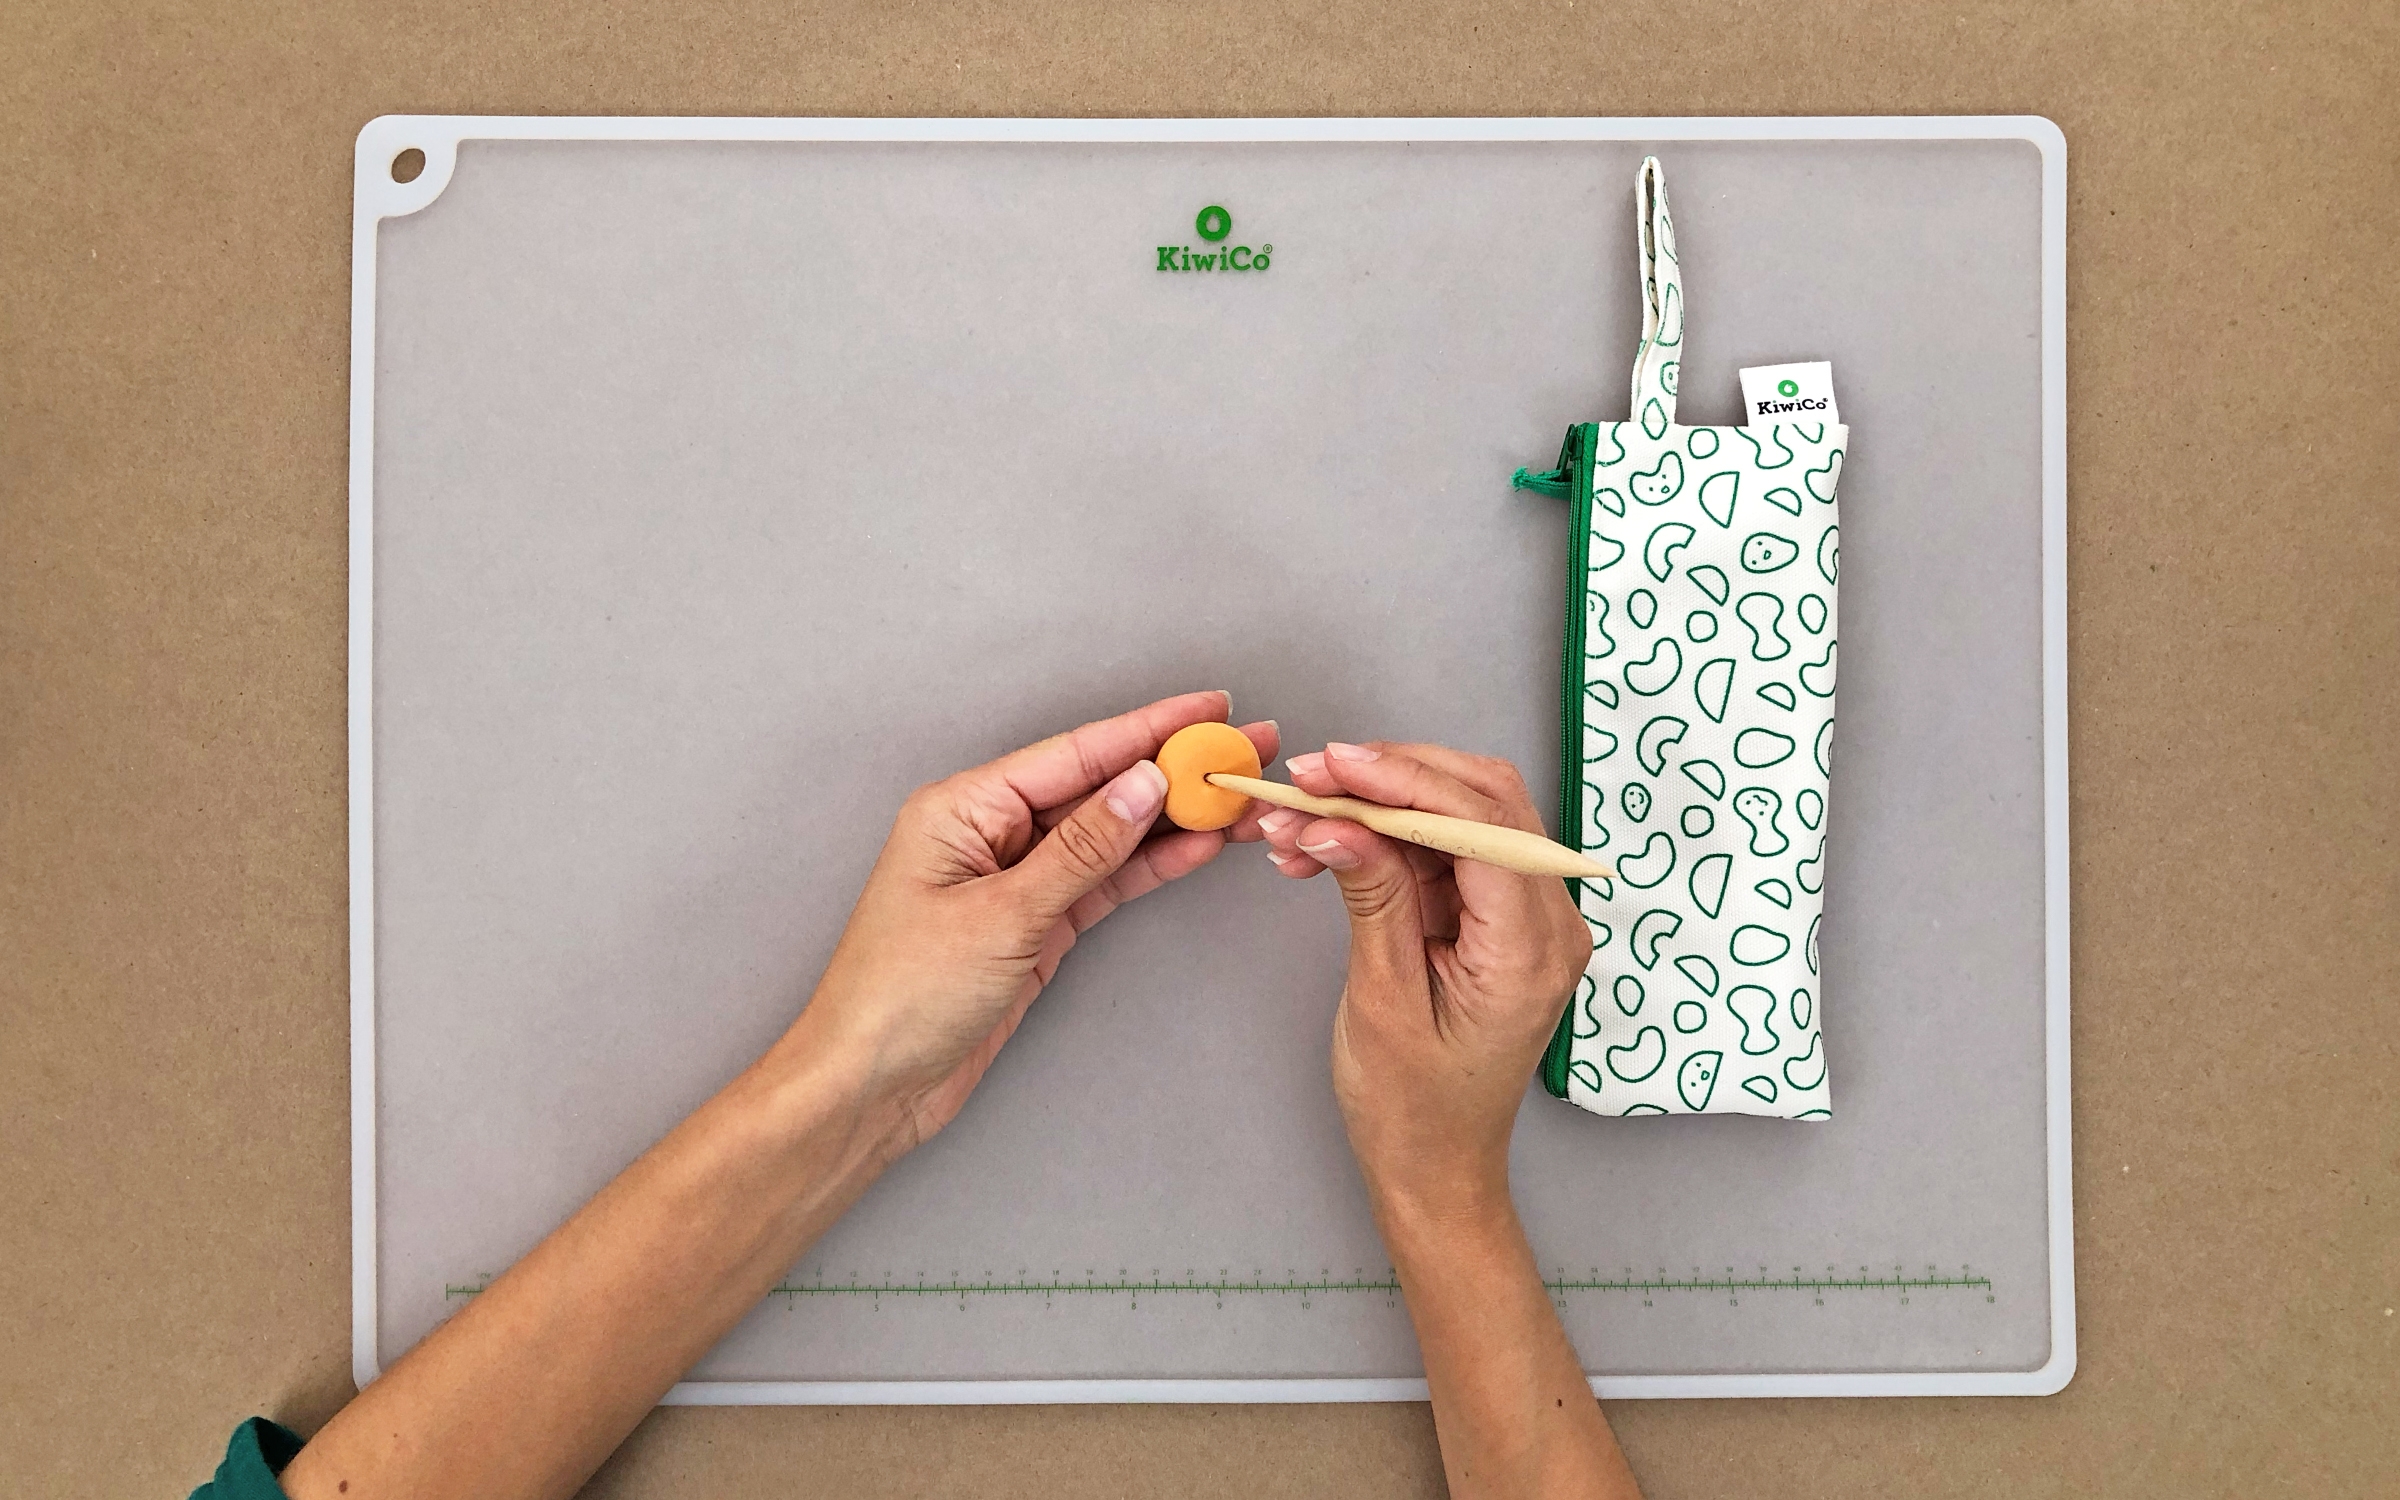
    Photo reference of how to complete step 4

  • Tip

    Poke halfway through on the top and the bottom so that the hole meets in the middle. This will help you keep your donuts shape!
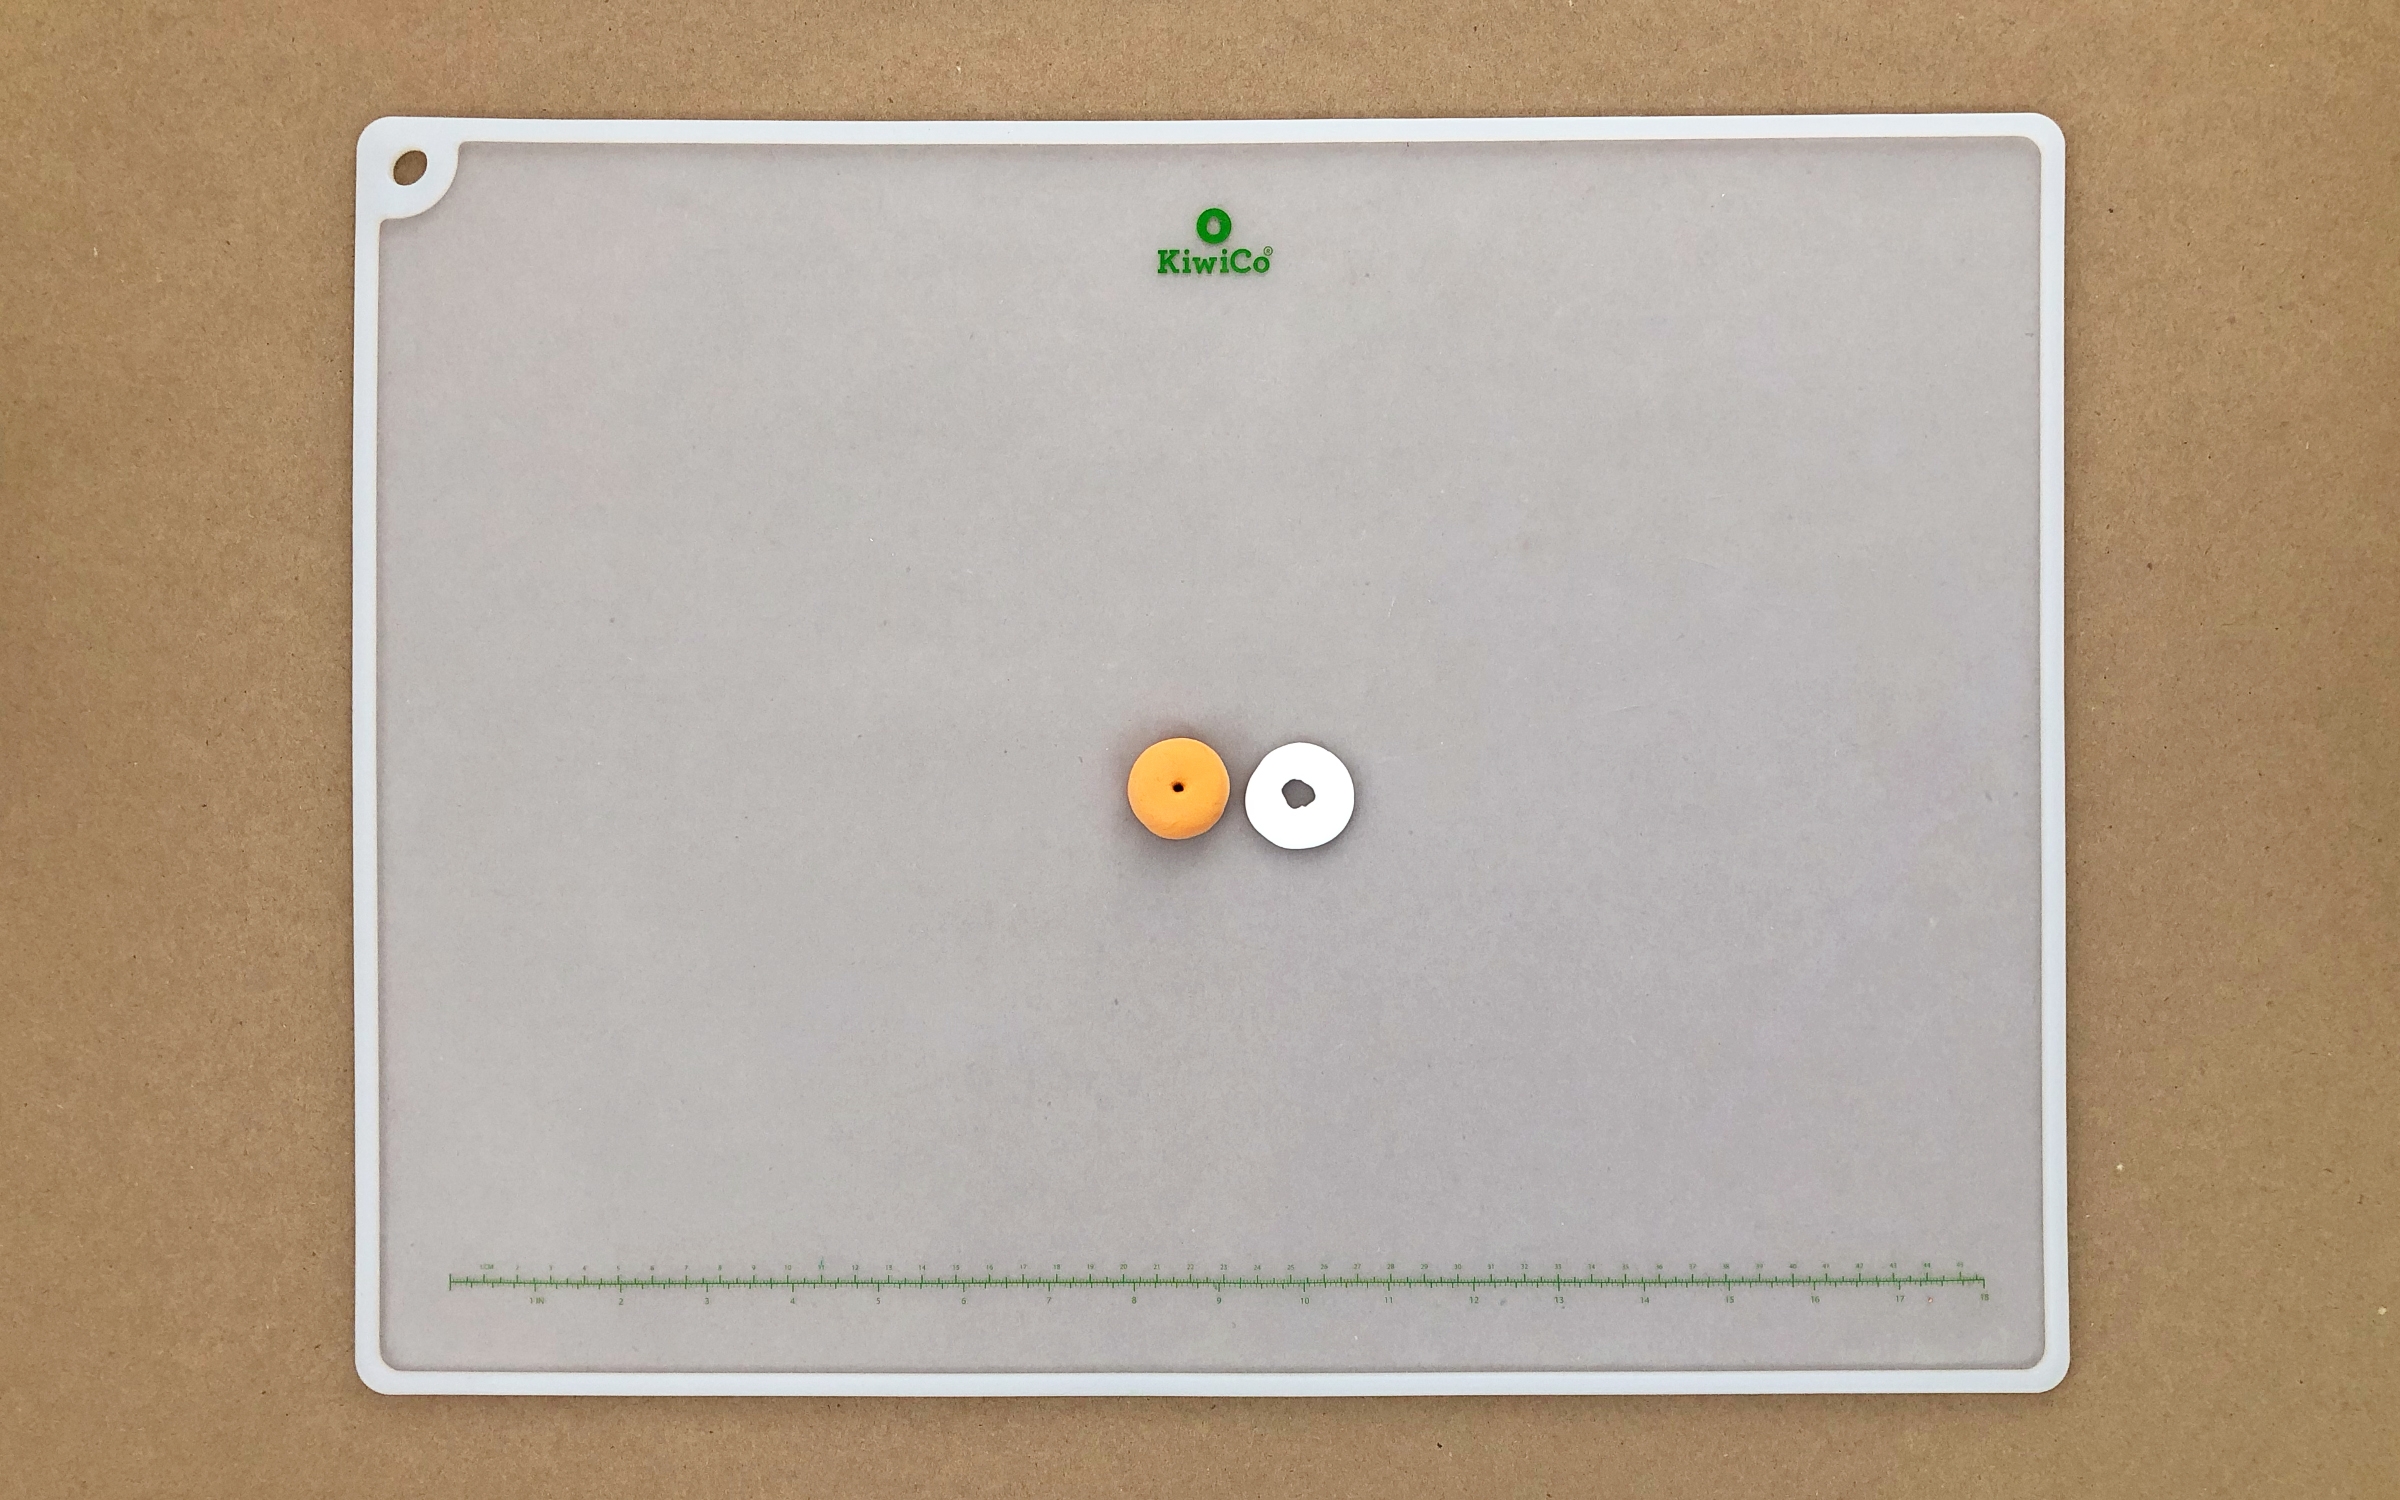
  • Step 5

    Roll out the frosting! Make it approximately the same size as your donut, then cut out a circle in the middle.
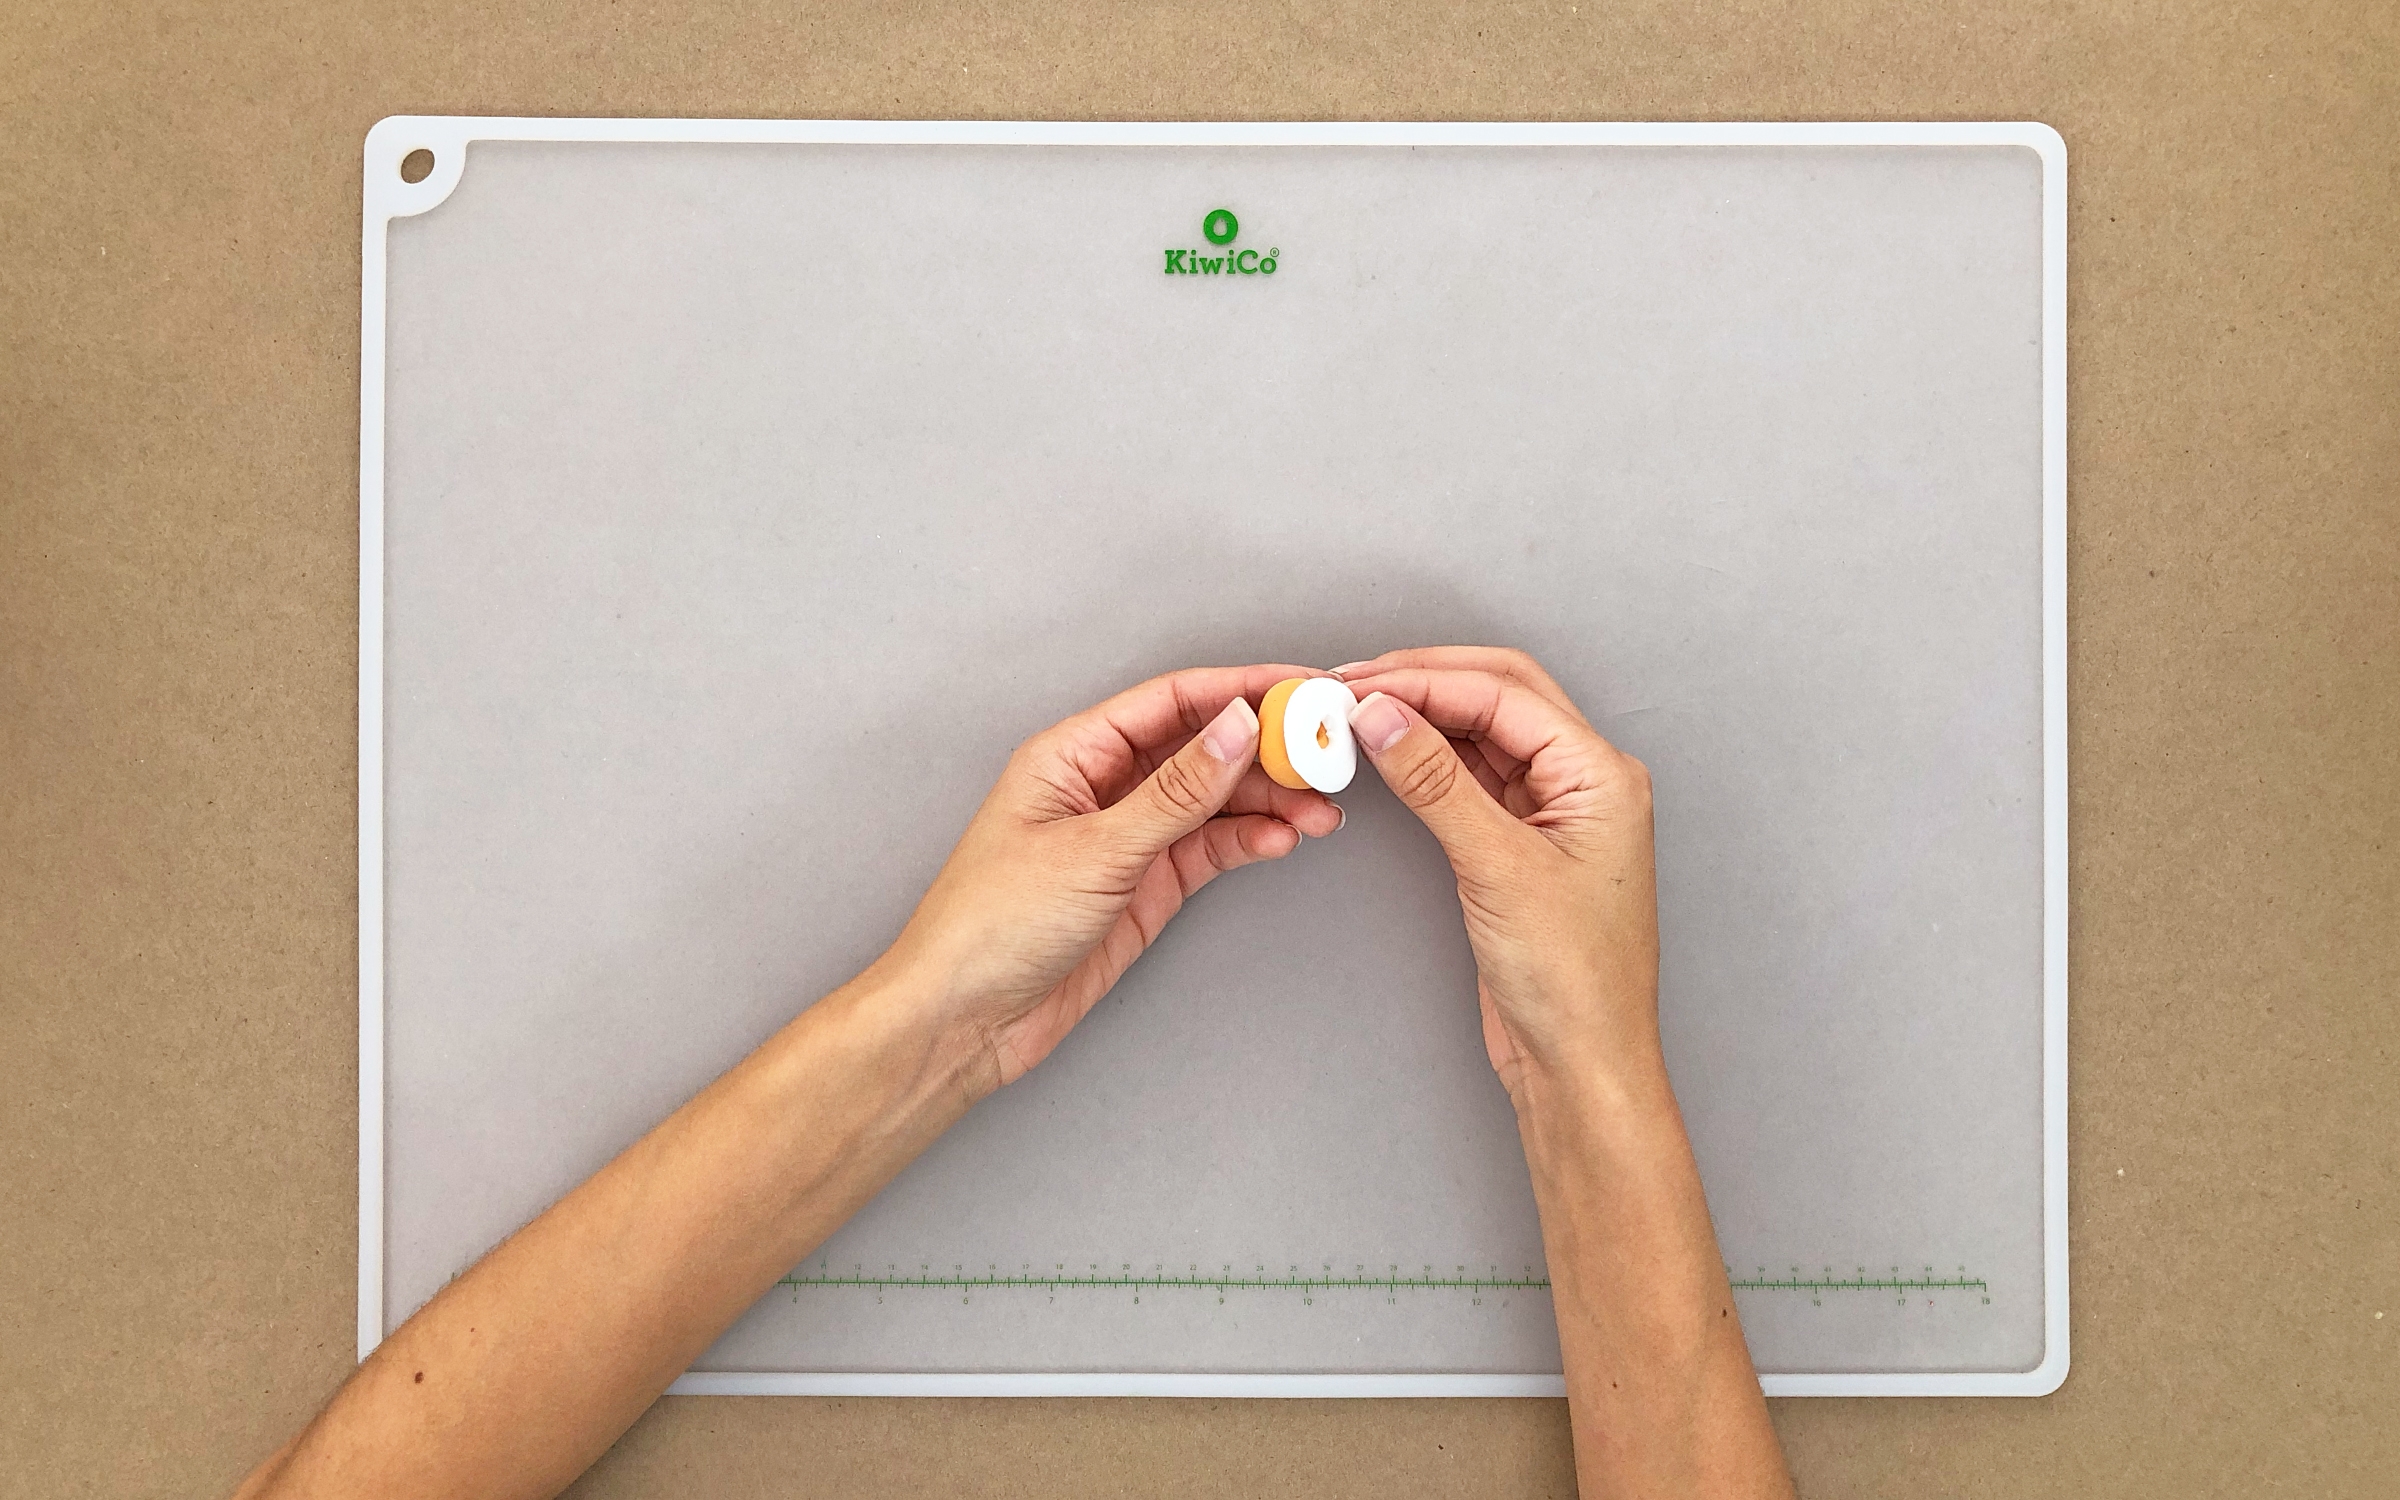
    Photo reference of how to complete step 5

  • Step 6

    Attach the frosting layer to your donut.
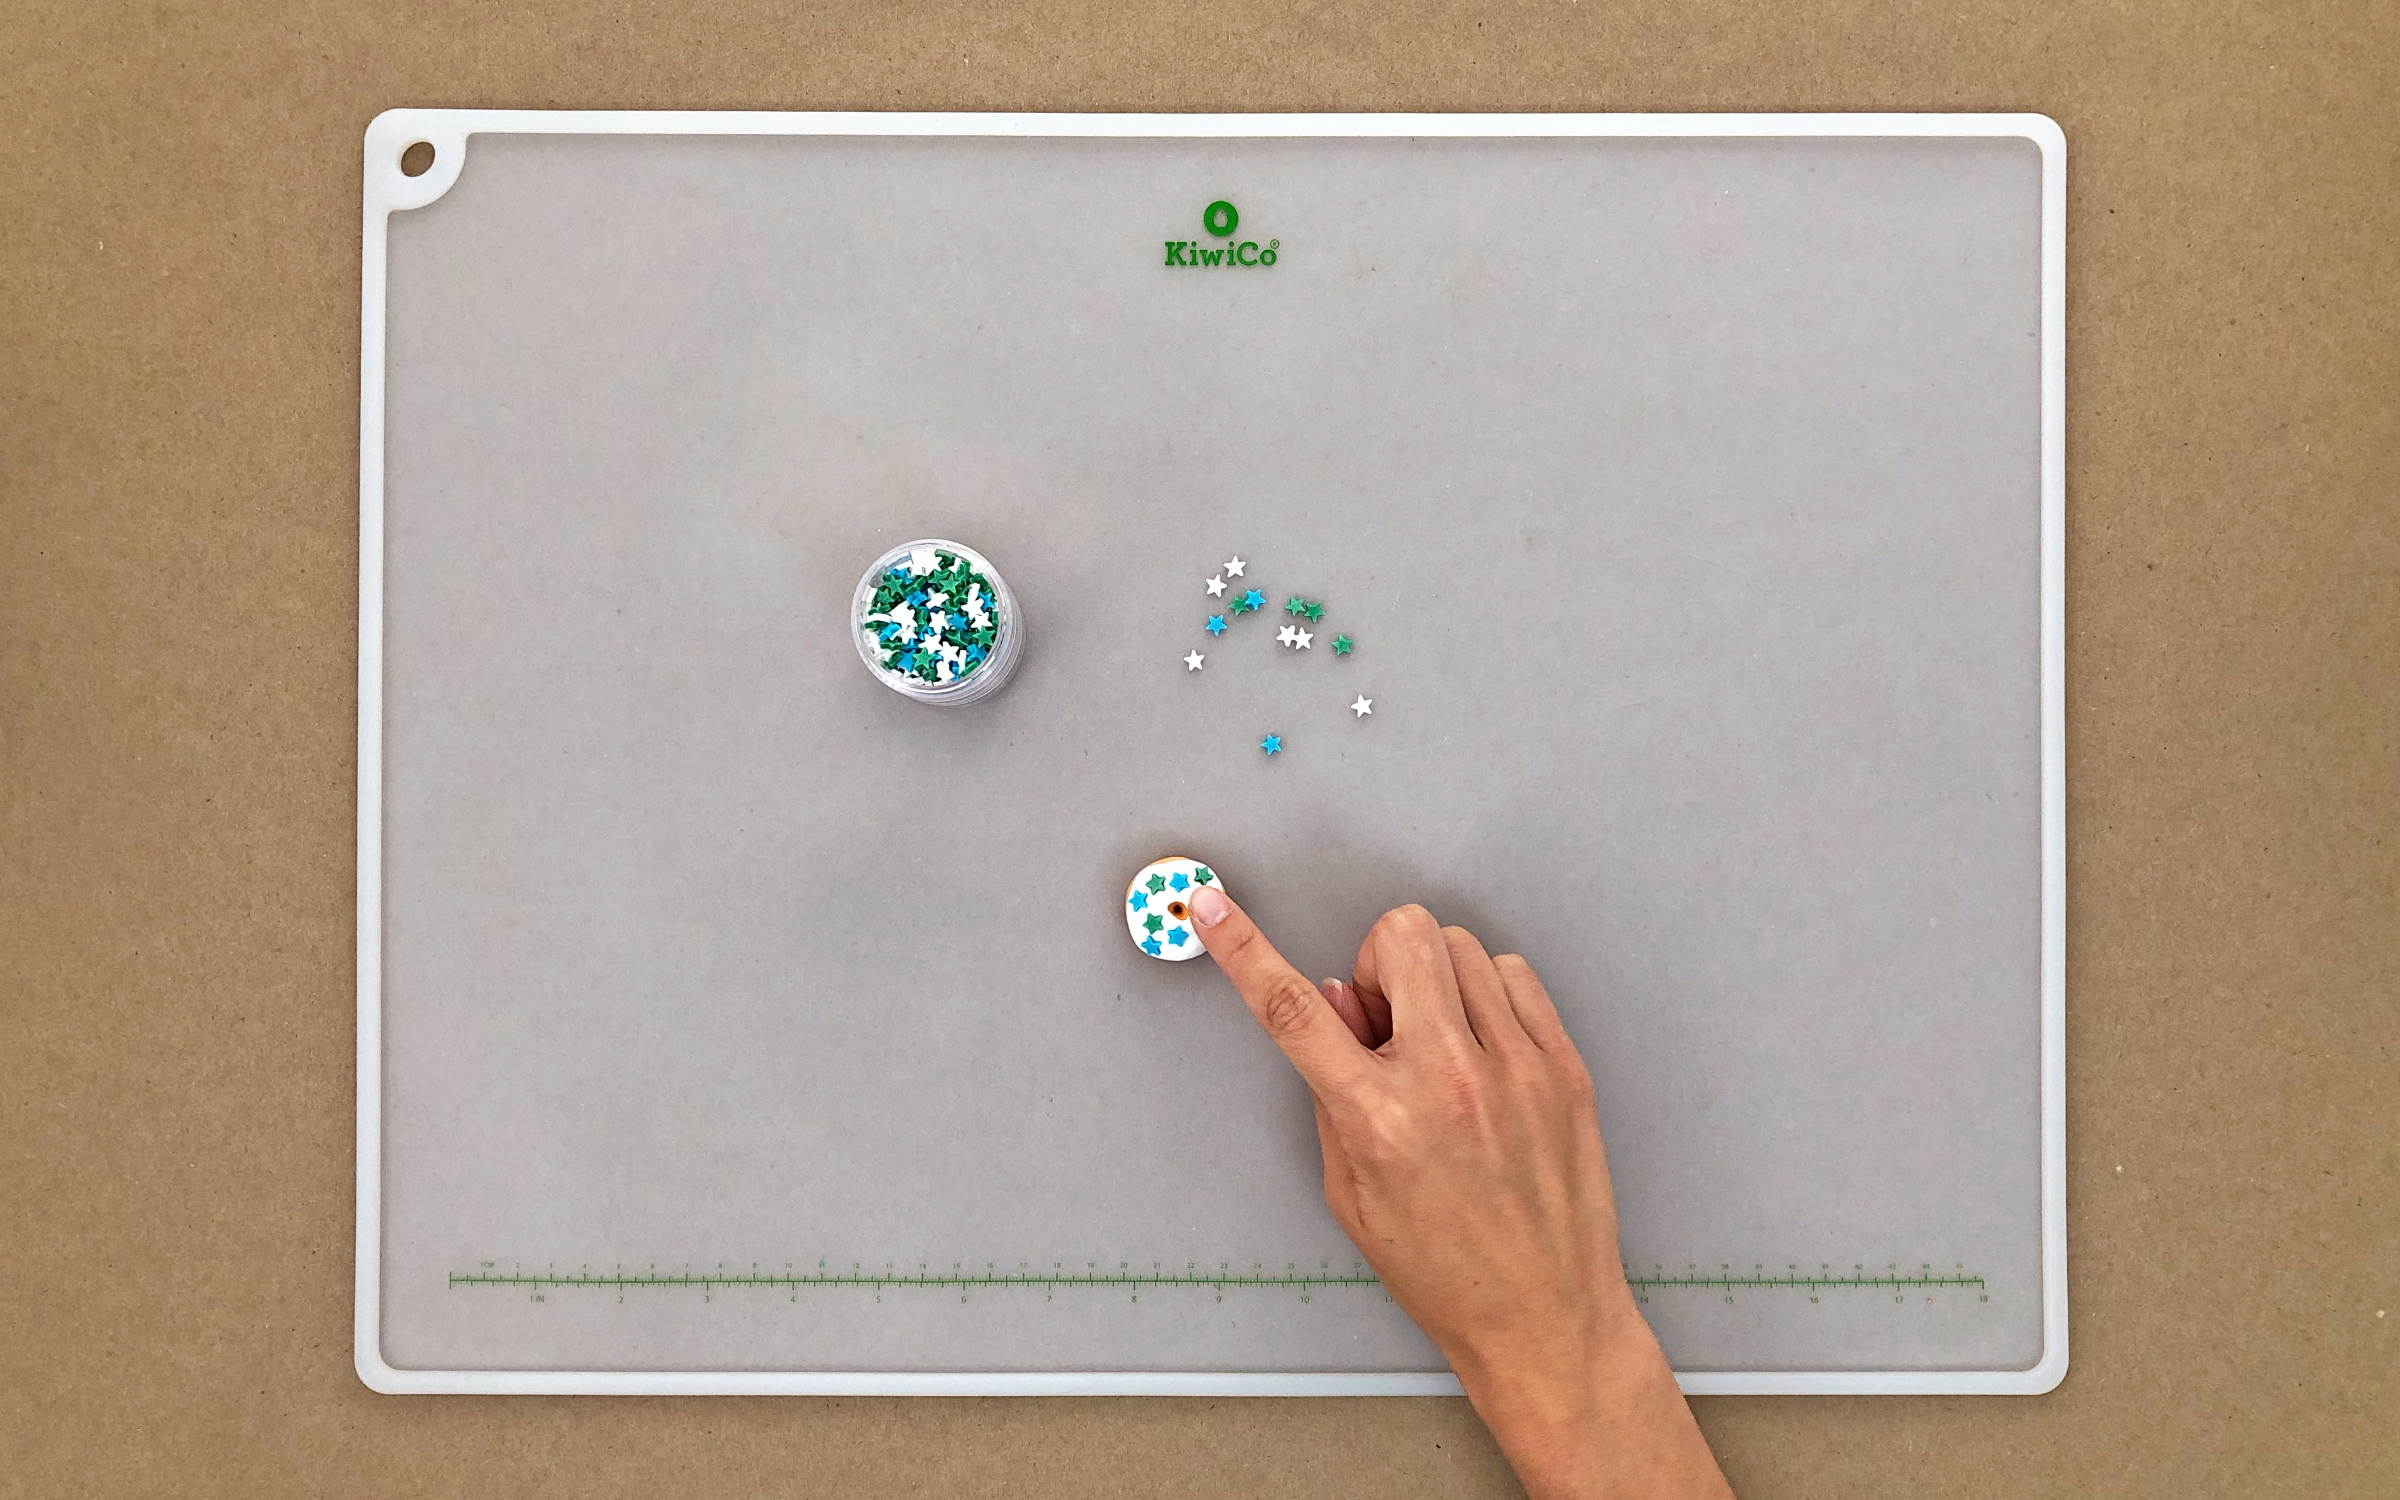
    Photo reference of how to complete step 6

  • Step 7

    Press in your clay sprinkles of choice!

    Photo reference of how to complete step 7

  • Final result!

    Photo reference of how to complete step 8

You might also like

Top categoriesBurst graphic

Share what you made & tag us at!

;